No ceiling light in your living room? You can still get a bright, warm room for reading, relaxing, and hosting friends. The trick is simple: use several smaller lights at different heights instead of one big light overhead.
One lamp on its own leaves dark corners and harsh shadows. Three or four lamps spread around the room do a much better job — one for general glow, one for reading, and one for shelves or art.
This guide walks you through 12 steps in order, from planning the layout to picking the right bulbs. Each step includes a realistic cost and a hands-on tip. Most of these ideas need no wiring, no electrician, and no landlord permission.
Step 1: Plan Three Layers of Light Before You Buy Anything
Start with a plan, not a shopping trip. A living room without a ceiling light needs three layers: ambient light for general brightness, task light for reading, and accent light for shelves, art, and corners. Sketch your room and mark where you sit, where you read, and which corners stay dark after sunset.
Cost: Free to plan; a full set of lamps runs $80–$300 in total. Difficulty: Easy. Time: 20–30 minutes. Tip: Walk the room at night with your phone flashlight and note every dark patch — those are your lamp spots. Watch out: Do not buy all matching lamps at once; different heights and styles look better and spread light more evenly.
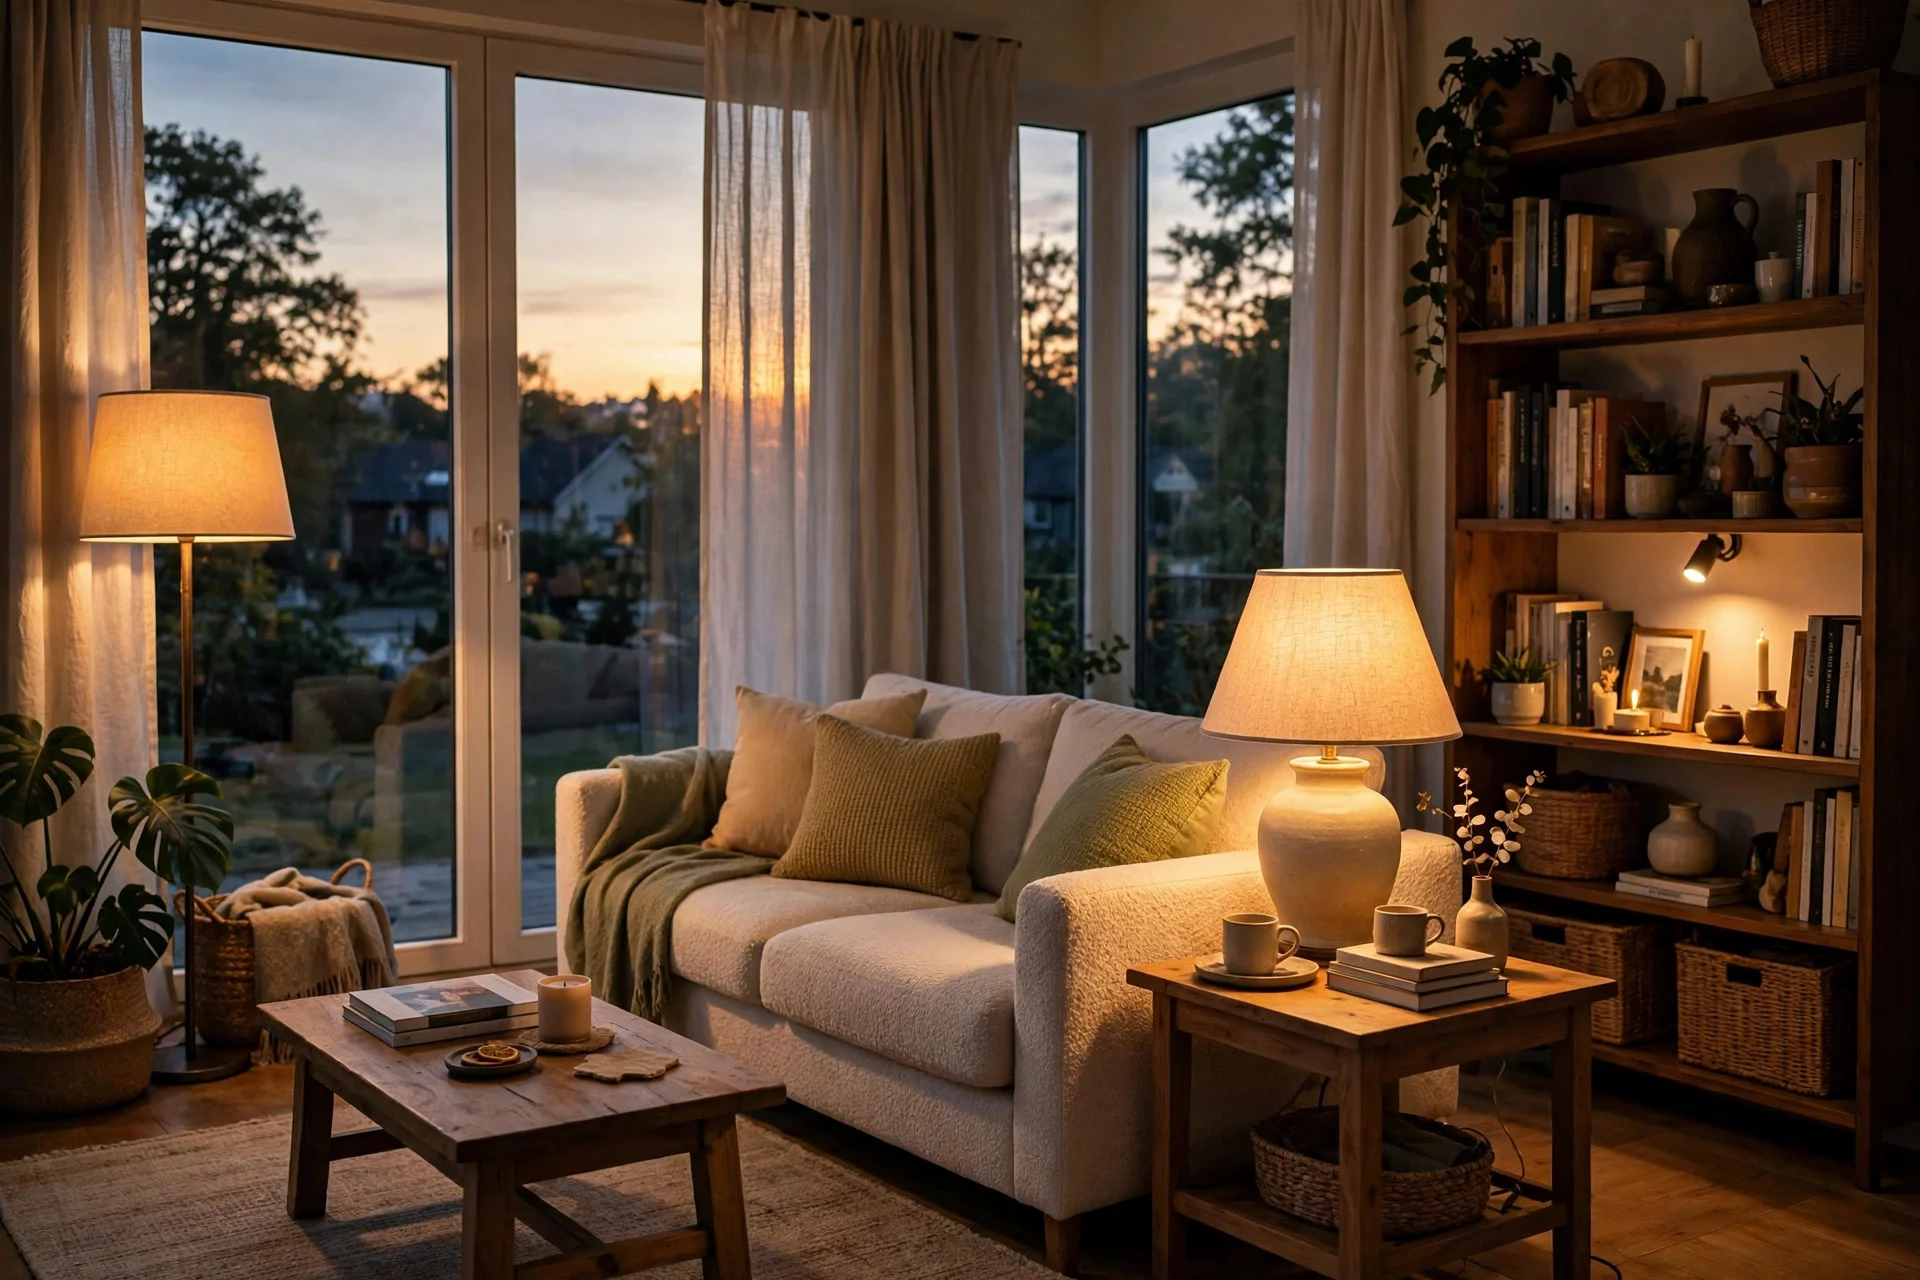
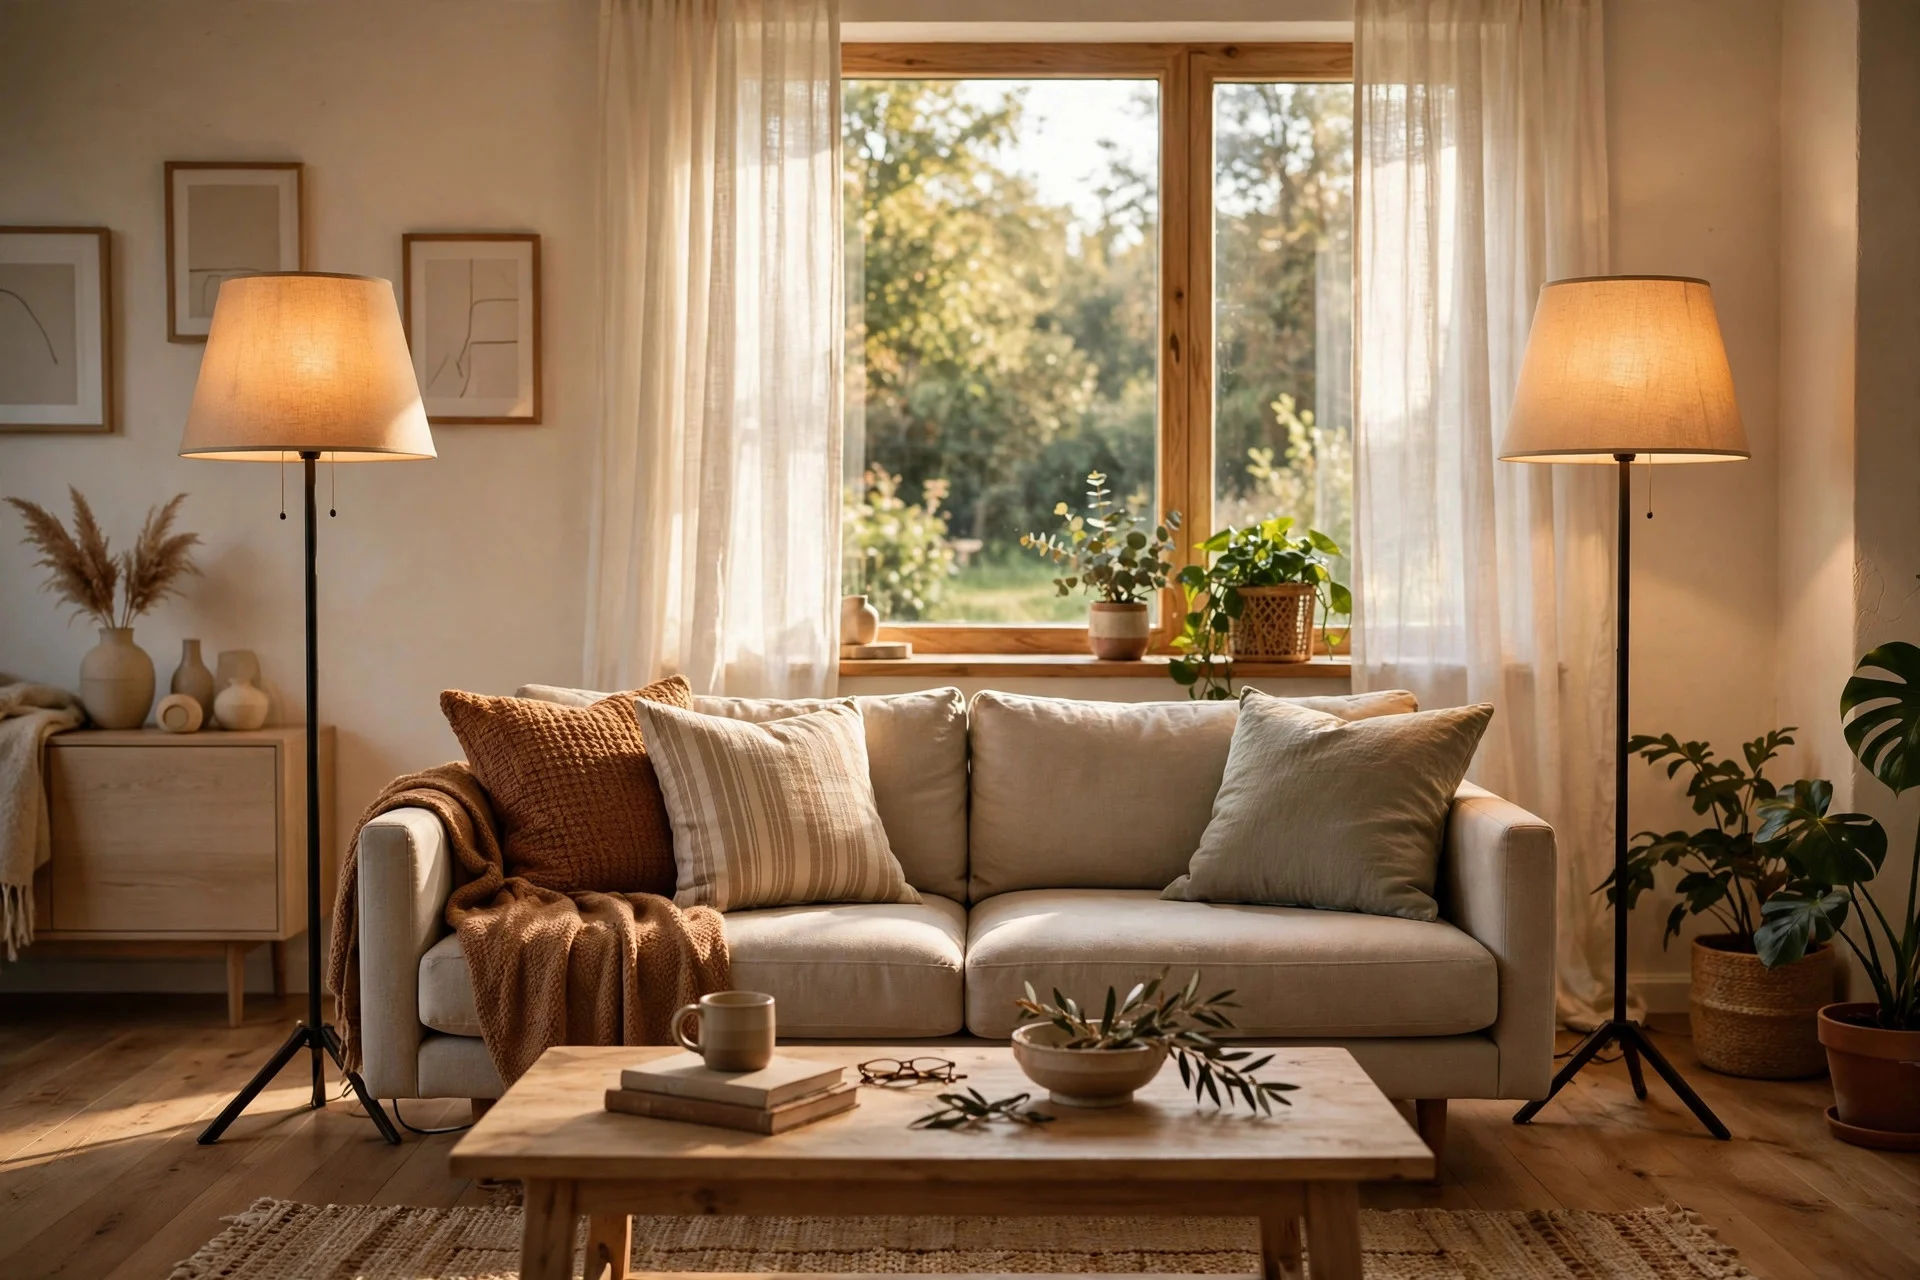
Step 2: Anchor the Sofa With Two Floor Lamps
Two floor lamps, one at each end of the sofa, are the fastest fix for a room with no ceiling light. They throw light up and out, washing the walls and ceiling with a soft glow, and they frame the seating area so the room feels finished.
Cost: $30–$120 per lamp. Difficulty: Easy. Time: 15 minutes each. Tip: Angle the shades slightly toward the wall — the bounced light feels softer than a bare bulb aimed at the room. Watch out: Cheap, top-heavy lamps tip over easily, so pick a weighted base if you have kids or pets.
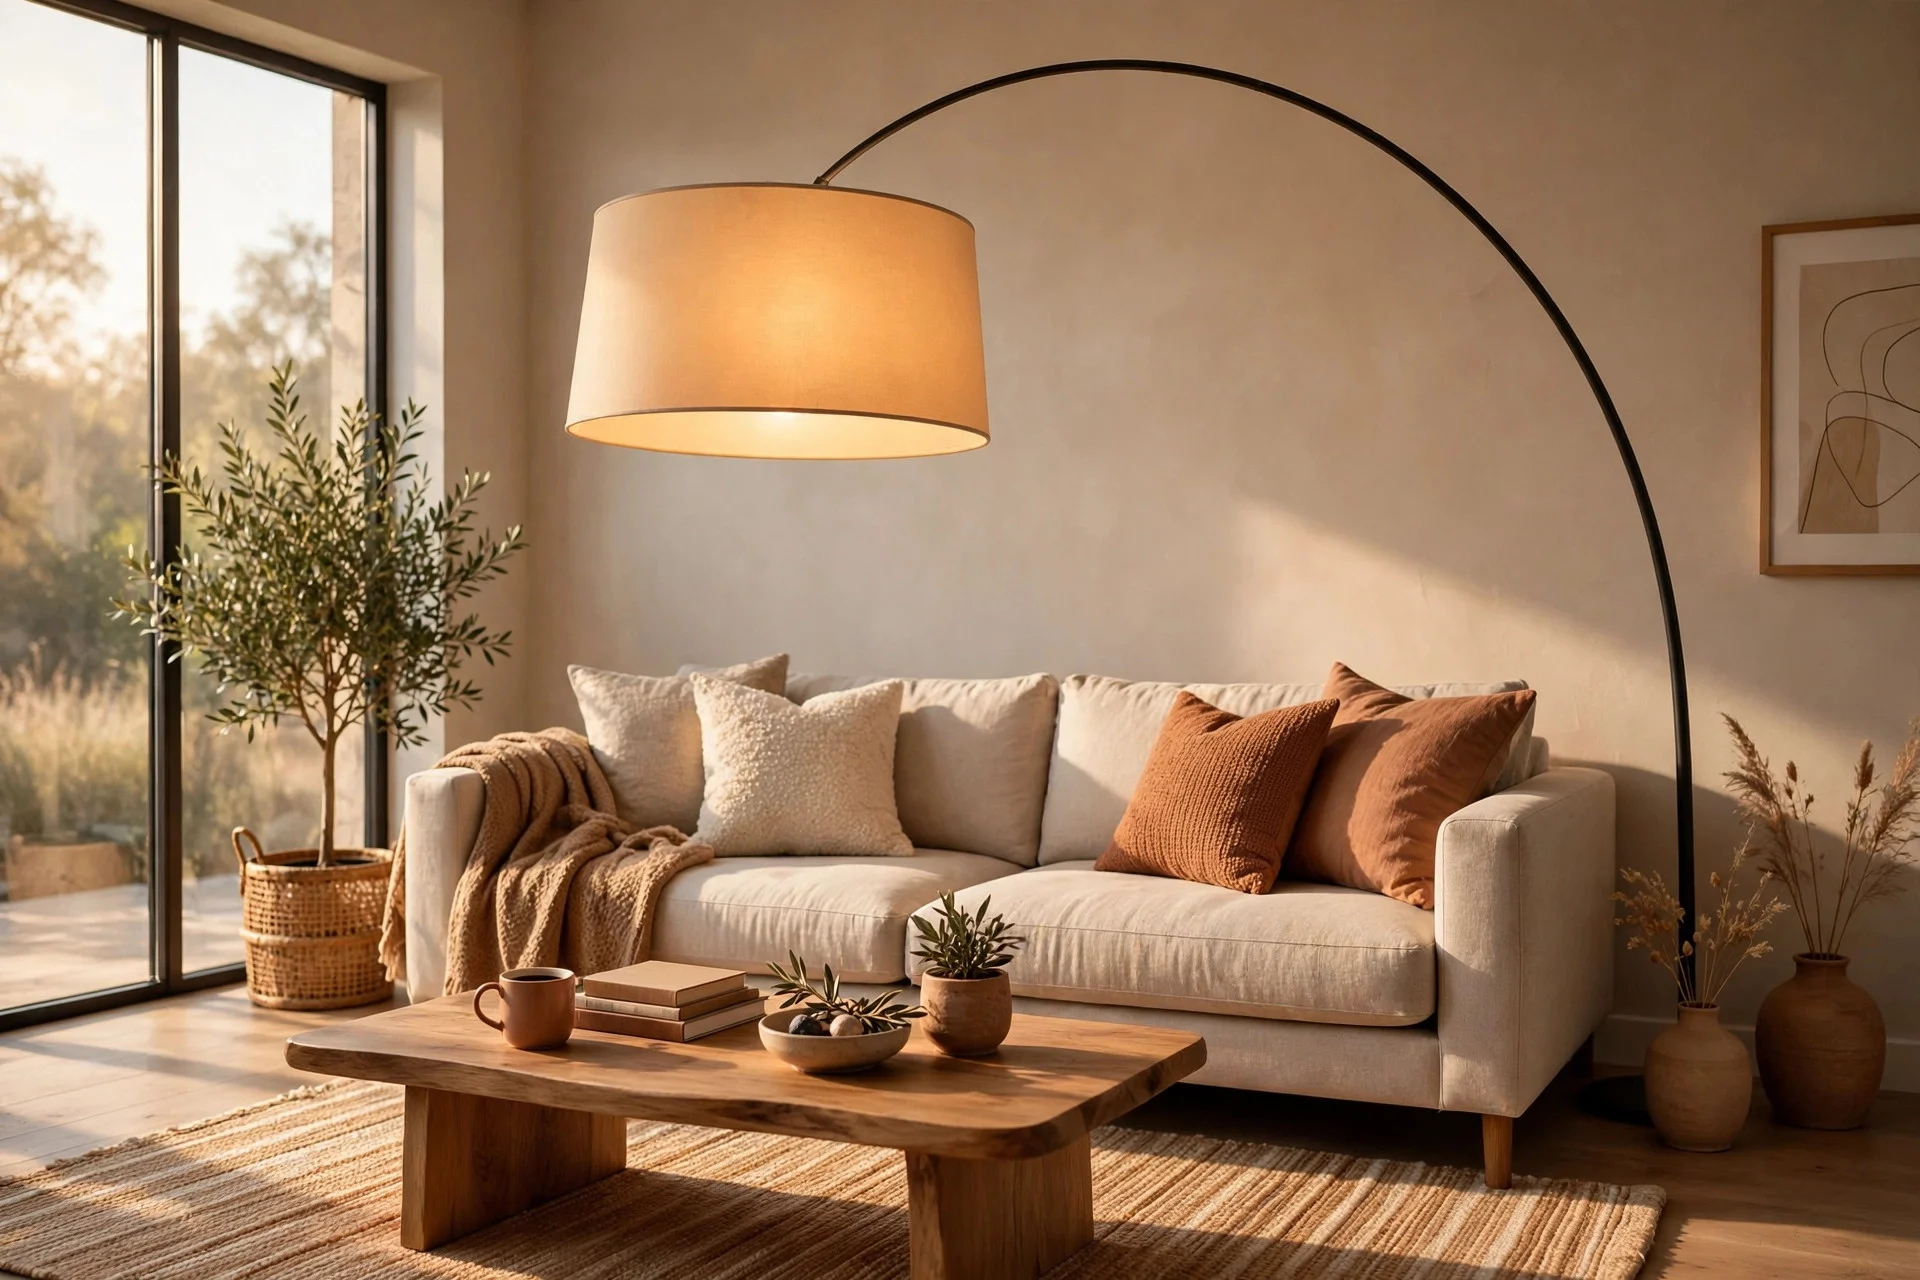
Step 3: Add an Arc Floor Lamp Over the Seating Area
An arc lamp is the closest thing to a ceiling light without installing one. Its long curved arm reaches over the sofa or coffee table, so light lands right where you sit instead of hugging the wall.
Cost: $60–$200. Difficulty: Easy. Time: 20–30 minutes to assemble. Tip: Put the arc lamp on a dimmer or a smart bulb so you can drop it to a low glow for movie nights. Watch out: Measure your ceiling height and the arc’s reach before ordering — a big arc can crowd a low or small room.
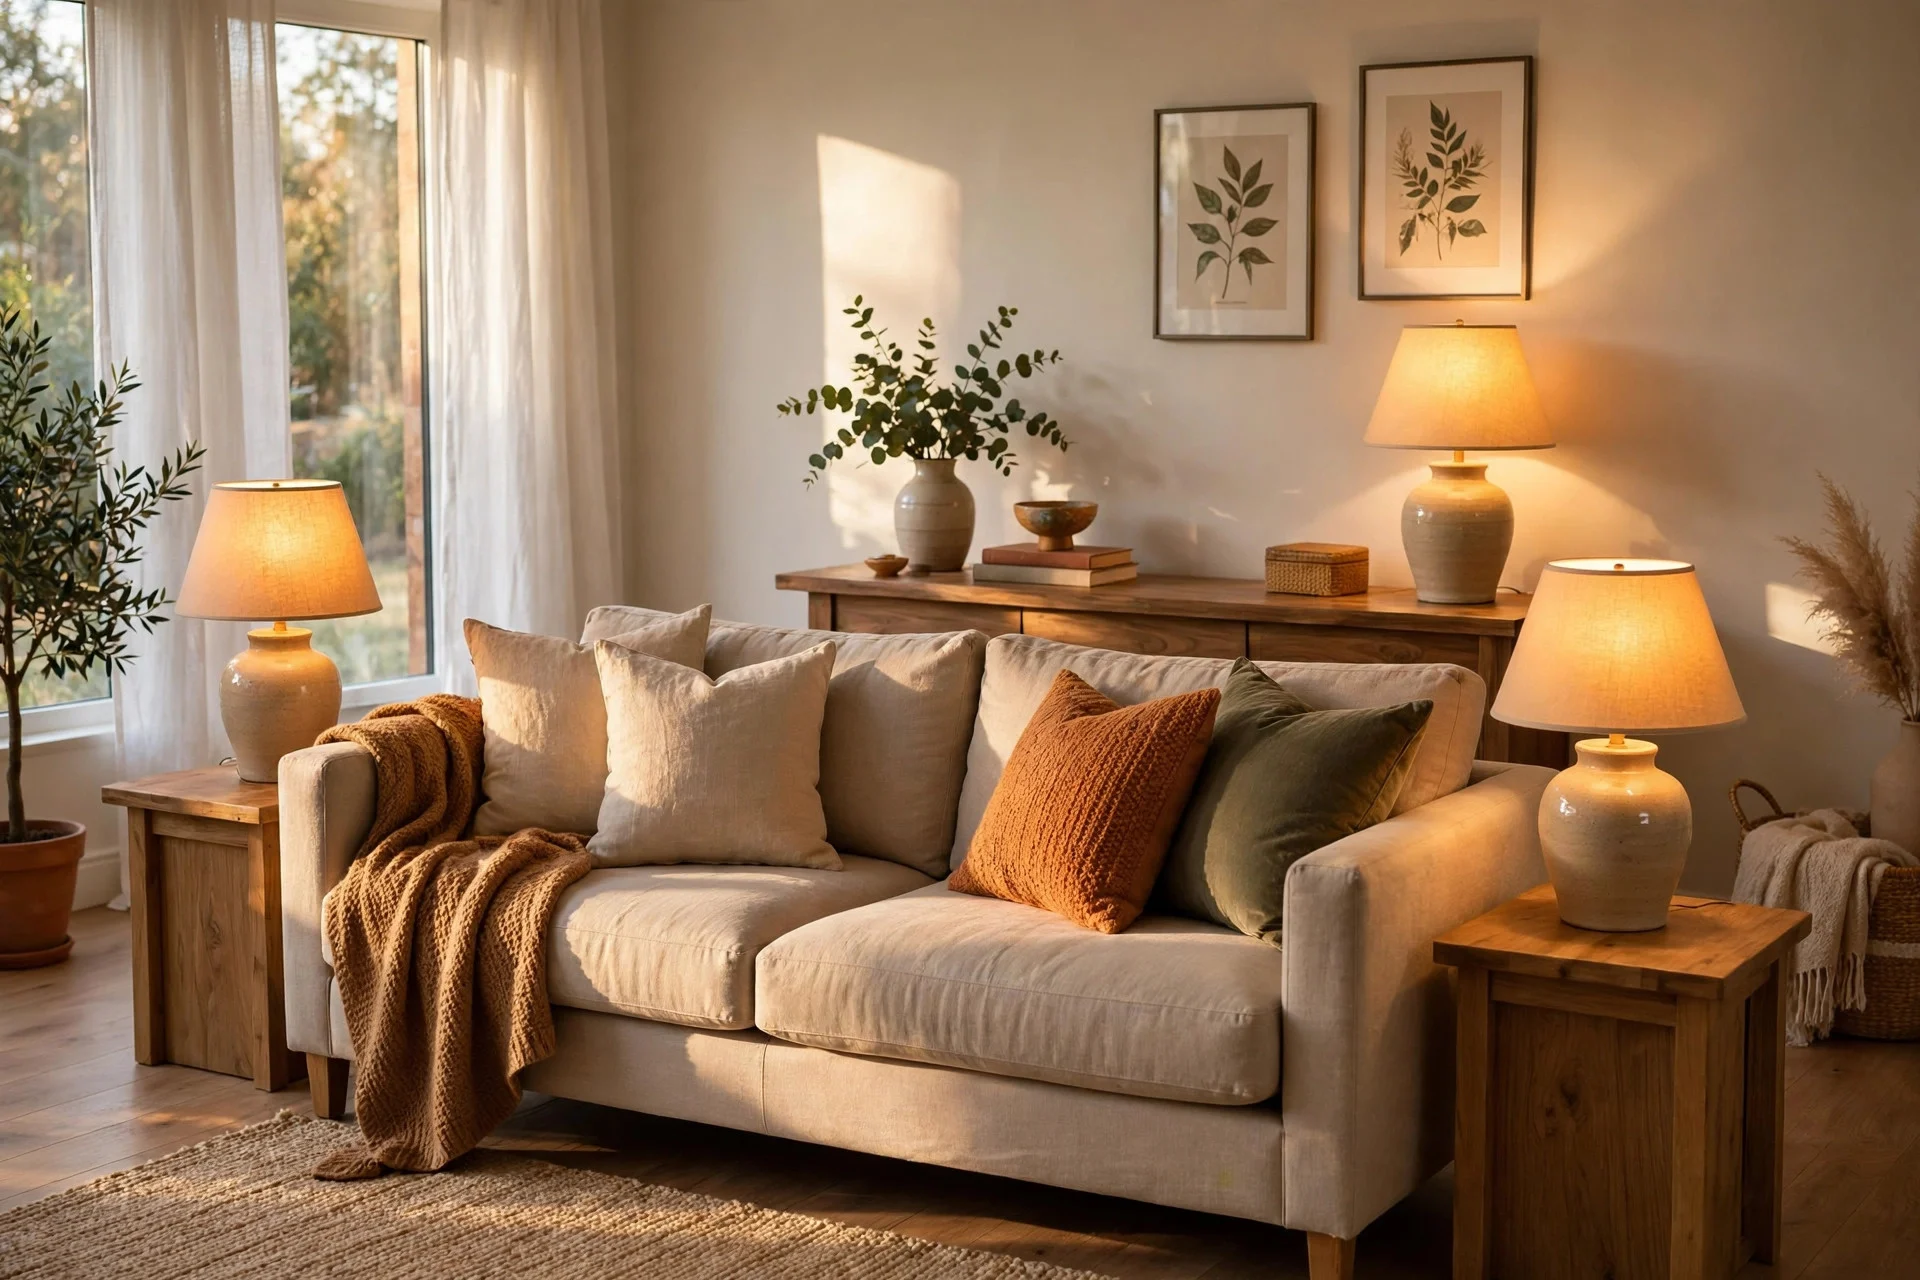
Step 4: Put Table Lamps on Side Tables and Consoles
Table lamps do the quiet work in a room with no ceiling light. They sit at eye level when you are seated, where light feels most comfortable, and they fill the middle band of the room that floor lamps often miss.
Place one lamp on each side table next to the sofa, and one more on a console if you have one. Keep the bottom of the shade at about shoulder height when seated, roughly 24–30 inches tall for most side tables. A three-way bulb gives you low, medium, and bright settings without extra gear.
Cost: $25–$90 per lamp. Difficulty: Easy. Time: 10 minutes each. Tip: Use the same warm bulb color in all your table lamps so the room glows evenly instead of looking patchy. Watch out: A lamp taller than the table it sits on looks top-heavy — the shade should sit roughly level with the top of a nearby sofa back.
Step 5: Wash the Walls With Uplight Torchiere Lamps
A torchiere is a tall floor lamp that points straight up. It bounces light off the ceiling and down the walls, which makes the whole room feel brighter without a visible bulb in your line of sight. One torchiere in a dark corner can change how big a room feels at night.
Place torchieres in corners or behind furniture where the upward beam has a clear path to the ceiling. They work best with a bright, dimmable bulb: full power for cleaning, low glow for relaxing. Two torchieres in opposite corners beat one very bright lamp in the middle of the room.
Cost: $35–$100 per lamp. Difficulty: Easy. Time: 10–15 minutes each. Tip: Put a torchiere behind a tall plant — the leaves catch the light and throw soft shadows on the wall. Watch out: Do not place a torchiere under a low shelf or hanging decor; the bulb sits close to the shade top and needs clear space above it.
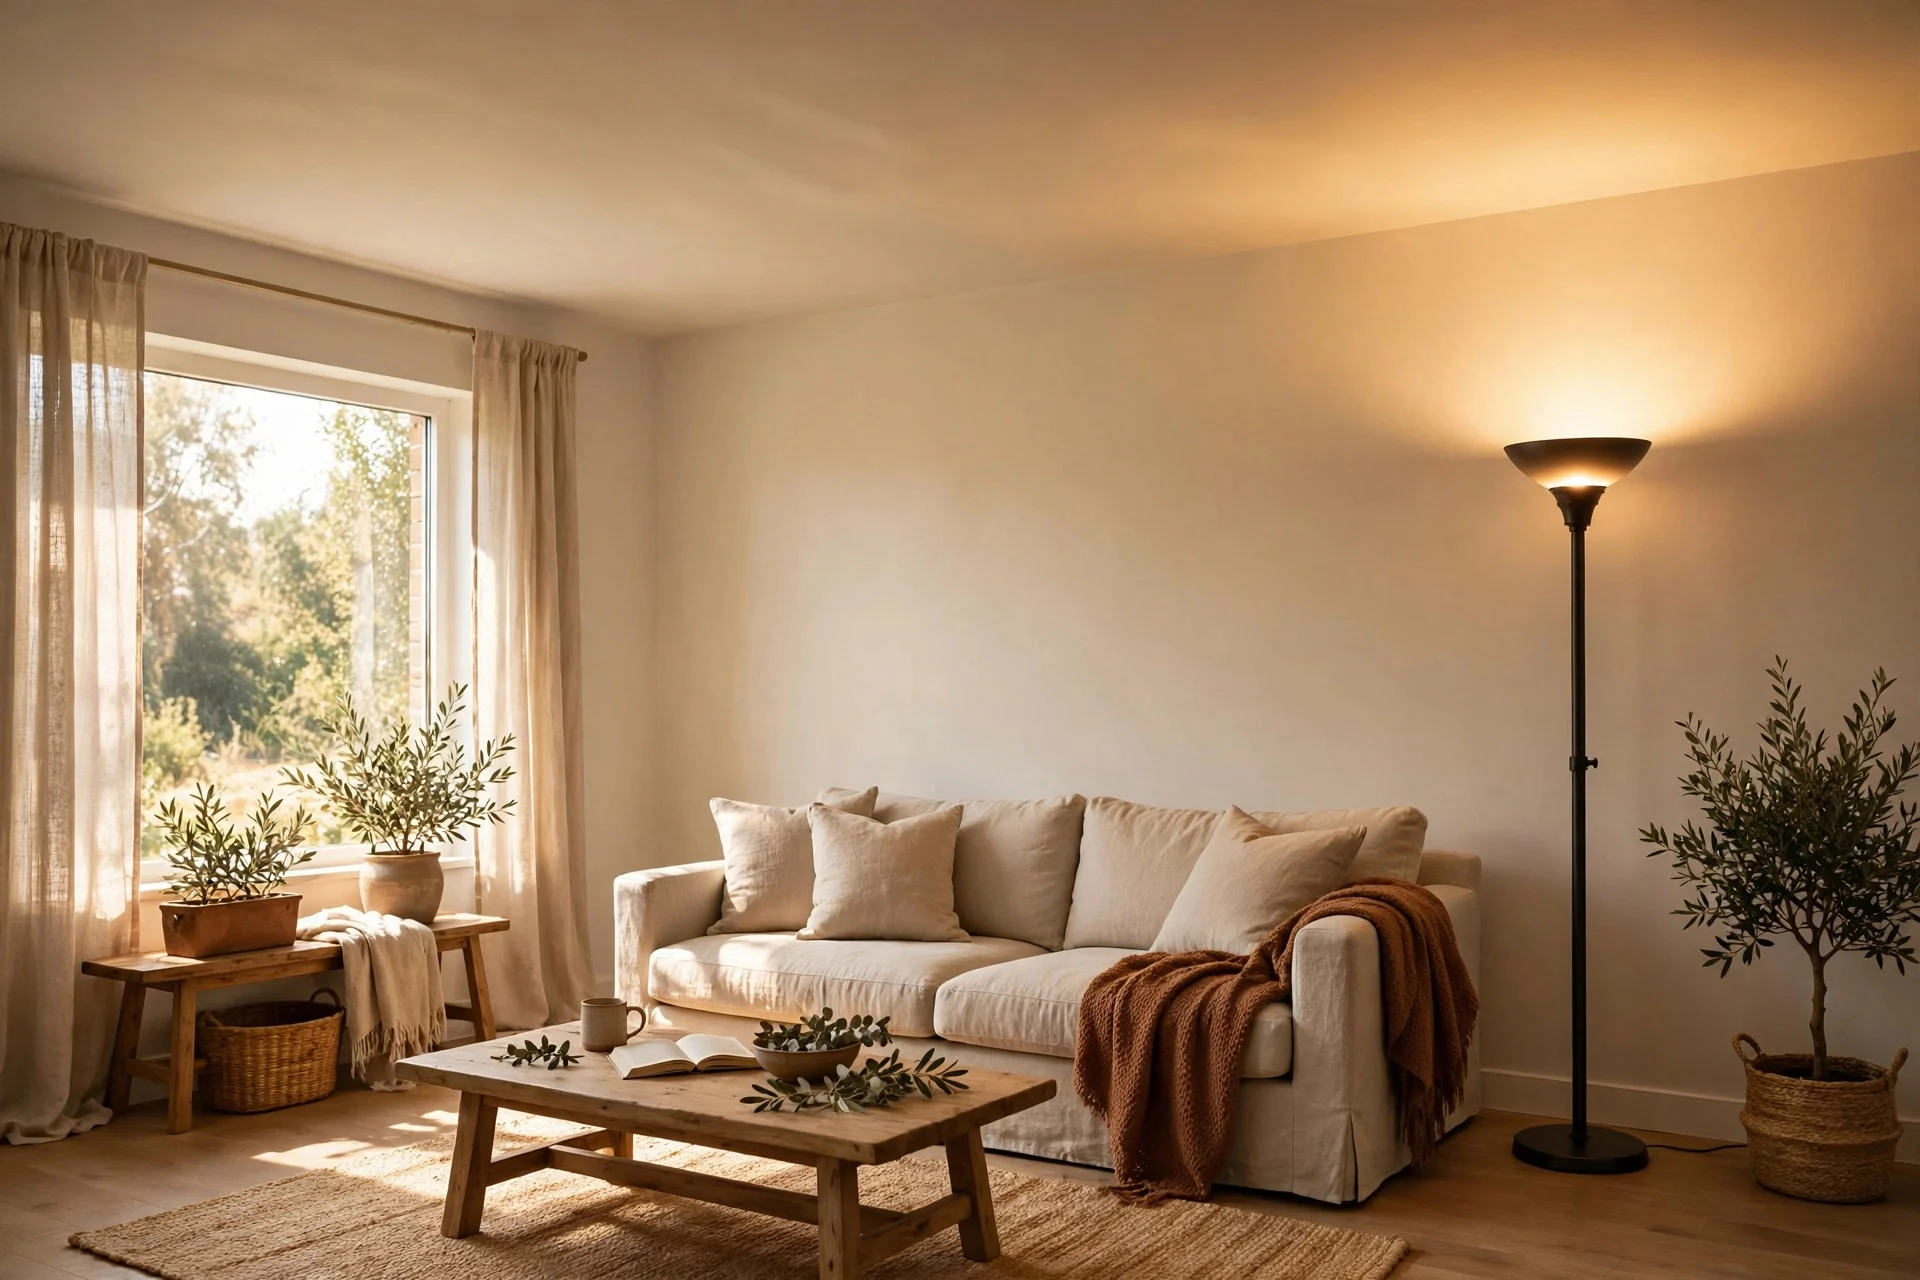
Step 6: Add LED Strip Light Behind the TV and Media Console
LED strip lighting behind the TV is a cheap way to kill the cave effect you get when the only bright object in a dark room is the screen. The soft halo eases eye strain, and it doubles as evening mood lighting when the TV is off.
Stick a warm-white LED strip along the back edge of the TV or media console, plug it into a USB port or small adapter, and use the remote or app to set brightness. Warm white (around 2700K) suits a living room far better than the rainbow modes most strips ship with. Run the strip around all four sides of the TV for an even halo.
Cost: $12–$30 per strip. Difficulty: Easy. Time: 20–30 minutes. Tip: Clean the back of the TV with a dry cloth before sticking the strip down — dust is the main reason strips peel off within a month. Watch out: Skip adhesive strips on freshly painted walls or rented furniture; use clips or a channel if you might need to remove them later.
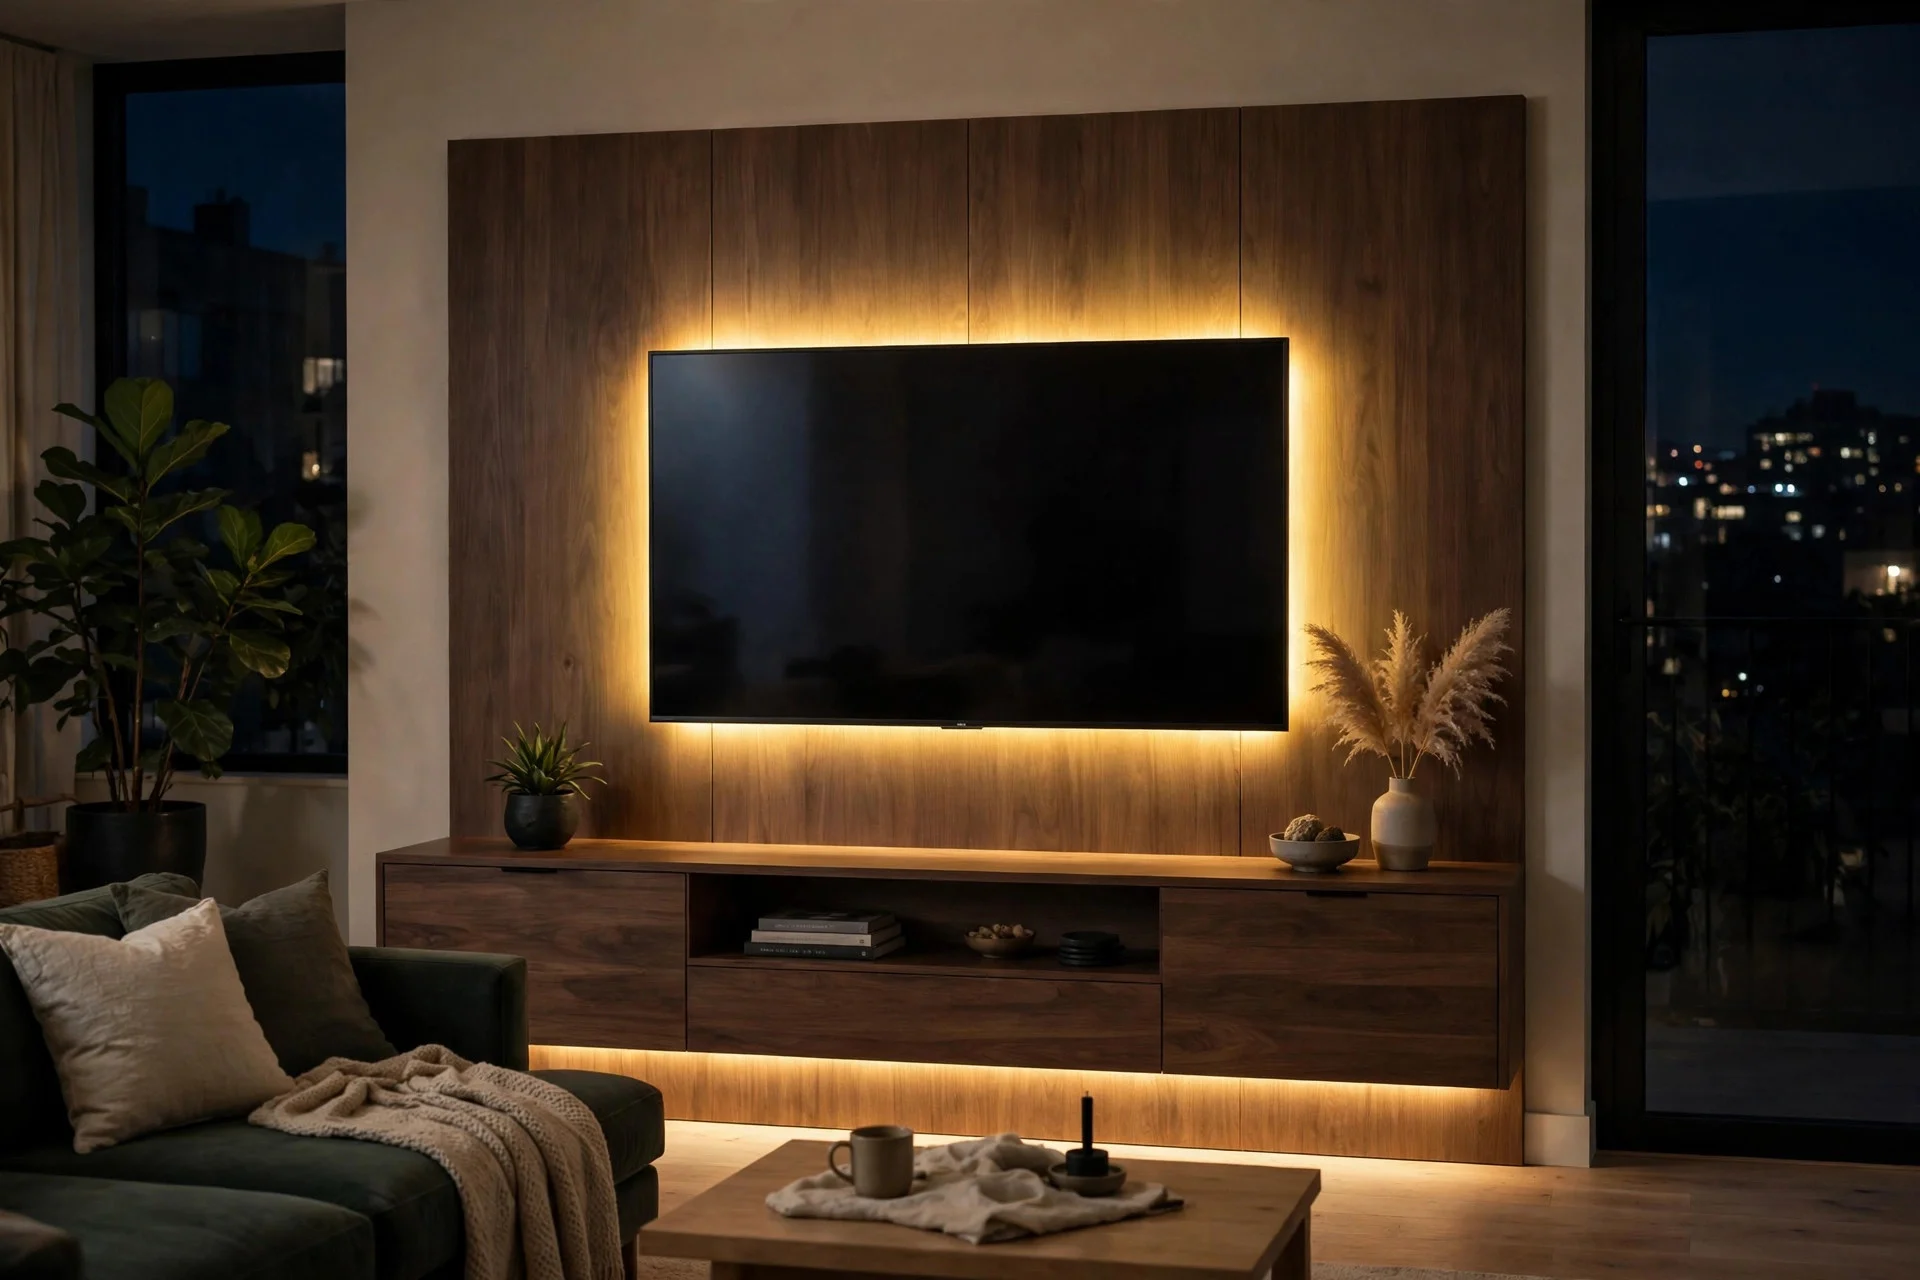
Step 7: Mount Plug-In Wall Sconces Without Any Wiring
Plug-in sconces give you the look of wired wall lights with none of the electrical work. They screw or stick to the wall, and a cord runs down to the nearest outlet, hidden behind furniture or tucked into a cord cover painted to match the wall.
Sconces work best in pairs beside the sofa, above a console, or flanking a piece of art. Hang them at about 60–66 inches from the floor, so the light lands on the wall and seating area rather than the ceiling. If you rent, pick sconces that mount with a single screw or adhesive strips. You can find more no-drill ideas in these renter-friendly living room ideas.
Cost: $25–$80 per sconce, plus $8–$15 for a cord cover. Difficulty: Easy to moderate. Time: 30–45 minutes per pair. Tip: Buy a plug-in dimmer for the outlet — it costs a few dollars and turns any sconce into a dimmable light. Watch out: Measure the cord length before you buy; a sconce hung far from an outlet with a stretched cord looks messy and trips people up.
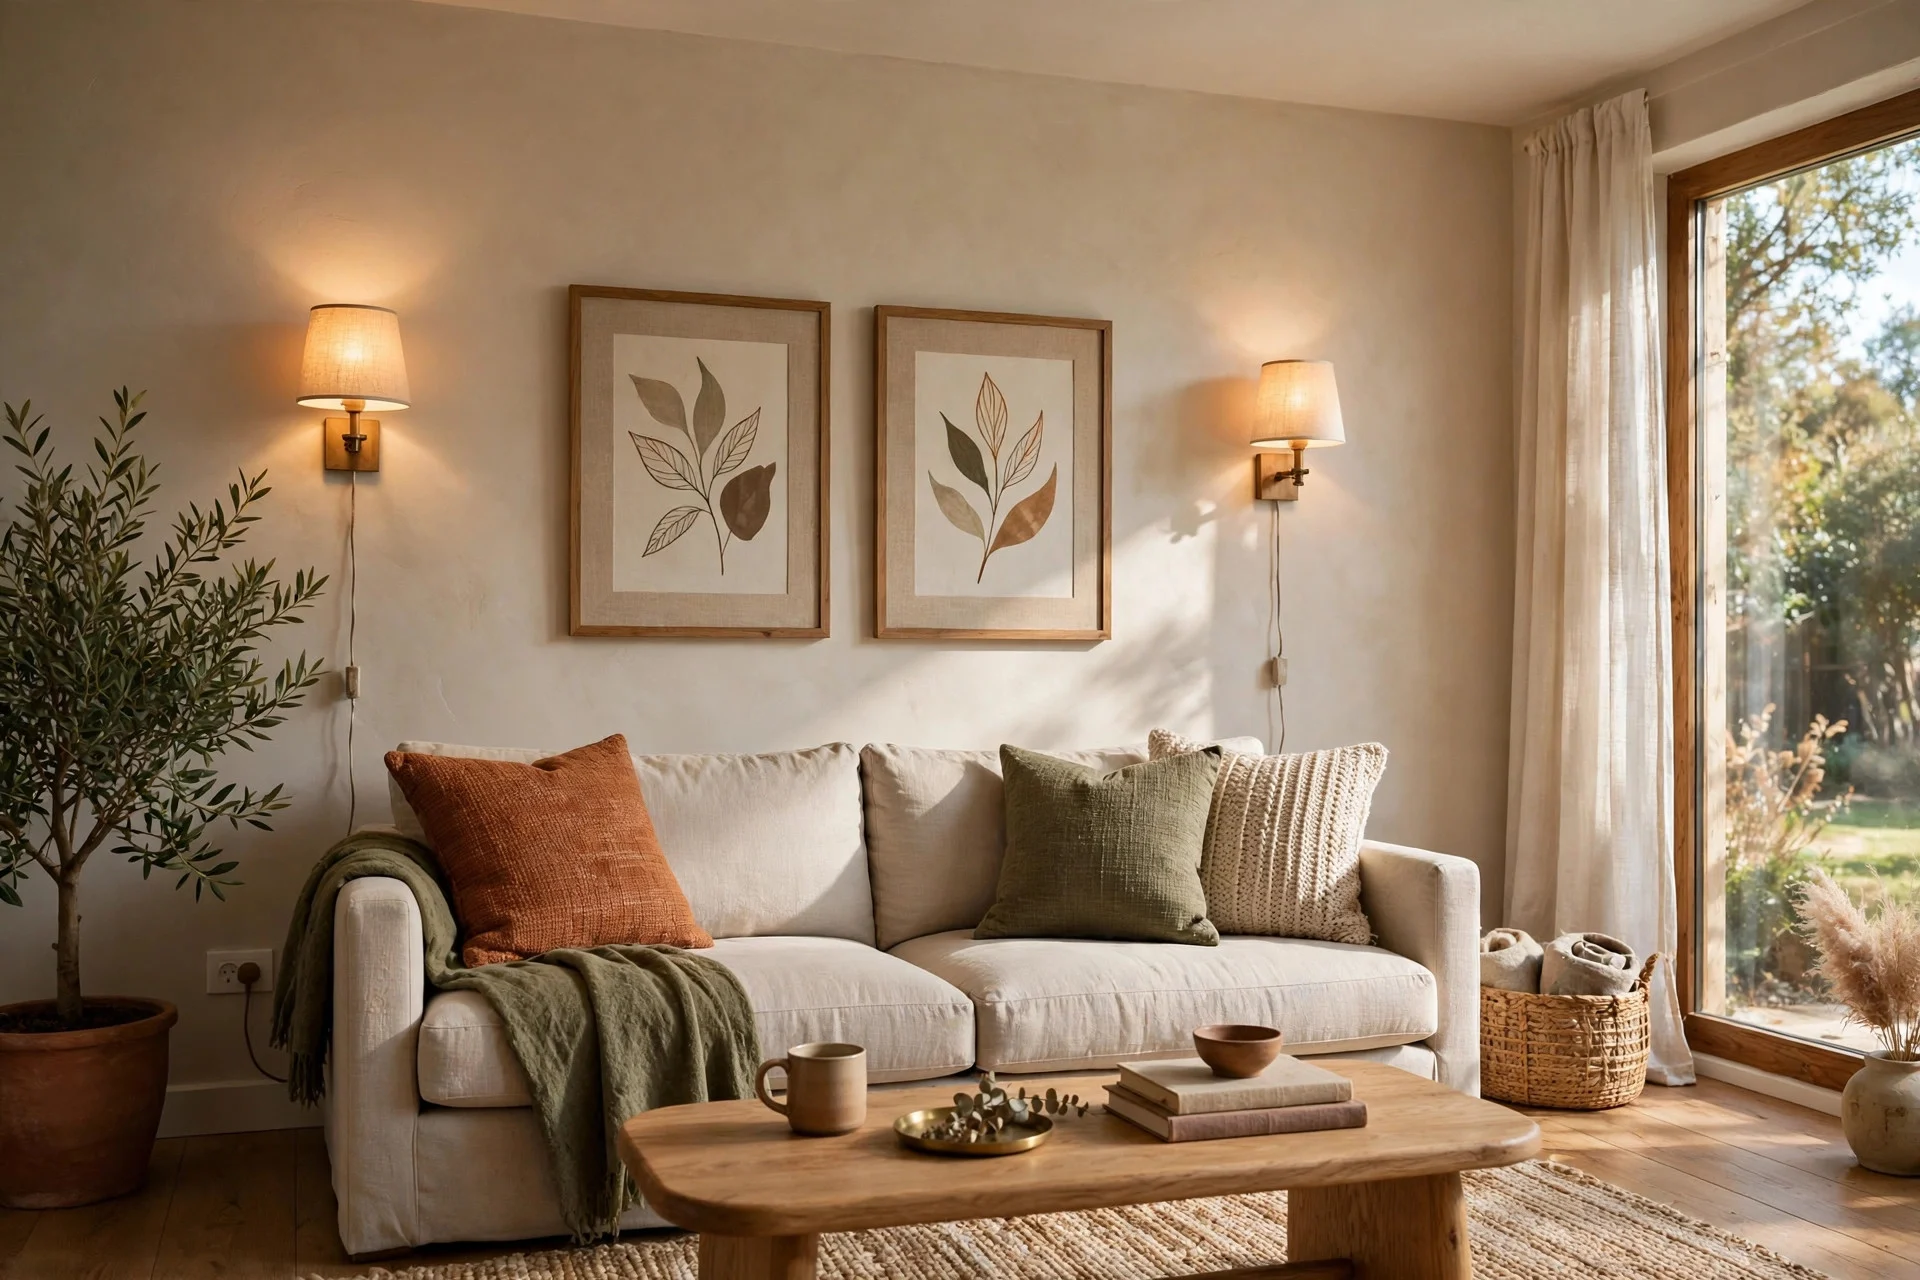
Step 8: Give Your Reading Chair Its Own Task Lamp
General room light is rarely enough for reading. A dedicated task lamp beside your reading chair puts a focused pool of light on the page, so the rest of the room can stay dim and relaxed.
Choose an adjustable lamp — a swing-arm wall light, a pharmacy-style floor lamp, or an anglepoise lamp — and put it behind or beside your shoulder, not in front of you. The light should fall on the book, not your face. A warm-white bulb around 400–800 lumens is bright enough for most readers without feeling harsh. These living room reading corner ideas cover seating, storage, and lamp placement together.
Cost: $40–$130. Difficulty: Easy. Time: 15–30 minutes. Tip: Sit in the chair and hold the book where you normally read before fixing the lamp position — a lamp placed from standing height often ends up a foot off target. Watch out: A cool-white bulb in a reading lamp makes the corner feel like an office; stick with warm white for evening reading.
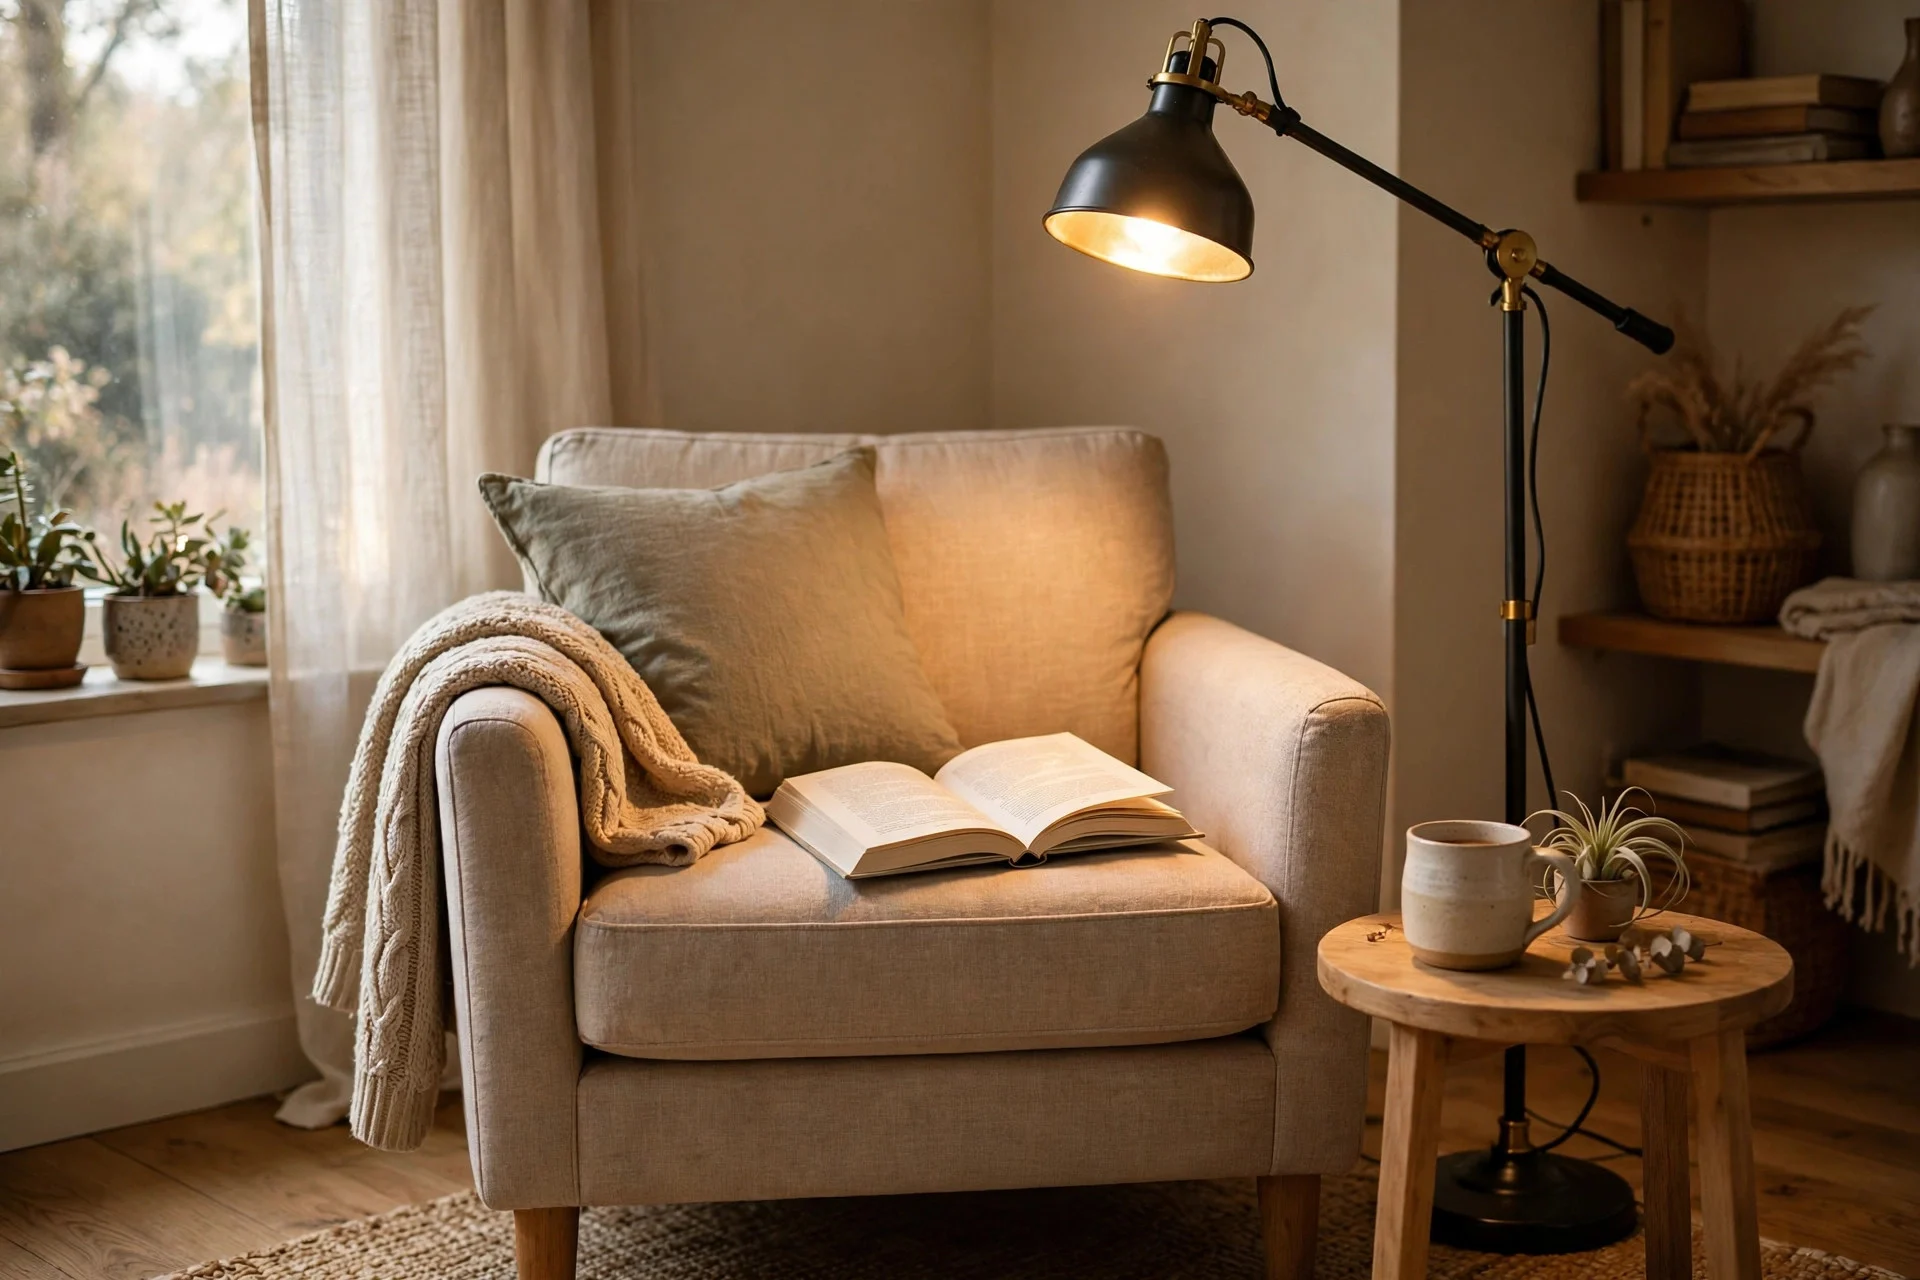
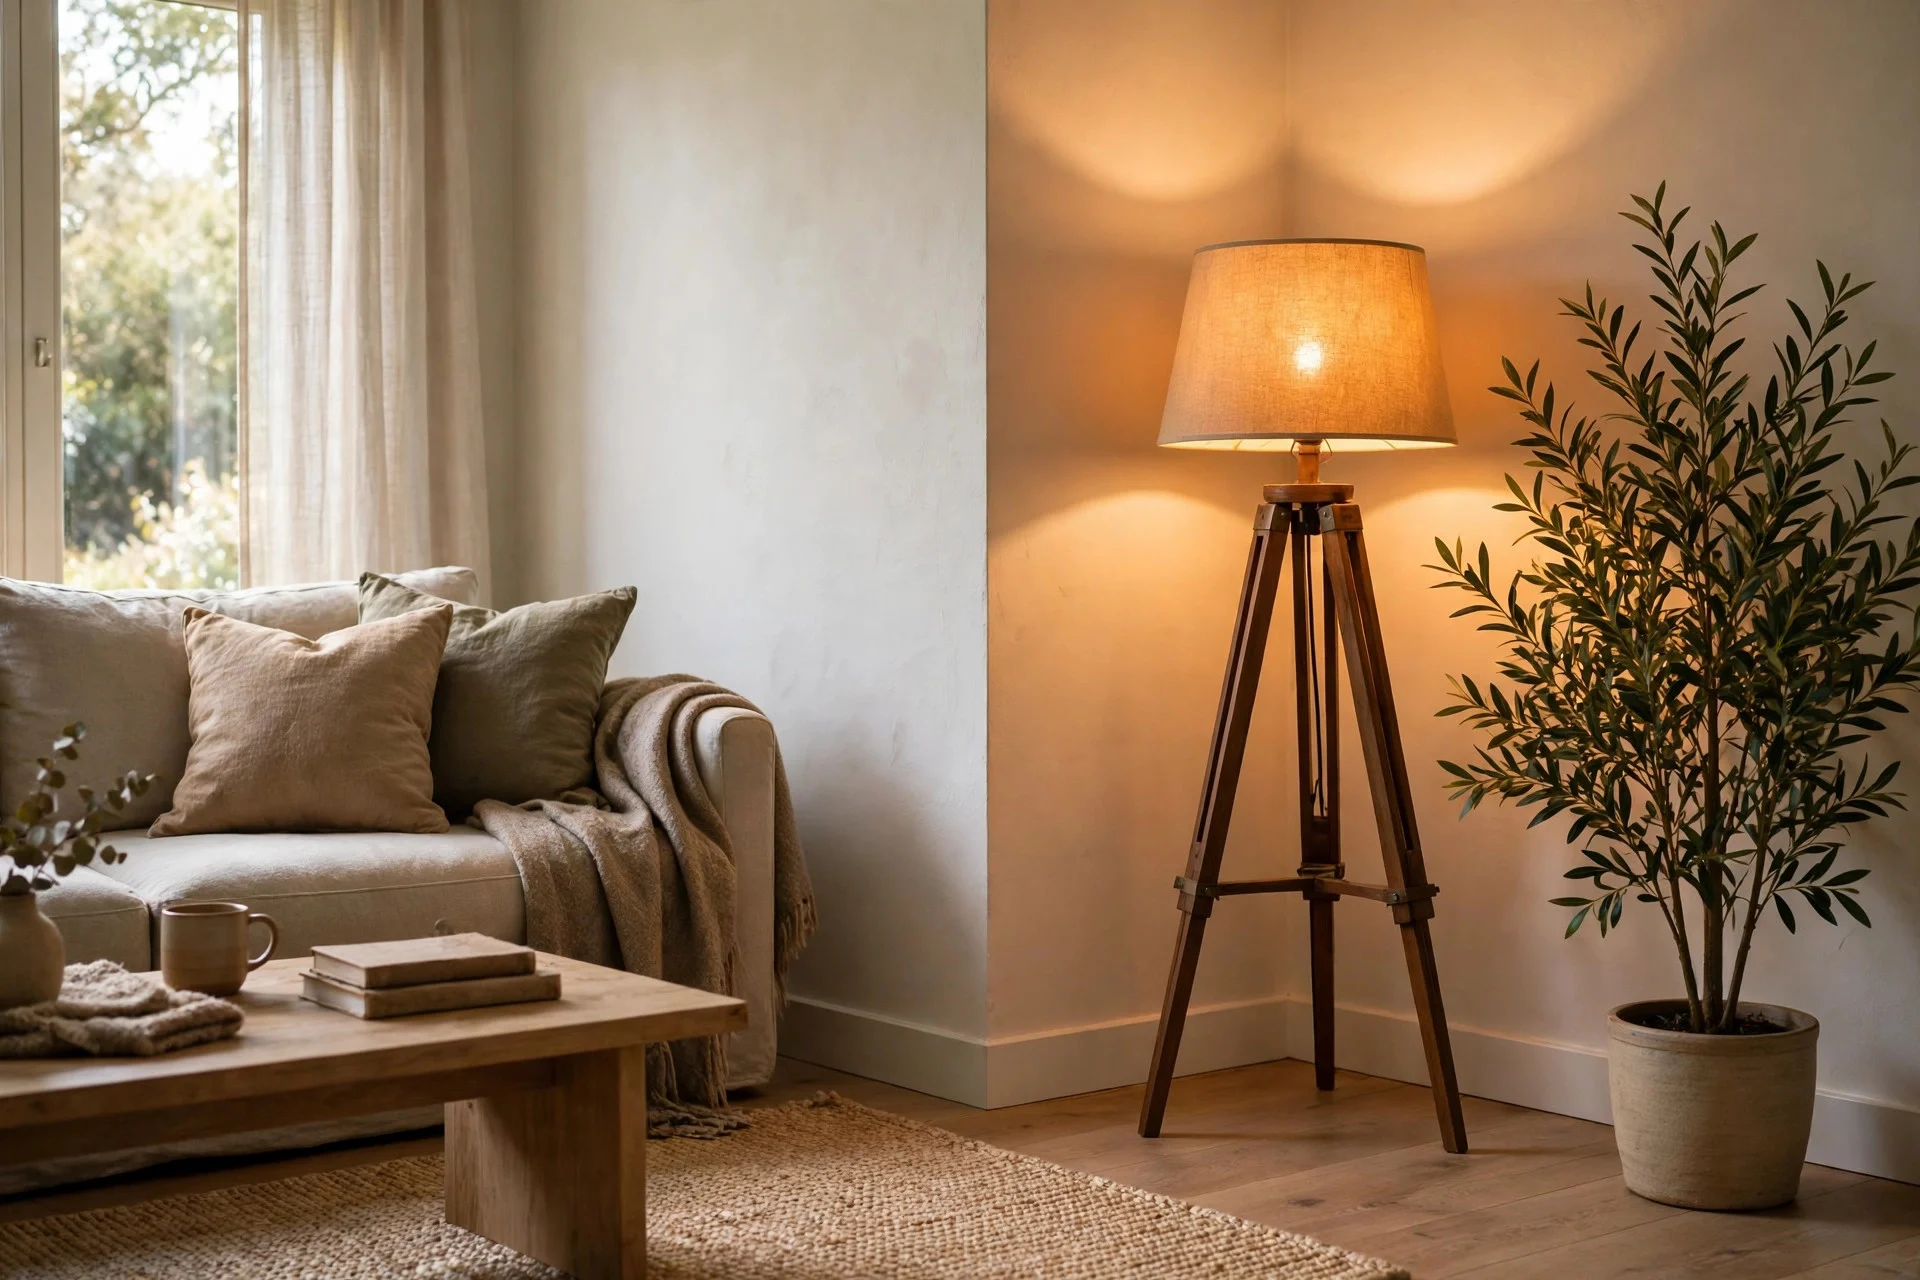
Step 9: Fill Empty Corners With a Tripod or Statement Floor Lamp
Every living room has a corner that stays dark — next to the bookshelf, behind the door, or beside a plant. A tripod floor lamp is made for these spots: it takes up little floor space, looks good from every angle, and pushes light where other lamps cannot reach.
Place the tripod lamp a few inches out from the corner so light spills onto both walls. A linen or drum shade spreads the glow widely, while a metal shade throws a tighter pool downward. Pair it with a small plant and the corner stops looking like leftover space.
Cost: $45–$140. Difficulty: Easy. Time: 15–20 minutes to assemble. Tip: If the corner also holds a plant, aim the lamp slightly toward the plant — lit greenery makes the whole room feel fresher at night. Watch out: Tripod legs splay wide, so check the footprint before ordering for a tight corner; some need a full 20 inches of floor.
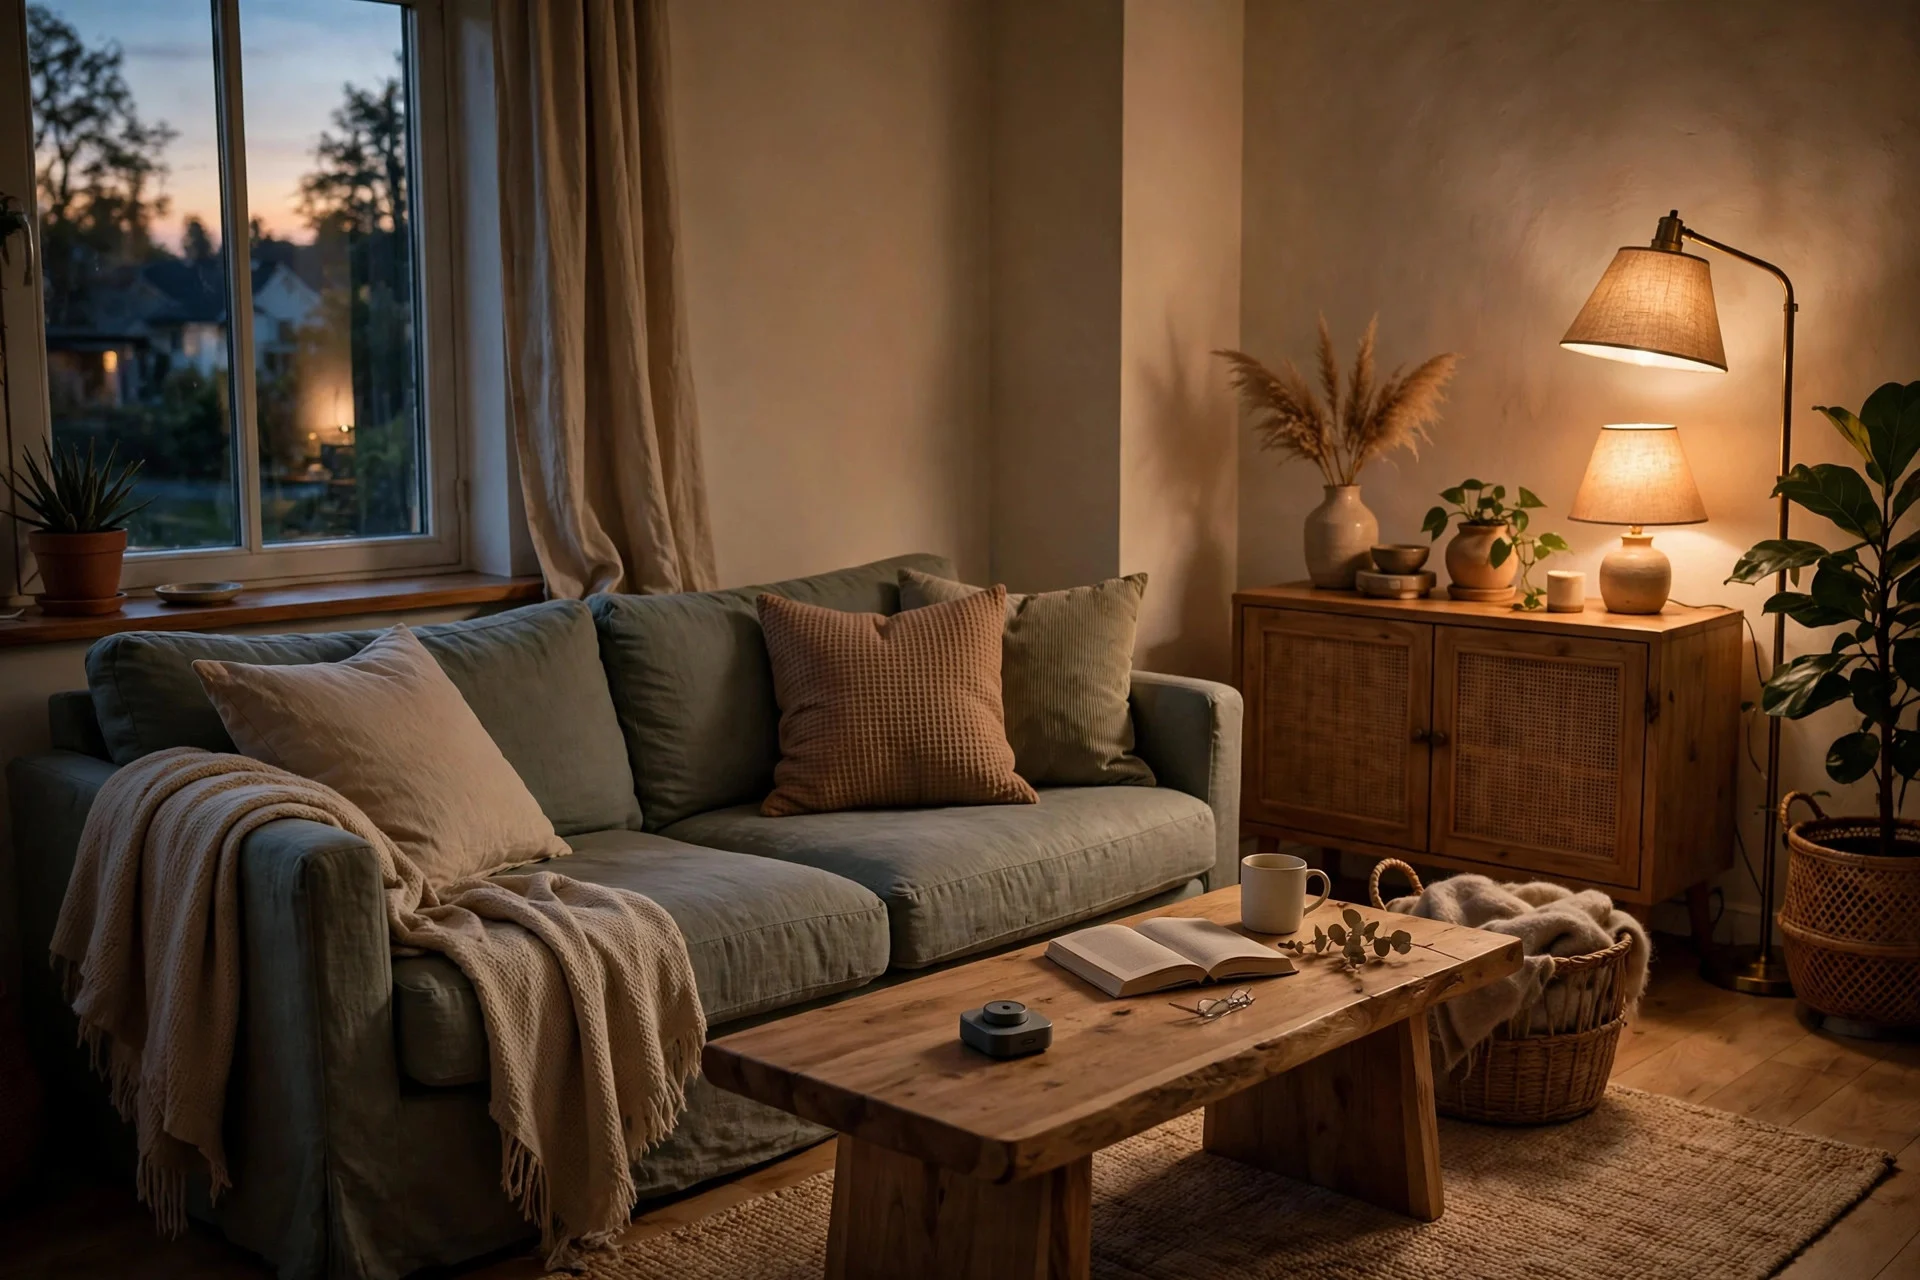
Step 10: Add Dimmers and Smart Plugs to Control Everything
Once you have several lamps, you need a simple way to control them. Dimmer plugs and smart plugs let you turn lamps up, down, on, and off without walking around flipping five switches — and dimming is what makes a lamp-lit room feel calm instead of flat and bright.
Plug each lamp into a dimmer plug or a smart plug, then group them in one app or voice routine such as “living room evening.” Keep it simple: one routine for bright daytime cleaning, one for relaxed evening light, and one that turns everything off at bedtime. Smart plugs are cheaper than smart bulbs when you already own lamps you like.
Cost: $10–$25 per plug; a pack of four often runs $30–$50. Difficulty: Easy. Time: 30 minutes for a whole room. Tip: Label each plug in the app with its lamp (“sofa left,” “arc lamp”) — unlabeled plugs turn into a guessing game within a week. Watch out: Check that your bulbs are dimmable before buying dimmer plugs; non-dimmable LEDs can flicker or buzz on a dimmer.
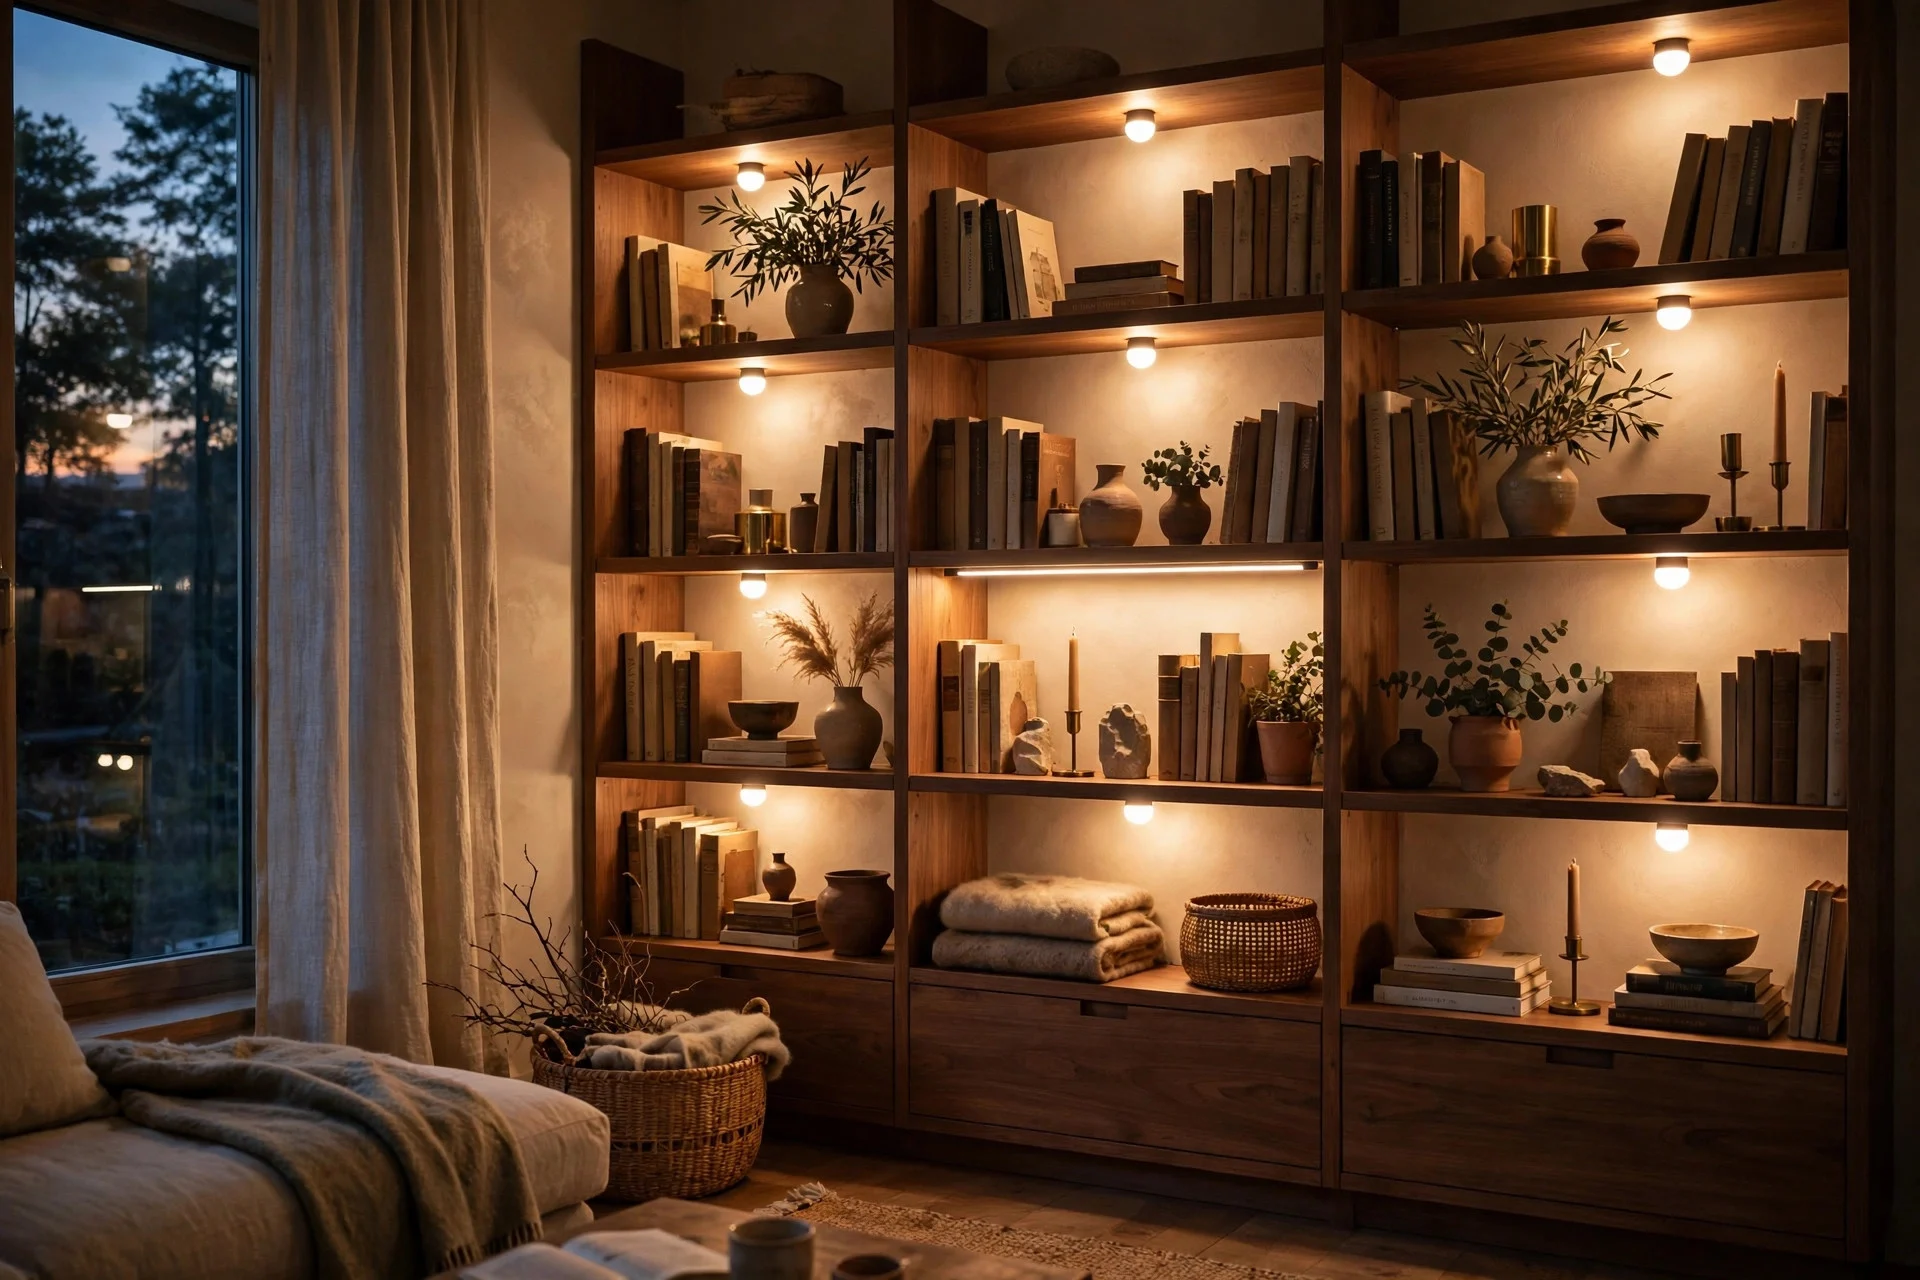
Step 11: Light the Bookshelf and Display Shelves
Shelves are often the darkest part of a living room, and a little light there does a lot. Small puck lights or a slim LED bar turn books, plants, and keepsakes into a soft focal point, and the glow spills gently into the rest of the room.
Battery puck lights are the easiest option: stick one under each shelf, tap to turn on, and you are done. For a cleaner look, run a slim LED bar along the underside of the top shelf, with the cord hidden behind the bookcase. Aim for one light per two shelves so the glow stays even rather than spotty.
Cost: $10–$25 for a set of puck lights; $15–$35 for an LED bar. Difficulty: Easy. Time: 20–40 minutes. Tip: Place lights toward the front edge of the shelf, not the back — front placement lights the book spines and objects instead of throwing shadows over them. Watch out: Battery pucks need fresh batteries every few weeks with daily use, so keep a spare set in the drawer beside them.
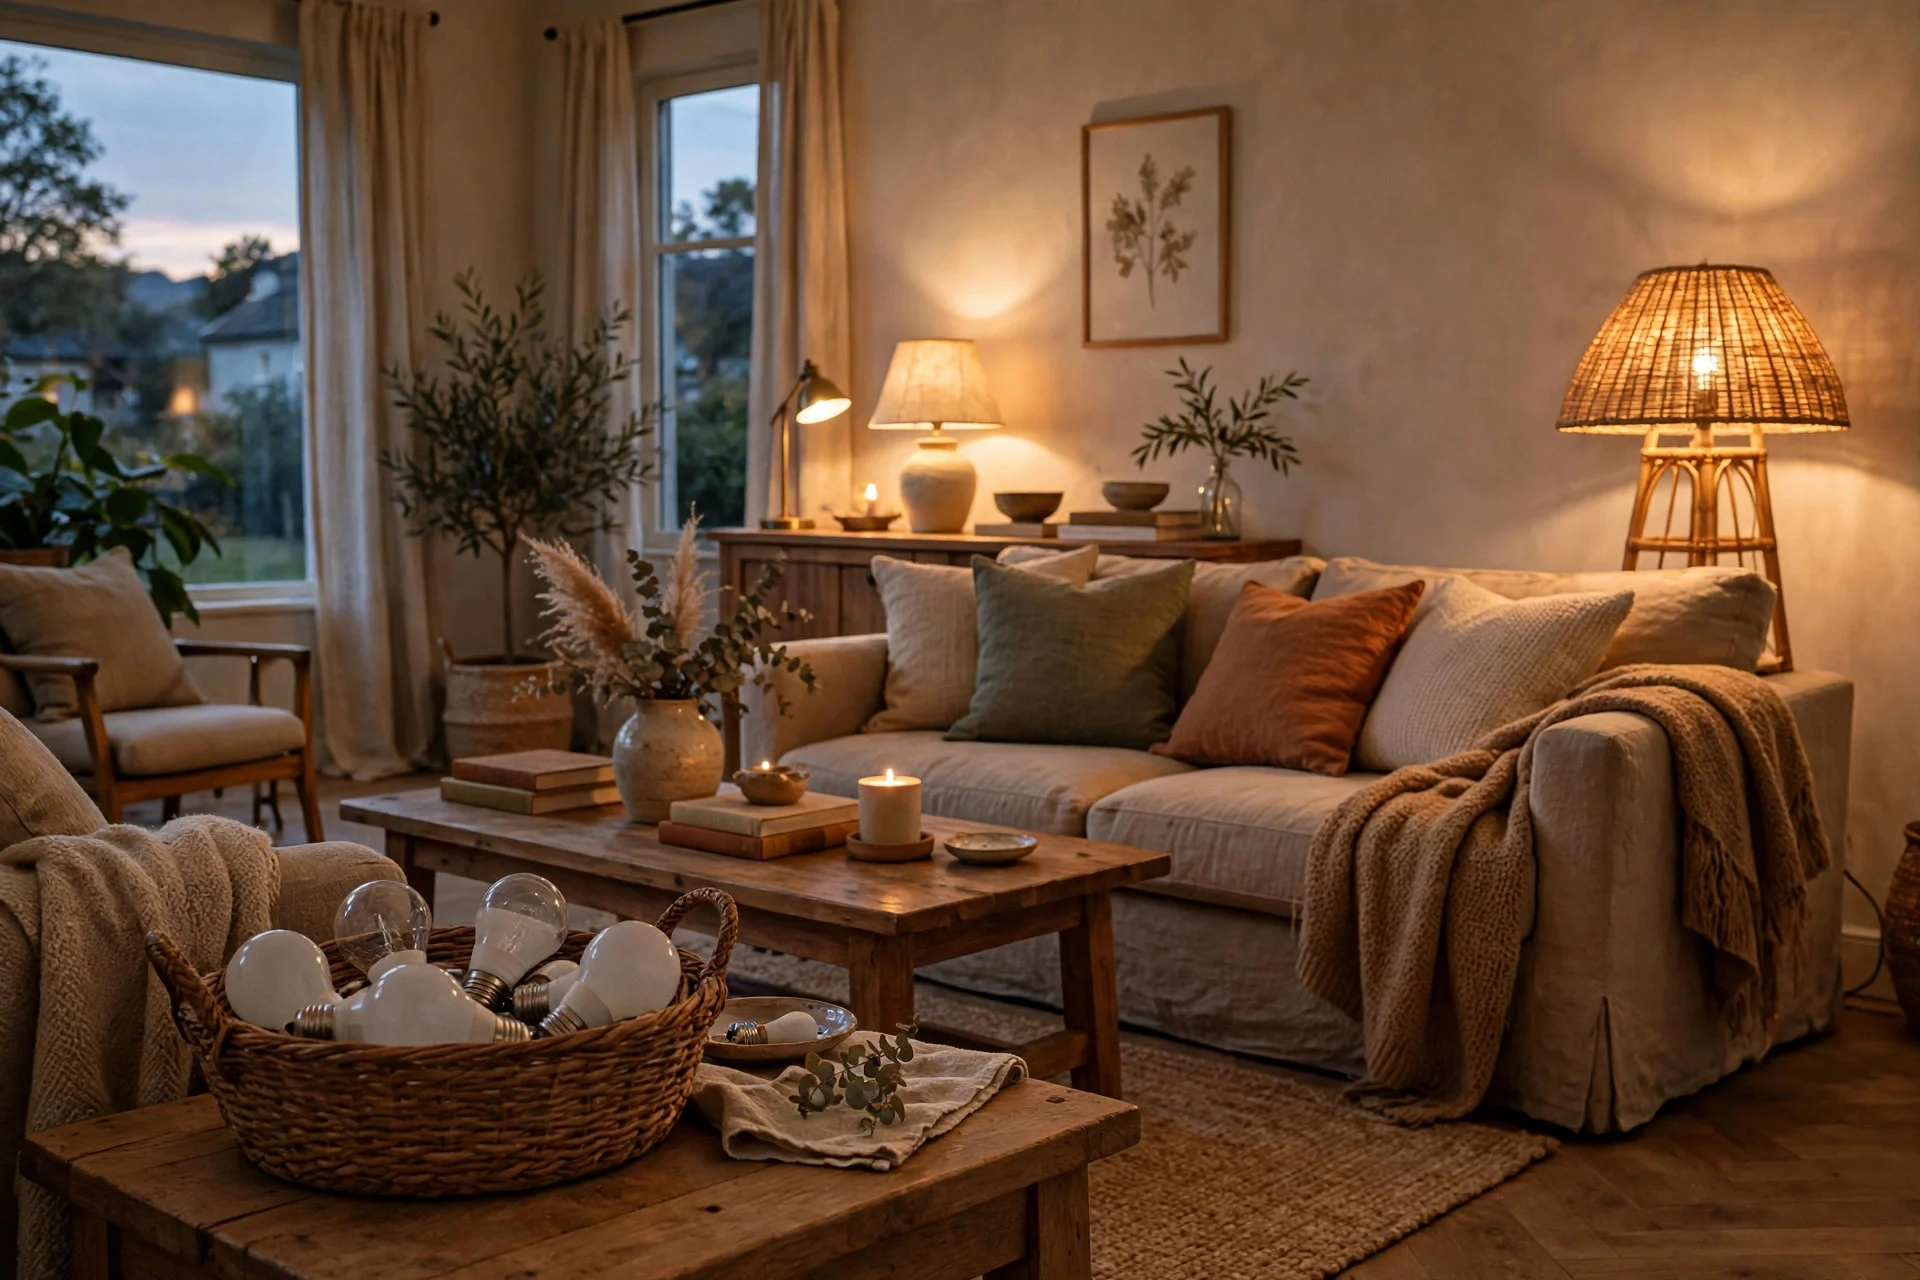
Step 12: Finish With the Right Bulbs and an Evening Check
The last step costs almost nothing and makes every other step work better: put the right bulbs in every lamp. Warm white bulbs around 2700K suit most living rooms, and dimmable LEDs save energy while giving you brightness control. Use about 800 lumens for general lamps and 400–800 lumens for reading and accent lights. If you want a quick estimate for your room size, try the lighting calculator.
Once all your lamps are in place, do an evening check. Turn everything on at dusk, sit in each seat, and look for glare, dark patches, and clashing bulb colors. Swap any cool-white bulb that stands out, shift a lamp a few inches if a corner still sits dark, and keep spare warm bulbs on hand. A warm minimalist living room shows how few pieces you really need.
Cost: $2–$8 per LED bulb. Difficulty: Easy. Time: 20 minutes. Tip: Buy one test bulb first and try it in each lamp at night before buying a full set — bulb color looks different at home than it does in the store. Watch out: Mixing 2700K and 5000K bulbs in one room is the most common reason a lamp-lit room looks uneven, so check the Kelvin number on every box.
Frequently Asked Questions
How many lamps do I need for a living room with no ceiling light?
Most average living rooms need three to five lamps: two for general glow, one for reading, and one or two for corners or shelves. Start with three, live with them for a week, and add one more only where a dark patch remains.
Can I light a living room with no ceiling light on a small budget?
Yes. A pair of basic floor lamps, one table lamp, and an LED strip can come in under $100 if you shop sales and reuse lamps you already own. Spend first on the lamps you sit near most, then add accent lights later.
What color temperature is best for living room lamps?
Warm white around 2700K is the safest pick for most living rooms because it feels relaxed and matches evening light. Cool-white bulbs above 4000K can make a living room feel cold, so save those for workspaces instead.
Do I need an electrician to add light to a room with no ceiling light?
No, not for any idea in this guide. Floor lamps, table lamps, plug-in sconces, LED strips, and battery puck lights all run from existing outlets or batteries. You only need an electrician if you wire a new ceiling fixture or add new outlets.
How do I stop a lamp-lit room from looking dark in the corners?
Put a light in each dark corner rather than making the center lamps brighter. A tripod lamp, a torchiere, or a small shelf light in the corner works better than a stronger bulb across the room, and dimmers let you raise corner lights without over-lighting the seating area.
Quick Wrap-Up Checklist
Before you call the room done, run through this list: three layers planned, two lamps flanking the sofa, one reading light at your chair, one light in each dark corner, dimmers on the main lamps, warm 2700K dimmable bulbs throughout, and one evening check from every seat. Tick those boxes and a room with no ceiling light can feel just as bright — and often warmer — than one with a fixture overhead.