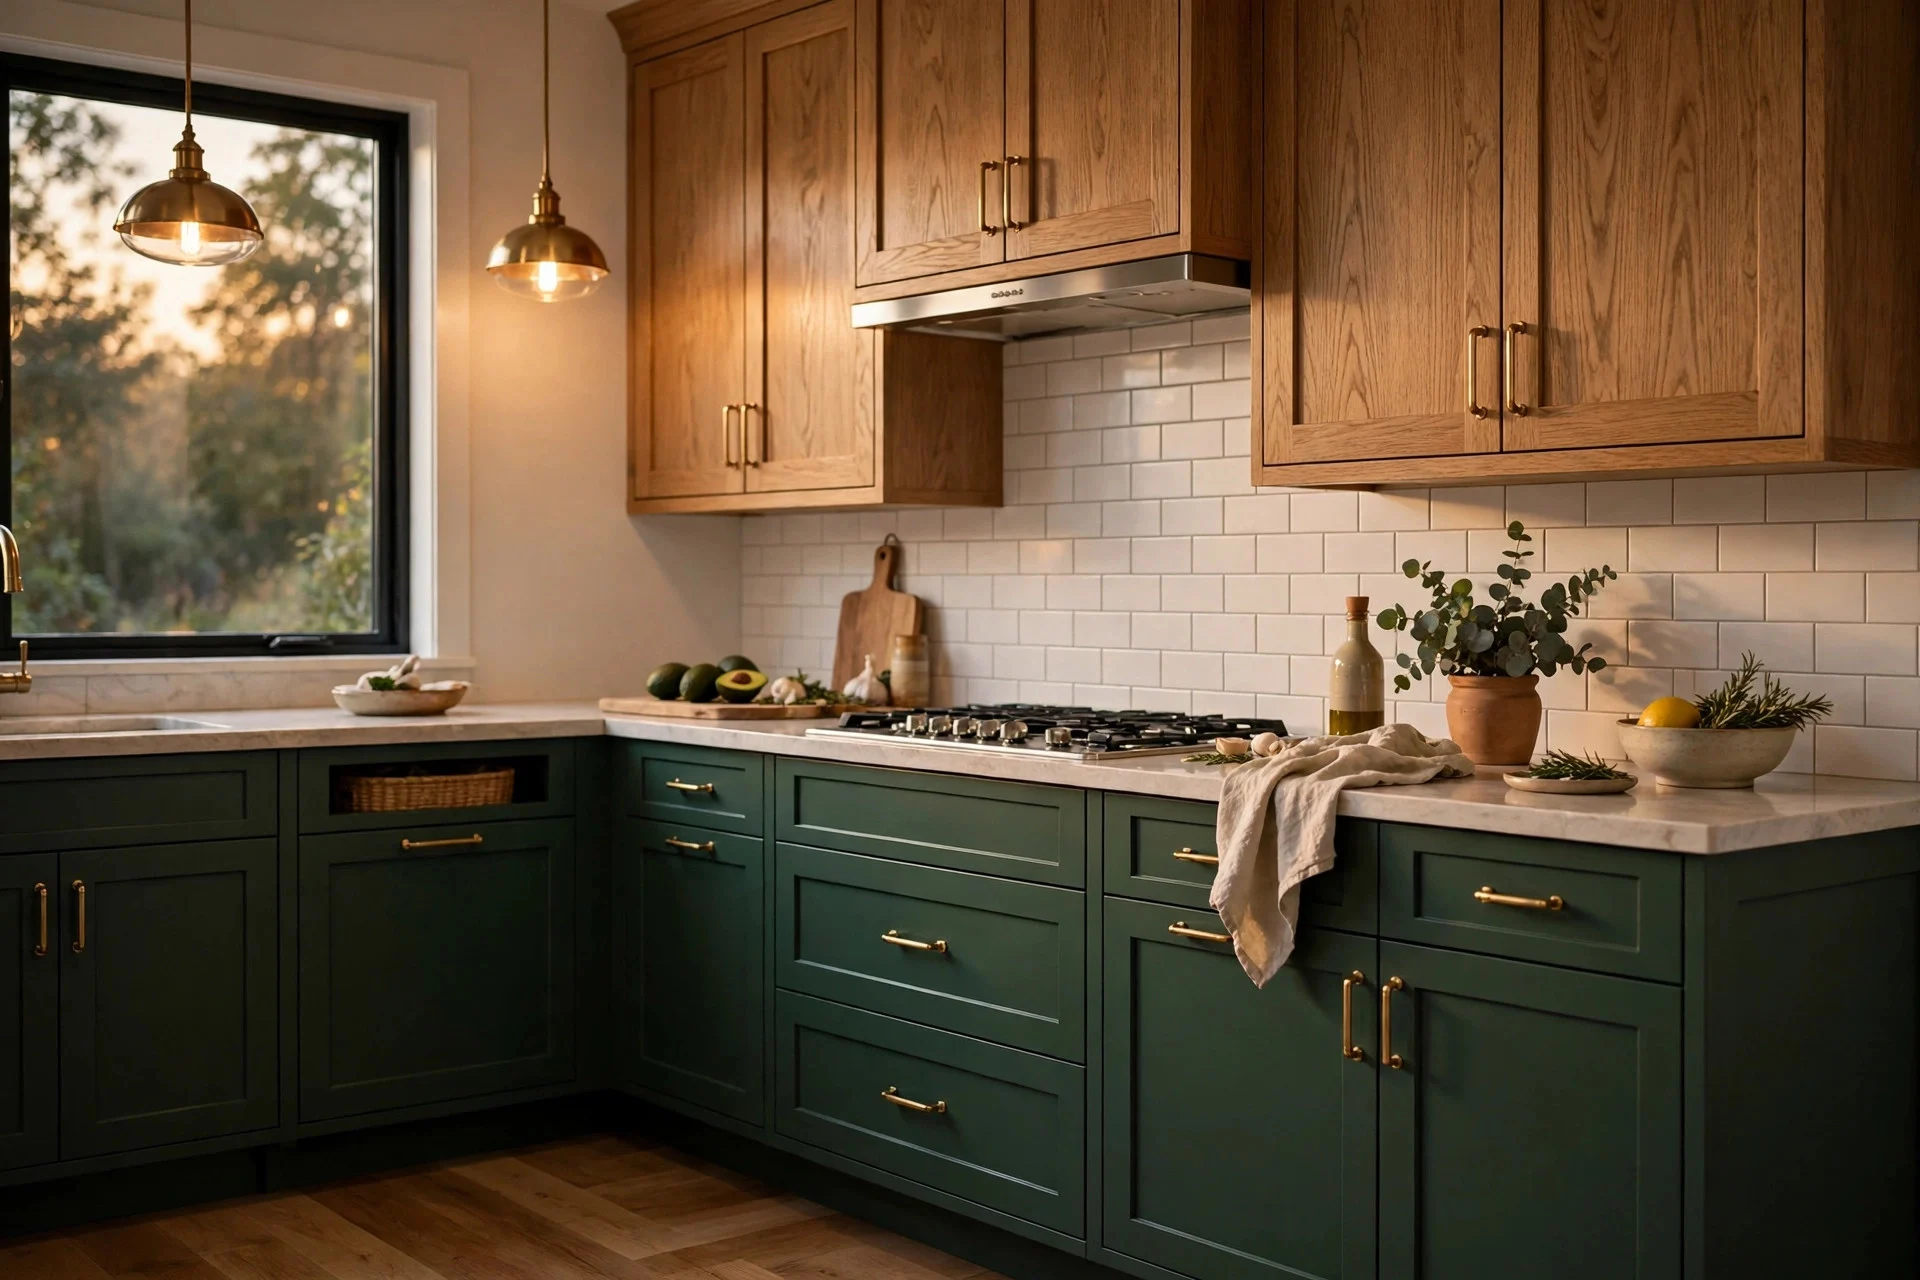
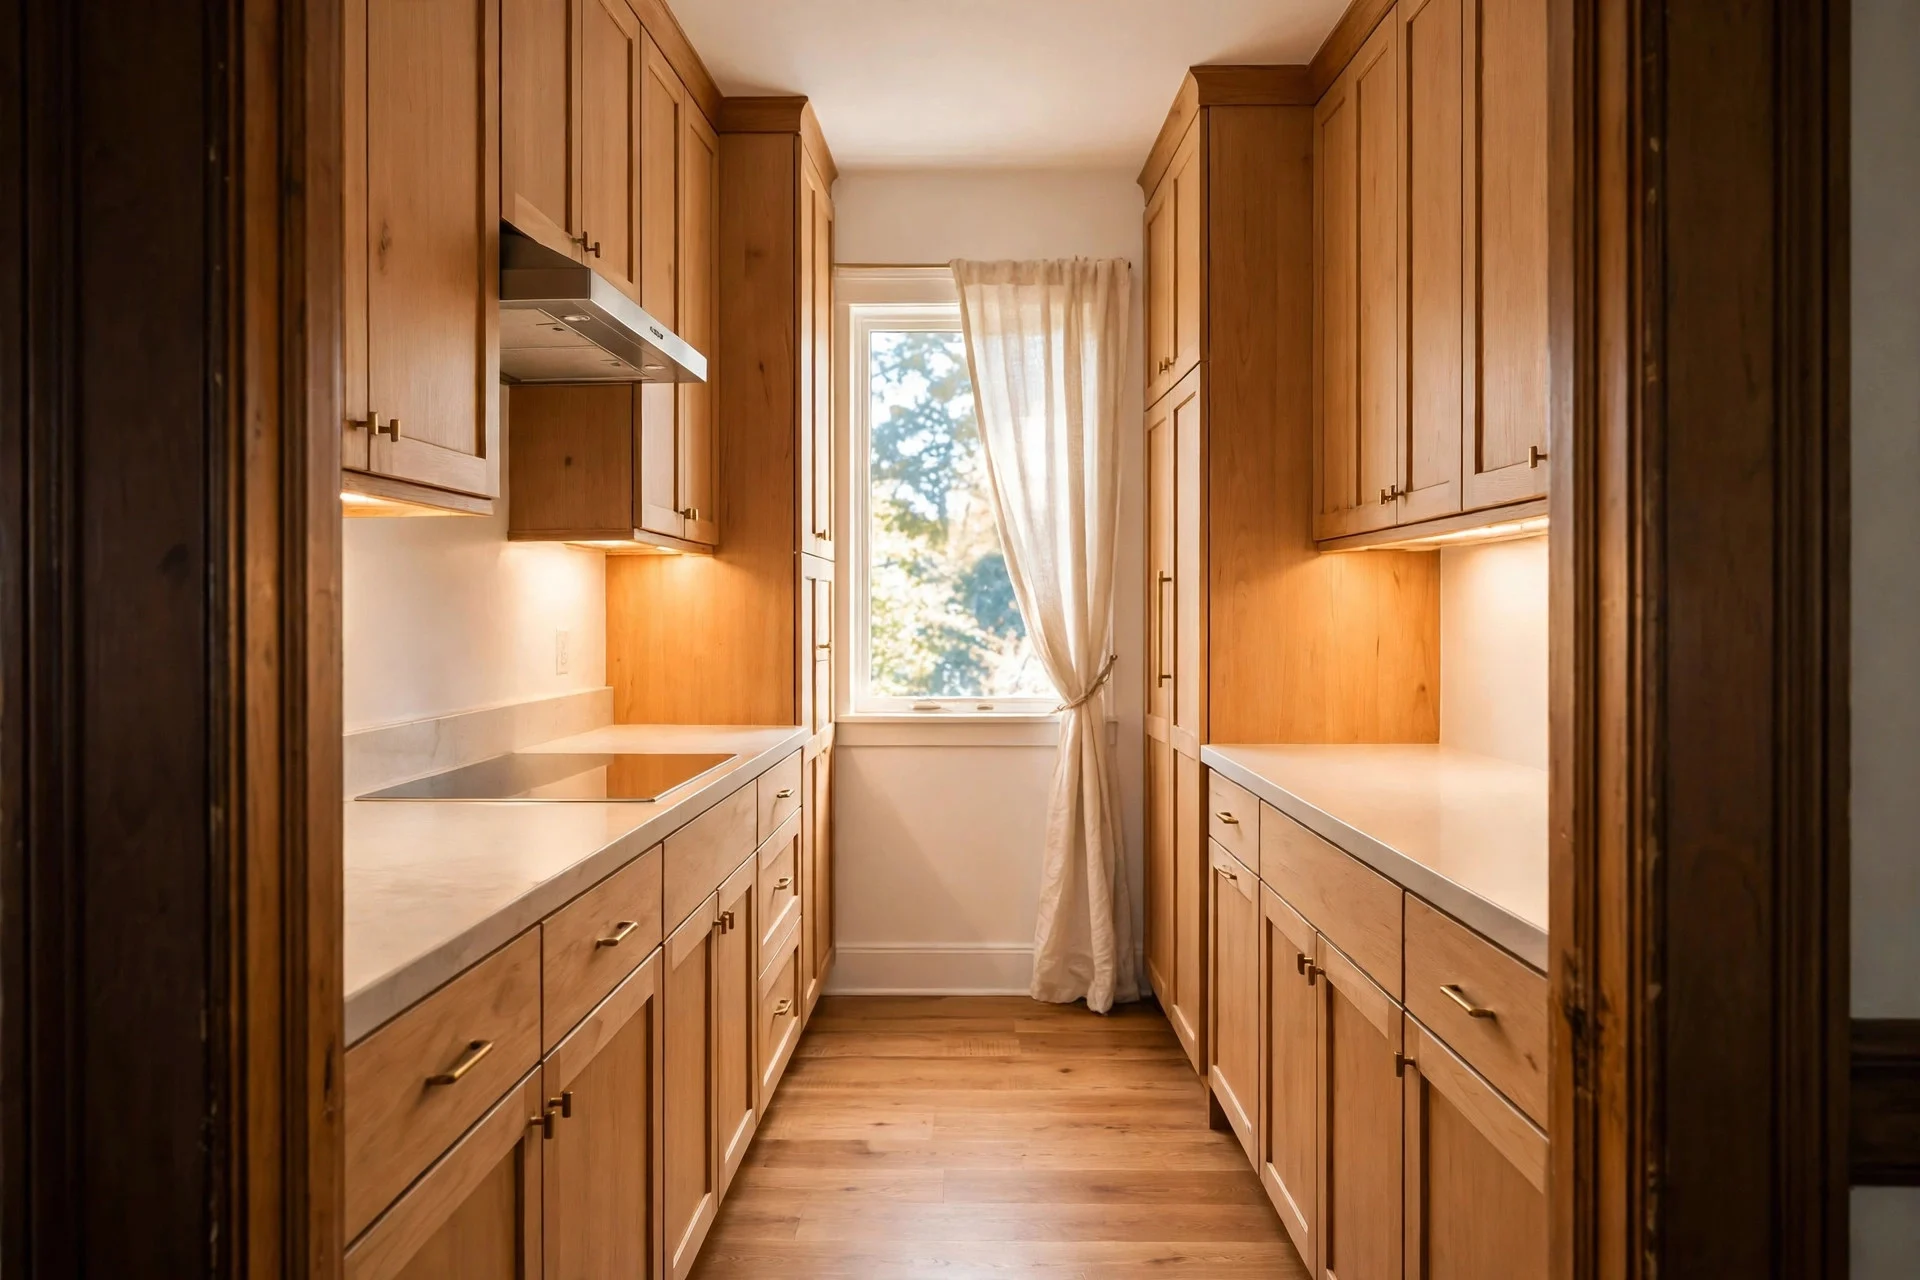
Here is a myth worth dropping: a two-tone kitchen in green and oak needs a full remodel. It does not. Green below and oak above — or a green island against oak shelving — is a colour pairing, not a construction project, and you can build toward it in stages. Start with the $50 ideas and stop whenever the kitchen looks right. Every tier below adds a little more of the look, and nothing here requires ripping the kitchen out.
Under $50
1. Swap the Hardware for Brass
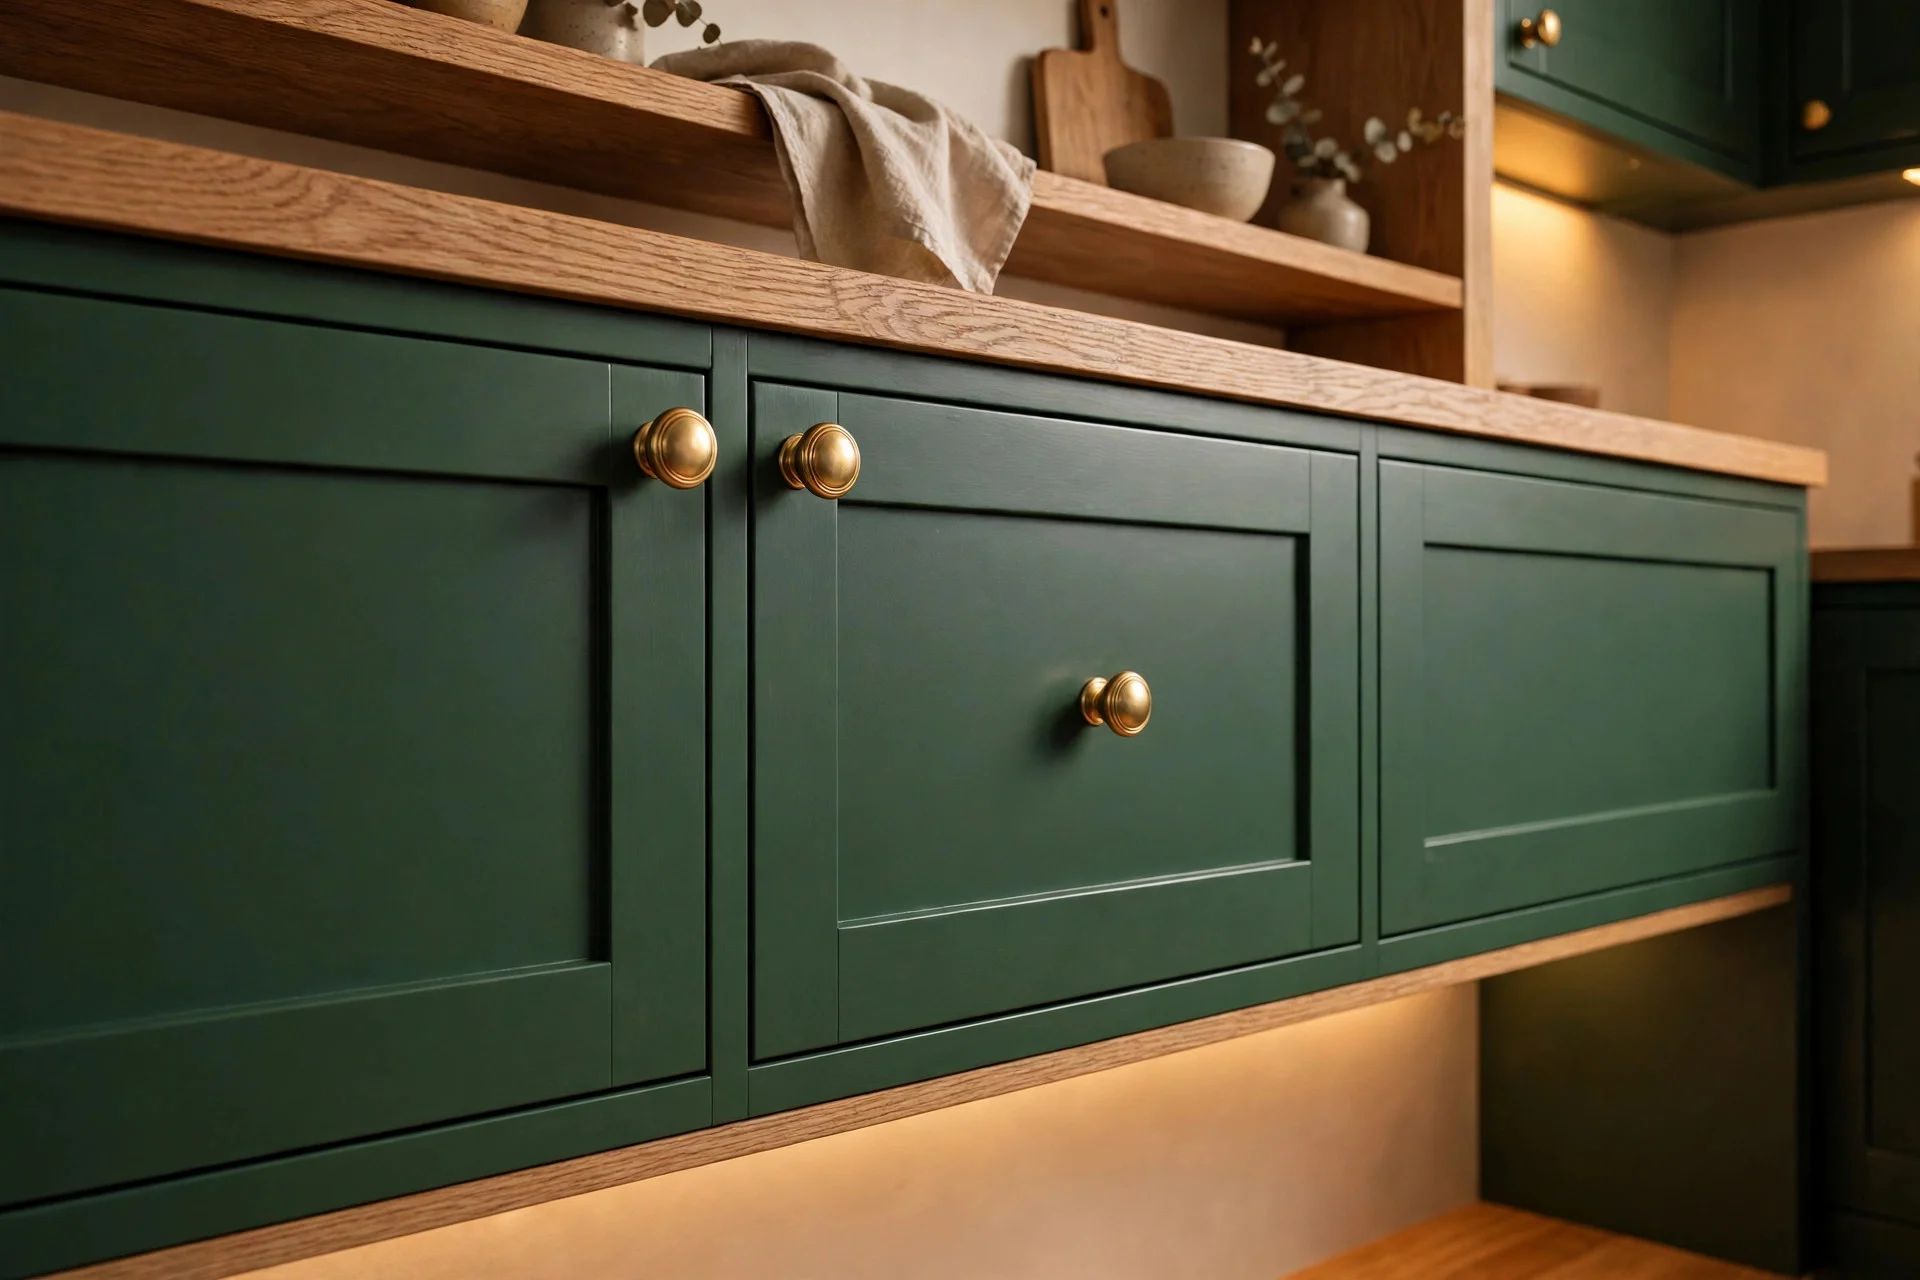
Brass knobs and pulls against green paint and oak wood are the small detail that ties the two tones together. Warm metal sits happily with both, and a full kitchen’s worth of knobs costs far less than a single new door.
Cost: $20–$50 for a small kitchen’s worth of knobs. Difficulty: easy, a screwdriver and an hour. Tip: buy one knob first and check it against your green and oak in daylight — brass shades vary from pale gold to deep bronze. Watch out: measure the screw spacing on existing pulls before ordering, or the new ones will not fit the old holes.
2. Style With an Oak Tray and a Few Props
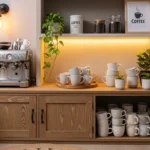
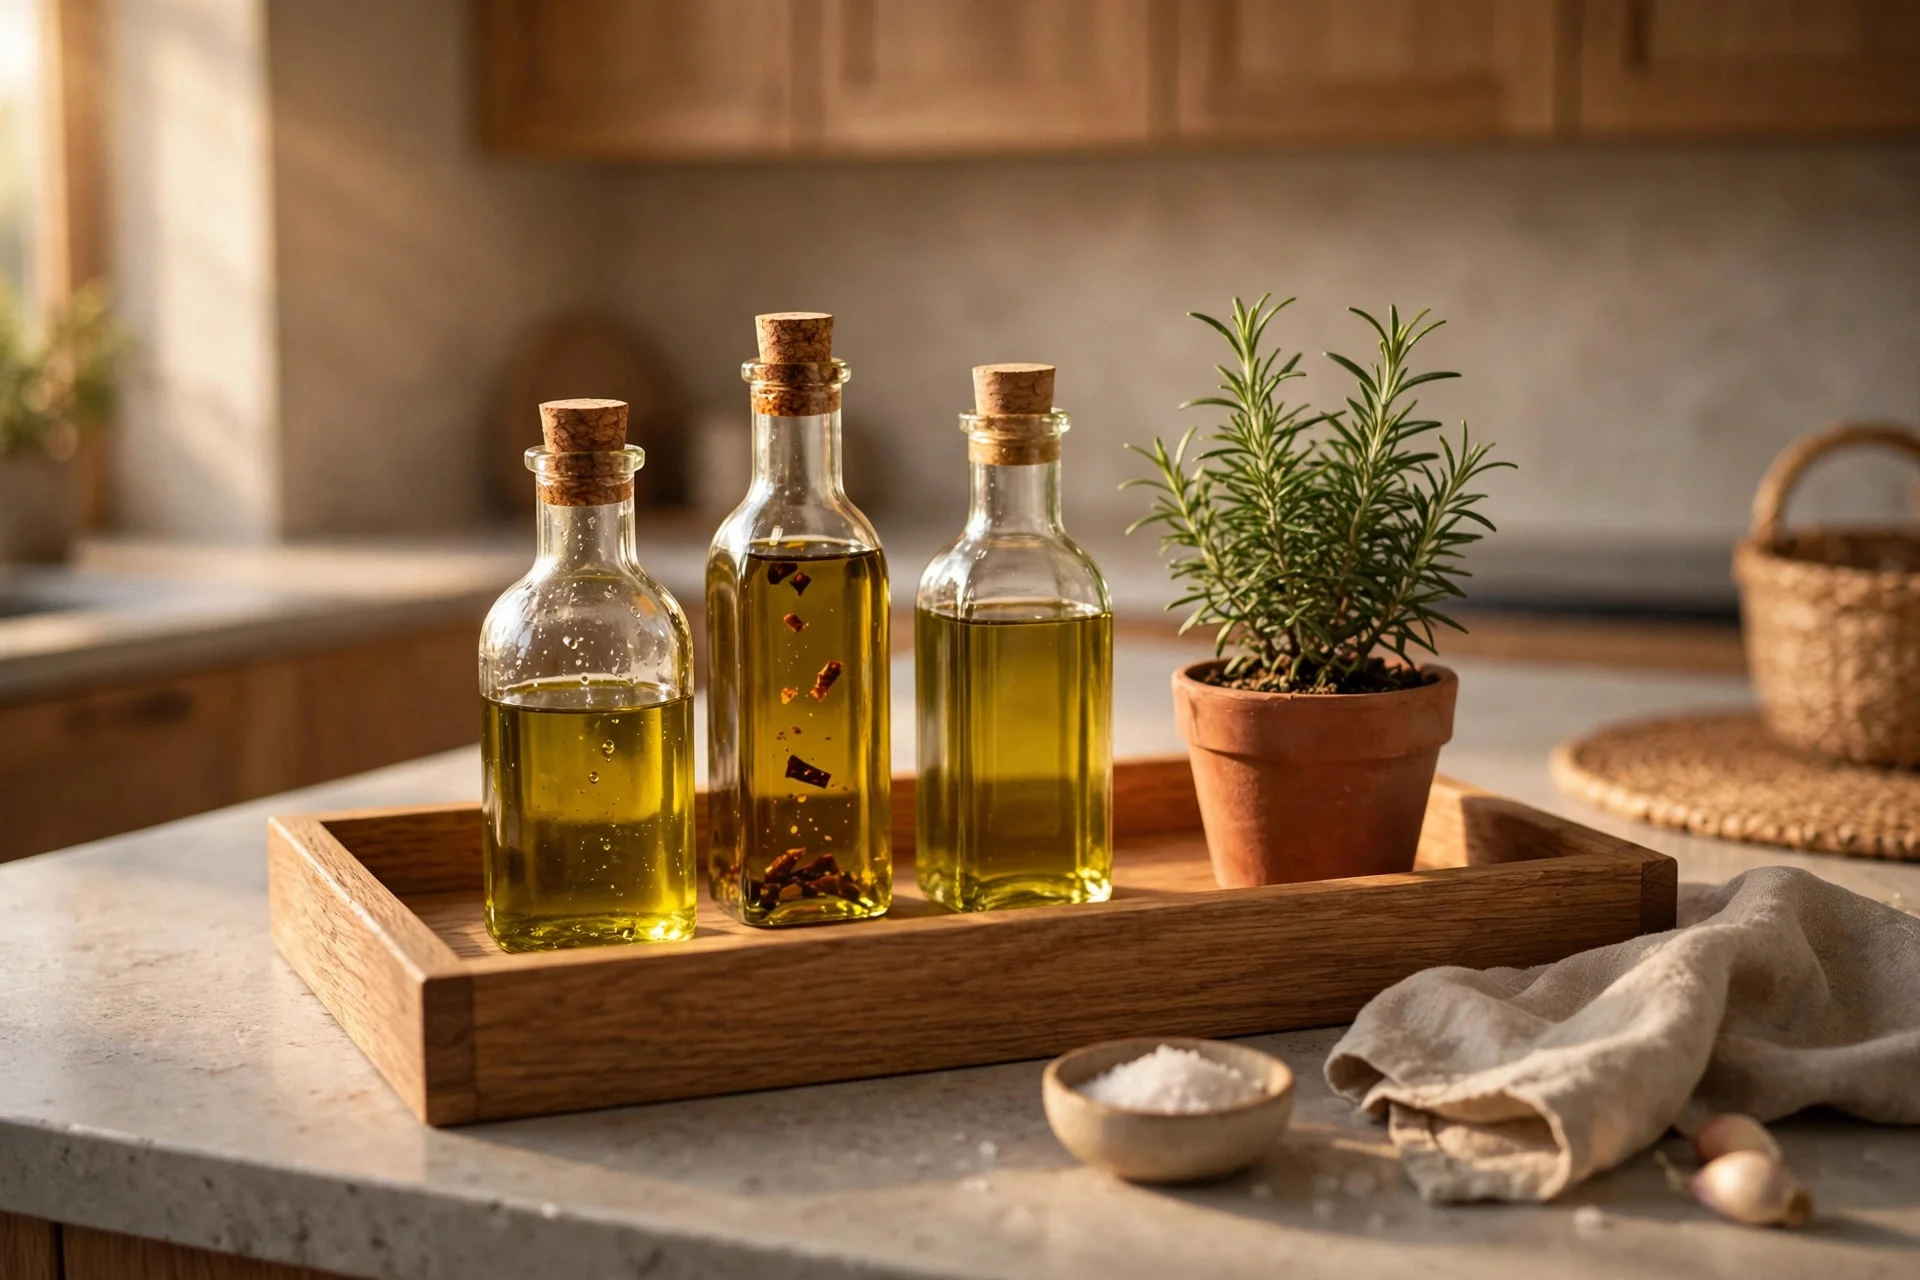
An oak tray on the worktop, holding oils, a salt pot and a small plant, introduces the oak tone without changing a single cabinet. It reads as a deliberate styling choice rather than a stopgap, and it moves wherever you need it.
Cost: $15–$40. Difficulty: none. Tip: keep the tray to three or four items — a tray that holds everything becomes a dumping ground. Watch out: trays near the hob collect grease, so keep this one on a stretch of worktop away from the cooker.
3. Add Green Linen and a Plant
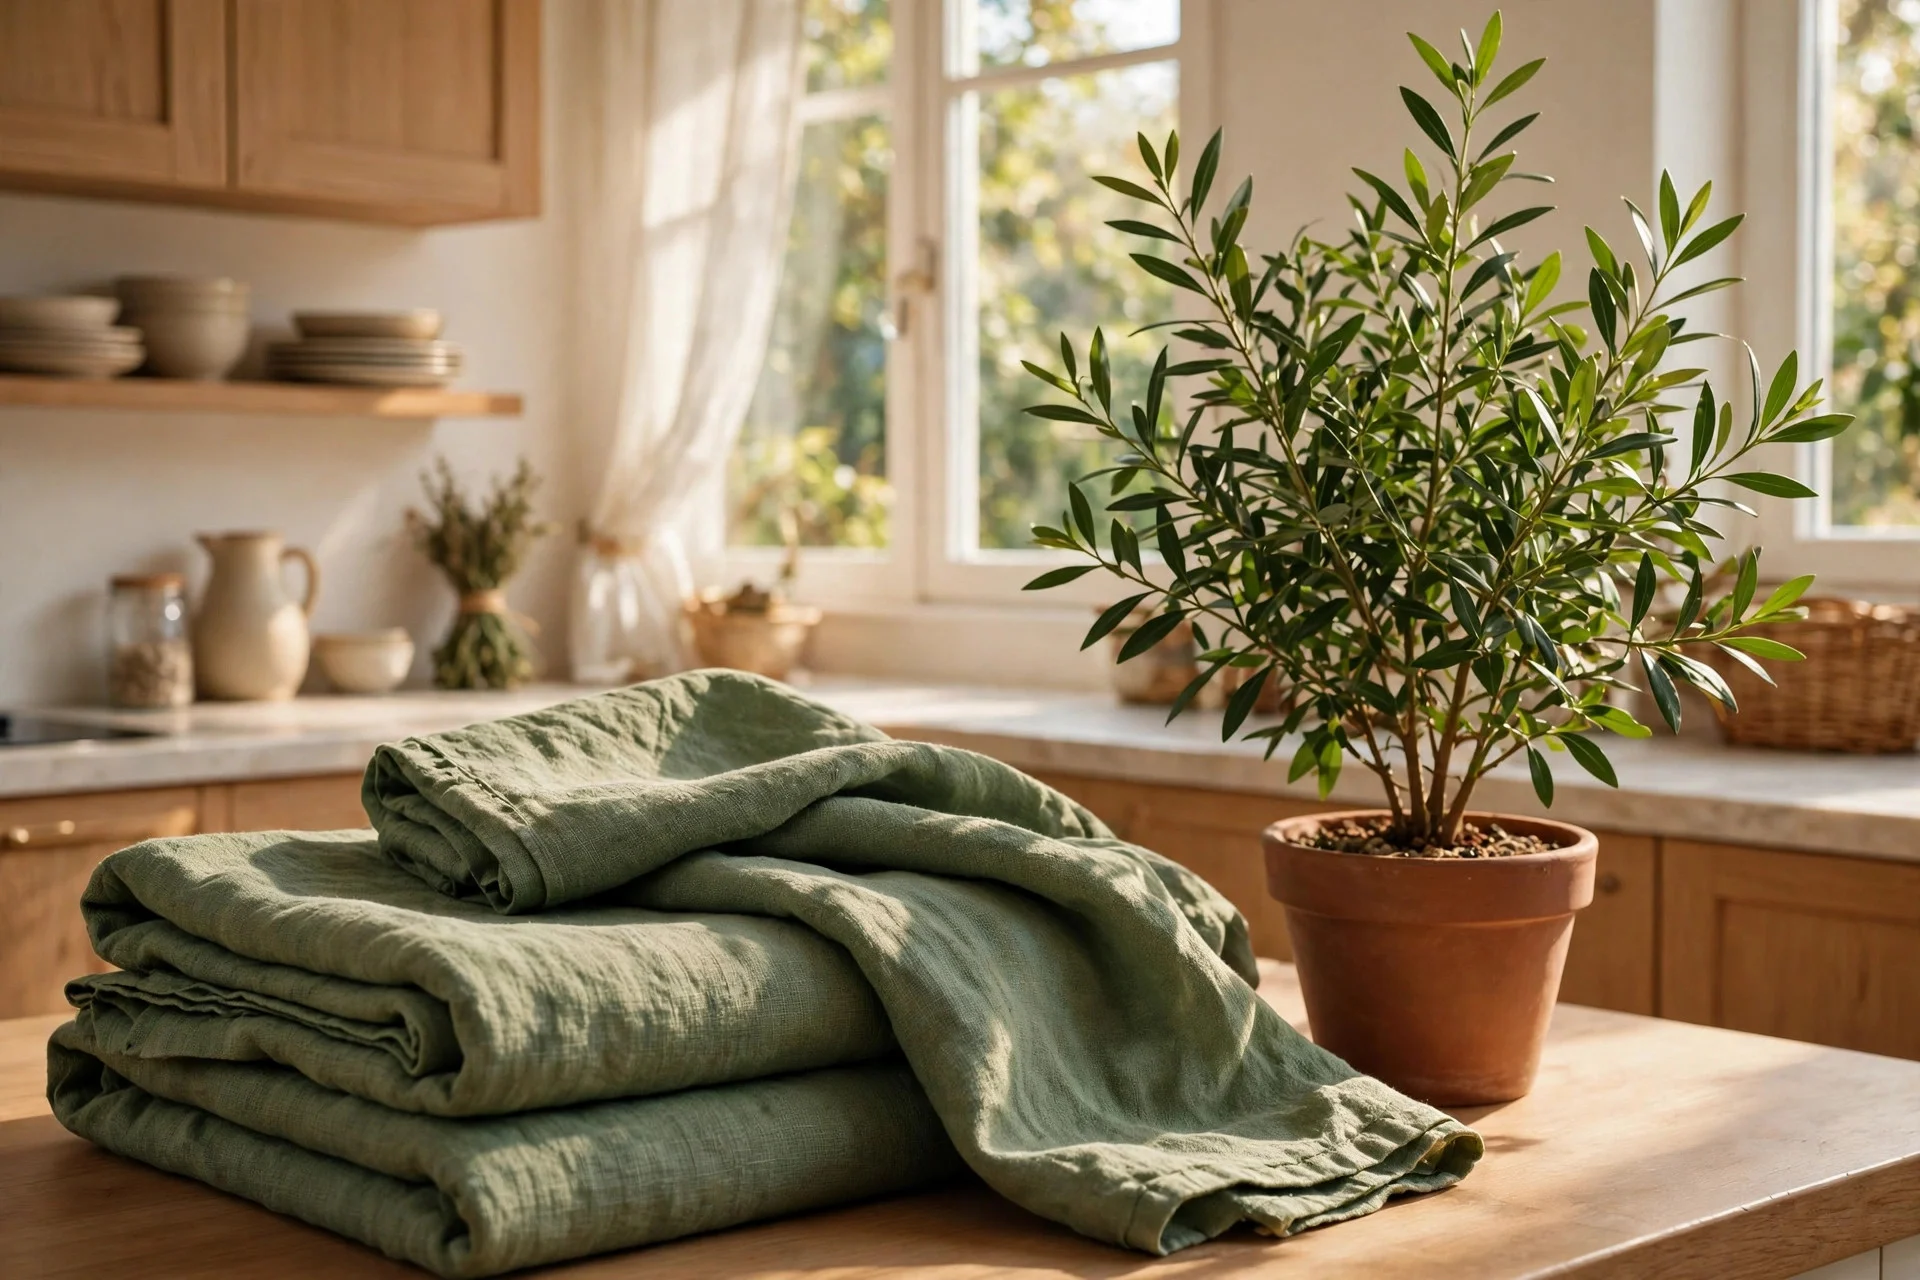
Green tea towels, a linen runner or an apron hanging on a hook puts green into the room for the price of a lunch. A leafy plant in a plain pot does the same job in living form, and both can be swapped out if the shade is wrong.
Cost: $10–$30. Difficulty: none. Tip: pick one green and repeat it — towels, plant pot and a candle in the same deep green look intentional, while five different greens look accidental. Watch out: cheap dyed linen fades fast in a sunny kitchen, so wash in cold water.
4. Lay a Runner or Rug in the Right Tones
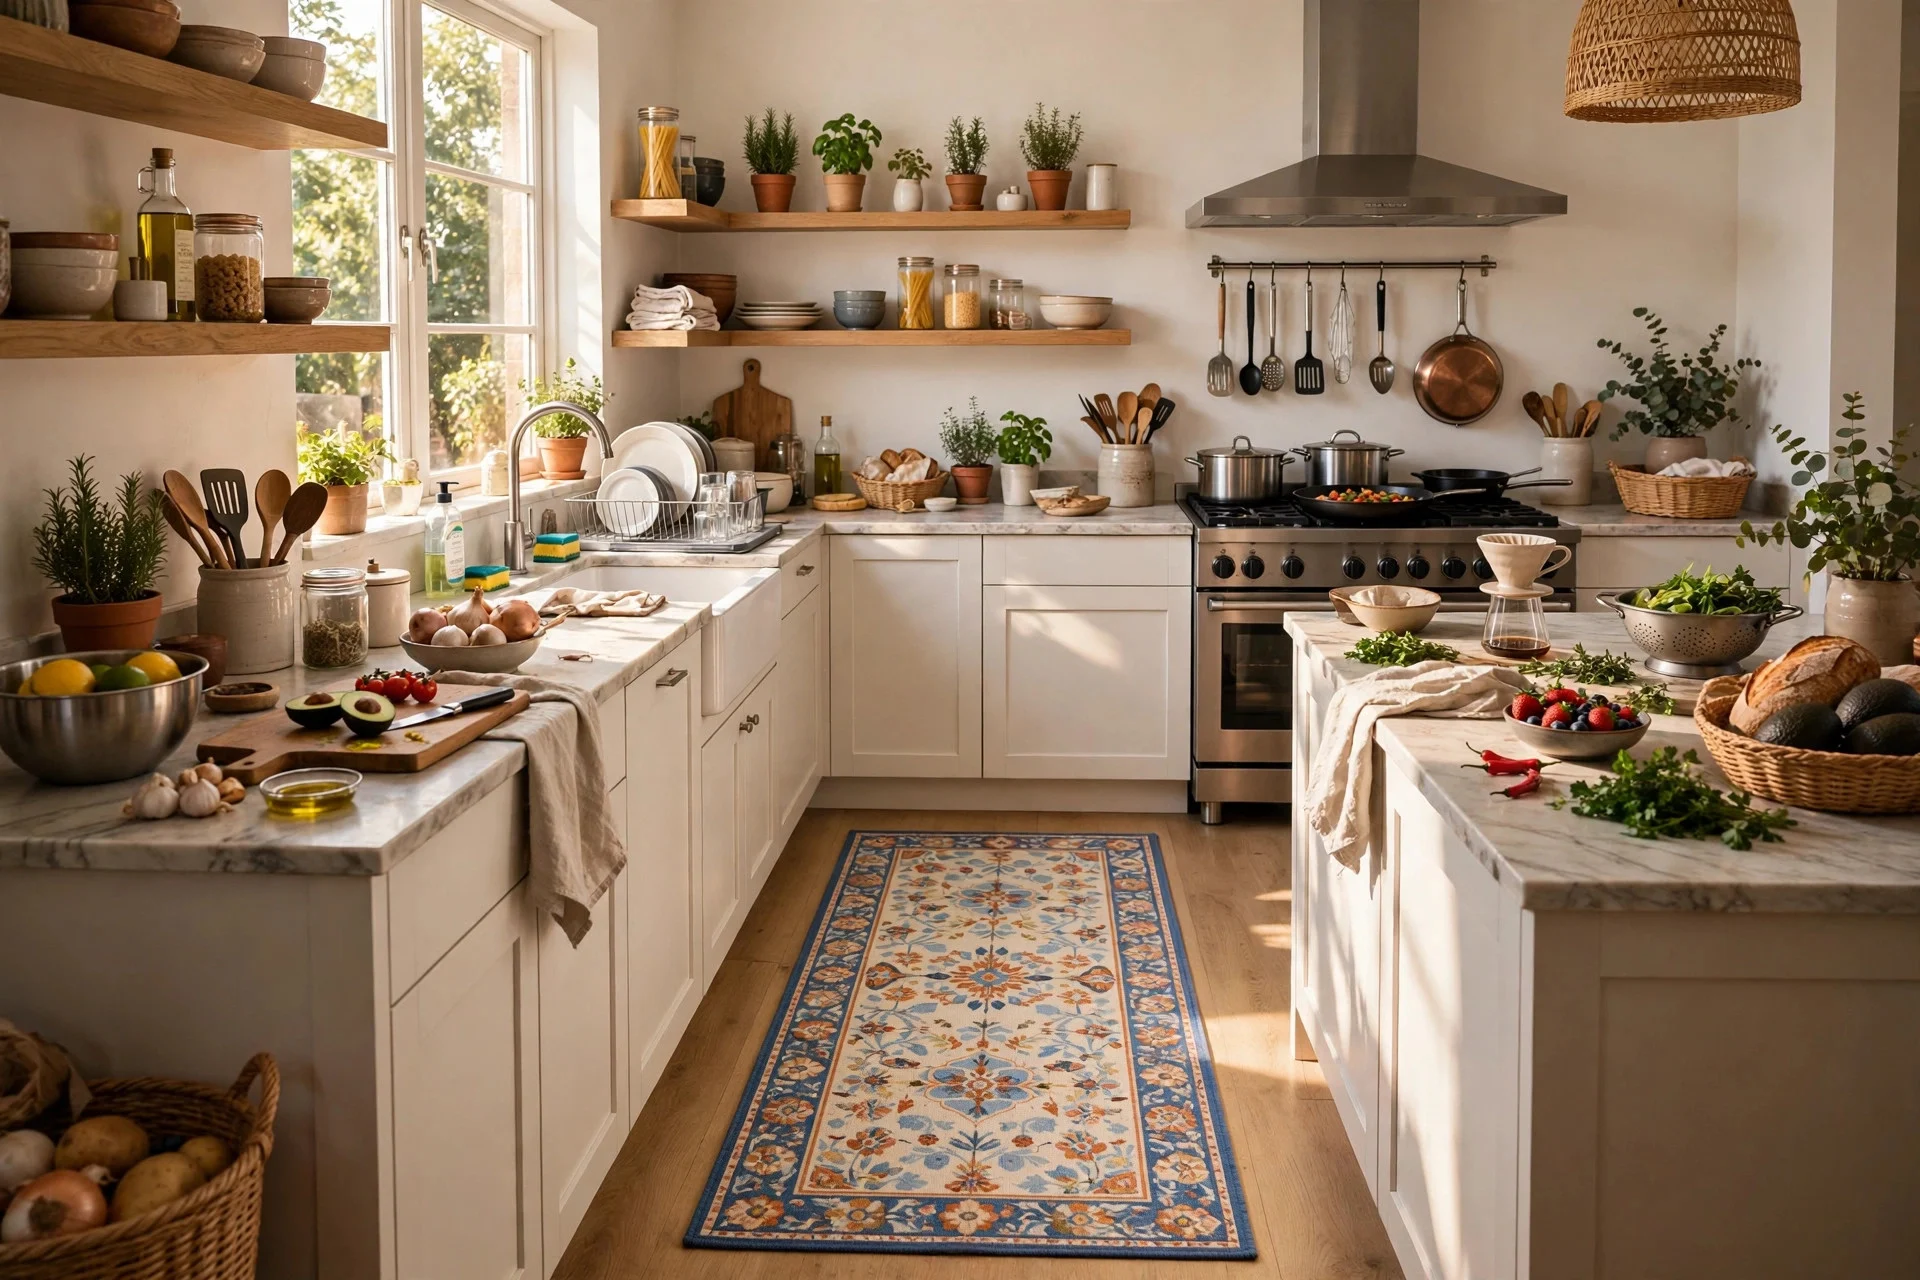
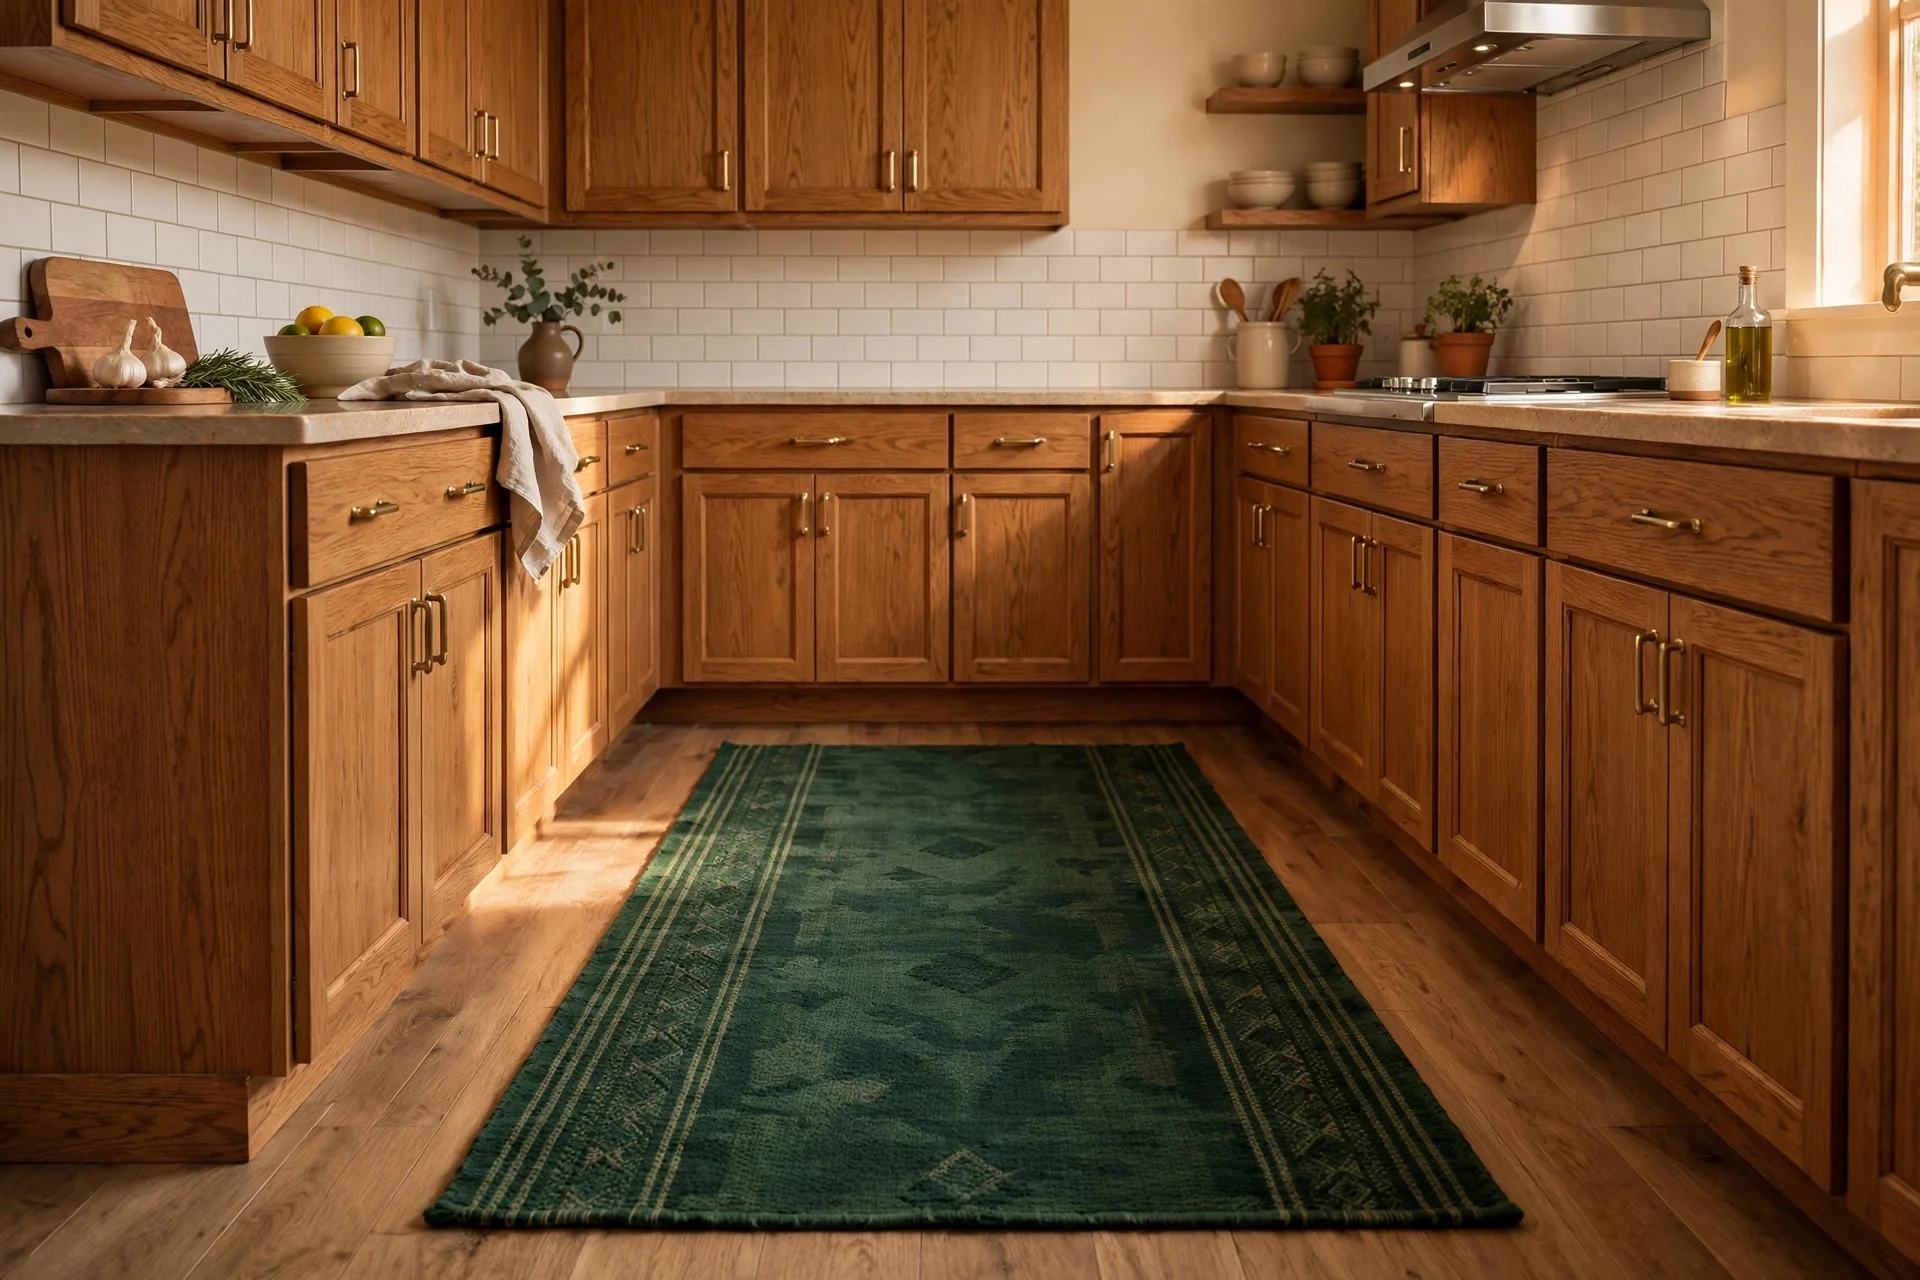
A washable runner in deep green, or a natural jute rug with green pattern, grounds the kitchen and pulls the colour scheme down to floor level. It is the cheapest way to make the whole room feel planned.
Cost: $25–$50. Difficulty: none. Tip: choose a runner you can machine-wash — kitchen rugs take more spills than any other rug in the house. Watch out: use a non-slip pad underneath, especially on hard floors, or the rug will creep every time you step on it.
5. Test the Green With a Paint-Sample Wall
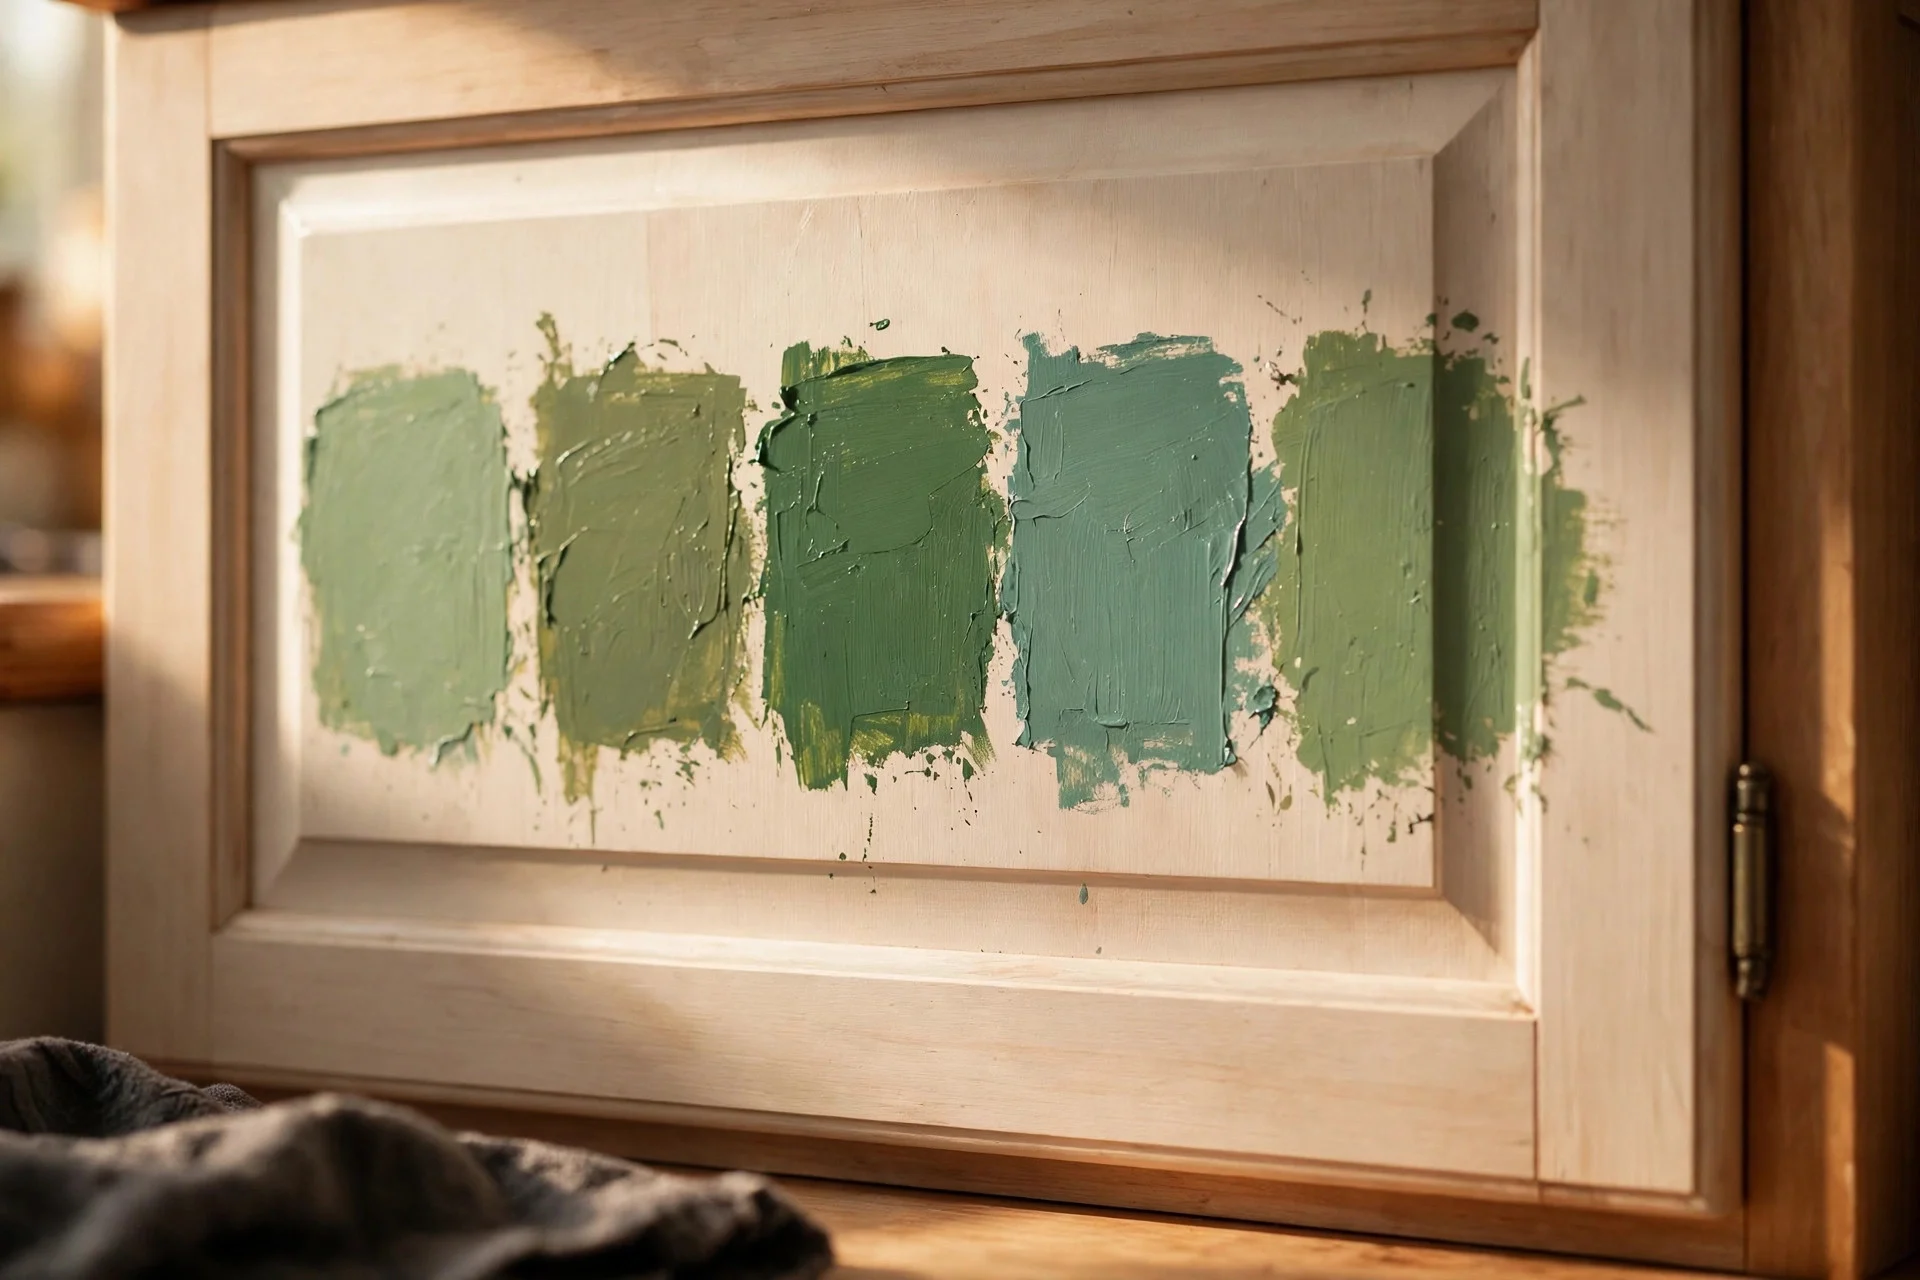
Before committing to a single shade, paint large sample squares — at least A3 size — directly on the cabinet or wall you plan to paint. Live with them for a week, in morning and evening light, and watch which one still looks good on a grey day.
Cost: $15–$40 for sample pots. Difficulty: easy. Tip: paint the samples on a board you can move around the kitchen, not straight on the cabinet, so you can test the shade against oak and worktop in different spots. Watch out: tiny paint chips lie — a colour that looks perfect on a 5 cm chip can overwhelm a whole cabinet run. For more on how colour changes a small room, these paint colours for small apartments explain the same light-and-shade logic.
$50–$200
6. Repaint Just the Island Green
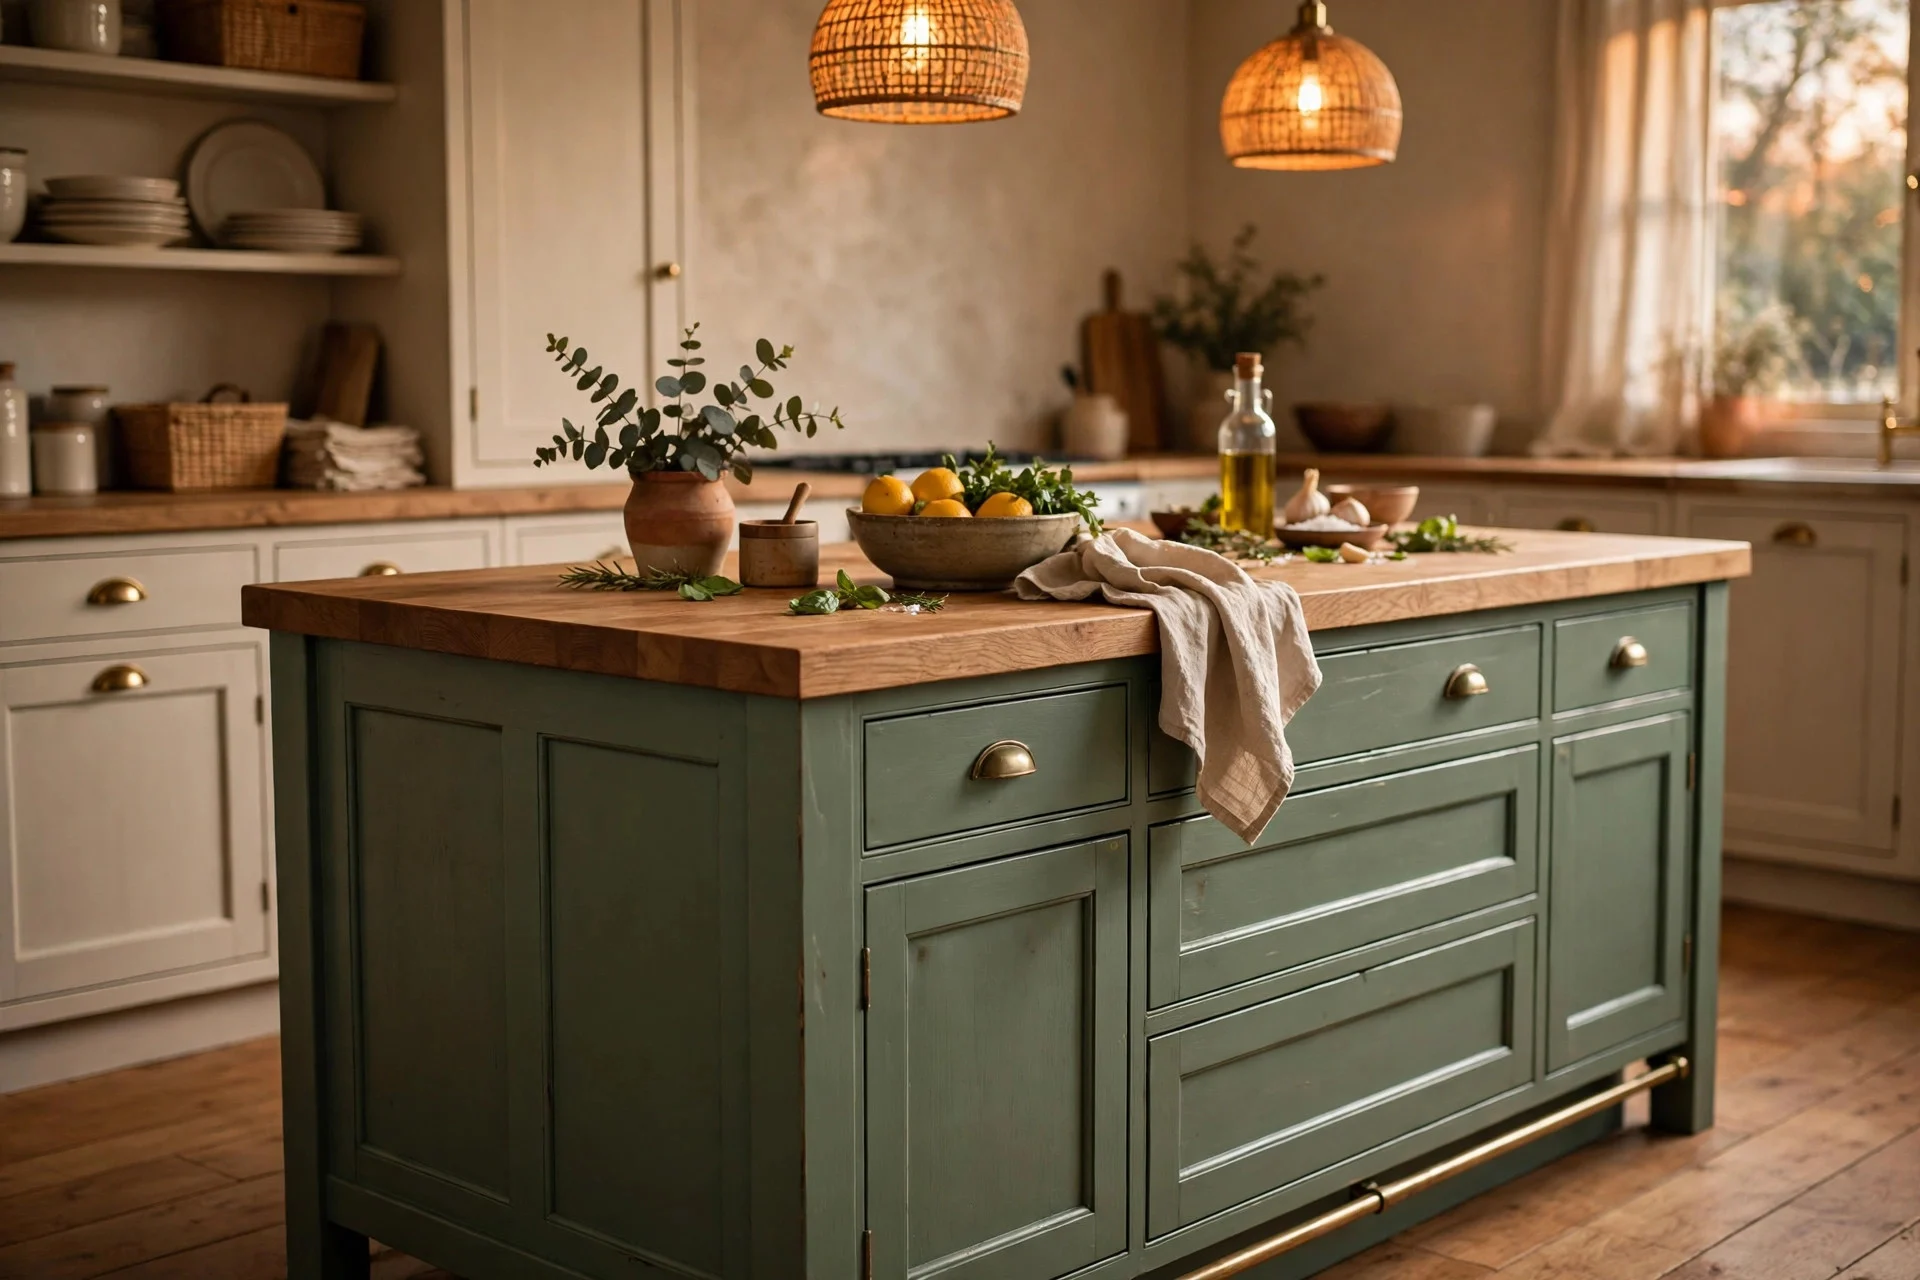
Painting only the island — or one run of base units — gives you the full two-tone effect for a fraction of a whole-kitchen repaint. The island becomes the green anchor, the rest of the kitchen stays neutral, and the job takes a weekend.
Cost: $60–$150 for paint, primer and brushes. Difficulty: moderate; preparation matters more than painting. Tip: sand lightly, prime, then use two thin coats of cabinet paint rather than one thick one — thick coats chip. Watch out: ordinary wall paint will not survive kitchen use. Use paint made for cabinets or furniture, or the finish will mark within weeks.
7. Add Oak Floating Shelves
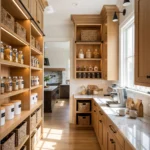
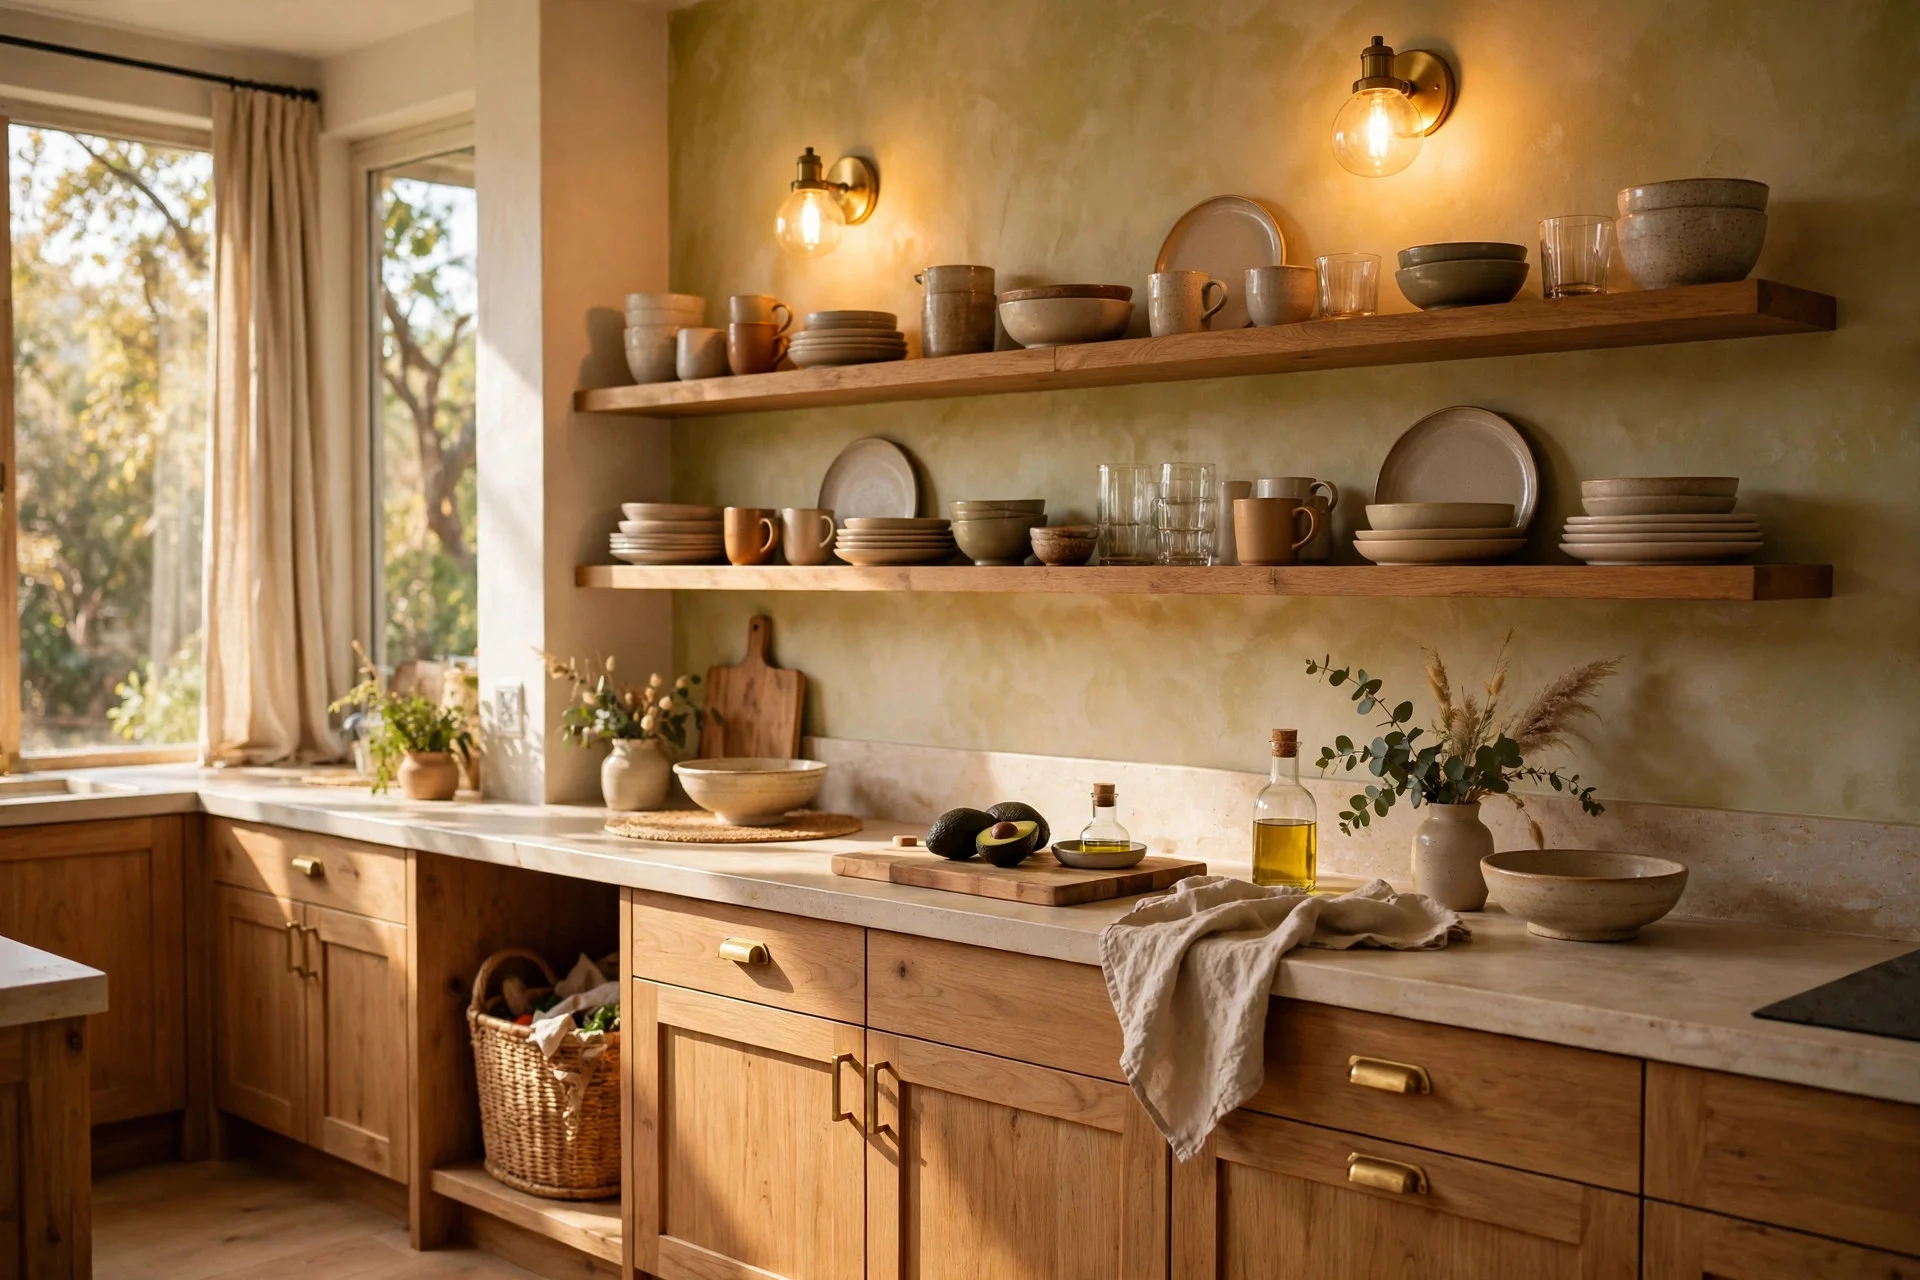
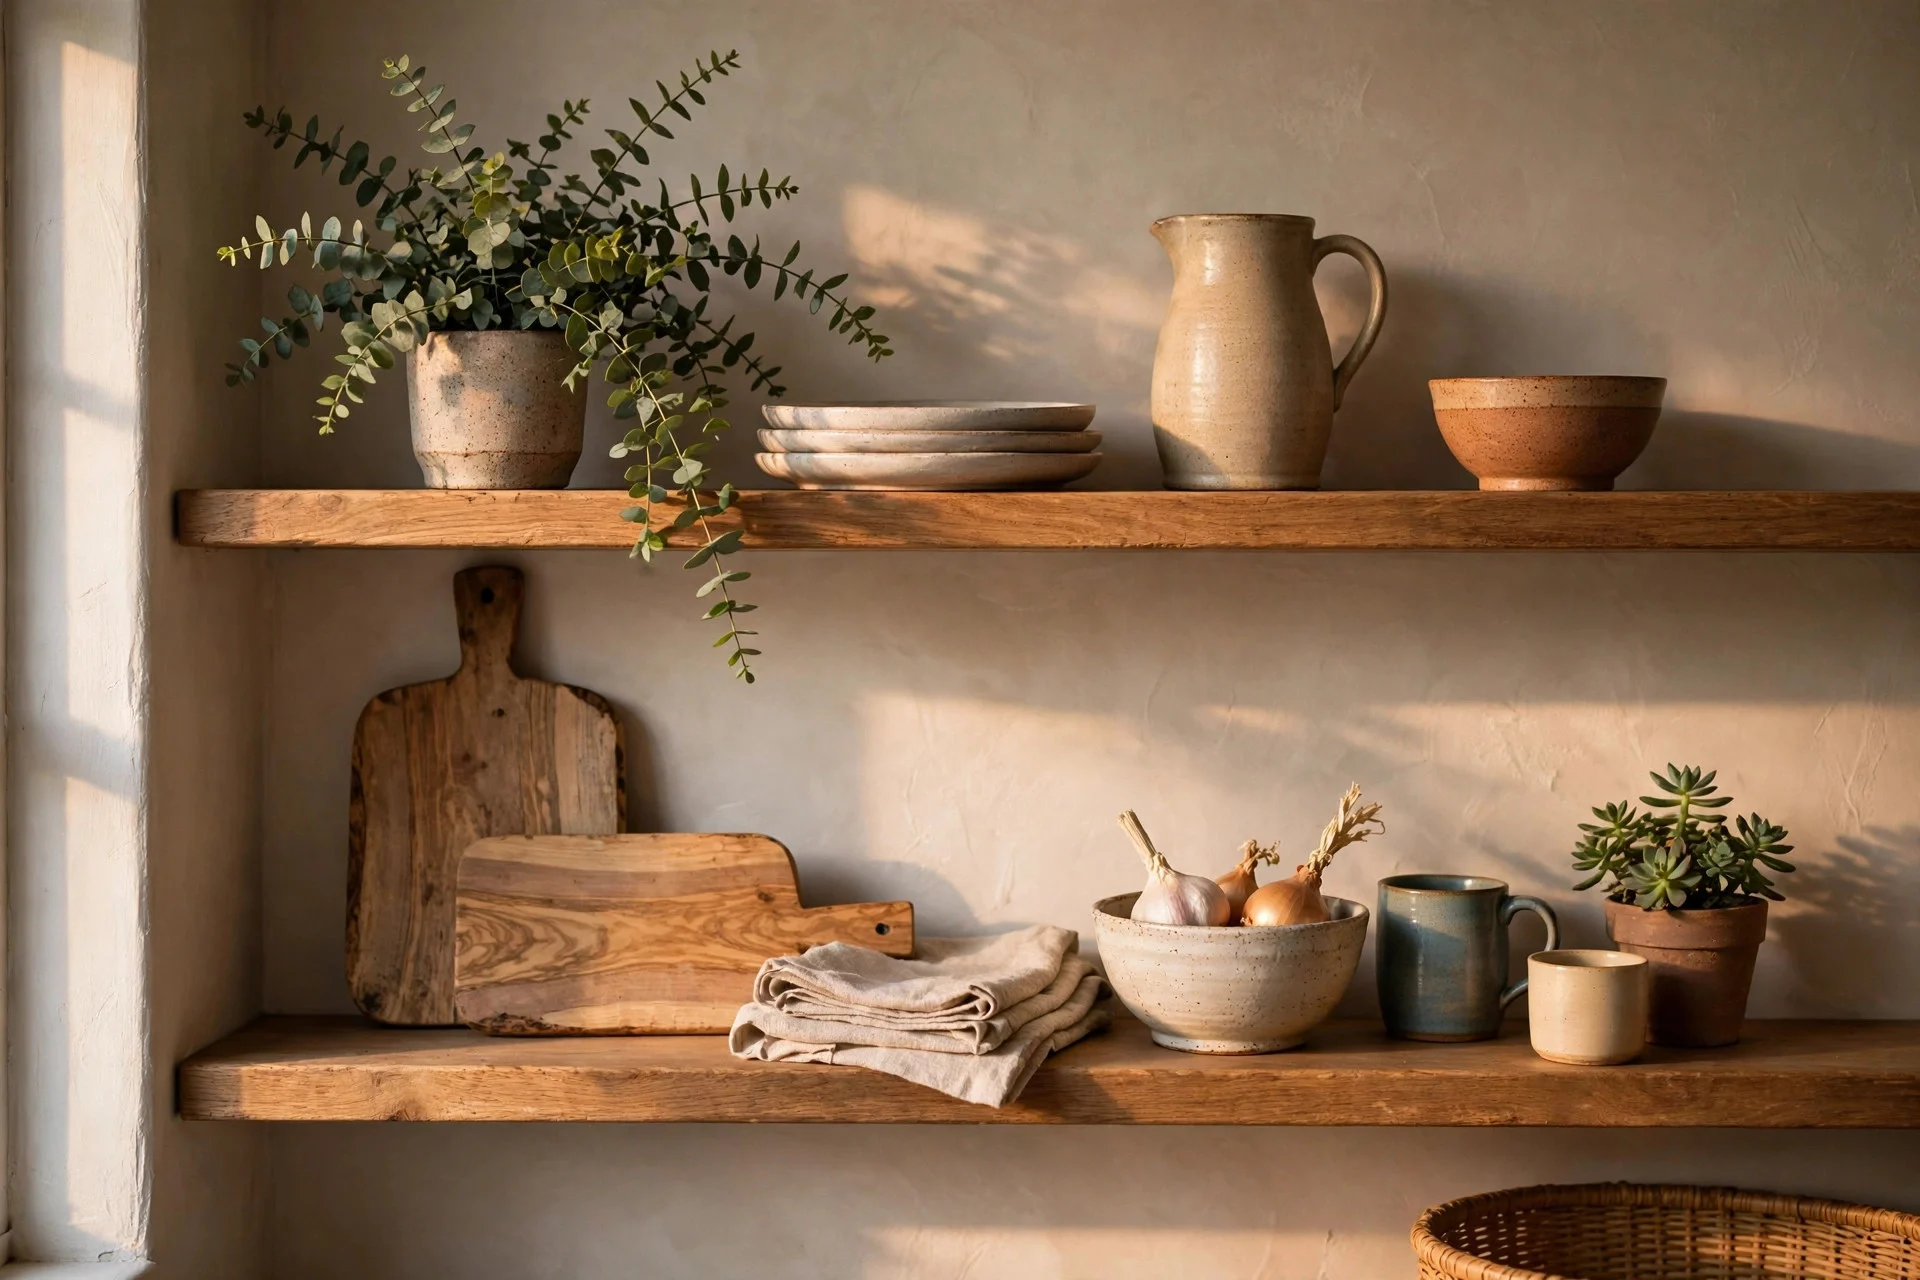
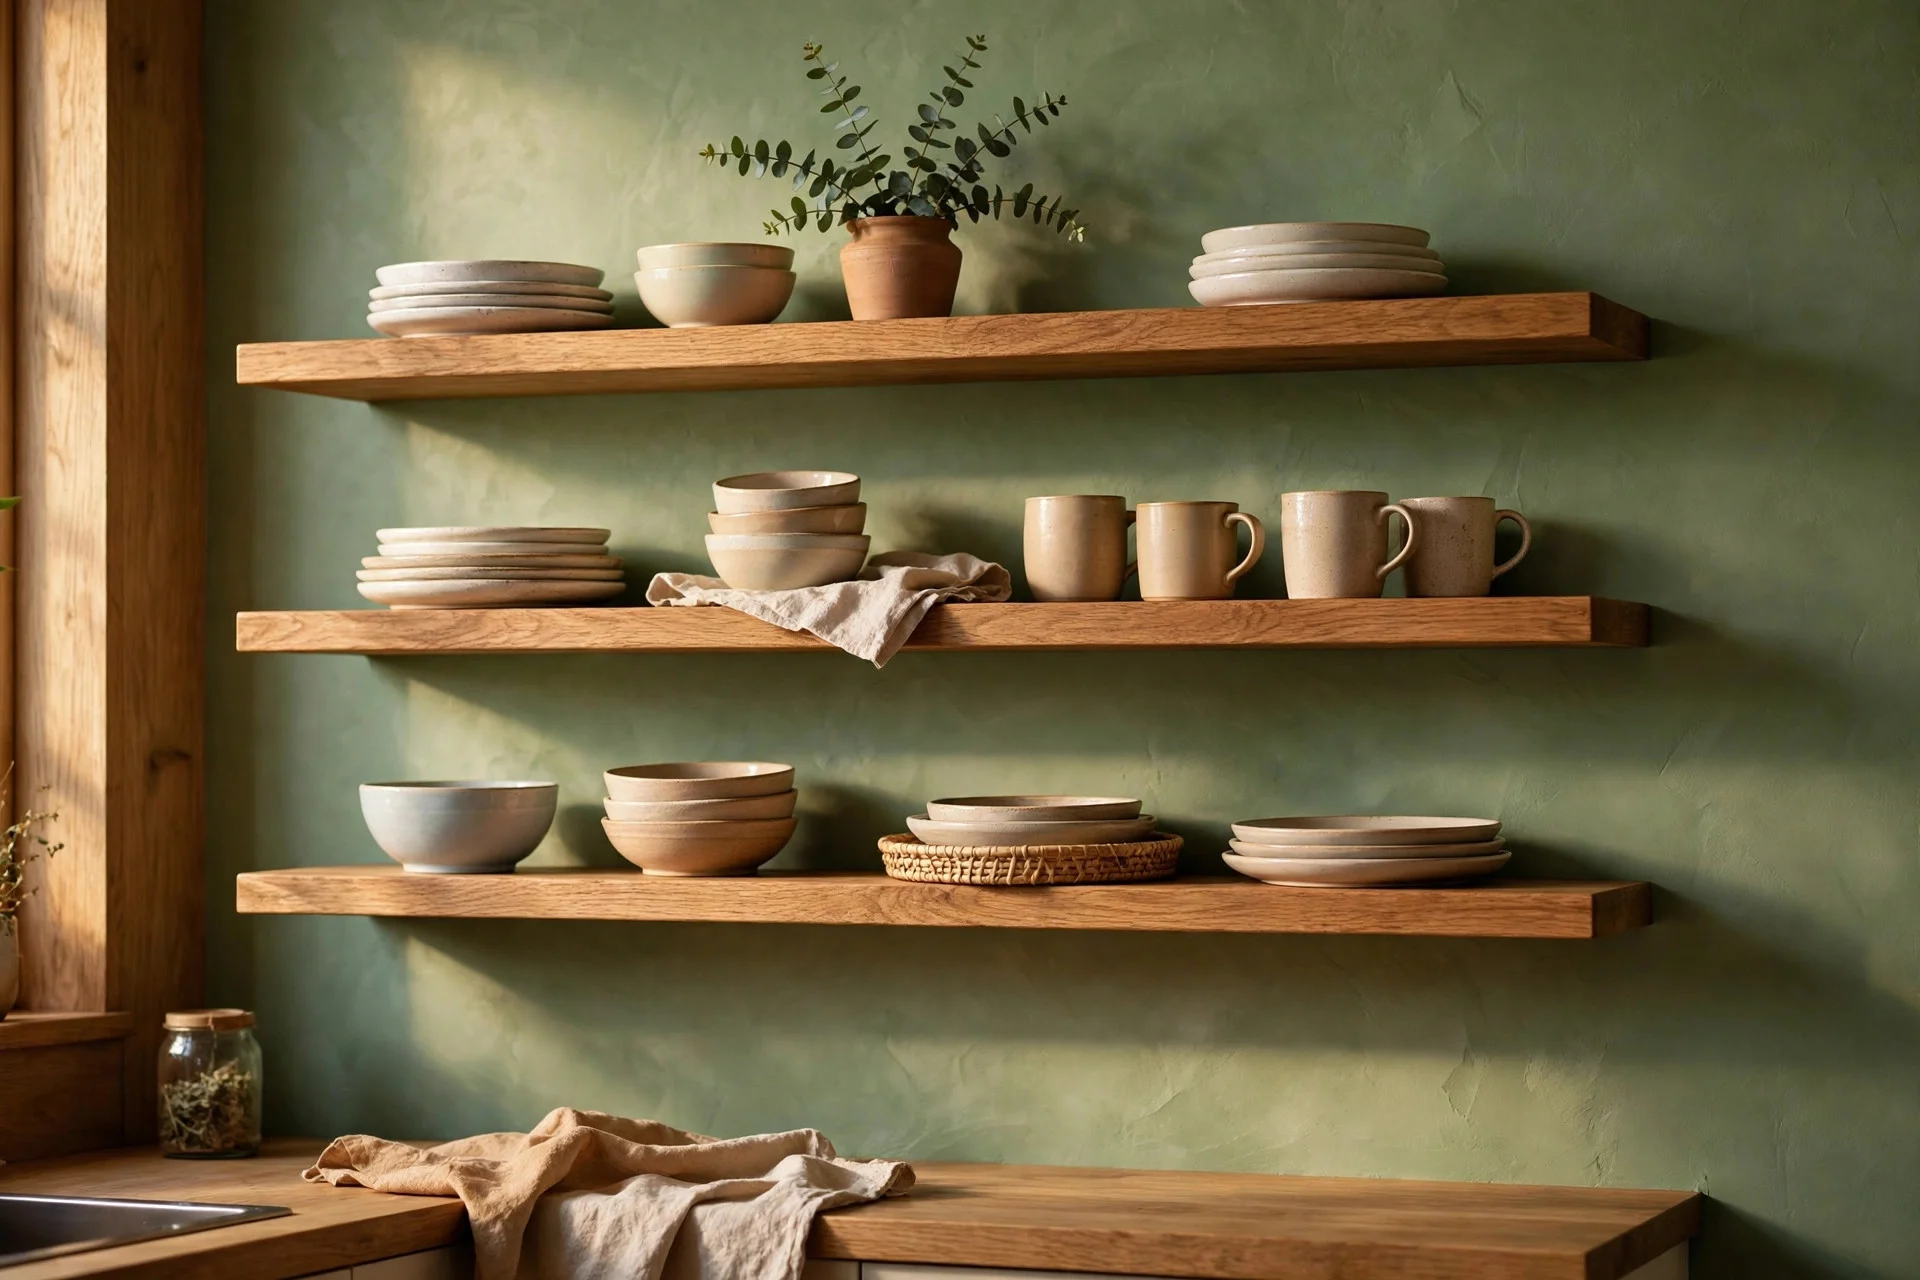
Two or three oak shelves on a green or neutral wall bring the oak tone up to eye level and give you display space for bowls and plants. They are the simplest structural change in this list and they change the room’s balance immediately.
Cost: $60–$180 for boards and brackets. Difficulty: easy to moderate, depending on your wall. Tip: fix into studs or solid brick — a shelf full of crockery is heavy, and plasterboard plugs alone will not hold it. Watch out: shelves above the hob need a heat gap, so keep them on a wall away from the cooker where possible.
8. Fit a New Faucet in Brass or Brushed Gold
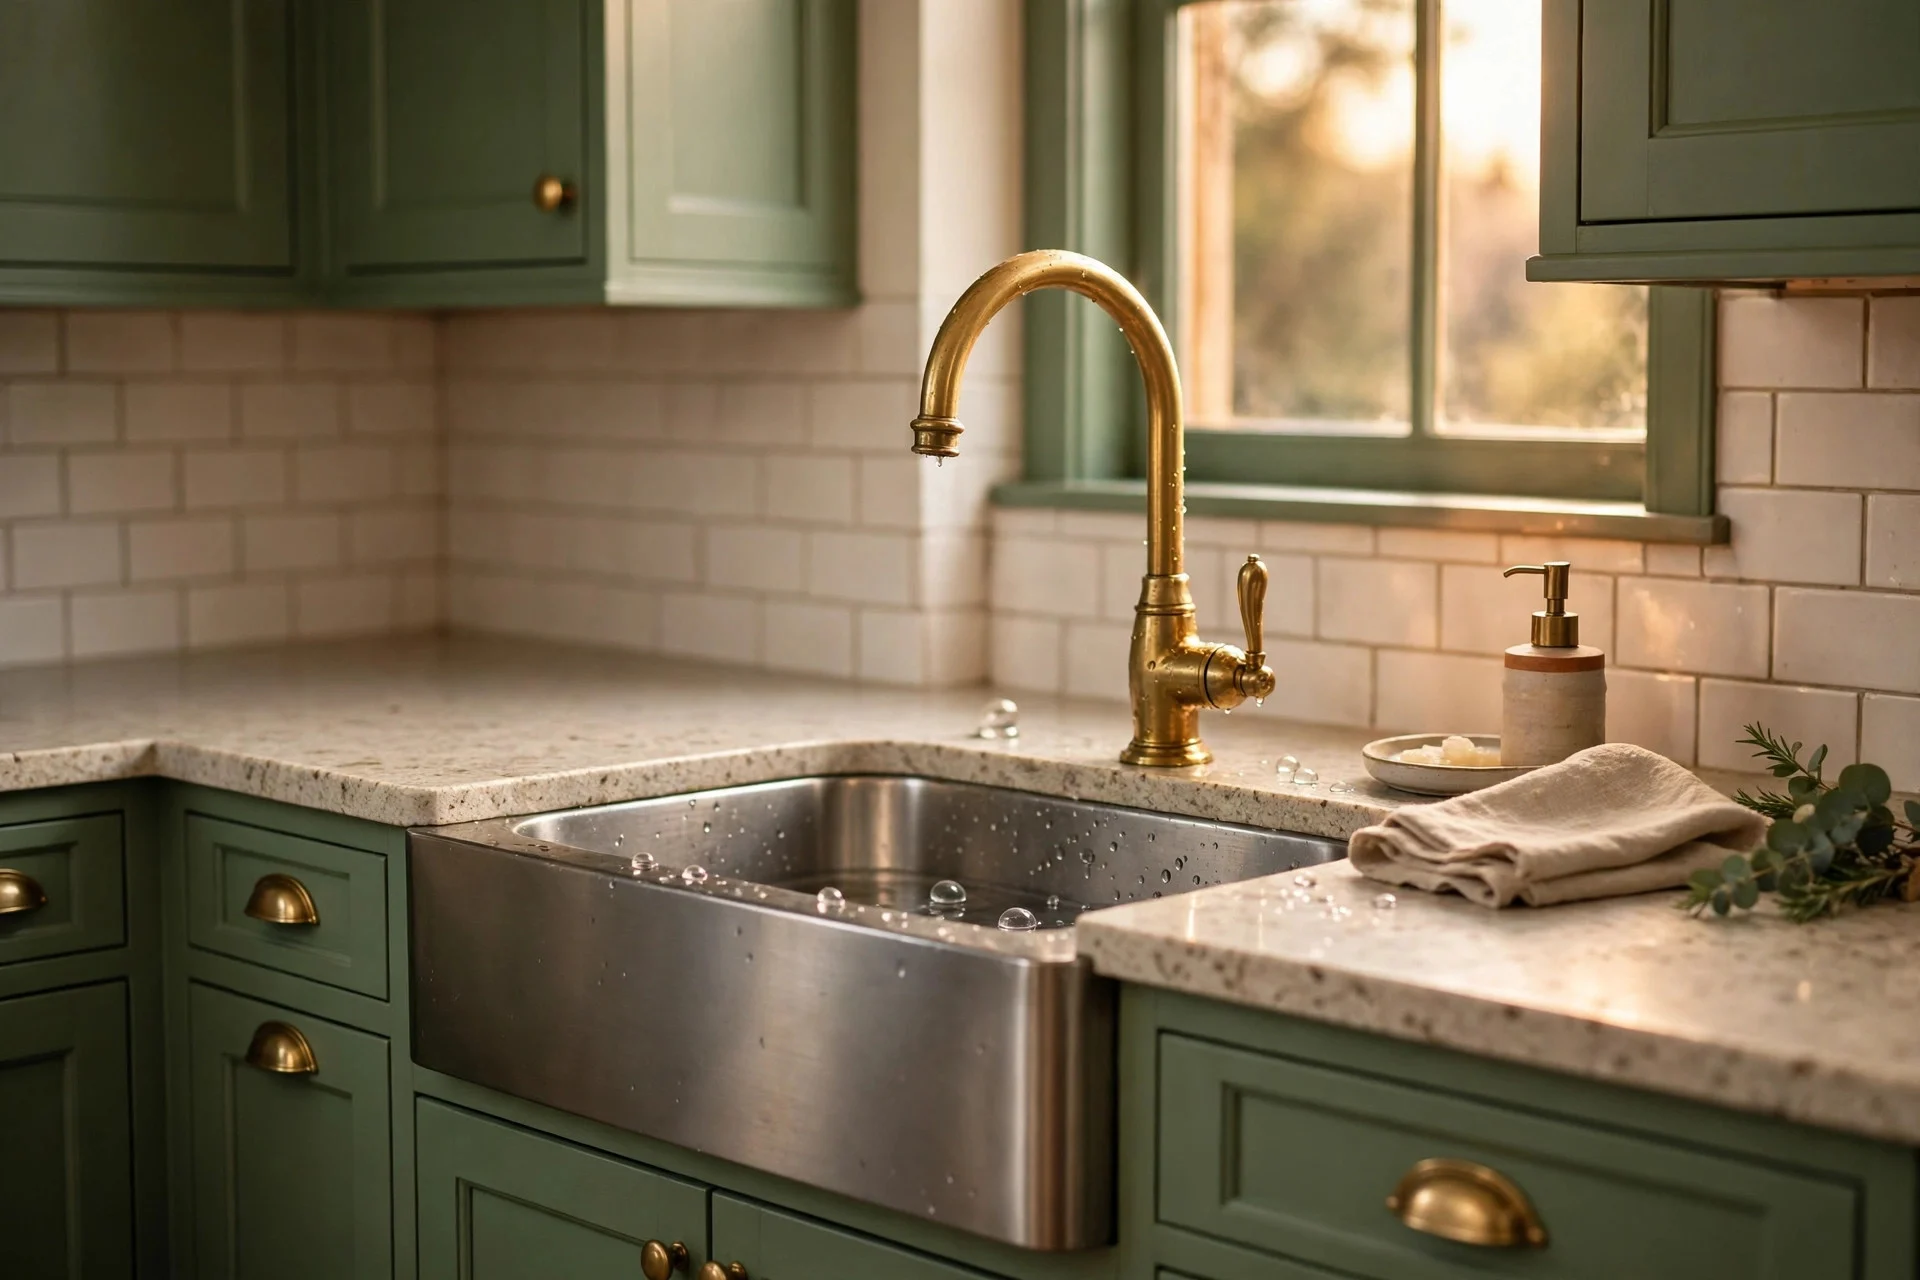
A tap is a small object with a big visual footprint — it sits at the centre of the sink wall and catches the eye constantly. Swapping chrome for brass or brushed gold ties the green and oak together and makes the whole sink zone feel upgraded.
Cost: $80–$200. Difficulty: moderate; a plumber charges $80–$150 if you would rather not DIY. Tip: check your water pressure and hole spacing before ordering, and photograph the underside of your sink so the plumber knows what they are dealing with. Watch out: unlacquered brass ages and darkens — beautiful if you like patina, annoying if you want it to stay bright.
9. Hang Pendant Lights Over the Island
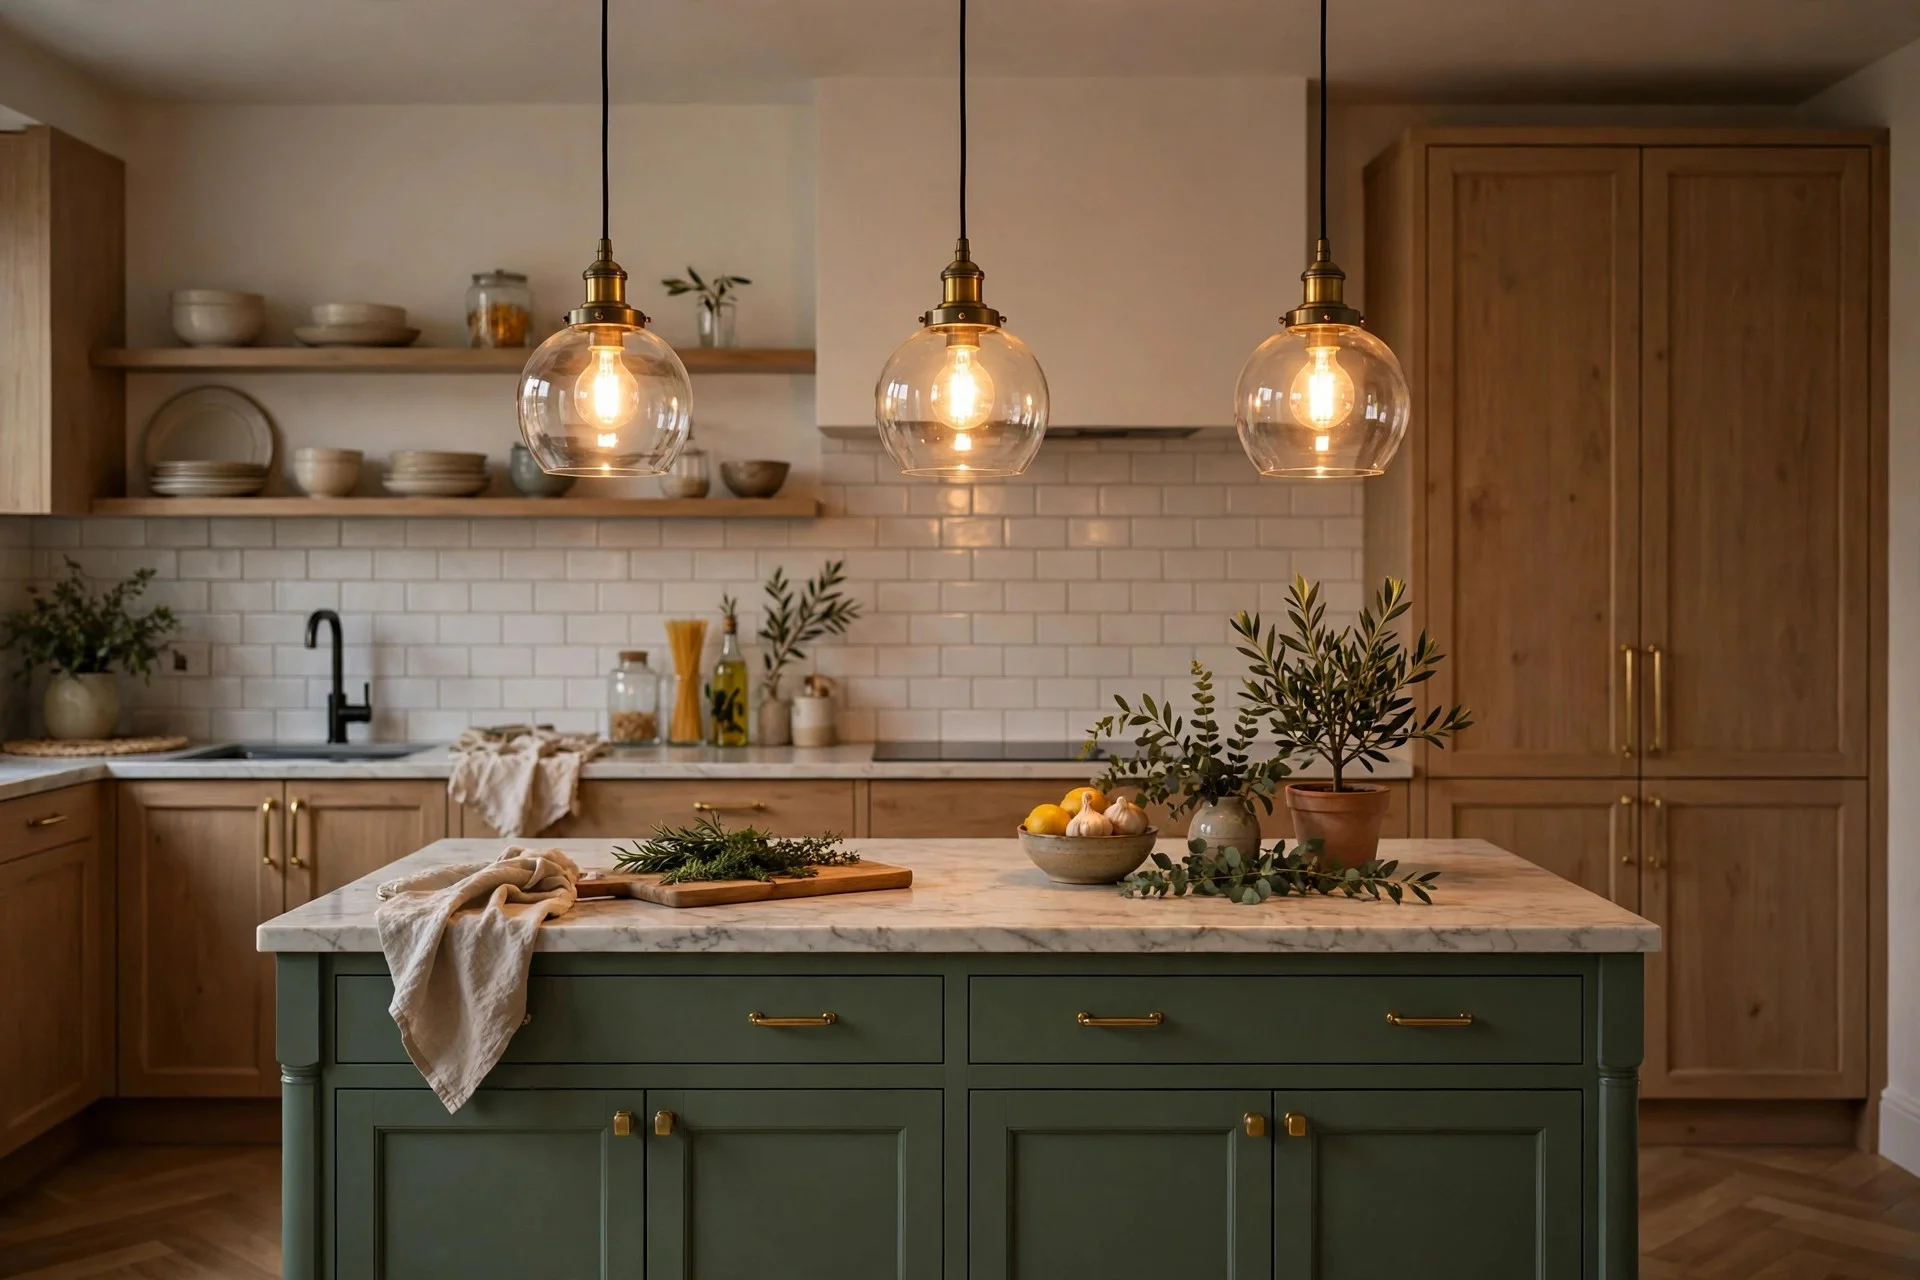
Two or three pendants over an island or peninsula pull the eye to the centre of the room and add a warm pool of light exactly where you prep food. Oak, brass or green glass shades all fit the scheme — pick one material and repeat it.
Cost: $60–$200 for two or three pendants. Difficulty: moderate; wiring needs care, so use an electrician if you are unsure. Tip: hang pendants 75–90 cm above the worktop — low enough to light the surface, high enough not to block your view across the kitchen. Watch out: pendants over a walkway, rather than over a counter, become head-height obstacles.
10. Refresh the Backsplash With Peel-and-Stick Tiles
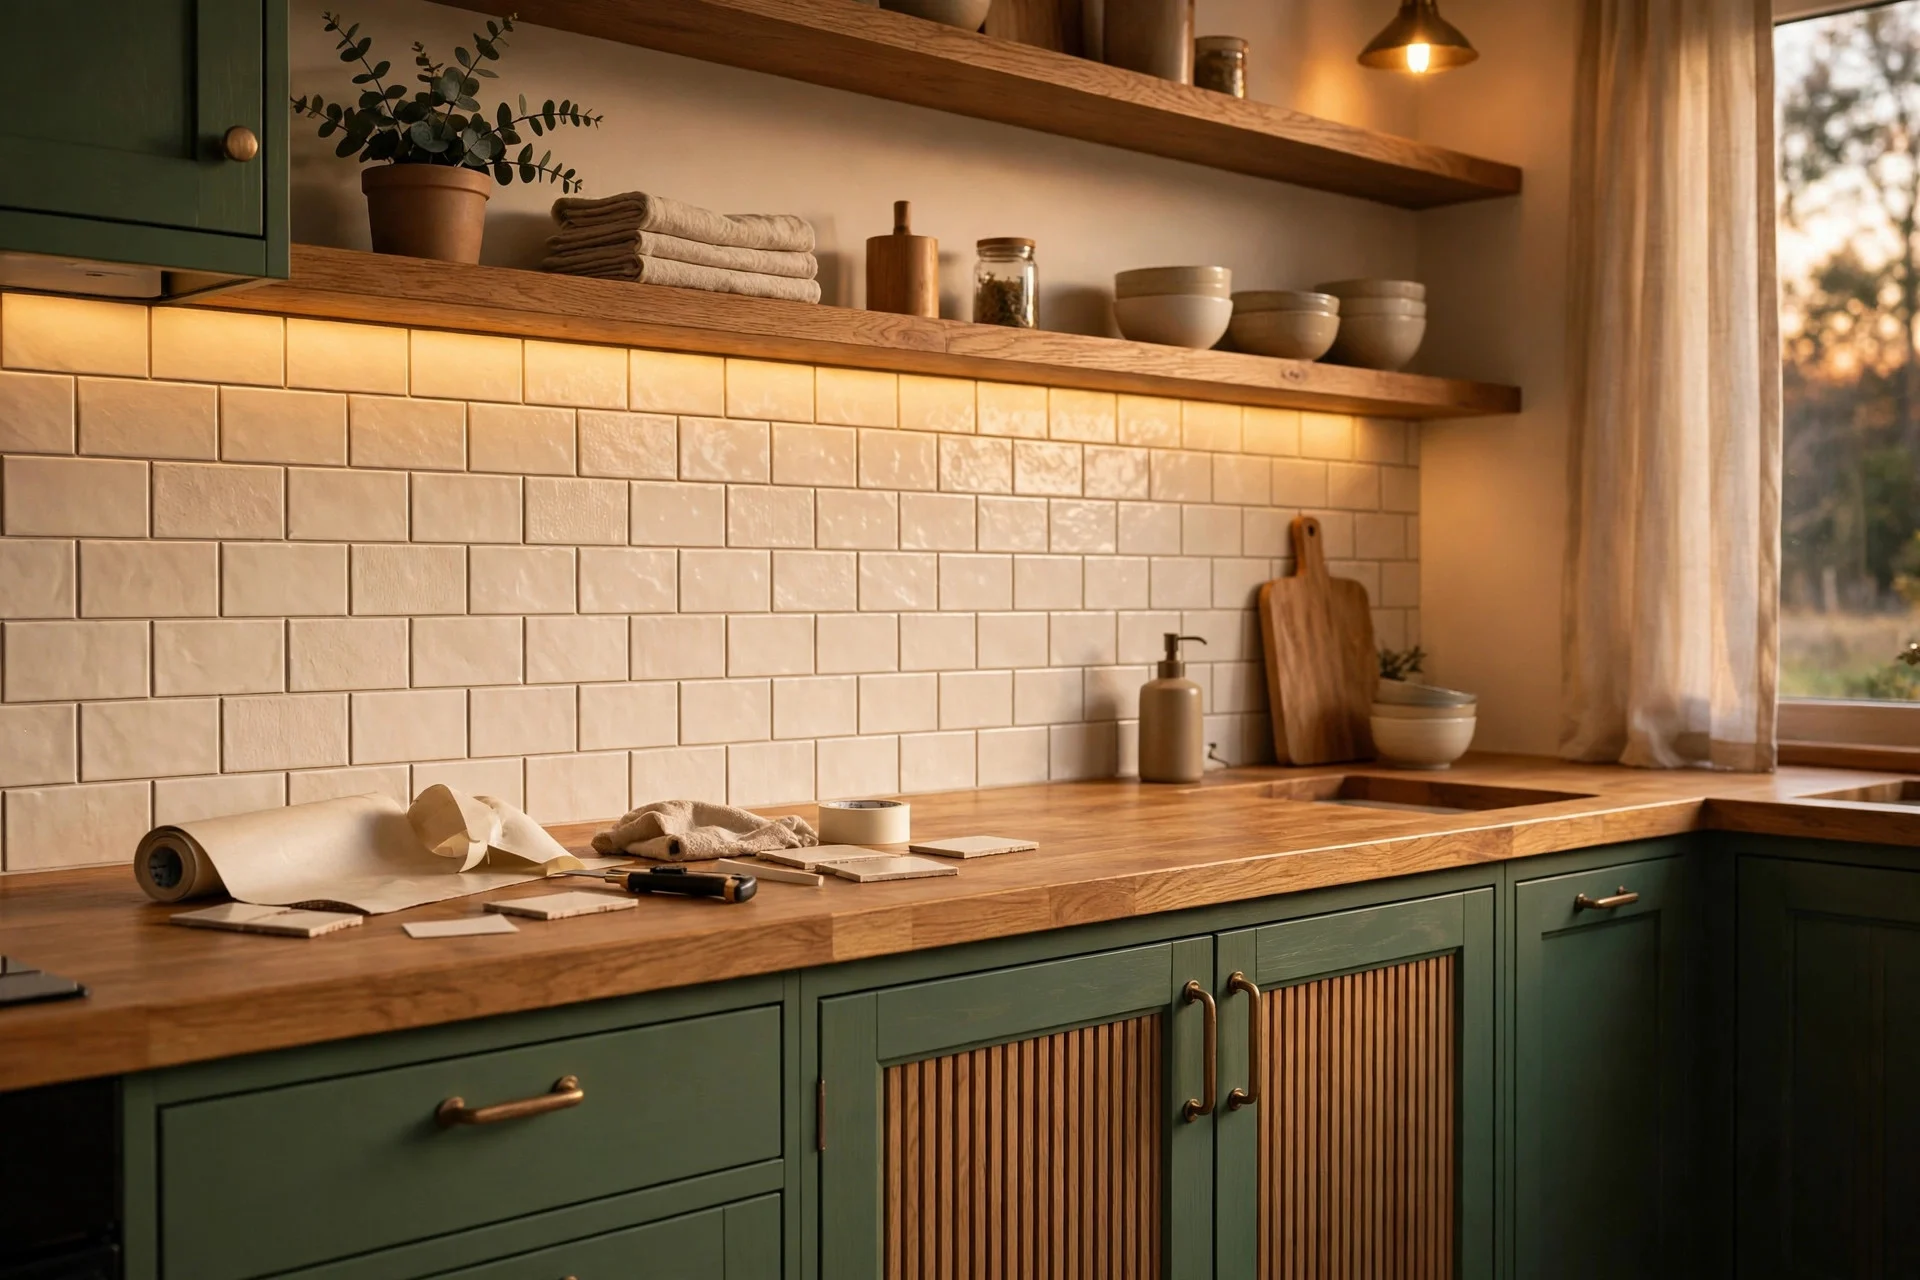
Peel-and-stick tiles in a soft green, cream or stone pattern refresh a tired backsplash in an afternoon, with no grout and no tiler. They are a good bridge while you save for a permanent tile job, and they come off cleanly if you change your mind.
Cost: $50–$150 for a standard cooker wall. Difficulty: easy. Tip: clean and degrease the old tiles thoroughly first — peel-and-stick grips badly on a greasy surface. Watch out: they do not love direct heat, so keep them off the wall directly behind the hob and use a heat-proof panel there instead.
$200 and Up
11. Reface the Lower Cabinets in Green
Refacing — new doors and drawer fronts on your existing cabinet boxes, painted or finished in green — gives you the look of new cabinets at roughly half the cost of replacing them. The boxes stay, the faces change, and the kitchen keeps working throughout.
Cost: $800–$2,500 for a small to medium kitchen. Difficulty: high for DIY; most people hire a fitter. Tip: reface the uppers in oak veneer at the same time if the budget stretches — doing both in one job saves a second round of disruption. Watch out: refacing only works if the boxes are solid. Rotting or warped carcasses need replacing, not covering.
12. Add Oak Veneer Uppers
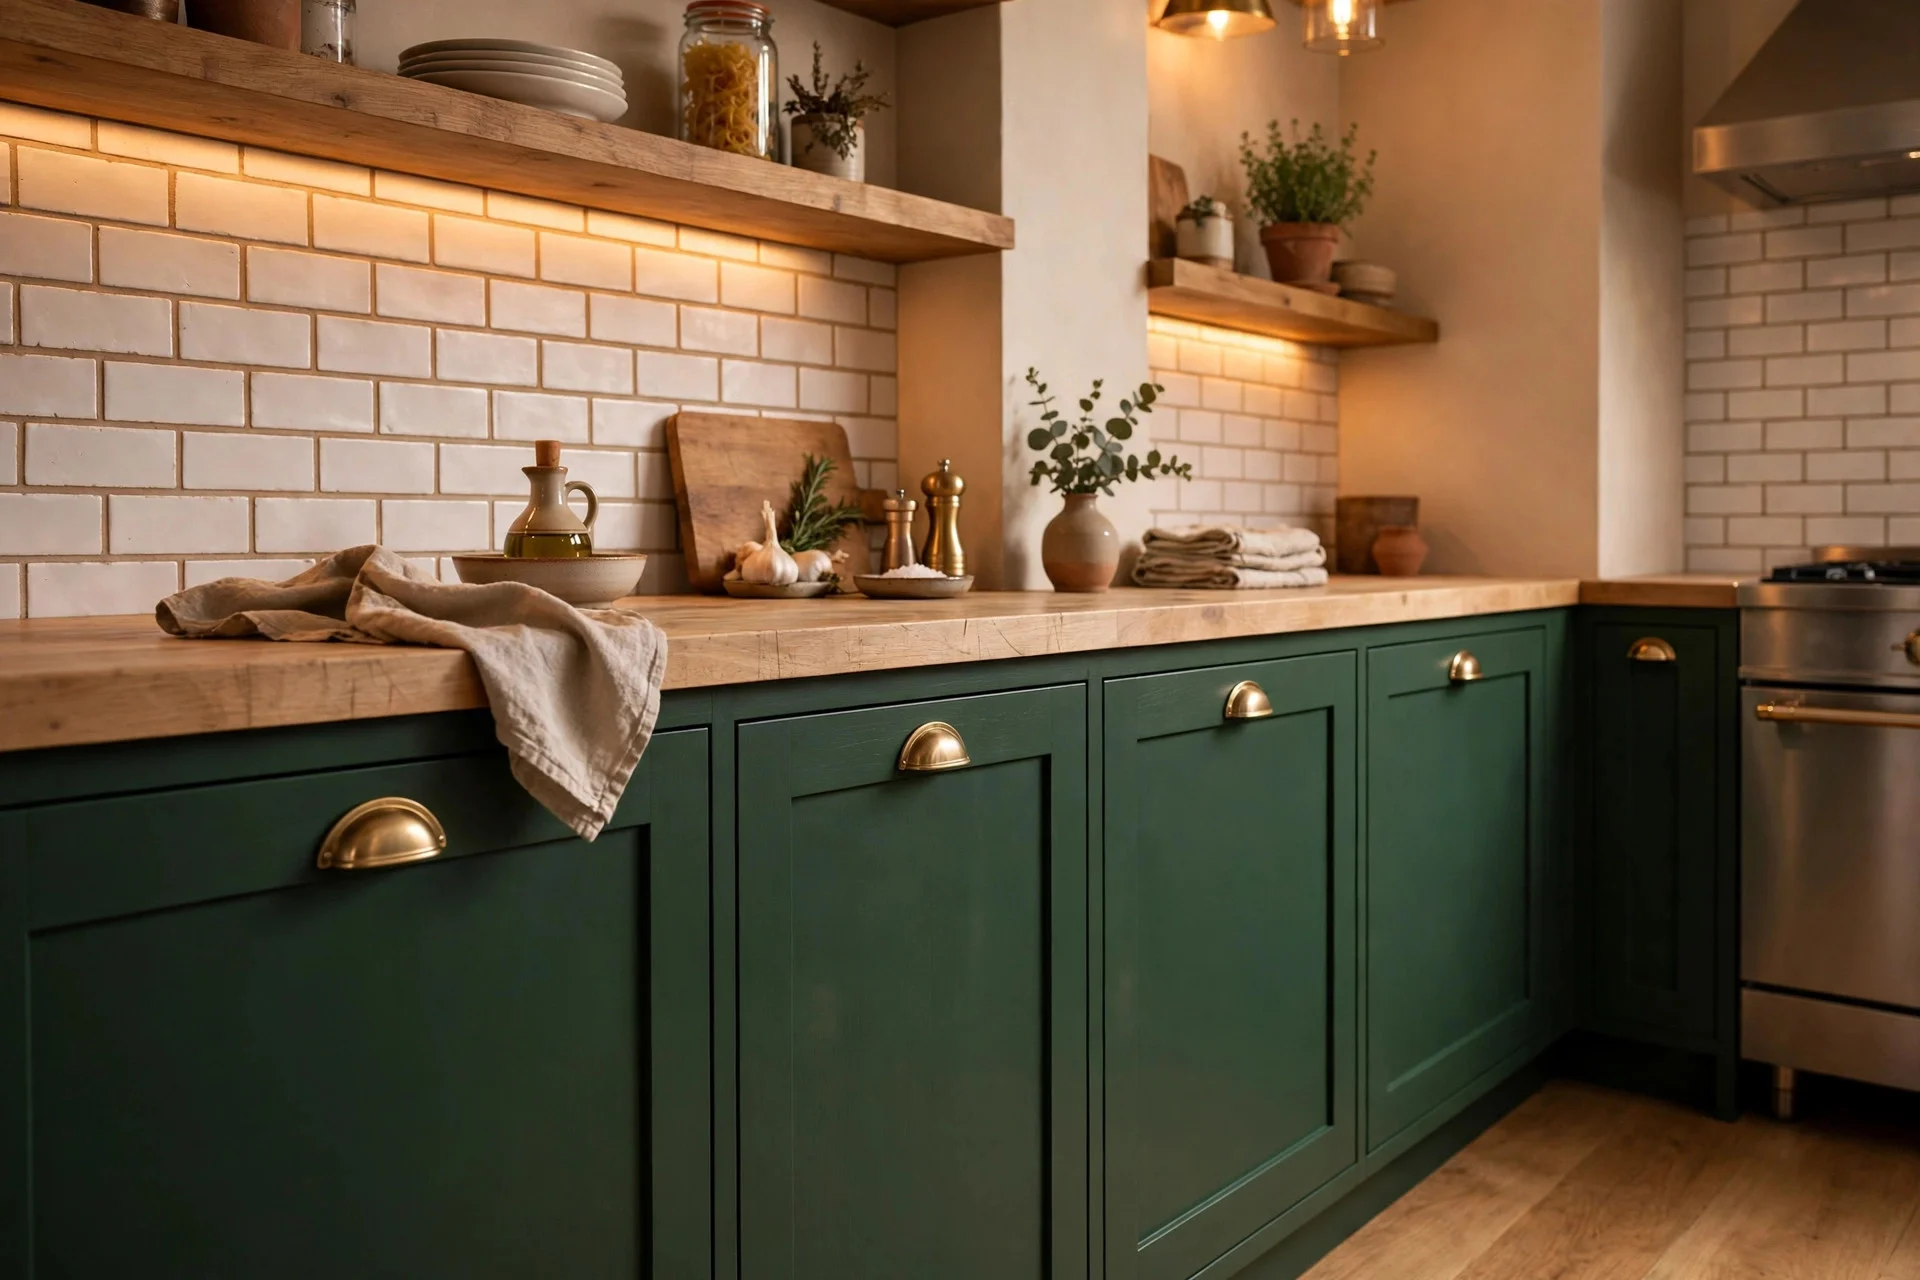
Oak veneer on the upper cabinets — real wood grain over a stable core — brings warmth to the top half of the kitchen while green holds the bottom. The contrast is the classic two-tone recipe, and veneer keeps the cost well below solid oak.
Cost: $600–$2,000 depending on kitchen size. Difficulty: high; a joiner job. Tip: ask to see a full veneer sheet, not a small sample — oak grain varies a lot, and you want to know the range before it goes on your walls. Watch out: veneer and steam do not mix well, so keep a good extractor fan running and wipe up steam around the uppers. If you are costing paint for the green half, the paint calculator gives you a quick quantity estimate.
13. Fit a New Oak or Butcher-Block Worktop
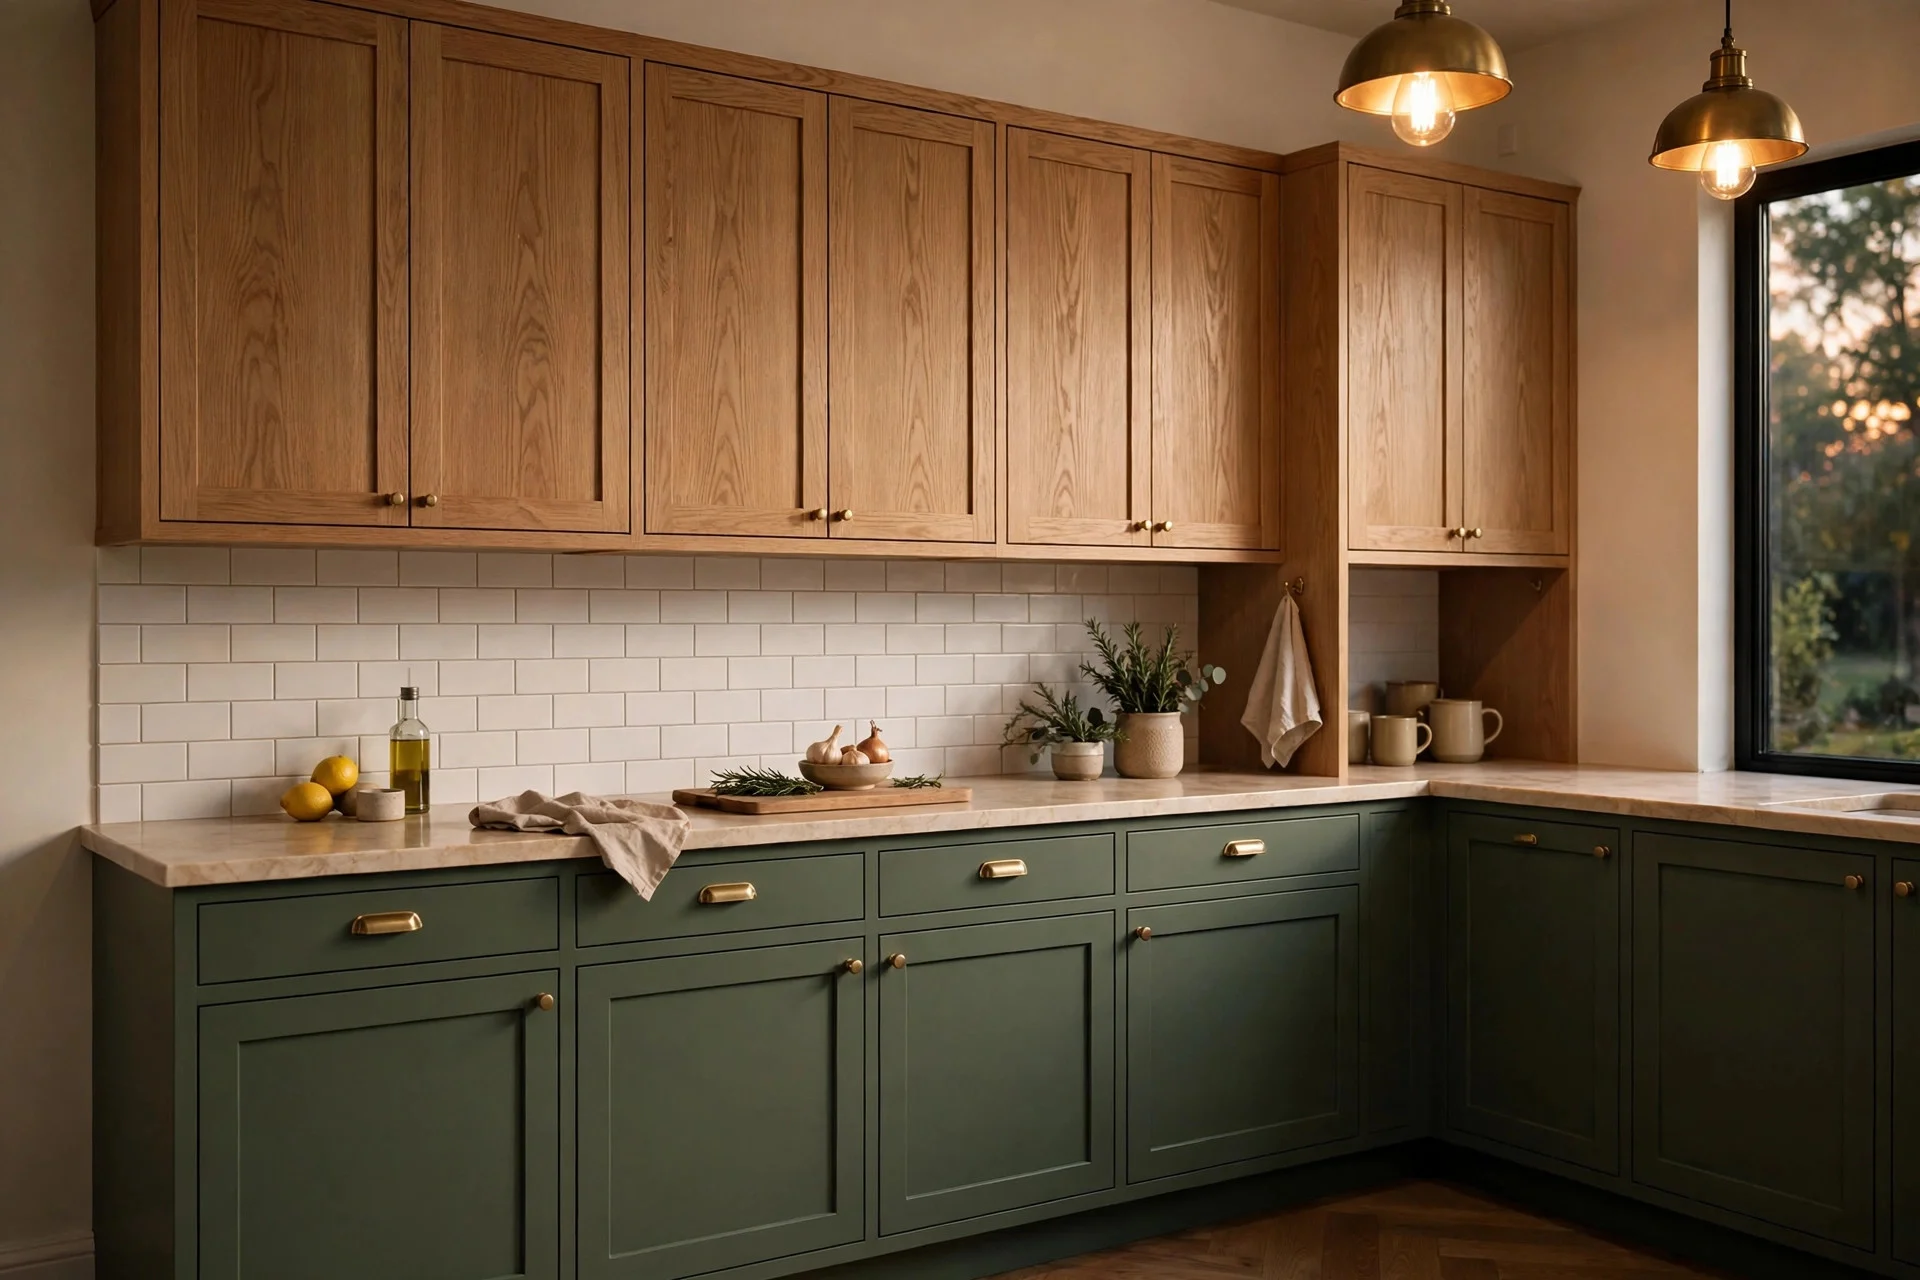
A wood worktop is the single biggest oak surface in the kitchen, and it changes the room’s warmth more than any shelf or tray. Butcher block suits the green-and-oak scheme perfectly, and it ages gracefully if you oil it regularly.
Cost: $400–$1,200 for a small kitchen. Difficulty: high; templating and cutting need a professional. Tip: oil the worktop before first use and re-oil every few months — an unoiled wood top stains at the first coffee ring. Watch out: wood and sinks need a good seal around the cut-out, or water creeps in and swells the board from underneath.
14. Get a Professional Full Cabinet Repaint
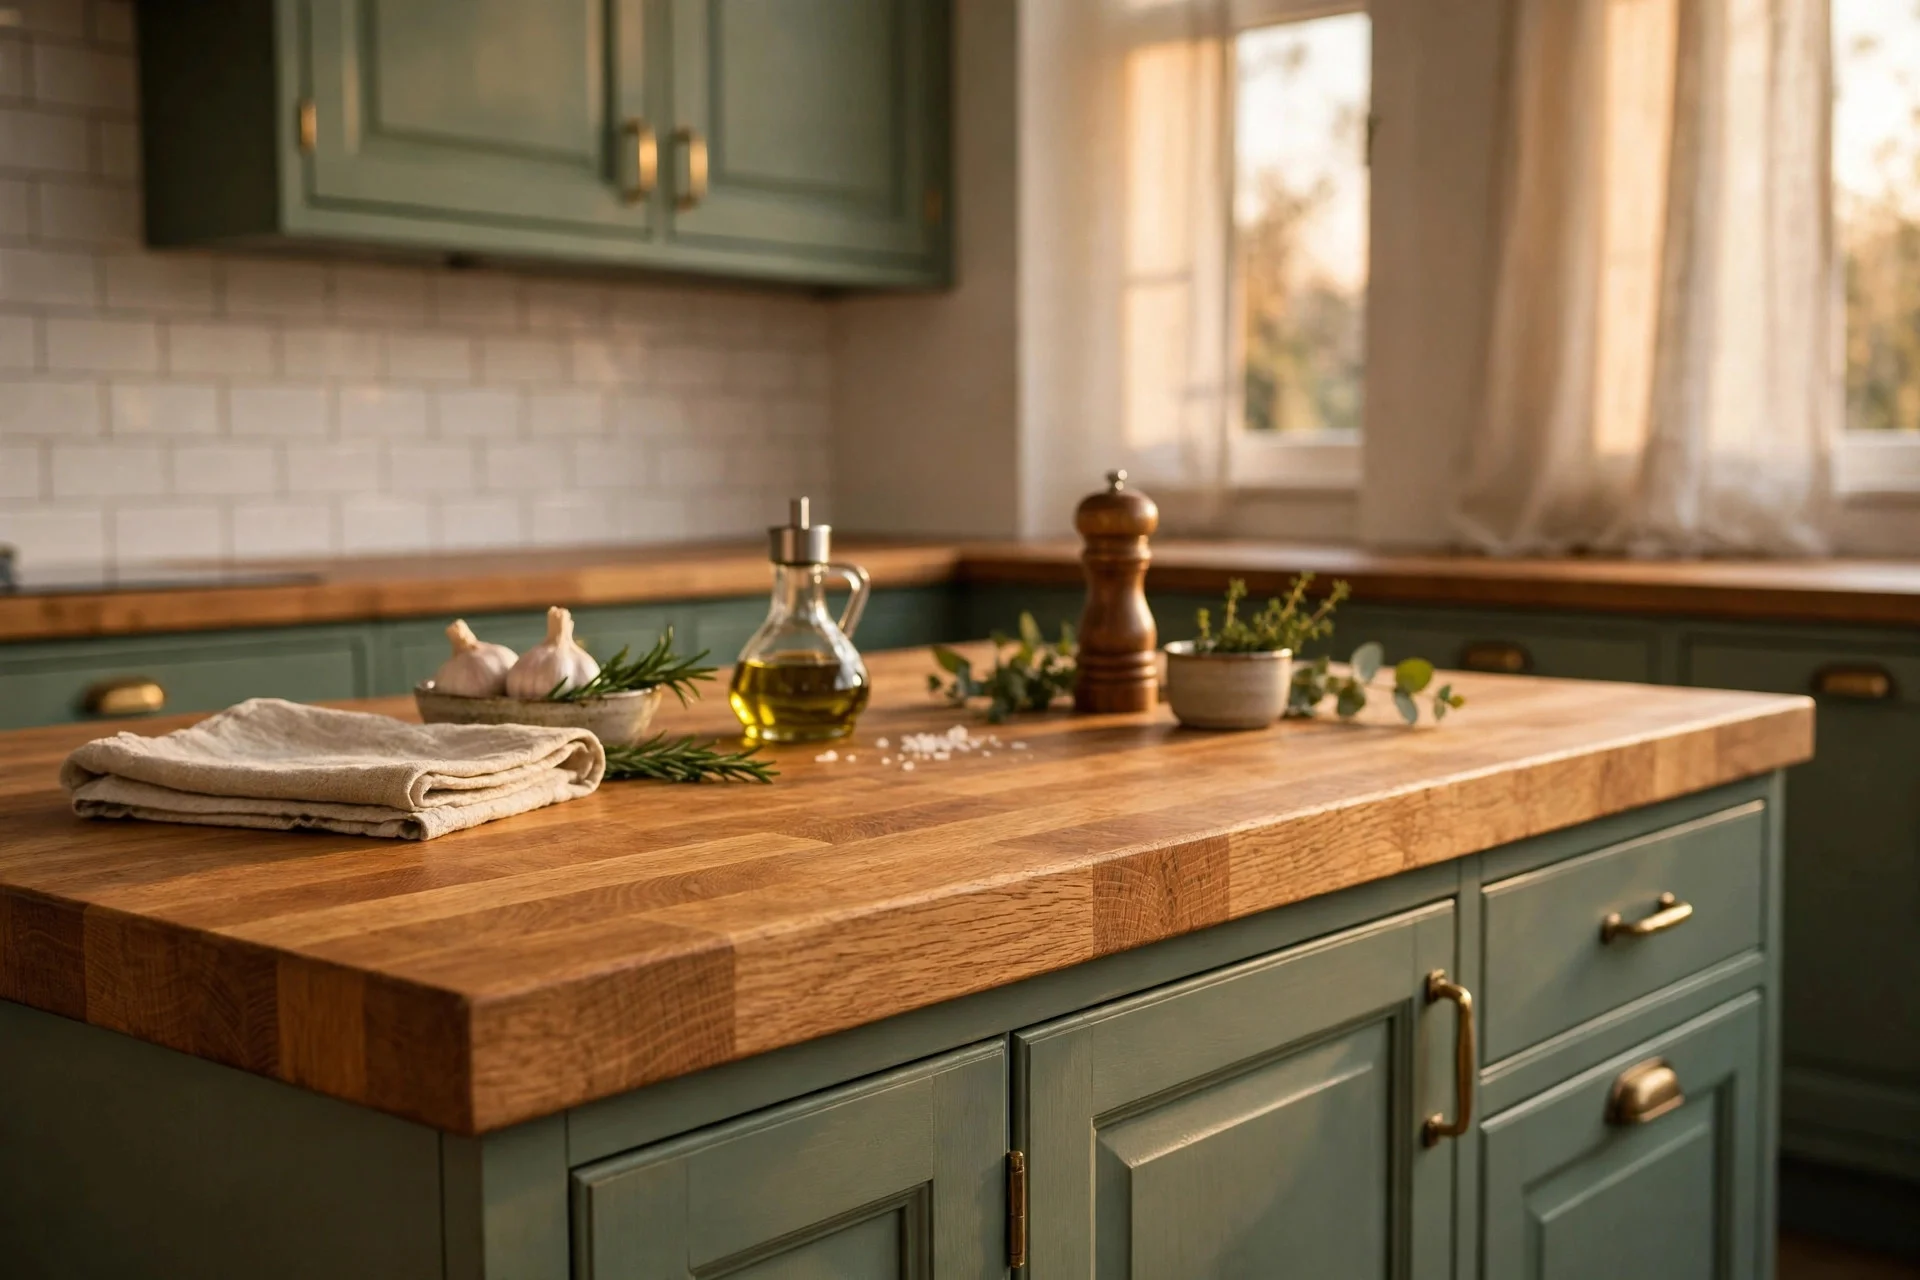
A professional spray finish on all the cabinets — green below, a soft neutral or pale oak-effect above — is the closest thing to new cabinets without replacing them. Sprayed paint is smoother and harder-wearing than anything you can achieve with a brush at home.
Cost: $1,500–$4,000 for a full kitchen. Difficulty: professional job, usually 3–5 days with the kitchen out of action. Tip: empty the cabinets completely before the painters arrive and label where everything goes — repacking is the part everyone underestimates. Watch out: get the paint specification in writing, including the number of coats and the curing time, so you know when you can safely reload the cupboards. For inspiration on pairing deep green with warm metals, dark green and brass shows the same palette working in another room.
15. Build an Oak Island With Green Perimeter Cabinetry
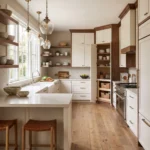
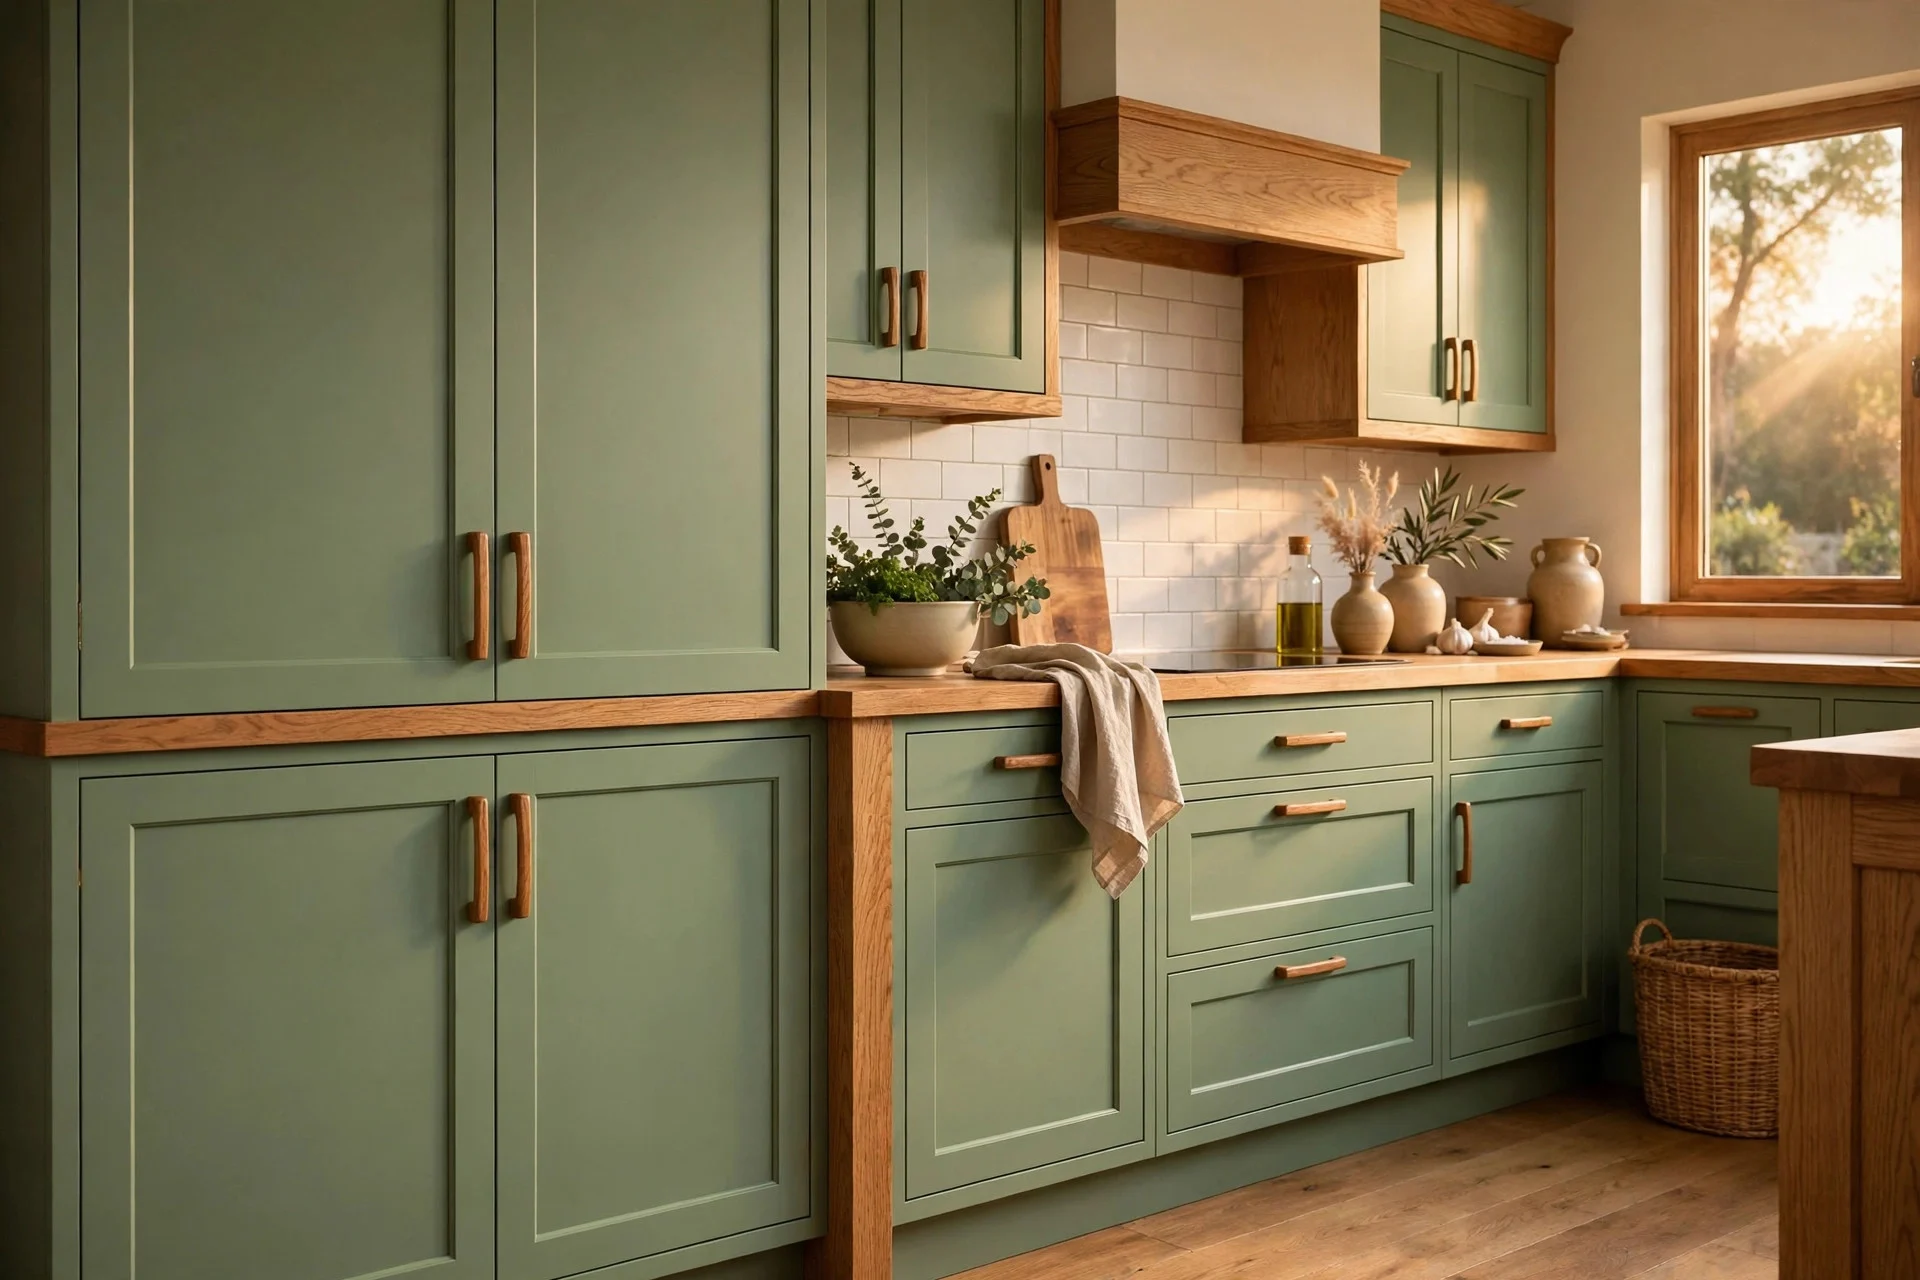
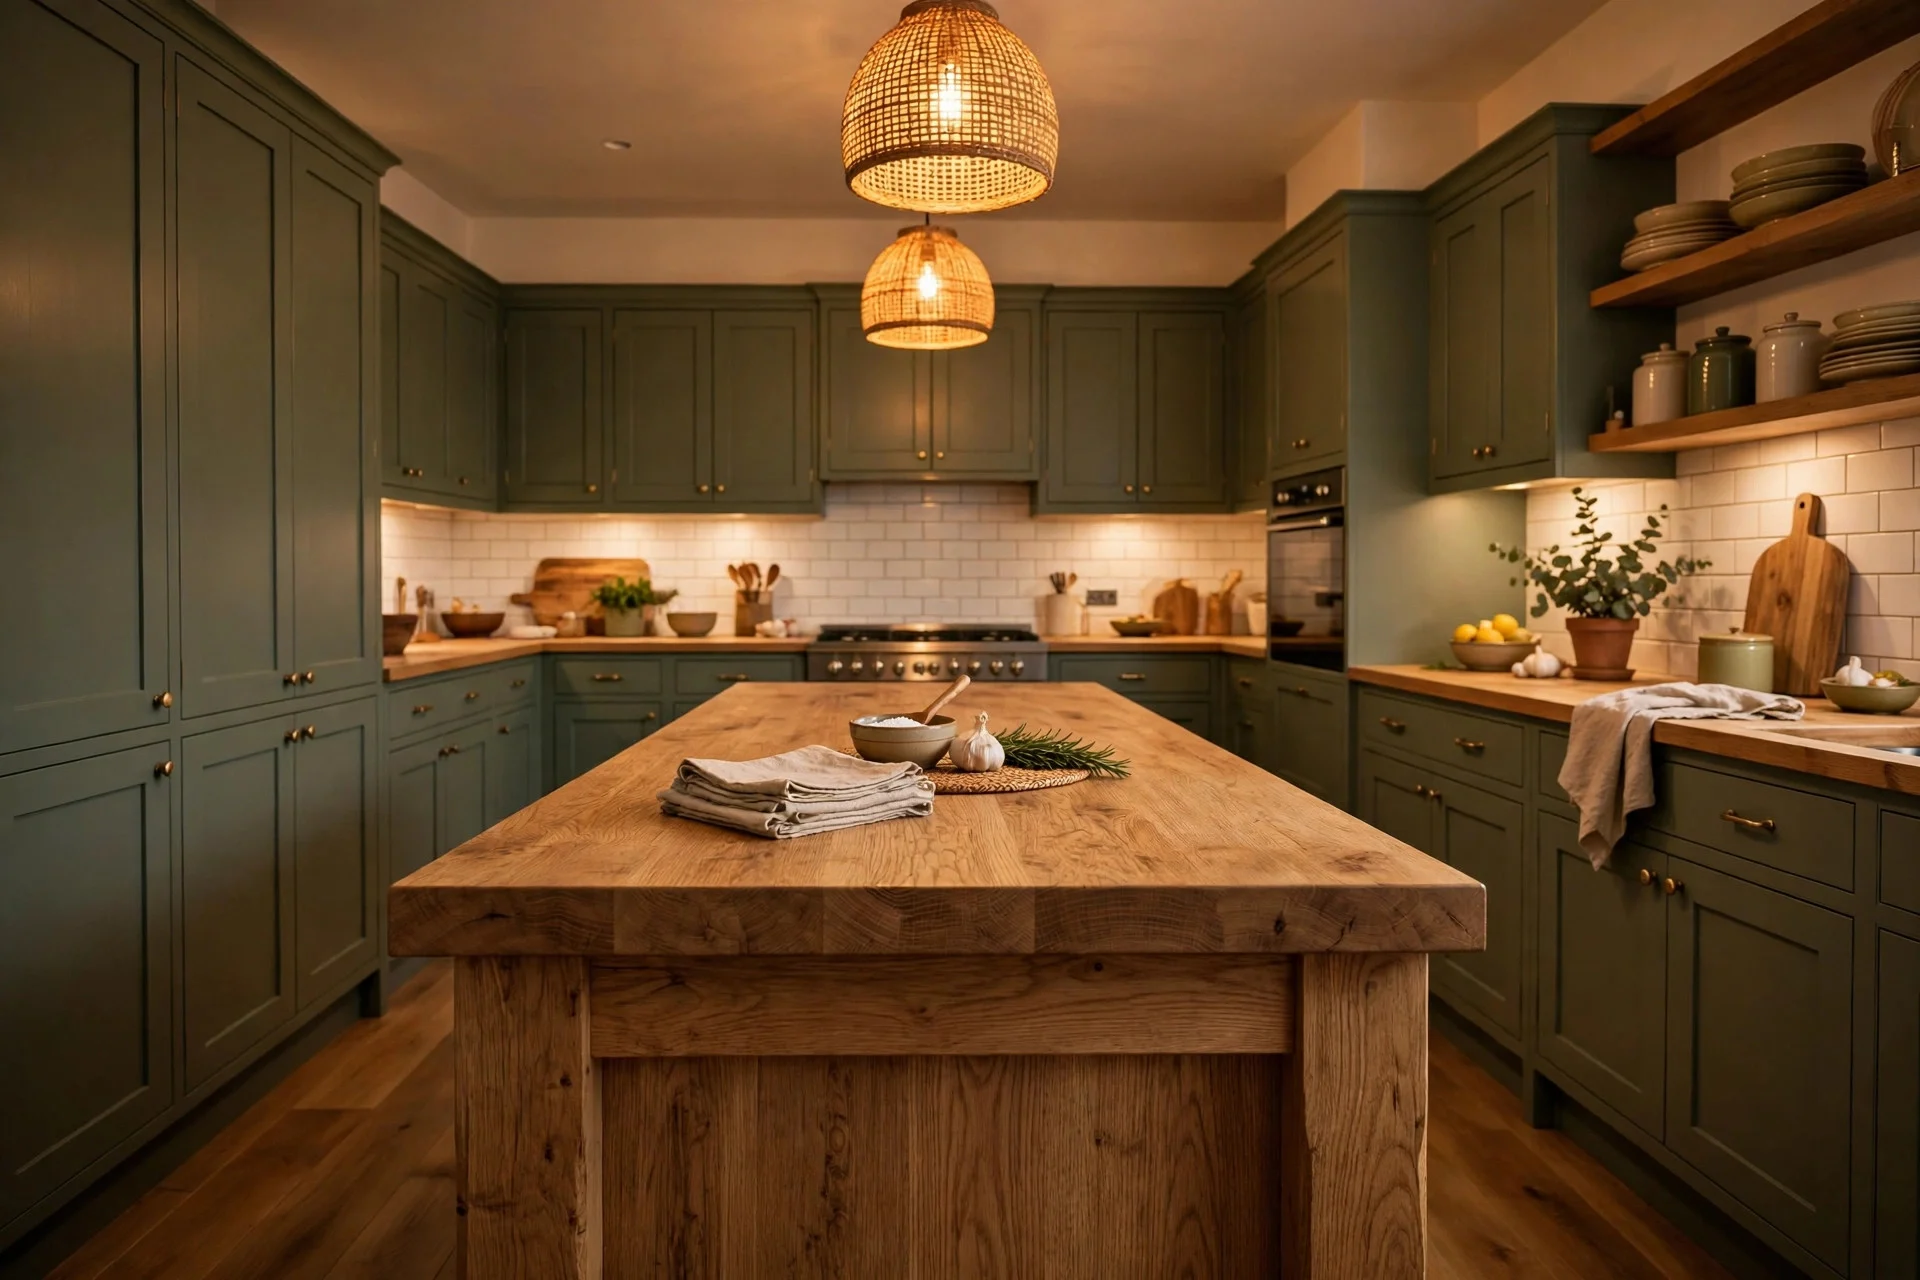
The full version of the look: a chunky oak island — open shelving, butcher-block top, room for stools — surrounded by deep green perimeter cabinets. The oak island becomes the room’s centrepiece, the green walls frame it, and the two tones finally share the space equally.
Cost: $2,000–$6,000 for the island and cabinet work. Difficulty: professional job. Tip: design the island around how you actually use it — seating on one side, storage on the other, prep space in the middle — rather than copying a showroom shape. Watch out: an island needs at least 90 cm of walkway on every side, so measure the room honestly before committing. A too-big island ruins a kitchen faster than any colour choice.
Frequently Asked Questions
Which green works best with oak?
Sage and deep forest green both work, for different reasons. Sage is soft and suits pale oak and small kitchens; deep green suits richer oak and larger rooms where the colour has space. Test both against your actual oak — the wood’s tone shifts the green more than you would expect.
Should the green go on top or bottom cabinets?
Green on the bottom and oak or neutral on top is the usual recipe, because dark colours feel grounded low down and light colours feel airy up high. Reversing it can work in a tall, bright kitchen, but it makes low ceilings feel lower.
Can I do this in a rental?
The under-$50 and most $50–$200 tiers are rental-friendly: hardware, trays, linen, runners and peel-and-stick tiles all come off cleanly. Repainting and refacing need the landlord’s permission, so stick to the reversible tiers unless you have it in writing.
Does green date quickly?
Green is one of the safer colour choices because it sits close to nature — it reads as classic rather than trendy, especially in sage and forest shades. Bright lime or neon greens date fast; muted greens do not.
Practical Wrap-Up
Start at the bottom tier and stop when the kitchen feels right — for many kitchens, brass hardware, an oak tray and a green island repaint are enough. If you go further, spend on the surfaces you touch daily: worktops and cabinet finishes. Keep one green, one oak tone and one warm metal, and the scheme will hold together at any budget.