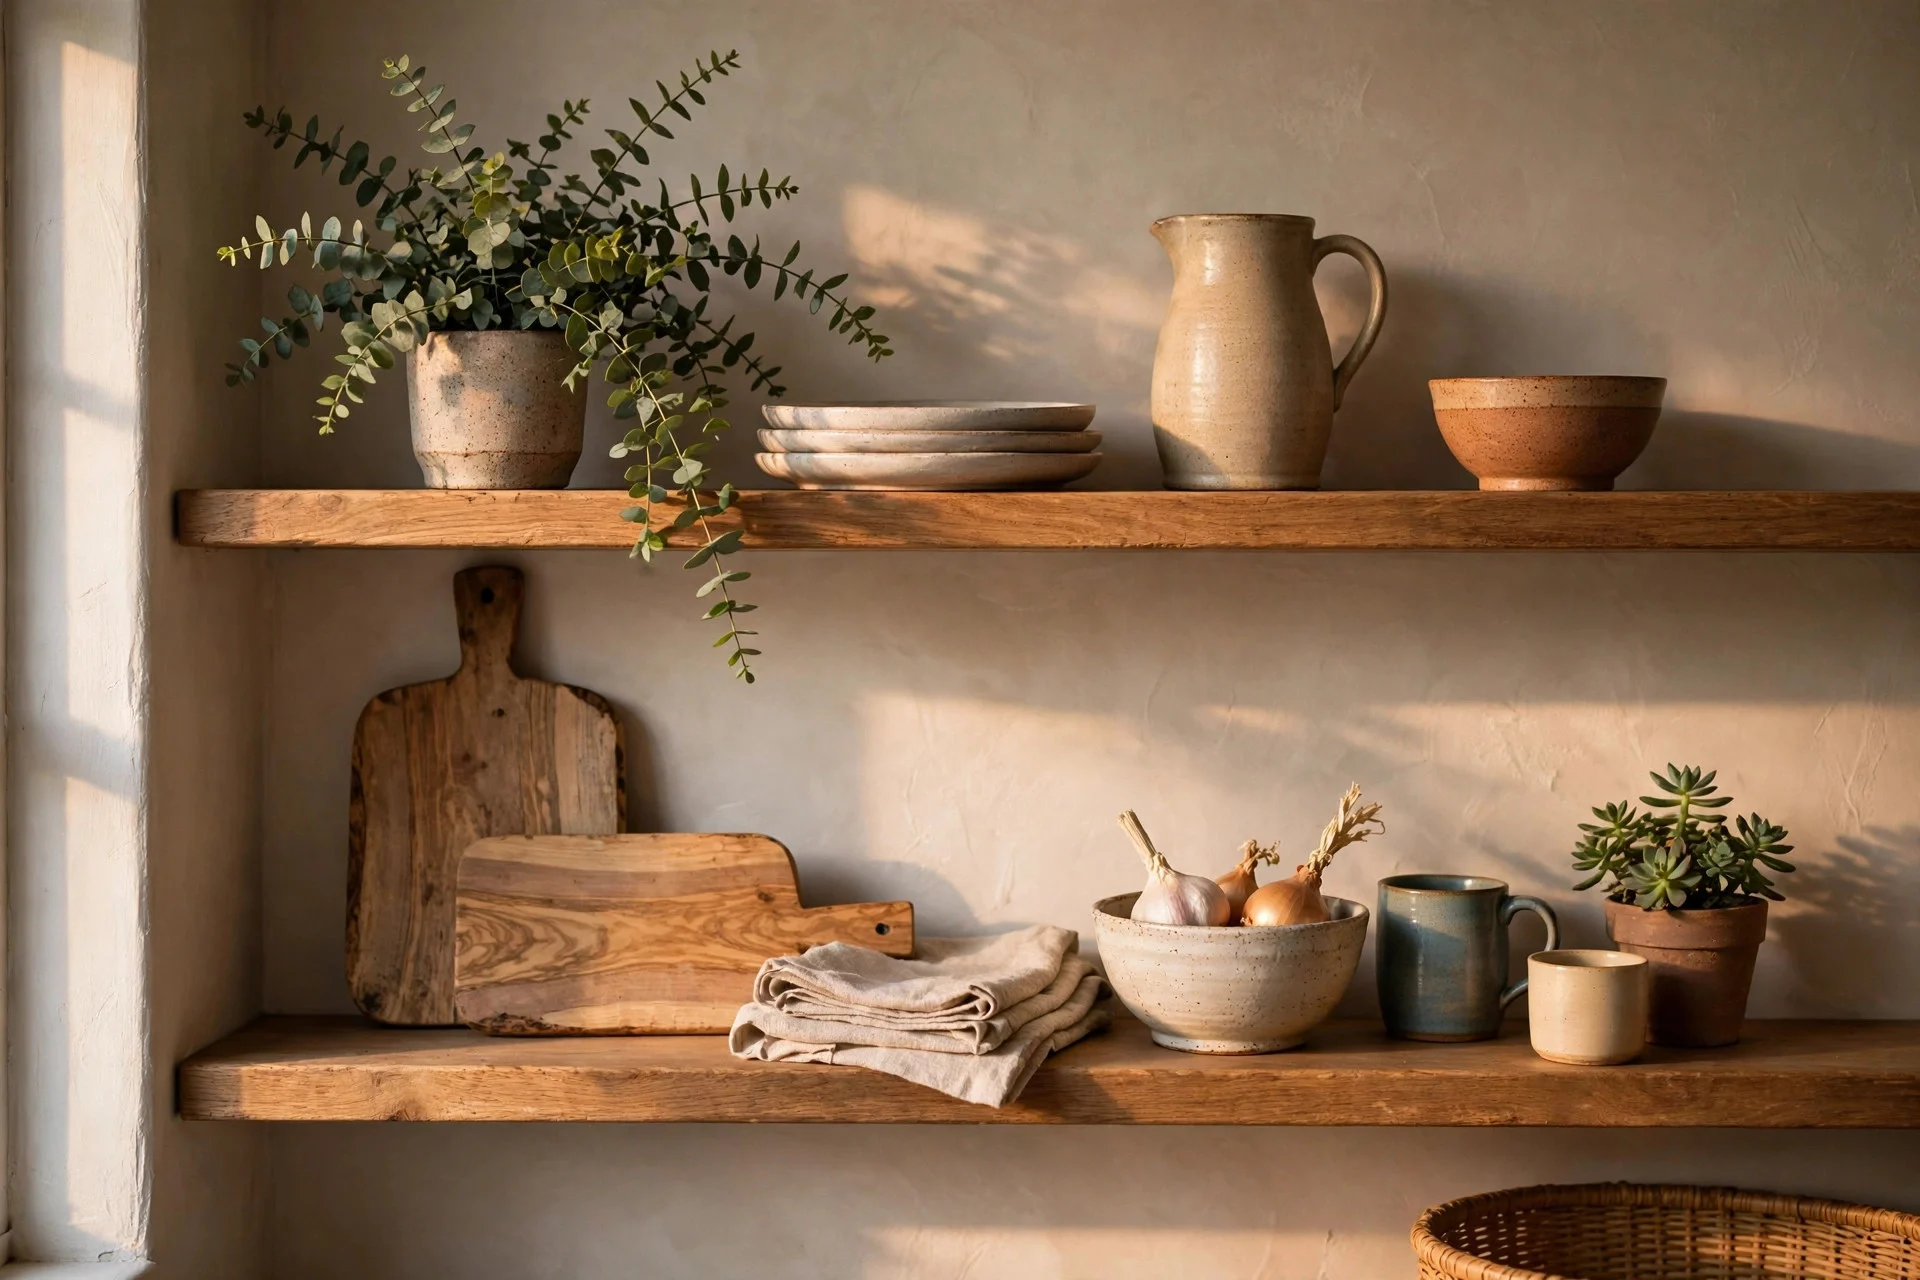
You open the cabinet, reach for a mug, and a stack of bowls wobbles. You take the shelves down because you love the look — airy, open, a bit like the kitchens in magazines — and within a month they hold a crowded row of everything you own, plus dust. Open shelving does not fail because it is a bad idea. It fails because nobody planned what goes where before the first plate went up.
The twelve steps below fix that. Work through them in order, in one afternoon if you can, and you will end up with shelves that stay good-looking because they are built around how you actually cook and eat — not around a photo.
Step 1: Clear Everything Off
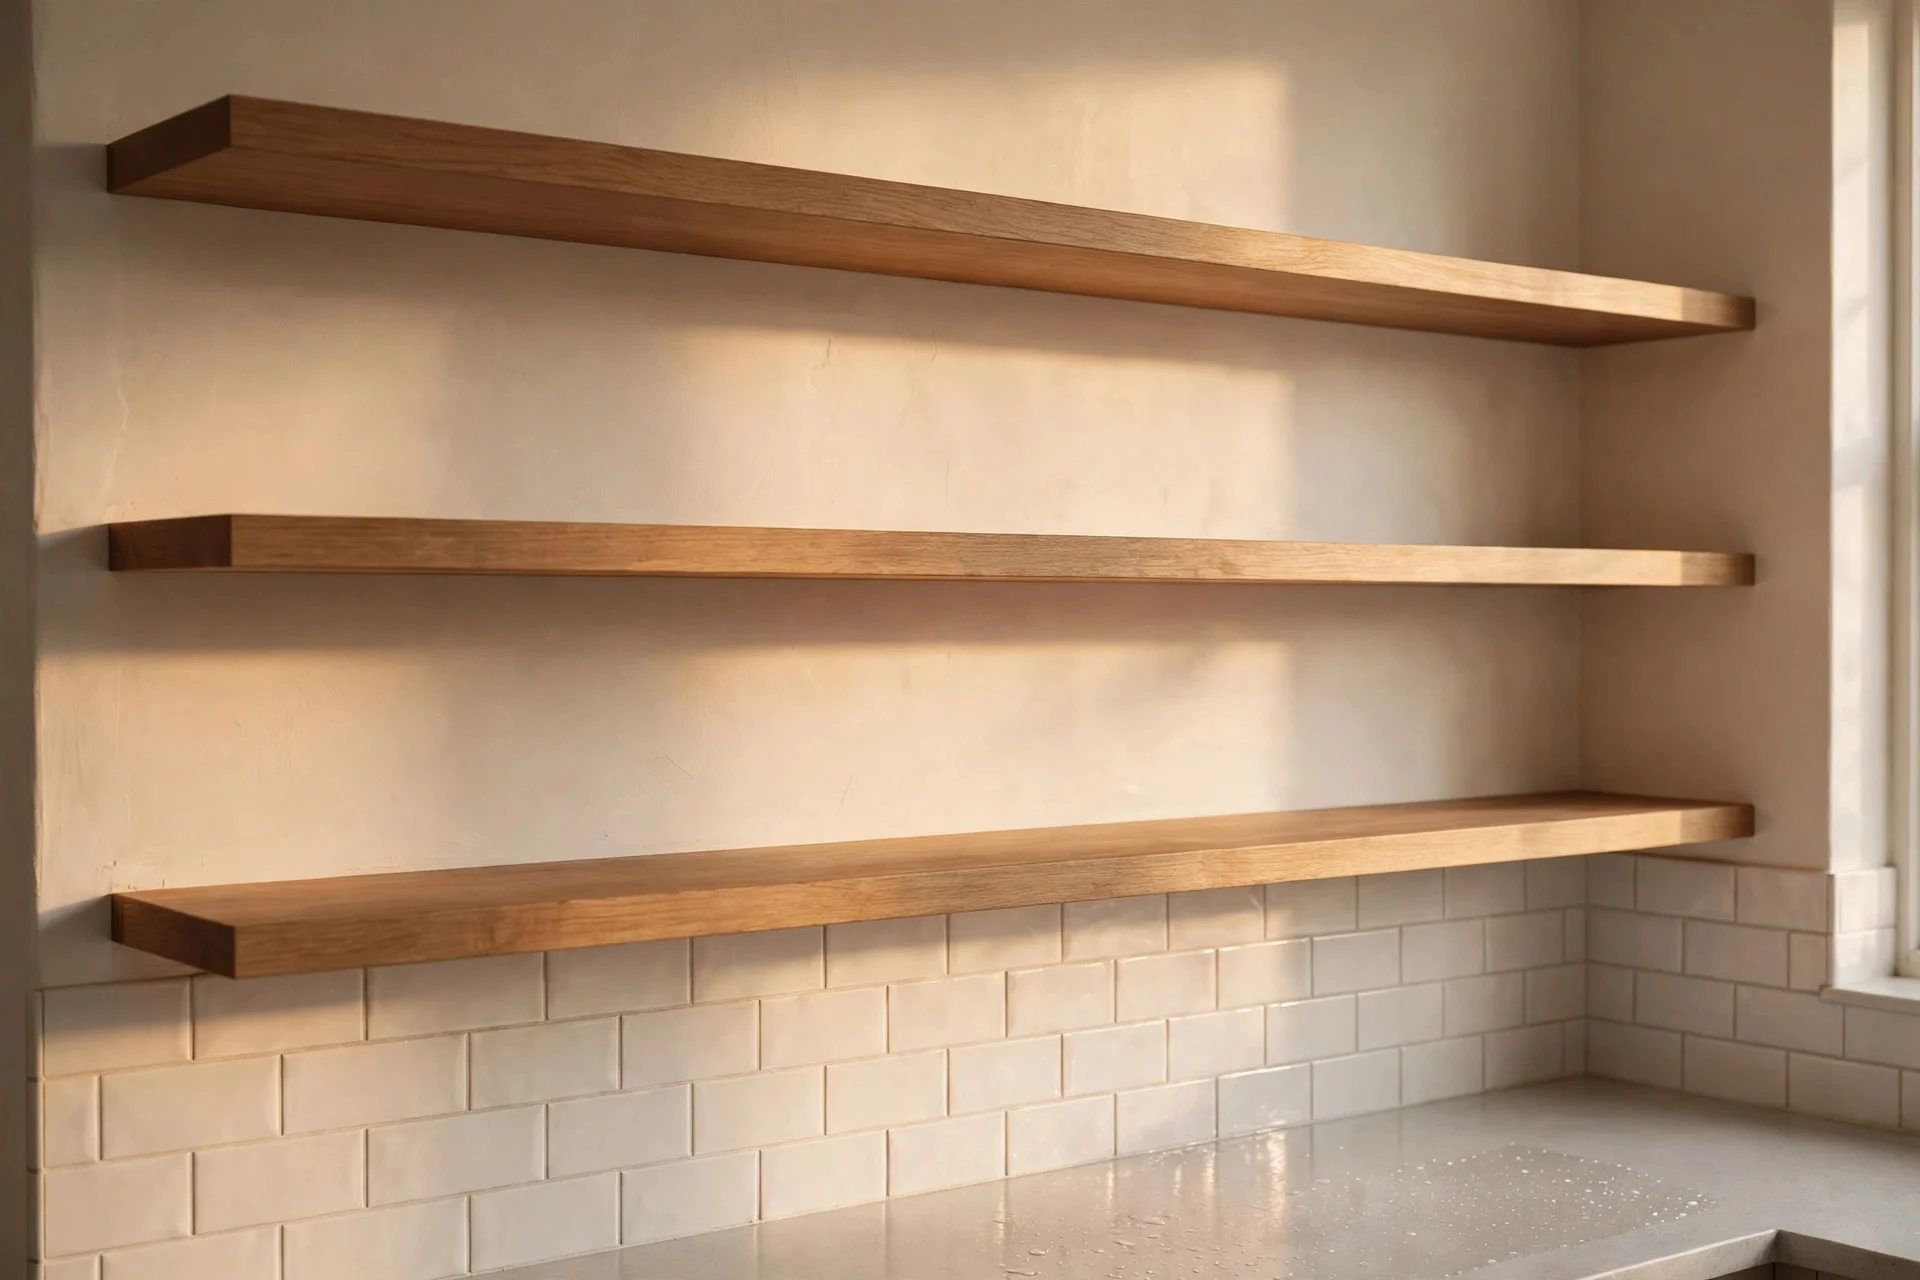
Take every single thing off the shelves, including the bits you forgot were there. Wipe the boards down and look at the empty space for a minute. This is the only way to see the shelves as storage with limits, rather than as a surface that keeps absorbing more stuff.
Cost: free, plus a cloth. Time: 20–30 minutes. Tip: put everything on the dining table in one pile, not scattered around the kitchen, or half of it will drift back before you have sorted it. Watch out: do not skip this step and just rearrange in place — you will only shuffle the clutter into neater rows.
Step 2: Sort Into Keep, Display and Store
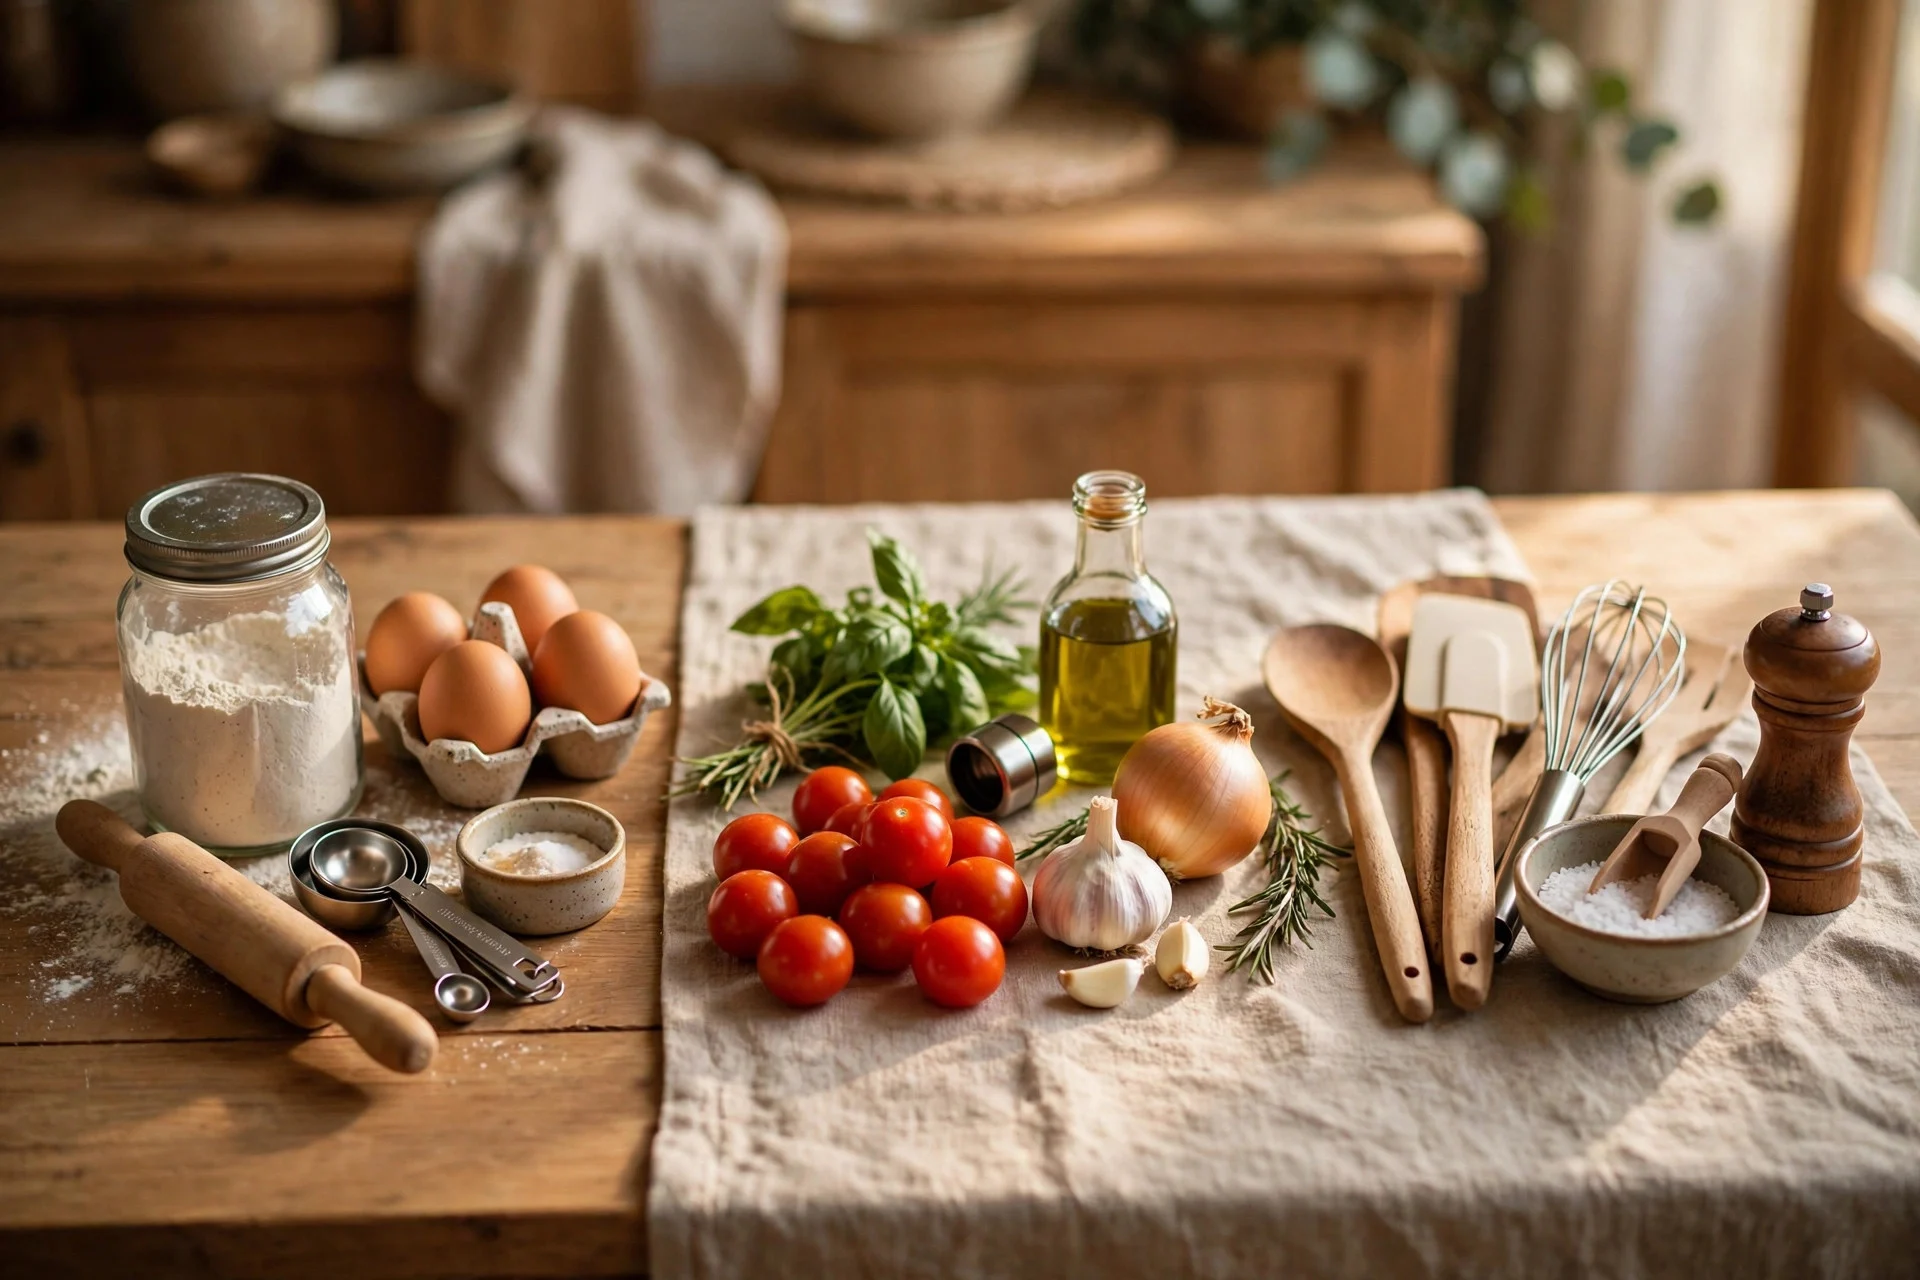
Make three groups. Display: the pieces you genuinely like looking at — nice bowls, a jug, a set of matching glasses. Keep: everyday items that earn a shelf spot because you use them daily. Store: everything else, which goes back into a cupboard, a box, or out of the kitchen entirely.
Cost: free. Time: 30–45 minutes. Tip: be honest about the “display” pile. If you would not pick it up in a shop today, it belongs in Store, not on show. Watch out: the Store pile needs a real home, or it ends up back on the shelf next week when you run out of cupboard space.
Step 3: Anchor With Large Pieces First
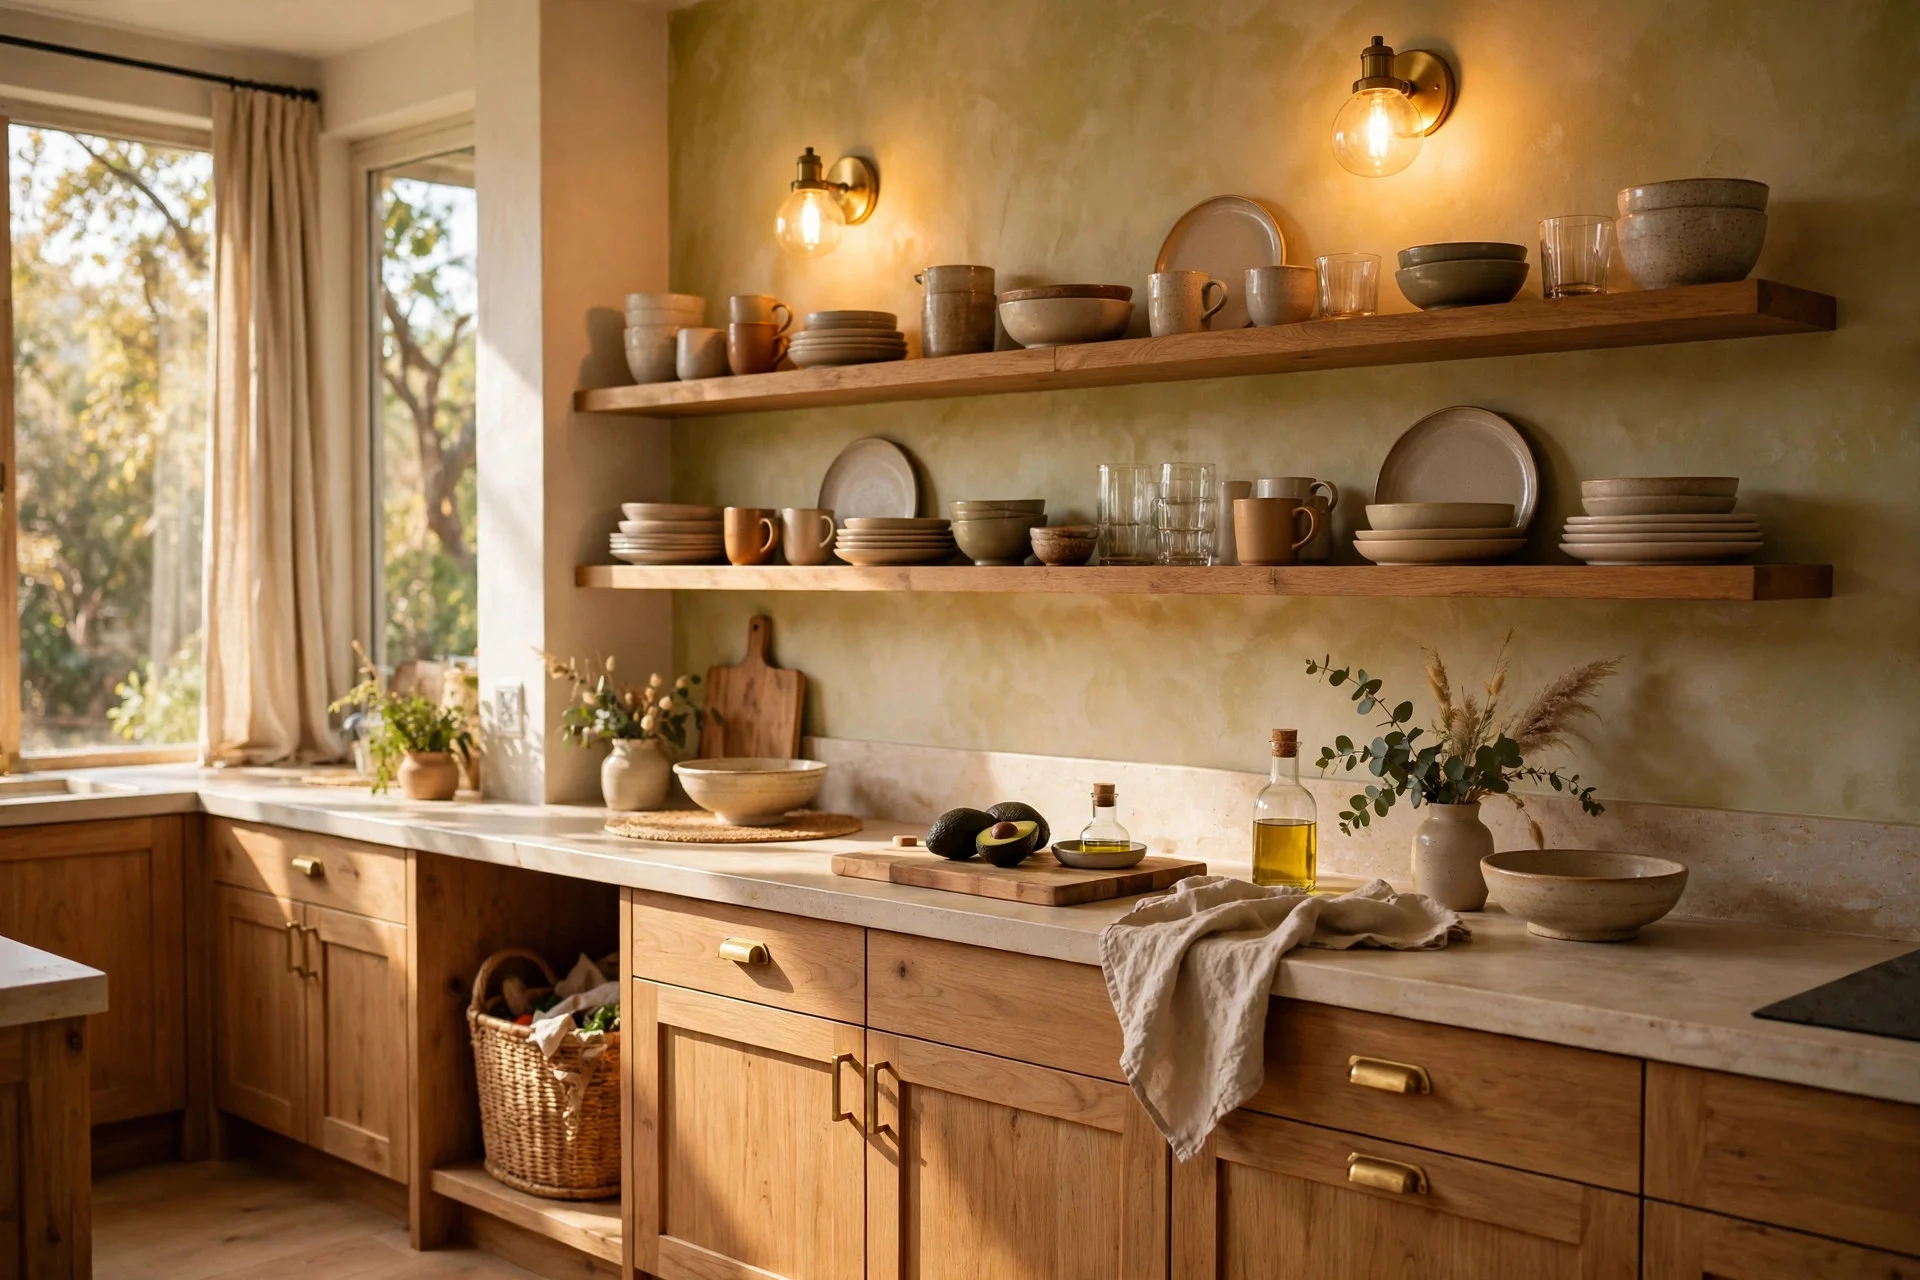
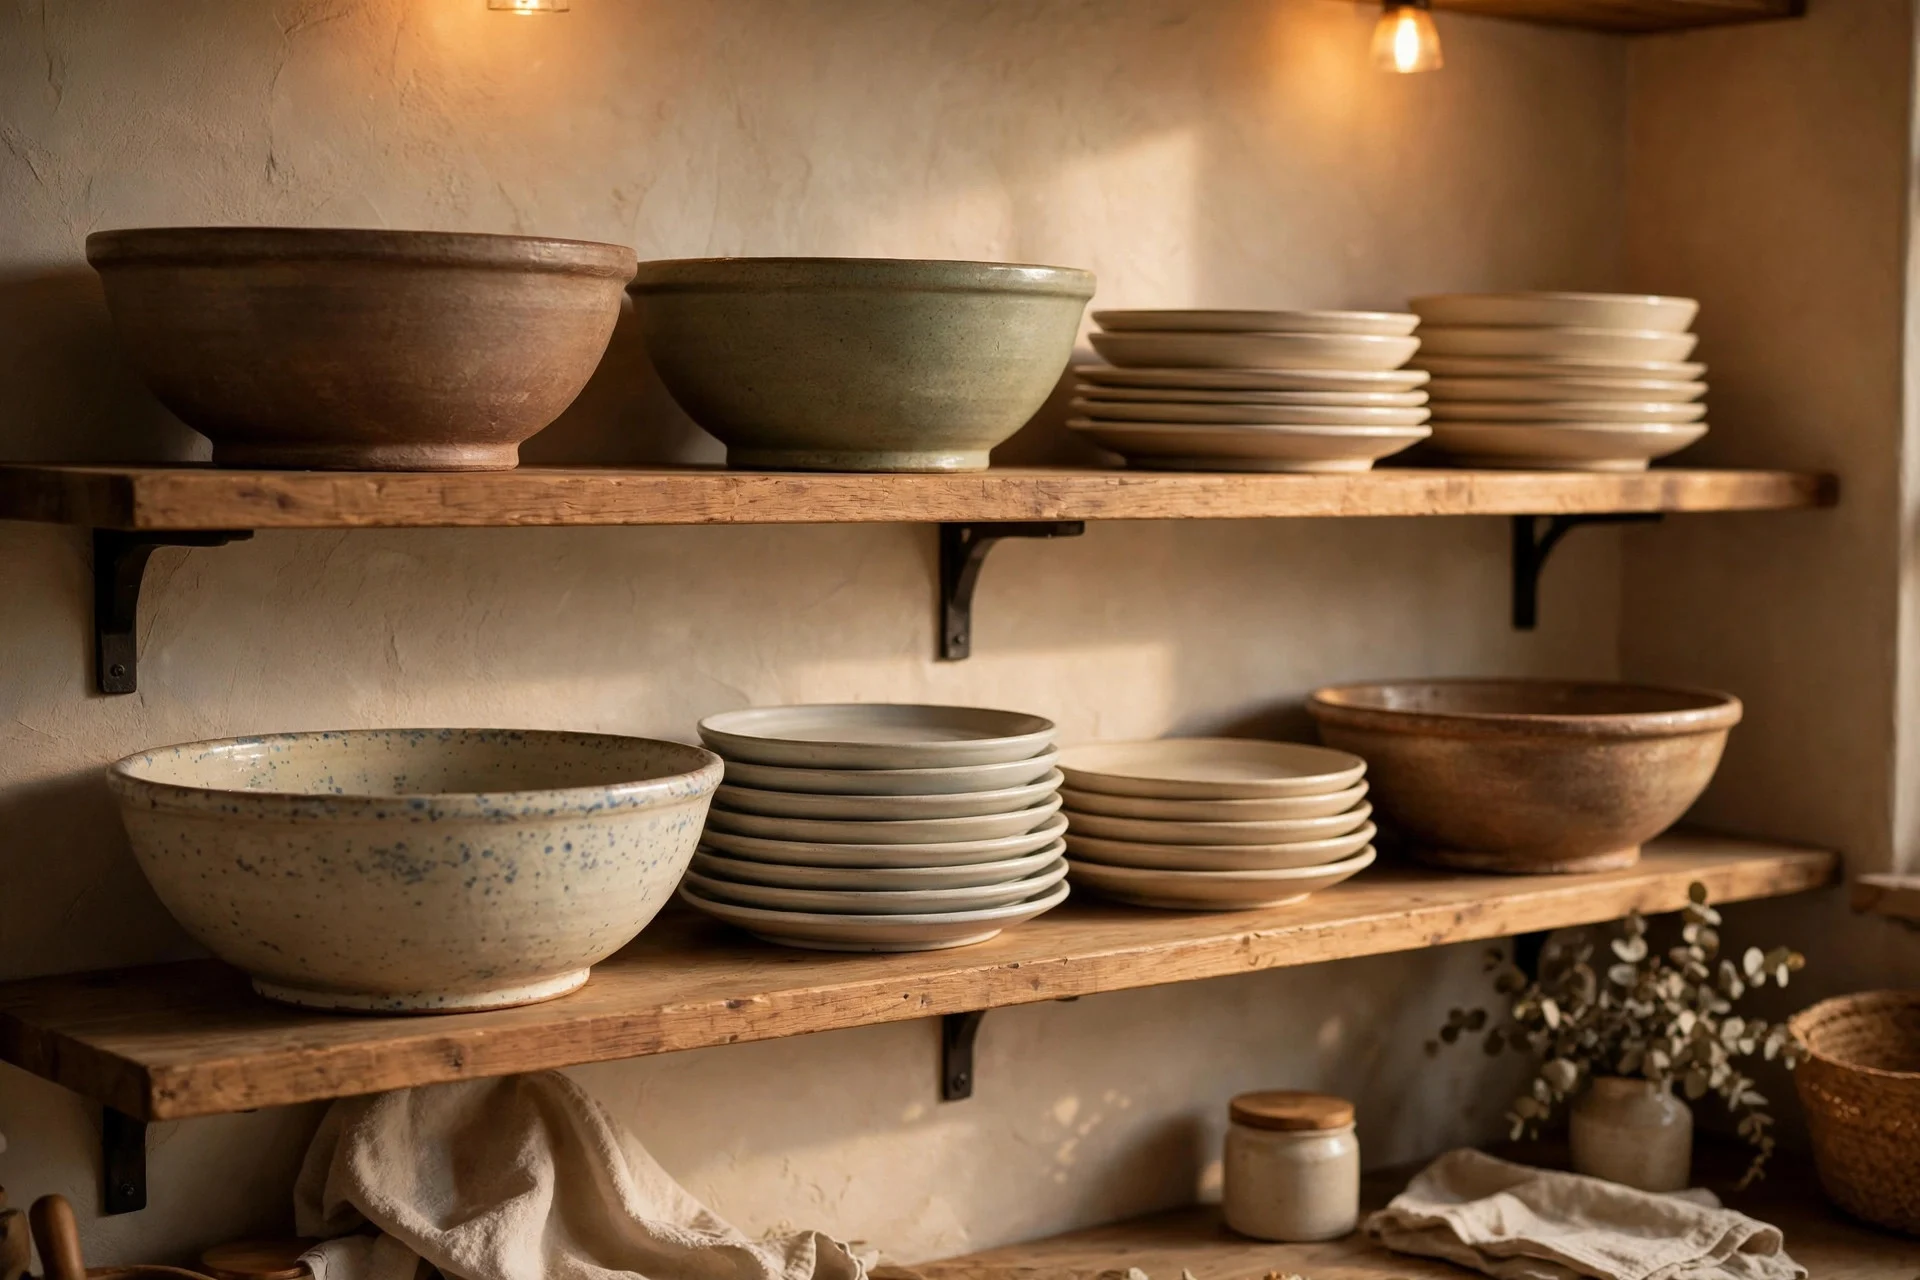
Place the biggest items first, one or two per shelf: a stack of dinner plates, a large serving bowl, a tall jug. These anchors set the scale for everything else and stop the shelf looking like a jumble of small bits. Put the heaviest anchor low, where it is easy to lift down safely.
Cost: free. Time: 15 minutes. Tip: a stack of plates reads as one visual block, which calms a shelf instantly — loose single plates scattered about do the opposite. Watch out: never anchor a high shelf with something heavy. If it falls, it falls from head height.
Step 4: Layer Back to Front
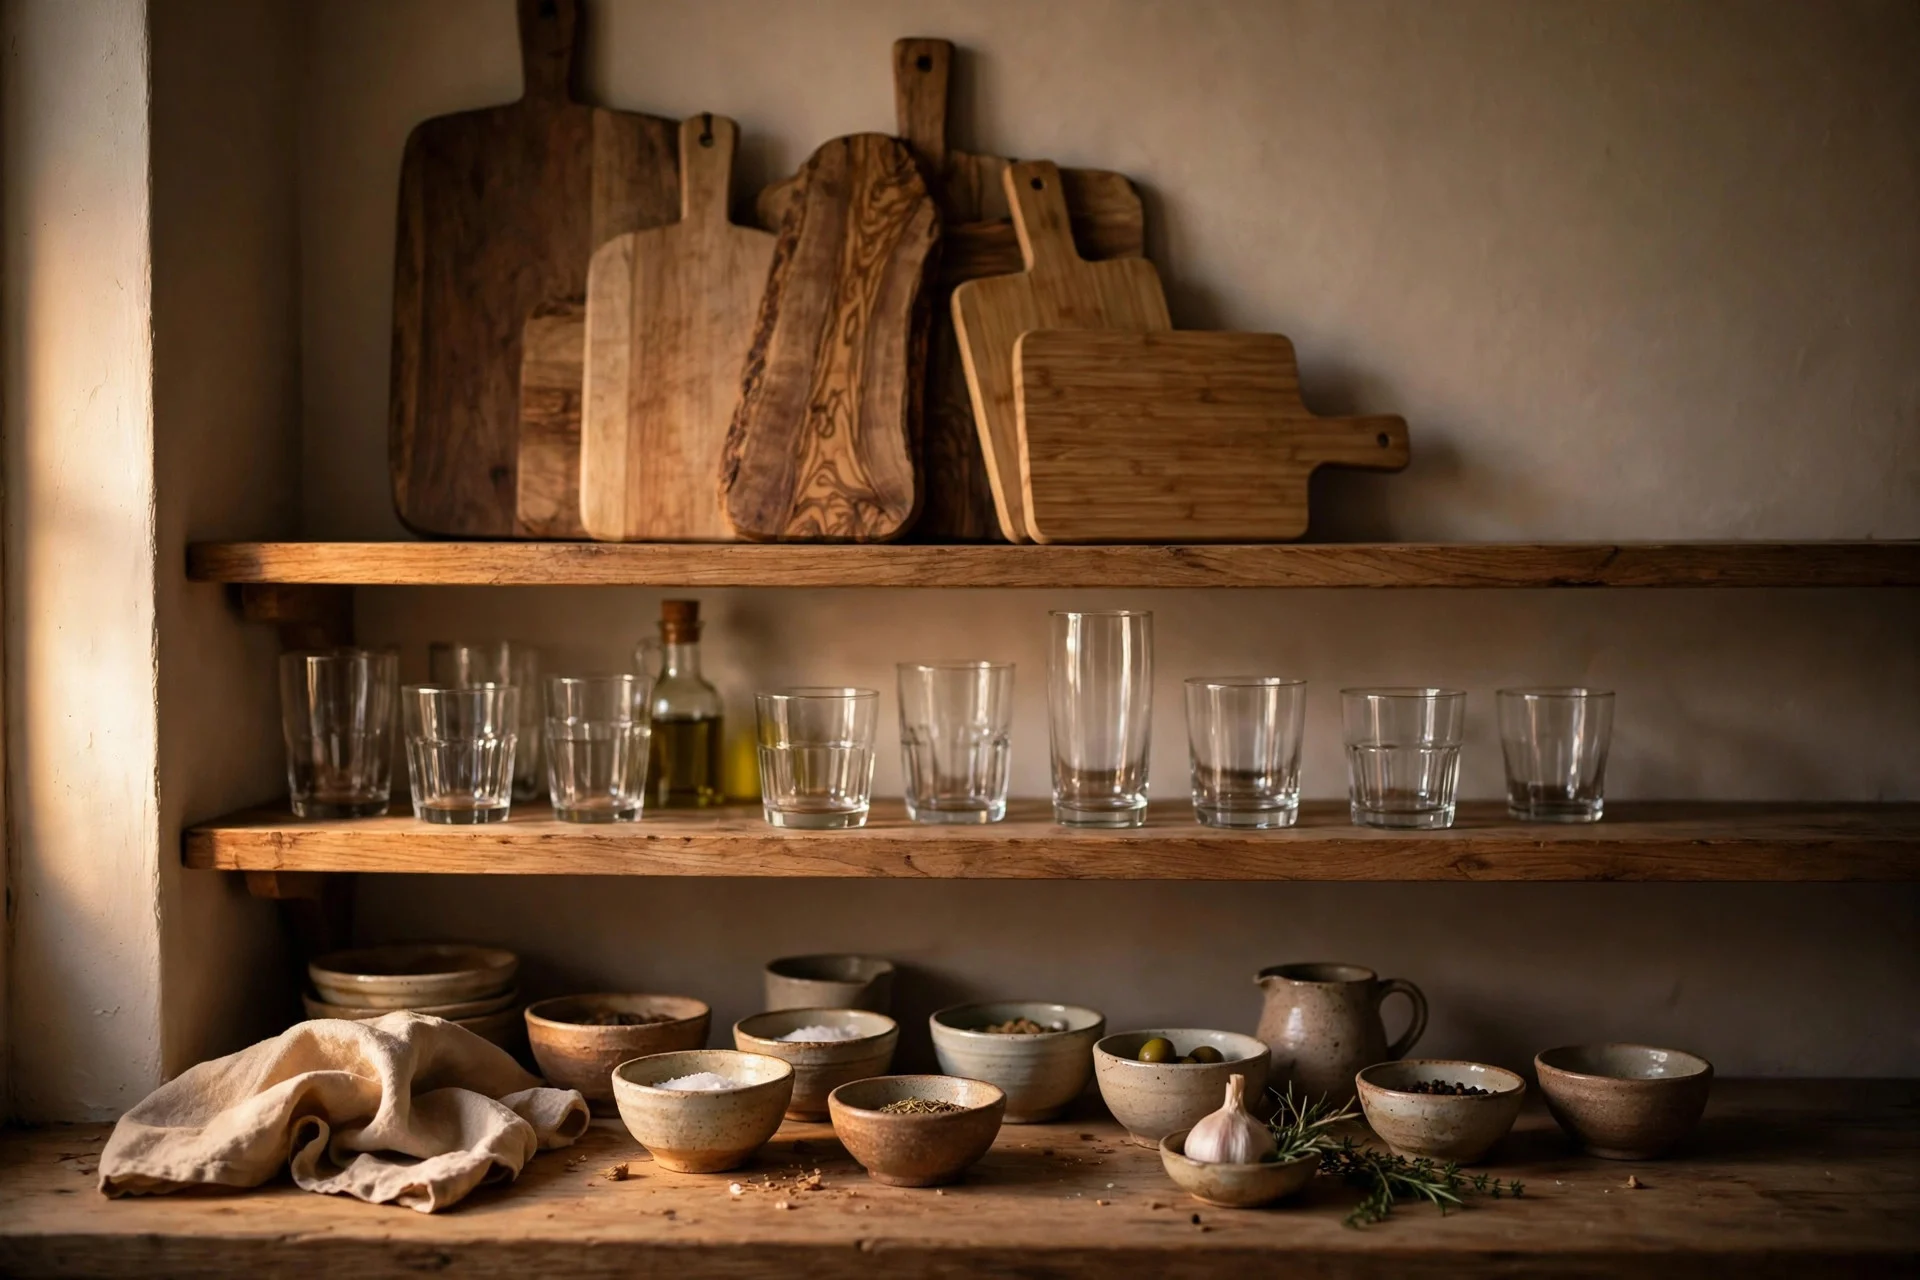
On each shelf, put taller pieces at the back and shorter ones in front, so nothing hides completely behind something else. A board leaning against the wall, a row of glasses in front of it, a small bowl in front of those — three depths, all visible.
Cost: free. Time: 15 minutes. Tip: step back to the doorway after each shelf and check you can see every item. If you have to crouch or crane to spot something, it is buried too deep. Watch out: layering is not stacking — piling small things on top of each other just creates a new kind of clutter.
Step 5: Repeat One Colour or Material Three Times
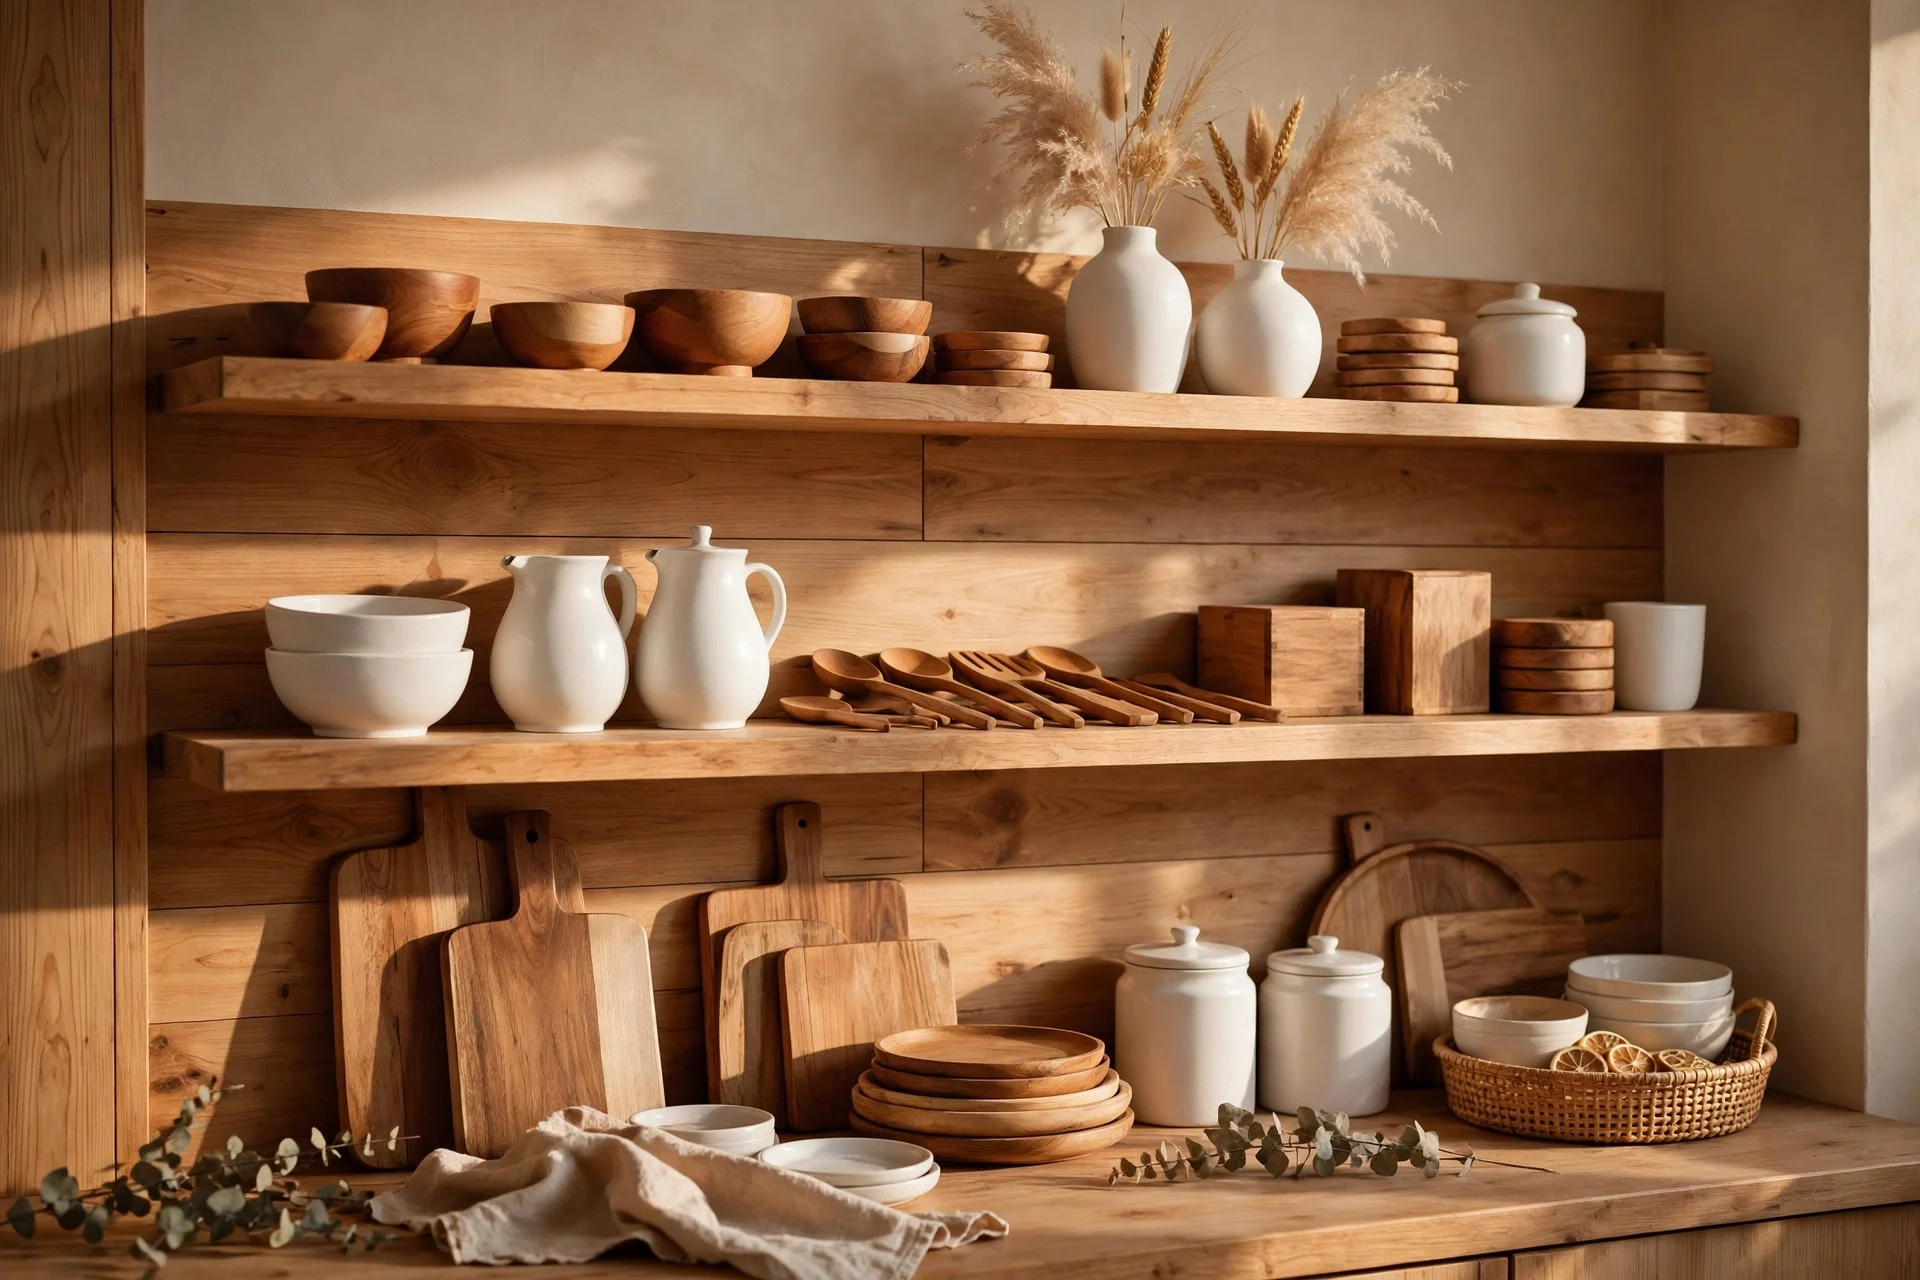
Pick one thread — white ceramic, warm wood, clear glass, brass — and repeat it at least three times across the shelves. That repetition is what makes a mixed collection look deliberate instead of random. It does not have to match perfectly; similar tones count.
Cost: free if you already own the pieces; $20–$60 for a few matching items. Time: 15 minutes. Tip: wood is the easiest thread to repeat because boards, bowls and spoons all count. Watch out: repeating five different colours at once has the opposite effect — one thread only, and let the rest be quiet background. For more small-space storage thinking, these tiny house storage ideas use the same repeat-one-material trick.
Step 6: Mix the Heights
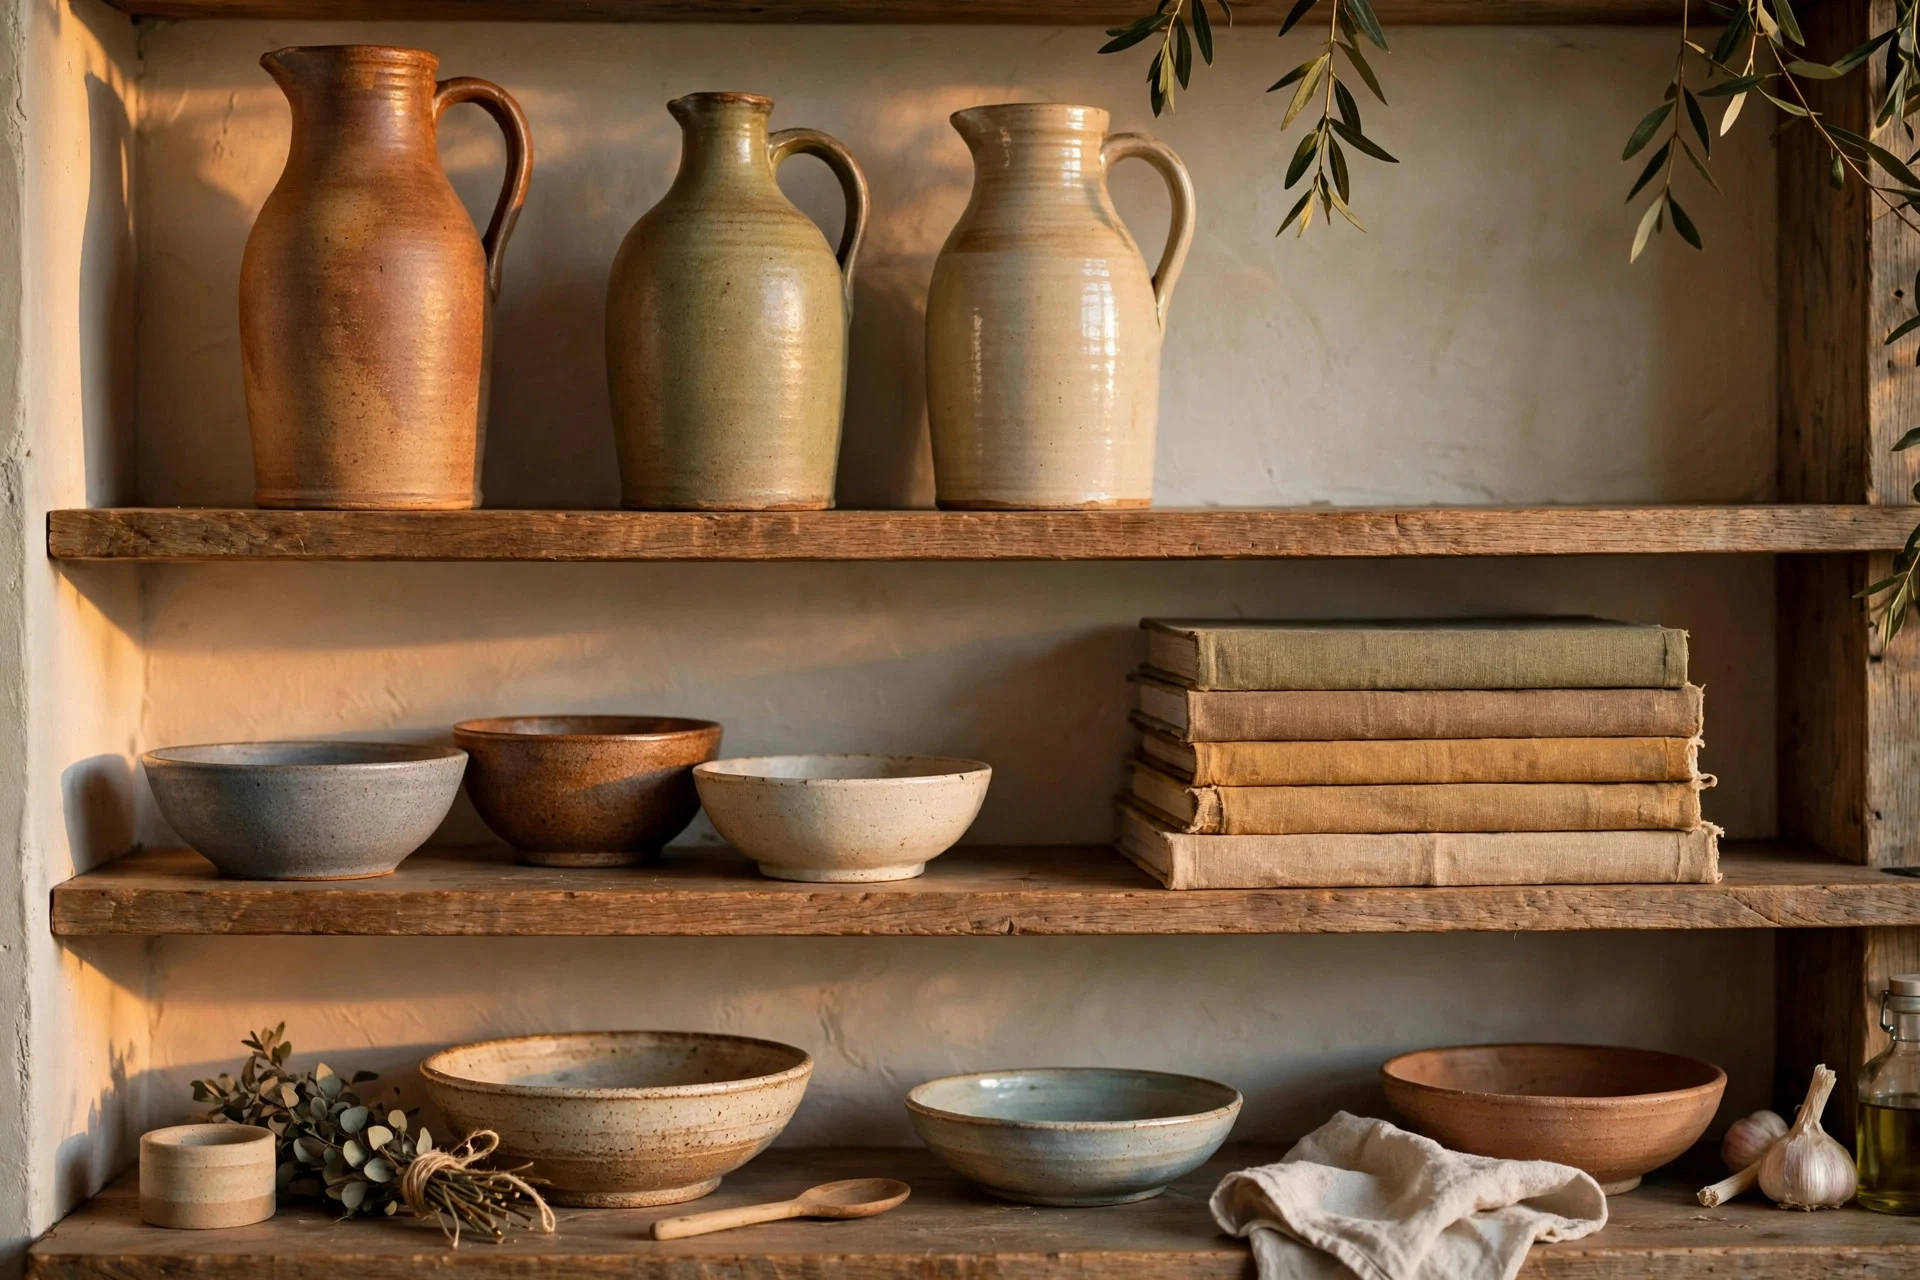
A shelf where everything is the same height looks like a shop display and feels flat. Mix tall jugs with low bowls, a stack of books lying flat with a vase standing beside them. The variation keeps your eye moving and makes the shelf feel collected over time rather than arranged in one go.
Cost: free. Time: 10 minutes. Tip: a small stack of cookbooks lying flat is the easiest way to add a low layer and lift a short item to a better height. Watch out: too much height variation on one shelf looks chaotic — aim for two or three heights per shelf, not six.
Step 7: Add One Natural Texture
One natural material — a woven basket, a linen cloth draped over a shelf edge, a wooden board — softens all the hard ceramic and glass. Just one. Two or three natural textures competing on the same shelves start looking like a market stall.
Cost: $10–$35 for a basket or linen cloth. Time: 5 minutes. Tip: a basket also hides the ugly-but-useful bits — spare bulbs, foil boxes, the odd cables — without a cupboard door. Watch out: natural fibres near the hob pick up grease fast, so keep baskets and cloths on shelves away from the cooker.
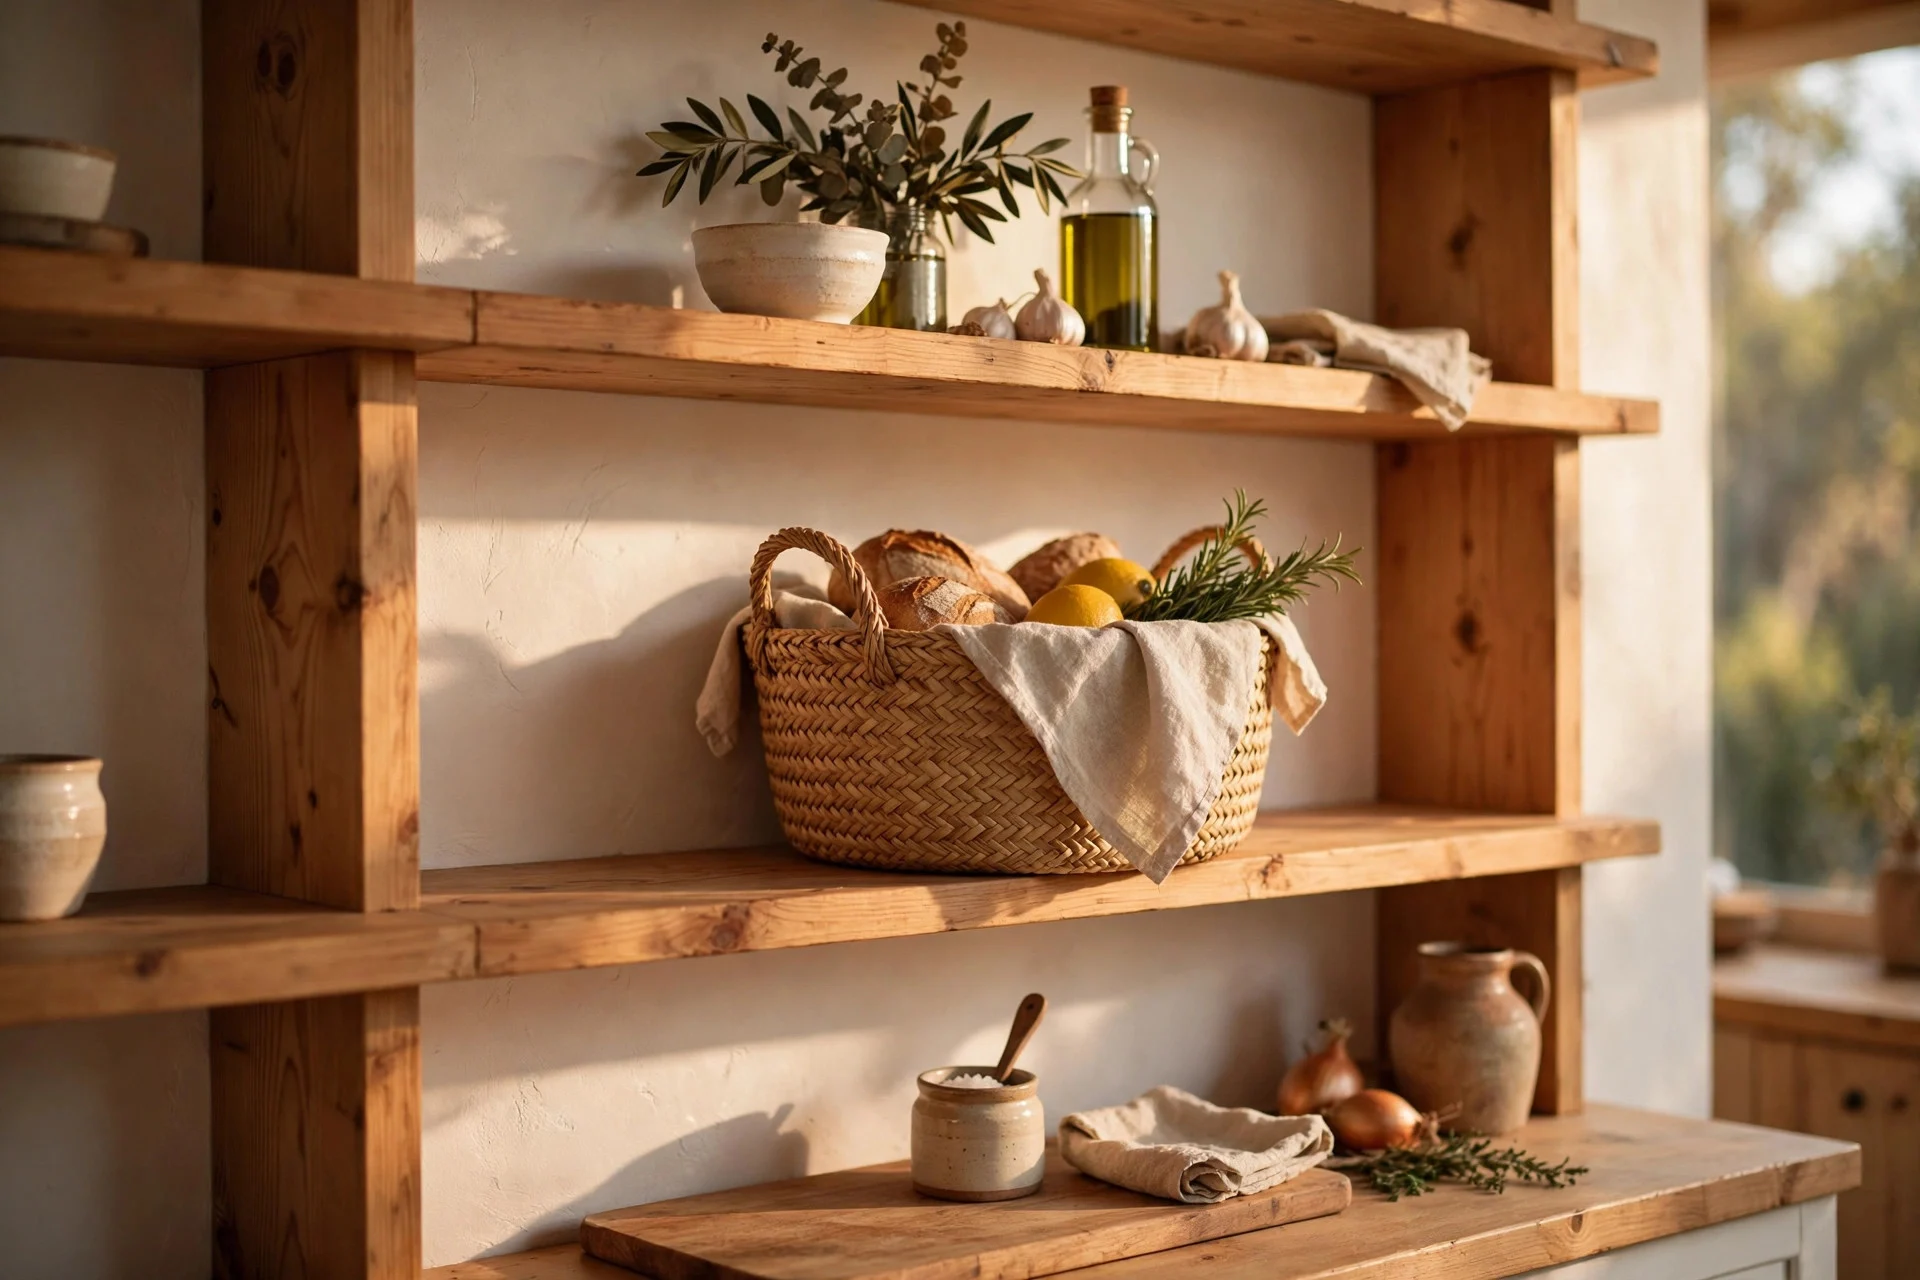
Step 8: Leave Breathing Space on Every Shelf
Leave at least a hand’s width of empty board on each shelf — a gap with nothing in it. Empty space is what separates “styled” from “stored”. If a shelf is full edge to edge, take something off, even if you like it. The shelf will look better for the gap.
Cost: free. Time: 10 minutes. Tip: the gap works hardest at eye level, where a crowded shelf is most obvious. Start there. Watch out: breathing space is not a spare slot for the next thing you buy. Guard it, or the shelves creep back to full within a month.
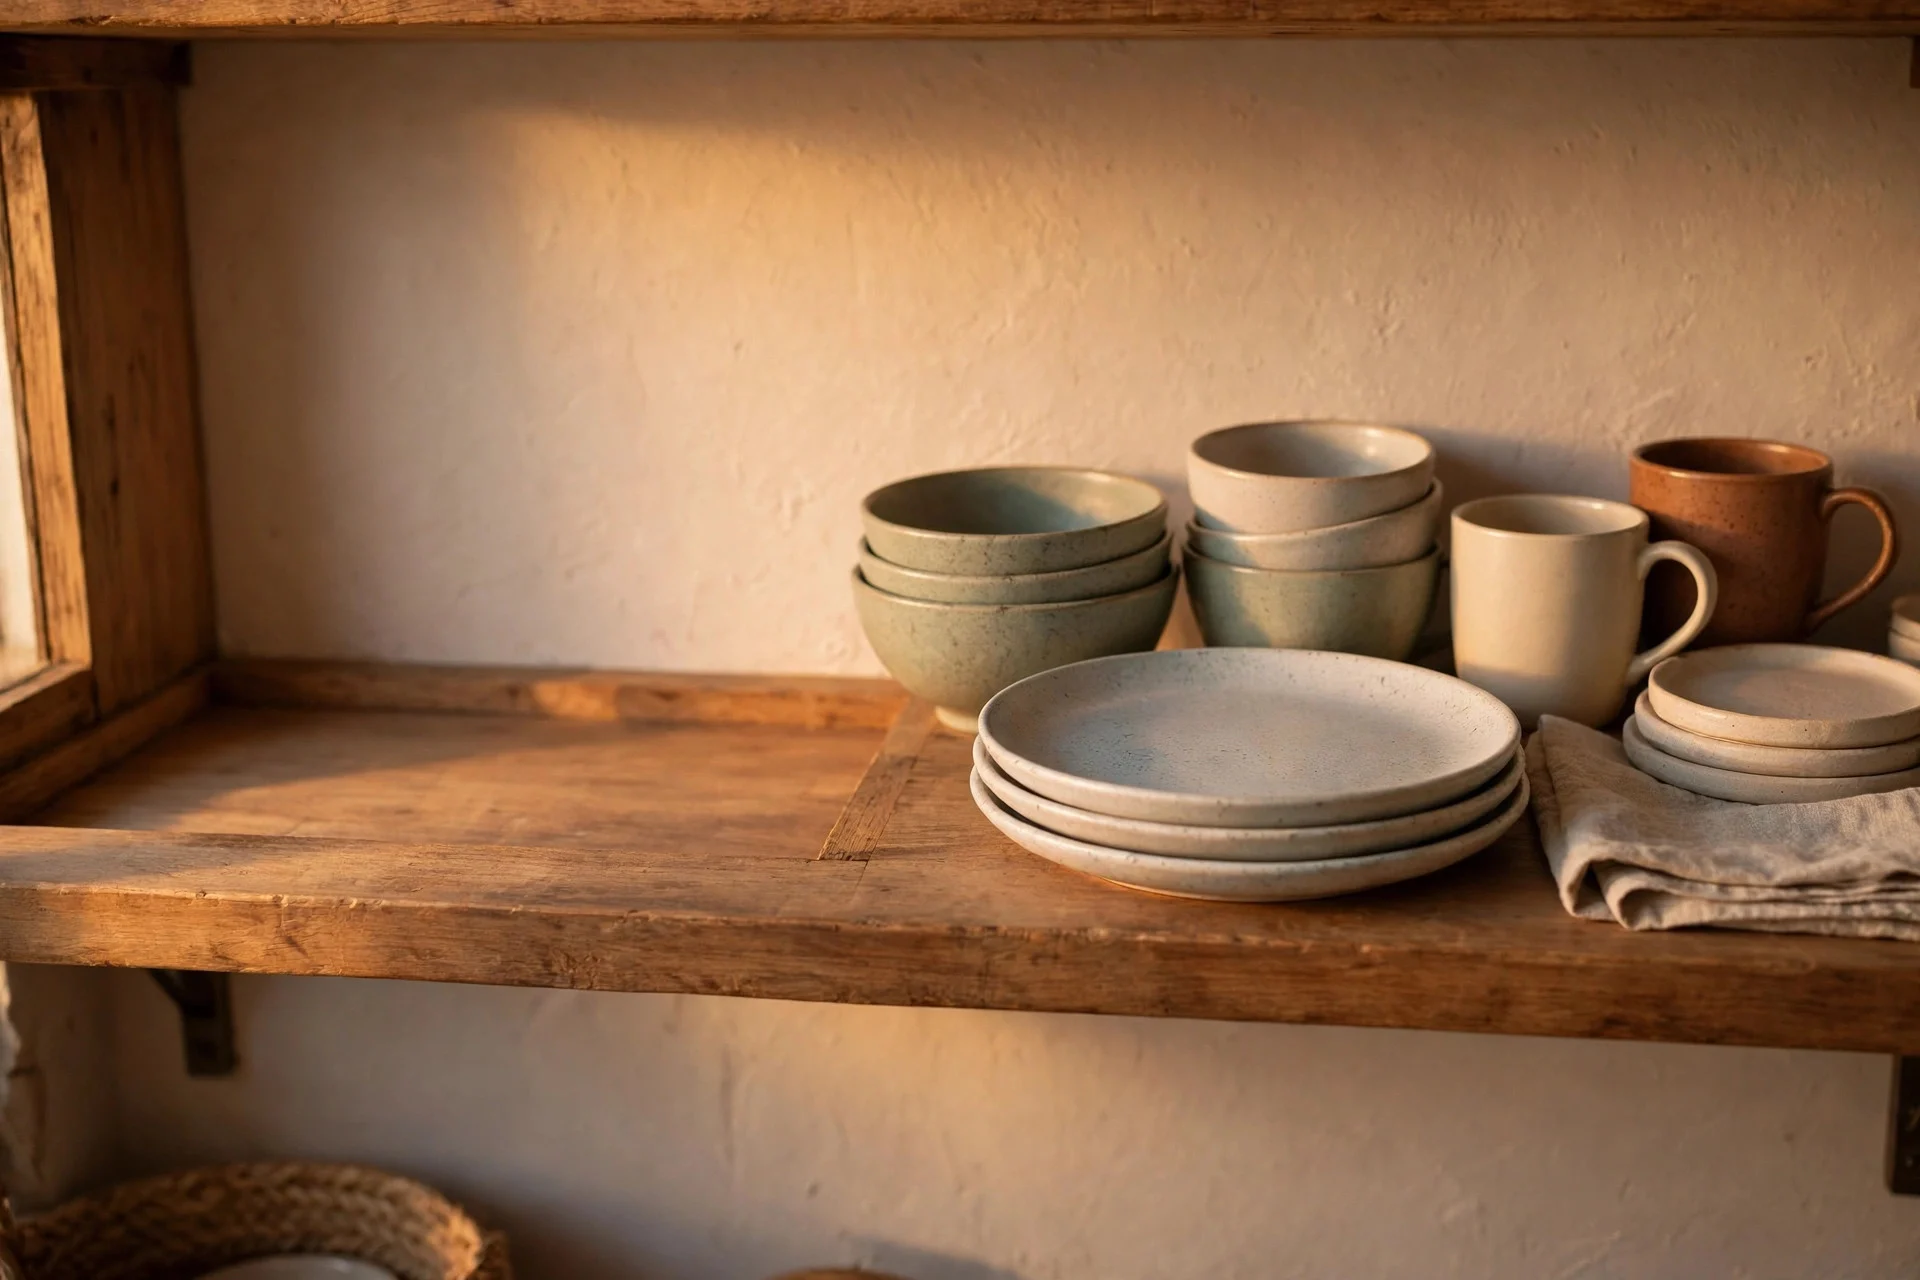
Step 9: Keep Everyday Items Within Easy Reach
The mugs, plates and glasses you use every day go on the lowest shelf, at arm’s height, where you can grab them without a step stool. Display-only pieces can live higher. If you need a stool to reach your morning coffee mug, the system is working against you.
Cost: free. Time: 10 minutes. Tip: count how many times a day you reach for each item. Daily items low, weekly items middle, rarely-used items high or in a cupboard. Watch out: putting heavy everyday stacks on a high shelf is both annoying and risky — weight always goes low.
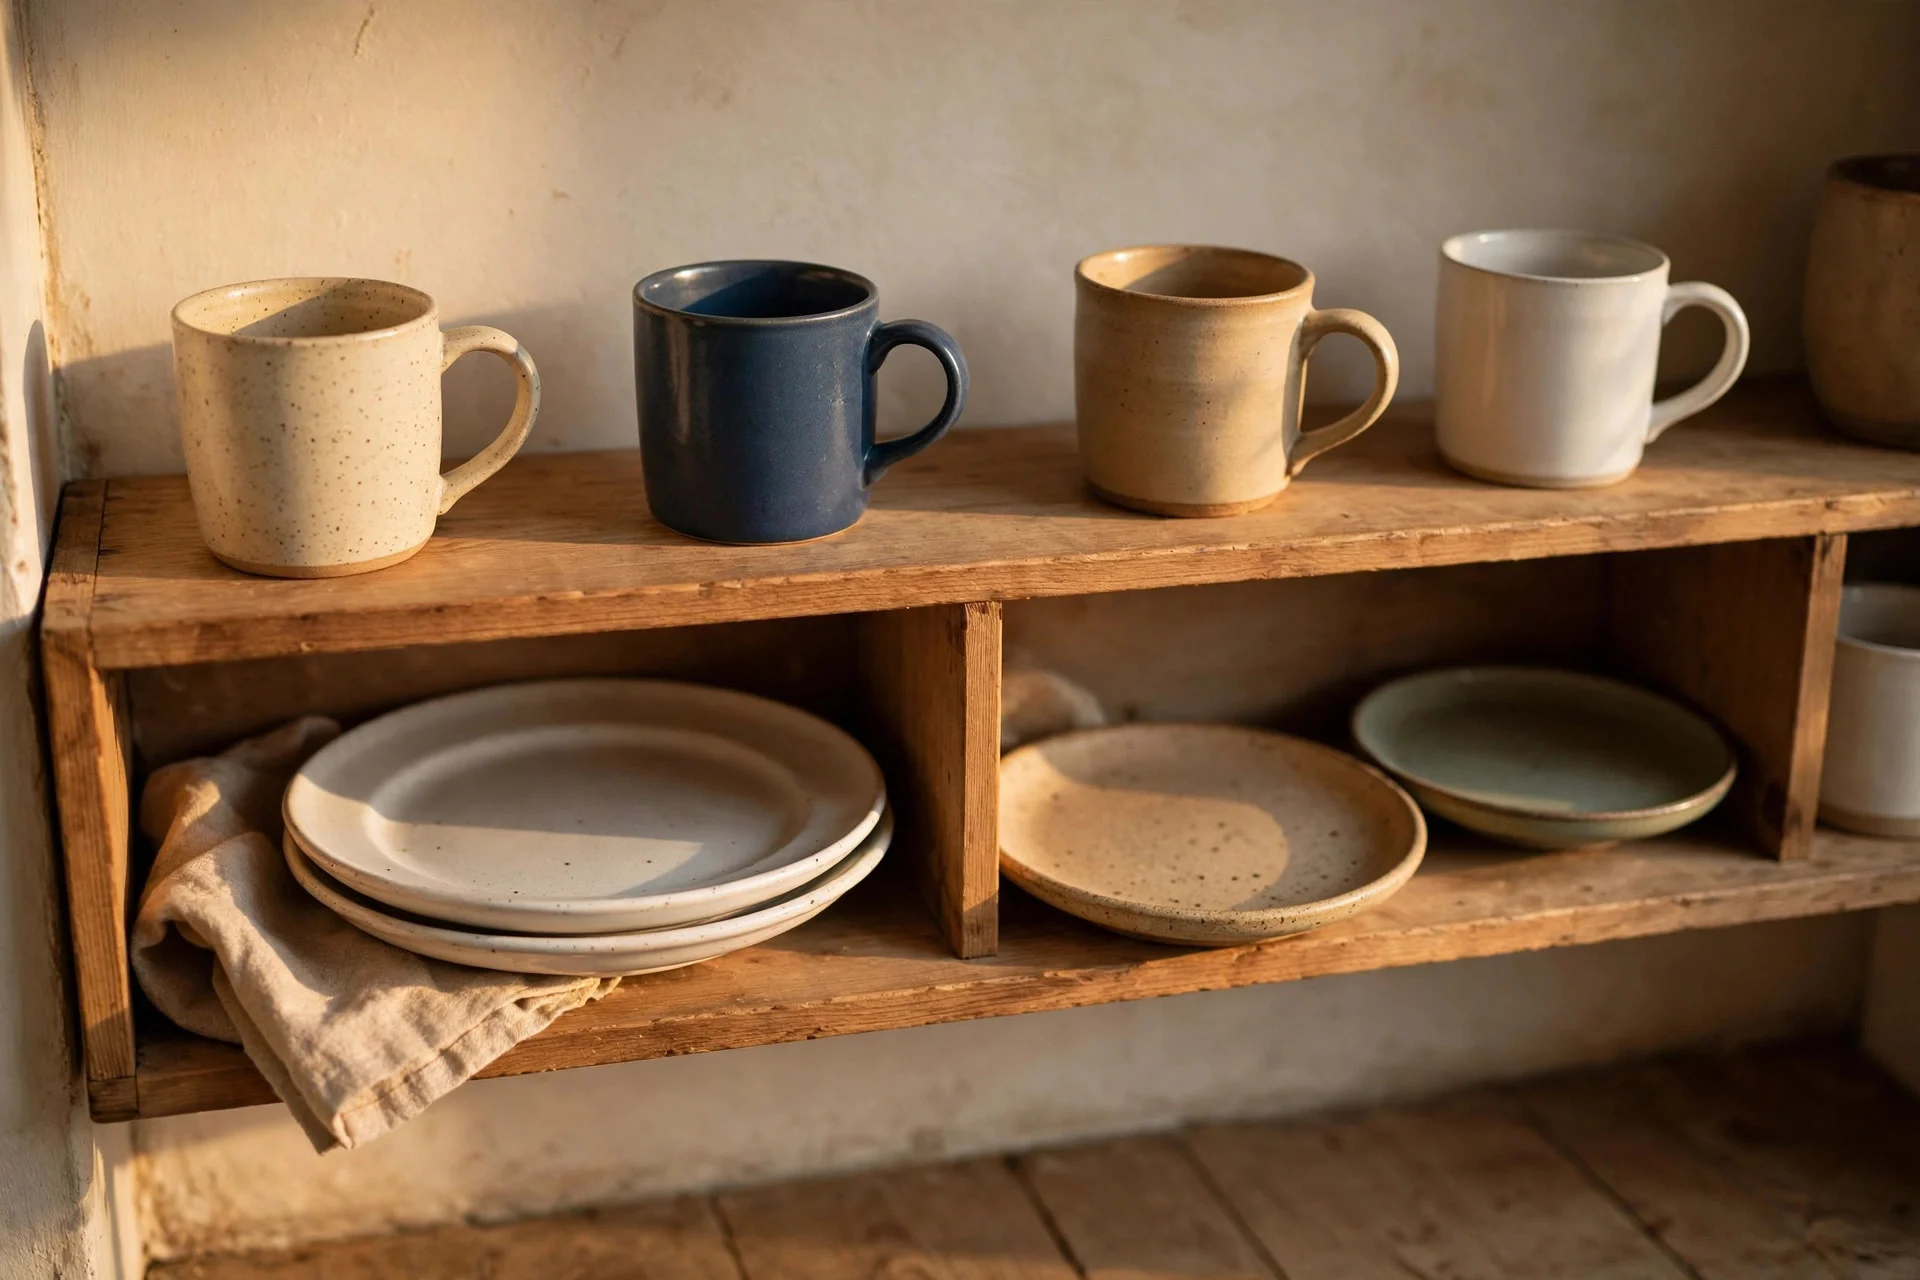
Step 10: Style the Top Shelf Differently
The top shelf is the hardest to reach and the easiest to see from across the room, so treat it as display, not storage. A few larger, lighter pieces — a vase, a tall jug, a plant in a light pot — up there, and nothing you need weekly. Dust it monthly and leave it alone otherwise.
Cost: free, or $15–$40 for a vase or plant. Time: 10 minutes. Tip: because it is display-only, the top shelf is the one place where a single striking piece beats a group. Watch out: anything up there needs to be light enough to lift down safely from a step stool — no cast-iron pots on the top shelf.
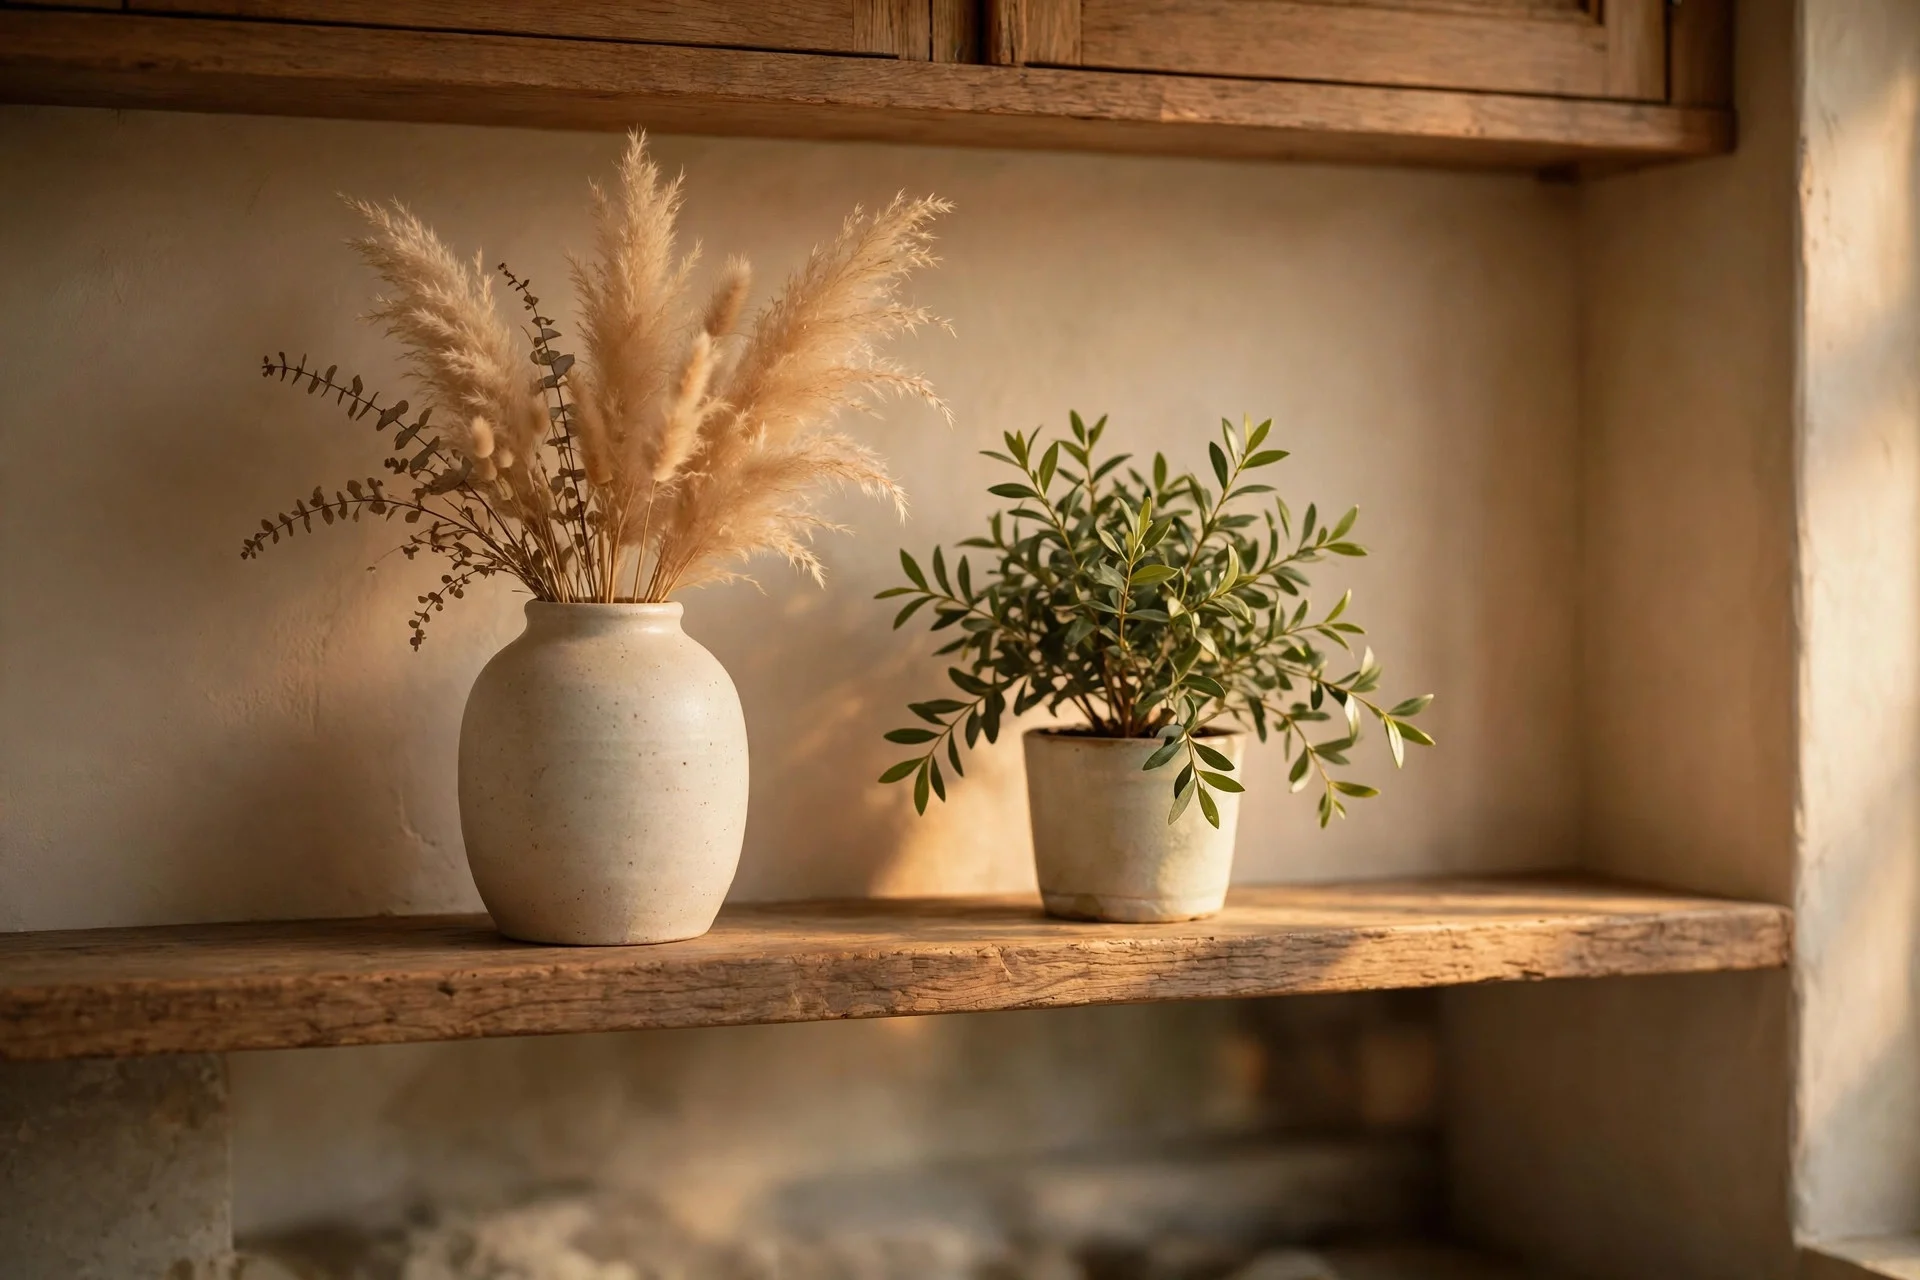
Step 11: Add Small Art or a Plant
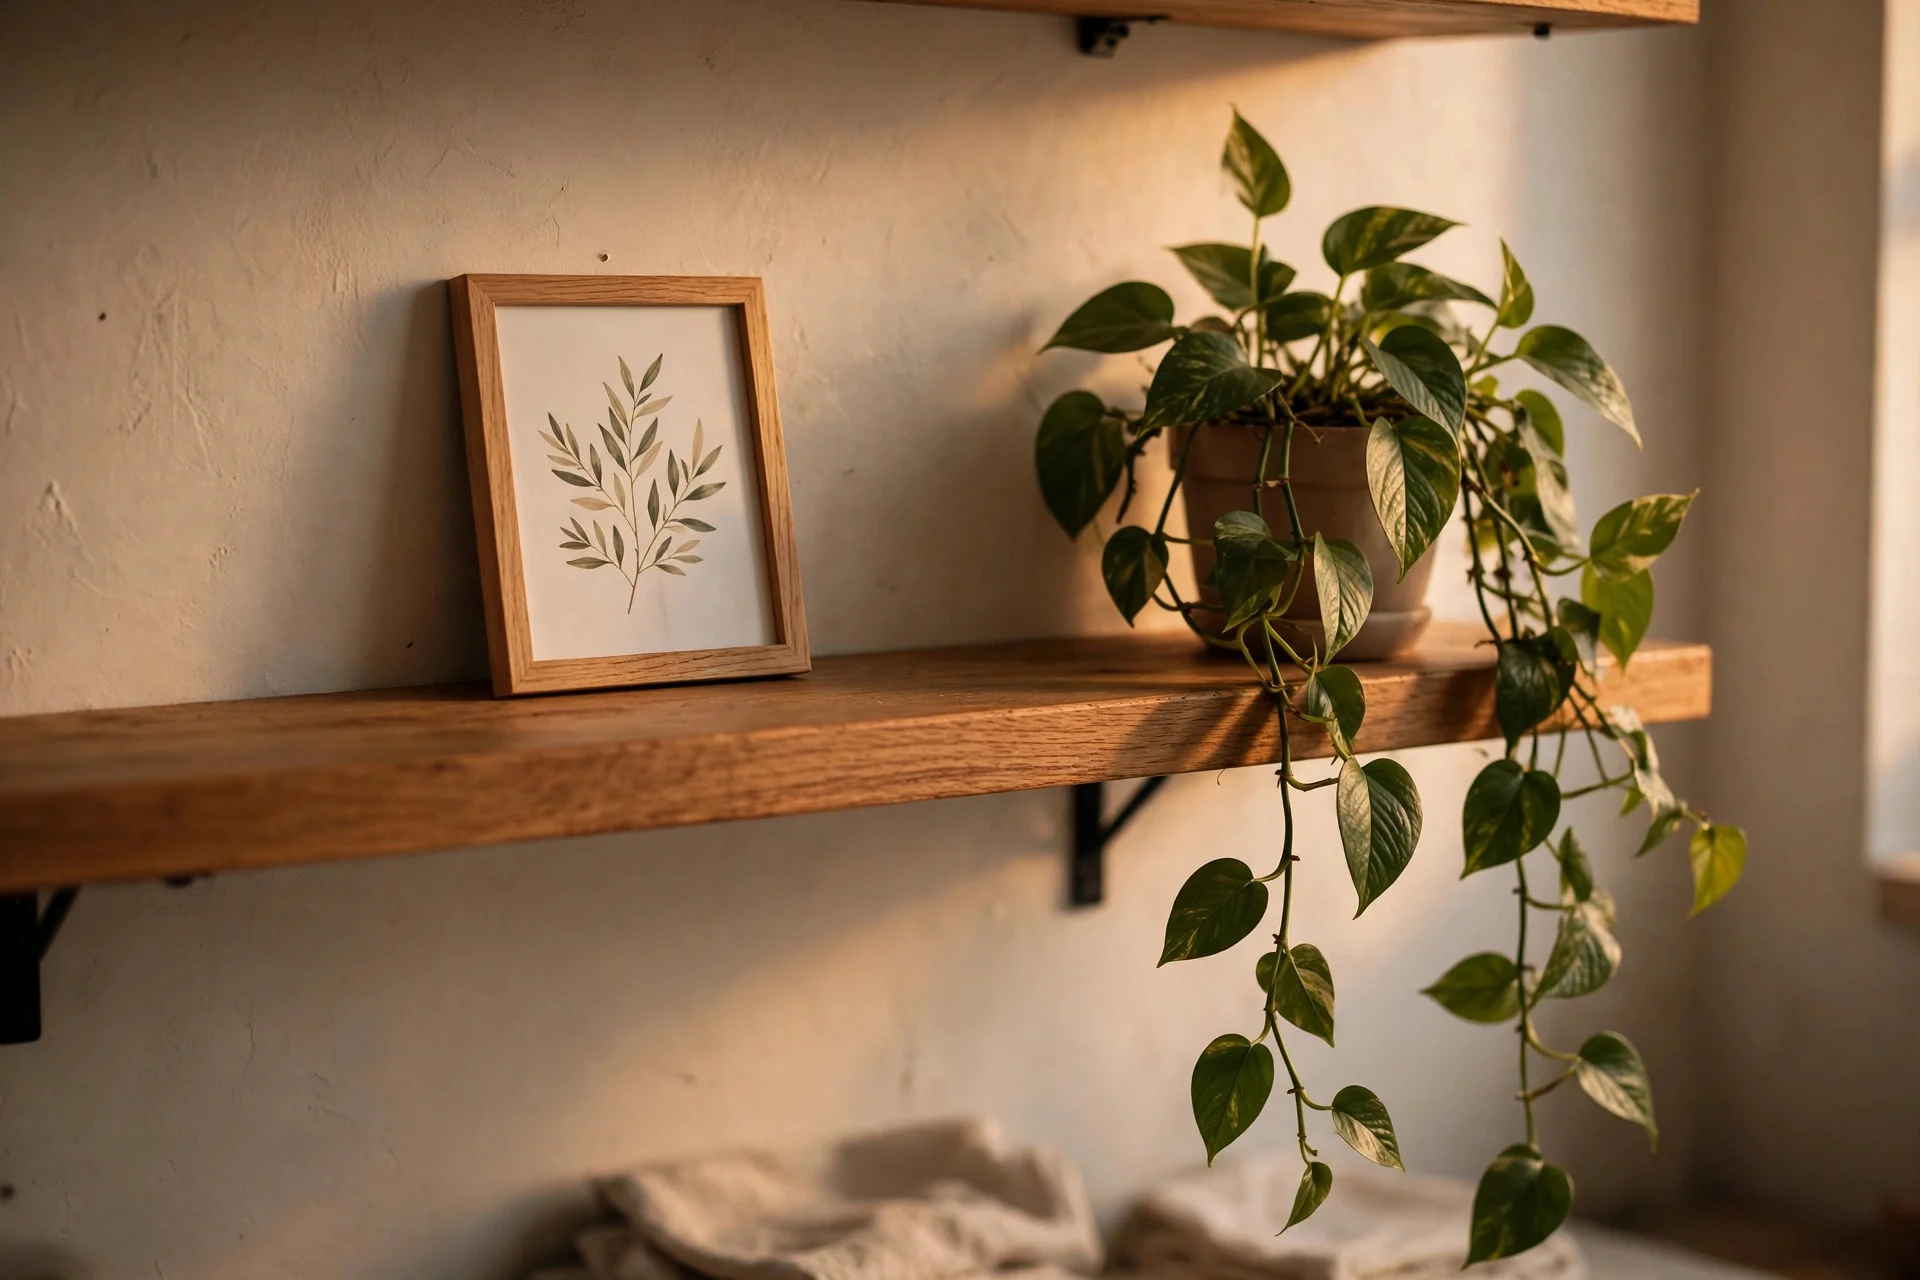
One small framed print leaning on a shelf, or one trailing plant, breaks up the rows of crockery and makes the shelves feel like part of the room rather than a cupboard with the doors off. Keep it small — it is an accent, not a second collection.
Cost: $10–$40. Time: 5 minutes. Tip: trailing plants like pothos are forgiving about light and watering, and they soften a shelf edge beautifully. Watch out: art on a shelf near the sink or hob gets splashed and steamed, so keep paper prints on a dry stretch of shelving. If you like a calm, pale-wood look, Scandinavian light-wood styling shows how one plant and one print can carry a whole wall.
Step 12: Edit, Live With It a Week, Then Adjust — Plus a Cleaning Routine
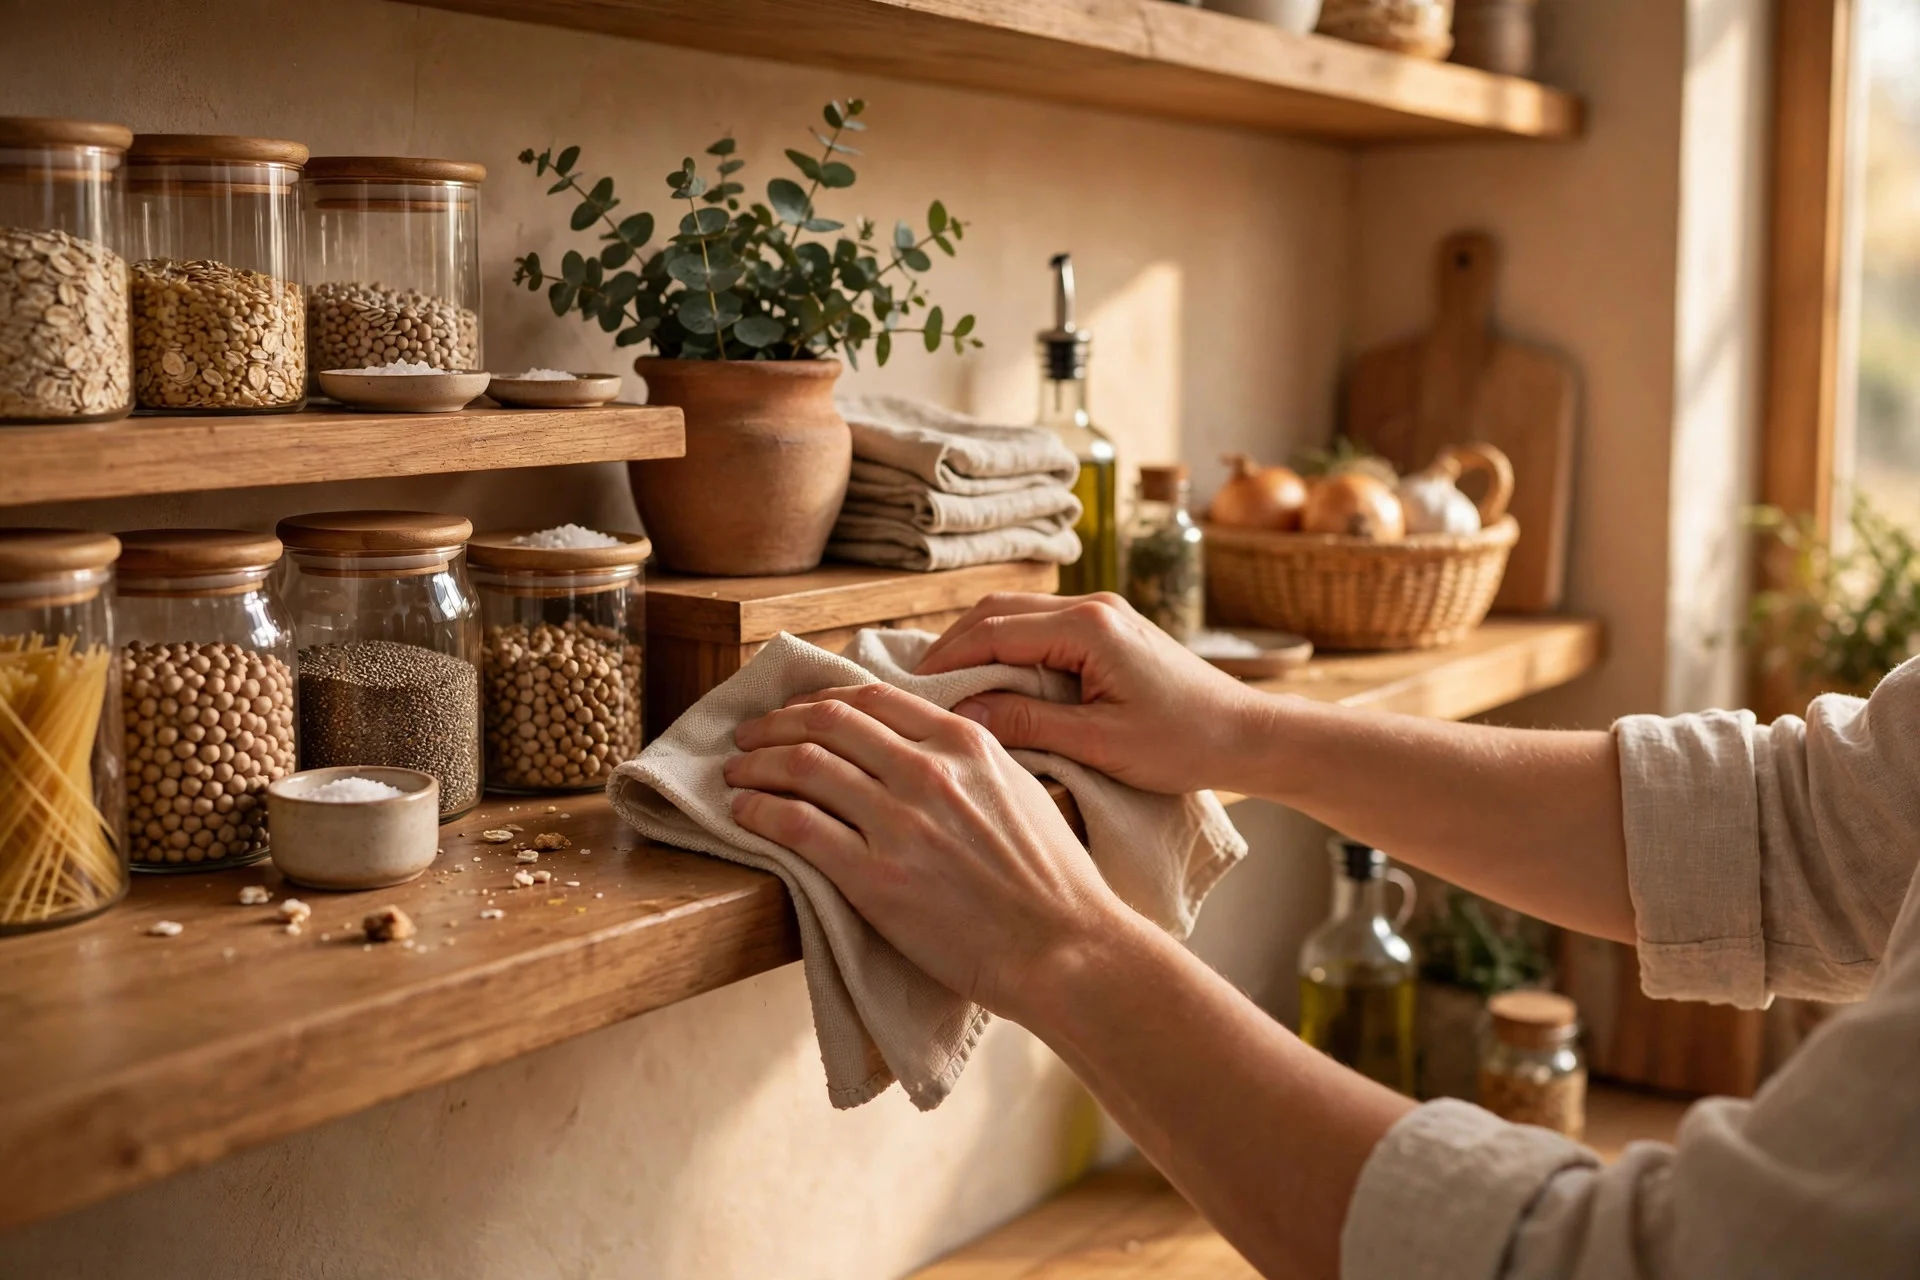
Leave the shelves alone for a week and notice what annoys you. The mug you keep reaching past, the bowl that is too high, the gap that filled itself — those are the real edits. After a week, move just those things. Then set a routine: a quick wipe and a five-minute tidy once a week, and a full clear-and-sort every three months.
Cost: free. Time: 5 minutes a week, 30 minutes quarterly. Tip: tie the weekly wipe to something you already do, like the Sunday shop unpack, or it will slide. Watch out: open shelves near a hob need wiping more often — grease settles on everything within a metre of the cooker, so check that stretch first each week.
Frequently Asked Questions
Do open shelves get dusty?
Yes, and that is the honest trade-off. Everyday items stay clean because you use them constantly, but display pieces gather dust in a week or two. A quick weekly wipe handles it; if you hate dusting, keep open shelving to one or two shelves and cupboards for the rest.
What should never go on open shelves?
Anything you use less than once a month, anything heavy above shoulder height, and anything that looks messy by nature — open packets, mismatched plastic containers, cleaning sprays. Those belong behind a door, where they can be untidy in private.
How much weight can a kitchen shelf hold?
It depends on the brackets and the wall fixings, not the board. Shelves fixed into studs or solid brick with proper brackets hold a full set of crockery easily; shelves on plasterboard plugs alone do not. If you are unsure, have someone who knows check the fixings before loading plates.
Can renters do open shelving?
Often, yes — if you remove upper cabinet doors you already have, or use freestanding shelf units that lean on the wall. Both are reversible. Drilling new shelves needs the landlord’s permission, so check your agreement first and keep the original doors safe to refit.
Quick Wrap-Up Checklist
Clear everything, sort honestly, anchor big, layer back to front, repeat one material, vary heights, add one texture, leave gaps, keep daily items low, display up top, add one plant or print, then live with it a week before the final edit. Do the weekly wipe and the shelves will still look like the photo in three months — because they were built around your habits, not just arranged for a day. And if a shelf starts creeping back toward clutter, repeat step two before buying anything new — most shelf problems are sorting problems, not shopping problems.