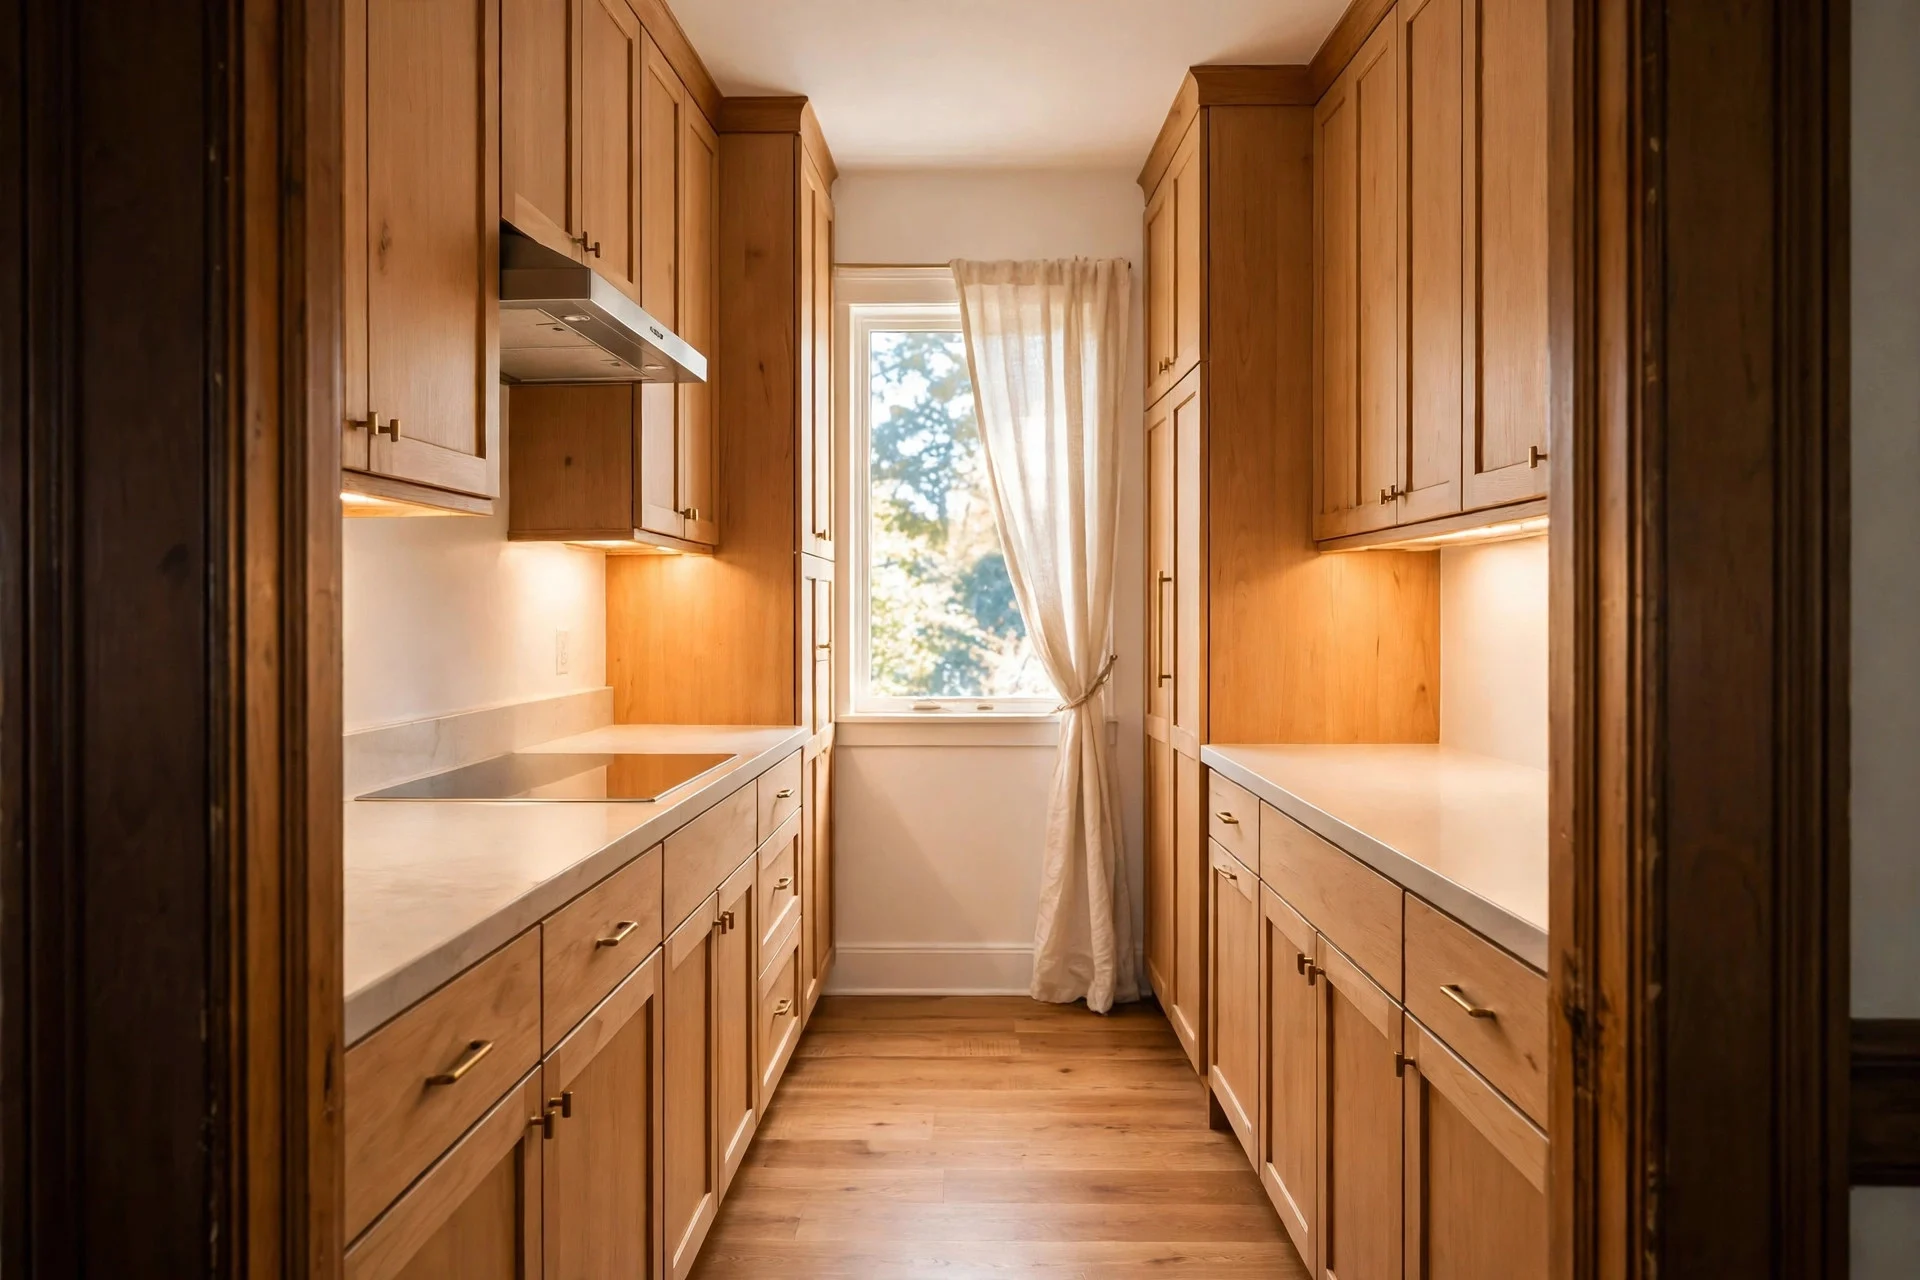
A well-organized kitchen drawer starts with one simple rule: every item gets a fixed slot based on where you use it. Empty the drawer, sort what you own, measure the inside, then fit dividers and inserts to those measurements instead of forcing your tools into a layout that was never made for them. Most drawers take one focused afternoon to sort out, and the result is a drawer you can open, grab from, and close without a second thought.
This guide walks you through the process step by step, from the first empty drawer to a setup you can actually keep up. You will find realistic costs, honest time estimates, and practical tips for the drawers that cause the most trouble, like the junk drawer, the spice drawer, and the pile of lids that never seems to match a container.
Step 1: Empty the Drawer Completely
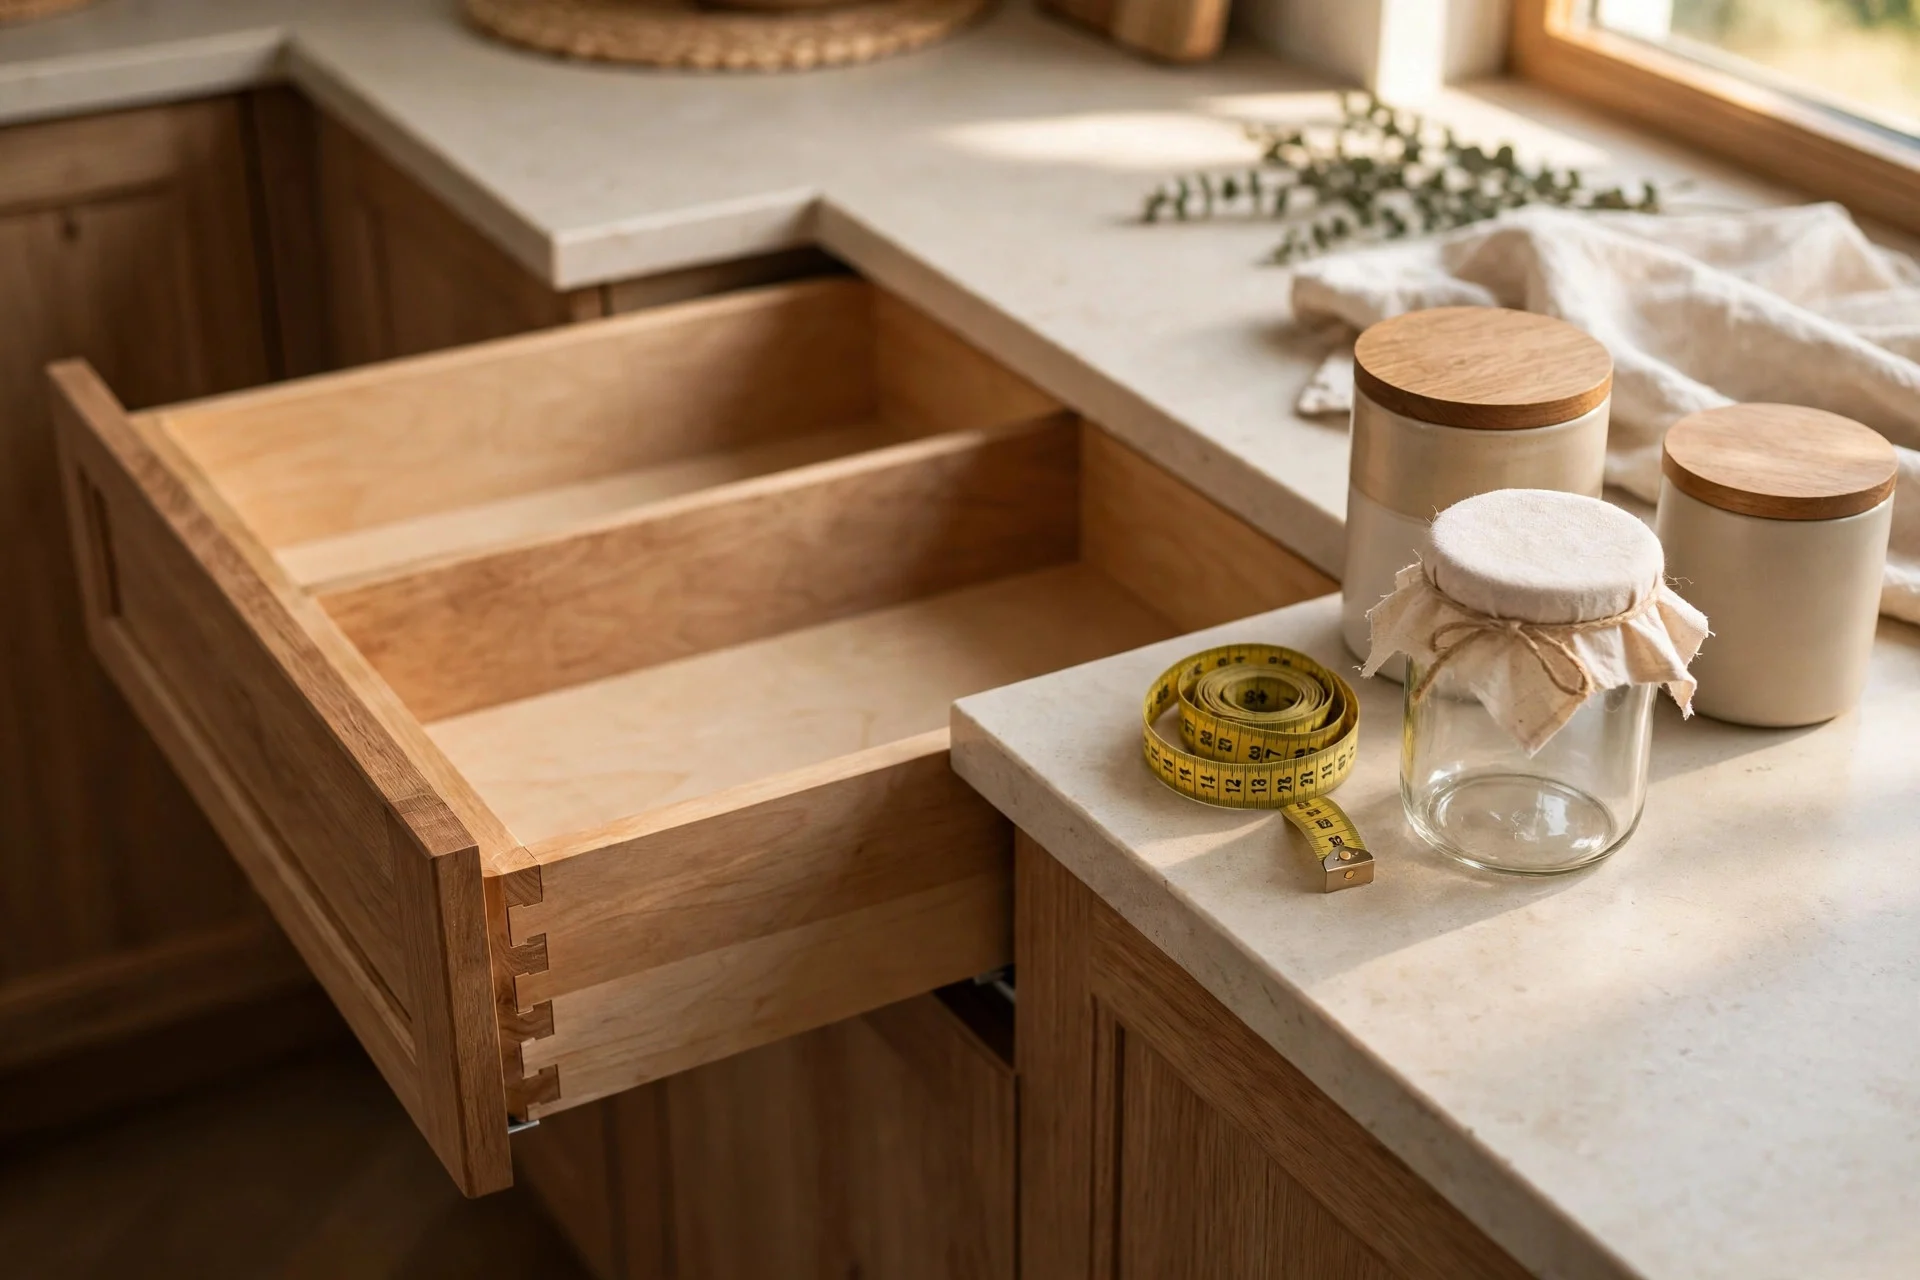
Take everything out, down to the last rubber band and stray twist tie. A half-empty drawer hides duplicates, and you cannot plan slots for items you cannot see. Wipe the drawer base with a damp cloth and let it dry while you work through the pile on your counter.
Cost: $0. Time: 10–15 minutes per drawer. Difficulty: Easy.
Tip: Work on one drawer at a time so your kitchen stays usable while you sort.
Watch out: Do not start buying dividers before this step. You need the full pile in front of you first, or you will buy the wrong sizes.
Step 2: Measure the Inside of the Drawer
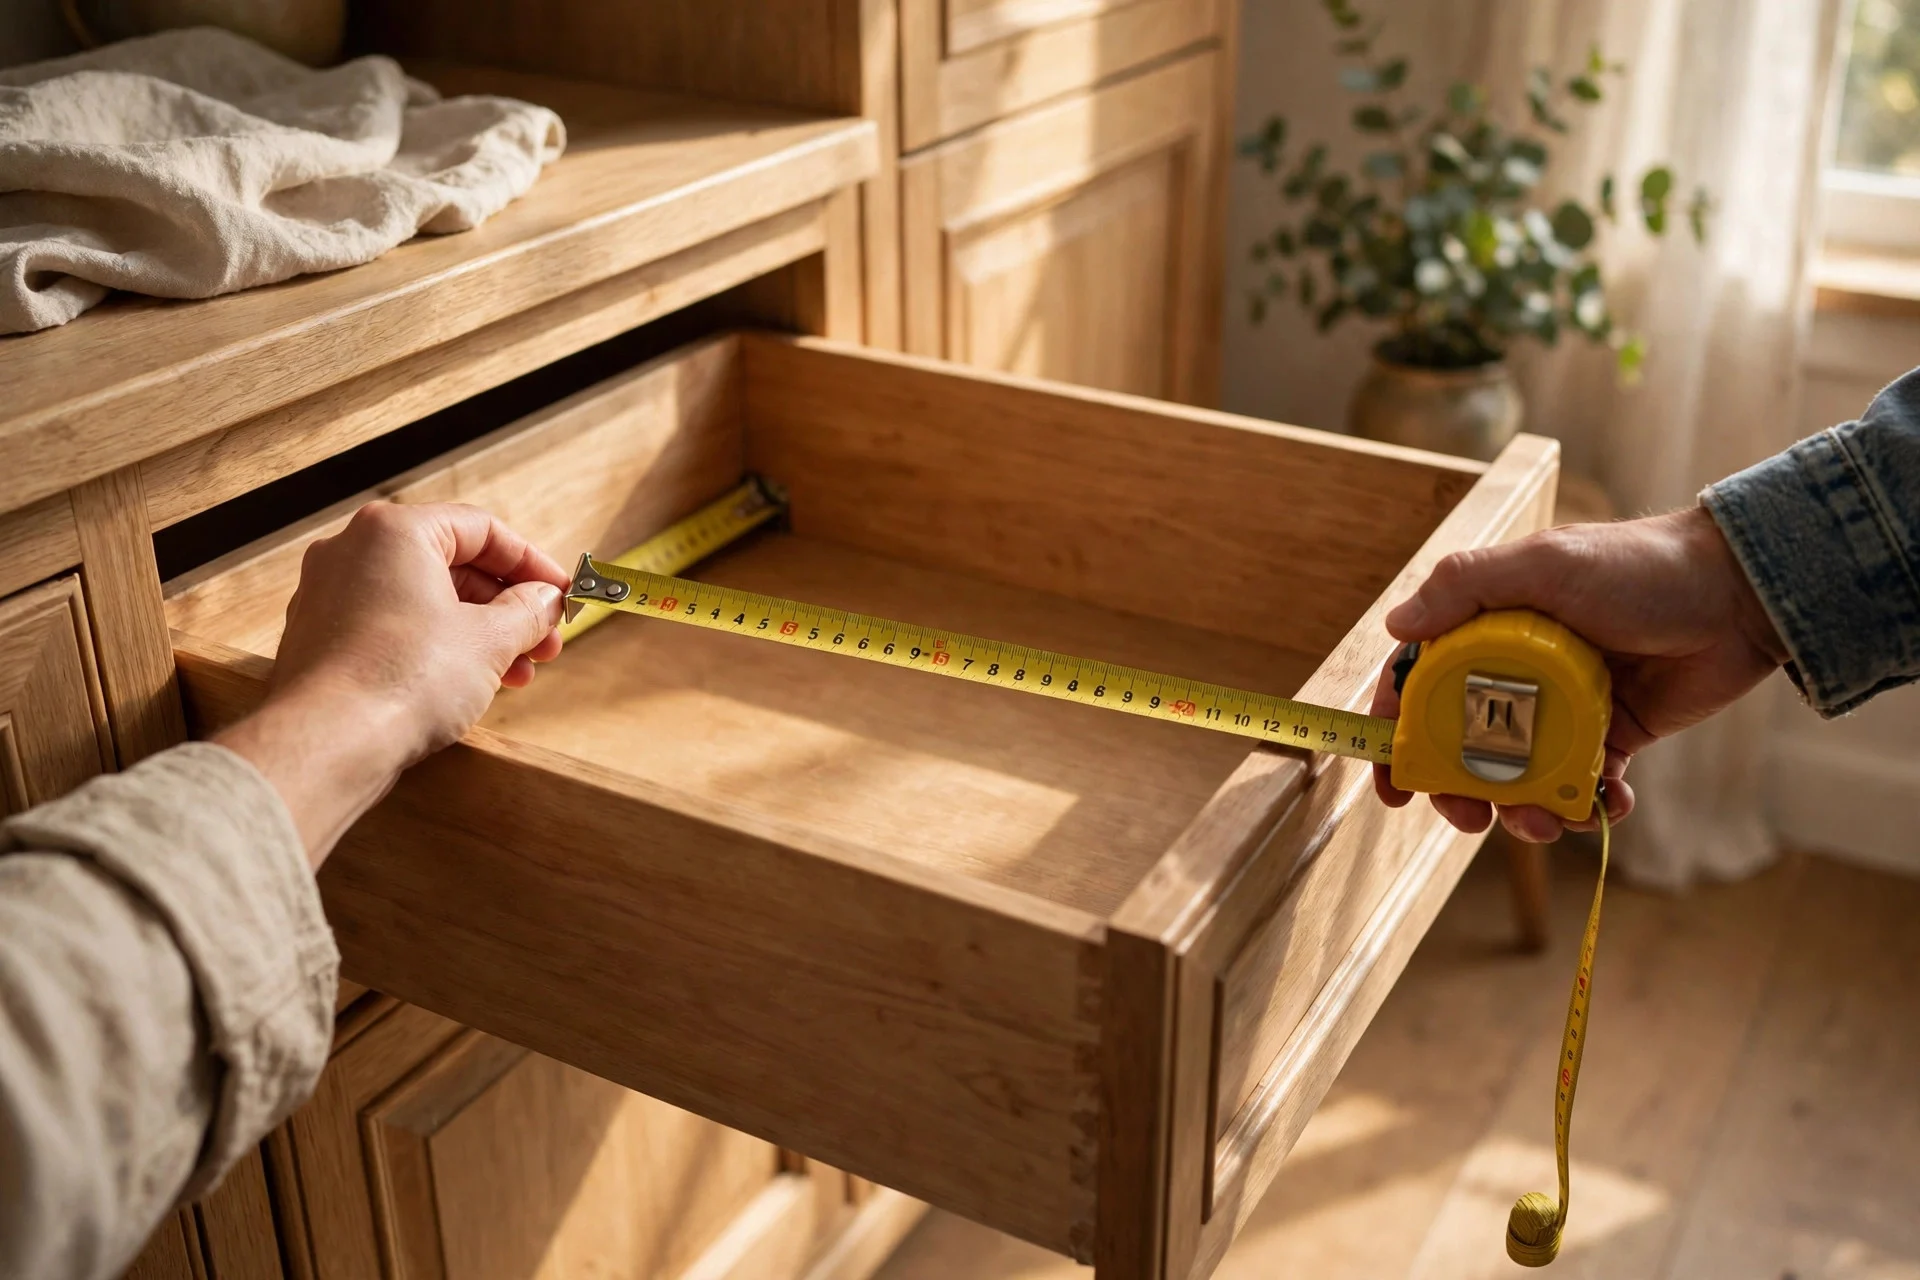
Measure the length, width, and depth of the empty drawer, and write all three numbers down. Measure the inside, not the drawer front, and check whether the drawer narrows toward the back or has a lip that changes the usable depth. A divider that is even half an inch too tall will stop the drawer from closing.
Cost: $0 if you already own a tape measure, or $5–$10 for a basic one. Time: 5 minutes per drawer. Difficulty: Easy.
Tip: Snap a photo of the measurements on your phone so you have them with you at the store.
Watch out: Deep drawers need inserts that sit lower than the drawer sides, or the drawer will catch on the frame above it.
Step 3: Sort Everything Into Clear Piles
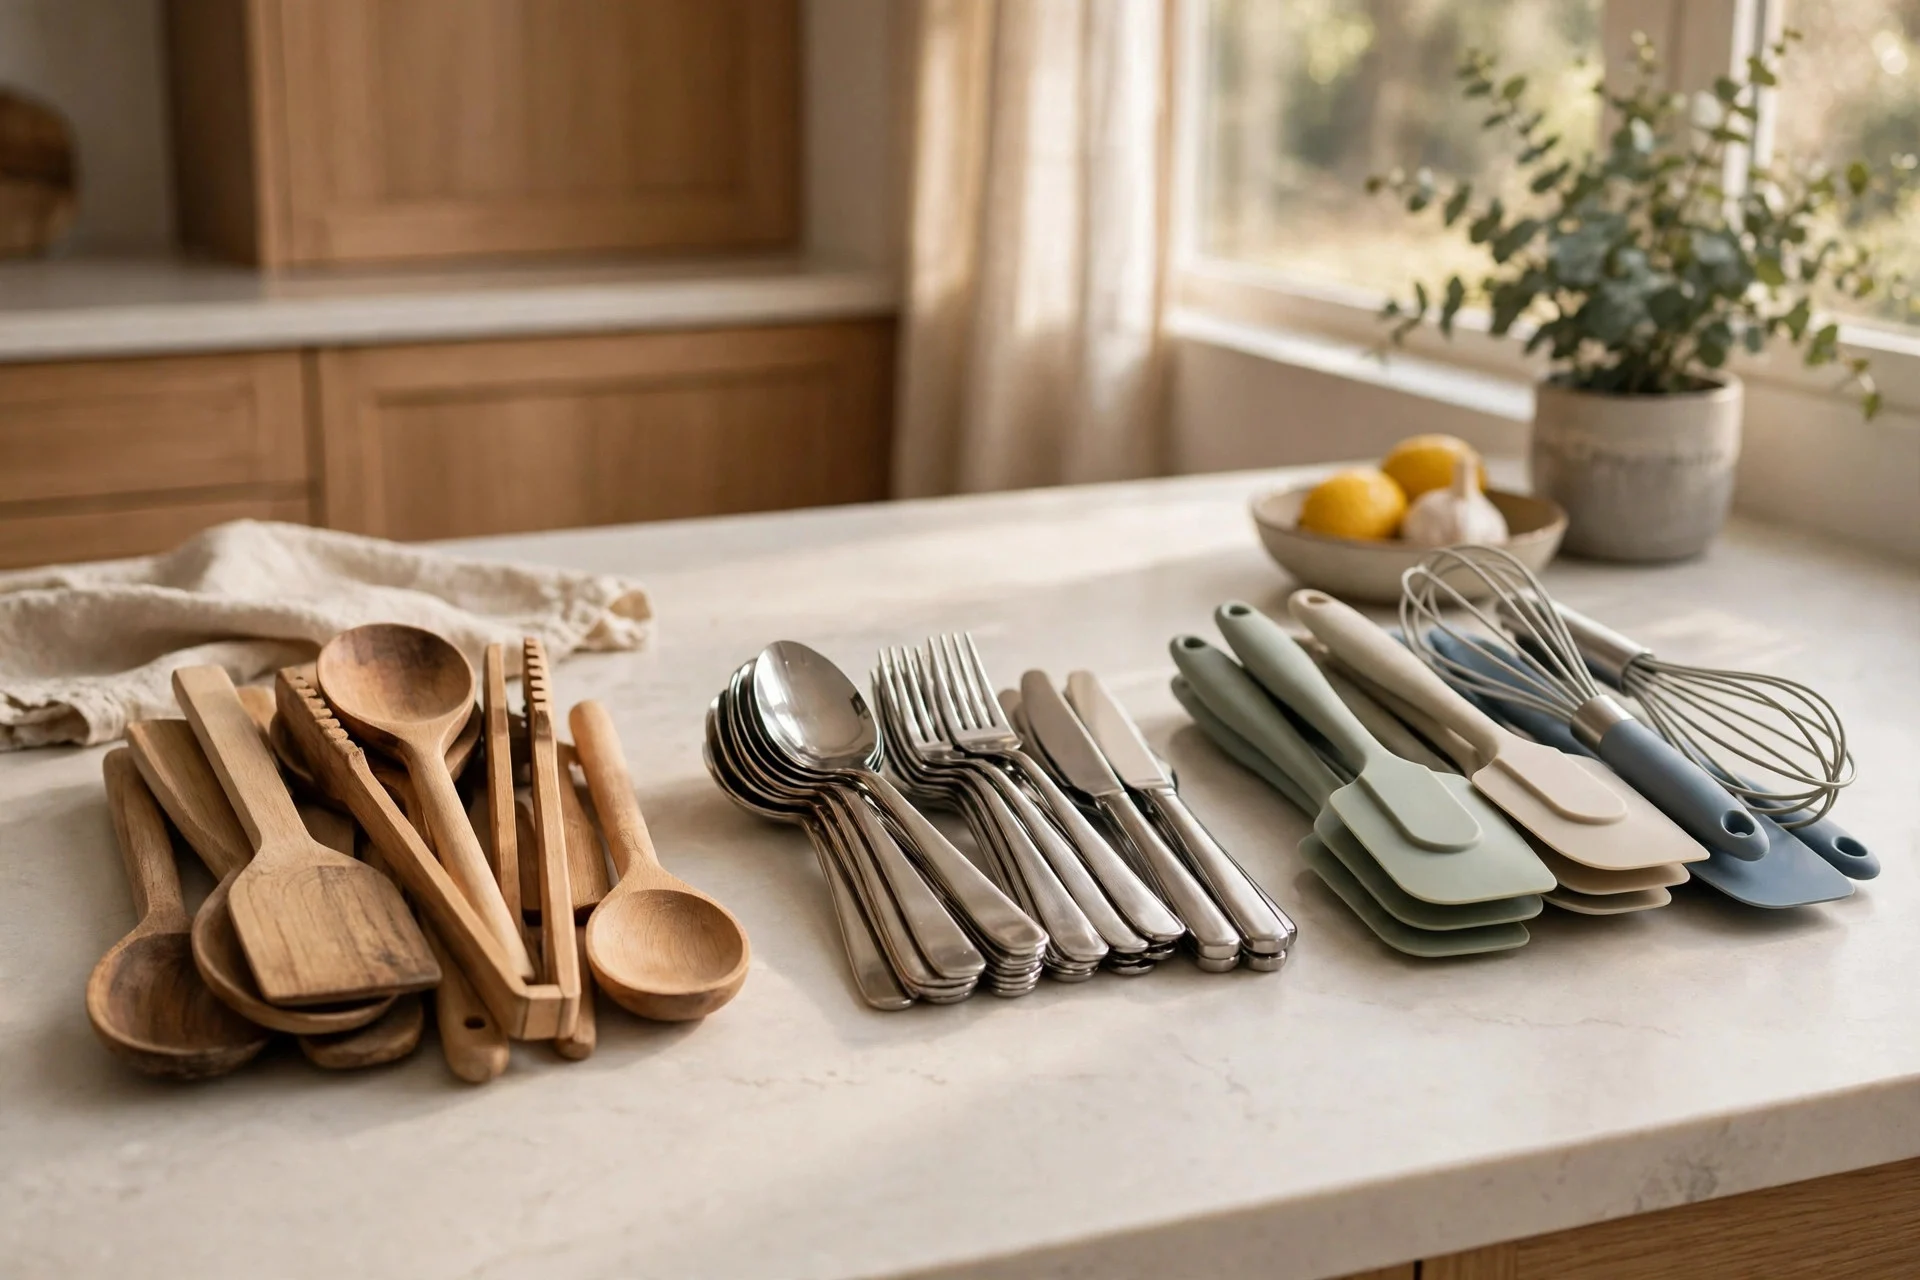
Group the pile into simple categories: cooking utensils, cutlery, baking tools, gadgets, spices, and odds and ends. Sorting shows you what you actually own, which is often more than you guessed. You may find three vegetable peelers, two sets of measuring cups, and a garlic press you forgot you had.
Cost: $0. Time: 15–20 minutes per drawer. Difficulty: Easy.
Tip: Use a baking tray or a sheet pan to hold each pile so the groups stay separate on the counter.
Watch out: Keep small parts together, like blender blades and food processor discs, or they will drift into the wrong pile and get lost.
Step 4: Purge Duplicates, Broken Tools, and Dead Weight
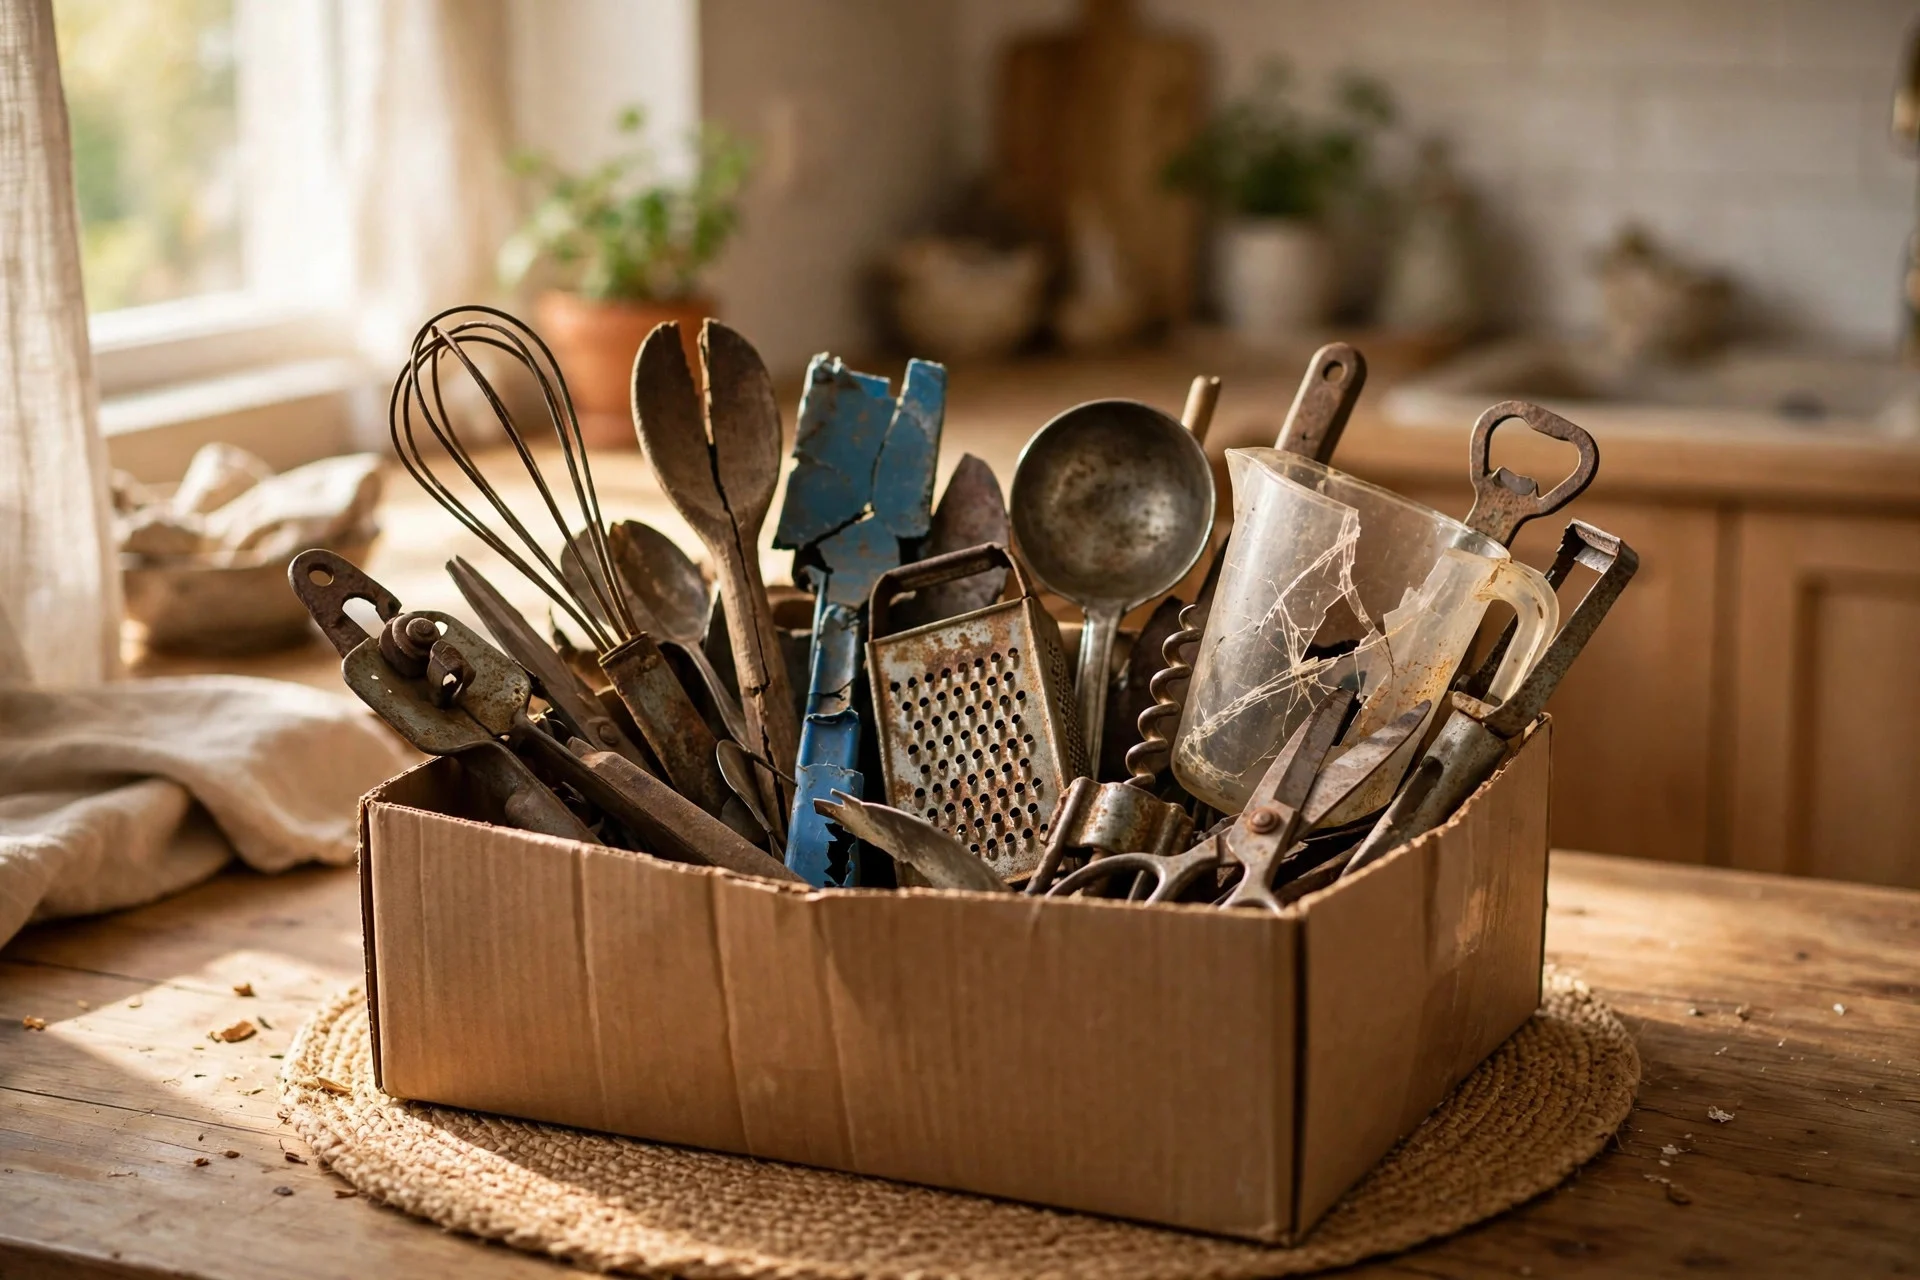
Now cut the pile down. Keep the best version of each tool and let the rest go. Toss anything cracked, melted, rusted, or missing a part, and donate duplicates that still work. A drawer can only stay organized if it holds what you use, not everything you have ever owned.
Cost: $0, and you may free up a whole drawer. Time: 10–20 minutes per drawer. Difficulty: Easy, though deciding can feel hard.
Tip: If you have not used a gadget in a year and it has no clear job, put it in a box by the door for donation instead of back in the drawer.
Watch out: Do not purge in a rush and throw away a tool you use once a month, like a meat thermometer. Keep the seasonal tools, just give them a home in a less-used drawer.
Step 5: Group Items by Cooking Zone
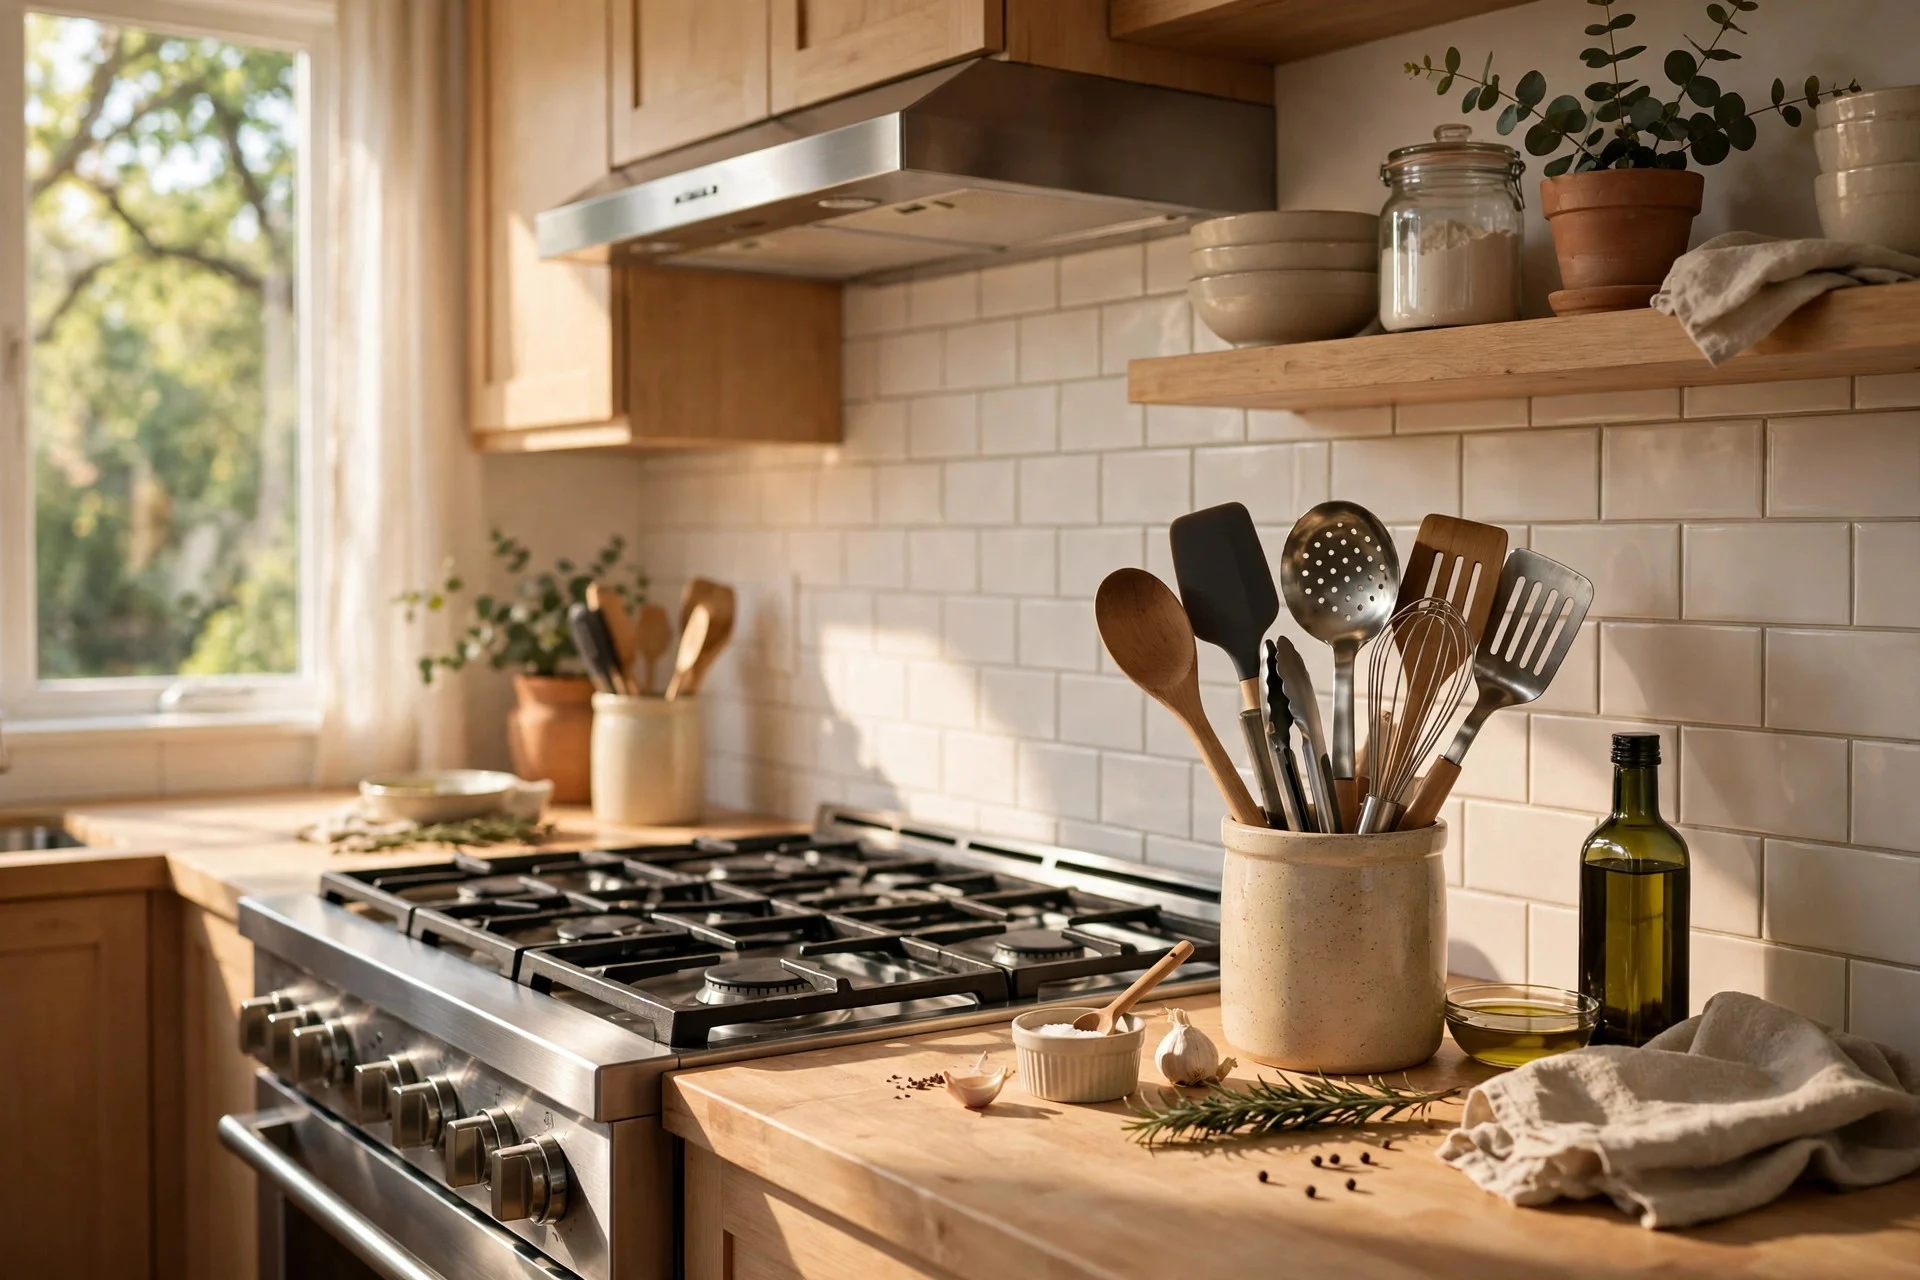
Assign each drawer a job based on where it sits in the kitchen. Utensils you reach for at the stove belong in the drawer beside the stove. Prep tools belong near the counter where you chop. Baking tools belong together, even if that drawer is further from the oven. This is the step that makes the whole system feel natural, because you stop walking across the kitchen for a spatula mid-recipe.
Cost: $0. Time: 10 minutes of planning per kitchen. Difficulty: Easy.
Tip: Stand at each work spot and ask what your hand reaches for there. That list is your drawer list.
Watch out: Avoid grouping by how things look instead of how you use them. Pretty matching sets split across zones will slow you down.
Step 6: Choose Dividers and Inserts That Fit Your Measurements
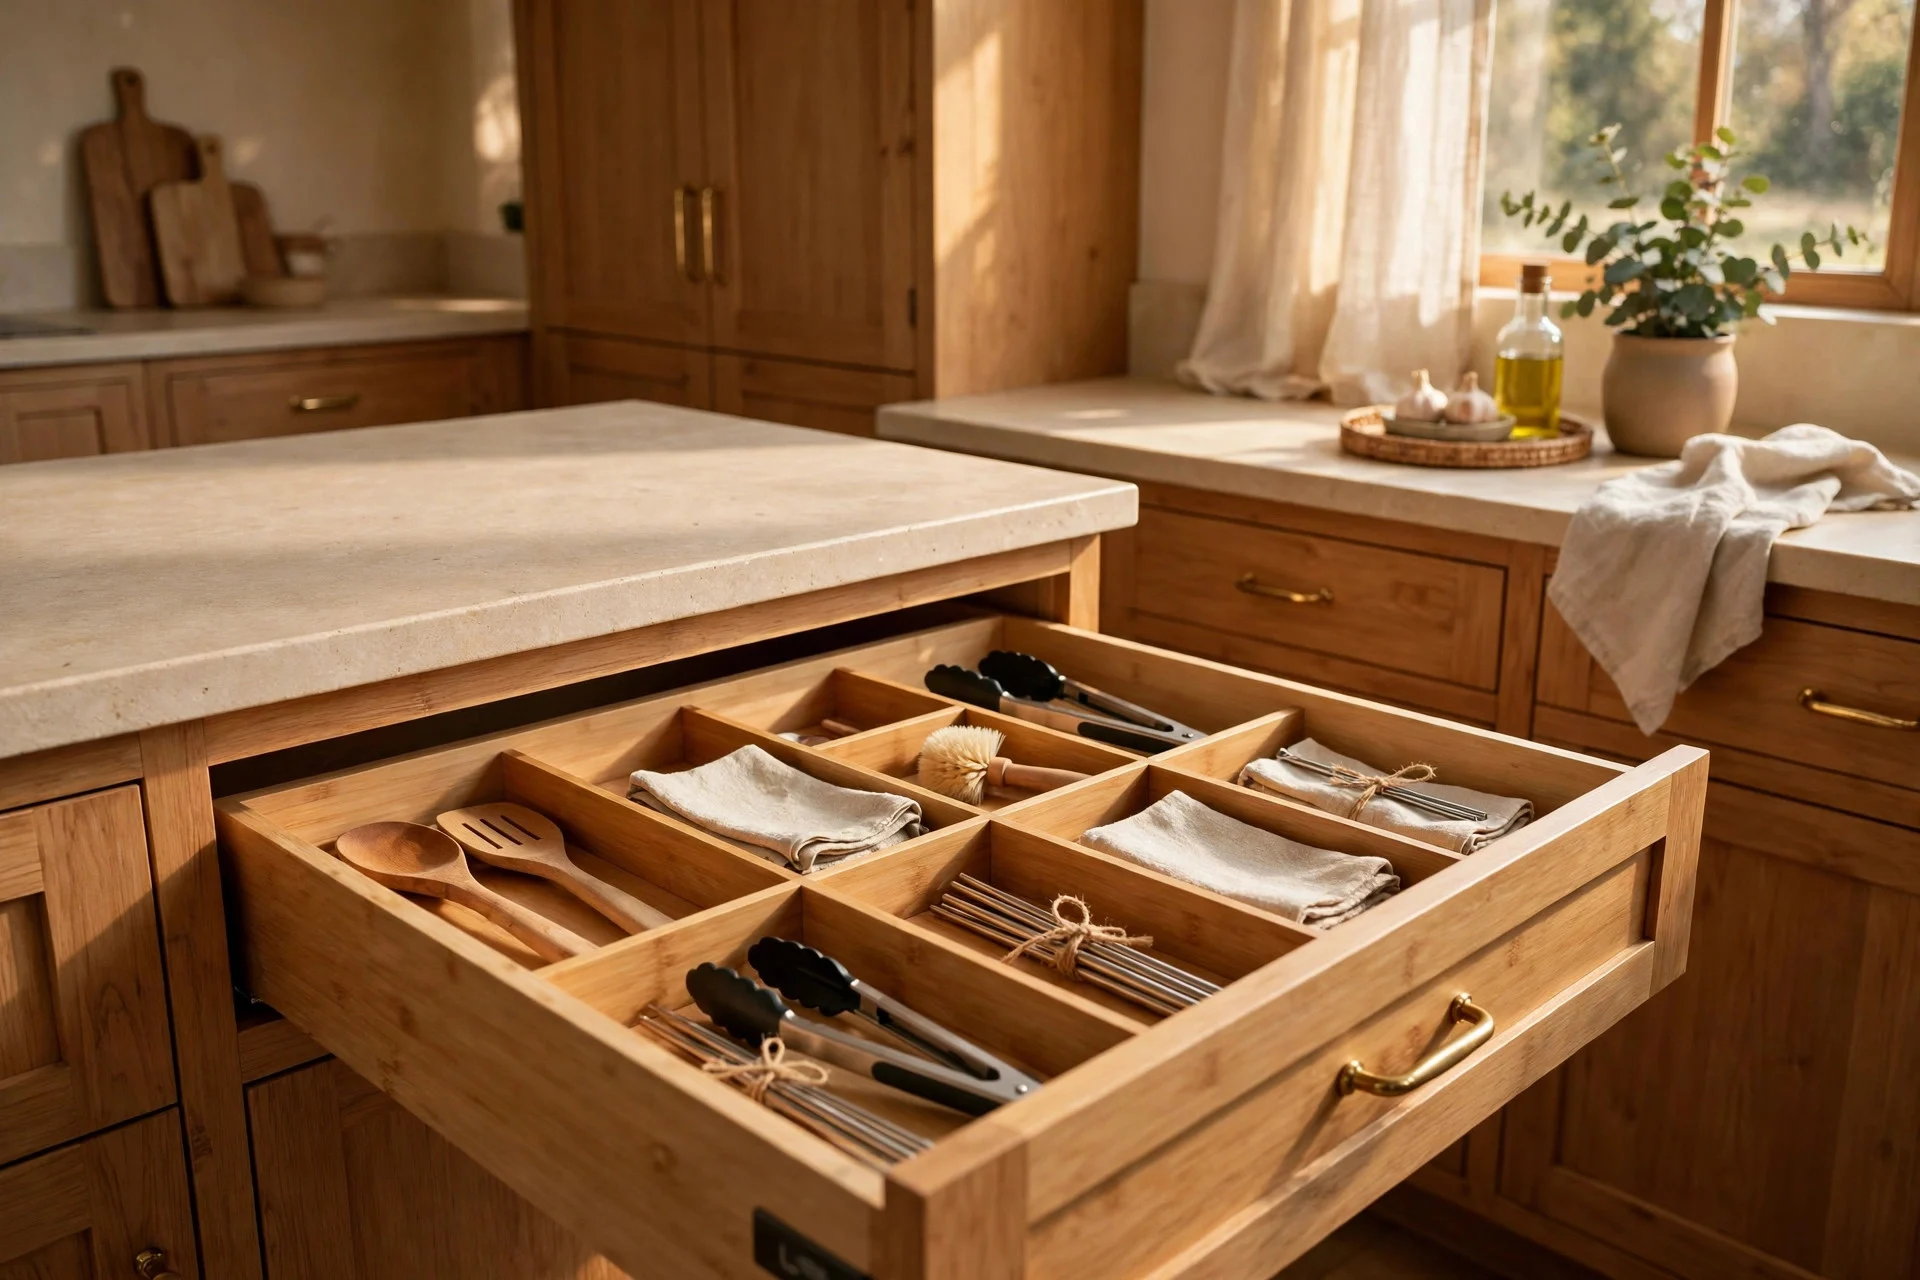
Pick inserts based on the numbers you wrote down in Step 2. Bamboo dividers suit most drawers and cost $15–$30 for a set, while spring-loaded dividers run $10–$20 and adjust to odd widths. Custom-sized trays cost more, usually $25–$60, but they make sense for wide or unusually shaped drawers. Leave a little breathing room around each insert so you can lift it out for cleaning.
Cost: $10–$60 per drawer. Time: 20–30 minutes to fit and adjust. Difficulty: Easy to moderate.
Tip: Buy one drawer worth of inserts first, test the fit at home, and then buy the rest in the same style for a consistent look.
Watch out: Skip inserts with tall sides for shallow drawers. Measure twice, because returns on opened organizer sets are a hassle.
Step 7: Set Up the Everyday Utensil Drawer
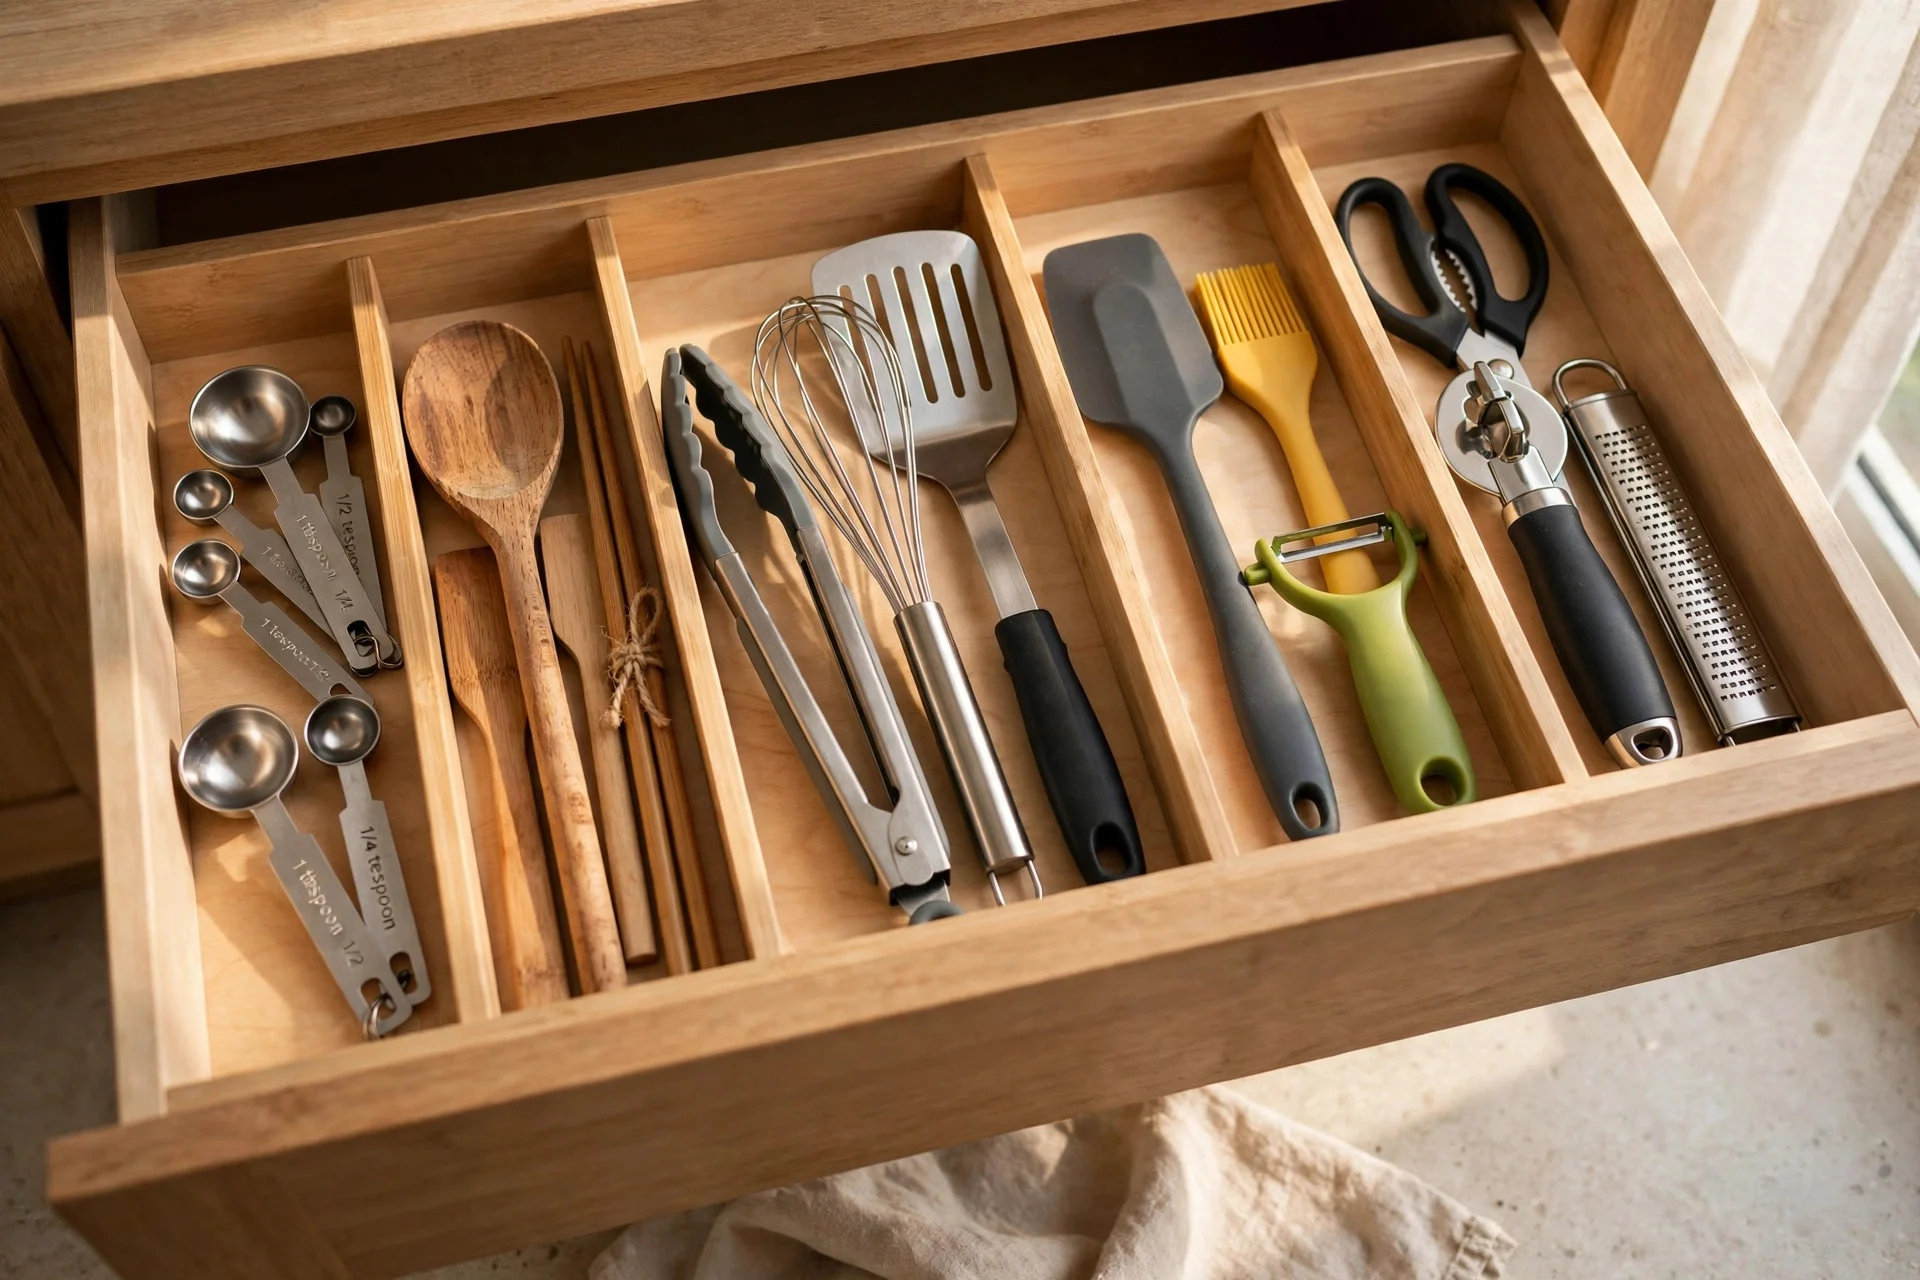
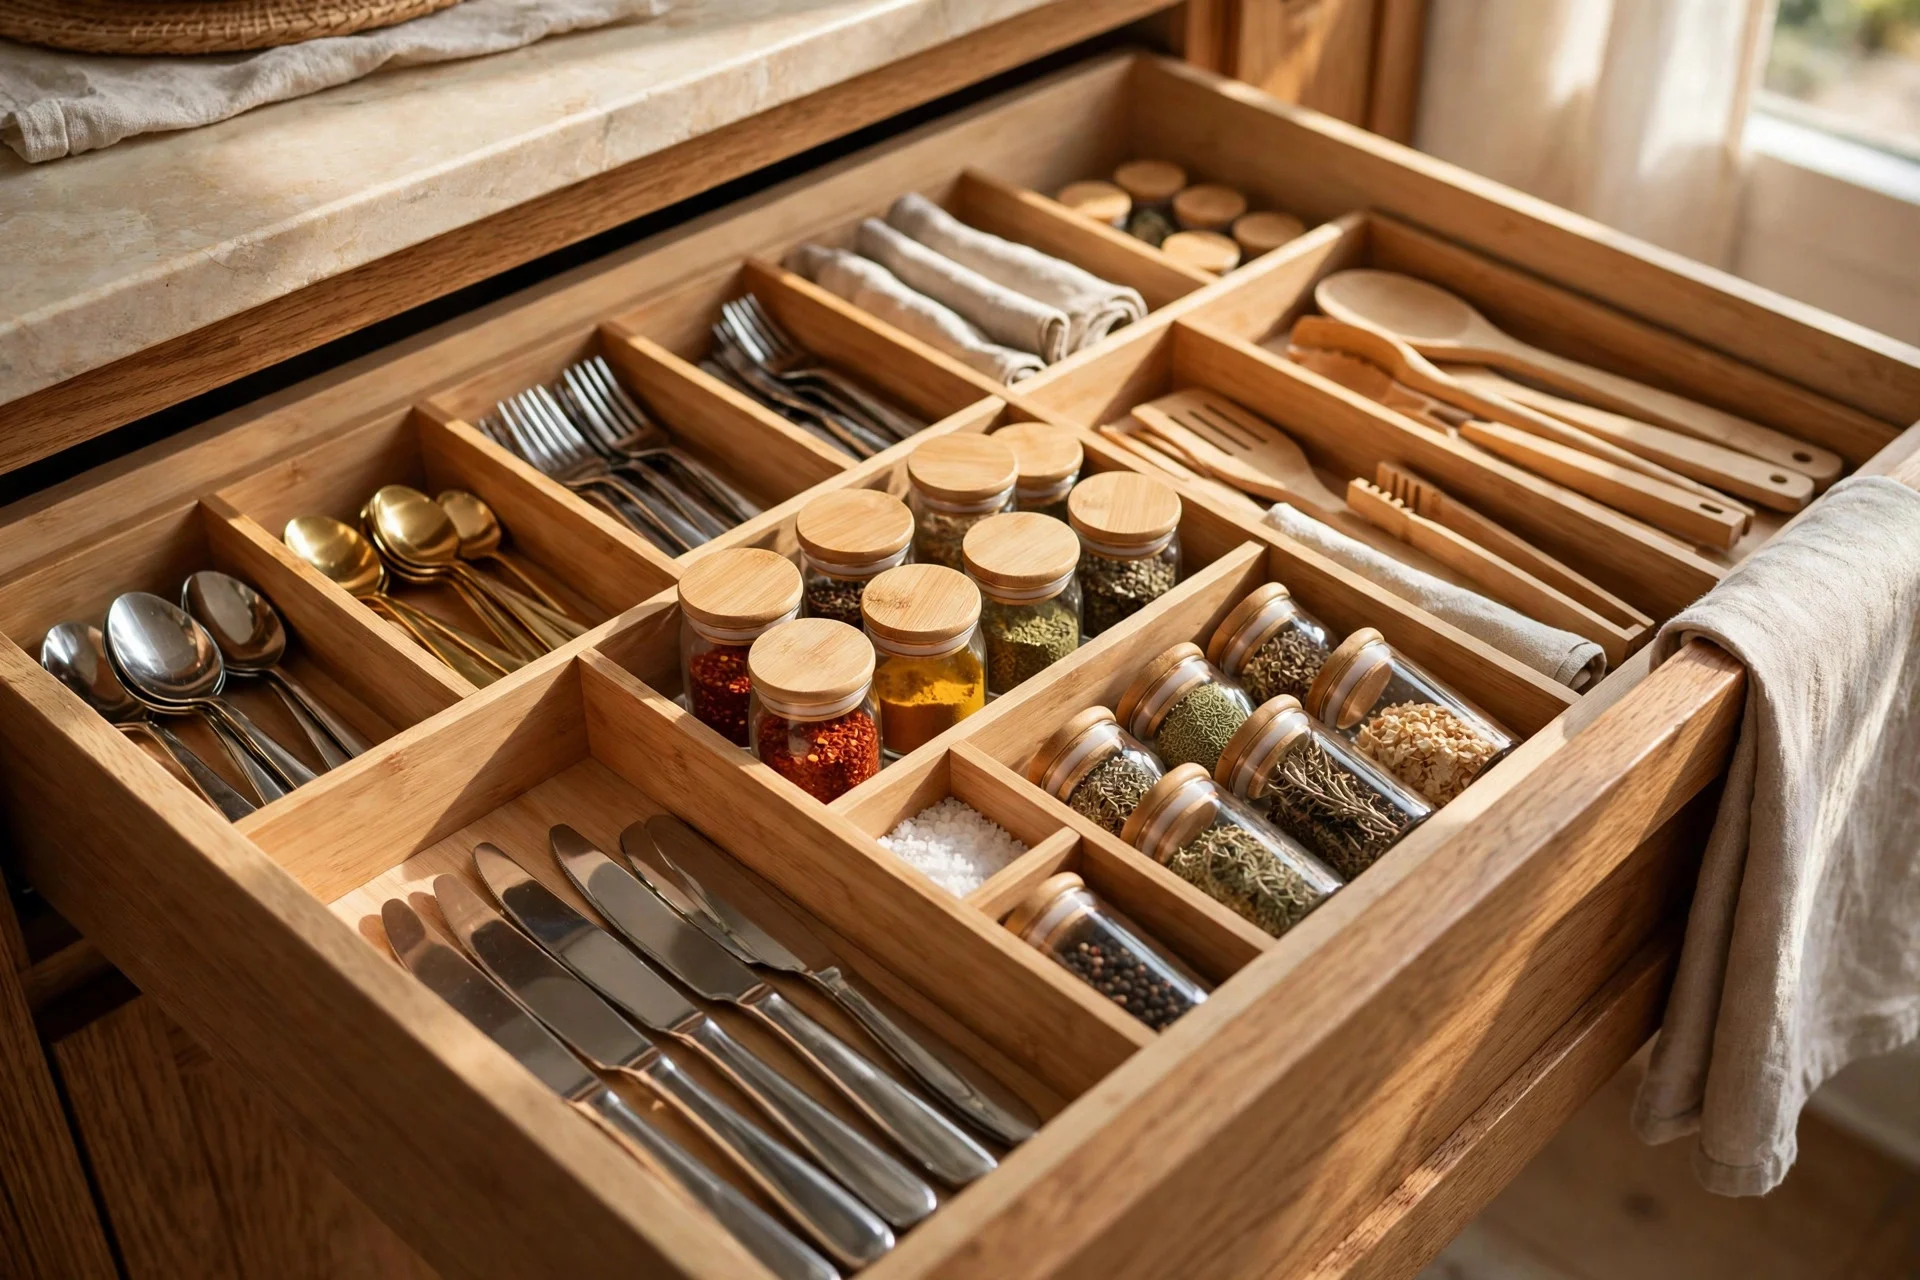
Give your most-used tools the prime spot: spatulas, tongs, ladles, wooden spoons, and whisks each get their own slot, with longer tools laid flat in the longest section. Stand taller items, like a potato masher, in a deep section if your drawer allows it. Keep this drawer close to the stove, and keep it to one layer so nothing hides under something else.
Cost: $15–$35 for a divider set. Time: 20 minutes. Difficulty: Easy.
Tip: If a utensil never fits flat, move it to a crock on the counter instead of forcing the drawer shut over it.
Watch out: Heat and steam from the stove can warp cheap plastic inserts over time, so bamboo or metal holds up better in this drawer. For more ideas on keeping the busiest parts of the kitchen calm, see small kitchen storage ideas.
Step 8: Reset the Junk Drawer Without Losing What You Need
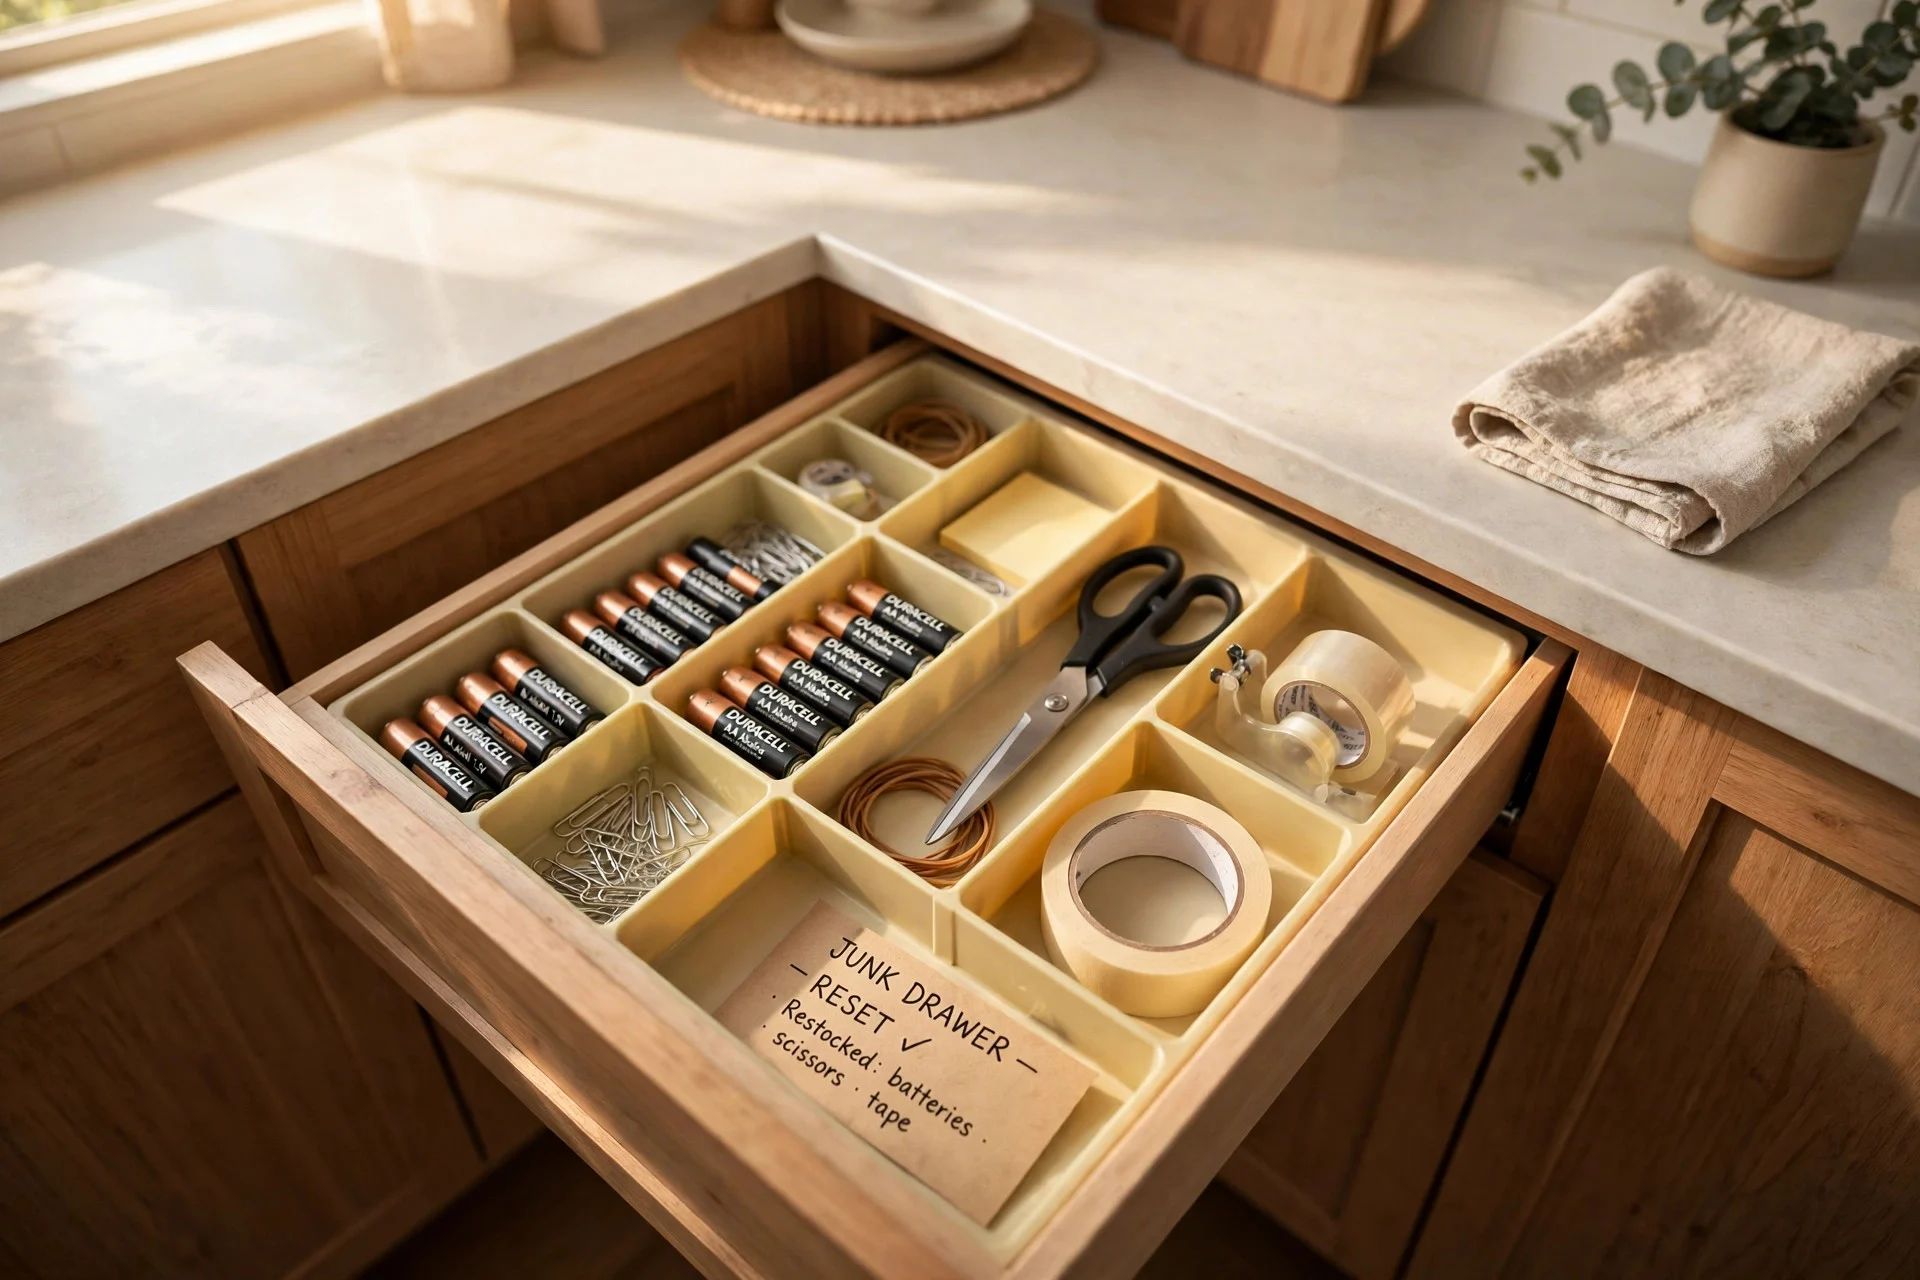
The junk drawer works best when it stops being a dumping ground and becomes a small household station. Keep only true daily items: scissors, tape, batteries, a pen, a notepad, rubber bands, and a screwdriver. Give each type a small compartment, and set a rule that anything without a compartment does not go back in.
Cost: $8–$20 for a small compartment tray. Time: 20–30 minutes. Difficulty: Easy.
Tip: Put a small dish or tin at the front of the drawer for loose coins and keys so they never scatter.
Watch out: This drawer fills up again fast. A five-minute tidy once a month keeps it from sliding back into chaos.
Step 9: Organize the Spice Drawer for Cooking at a Glance
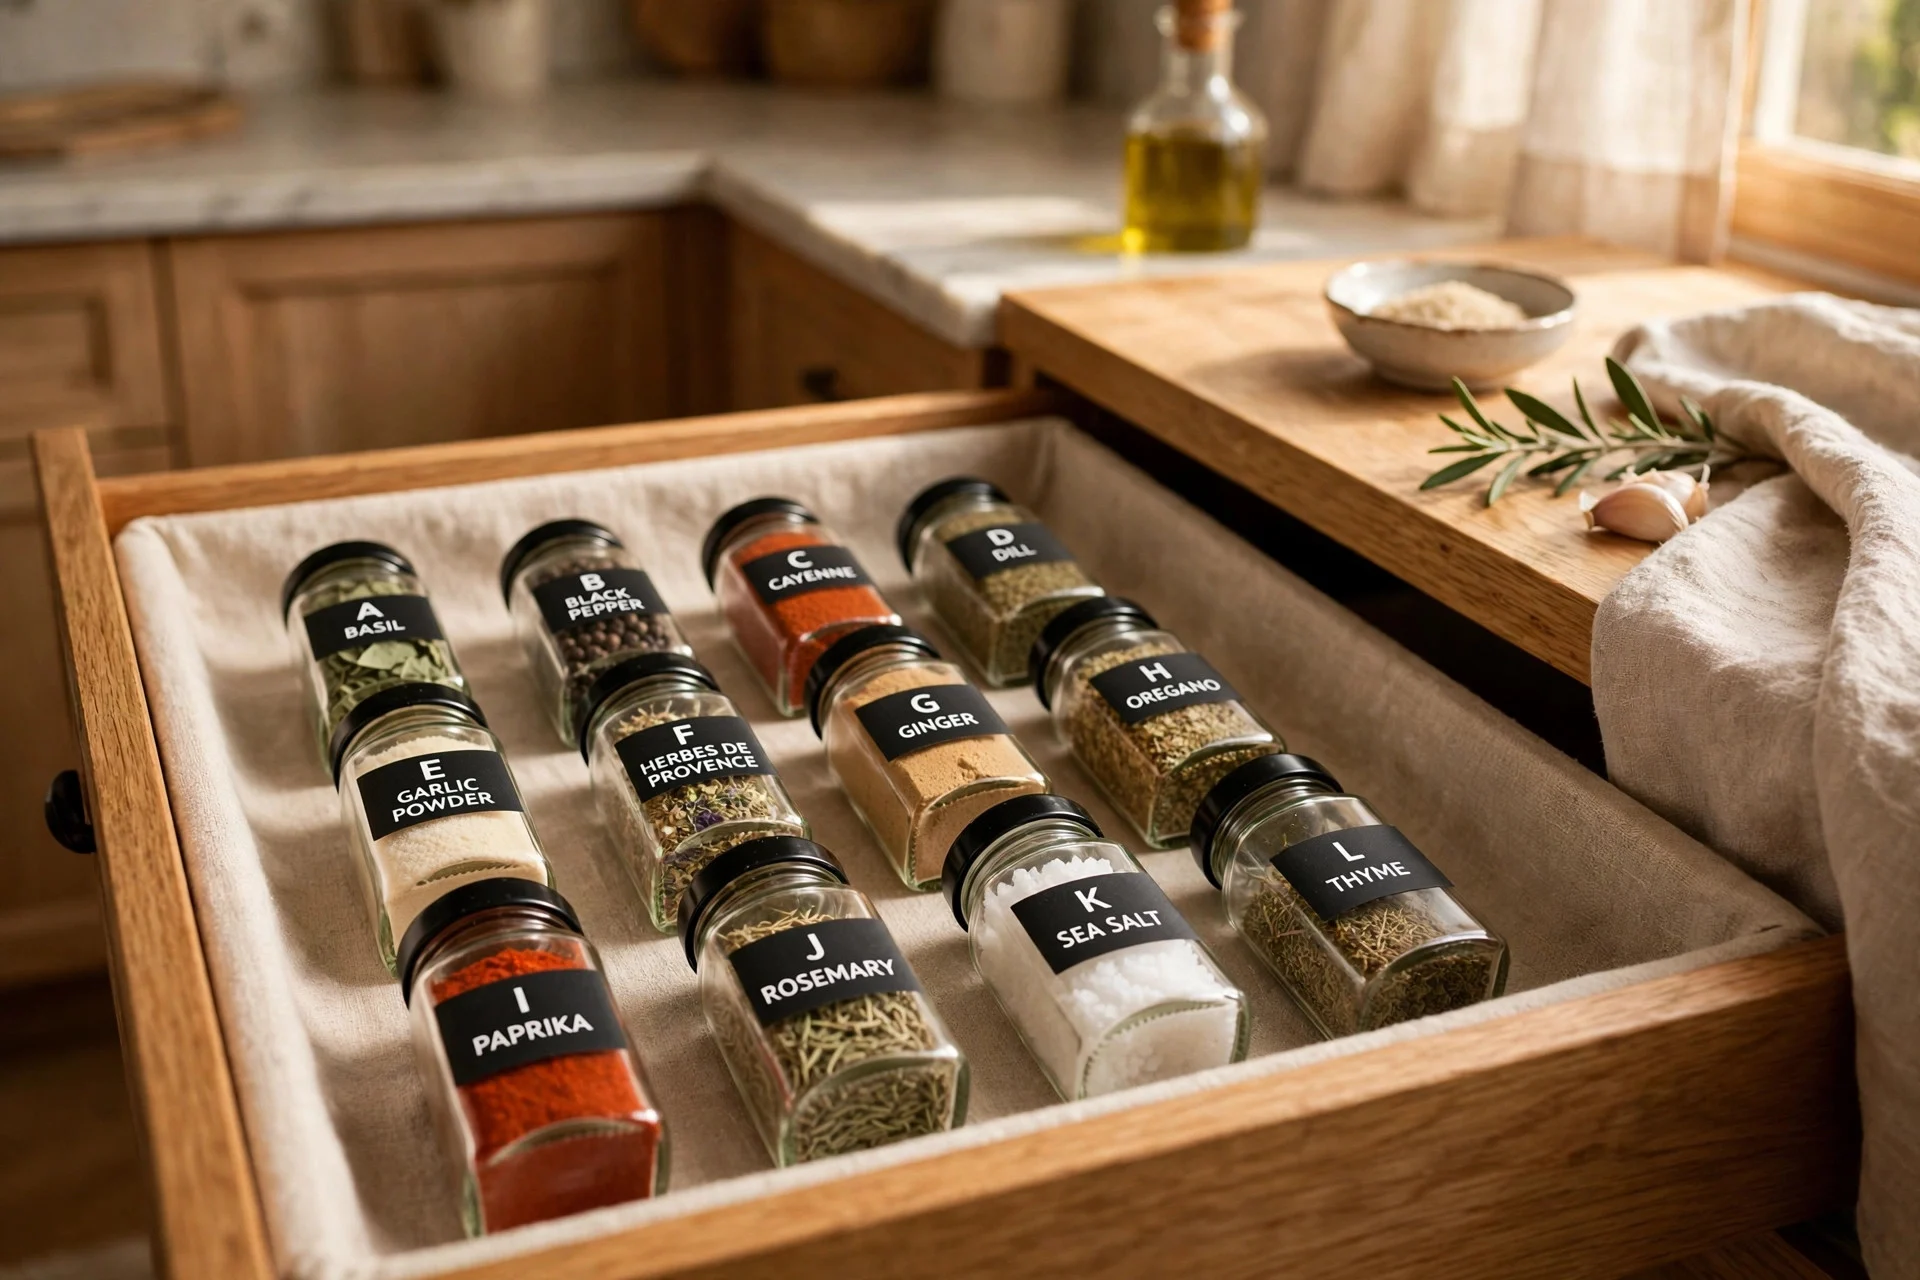
Lay spice jars flat in a drawer insert with the labels facing up, or stand them in a stepped insert so every label is visible at a glance. Group spices by how you cook, for example everyday spices together and baking spices together, and label the lids as well as the jars so you can spot the right one fast. Keep the spice drawer near your prep area, not above the stove, where heat fades flavor.
Cost: $12–$30 for a spice insert, plus $10–$20 if you switch to matching jars. Time: 30–45 minutes. Difficulty: Easy to moderate.
Tip: Write the purchase date on the bottom of each jar. Ground spices lose punch after about a year, and the date stops you from keeping stale ones.
Watch out: Round jars roll in a flat drawer. A simple non-slip liner underneath keeps them in place.
Step 10: Store Knives Safely and Within Reach
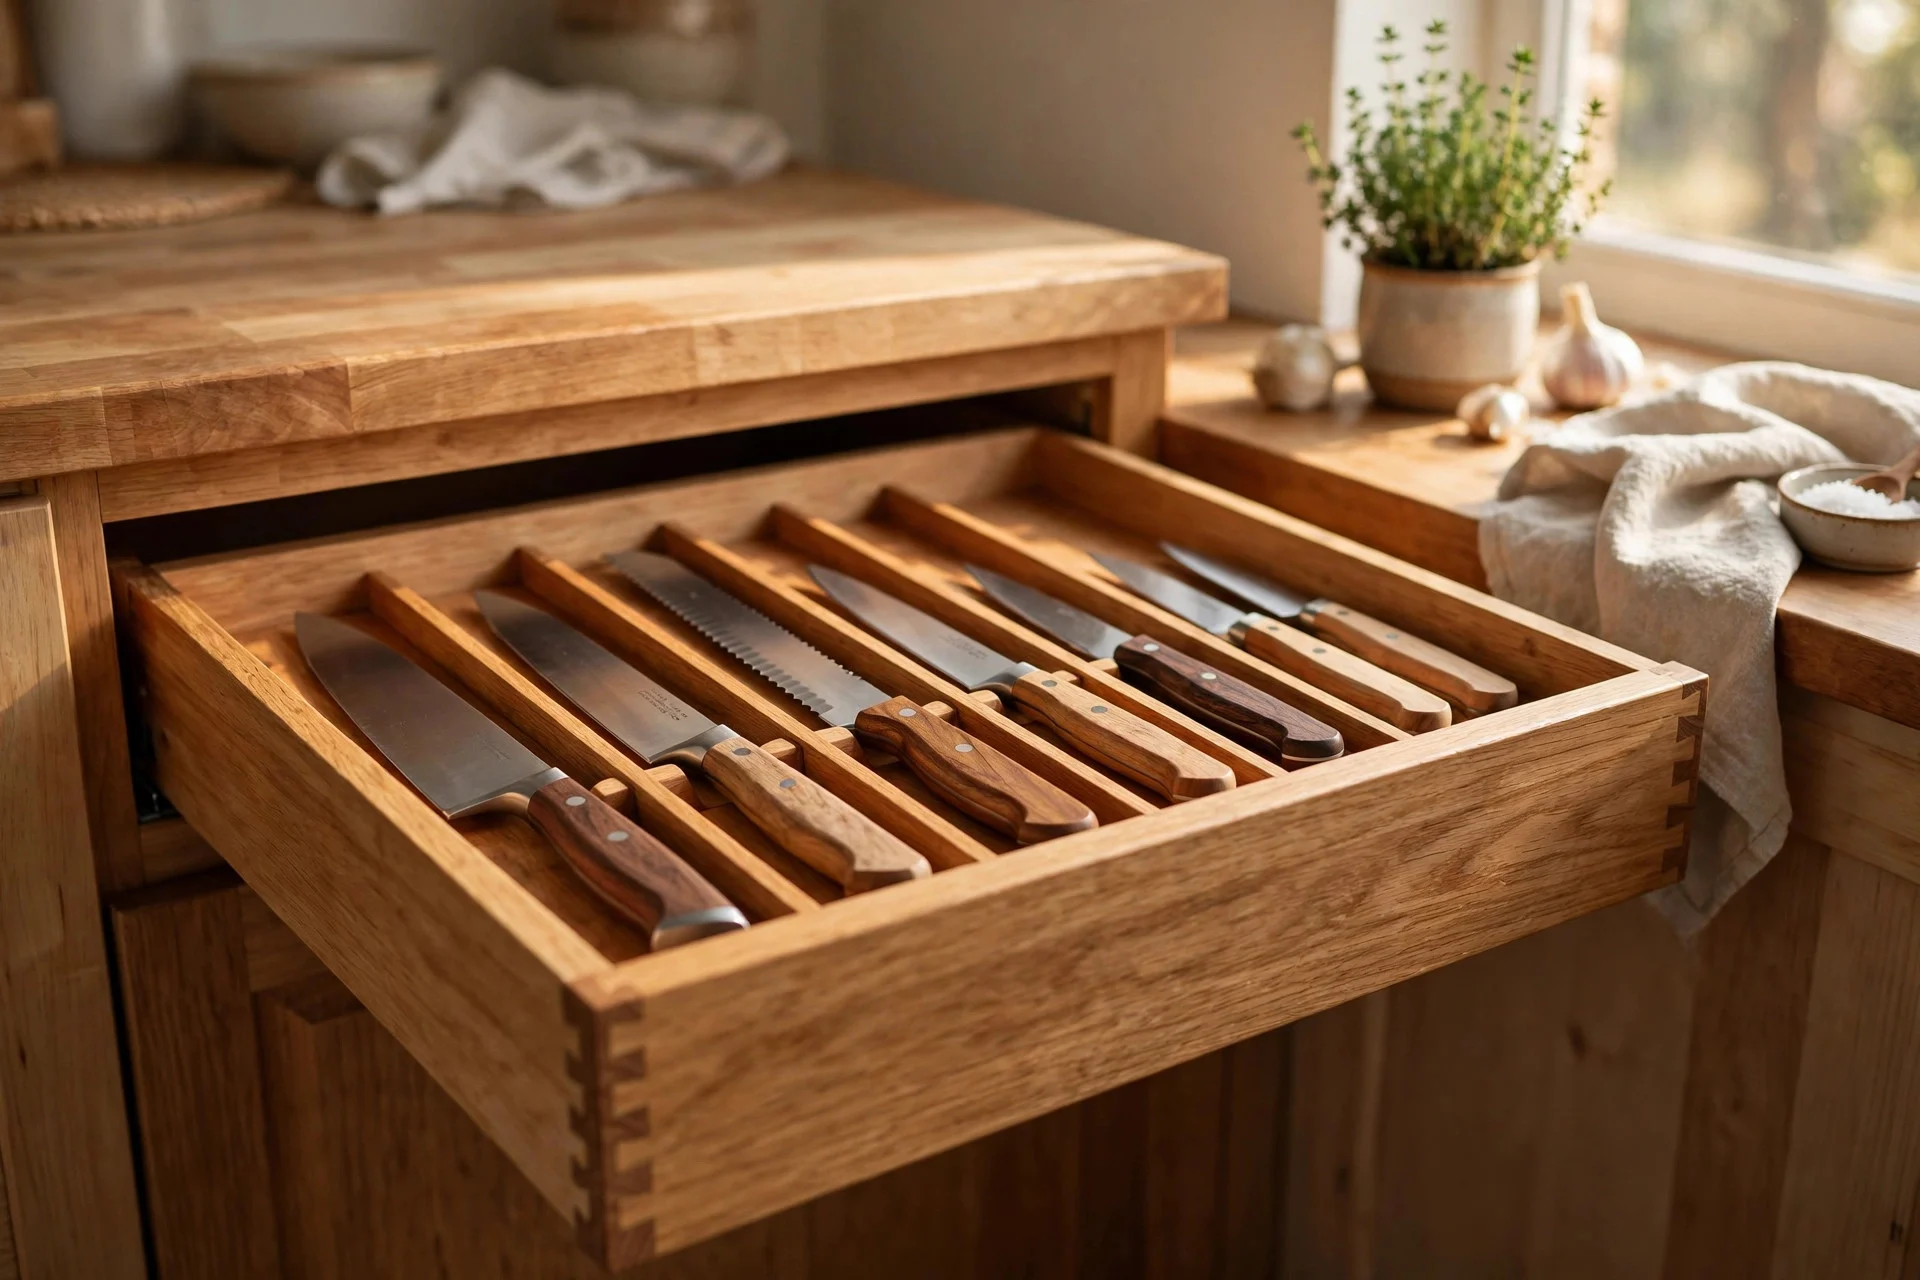
Knives need their own protected slot, never loose in a drawer where blades nick each other and cut fingers. An in-drawer knife block costs $20–$40 and keeps blades separated, while a magnetic strip inside a deep drawer or on the wall costs $15–$30. Place the knife drawer near your prep counter so you are not carrying a blade across the kitchen.
Cost: $15–$40. Time: 15 minutes. Difficulty: Easy.
Tip: Store knives blade-down in a block slot, and dry them fully before putting them away to protect the edge.
Watch out: Never store a loose knife under other tools. Even a small paring knife can cause a nasty cut when you reach in blind.
Step 11: Tame Lids and Food Containers
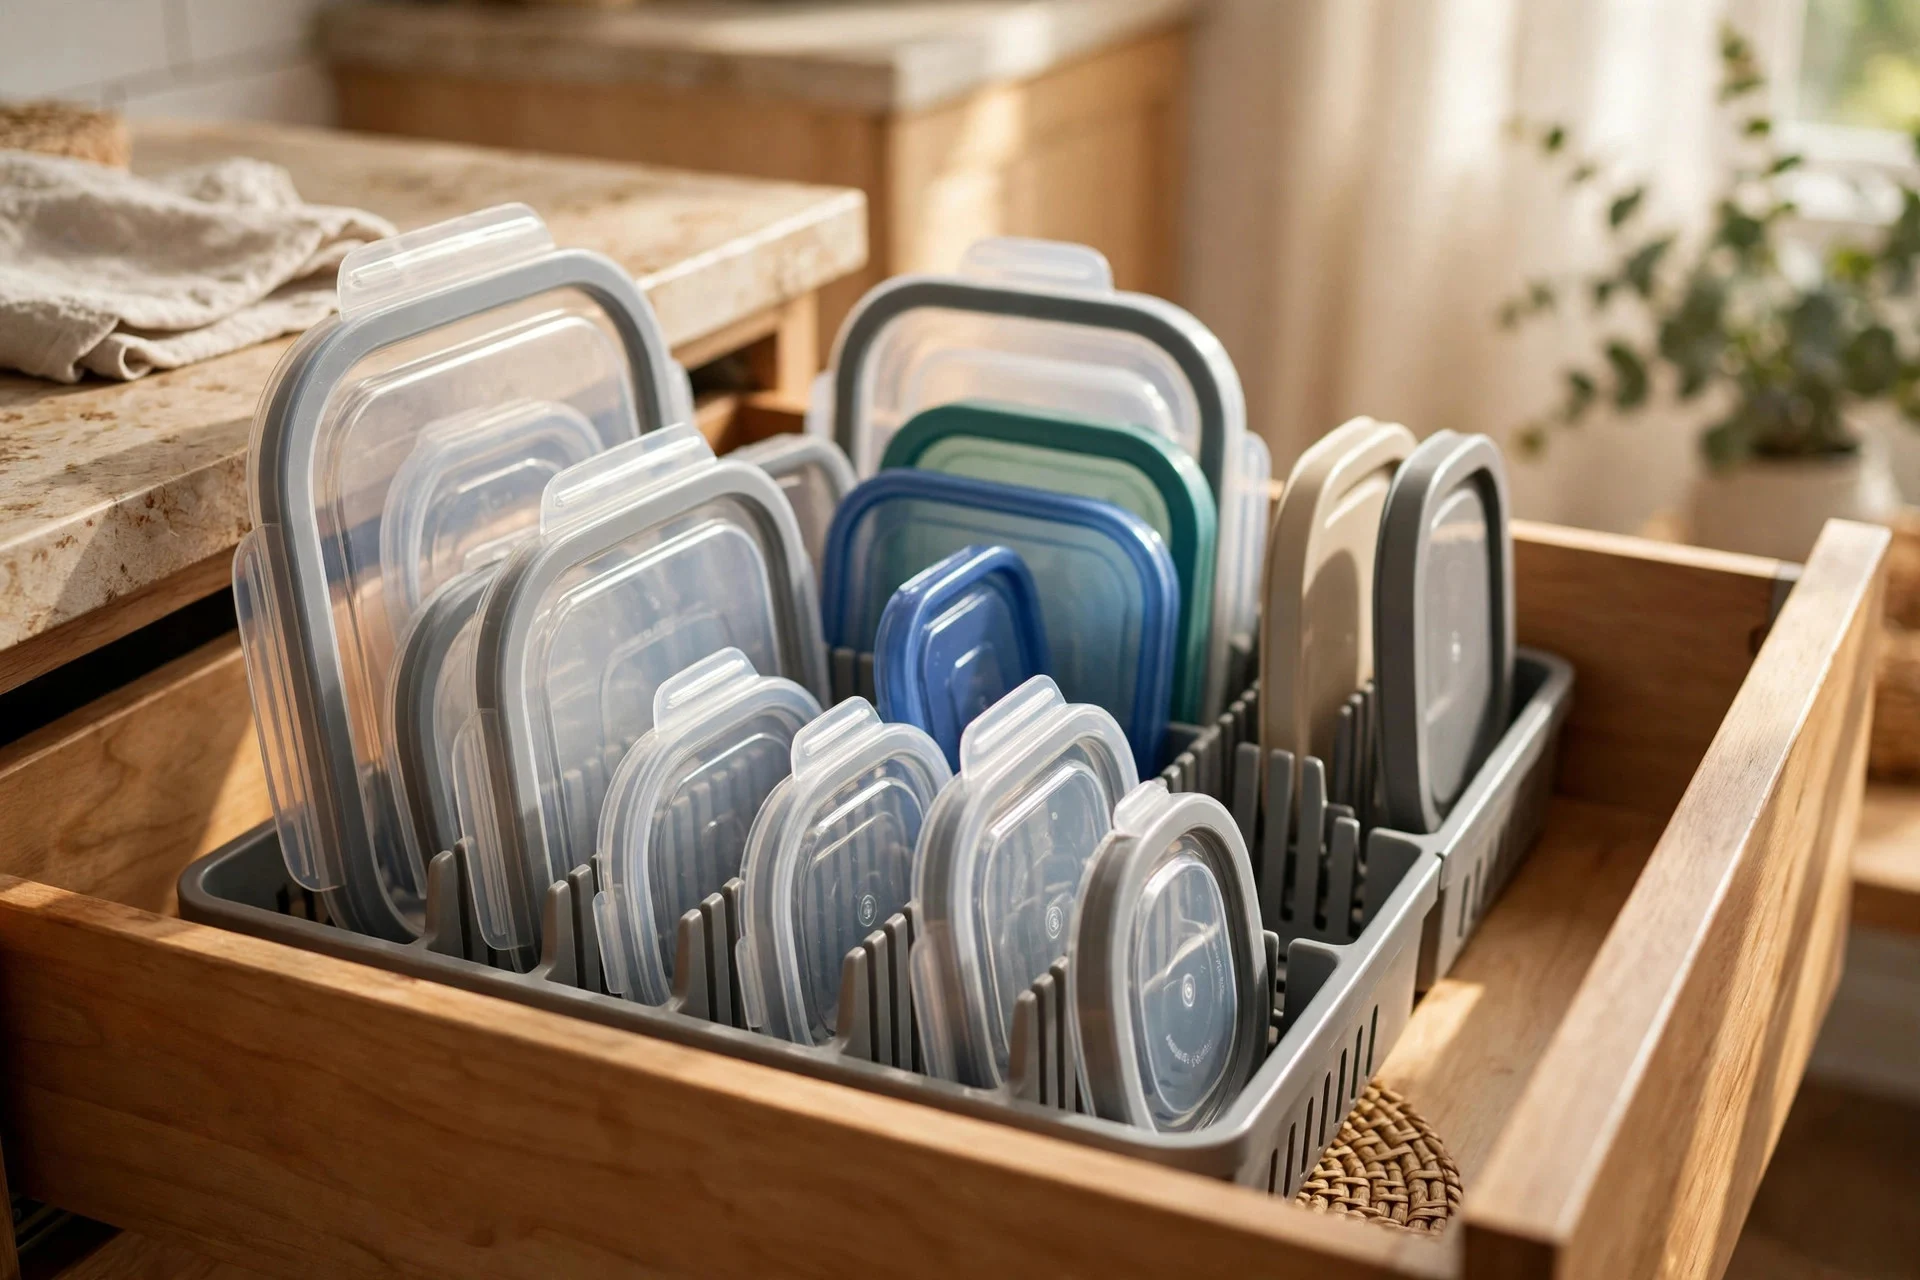
Containers and lids cause more drawer frustration than almost anything else, so treat them as a set with rules. Match every container to its lid, stack the containers by size, and store the lids upright in a vertical rack or a divider section. If a lid has no container, or a container has no lid, recycle it on the spot.
Cost: $10–$25 for a lid rack or divider. Time: 20–30 minutes. Difficulty: Easy.
Tip: Store a lid inside its container only for the few sets you use daily. For the rest, upright lid storage saves far more room.
Watch out: Deep drawers tempt you to stack containers high. Keep stacks to three or four, or the bottom ones will never get used.
Step 12: Label Slots and Build a Simple Maintenance Habit
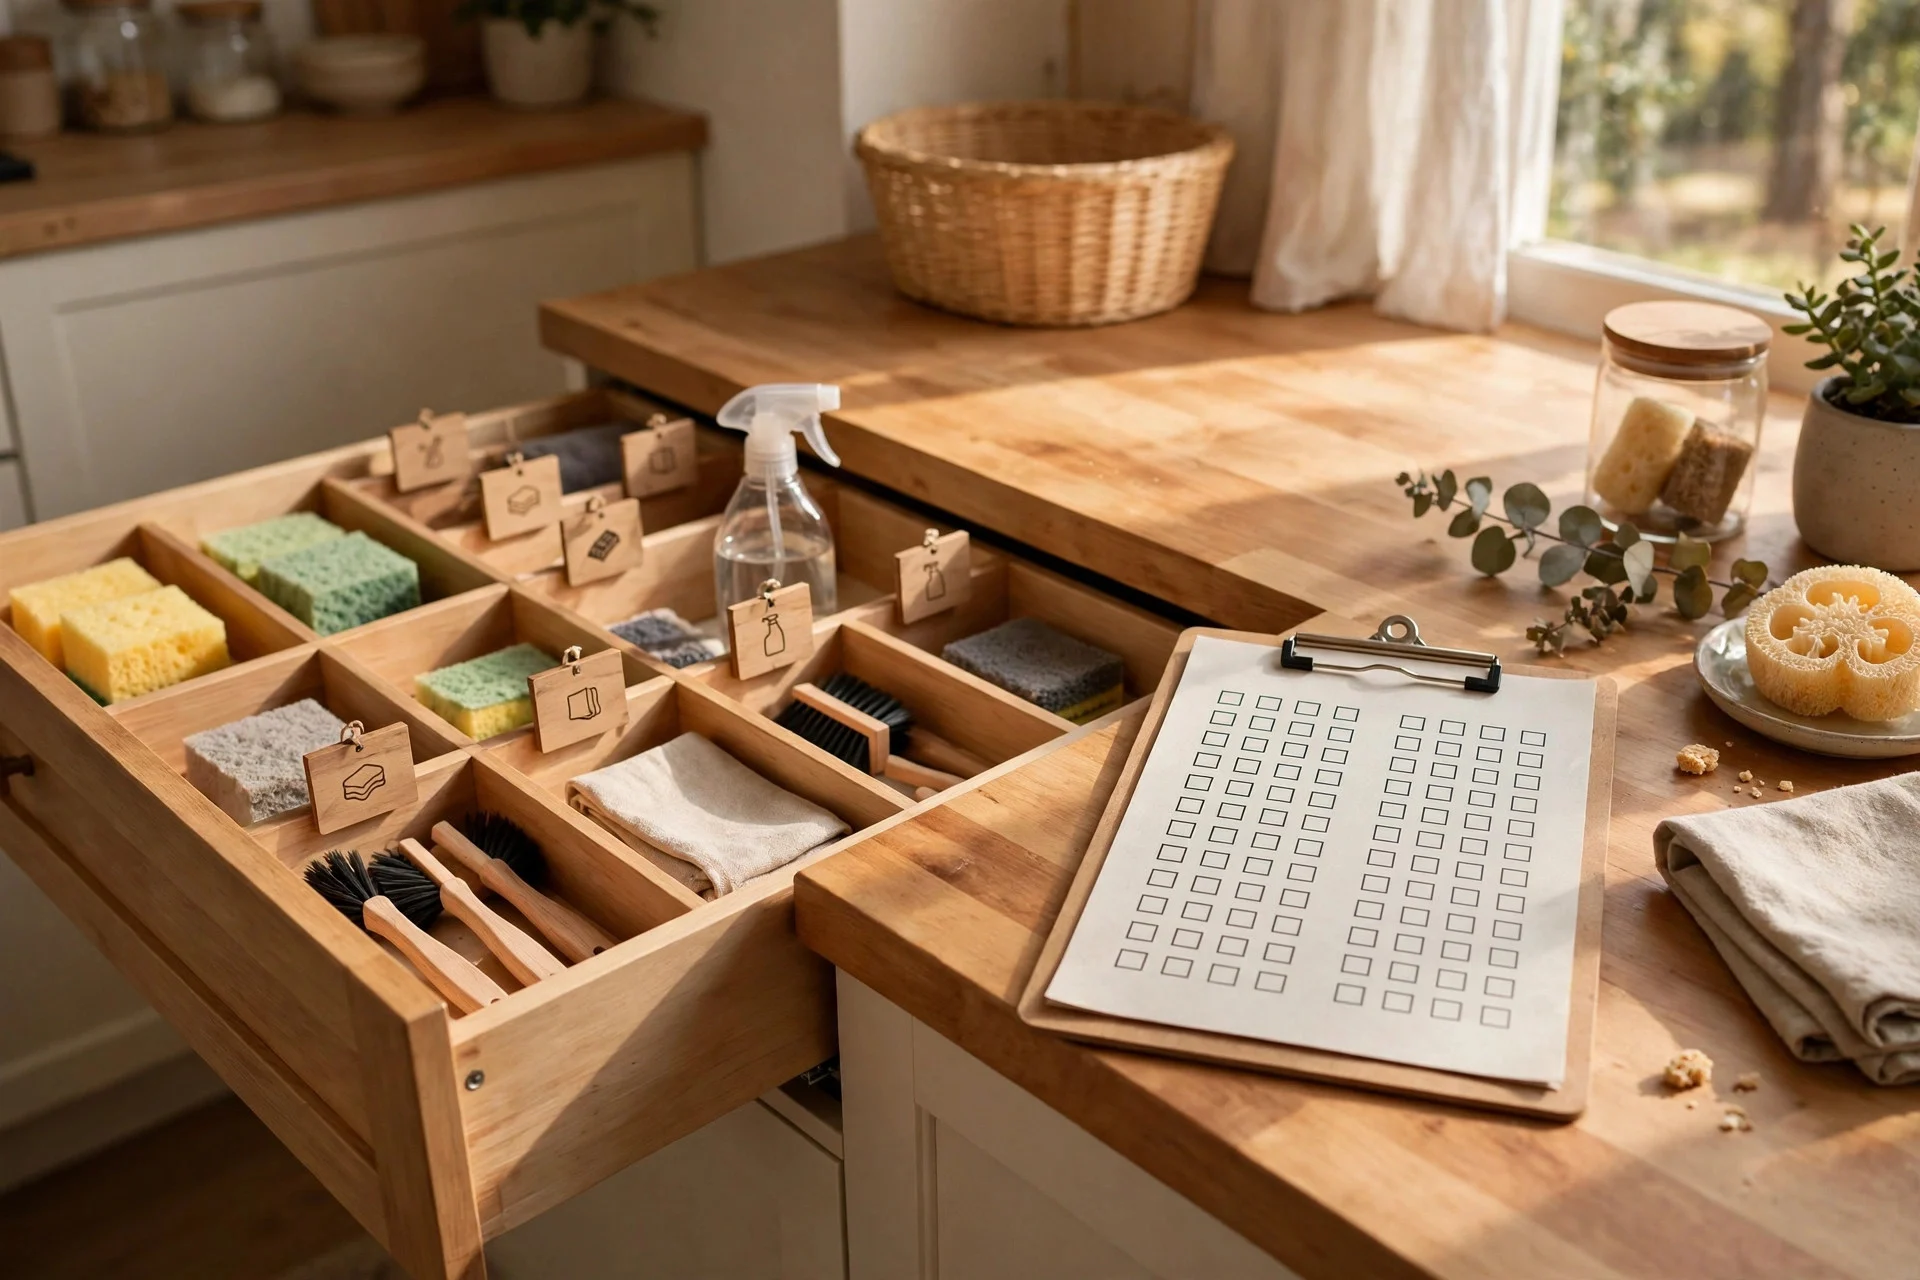
Labels turn a tidy drawer into a system other people in the house can follow. Label the front of each divider section, or add small labels inside the drawer, so anyone putting dishes away knows where things belong. Then set a short routine: a two-minute put-back after cooking, and a ten-minute drawer check once a month to catch strays before they pile up.
Cost: $3–$10 for a label maker tape or adhesive labels. Time: 15 minutes to label, plus 10 minutes a month. Difficulty: Easy.
Tip: Label by job, like “baking” or “everyday cooking”, rather than by single items, so new tools still have an obvious home.
Watch out: Labels peel in humid kitchens. Wipe the surface dry before sticking them, and press firmly for a few seconds. If you are planning a wider tidy-up, kitchen decluttering checklist pairs well with this drawer reset.
Materials and Cost at a Glance
For a typical kitchen with four to six drawers, expect to spend $60–$180 in total on dividers, inserts, a knife block, and labels, though you can start with a single drawer for under $25. You will need a tape measure, a damp cloth, a small box for donations, and the inserts you chose in Step 6. Bamboo and metal inserts last longer than thin plastic, so spend a little more on the drawers you open every day and save on the ones you open once a week. Most of this project is sorting and fitting, not spending, so the biggest cost is honestly your time: about two to three hours for a full kitchen, spread across an afternoon.
Frequently Asked Questions
How do I organize a kitchen drawer without buying anything?
You can get a long way with what you already own. Use small boxes, ramekins, and cut-down cardboard boxes as dividers, and sort by cooking zone before you spend a cent. Free solutions work best when you measure first and give each group its own container, even a simple one.
What is the best way to organize deep kitchen drawers?
Use low, sturdy inserts so items stay visible, and avoid stacking tools in layers that hide the bottom row. For very deep drawers, a two-level insert or a shallow tray on top of a deeper section keeps everyday items on top and bulky tools below.
How often should I reorganize my kitchen drawers?
A full re-sort once or twice a year is enough for most kitchens, with a quick ten-minute tidy once a month in between. The monthly check catches new gadgets, stray lids, and items that drifted into the wrong drawer before they undo the system.
Should spices go in a drawer or a cabinet?
A drawer works well if it sits near your prep area and keeps jars away from stove heat. Cabinets suit larger collections, but drawers win for visibility, since every label faces up and you can see the whole collection at once. For more layout ideas, see kitchen storage ideas for small spaces.
Practical Wrap-Up Checklist
Start with one drawer, empty it fully, and measure before you buy anything. Sort, purge, and group by cooking zone, then fit dividers to your measurements. Give knives a protected slot, lids an upright home, and spices a label you can read at a glance. Label the sections, run a ten-minute tidy once a month, and your drawers will stay as easy to use as the day you organized them.
- Empty and measure one drawer at a time
- Sort, purge duplicates, and group by cooking zone
- Fit dividers to real measurements, not guesses
- Protect knives, stand lids upright, label spice jars
- Label each section and tidy for ten minutes monthly