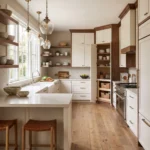
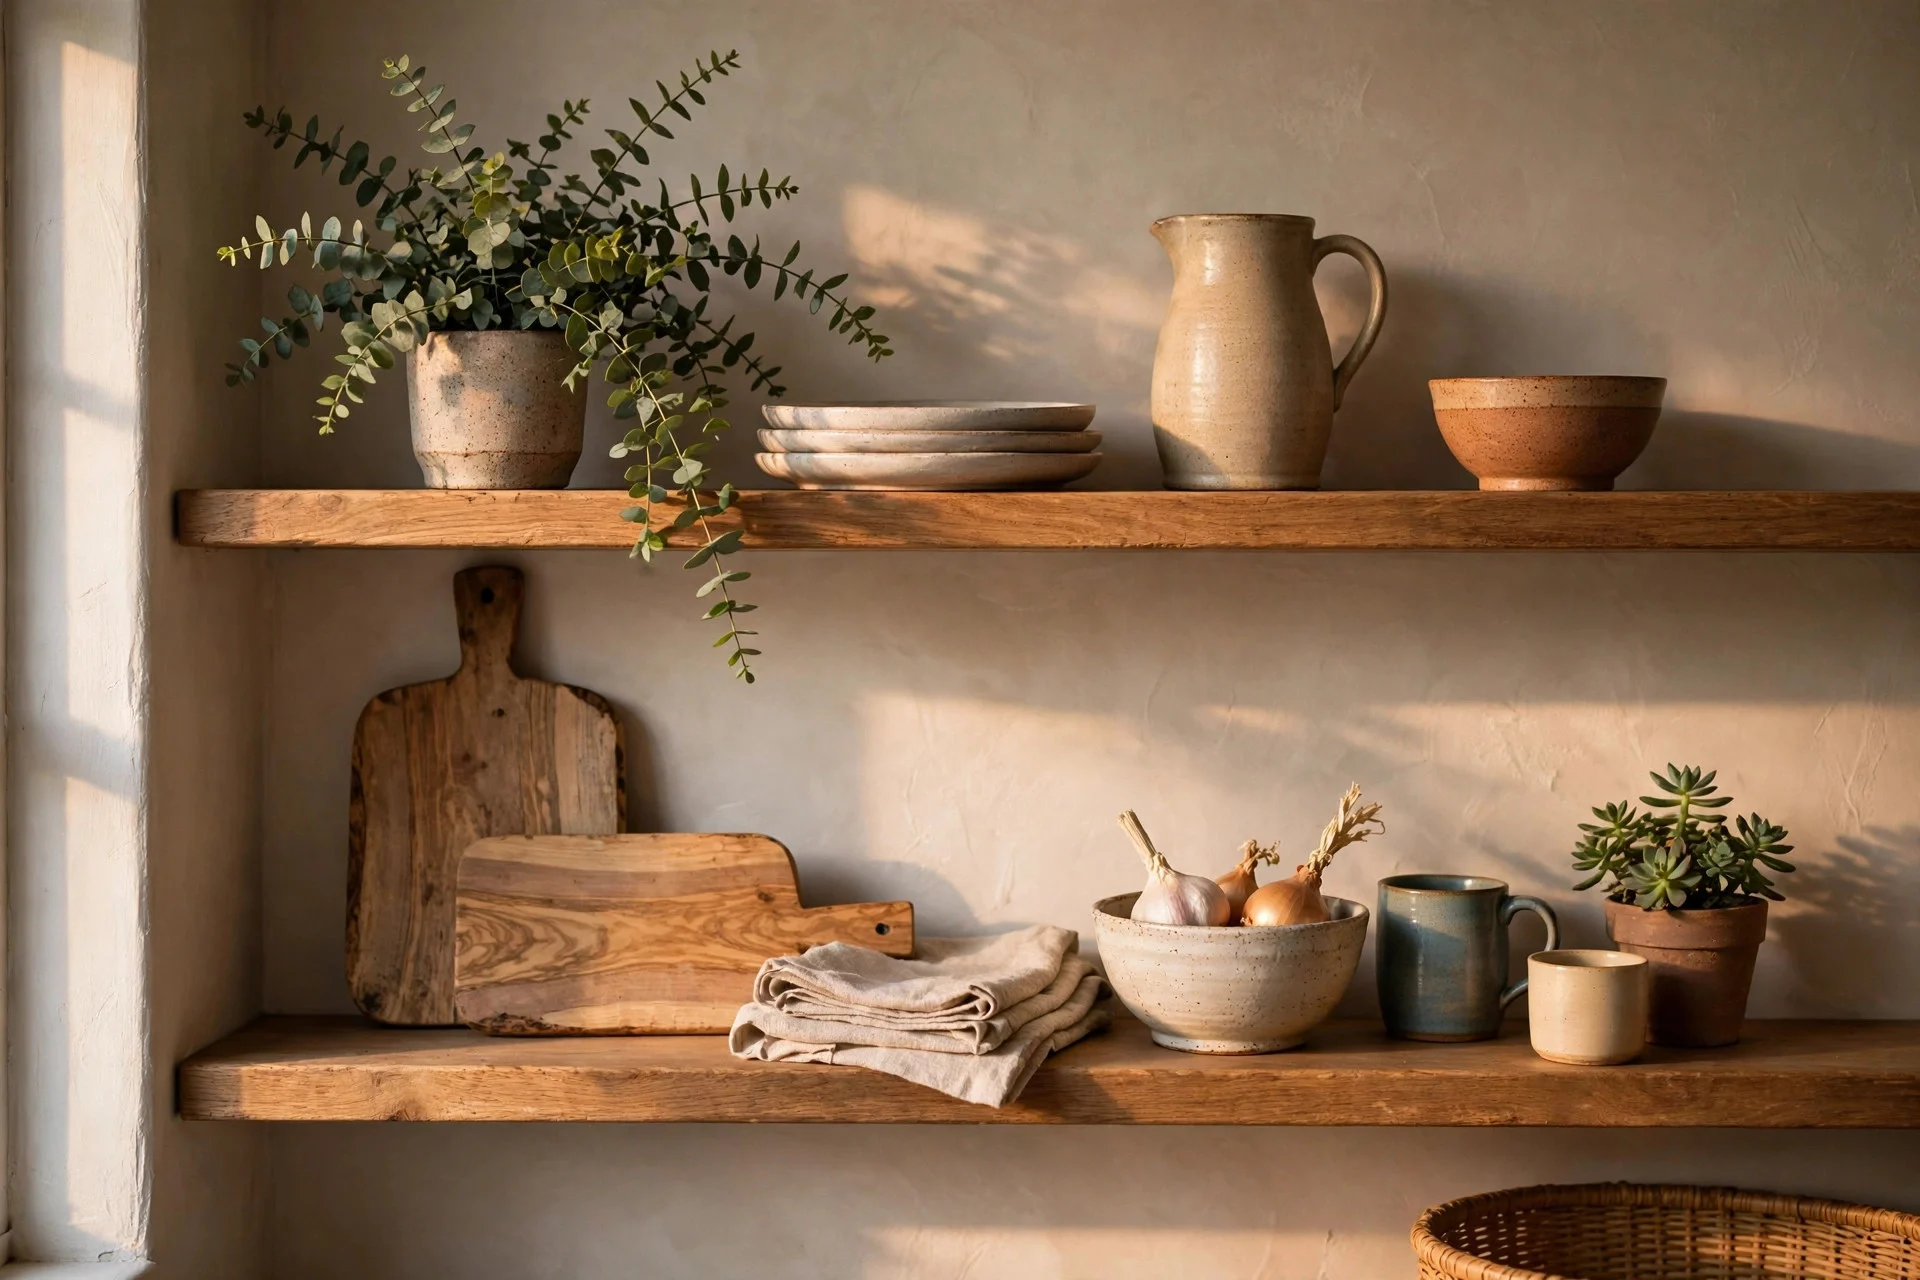
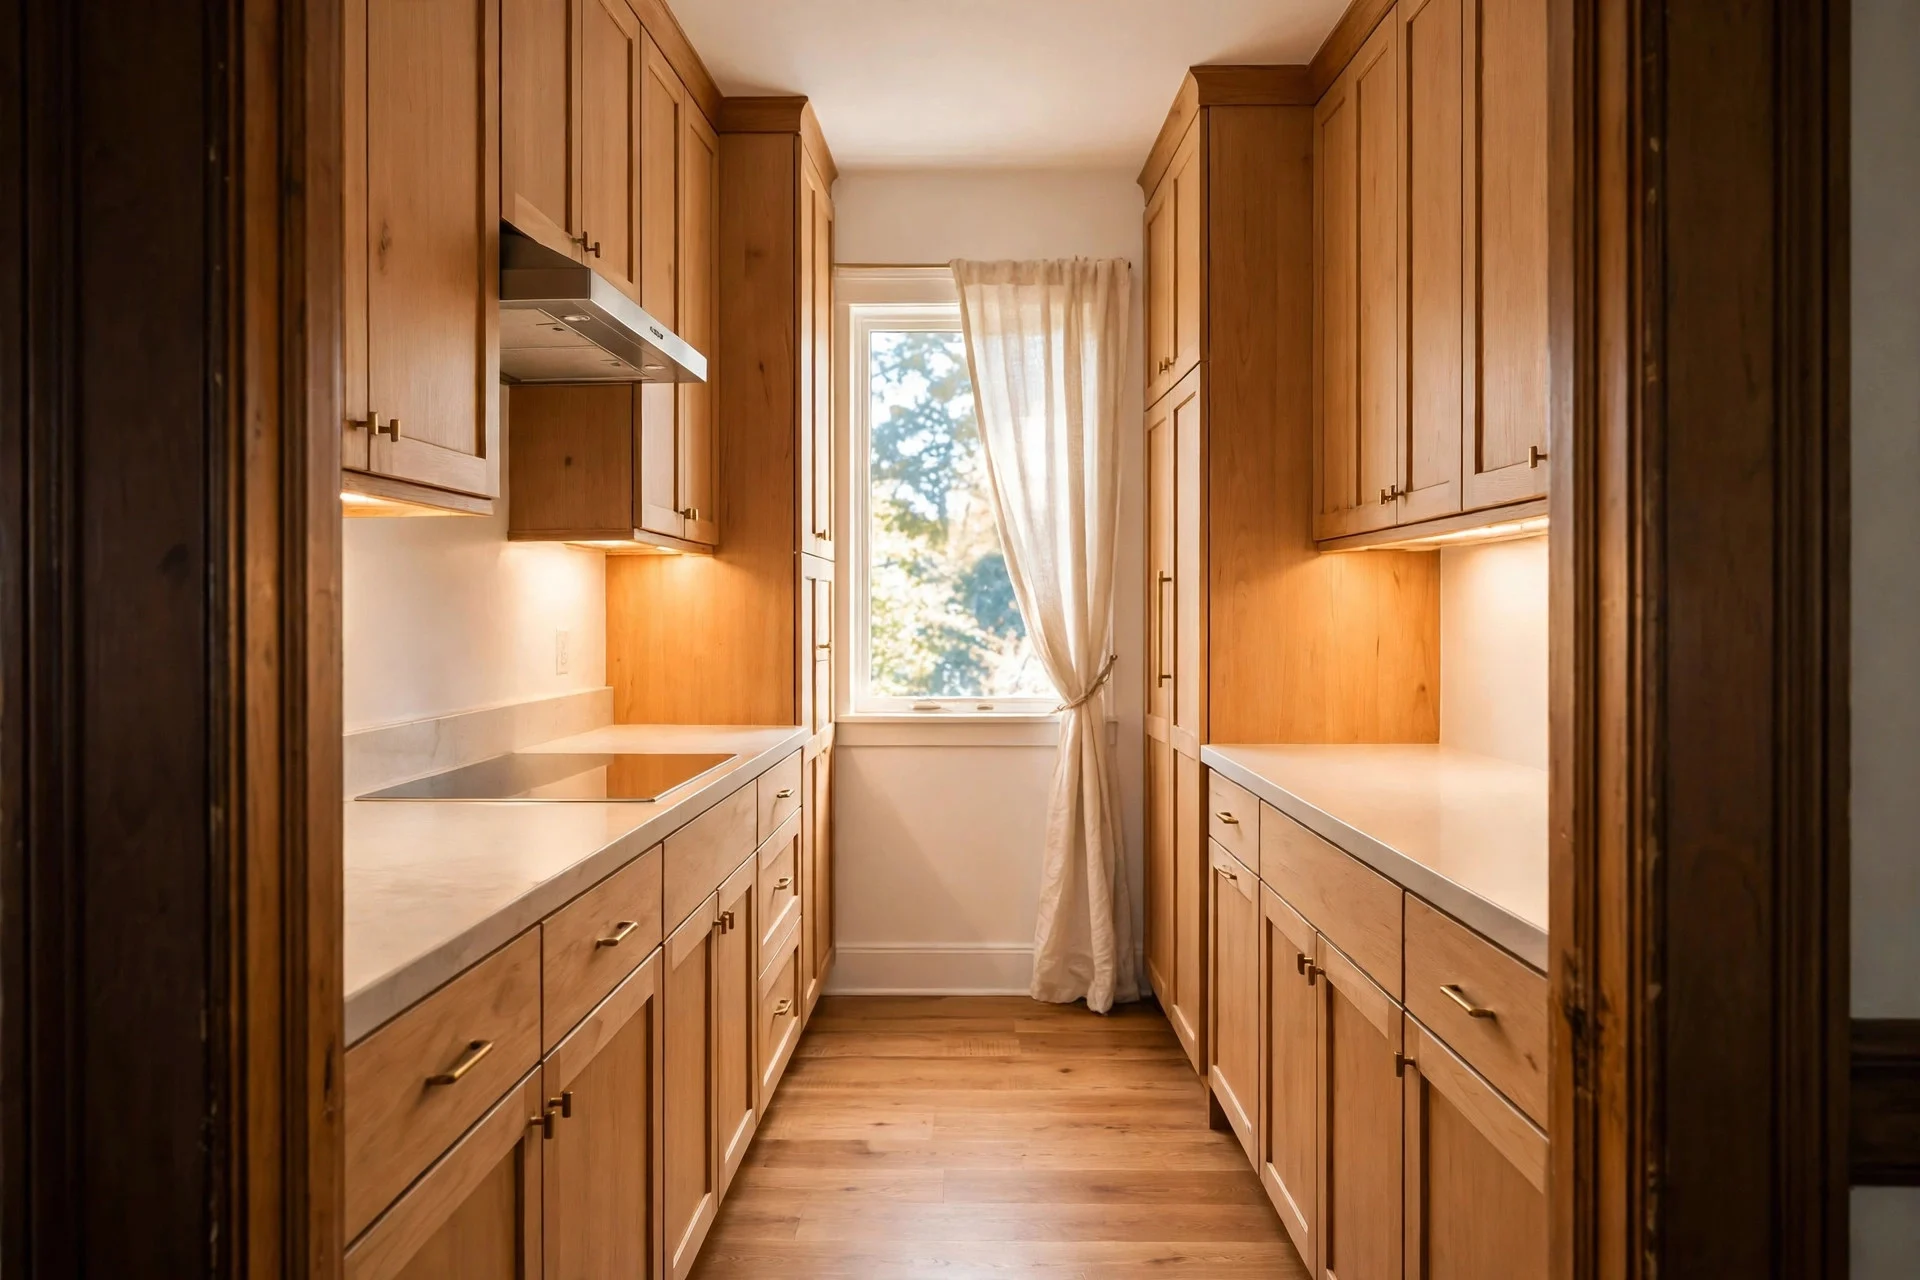
A galley kitchen gives you one long line to work with — and that is actually an advantage. Instead of spreading your cooking across three walls, everything sits within a few steps: fridge at one end, sink in the middle, cooker at the other. The catch is that the same layout can feel like a corridor if you treat both walls the same way. The fix is to give each stretch of the line a clear job, so you walk through the kitchen in the order you actually cook.
Walk the route below in order, from the doorway to the far end, and you will end up with a kitchen that feels planned rather than squeezed. Some of these ideas cost nothing. Others need a weekend and a modest budget. All of them work with the shape you already have, not against it.
1. Set the Doorway Sightline First
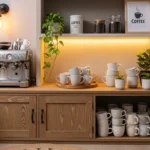
Before you change anything else, stand in the doorway and look down the length of the kitchen. Whatever you see first sets the tone for the whole room, so it should be something worth looking at — a clear worktop, a plant, a framed print — not the side of the fridge or a pile of washing up.
Cost: free if you just rearrange what is already there, or $20–$60 for a small picture or plant. Difficulty: easy, an afternoon at most. Tip: take a photo from the doorway before you start; it shows clutter your eyes have learned to ignore. Watch out: do not block the doorway with a bin or a stool just because there is a gap there — the entry needs to stay clear or the whole kitchen feels cramped.
2. Build One Tall Storage Wall
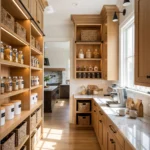
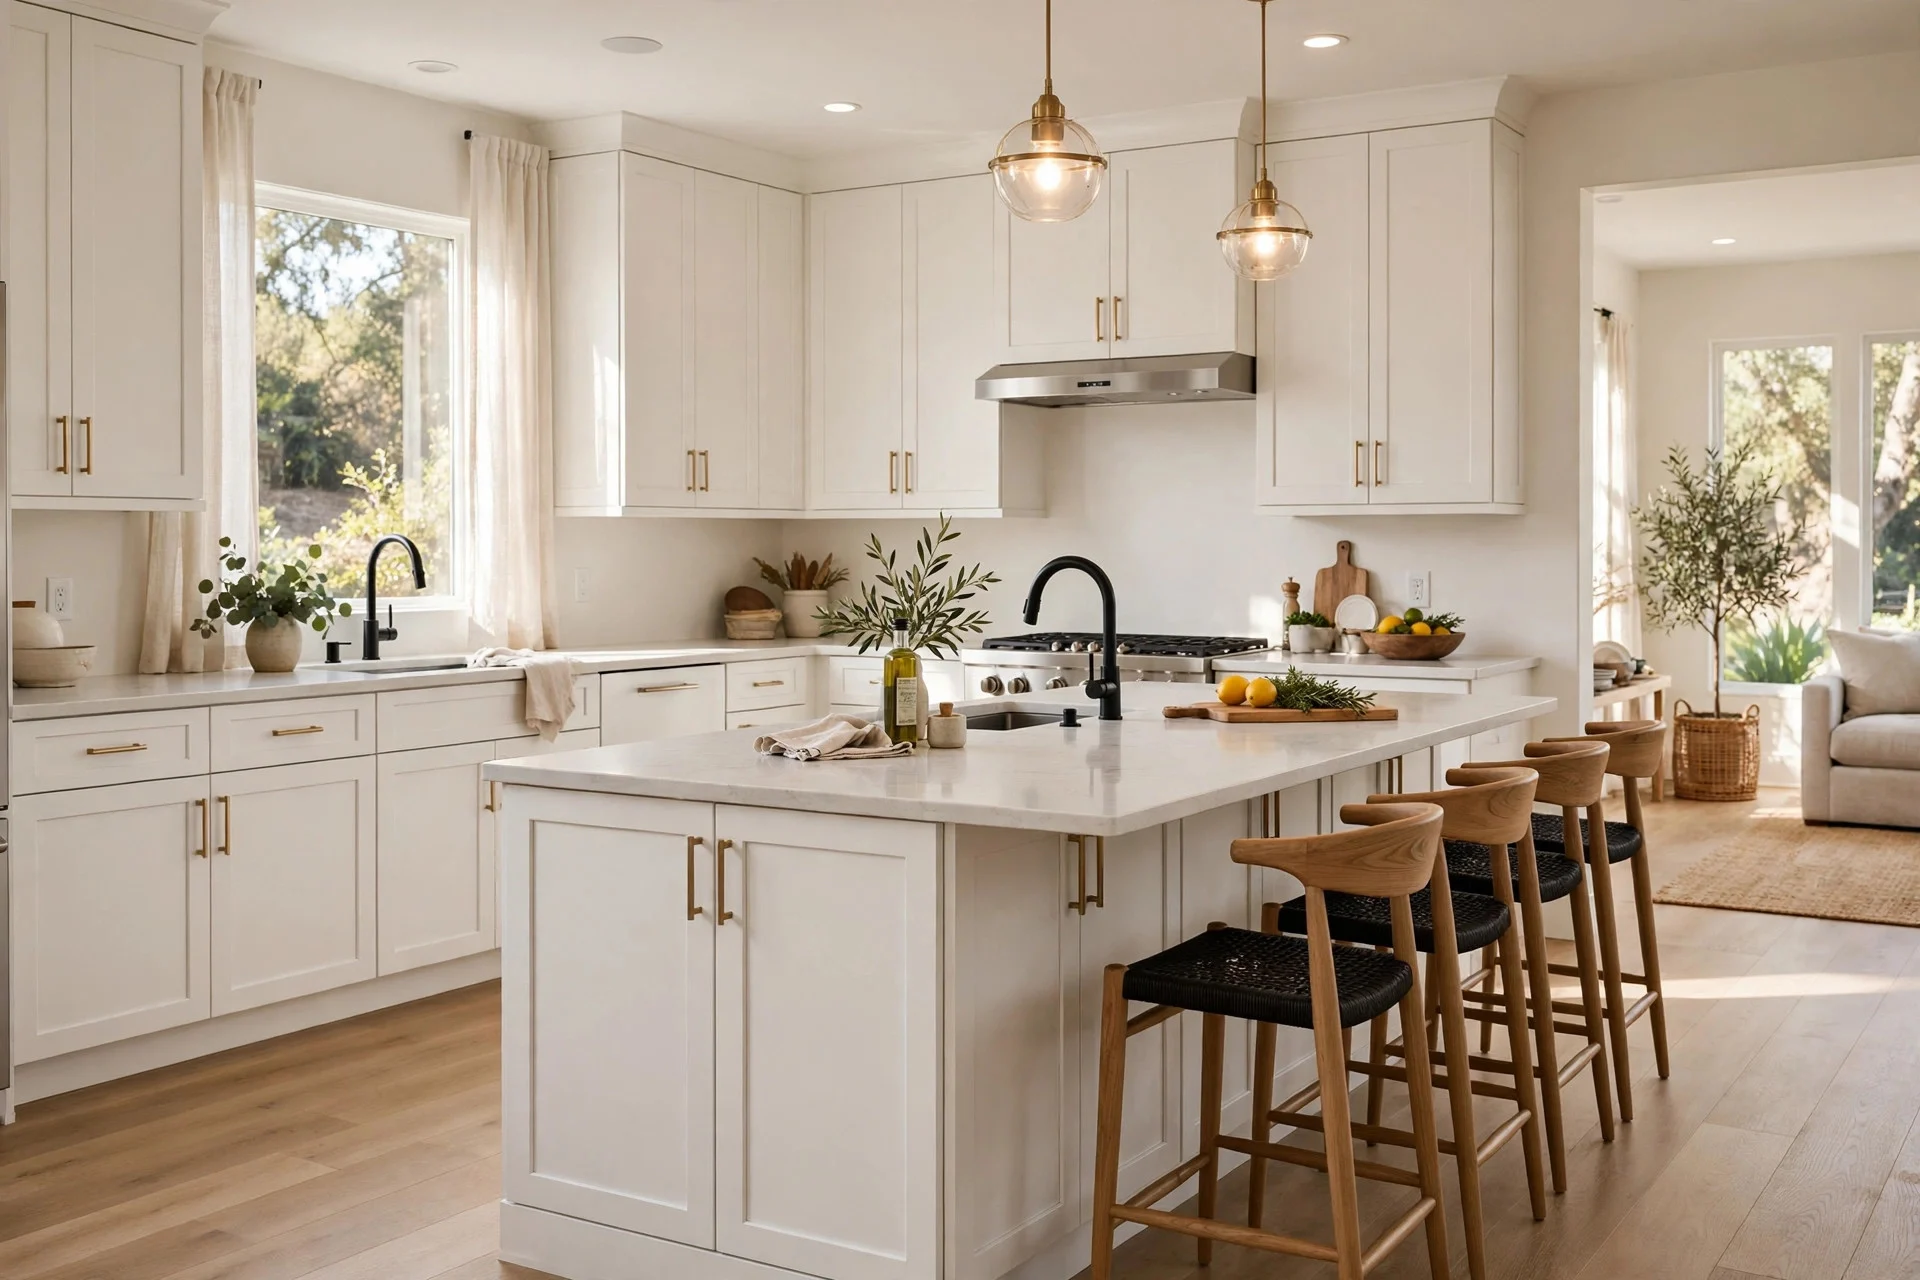
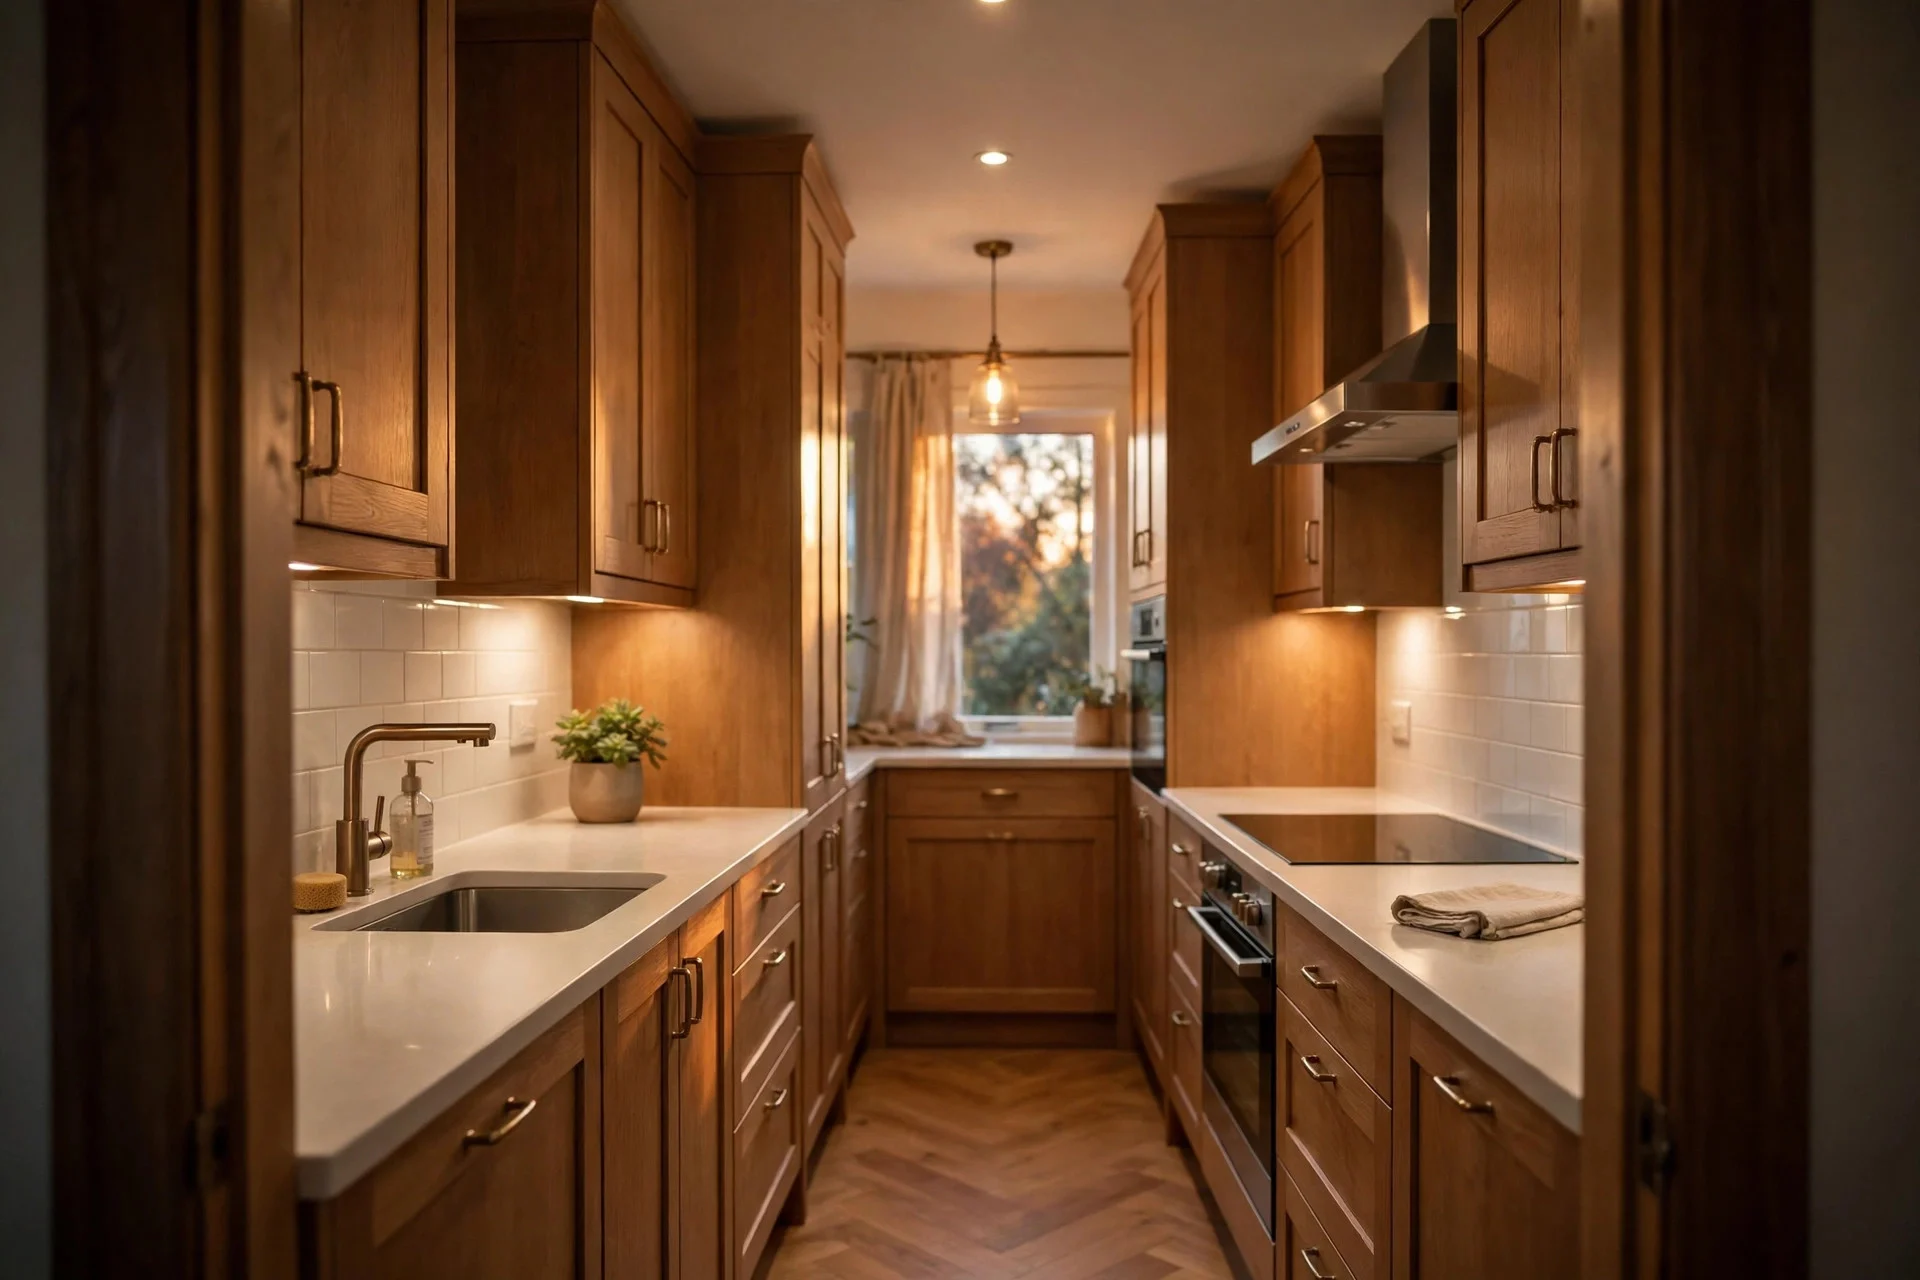
Pick one wall — usually the one without the window — and run tall units along it from floor to ceiling. Fridge, larder, oven housing and pantry storage all live here, which frees the opposite wall for worktops and keeps the cooking line unbroken.
Cost: $800–$3,000 for fitted tall units, or $150–$400 for a freestanding larder cupboard and shelving. Difficulty: moderate; fitted units usually need a joiner. Tip: put the least-used items on the very top shelf and keep a small step stool nearby, or that space just becomes dead storage. Watch out: a full wall of tall units on both sides turns the kitchen into a tunnel — keep it to one side only.
3. Put the Prep Counter Right Next to the Fridge
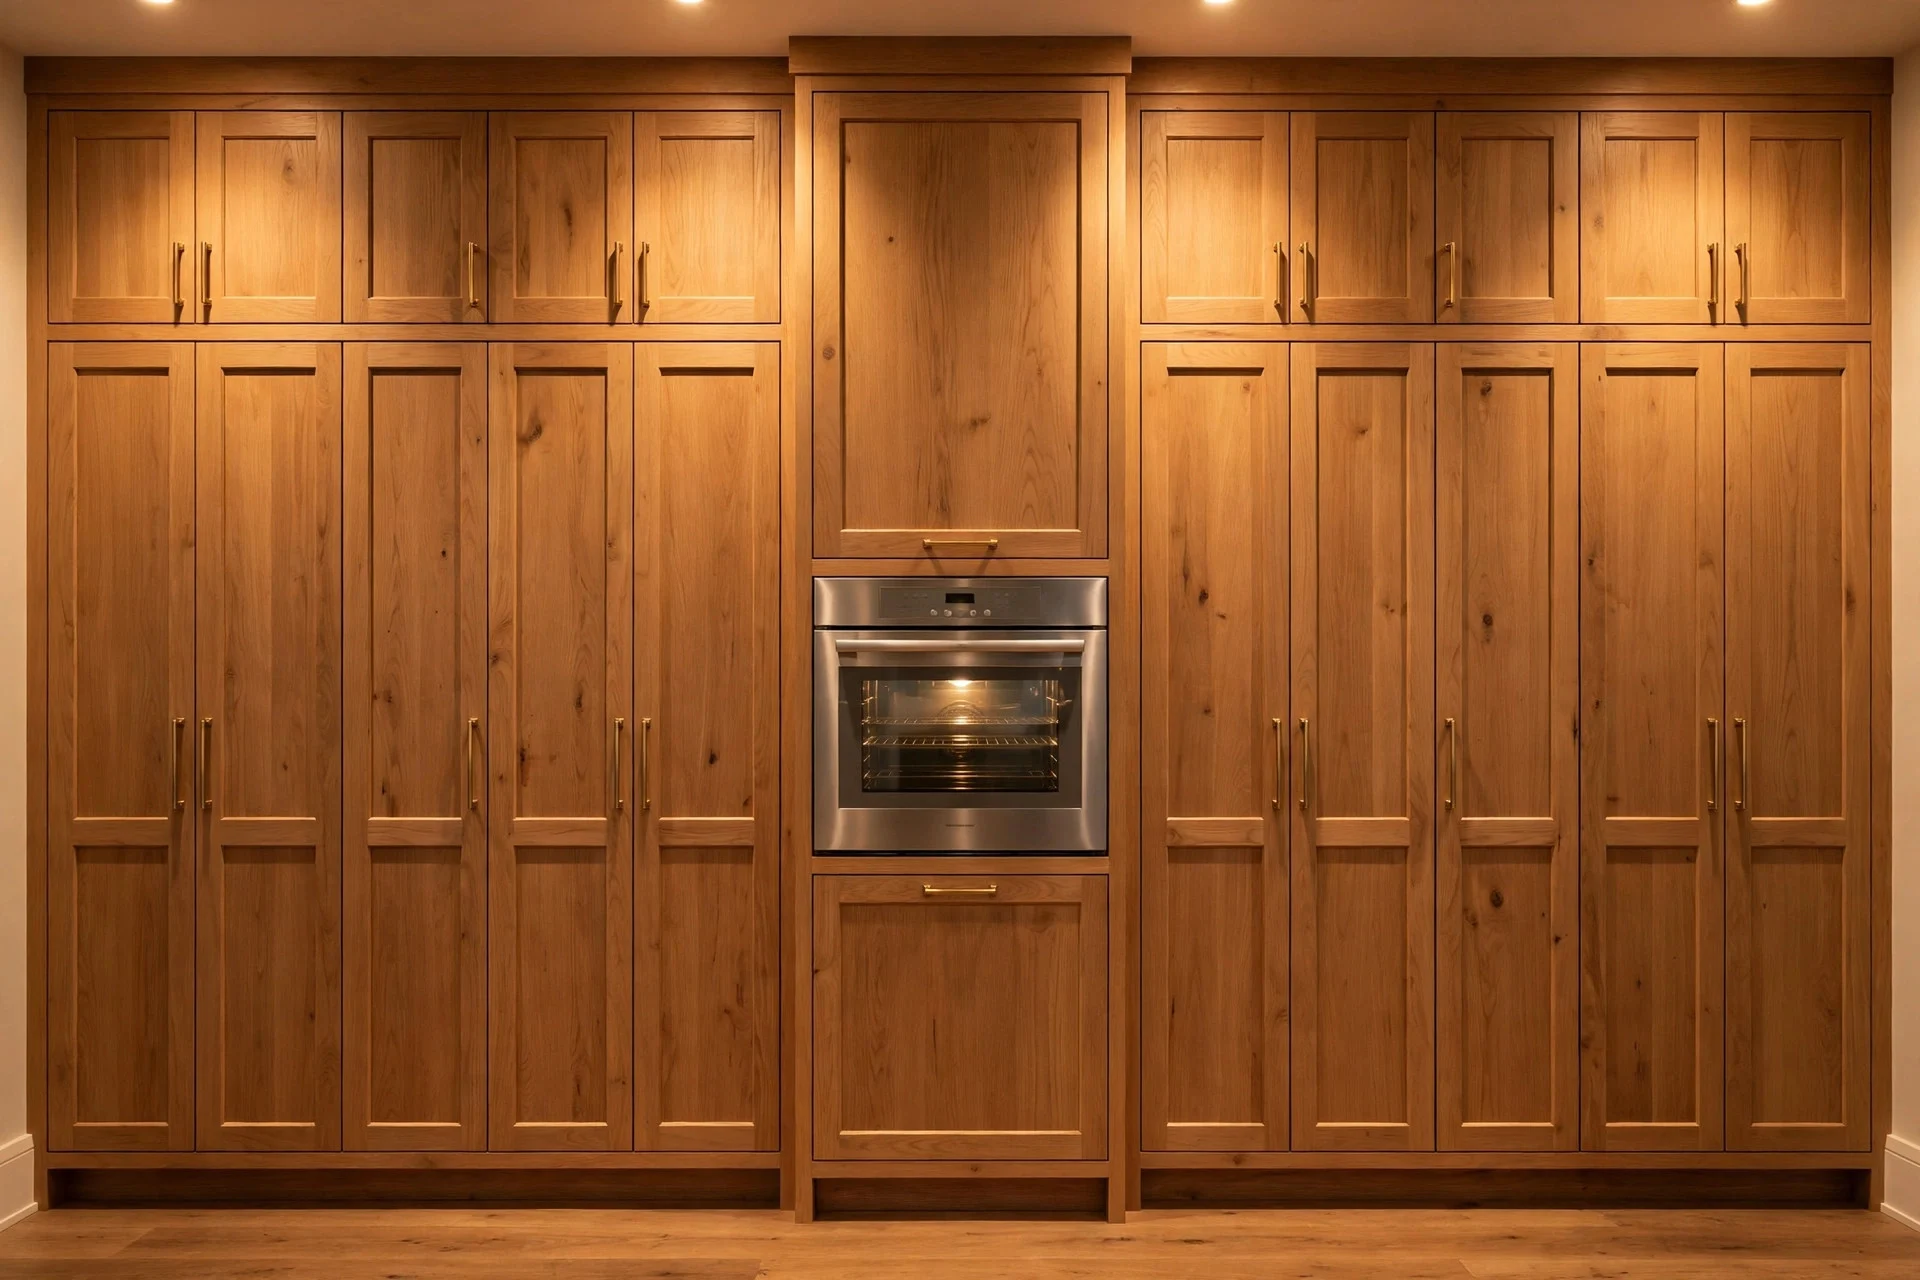
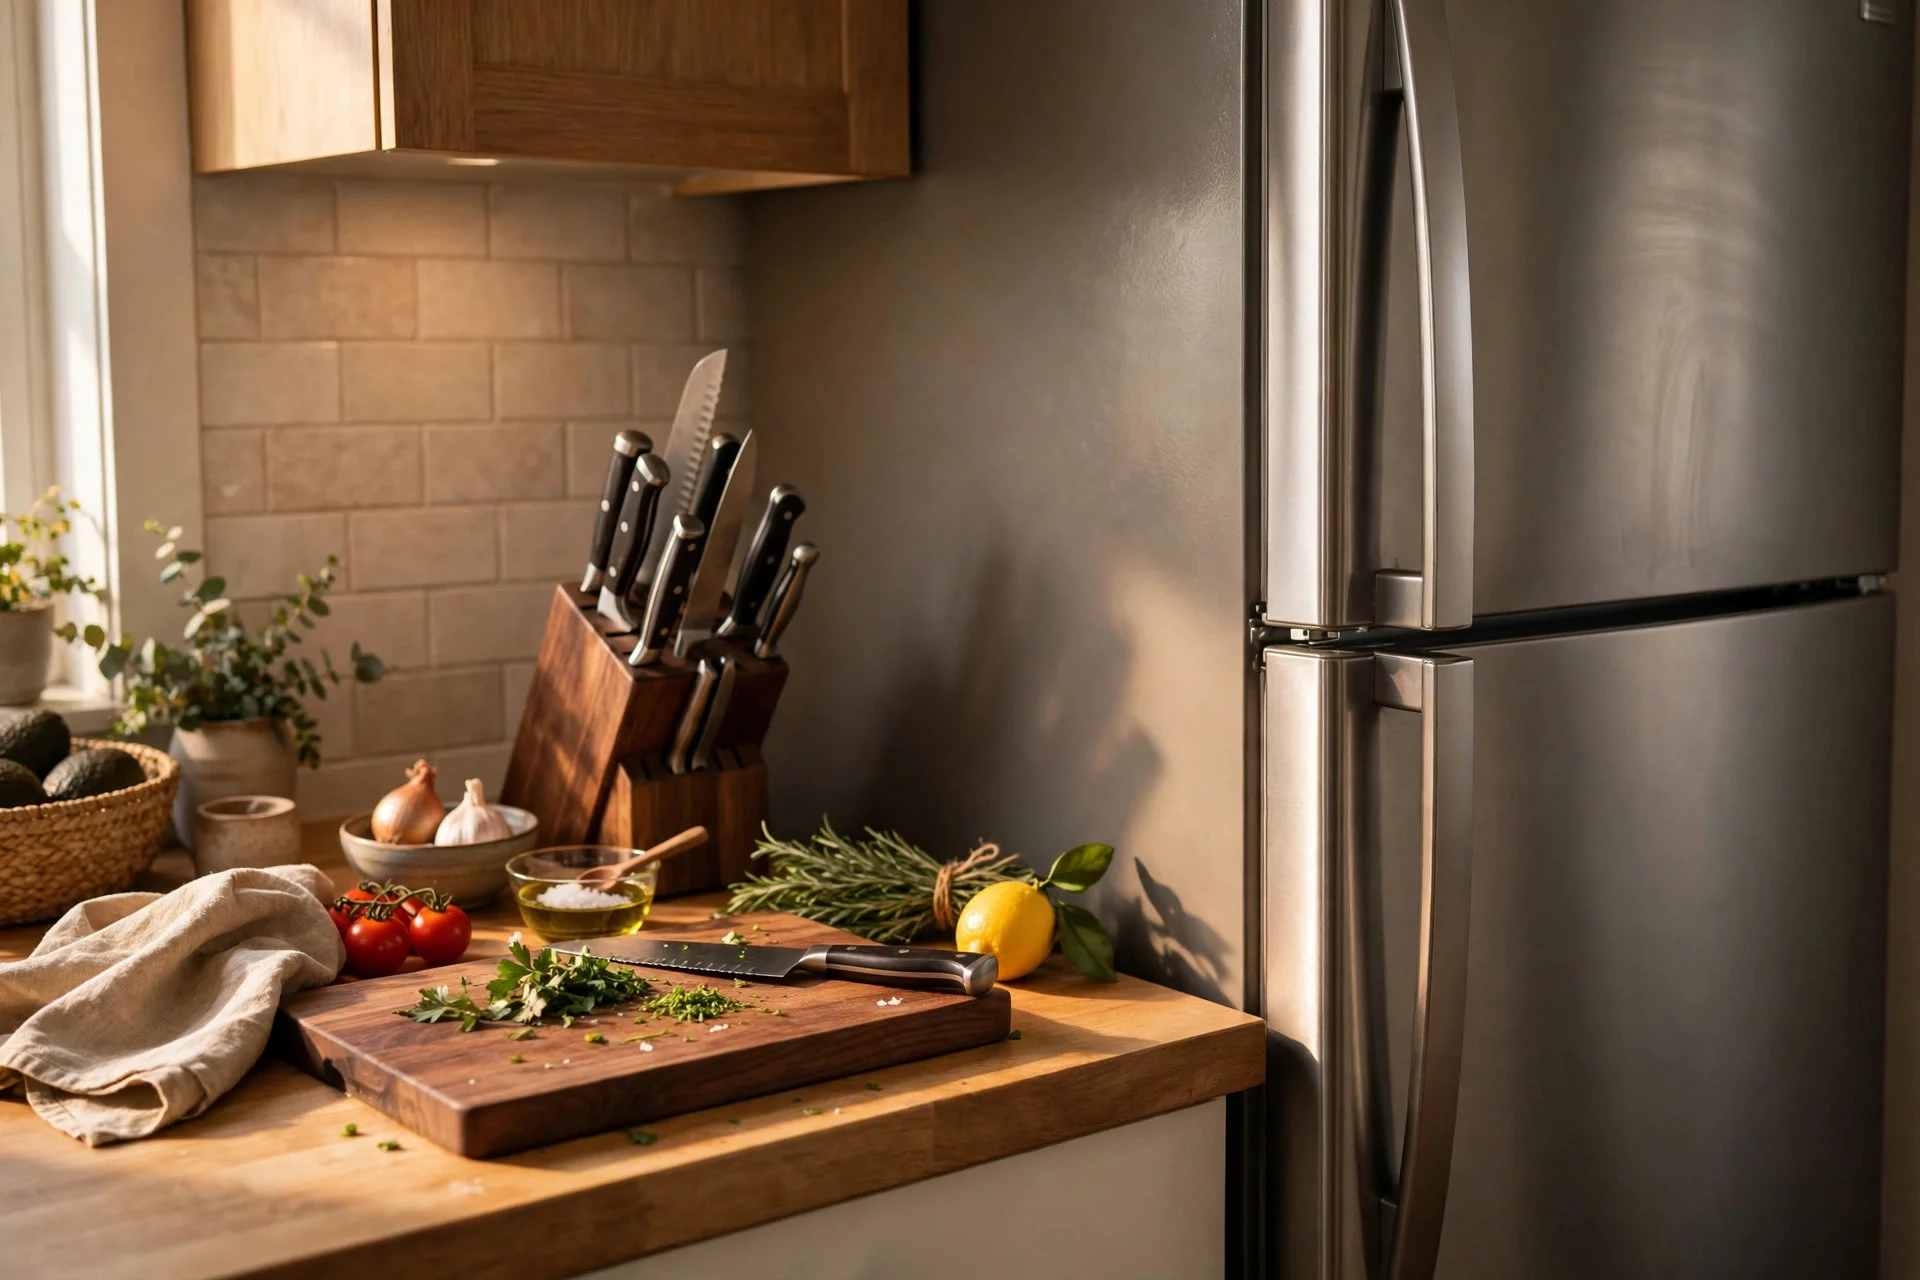
The most-used move in any kitchen is fridge to chopping board. If there is a clear stretch of worktop immediately beside the fridge, unpacking shopping and starting dinner both get easier in one stroke. Aim for at least 60 cm of clear counter here.
Cost: free if the layout already allows it; $100–$300 to shift a small unit or add a butcher block. Difficulty: easy to moderate. Tip: keep the knife block and chopping board on this stretch permanently — hunting for them every night wastes the time the layout just saved you. Watch out: this is the spot where post and keys tend to land, so give those a home elsewhere or the prep space disappears.
4. Make the Sink Zone Work Harder
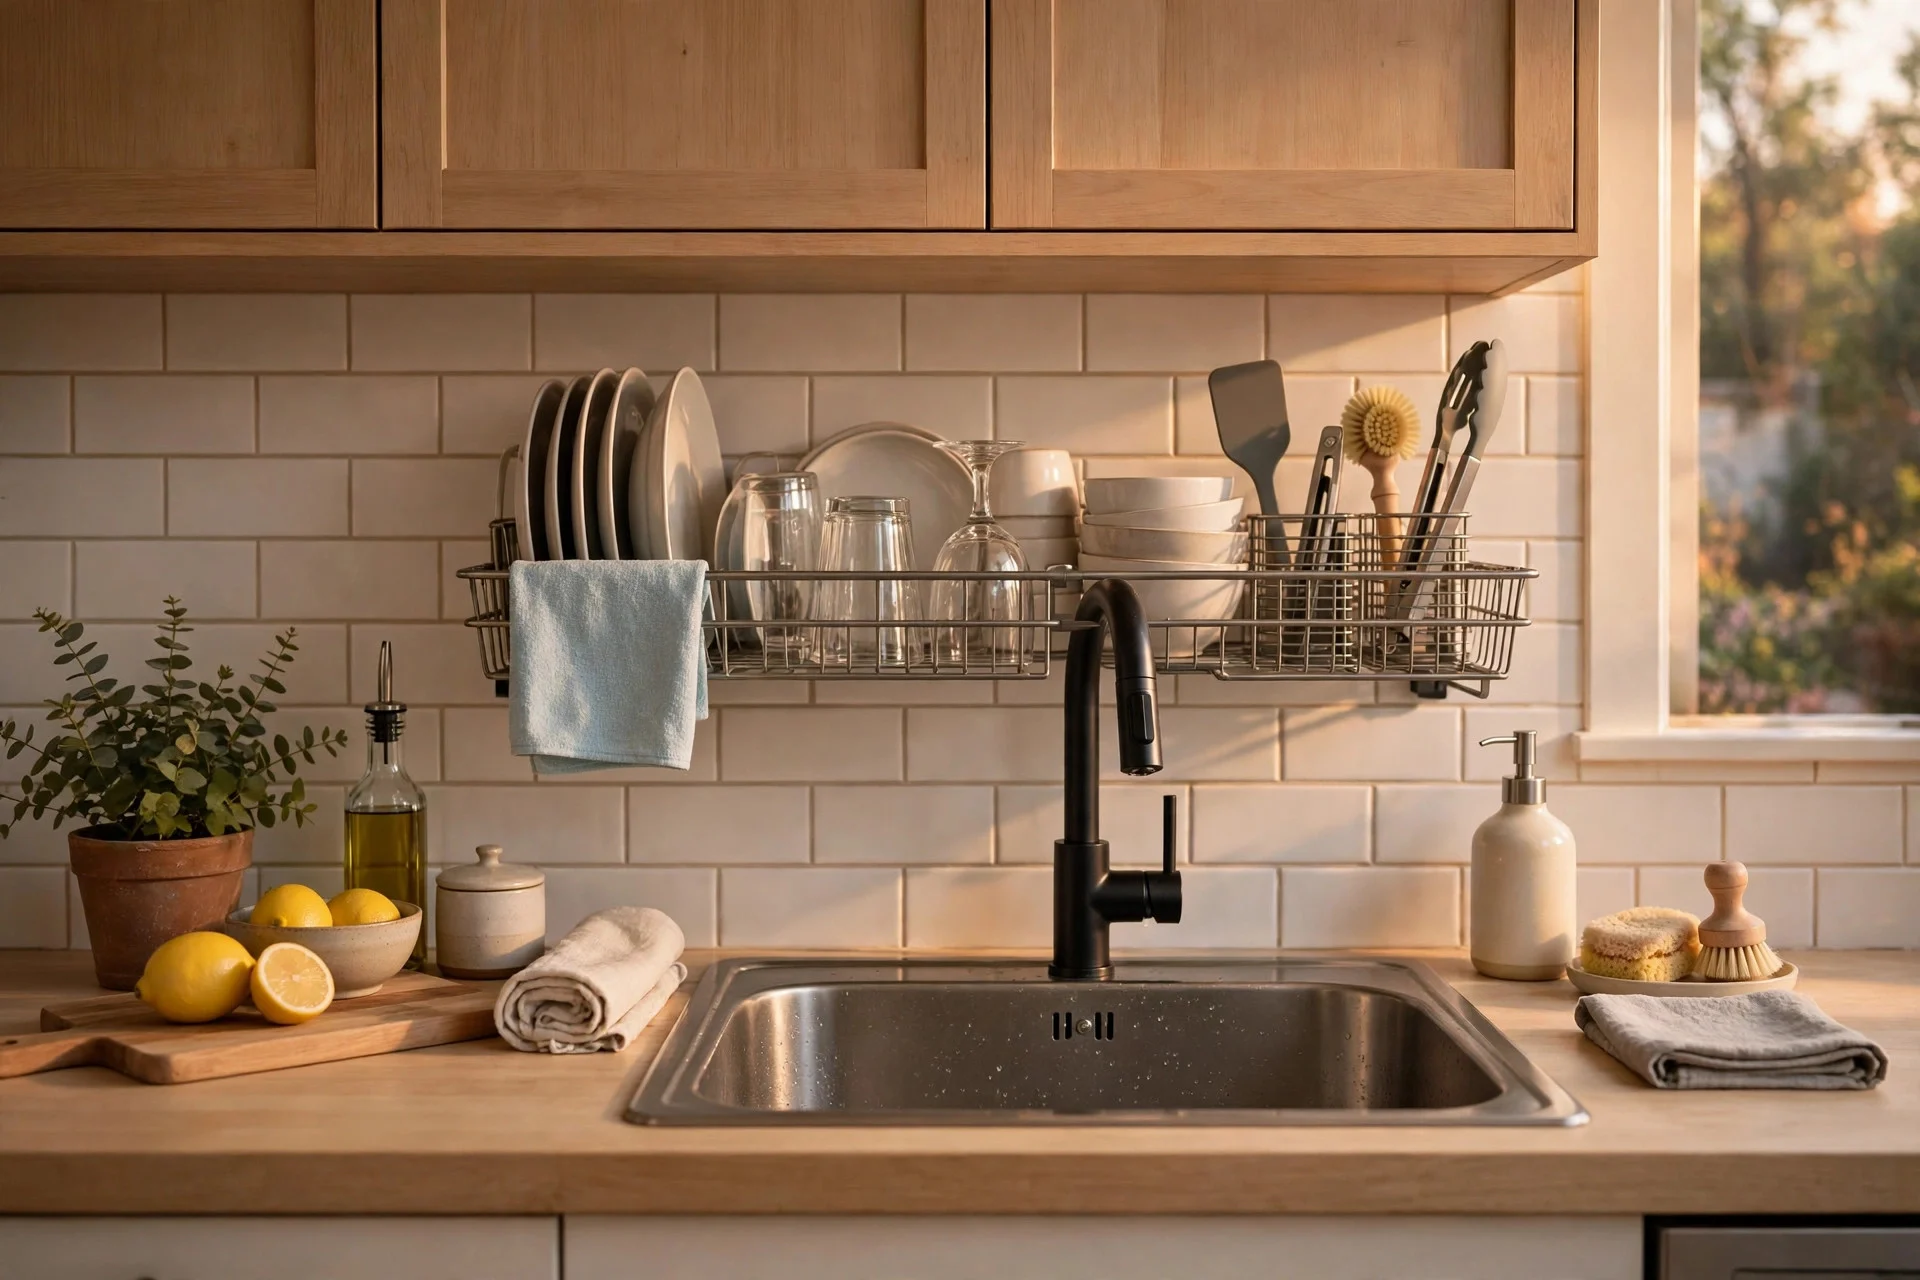
The sink is the middle of your galley line, so treat it as a proper zone rather than a gap between counters. A draining rack over the sink, a tap with a pull-out spray, and a small caddy for washing-up liquid keep the area tidy without adding cupboards.
Cost: $40–$150 for the rack and caddy; $120–$350 for a new tap. Difficulty: easy for accessories, moderate for a tap swap. Tip: an over-sink dish rack frees a whole cupboard that a draining board used to occupy. Watch out: anything stored right beside the sink gets splashed — keep the toaster and bread bin at least a step away. For more on squeezing storage out of tight rooms, these tiny house storage ideas translate well to galley kitchens.
5. Give the Cook Zone Landing Space on Both Sides
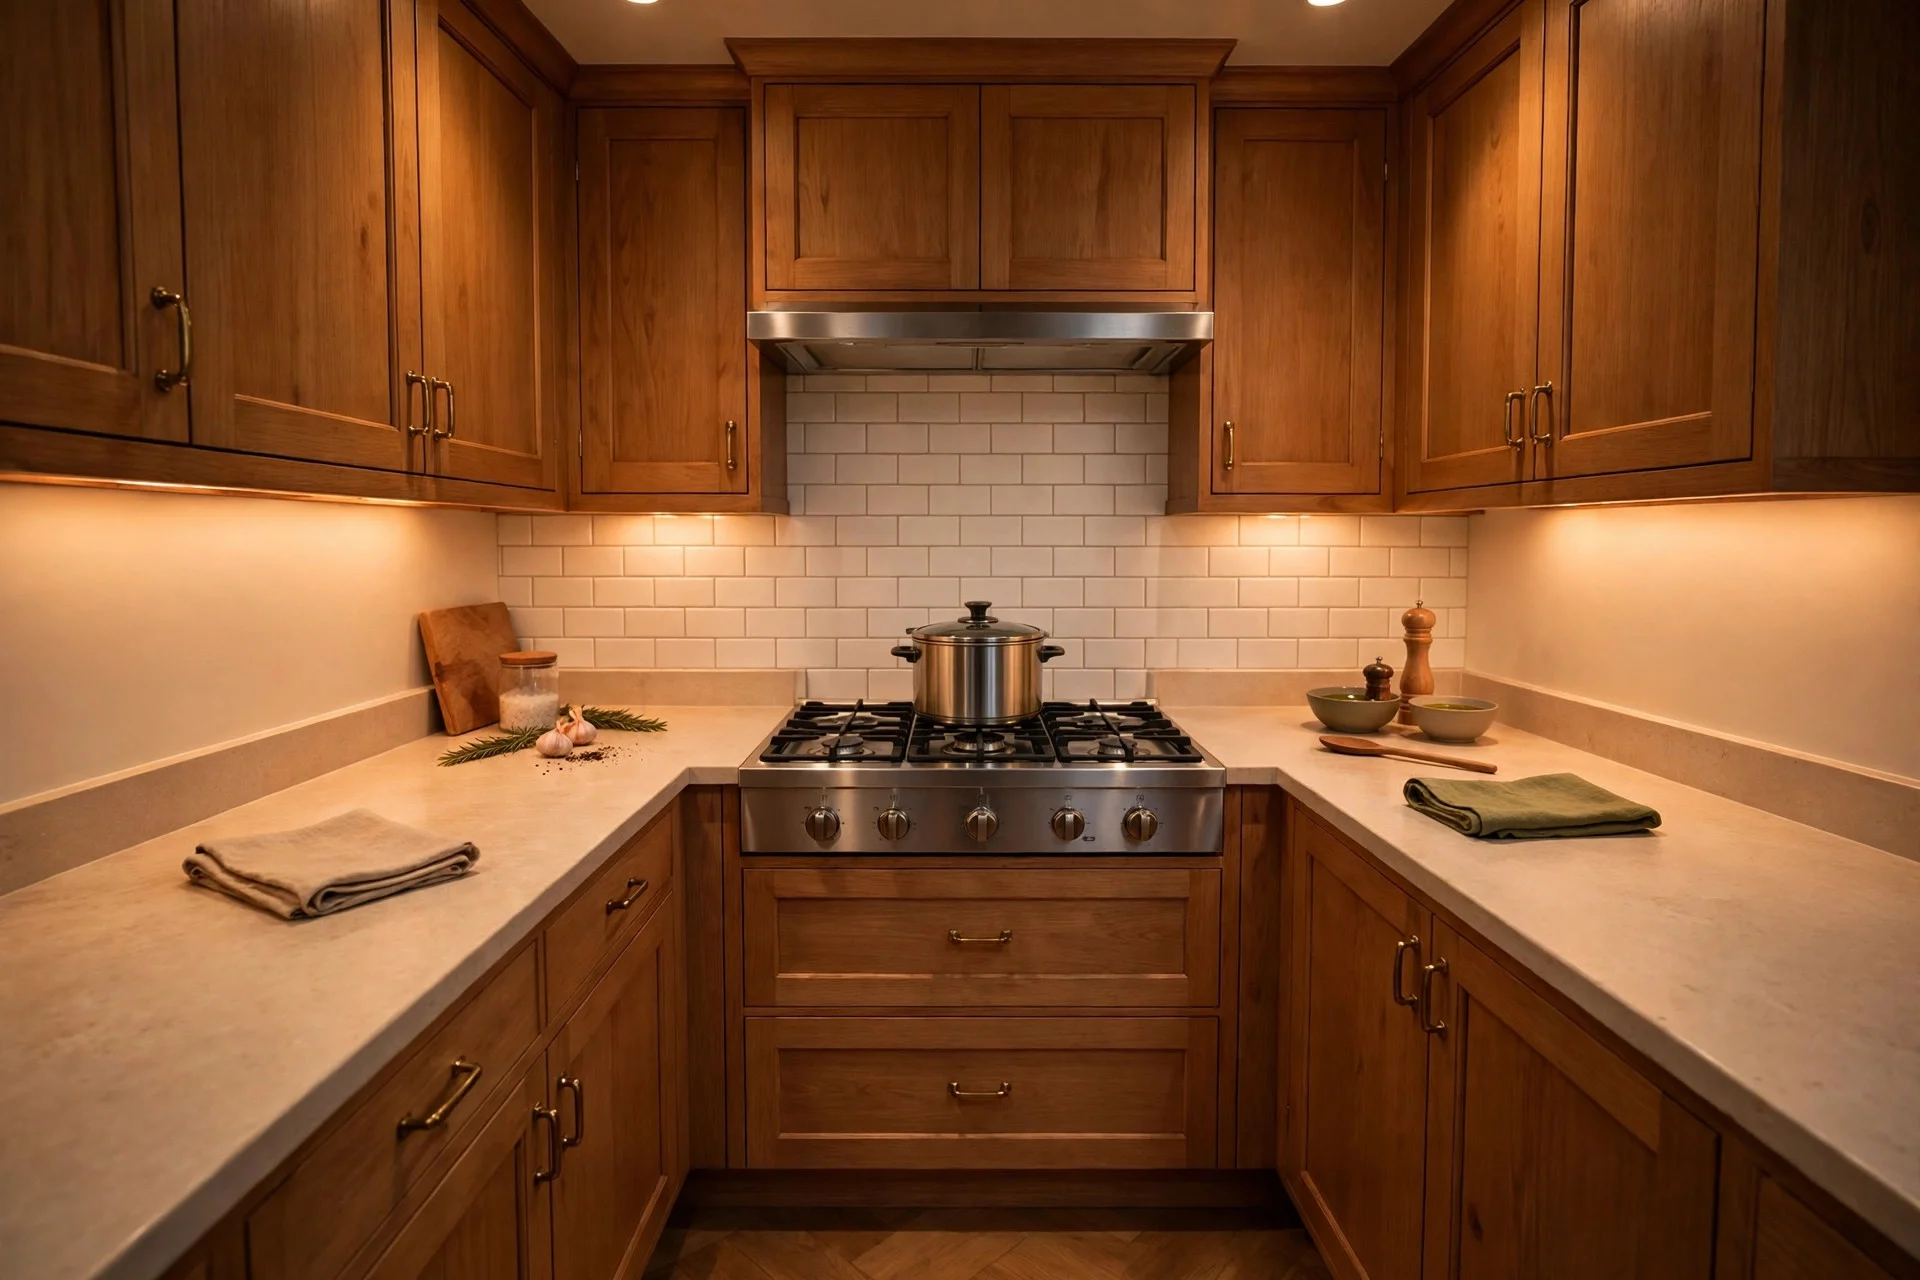
Hot pans need somewhere safe to go, on both sides of the hob. If one side is a wall or a tall unit, shuffle the layout so the hob sits with at least 30 cm of clear worktop on each side — even if that means moving the spice rack or the kettle elsewhere.
Cost: usually free, just a reshuffle; $50–$150 for a heat-proof board or trivet set. Difficulty: easy. Tip: cook one full meal and notice where you instinctively set things down — that tells you exactly where the landing space matters. Watch out: landing space next to the hob is not extra storage. The moment it fills with jars, it stops being safe.
6. Add a Slim Rolling Cart
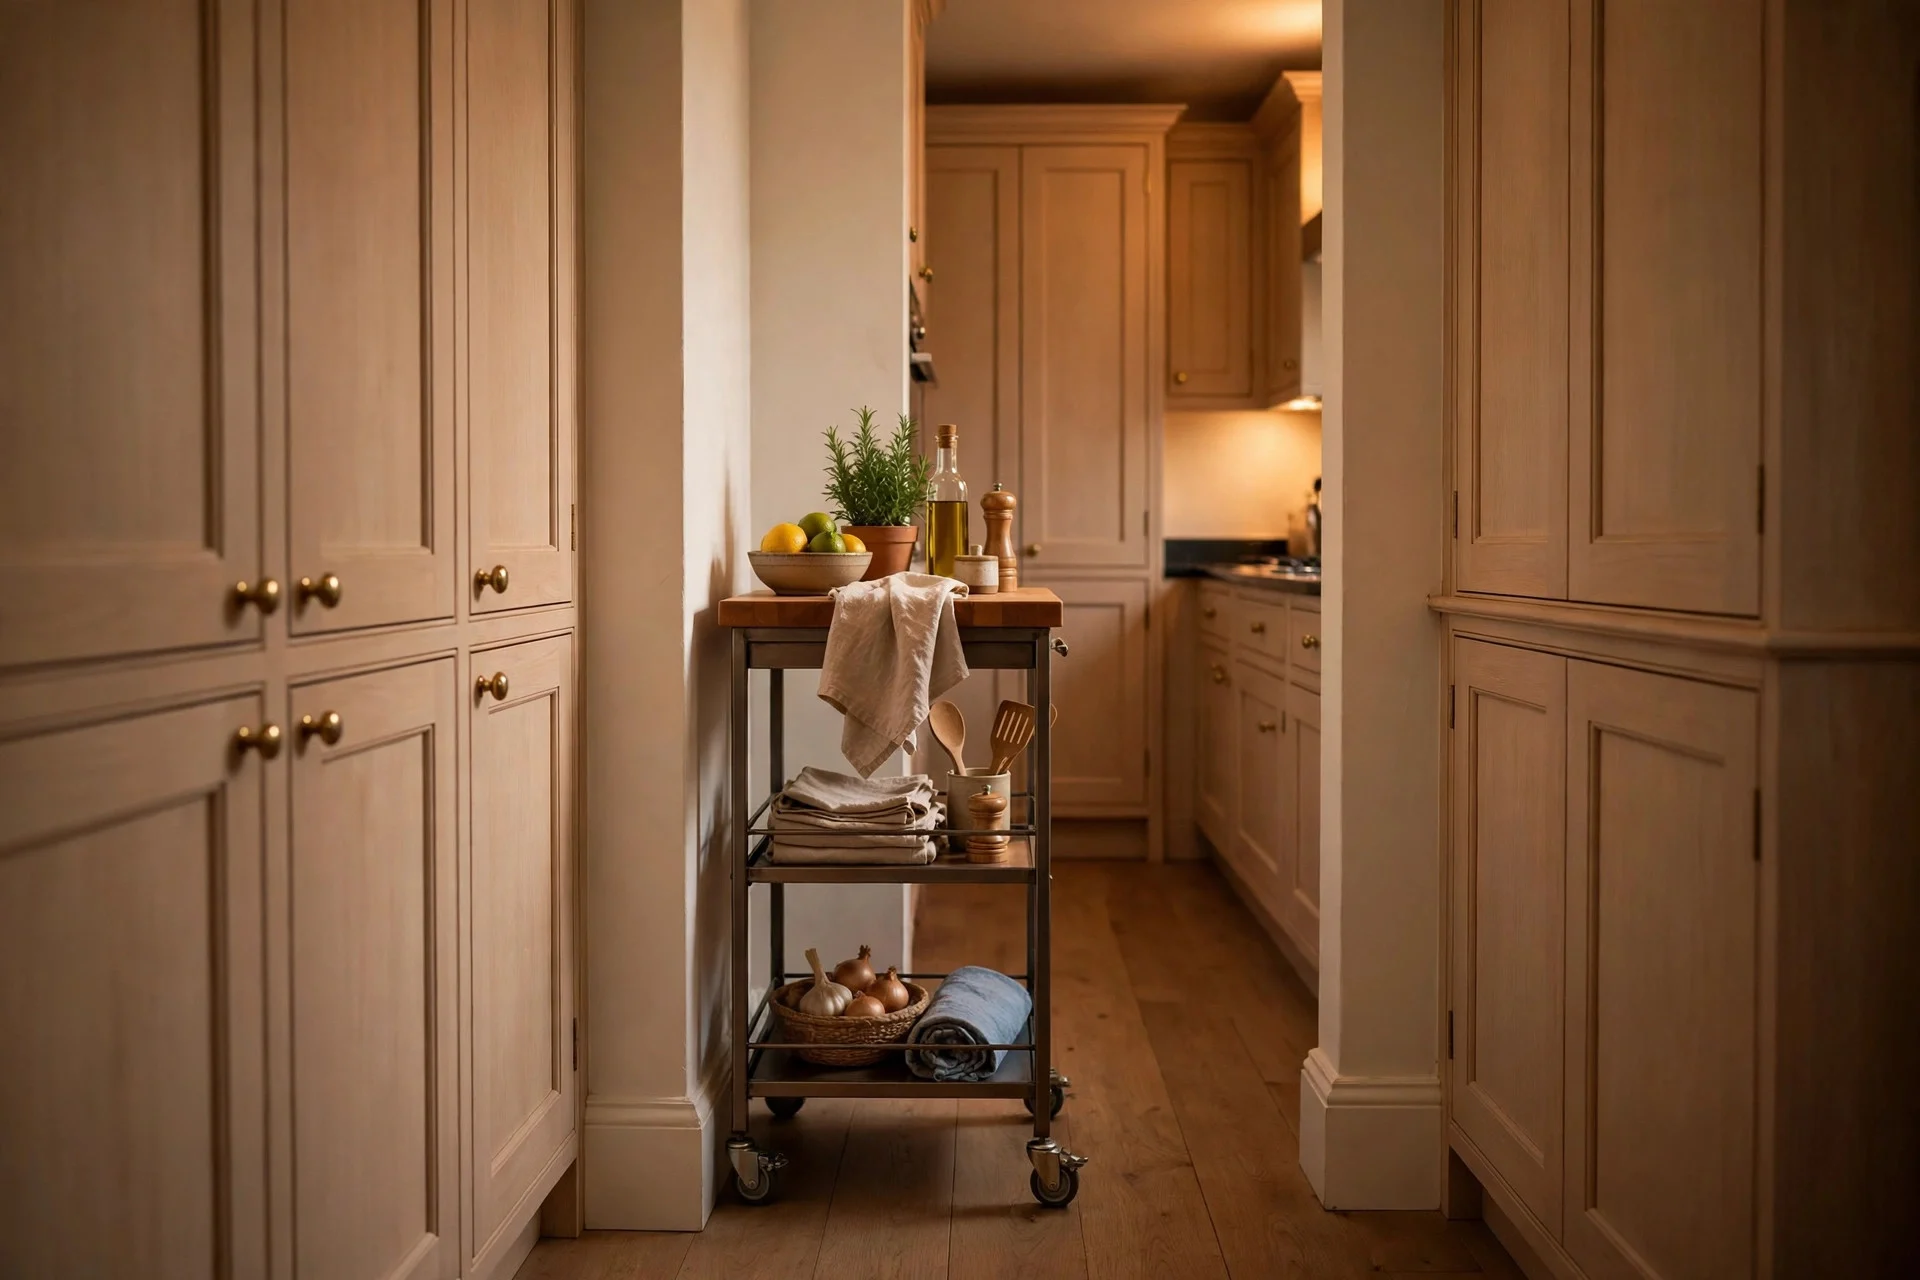
A cart 25–30 cm wide slides into the gap between units or against a wall, and rolls out when you need it. Use it for oils and spices near the hob, or as an extra prep surface that parks out of the way when dinner is done.
Cost: $40–$120. Difficulty: none — it arrives assembled or needs ten minutes. Tip: measure your gap twice, including skirting boards, before ordering; a cart that is 2 cm too wide is useless. Watch out: a cart with no brake will drift across the floor every time you lean on it, so check for locking castors.
7. Take Storage Right Up to the Ceiling
The strip above wall units is wasted in most galley kitchens. Boxing it in with matching panels, or adding a row of shallow cupboards, gives you a home for platters, vases and the appliances you use twice a year.
Cost: $200–$600 for filler panels or extra cupboards. Difficulty: moderate; a joiner can do it in a day. Tip: label the boxes or cupboards, or you will forget what lives up there within a month. Watch out: keep anything heavy off the very top — pulling a stack of plates down from head height is an accident waiting to happen.
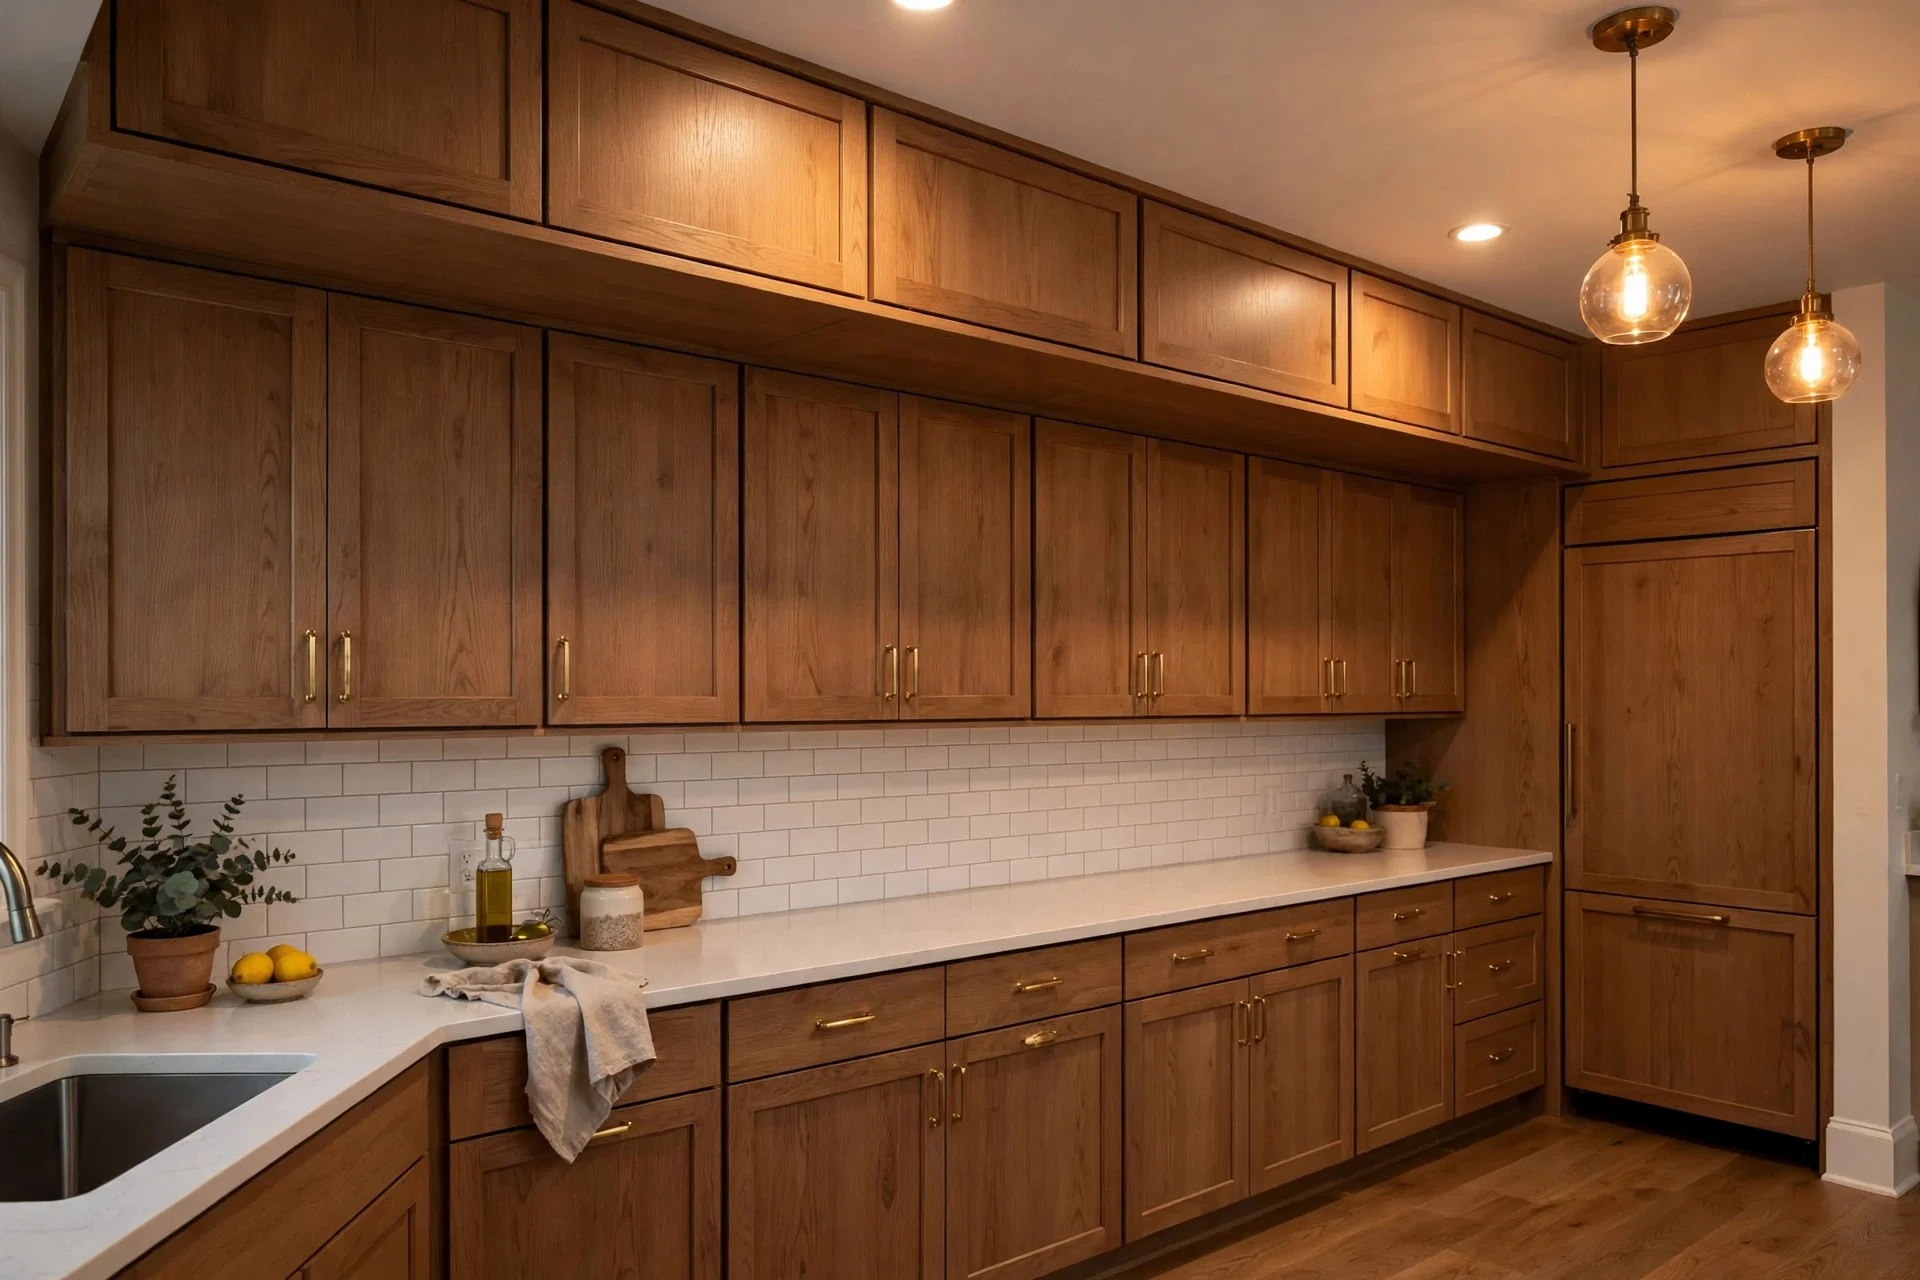
8. Layer Under-Cabinet and Ceiling Lights
A single ceiling light leaves the worktops in shadow exactly where you chop and read recipes. Add LED strips under the wall units for the work surface, and keep the ceiling light for general brightness. Two layers, each on its own switch, change the room completely.
Cost: $30–$90 for plug-in or battery LED strips; $150–$400 for wired strips and a second switch. Difficulty: easy for strips, moderate for wired work. Tip: choose warm white (around 3000K) so food looks appetising rather than clinical. Watch out: cool-white strips under cabinets make a warm kitchen look like a laboratory — check the colour temperature on the box before you buy. If you want to size the lighting properly, work out lumens per square metre for the room before buying strips — too little light is the usual mistake, not too much.
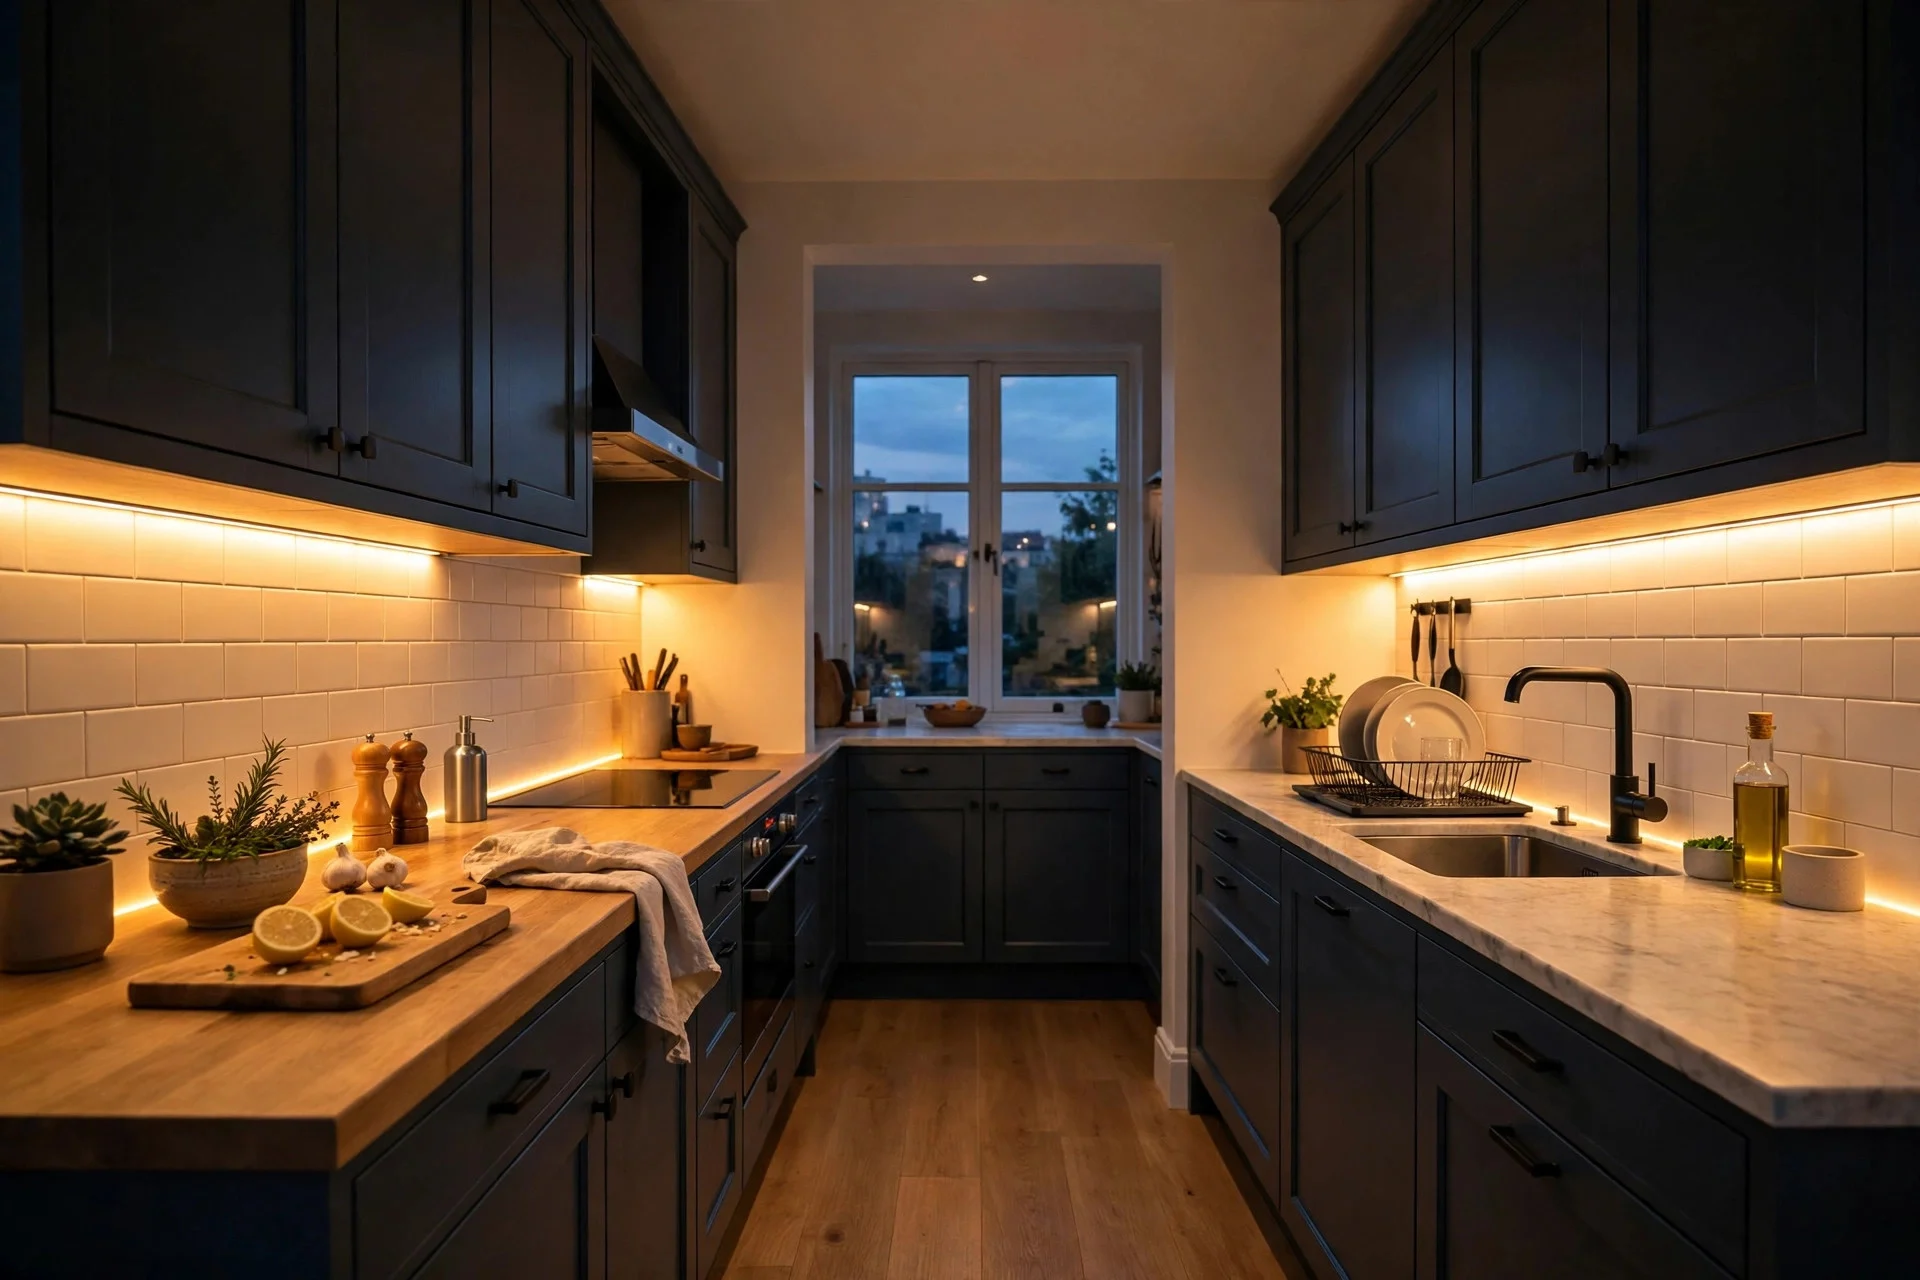
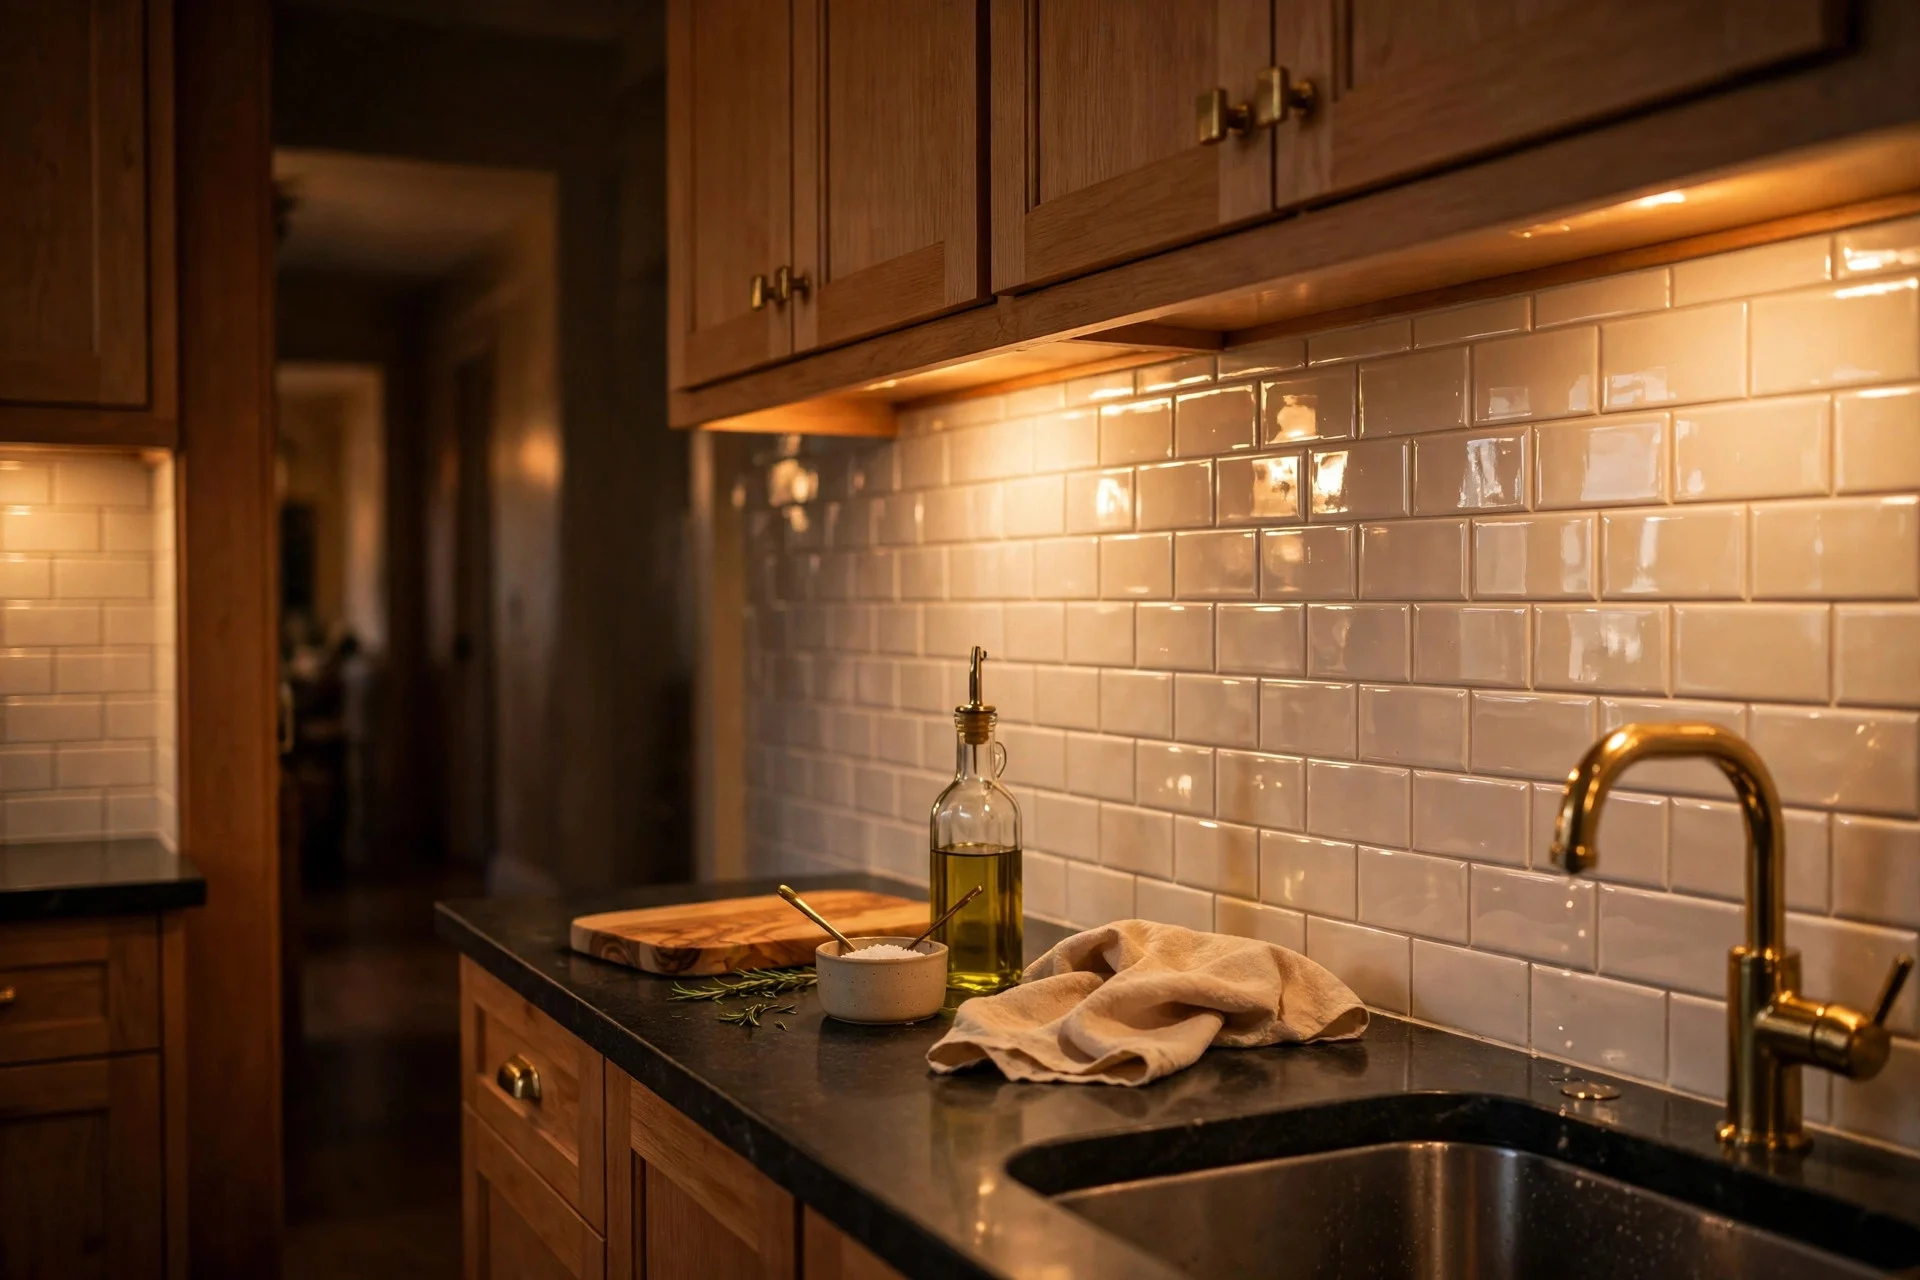
9. Use a Reflective Backsplash to Open the Room Up
Glossy tiles, a mirrored panel or a sheet of stainless steel behind the hob bounces light across the narrow room and makes the walls feel further apart. It also wipes clean in seconds, which matters in a kitchen where every surface earns its keep.
Cost: $80–$300 for glossy tiles; $150–$500 for a mirrored or steel panel. Difficulty: moderate for tiling, easy for a fitted panel. Tip: run the backsplash to the underside of the wall units with no gap — a painted strip above the tiles collects grease and looks unfinished. Watch out: mirrored splashbacks show every splash and fingerprint, so only choose one if you are happy wiping it down often.
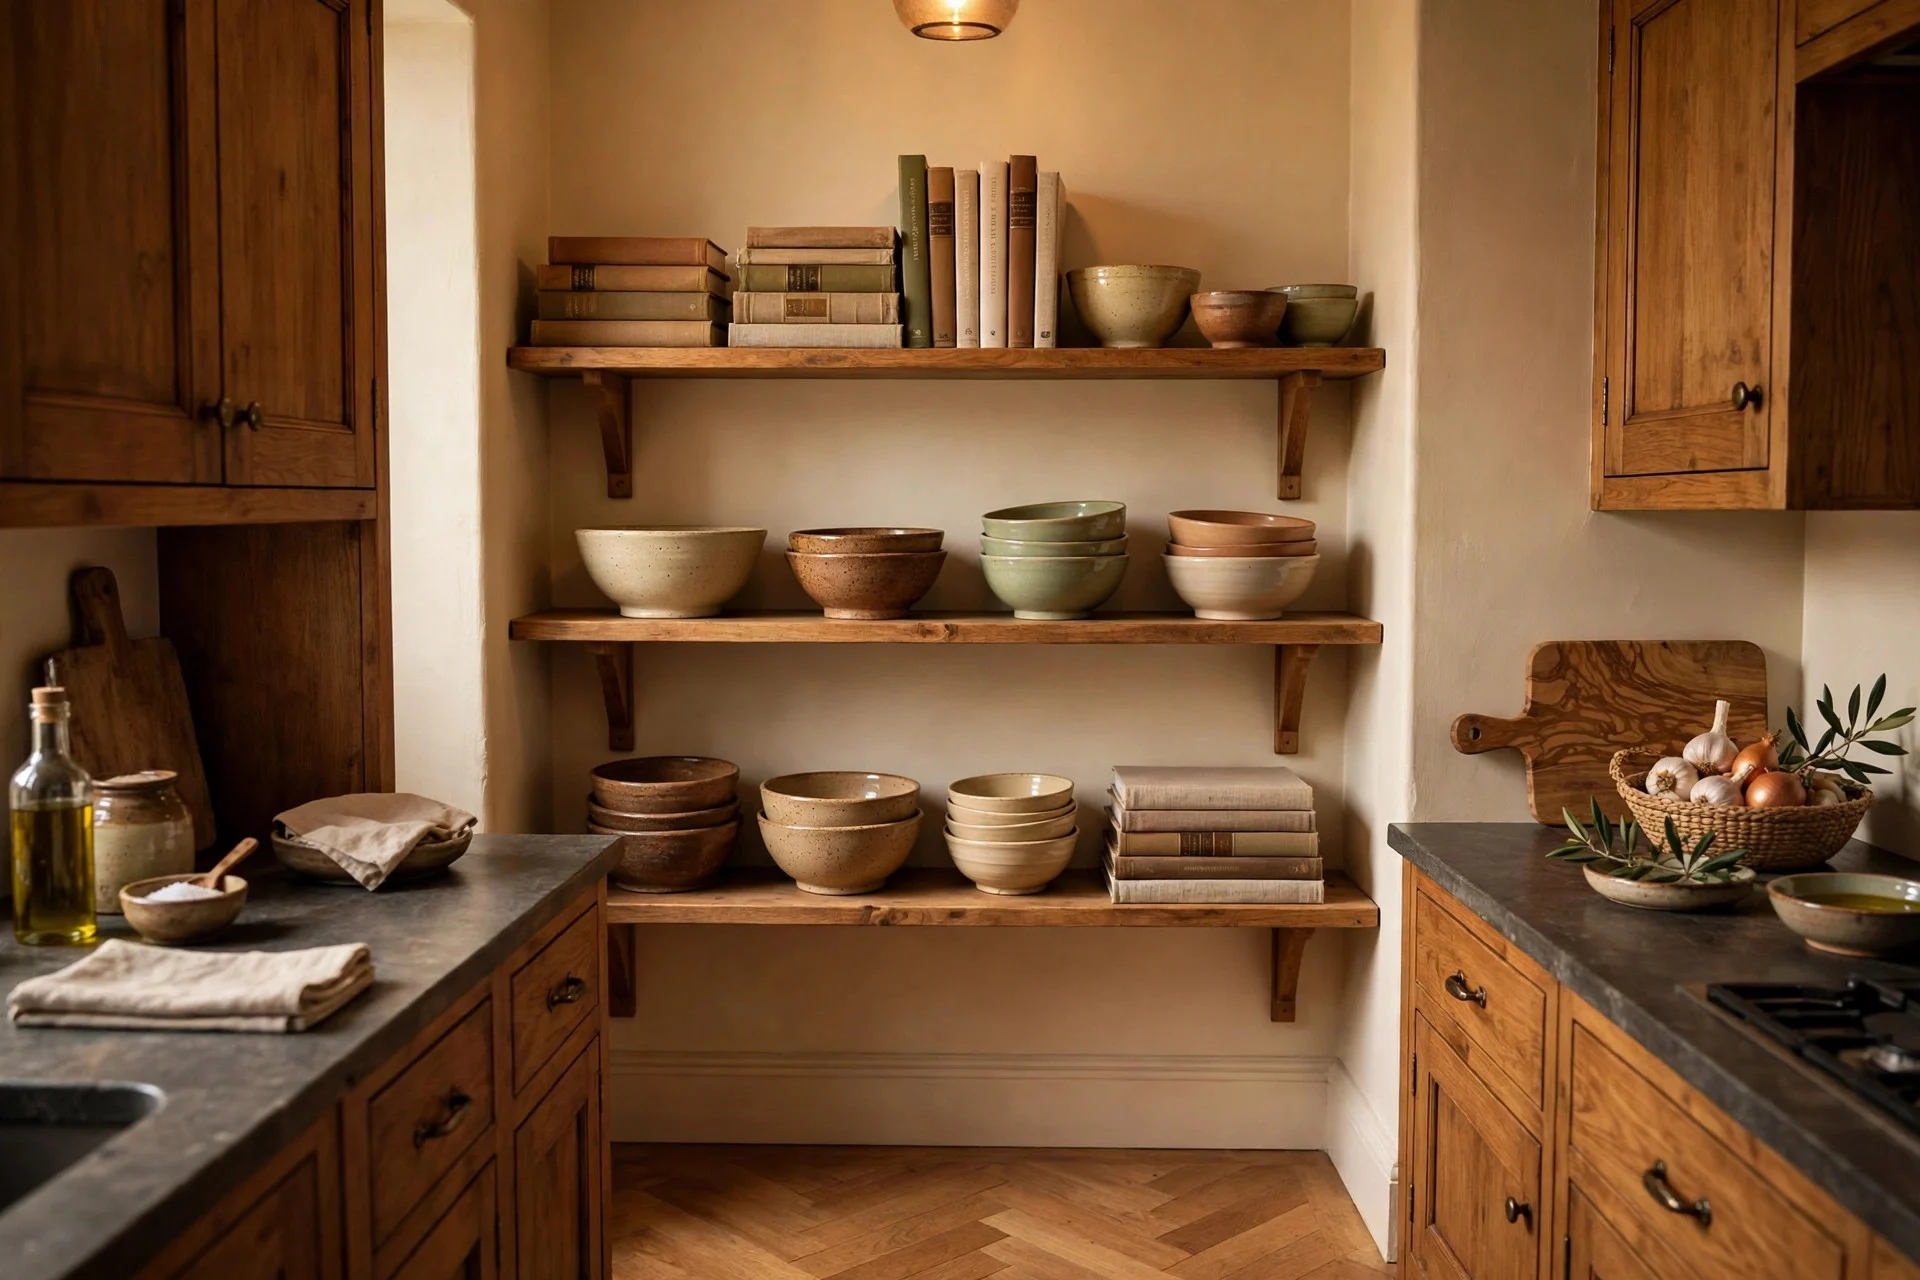
10. Put an Open Shelf at the Dead End
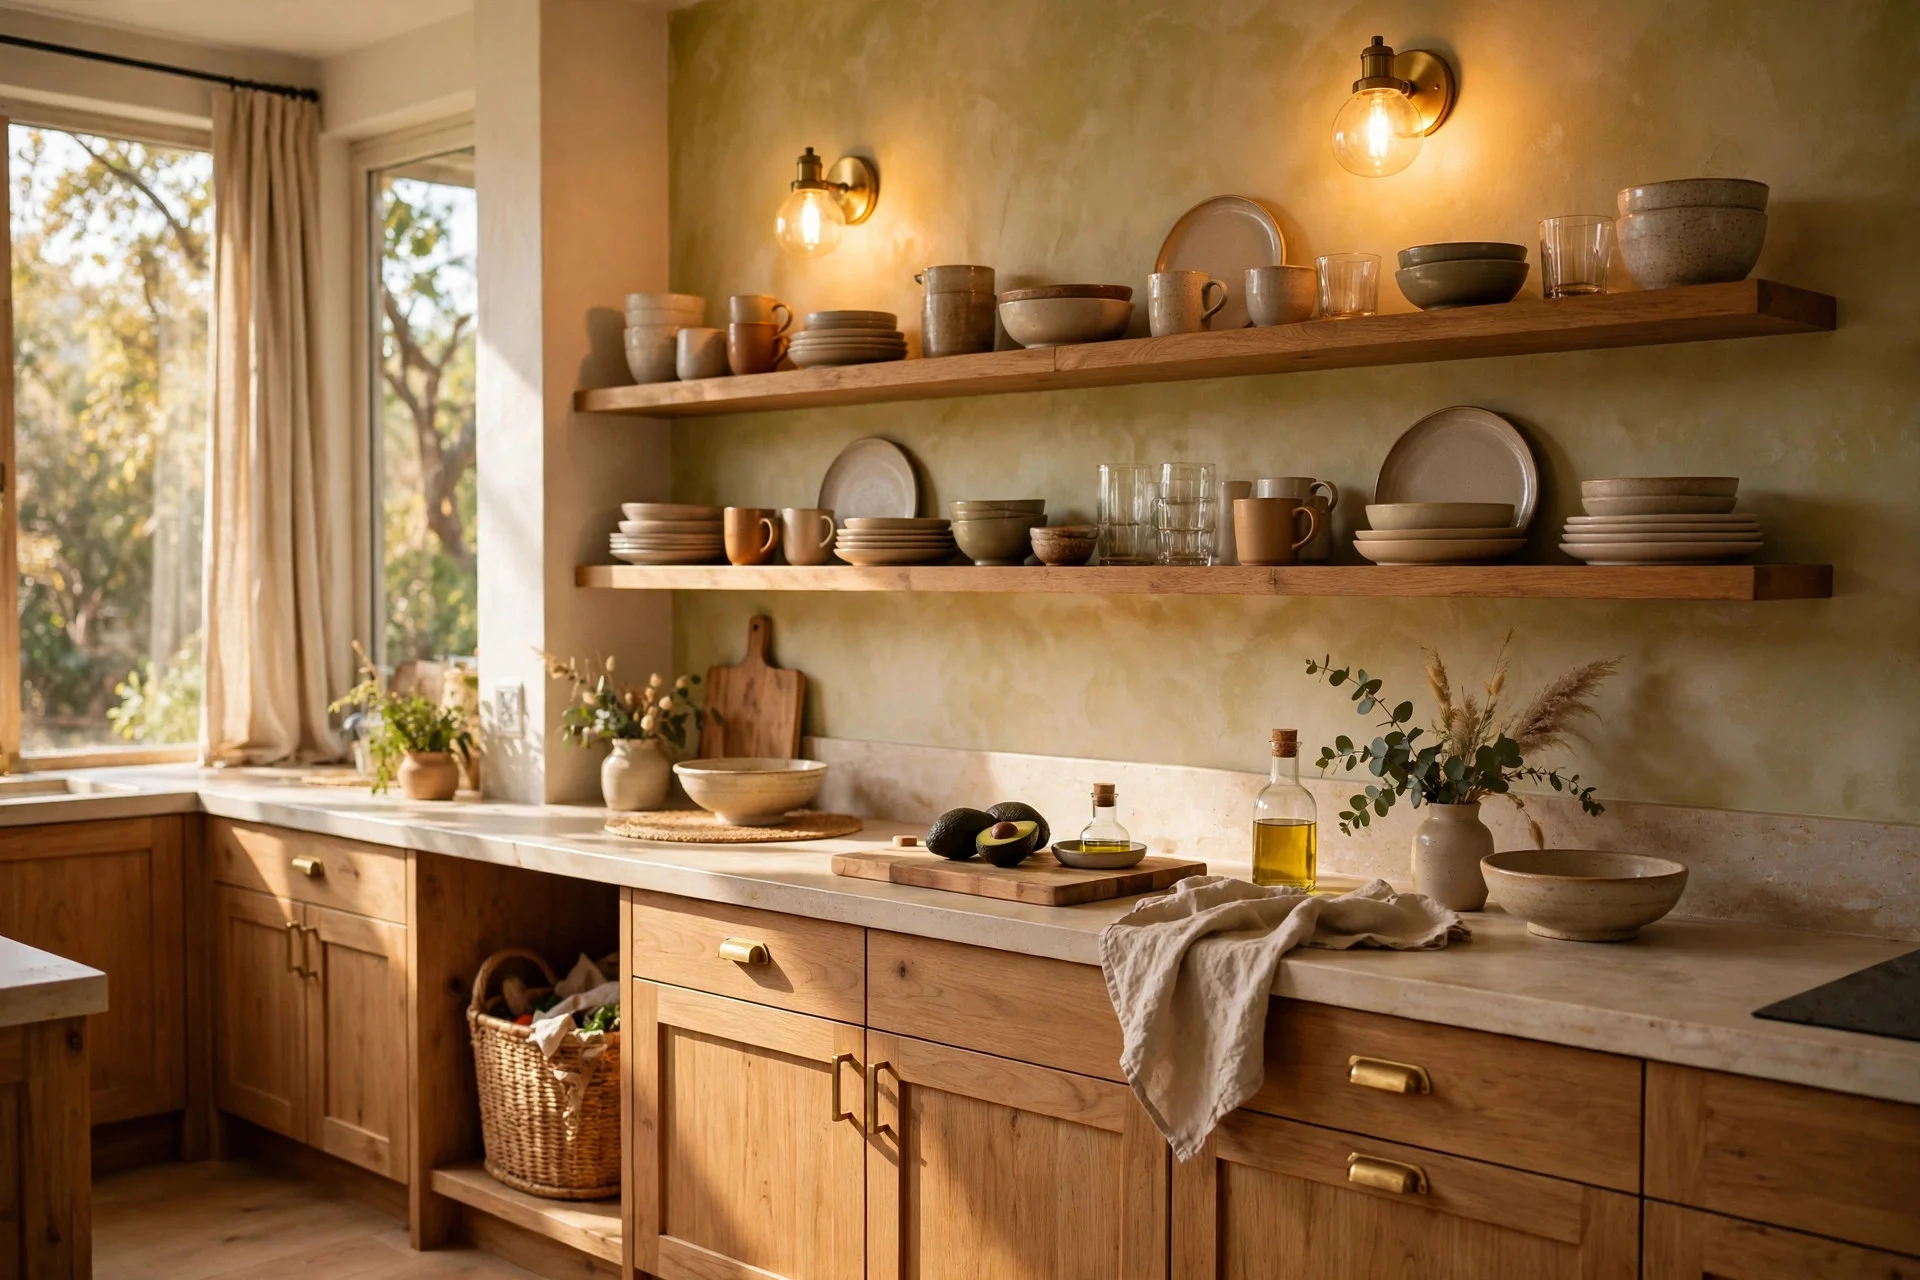
The far end of a galley often ends in a blank wall or a window. One or two open shelves there give you a display spot for bowls, cookbooks or plants, and stop the room ending in a dead corner. It also gives the eye somewhere to land besides the back wall.
Cost: $40–$150 for brackets and boards. Difficulty: easy, under an hour with a drill and a spirit level. Tip: keep the shelf styling loose — a stack of bowls, one plant, one book — or it starts looking like a shop display. Watch out: shelves above head height at the end of a walkway get knocked, so keep breakables low and light items up high.
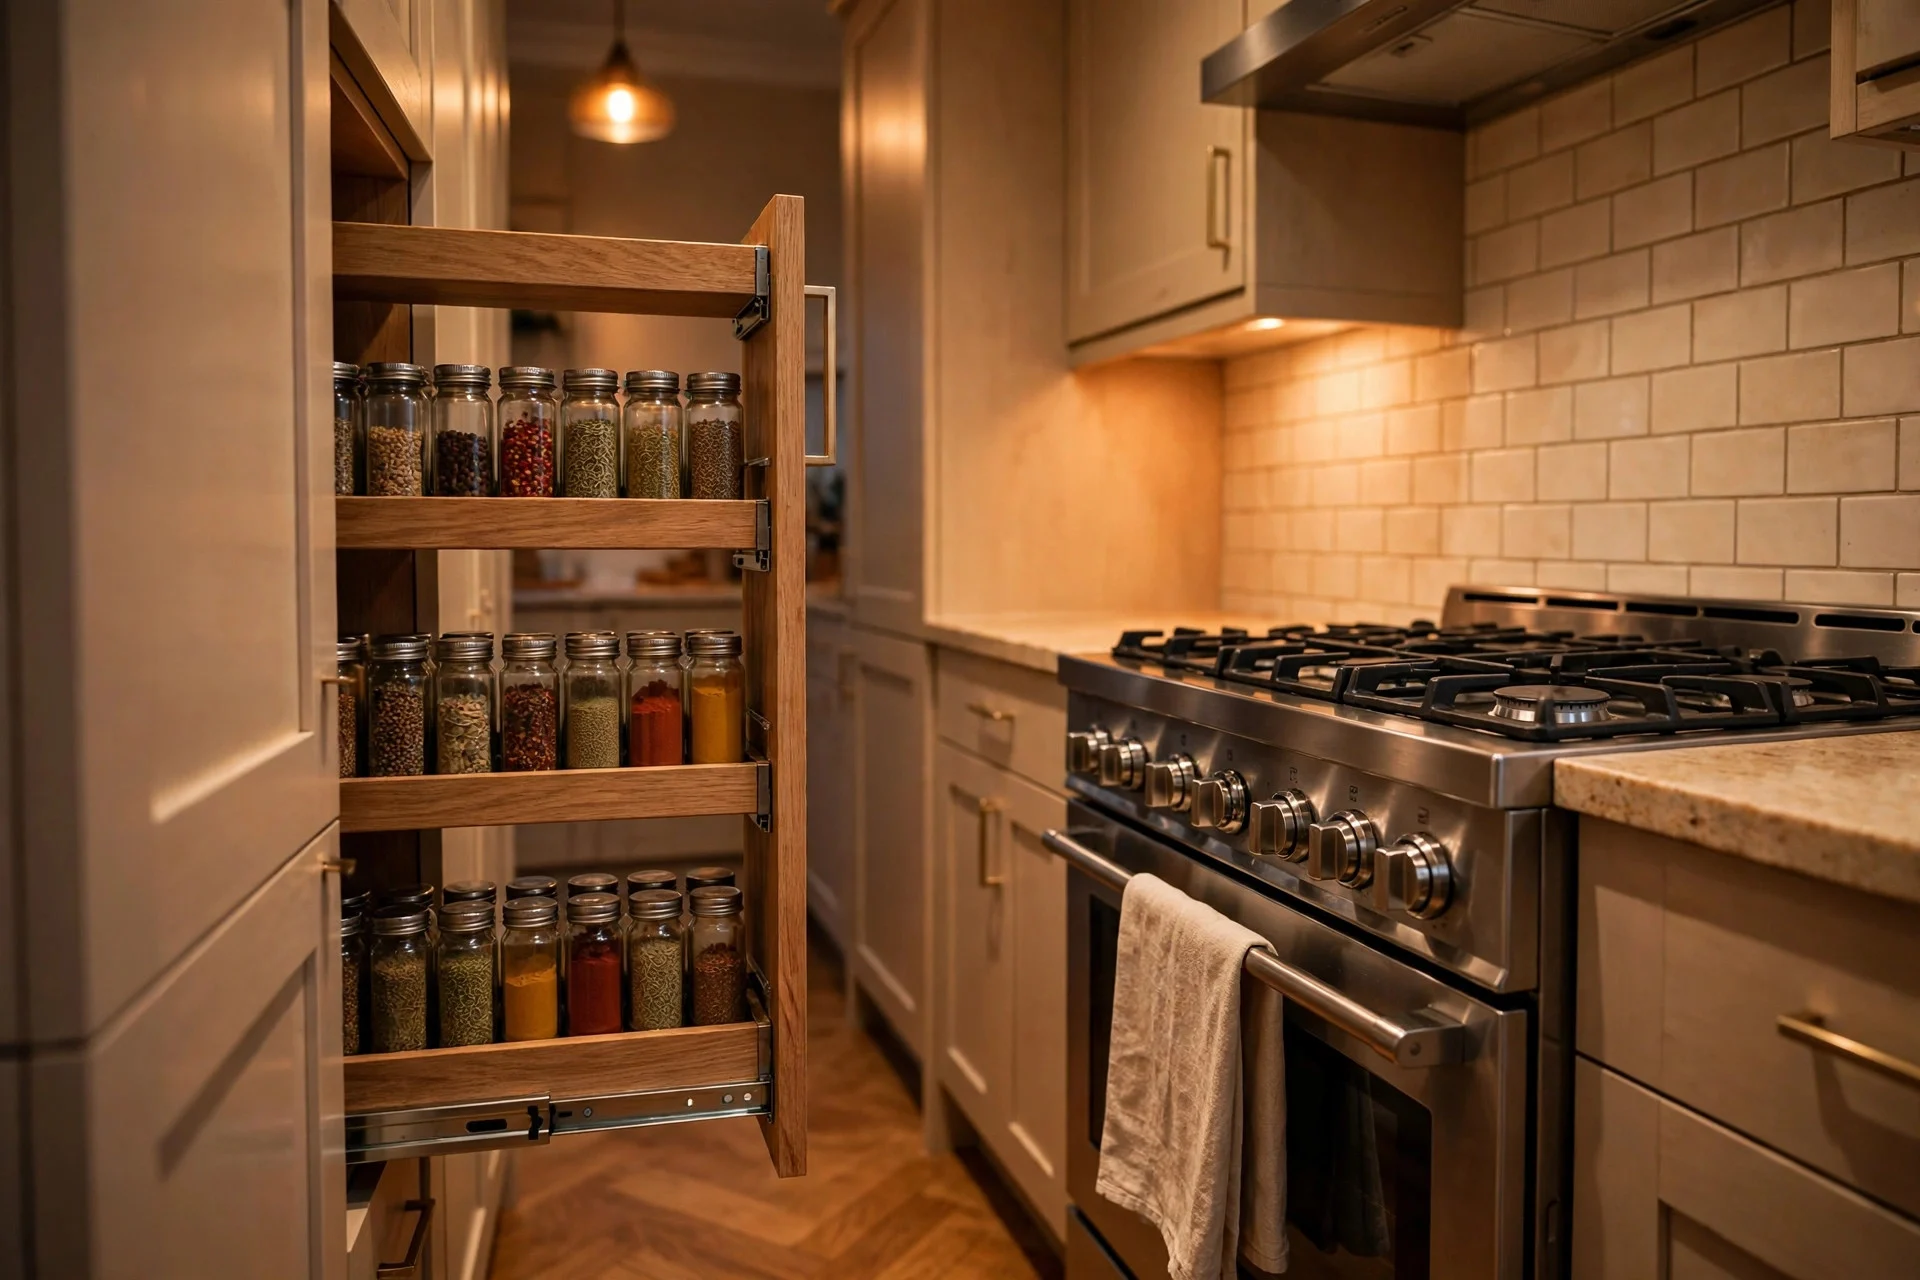
11. Fit Narrow Pull-Outs in the Awkward Gaps
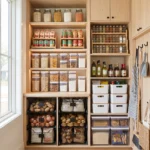
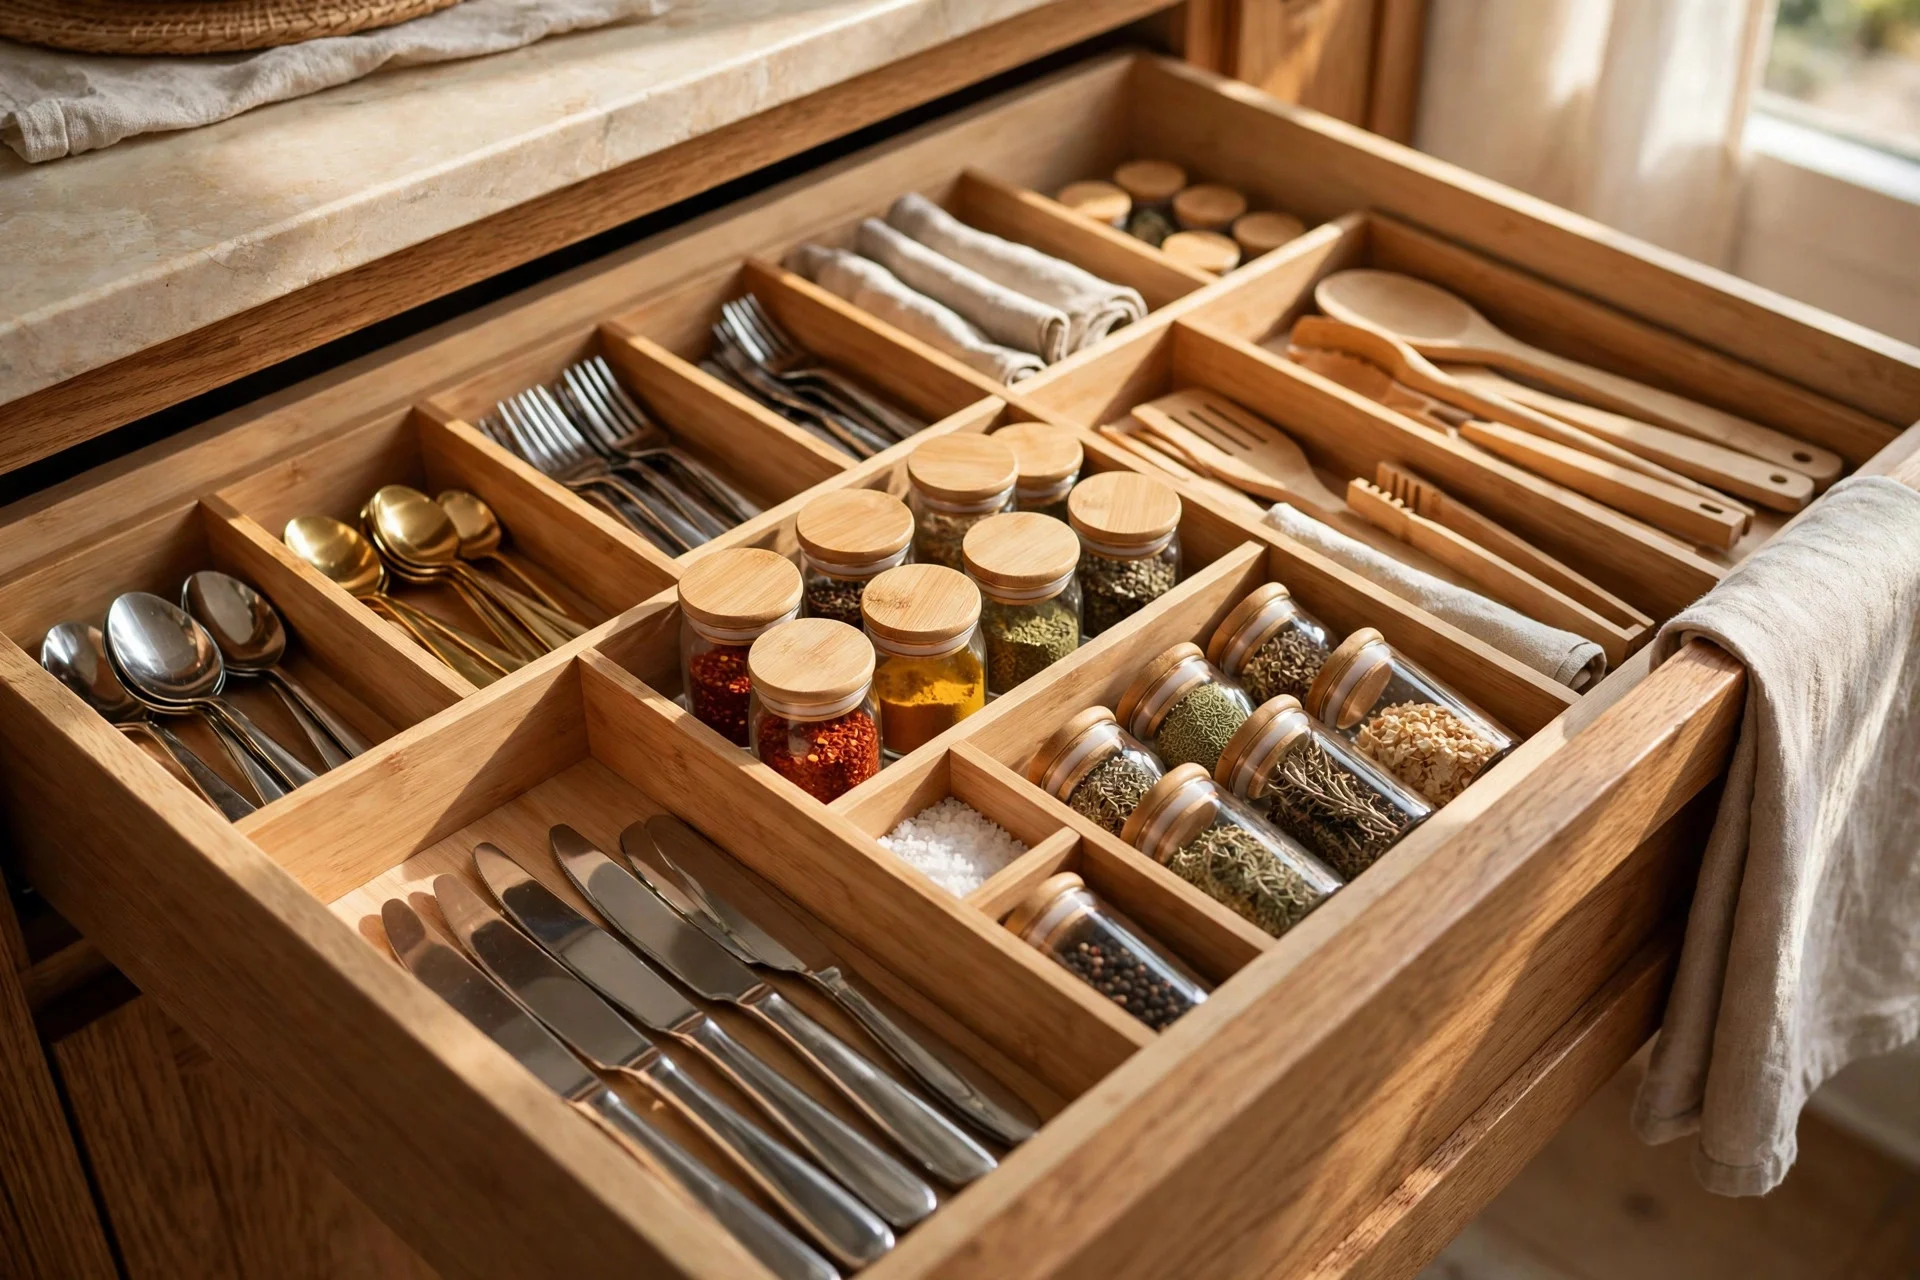
Every galley has a gap that is too narrow for a cupboard: beside the cooker, next to the fridge, at the end of a run. A pull-out rack 15–20 cm wide turns that gap into proper storage for spice jars, baking trays or chopping boards.
Cost: $60–$200 per pull-out. Difficulty: moderate; measure the gap and check the door swings clear. Tip: pull-outs work best for things you grab daily — trays and oils — not for the fondue set. Watch out: a pull-out loaded with tins gets heavy and strains its runners, so spread the weight and check the runner rating before you buy.
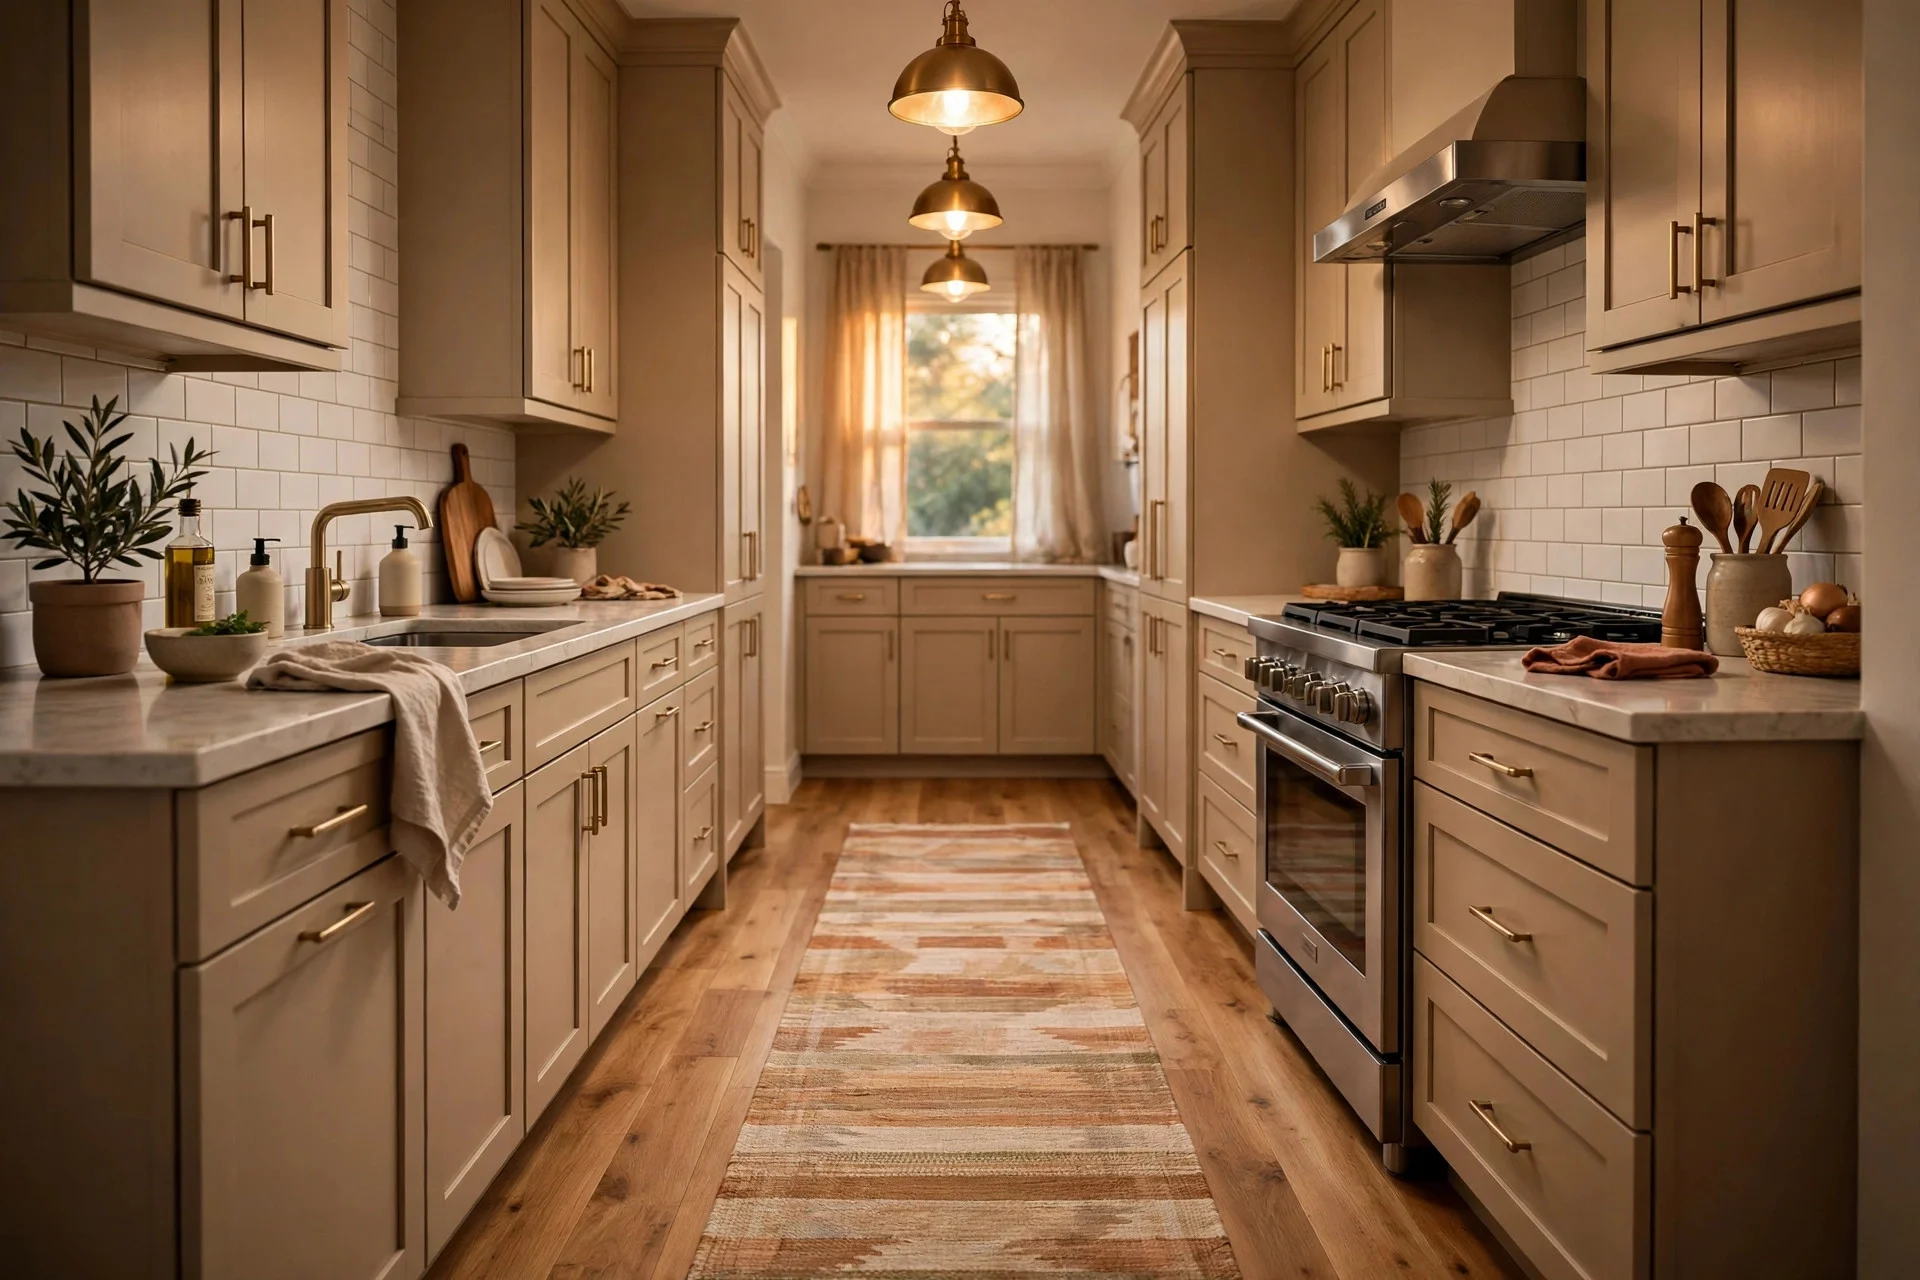
12. Run Continuous Flooring and a Runner Down the Line
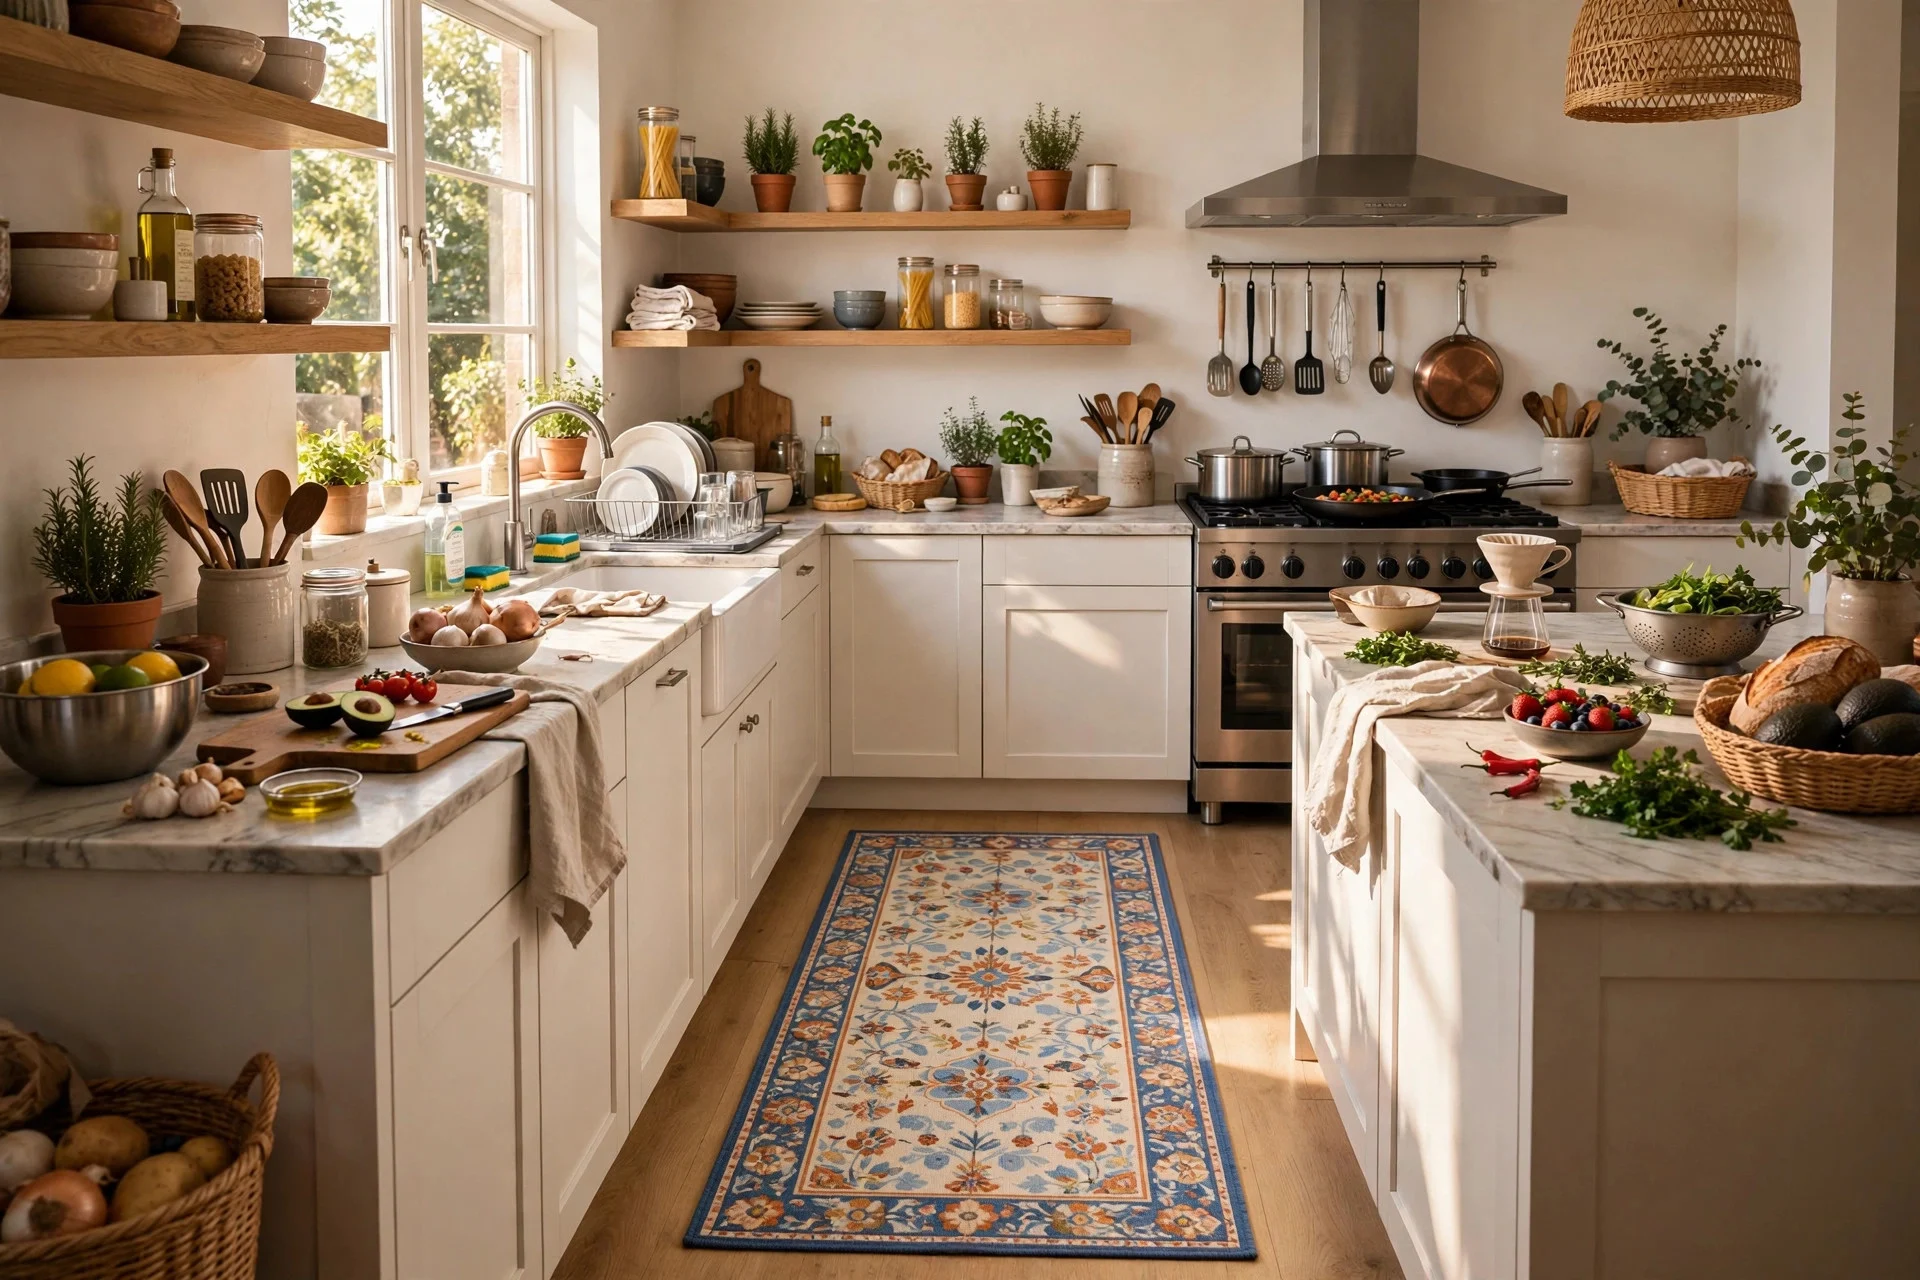
One floor finish from doorway to far end, with no threshold strips or changes of material, makes a galley read as one room instead of two halves. A washable runner down the middle adds warmth and protects the busiest path.
Cost: $200–$800 to refloor a small galley; $30–$90 for a washable runner. Difficulty: moderate for flooring, none for the runner. Tip: pick a runner you can throw in the washing machine — kitchen runners take more spills than any other rug in the house. Watch out: a runner without a non-slip backing creeps across hard floors, so use a grip pad underneath. If you are costing a refloor, the flooring calculator gives you a quick material estimate. For more small-space thinking, these multi-purpose furniture ideas for apartments suit galley layouts too.
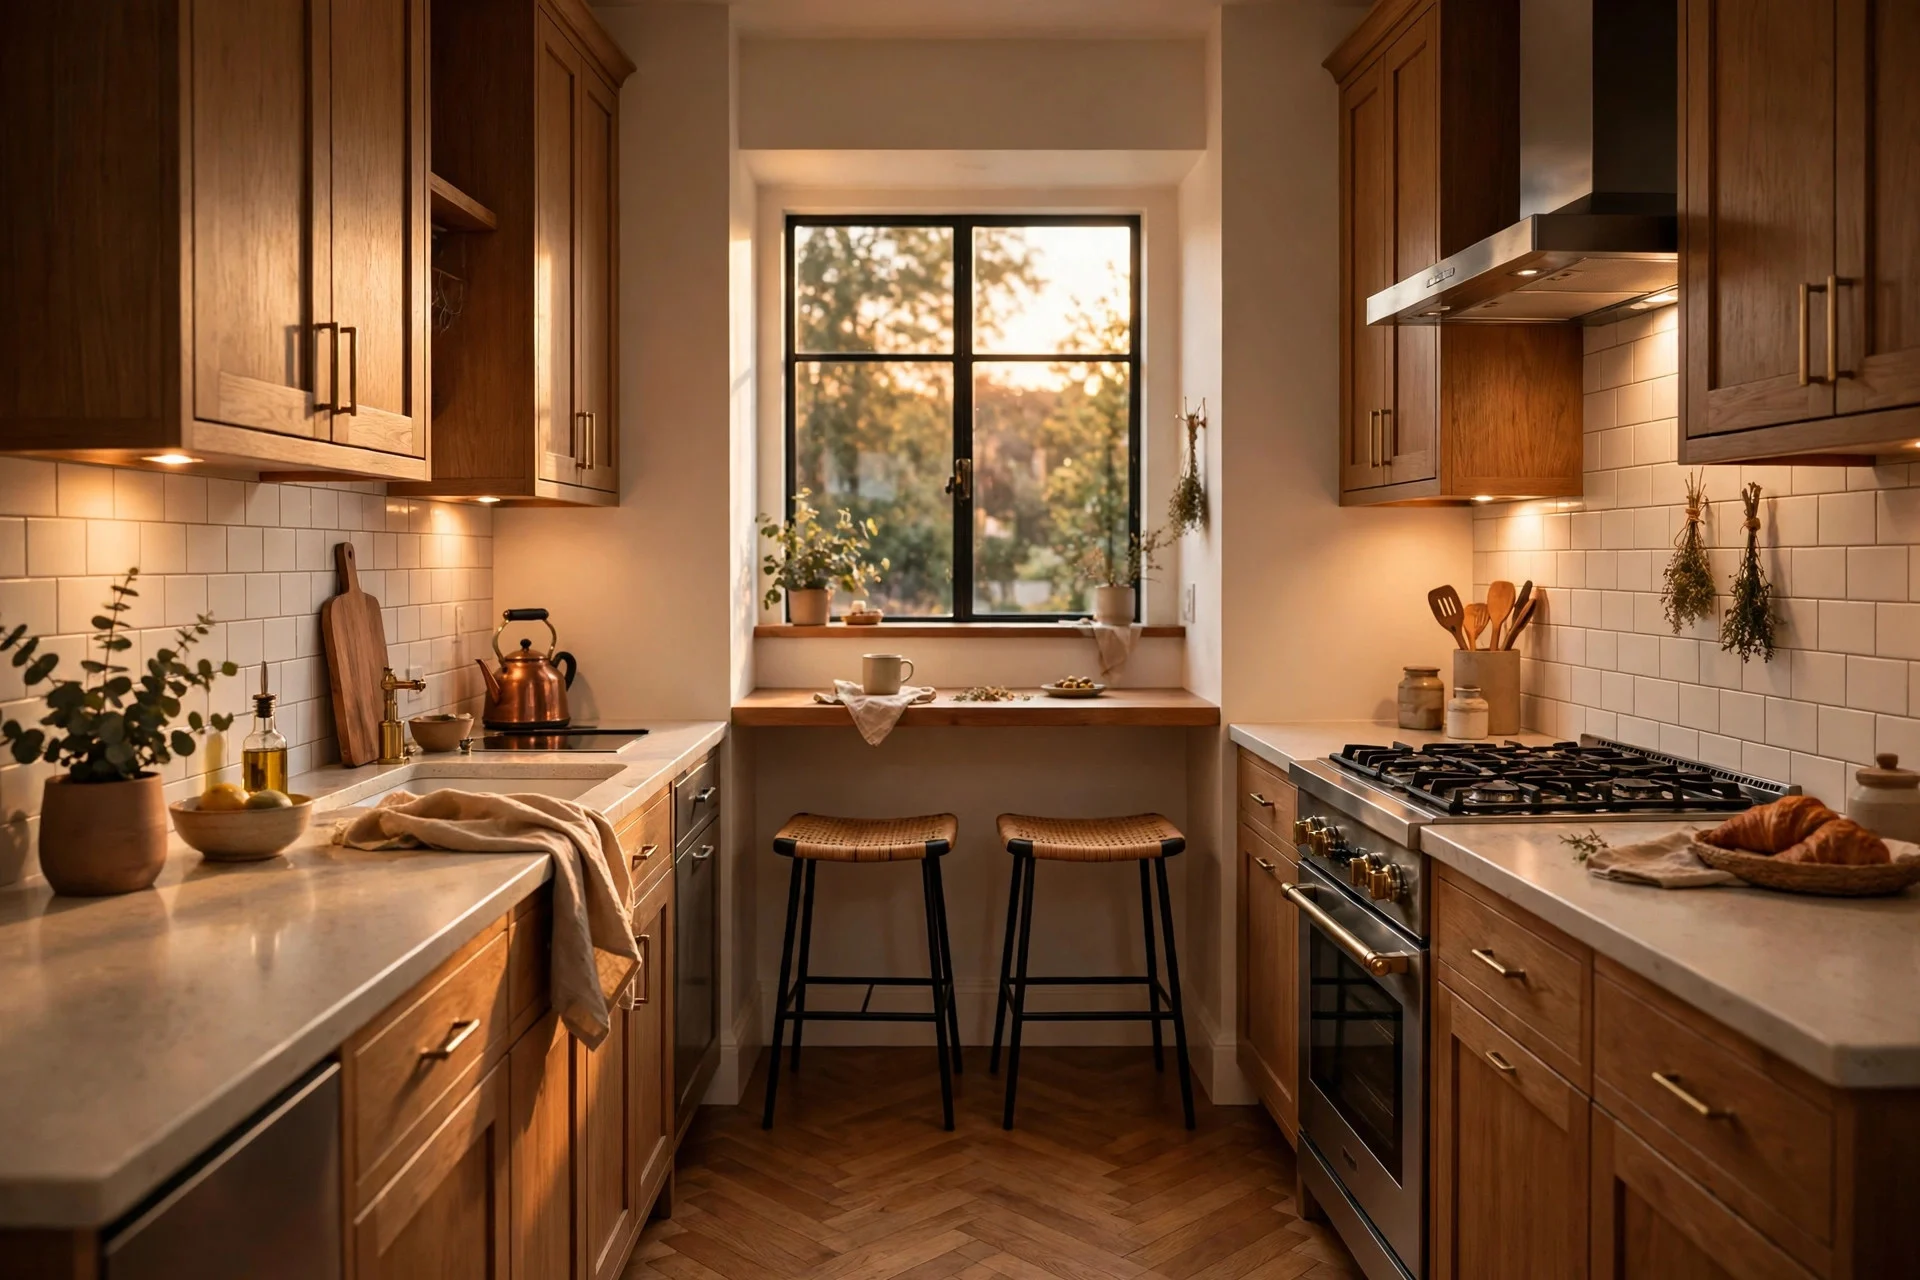
13. Turn the End Wall into a Focal Point or Breakfast Ledge
The last idea is the one people see from the doorway, so make it count. A shallow breakfast ledge with two stools gives you a coffee spot without blocking the walkway, or a bold paint colour, a framed print or a chalkboard wall turns the end into a deliberate focal point.
Cost: $50–$200 for paint and a print; $200–$600 for a fitted ledge and stools. Difficulty: easy for paint, moderate for a ledge. Tip: a ledge only 30 cm deep is enough for coffee cups and a laptop — deeper than that and it eats into the walkway. Watch out: stools need push-back room, so only add seating if you can still walk past comfortably with someone sitting there.
Frequently Asked Questions
How wide should a galley kitchen walkway be?
Aim for at least 90 cm of clear floor between facing units, and 110–120 cm if two people cook together. Below 90 cm, oven doors and dishwasher doors start clashing with whoever is standing opposite. Measure with doors open, not just the empty floor.
Can you put an island in a galley kitchen?
Usually not — a fixed island needs about 240 cm of total width to leave safe walkways on both sides. A slim rolling cart gives you most of the benefit without blocking the route, and you can park it against the wall when you need the full width.
Which wall should hold the tall units?
The wall without the window, in most cases. That keeps natural light over the worktop side, where you actually need it, and stops tall units blocking daylight. If both walls have windows, put tall units at the far end instead.
Do galley kitchens hurt resale value?
Not on their own. Buyers care more about storage, light and worktop space than the shape of the room. A well-organised galley with clear zones and good lighting shows better than a larger kitchen with no storage plan.
Your Galley Kitchen Checklist
Start at the doorway and walk the line: clear the sightline, put tall storage on one wall only, keep prep space beside the fridge, protect landing space at the hob, and finish the far end with something worth looking at. Add light in two layers and storage up to the ceiling, then live with it for a week before buying anything else — the gaps that annoy you in daily use are the ones worth spending money on.