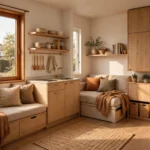
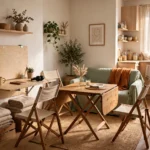
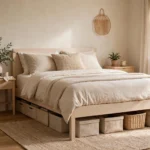
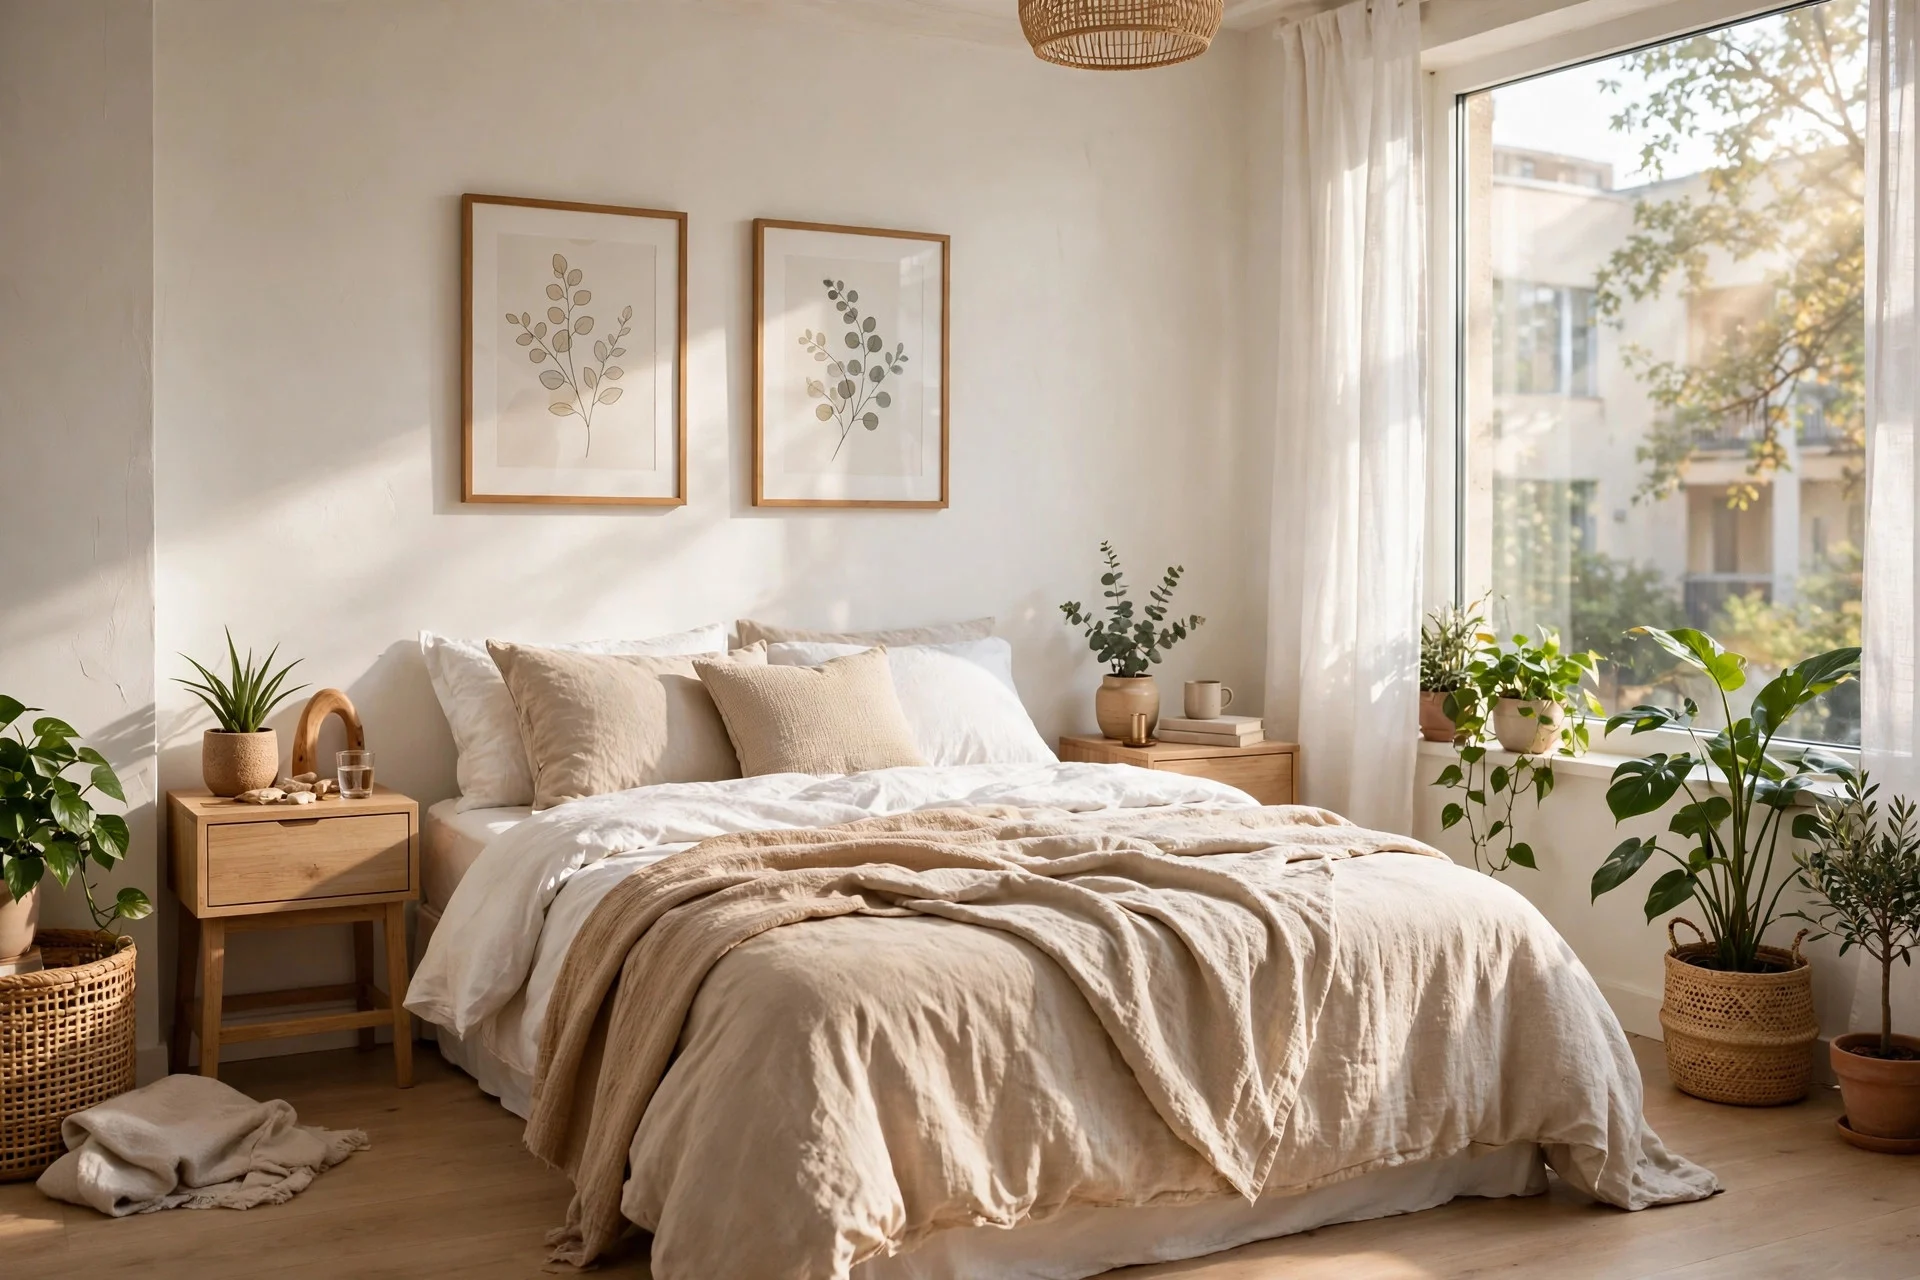
Tiny House Storage Ideas for Every Wall and Corner
Yes, you can fit real storage into a tiny house without living in a maze of boxes. The trick is to use the walls and corners you already walk past every day, from the strip beside your front door to the dead space above a doorway. This guide walks through your home zone by zone, with 12 ideas that hold everyday things close at hand and keep the floor clear.
Before you buy anything, measure wall width, ceiling height, door swing, and the depth you can spare without blocking a walkway. In most tiny houses, 15 to 30 cm is plenty for wall storage. Start with the wall that bothers you most, and leave one stretch empty on purpose so the room can breathe.
Zone 1: The Entry Wall
The entry sets the tone for the whole house. If coats, shoes, and keys pile up here, that clutter follows you into every other room.
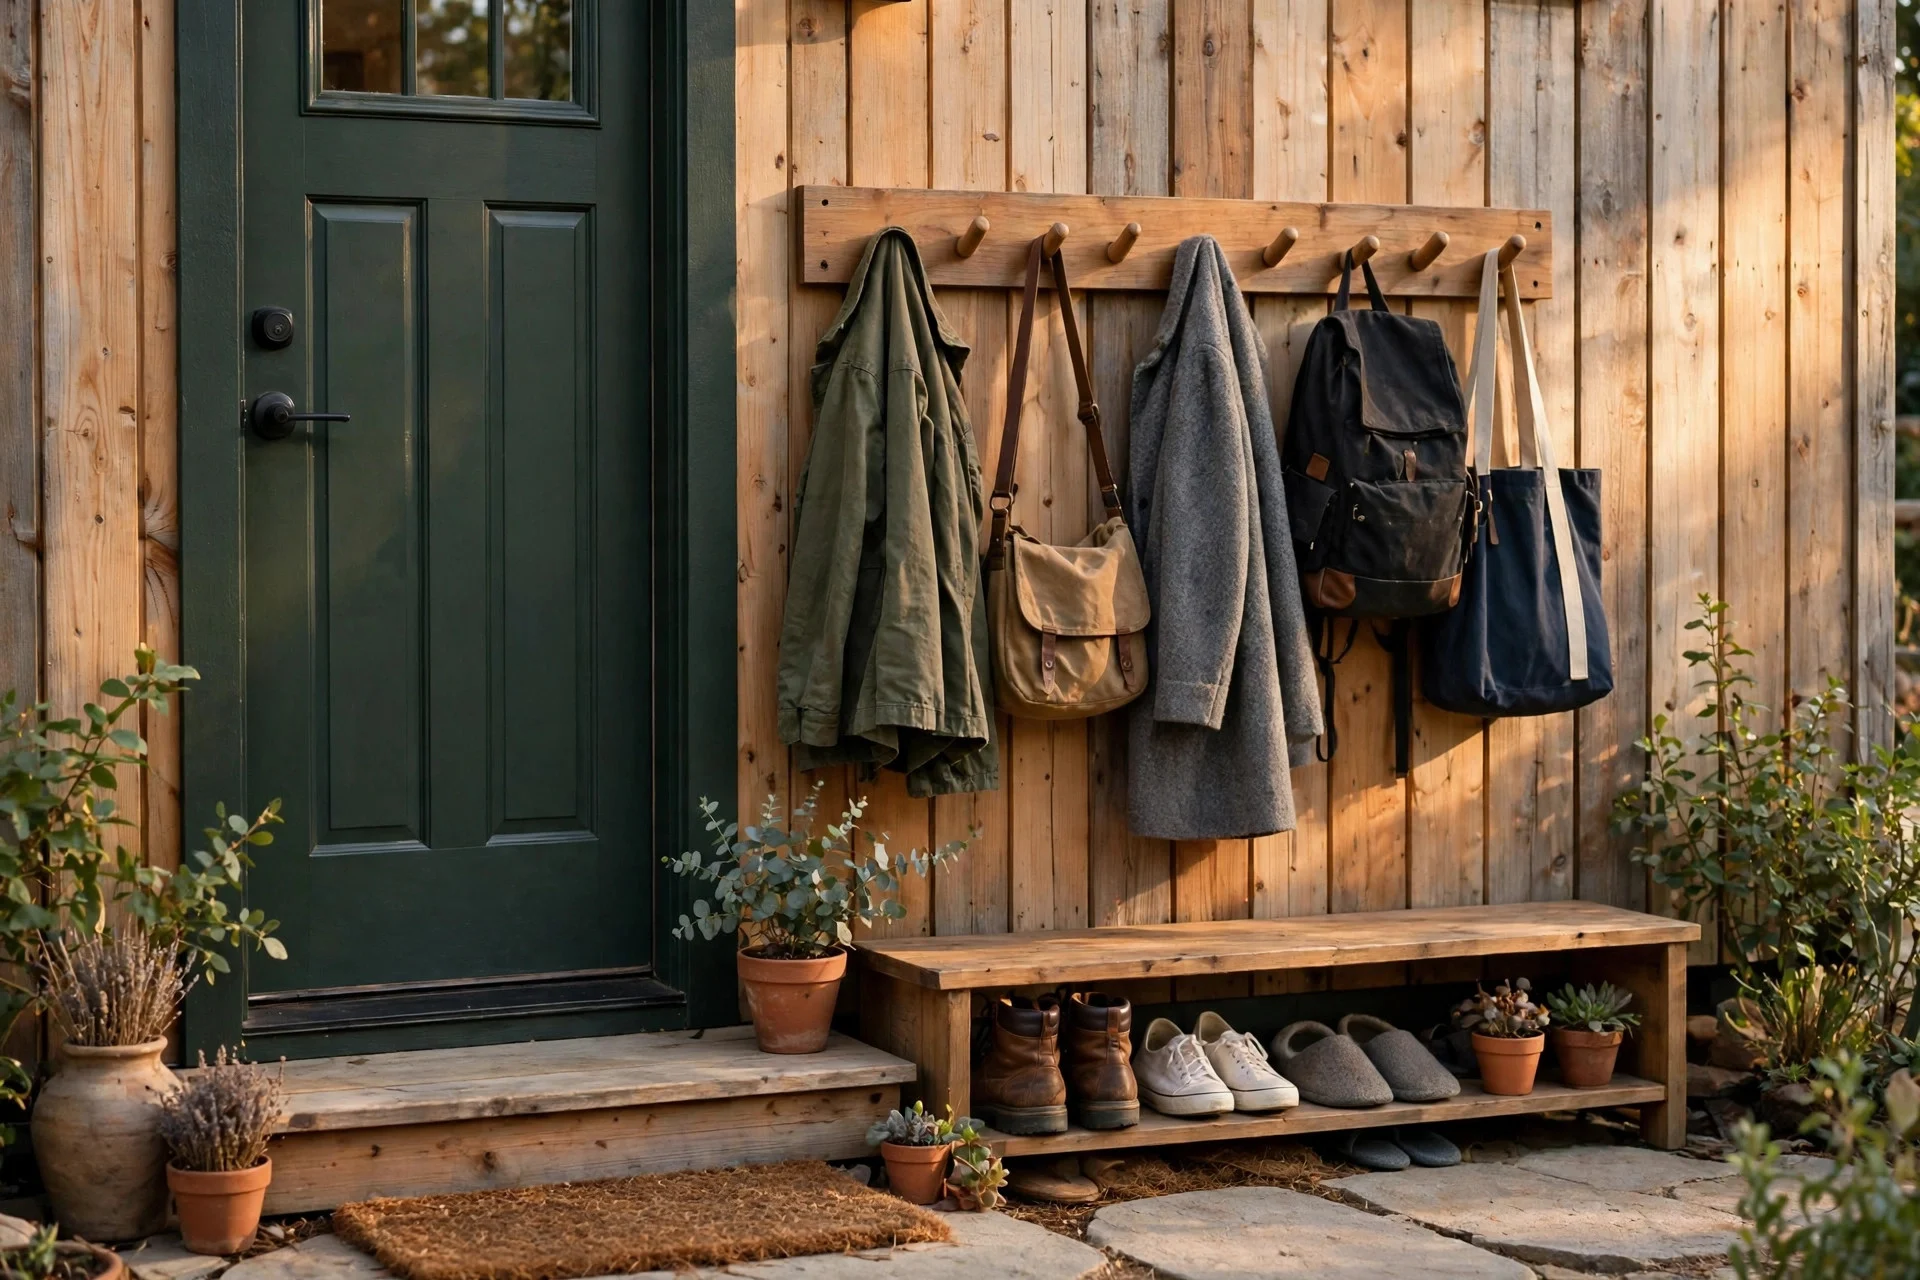
Idea 1: A Full-Height Peg Panel by the Door
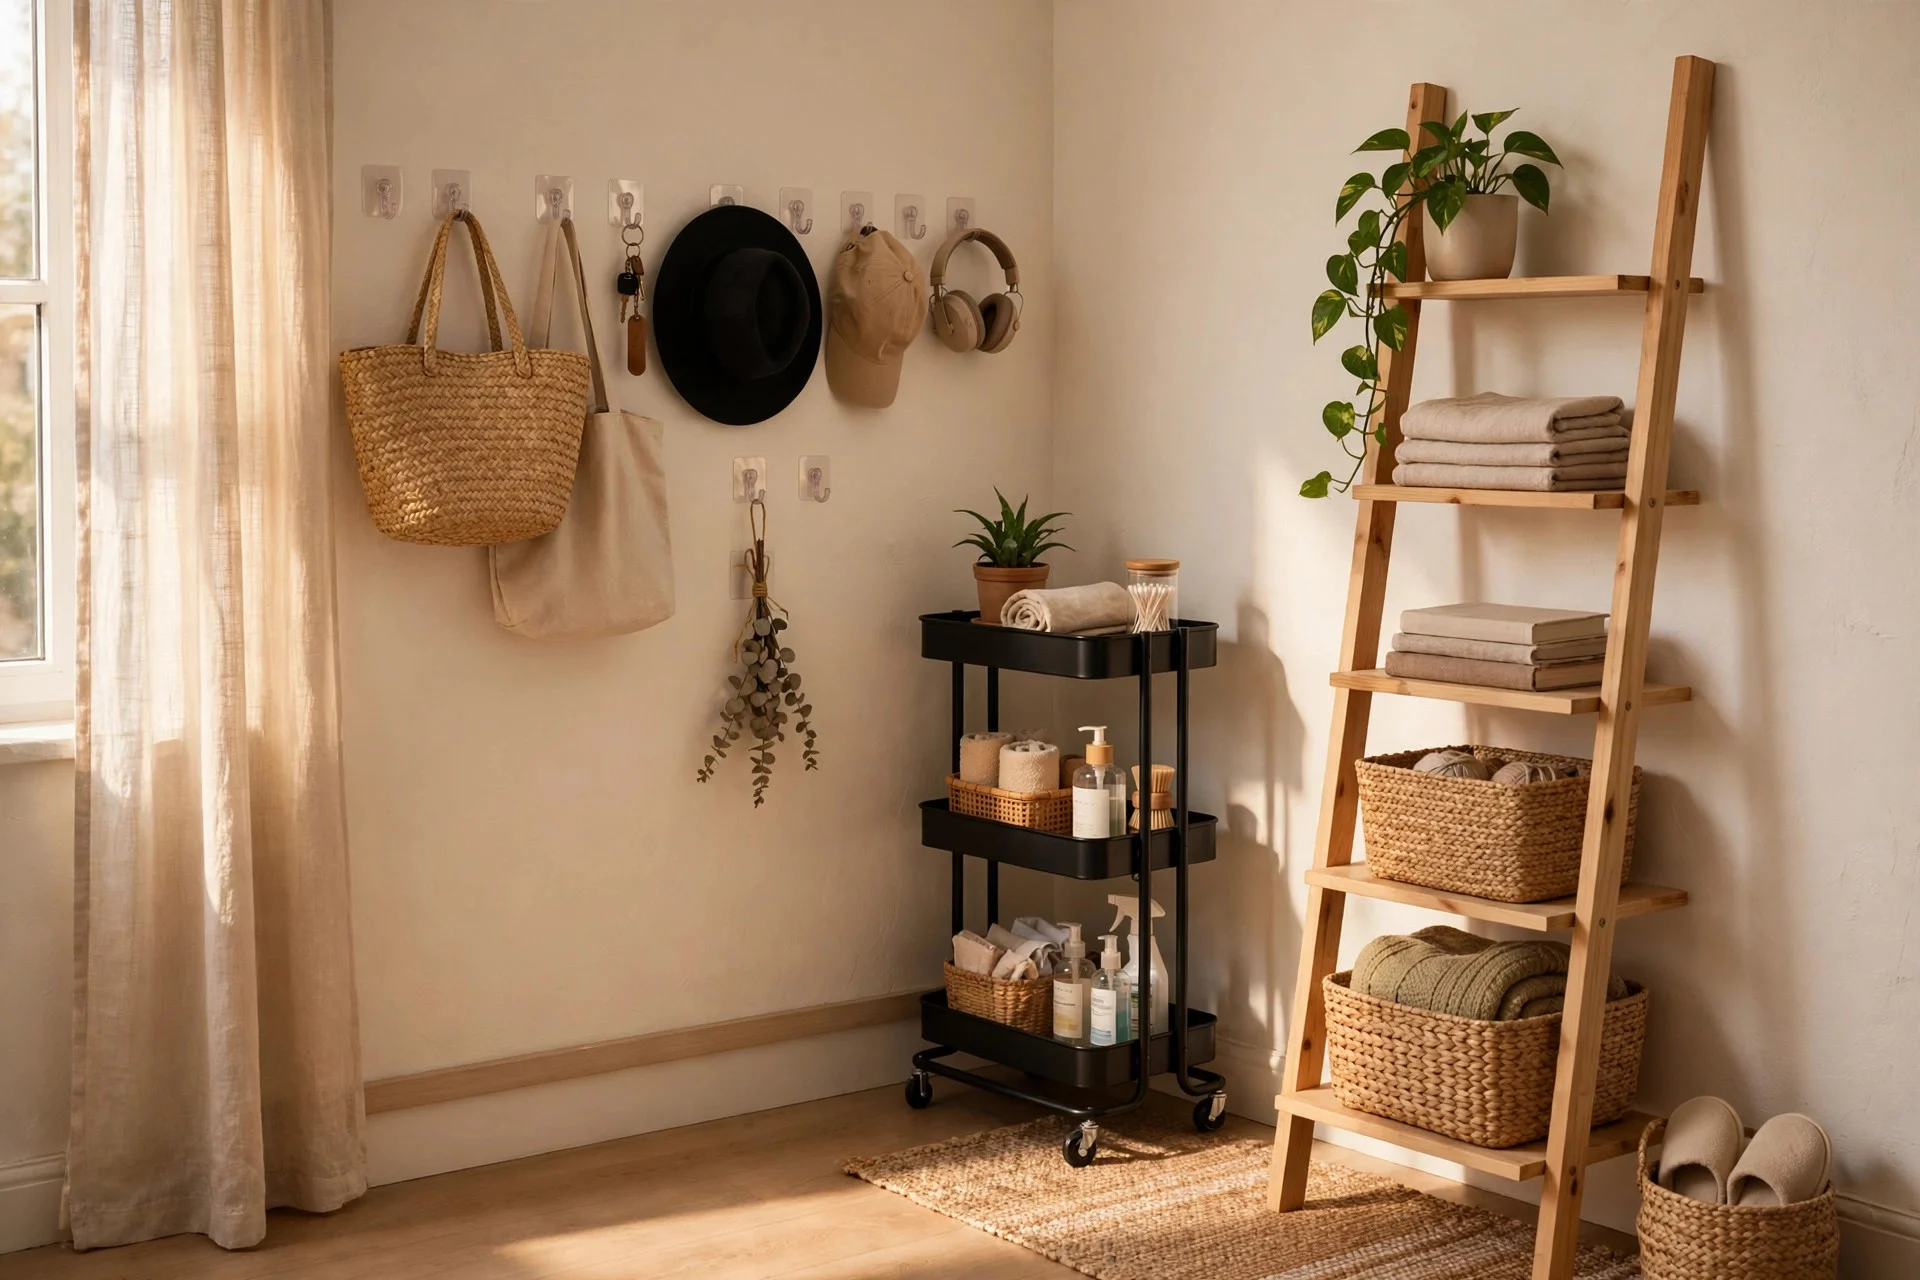
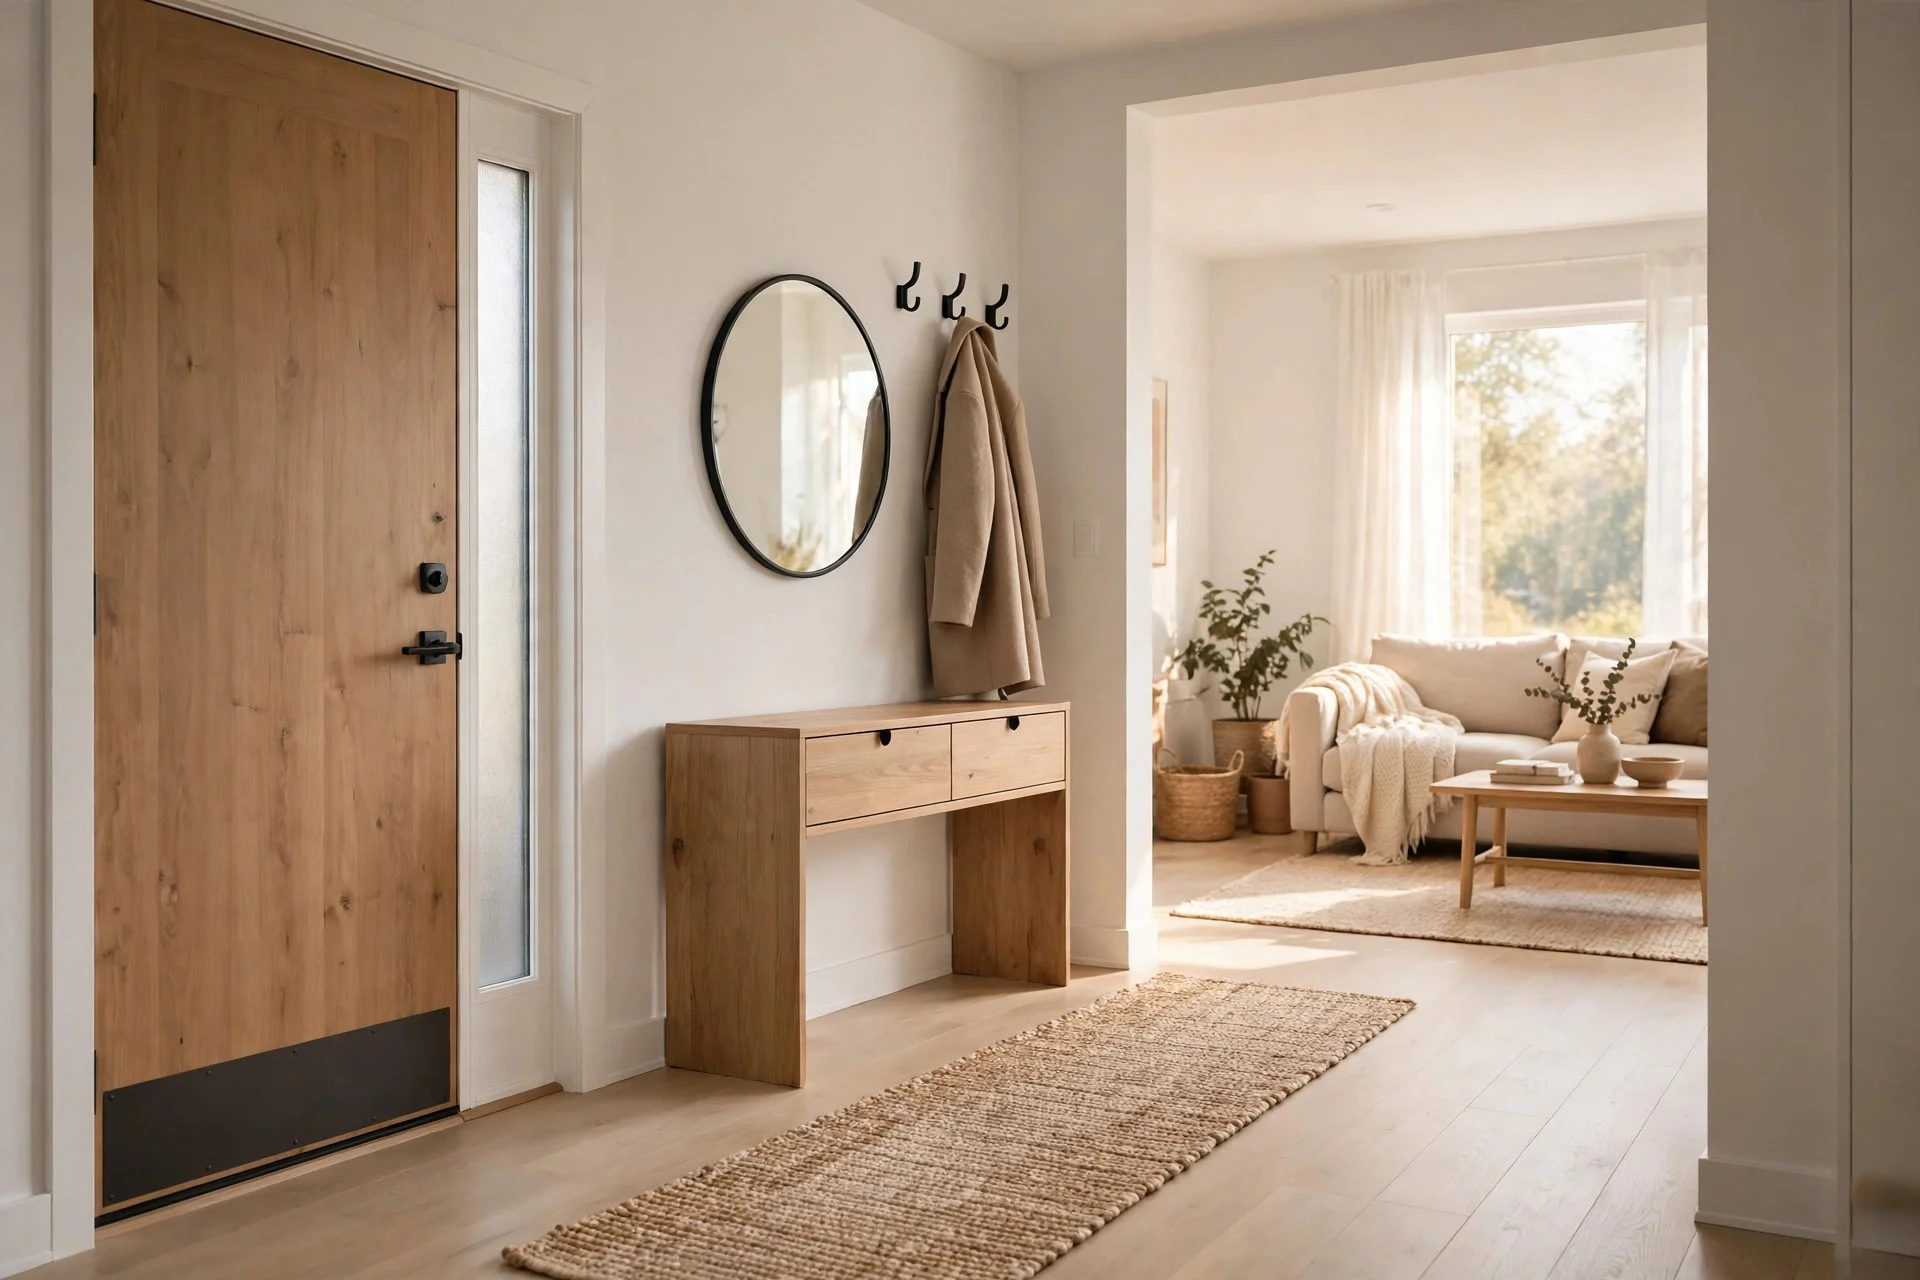
A peg panel is a slim board fixed to the entry wall, fitted with movable hooks, a small shelf at the top, and a tray or rail at the bottom. Hang coats and bags at shoulder height, put keys and sunglasses on the top shelf, and park shoes on the tray below. It uses vertical space that would otherwise stay bare, and every item gets a visible hook.
Cost: $40 to $150 for a ready-made panel, or $25 to $80 if you build one from plywood and hardwood dowels. Difficulty and time: easy, about 1 to 2 hours with a drill, a level, and wall anchors rated for your wall type. Tip: leave one hook empty at all times, so guests and new purchases have a place without starting a pile. Watch out: anchor into studs wherever you can; a panel loaded with winter coats will pull plasterboard anchors out over time.
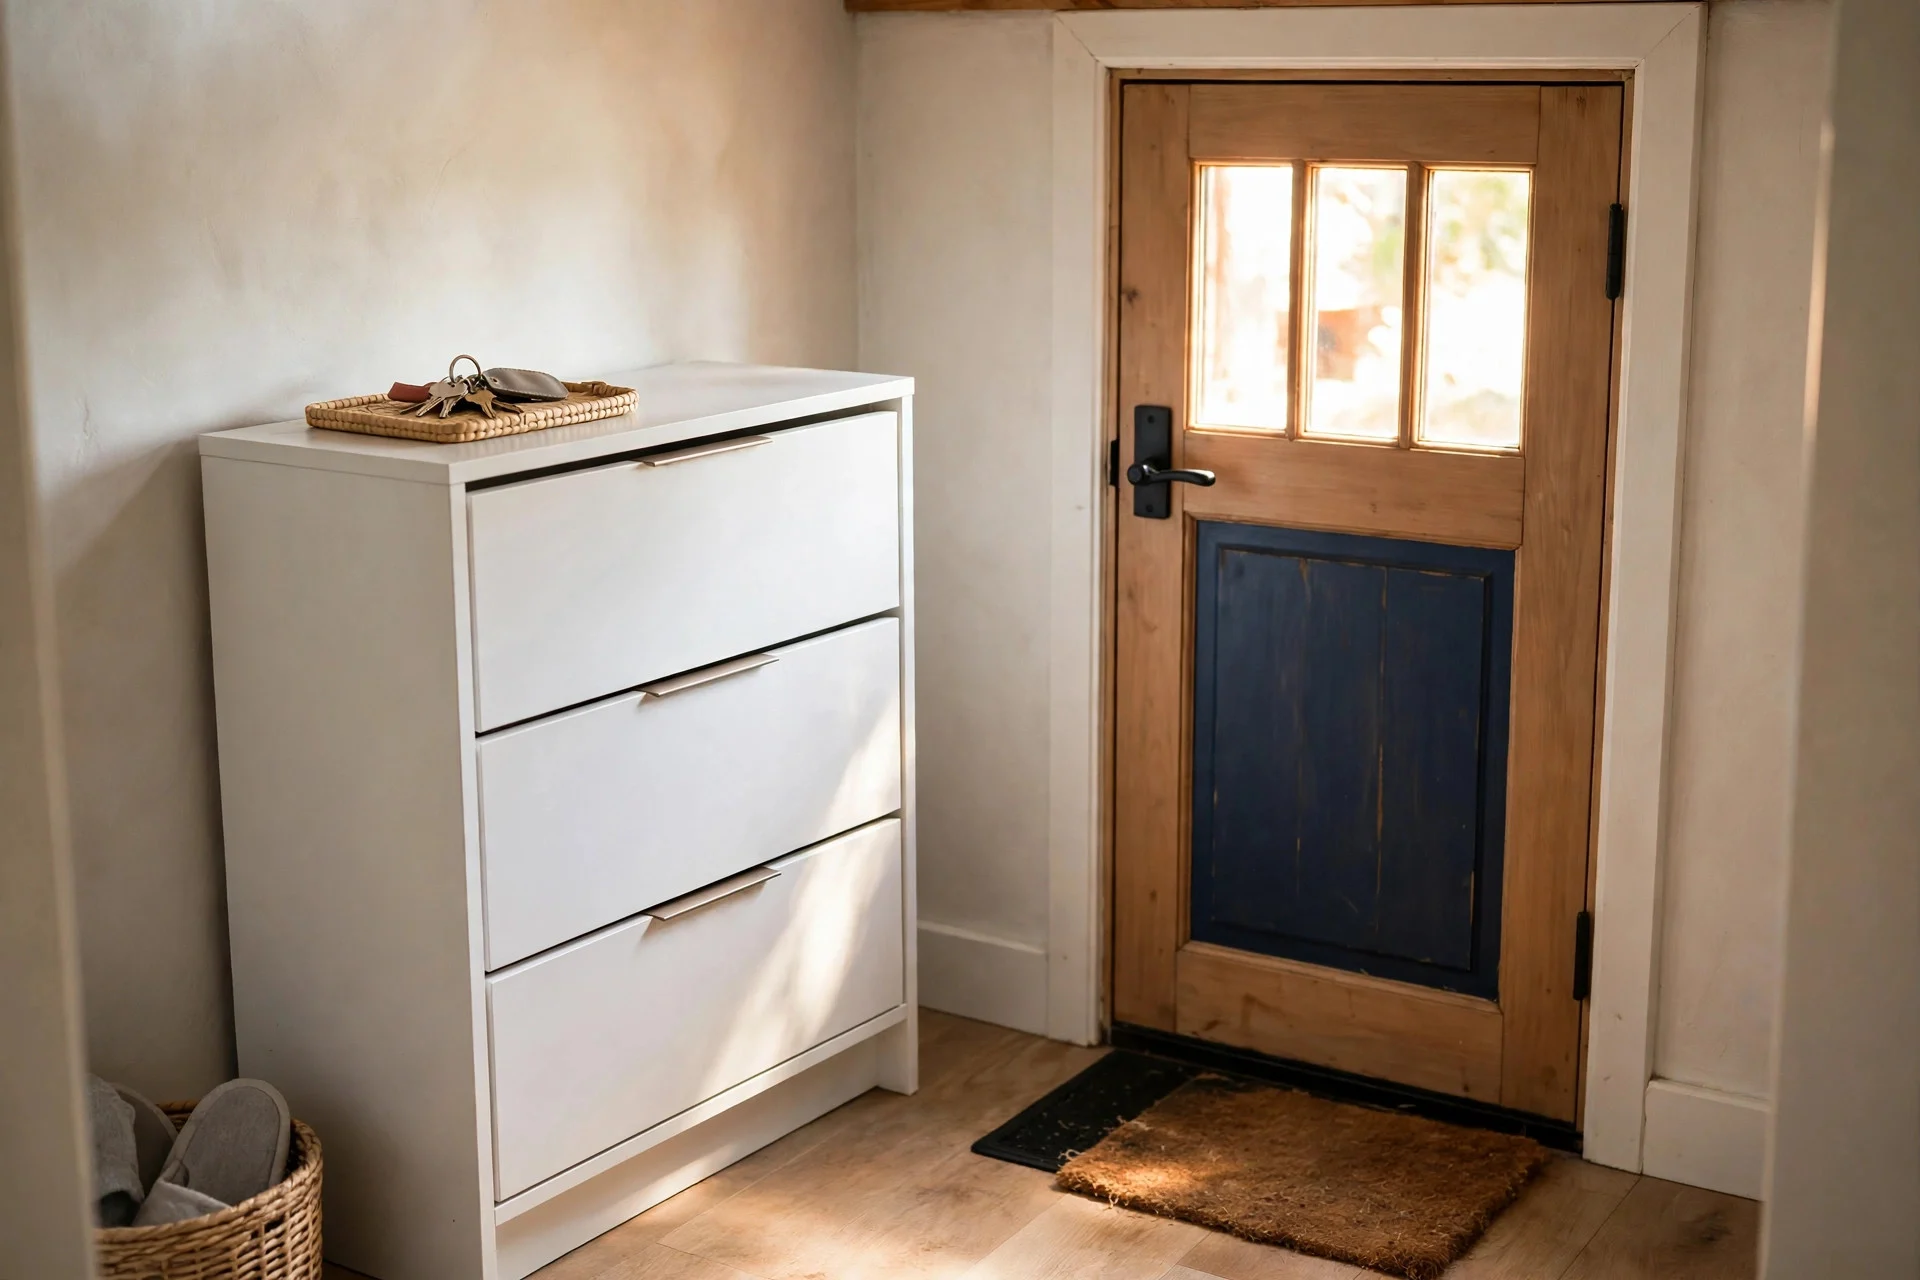
Idea 2: A Slim Shoe Cabinet That Hugs the Wall
A slim shoe cabinet is only 15 to 20 cm deep, with tilt-out compartments that hold two to three pairs per row. Place it along the entry wall, top it with a small tray for keys, and you clear the floor without blocking the doorway. Shoes are the biggest source of entry clutter, and a closed front keeps them out of sight while holding eight to twelve pairs.
Cost: $60 to $180 for a two- or three-row cabinet. Difficulty and time: easy, about 30 to 60 minutes to assemble and fix to the wall. Tip: put a boot tray underneath in wet months so mud never reaches the floor. Watch out: measure tall boots first; most tilt-out rows will not fit knee-high boots, so keep one pair by the door or in a taller cupboard.
Zone 2: The Kitchen Wall
Kitchen storage fails when tools hide in deep cupboards. Wall storage keeps daily tools in sight and frees cupboards for food and pots. If your tiny house borrows layout tricks from a micro-apartment decor plan, the same rule applies: keep the most-used items on the wall, and the rarely used items up high or behind doors.
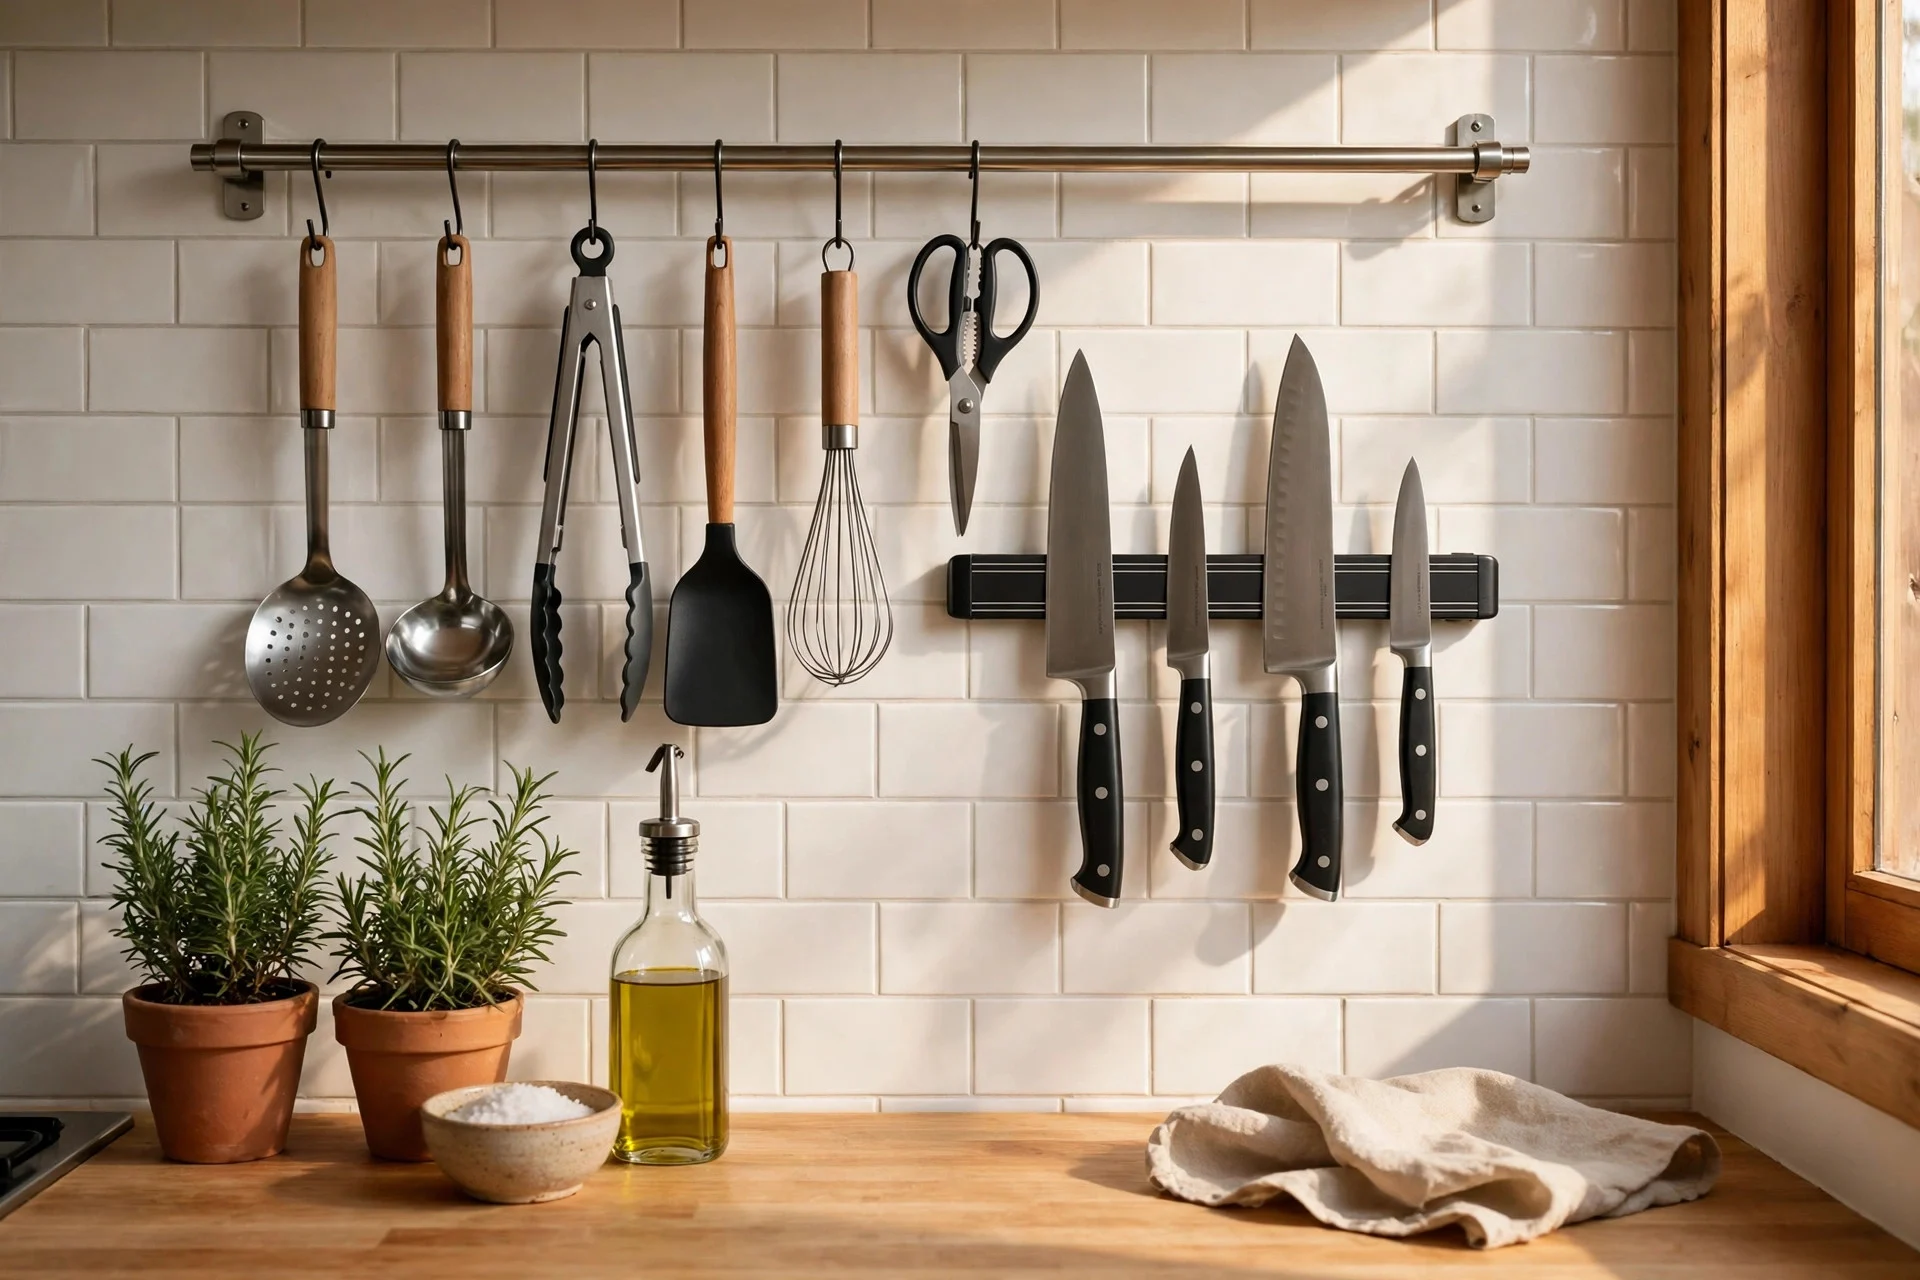
Idea 3: A Magnetic and Hanging Rail for Daily Tools
Fix a magnetic knife strip and a hanging rail with S-hooks to the kitchen wall, ideally between the counter and the upper cabinets. Knives sit on the magnet, while spatulas, ladles, measuring cups, and a pair of scissors hang from the rail. It moves daily tools out of a crowded drawer, and you can see at a glance what is clean and ready.
Cost: $25 to $70 for a good magnetic strip plus a stainless rail and hooks. Difficulty and time: easy, about 45 minutes, including finding studs or using strong hollow-wall anchors. Tip: keep the rail within arm’s reach of the stove but at least 30 cm from direct heat and splashes. Watch out: heavy cast-iron pans will bend a light rail, so hang those on individual stud-fixed hooks instead.
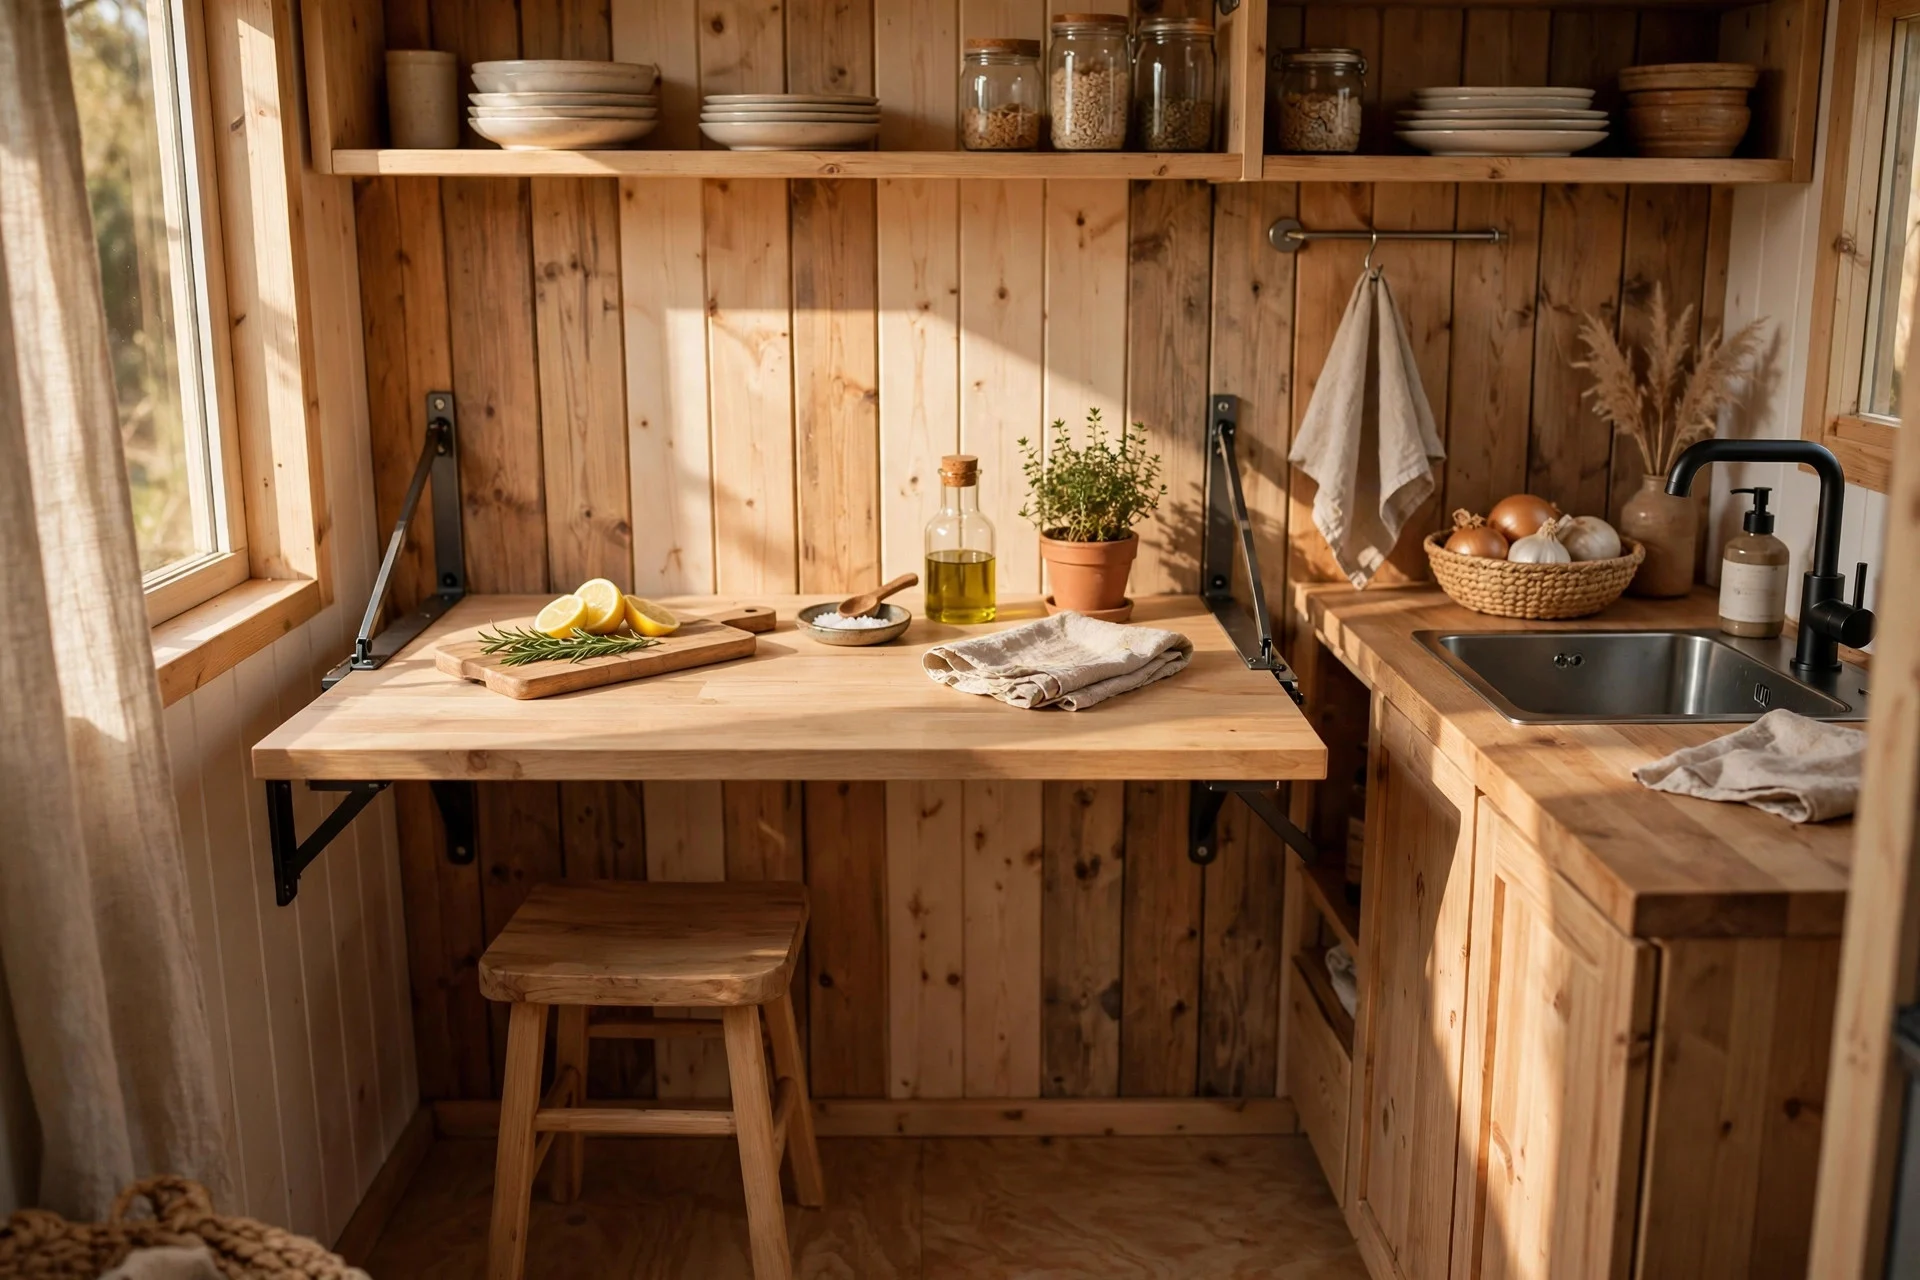
Idea 4: A Fold-Down Wall Table for Extra Counter Space
A fold-down table is a wall-mounted panel that drops down to form a counter or dining spot, then folds flat against the wall when you are done. Use it for food prep, a laptop, or breakfast for two, with folding brackets rated for at least 20 kg. A tiny kitchen often needs extra surface for an hour a day, not all day, and a fixed table would block movement the rest of the time.
Cost: $80 to $250 for a ready-made unit, or $50 to $120 built from plywood and folding brackets. Difficulty and time: moderate, about 2 to 3 hours, since the brackets must sit level and into studs. Tip: add a small lip or rail on the underside so the folded panel doubles as a memo board or spice rail. Watch out: never skip the wall fixing; a table that only grips plasterboard will sag and may drop a hot pan.
Zone 3: The Main Living Wall
The living wall carries books, media, and blankets. Shallow, full-height storage beats one deep cupboard here, because you can reach everything without pulling half the shelf out first.
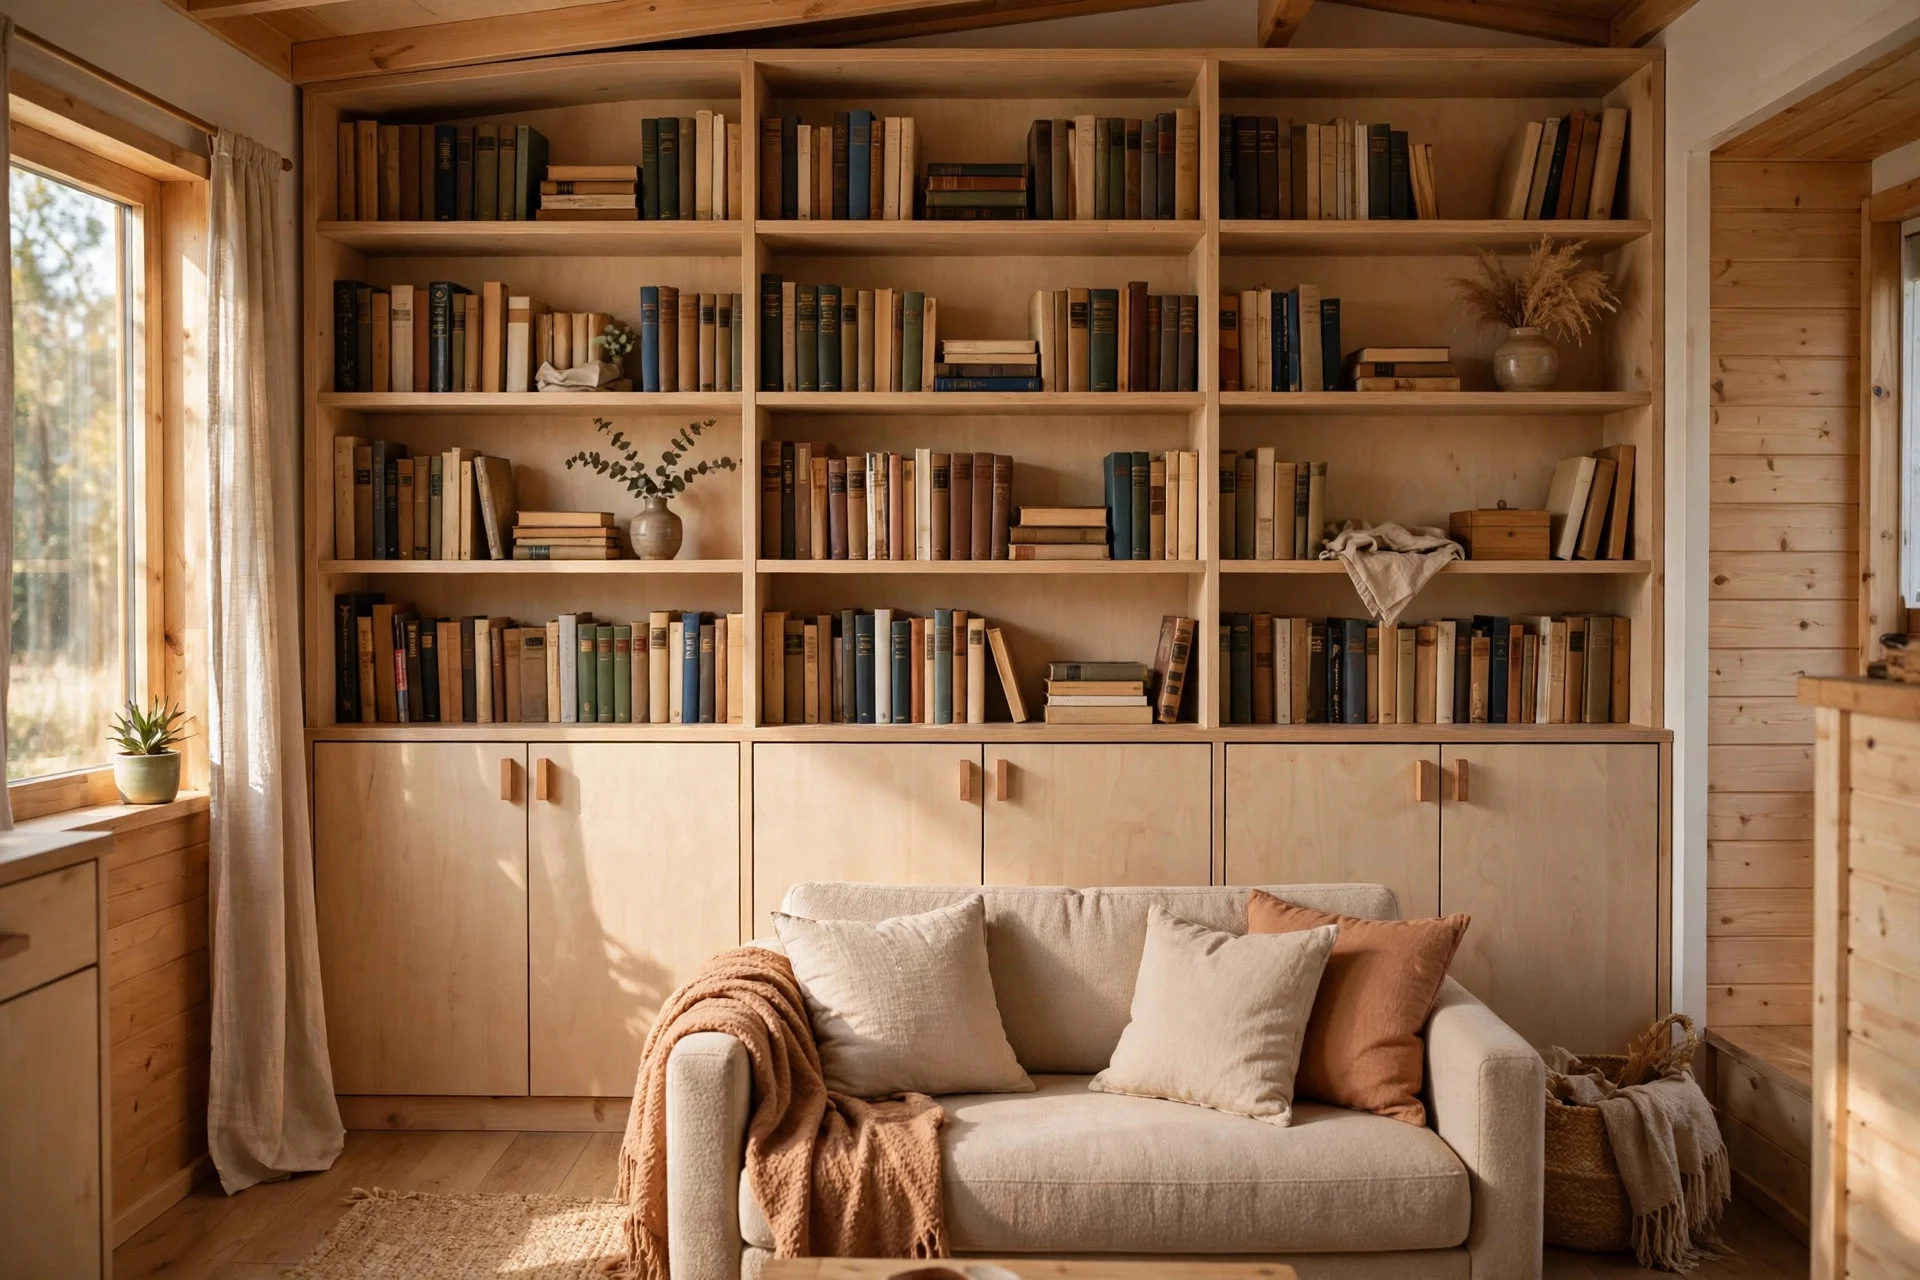
Idea 5: One Full Storage Wall With Shallow Cabinets
Build or fit floor-to-ceiling storage along one living wall, using cabinets just 30 to 35 cm deep, with a mix of closed doors at the bottom and open shelves at eye level. The bottom holds blankets, games, and chargers; the open shelves hold books and a few objects you like looking at. One organised wall removes the need for three separate bookcases scattered around the room.
Cost: $400 to $1,200 for flat-pack units fitted as a run, or $1,500 to $3,500 for a carpenter-built wall. Difficulty and time: moderate to advanced, half a day to a full weekend, depending on how much you build yourself. Tip: paint the wall the same colour as the room so it reads as architecture rather than a block of furniture. Watch out: leave a 5 cm gap behind units on an outside wall for air flow, or damp can build up unnoticed.
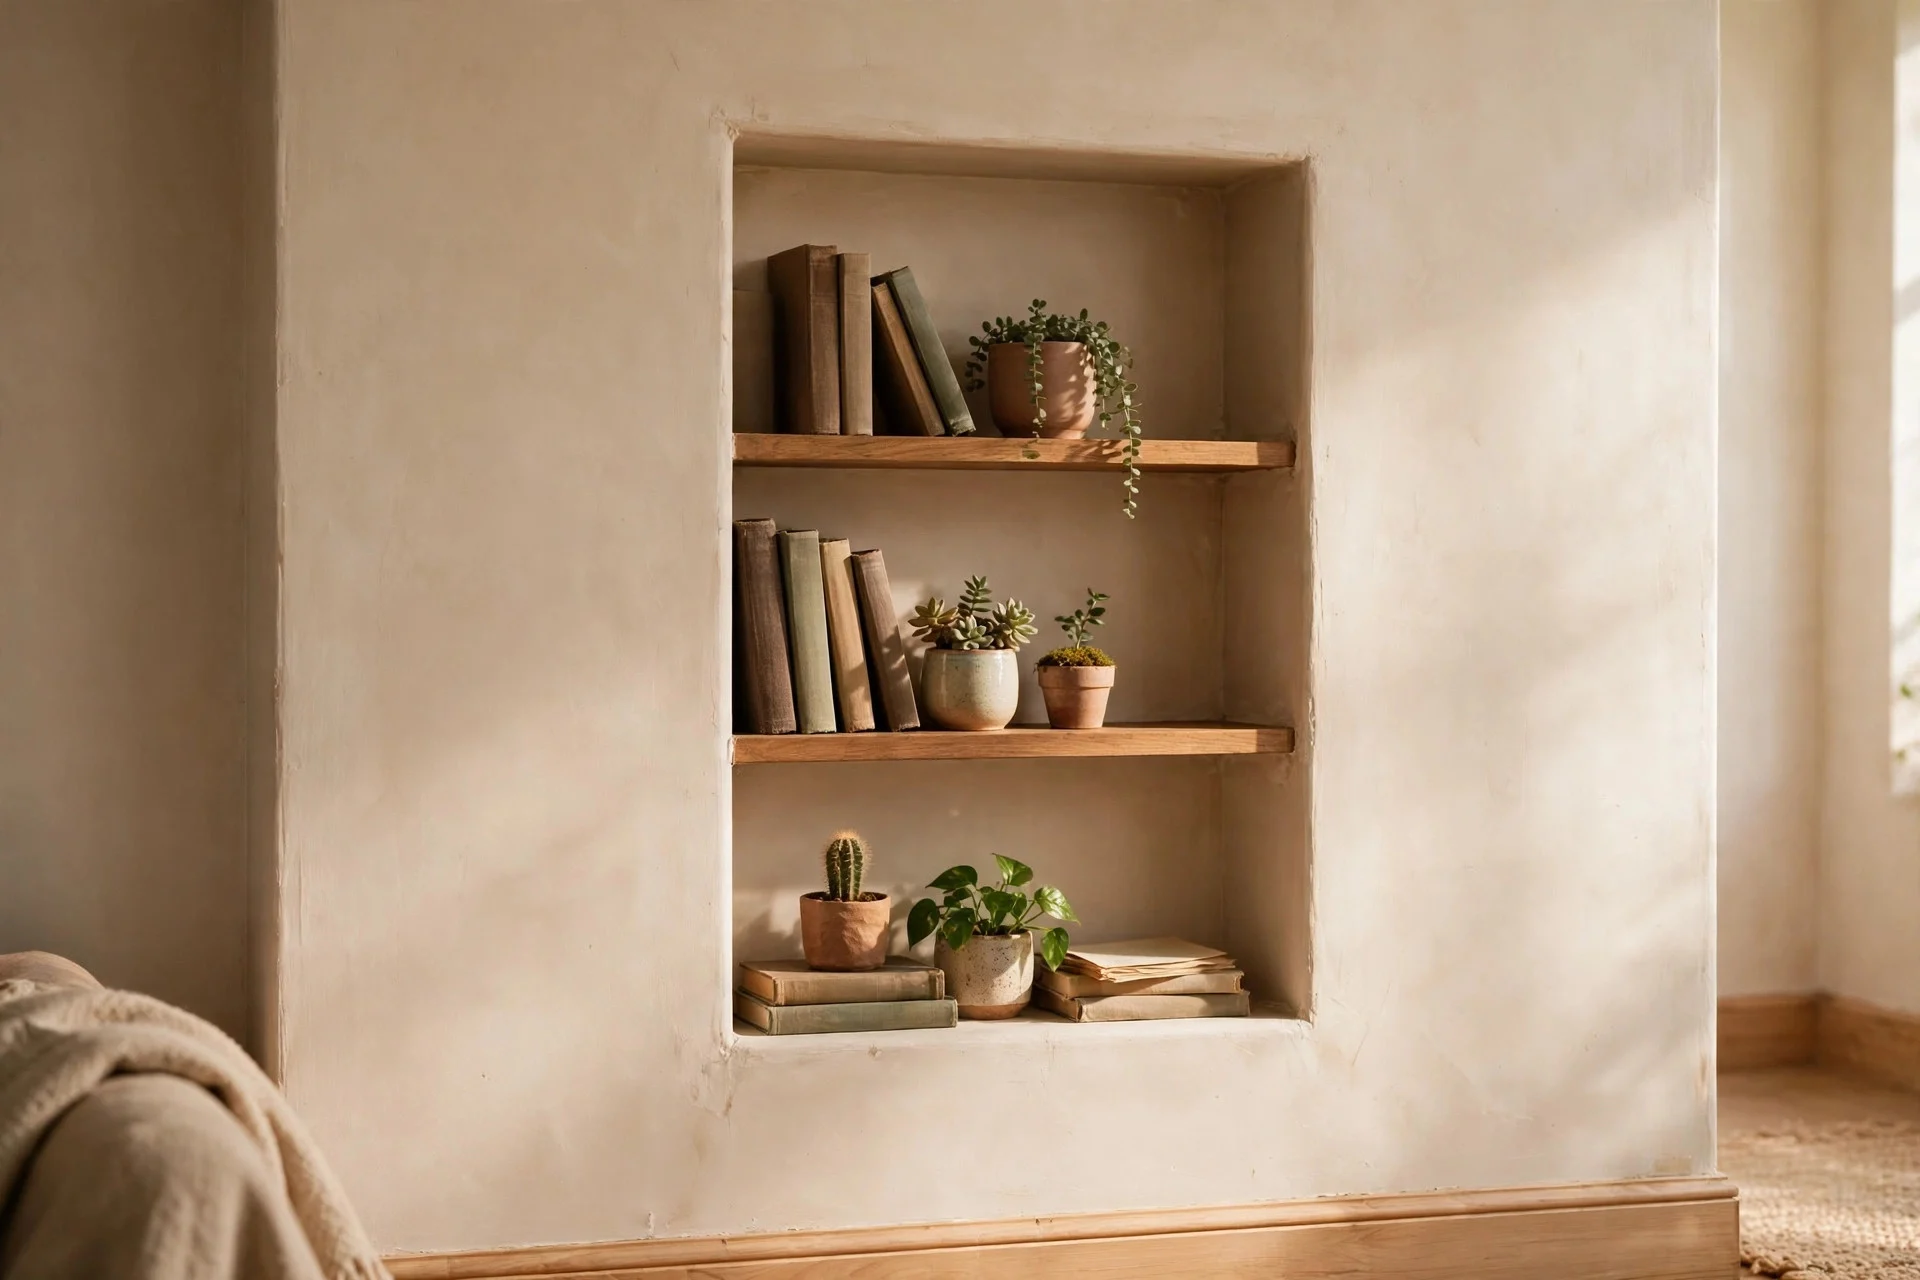
Idea 6: Recessed Shelves Between the Wall Studs
Between-stud shelves sit inside the wall cavity, between two timber studs, so they add storage without taking any floor space at all. A typical niche is about 35 cm wide and 10 to 12 cm deep, perfect for books, small plants, remote controls, and phone chargers. The space already exists inside most framed walls, and the finished niche looks neat rather than added on.
Cost: $30 to $90 per niche if you finish it yourself, or $150 to $350 per niche with a carpenter. Difficulty and time: moderate, about 2 to 4 hours per niche, including cutting, framing, and painting. Tip: check for wiring and pipes with a stud finder and a small inspection hole before you cut. Watch out: never cut into a load-bearing stud or an outside wall without advice, and skip walls that carry plumbing or electrical runs.
Zone 4: The Sleeping Loft
Lofts punish bad storage, because you cannot stand up to reach things. Storage here should sit low, slide out, or hug the wall.
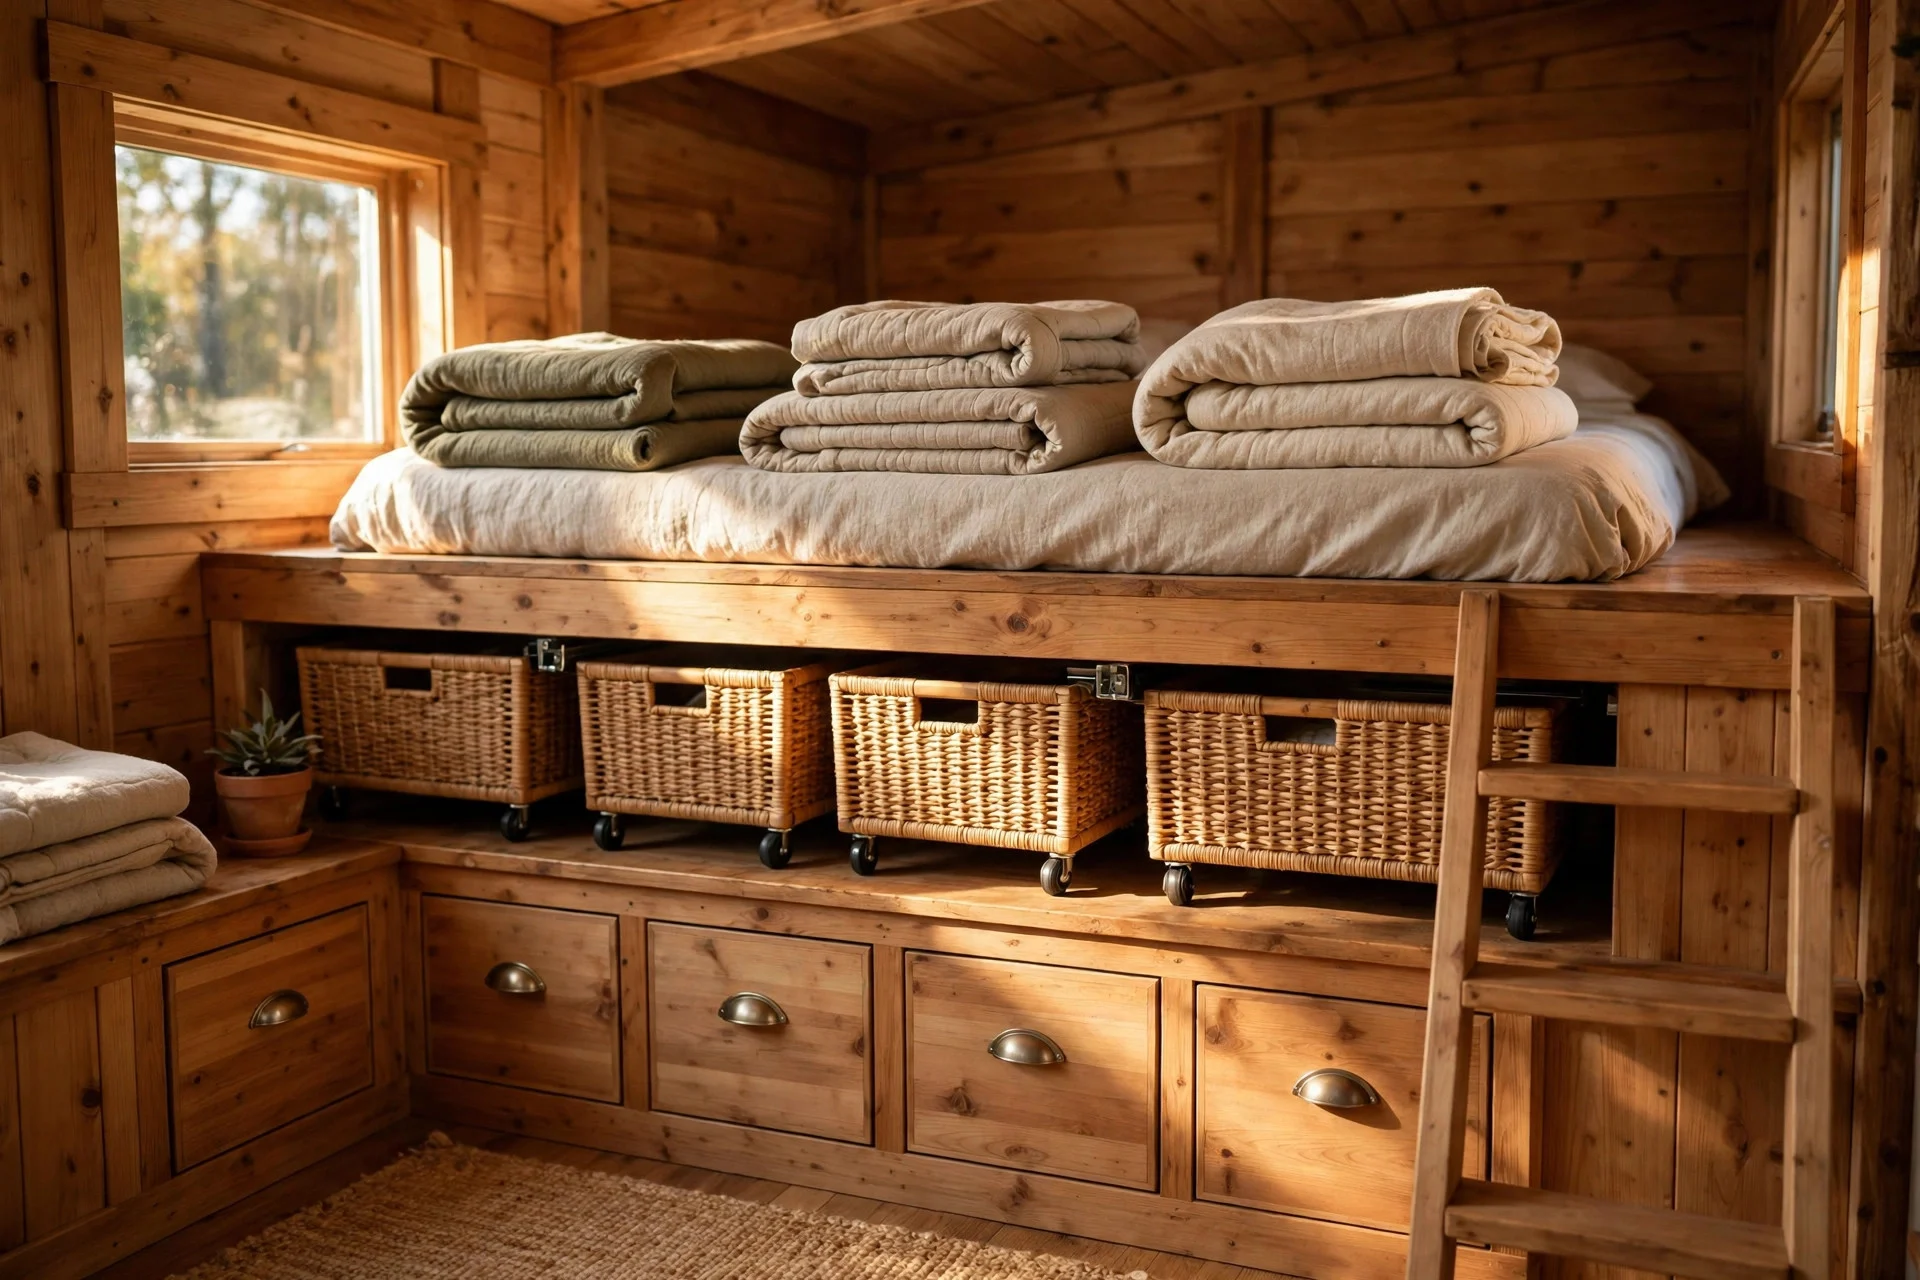
Idea 7: Knee-Wall Drawers and Rolling Under-Bed Bins
Most lofts have a short knee wall where the roof slopes down, and that low strip is ideal for shallow drawers, while rolling bins slide under the bed platform itself. Use the drawers for socks, chargers, and nightwear, and the bins for out-of-season clothes and spare bedding. It turns the lowest, hardest-to-use space into a home for out-of-season items, while daily clothes stay on a small rail.
Cost: $80 to $300 for ready-made drawers and bins, or $150 to $500 built in. Difficulty and time: easy to moderate, about 2 to 4 hours. Tip: label each bin on the end you can see from the loft opening, and keep one bin empty for laundry. Watch out: keep bins clear of heaters and roof vents, and leave the loft ladder landing completely free.
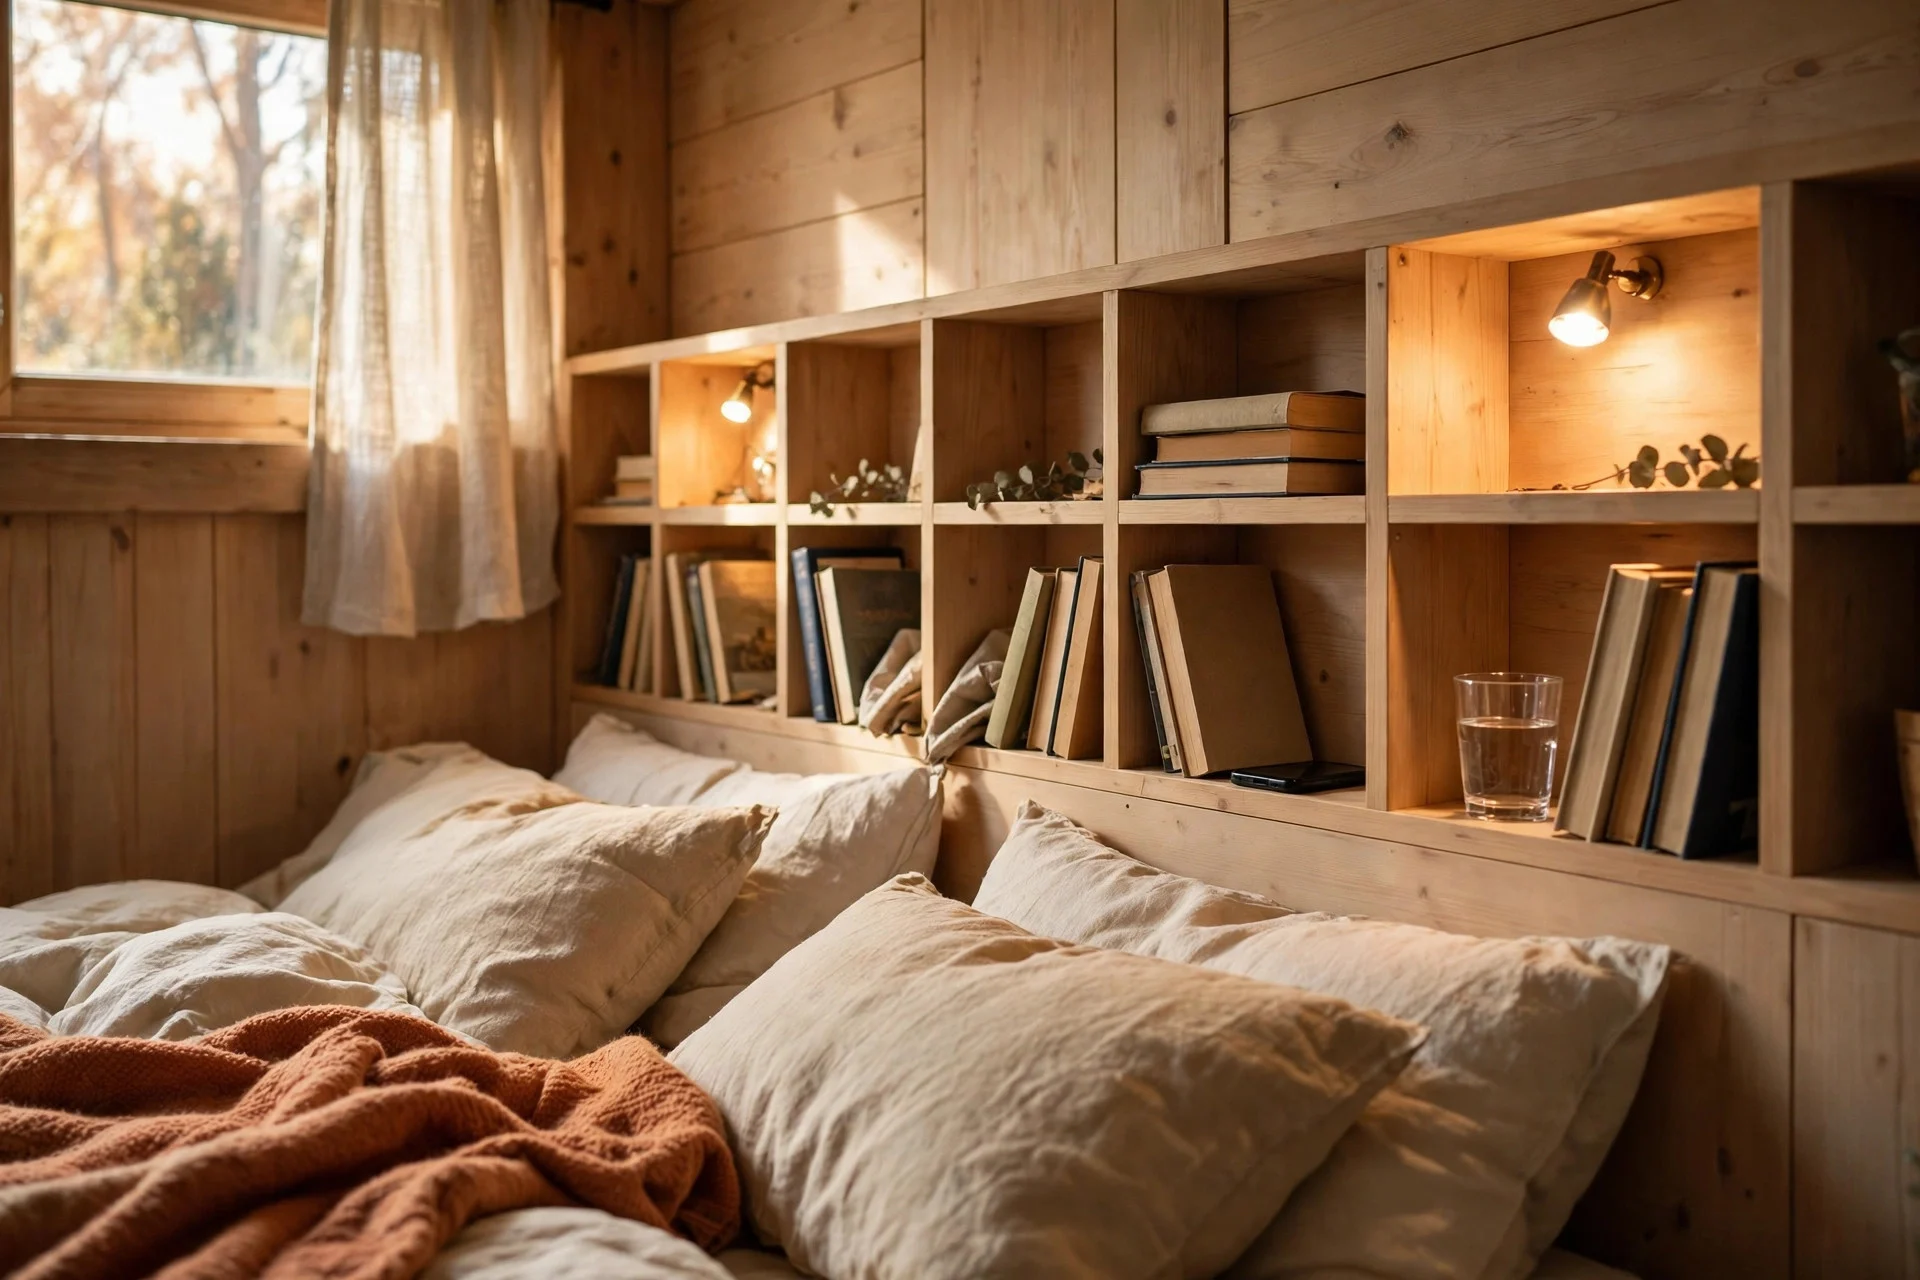
Idea 8: A Headboard Wall of Shallow Cubbies
Replace a bulky headboard with a wall of shallow cubbies, each 15 to 20 cm deep, fitted with a reading light and a small shelf for a phone, a book, and water. A narrow ledge along the top holds a clock and a plant. It stores night-time items exactly where you use them, so books and chargers stop piling up on the floor.
Cost: $100 to $400 for a fitted cubby panel, or $60 to $150 built from boxes and a plywood back. Difficulty and time: easy to moderate, about 3 to 5 hours. Tip: wire a USB point into each cubby if you can, so cables never dangle across the bed. Watch out: keep cubbies shallow; anything deeper will push pillows forward and steal sleeping space.
Zone 5: The Bathroom Corner
Bathrooms in tiny houses are small and damp, so corner storage has to cope with water and stay easy to clean. Closed storage for spares, plus open storage for daily items, holds up best.
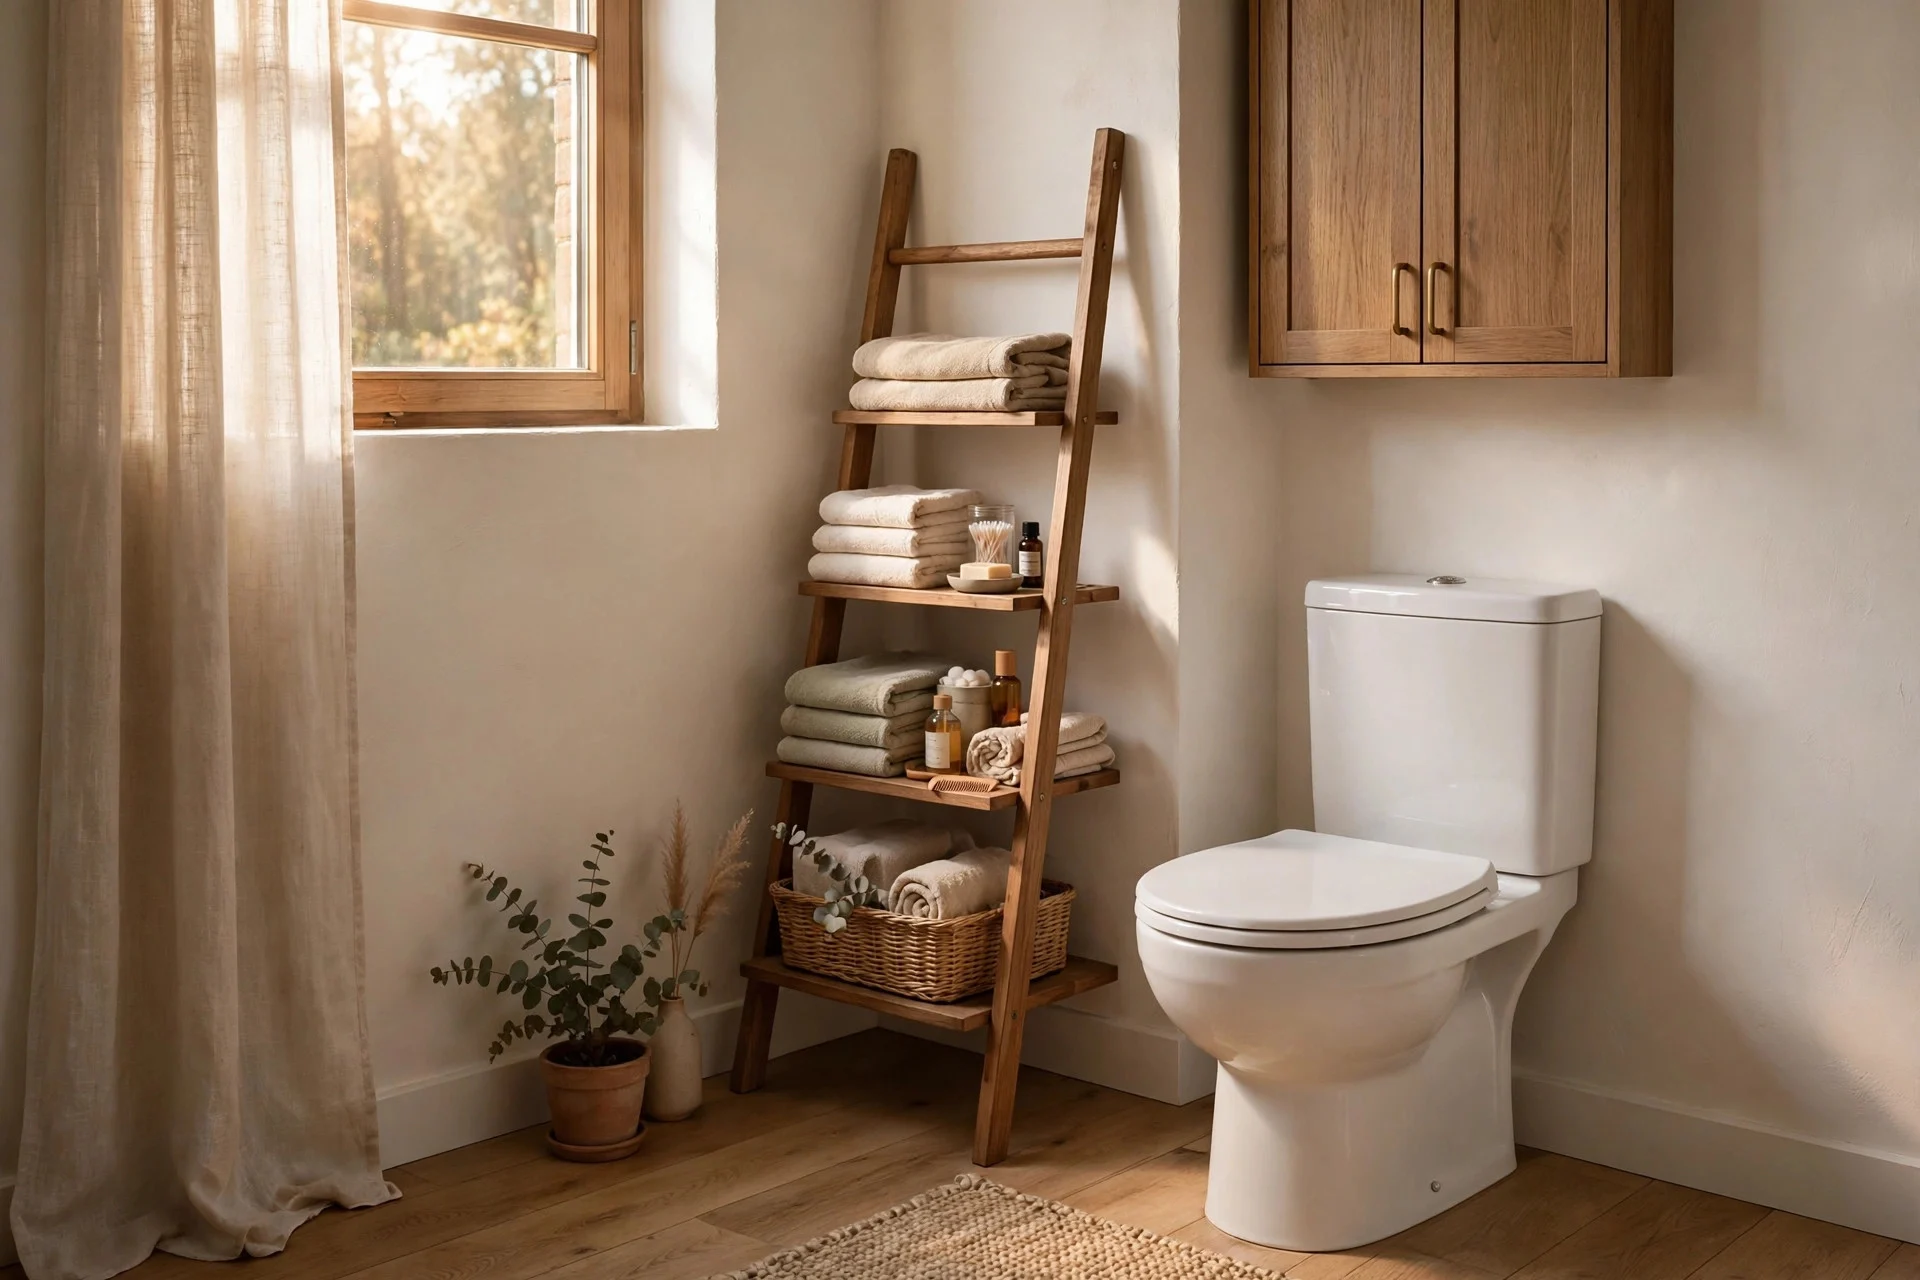
Idea 9: A Corner Ladder Shelf Plus an Over-Toilet Cabinet
A corner ladder shelf leans into an unused corner and holds towels, toiletries, and a plant on graduated shelves, while a slim cabinet above the toilet holds spare rolls, cleaning products, and first-aid items behind closed doors. Together they use two spots that usually sit empty. A clear zoning plan for the rest of the home helps here too, as in a one-room layout zoning guide, where each corner gets one job instead of collecting random items.
Cost: $40 to $120 for a ladder shelf and $60 to $180 for an over-toilet cabinet. Difficulty and time: easy, about 1 hour for both, including wall fixing for the cabinet. Tip: use baskets on the ladder shelves so small bottles stay grouped and the shelf still looks tidy. Watch out: fix the ladder shelf to the wall if children or pets use the house, and never store medicines where steam and heat can reach them.
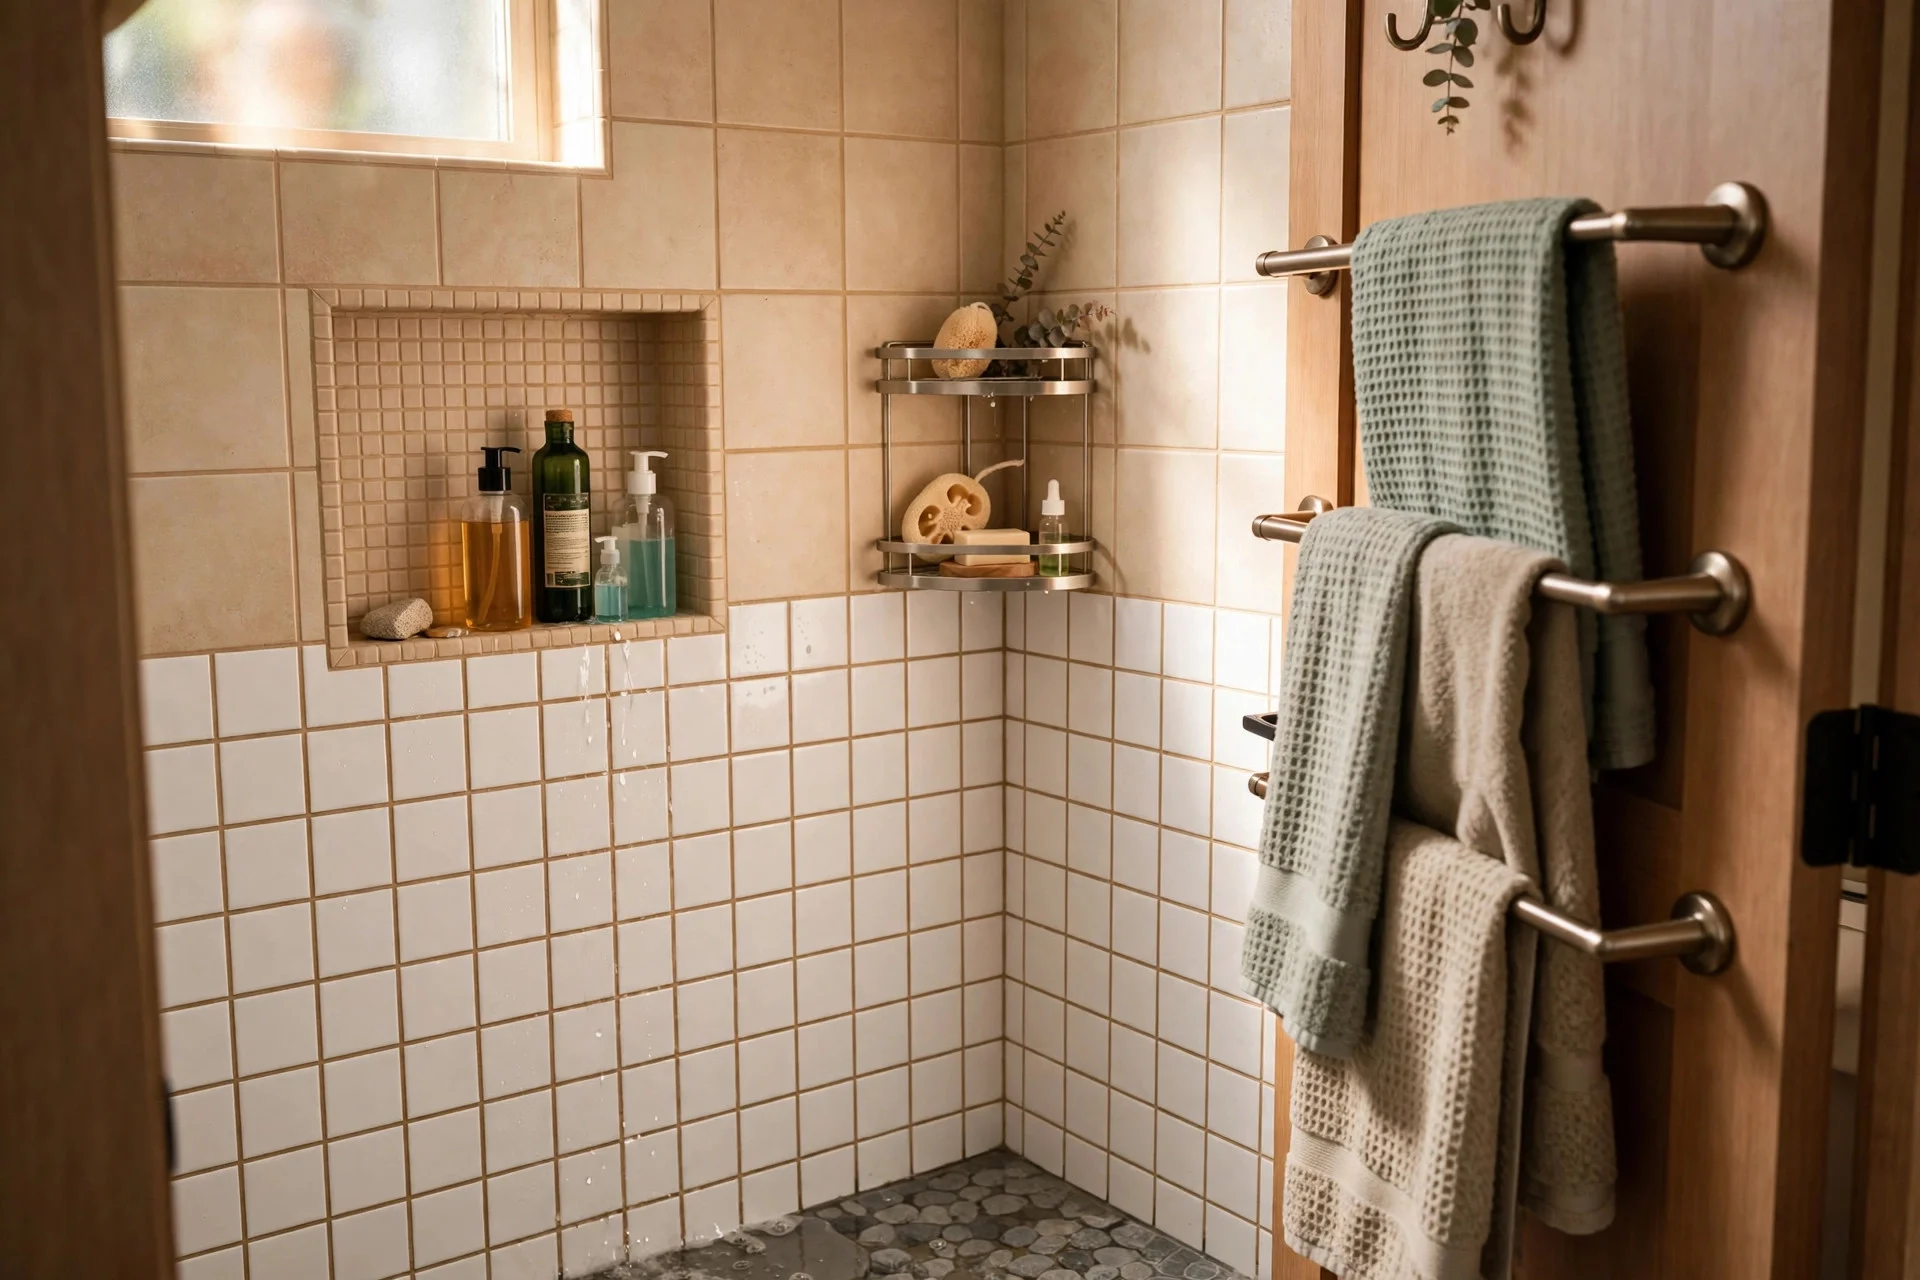
Idea 10: A Shower Niche, Corner Caddies, and Door-Back Towel Bars
Fit a recessed niche in the shower wall for shampoo and soap, add a tension-pole corner caddy for extra bottles, and hang towel bars on the back of the bathroom door. This trio spreads storage across three small spots instead of crowding one shelf, and each item dries faster with air around it.
Cost: $30 to $90 for a niche insert and caddy set, plus $15 to $40 for door-back bars. Difficulty and time: easy for caddies and bars, about 30 minutes; a tiled niche is a half-day job best done during a refit. Tip: choose caddies with drainage holes and wipe the niche dry once a week to stop soap scum building up. Watch out: suction caddies fail on textured tile, so use a tension pole or screw-fixed caddy on rough surfaces.
Zone 6: Stairs, Doors, and Dead Corners
Every tiny house has leftover strips: under the stairs, above a door, behind a door, and the top 30 cm of a wall. These last two ideas claim those strips.
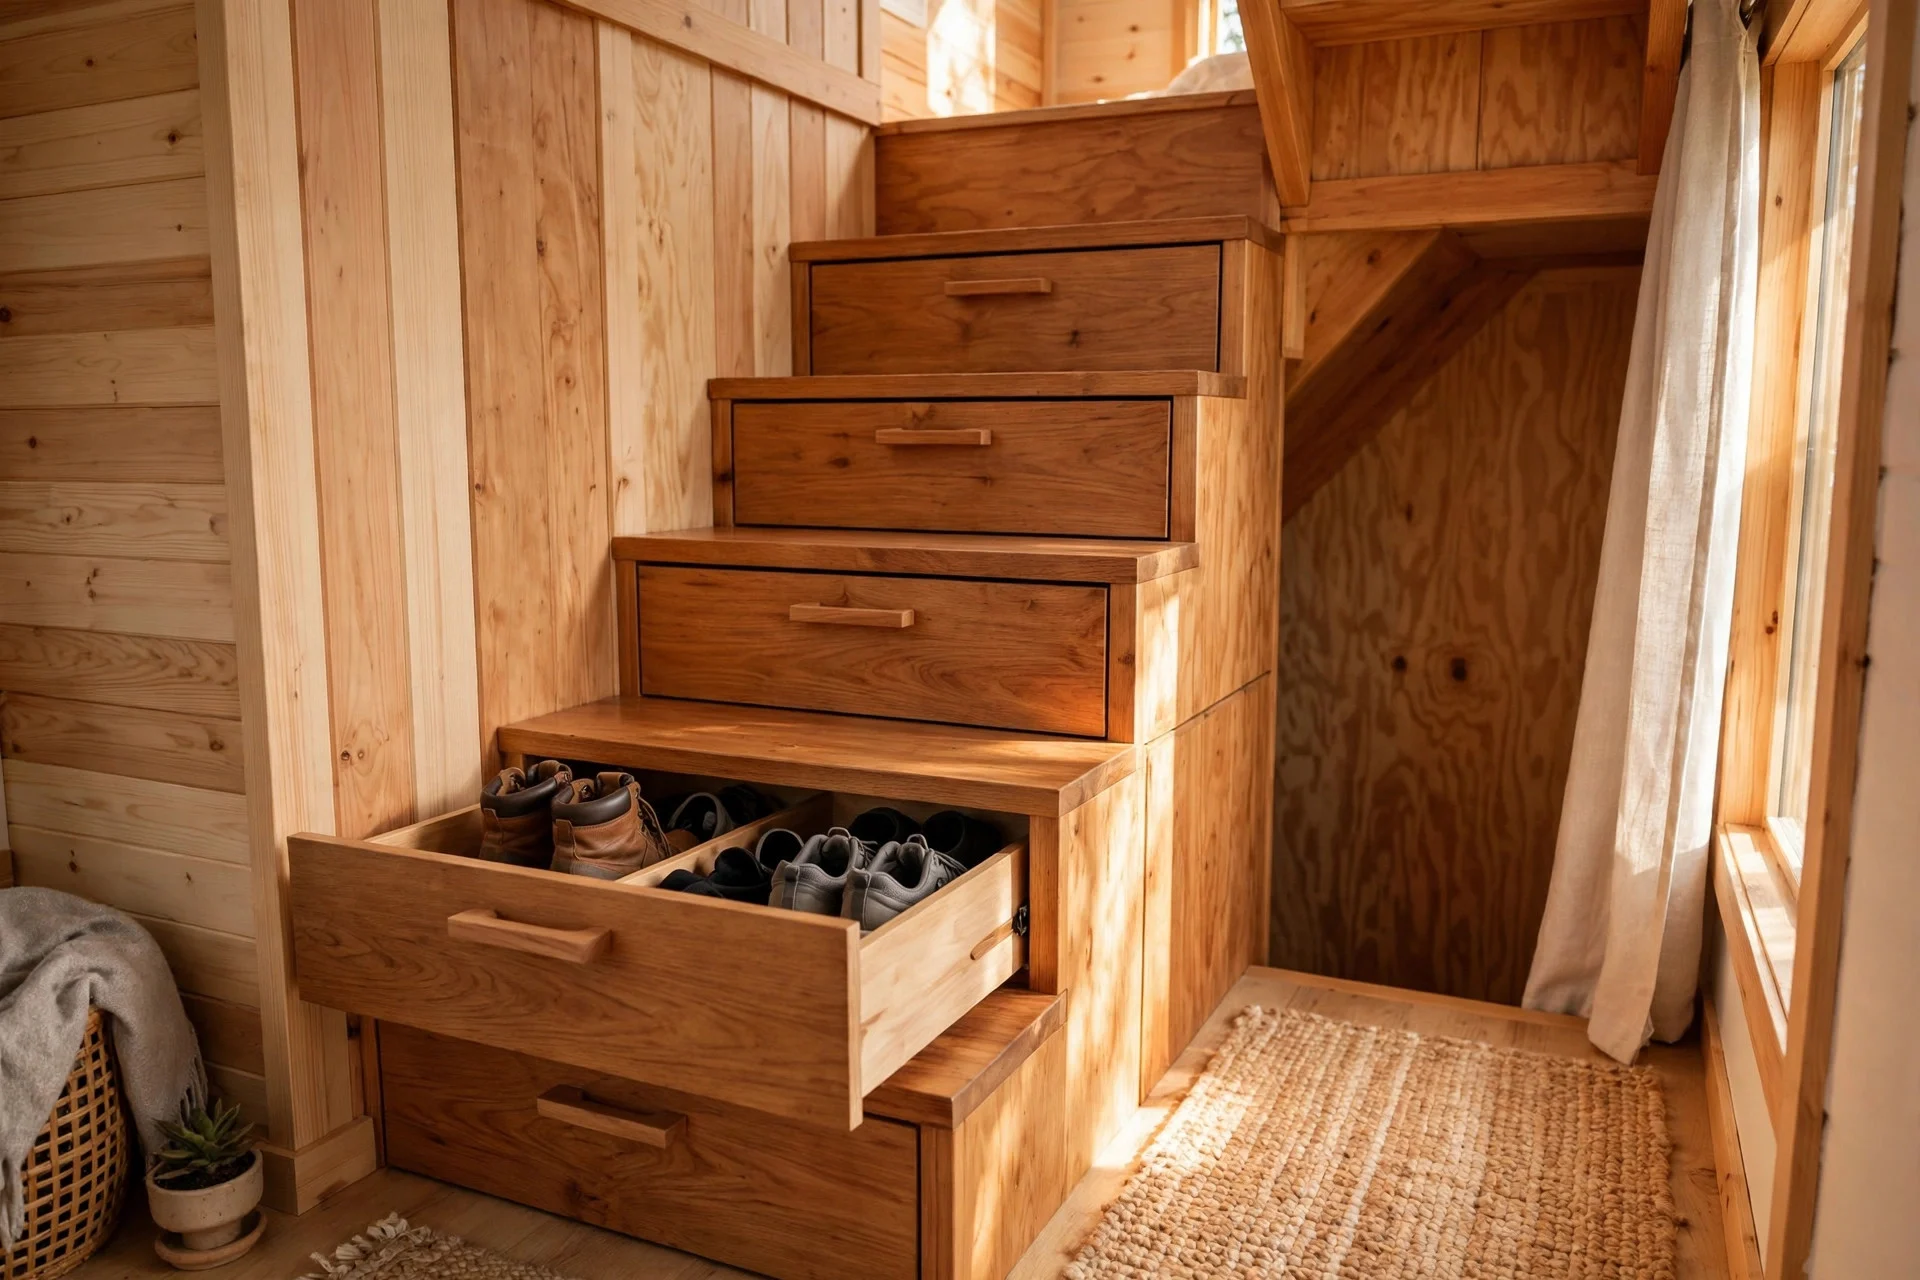
Idea 11: Drawers Built Into the Staircase
Turn each stair tread, or every second tread, into a pull-out drawer for shoes, tools, pet supplies, or pantry overflow. Deep drawers suit shoes and cleaning gear, while shallow ones suit cables and small tools. Stairs already take up floor space, so storage inside them costs nothing extra, and drawers stay hidden behind flush fronts.
Cost: $300 to $900 for a ready-made stair-drawer unit, or $600 to $2,000 for a carpenter-built staircase. Difficulty and time: advanced, one to two days, and it needs careful measuring so the steps stay safe and even. Tip: fit soft-close runners and label the drawer fronts inside, so you remember what lives in step three. Watch out: never change the height or depth of a step to fit a drawer; uneven steps cause trips, so the drawer must fit the step, not the other way round.
Idea 12: A High Perimeter Shelf and Door-Back Racks
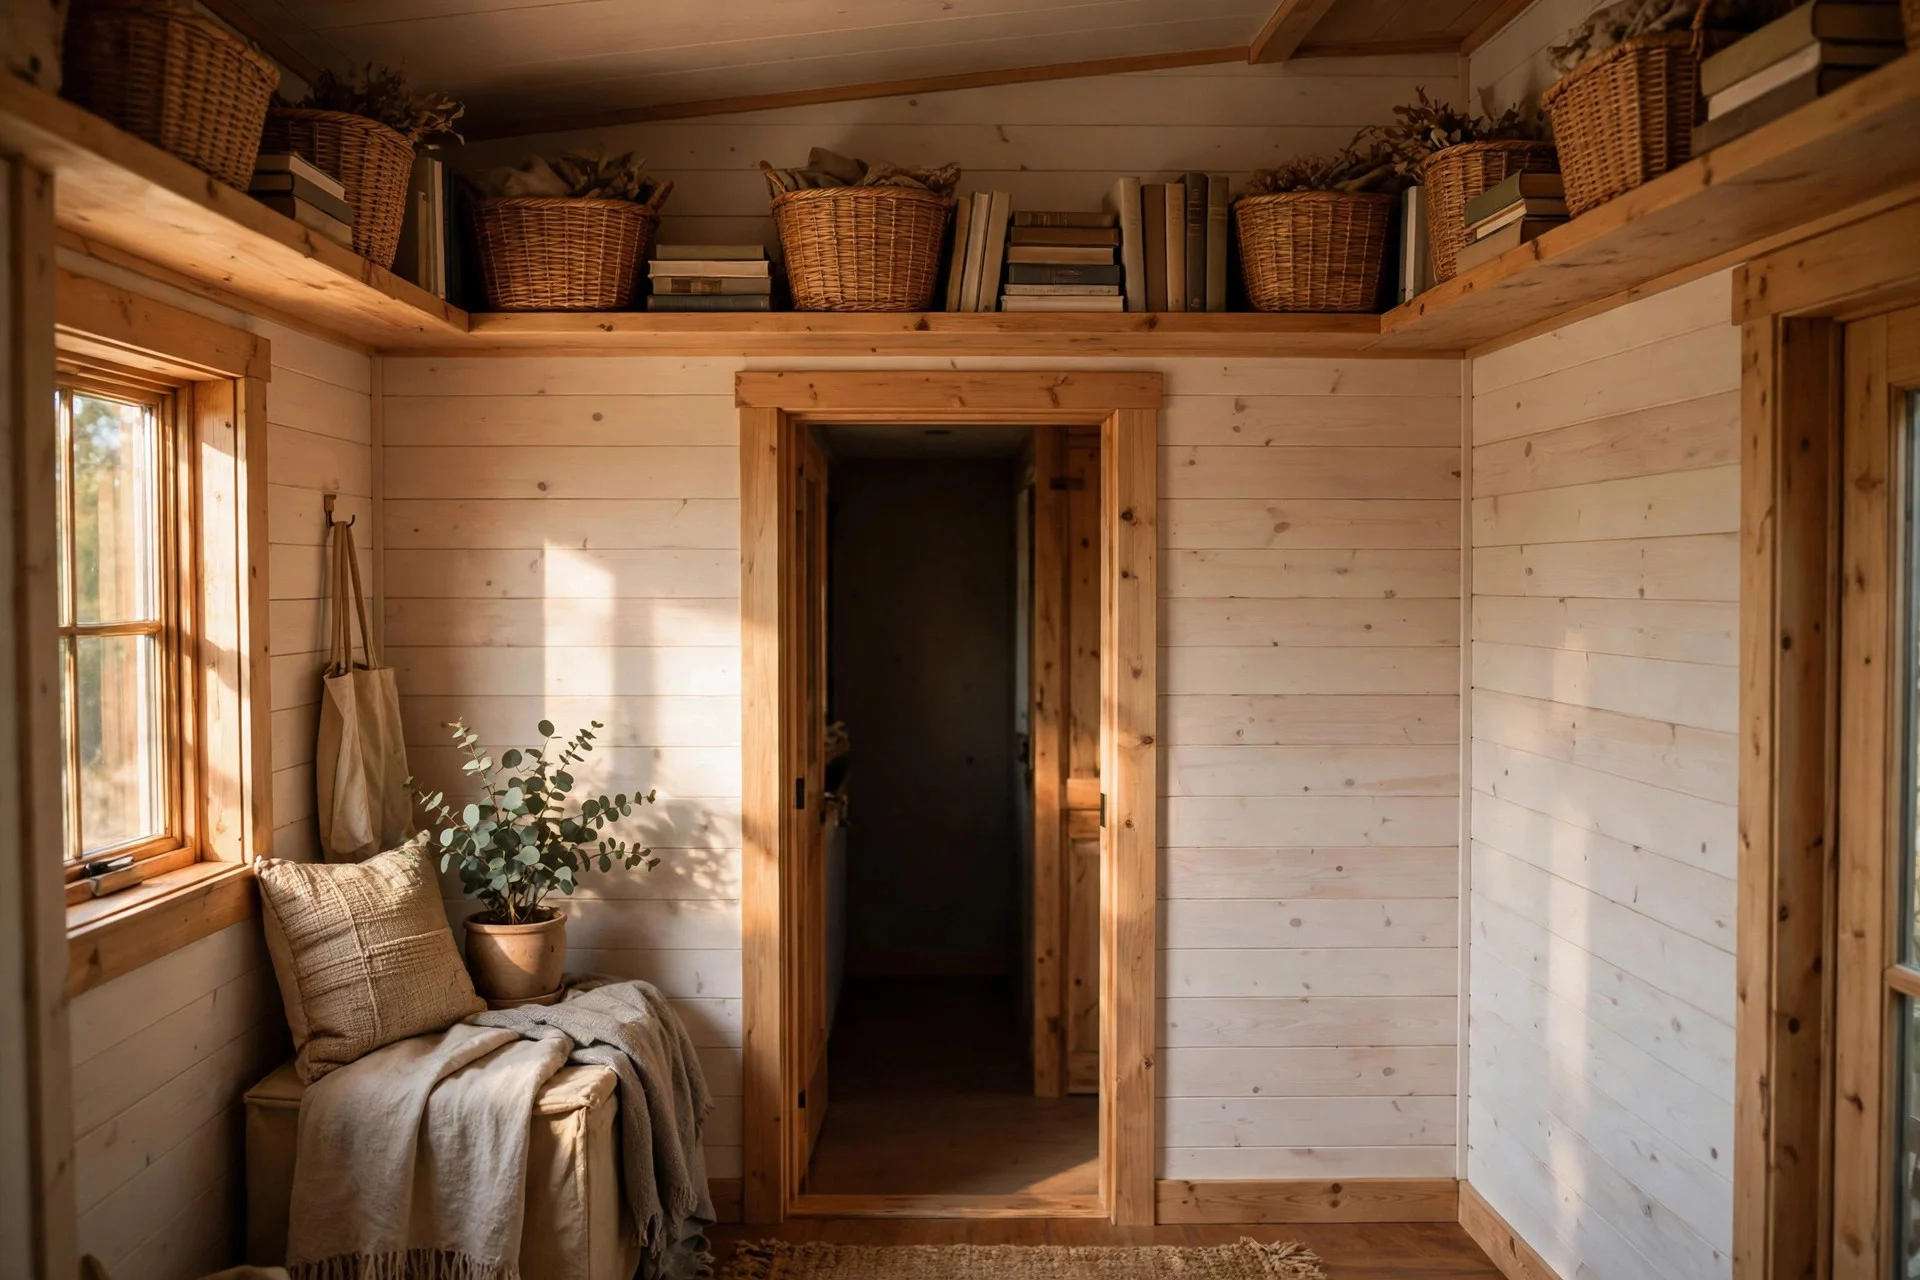
Run a single shelf around the top of a room, about 25 cm below the ceiling, for books, baskets, and items you use weekly rather than daily, and add slim racks to the backs of doors for cleaning supplies, spices, or craft gear. Folding pieces pair well with this approach, and folding furniture for small apartments shows how pieces that fold away free the same walls for storage. The top of a wall is usually empty, and door backs are space you open and close anyway.
Cost: $50 to $200 for a perimeter shelf run, plus $15 to $45 per door rack. Difficulty and time: easy to moderate, about 2 to 4 hours for a room, including brackets into studs. Tip: use matching baskets on the high shelf so the run looks calm from below, and keep a small step stool in one fixed spot. Watch out: keep heavy items low; the high shelf is for light baskets only, and never block a fire exit or a door that must open fully.
Frequently Asked Questions
How much wall storage is too much in a tiny house?
Leave at least one large stretch of wall mostly empty in each room. If every wall is covered floor to ceiling, the room feels smaller even though it holds more. Add one zone at a time and live with it for a week before adding more.
What depth should tiny house wall storage be?
Most wall storage works best at 15 to 35 cm deep. Entry and bathroom storage sits at the shallow end, living-room cabinets at the deeper end. Anything deeper than 40 cm starts to act like a cupboard jutting into the room, and you lose the walkway you were trying to protect.
Can I fix heavy shelves to any tiny house wall?
Fix heavy loads into studs, never into plasterboard alone. Use a stud finder, choose screws and brackets rated above the load you expect, and spread weight across two or more studs. If you rent or your walls are thin panels, use freestanding slim units and door-back racks instead of wall fixings.
How do I keep wall storage from looking cluttered?
Group small items in baskets, keep one colour running through them, and leave gaps between groups. Put daily items at eye level, weekly items up high, and spares behind doors. A five-minute reset each evening beats a big tidy-up once a month.
Your Tiny House Storage Checklist
Walk through your home with this list and tick off each zone as you finish it. Measure the wall, check for studs and pipes, and fix one zone before you buy for the next. Keep daily items at hand height, weekly items up high, and spares behind doors.
- Entry: peg panel fixed, shoe cabinet in place, one hook left empty.
- Kitchen: daily tools on a rail, fold-down table brackets into studs.
- Living wall: one organised wall, recessed niches checked for wiring.
- Loft: knee-wall drawers labelled, ladder landing kept clear.
- Bathroom: corner shelf fixed, shower niche draining, door bars fitted.
- Stairs and doors: stair drawers closing flush, high shelf holding light baskets only.
Done in that order, your walls start doing real work, while your floors stay clear enough to move, cook, and rest.