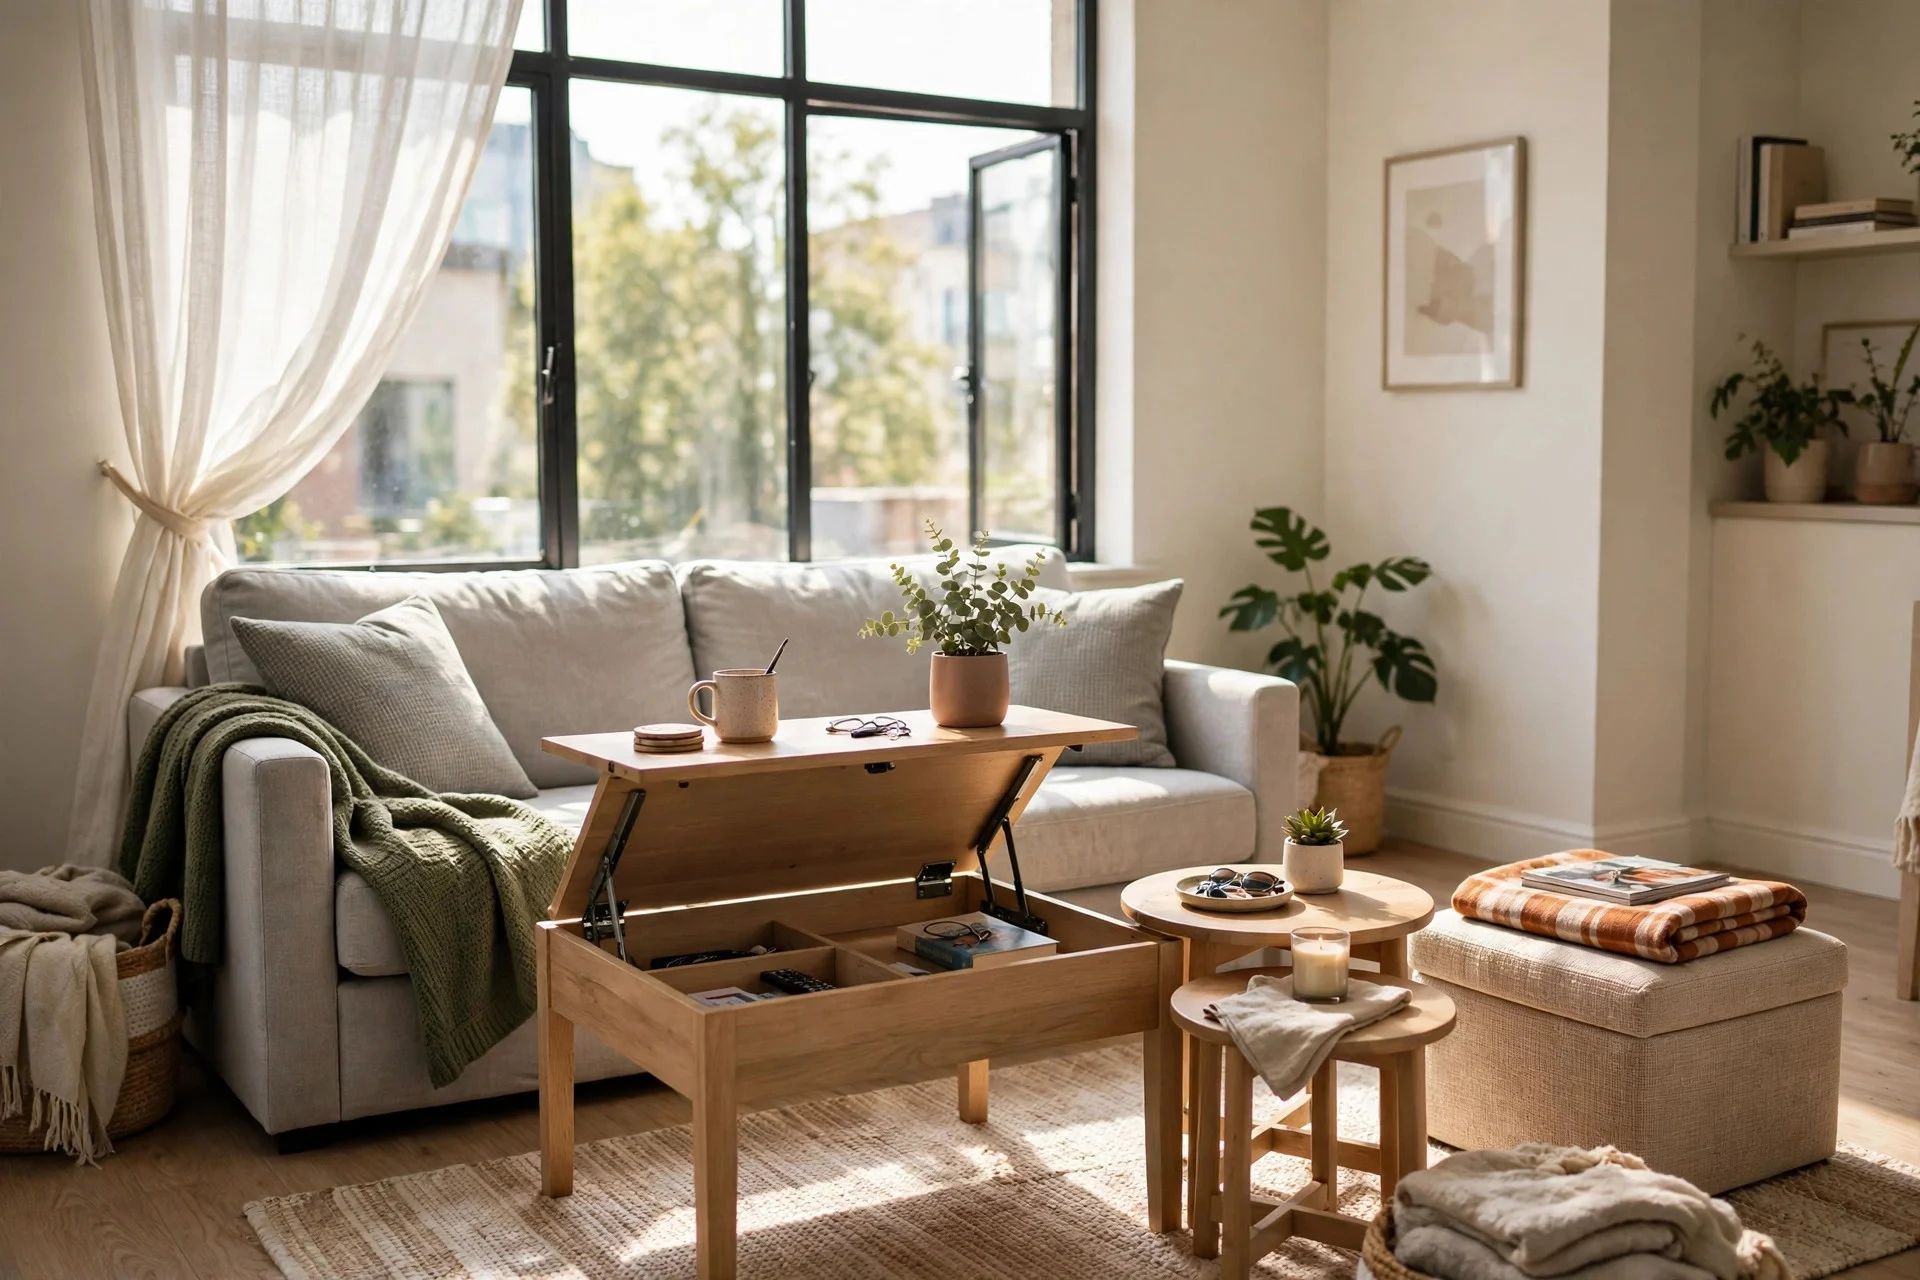
How to Add Storage in a Small Apartment Without Drilling
You can add a surprising amount of storage to a small apartment without putting a single hole in the wall. Adhesive hooks, tension rods, over-door racks, and freestanding pieces do most of the heavy lifting, and none of them risk your deposit. The trick is to match each fix to the spot where clutter actually piles up, then load it within its weight limit. Follow the twelve steps below in order, and you will end up with a place that feels calmer without a single drill in sight.
If you rent, this kind of damage-free approach pairs well with other renter-friendly updates. These rental apartment decorating ideas show how to refresh a space you do not own, and many of the same principles apply here: work with the walls you have, and choose pieces you can take with you when you move.
What You Will Need
Most of the steps below need only a few basics: adhesive strips and hooks rated for the weight you plan to hang, a tape measure, a level app on your phone, rubbing alcohol and a cloth for cleaning surfaces before you stick anything down, and a pencil for marking positions. Expect to spend roughly $60 to $150 in total if you buy several of these fixes at once, though you can start with just hooks and one over-door rack for under $30. Read the weight rating on every package before you buy, because that number decides what each fix can safely hold.
Step 1: Start With Adhesive Hooks on Walls and Doors
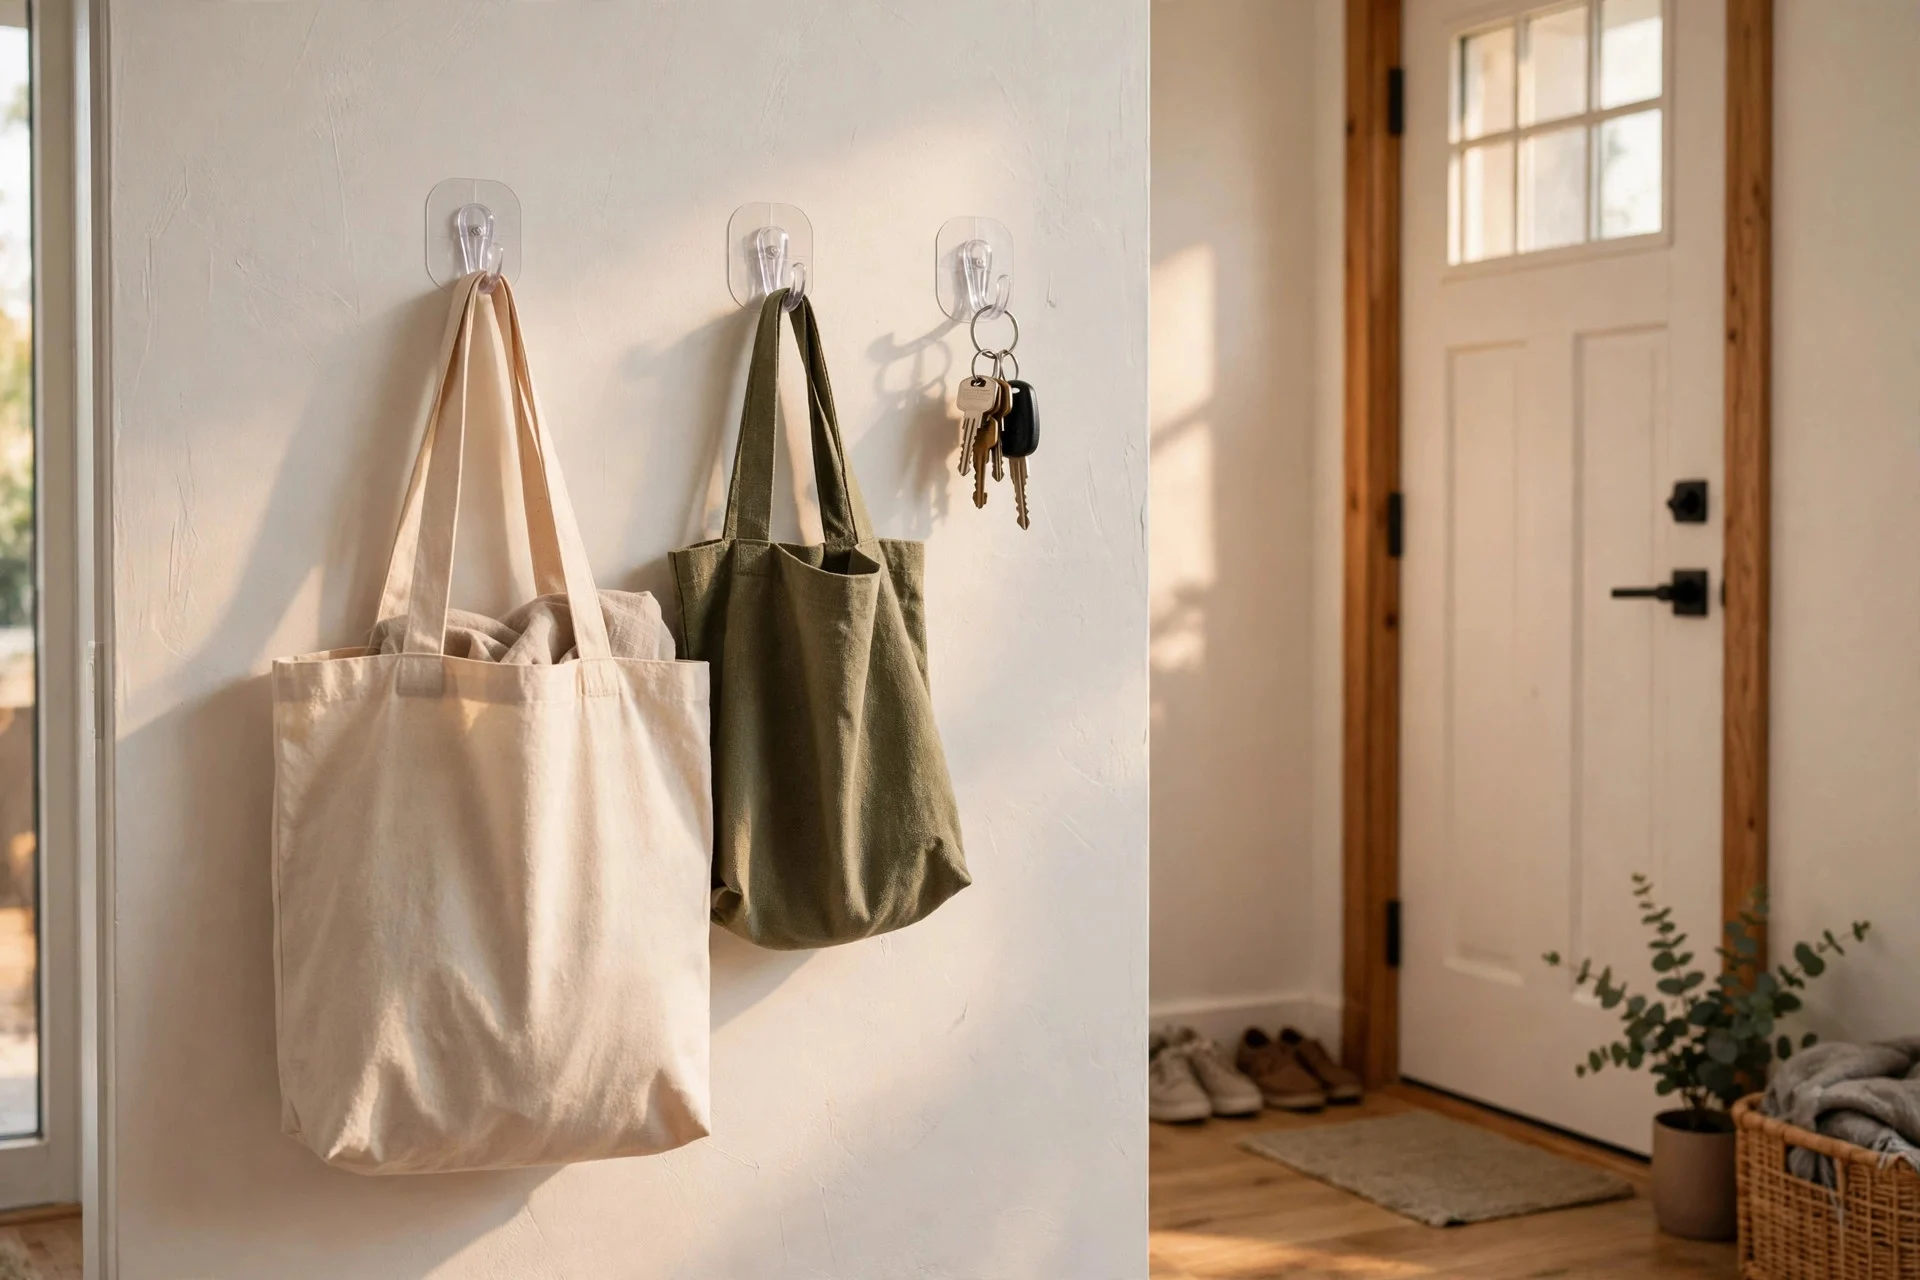
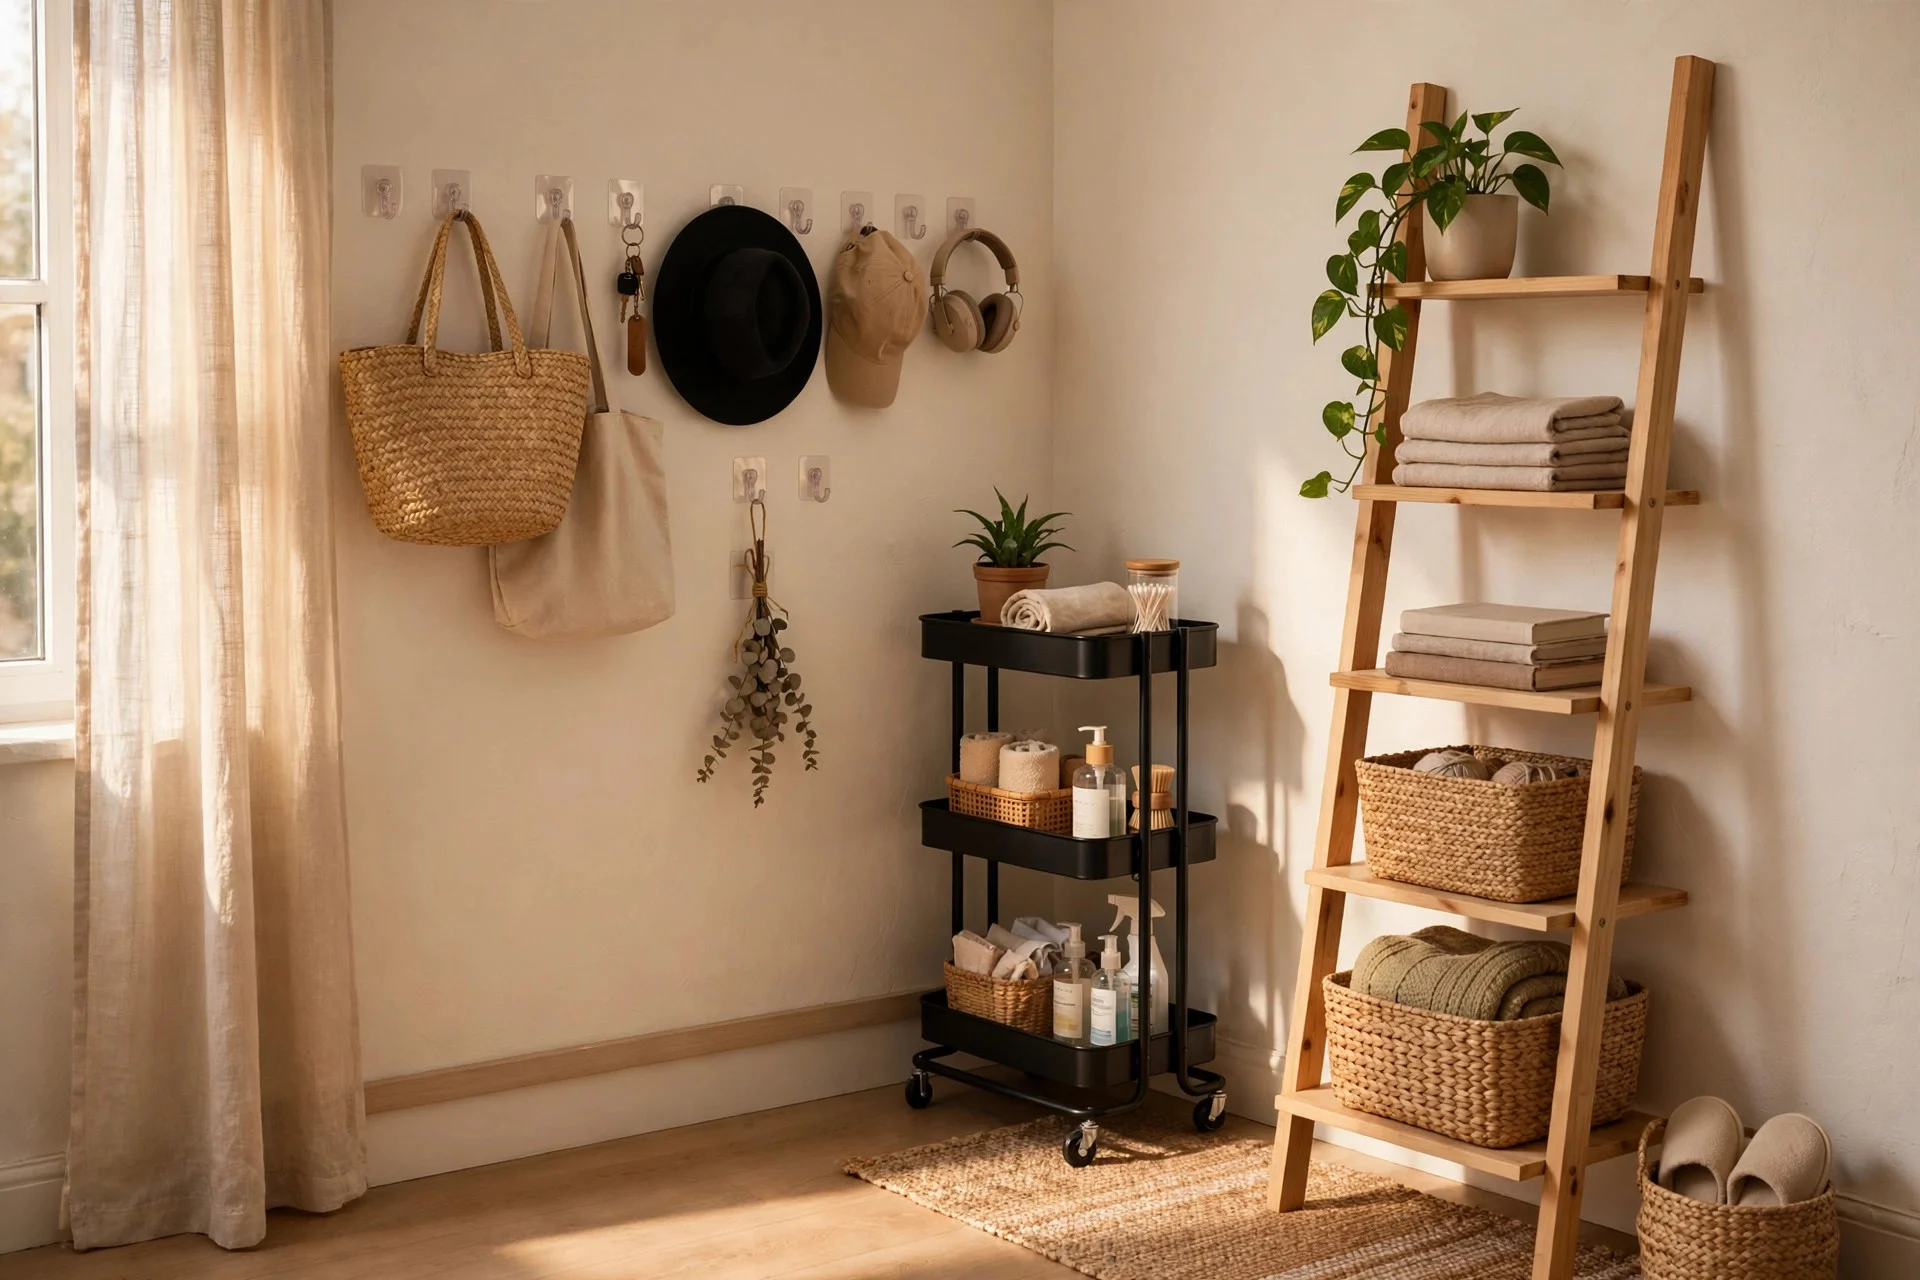
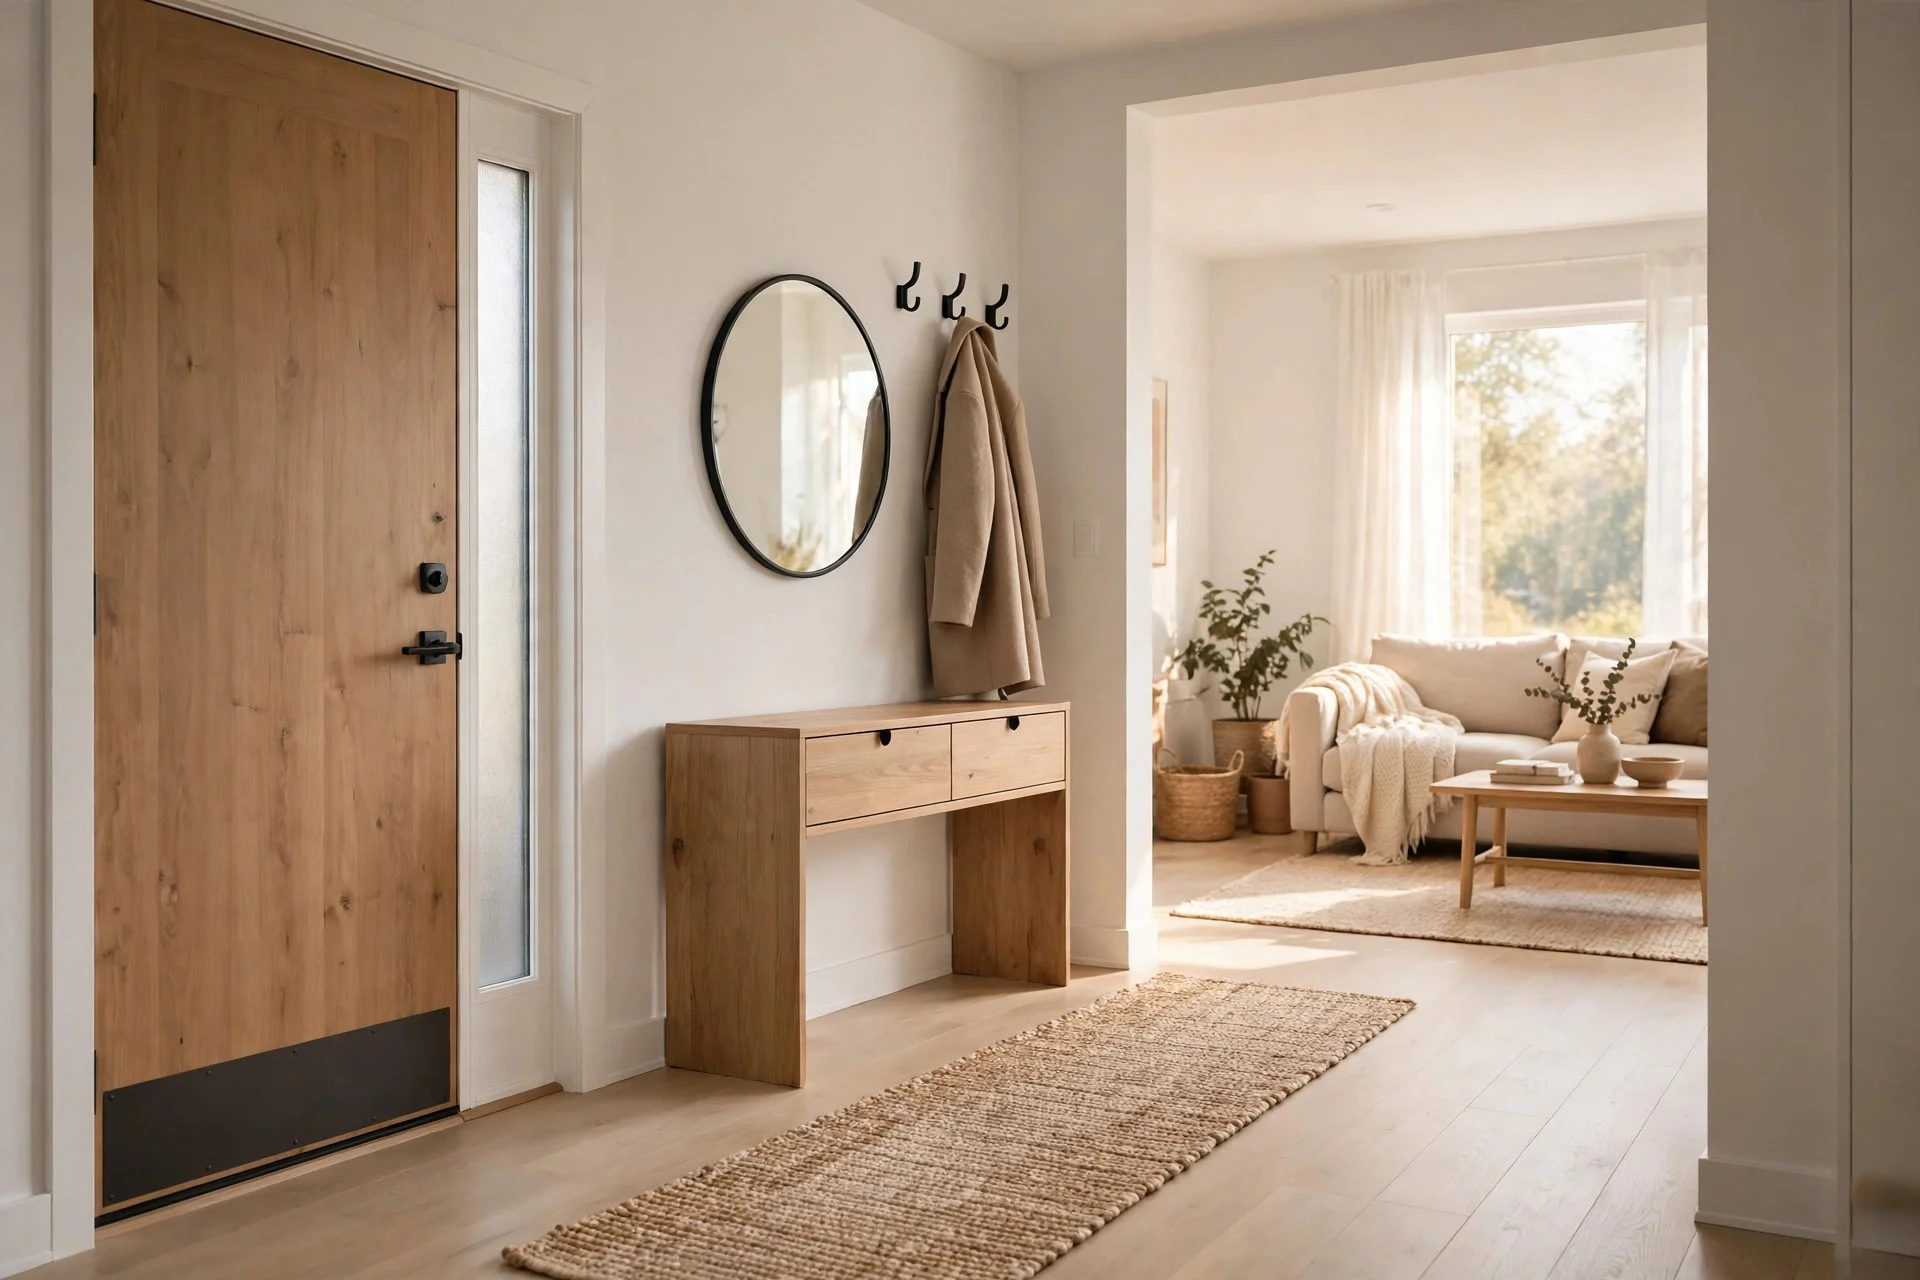
Adhesive hooks are the simplest place to start, and they solve the most common small-apartment problem: bags, keys, and jackets with nowhere to go. A strip of hooks inside the front door gives every grab-and-go item a home, which keeps counters and chairs clear. Small hooks cost about $8 to $15 for a multi-pack, and hanging them takes ten minutes. Difficulty is easy. Tip: wipe the surface with rubbing alcohol and wait for it to dry fully before pressing the strip on, then wait the full hour the package recommends before hanging anything. Watch out: painted walls in older rentals can peel when strips are removed, so test one hook in a hidden spot first and pull it off slowly at the angle the instructions show.
Step 2: Hang an Over-the-Door Rack in Every High-Traffic Spot
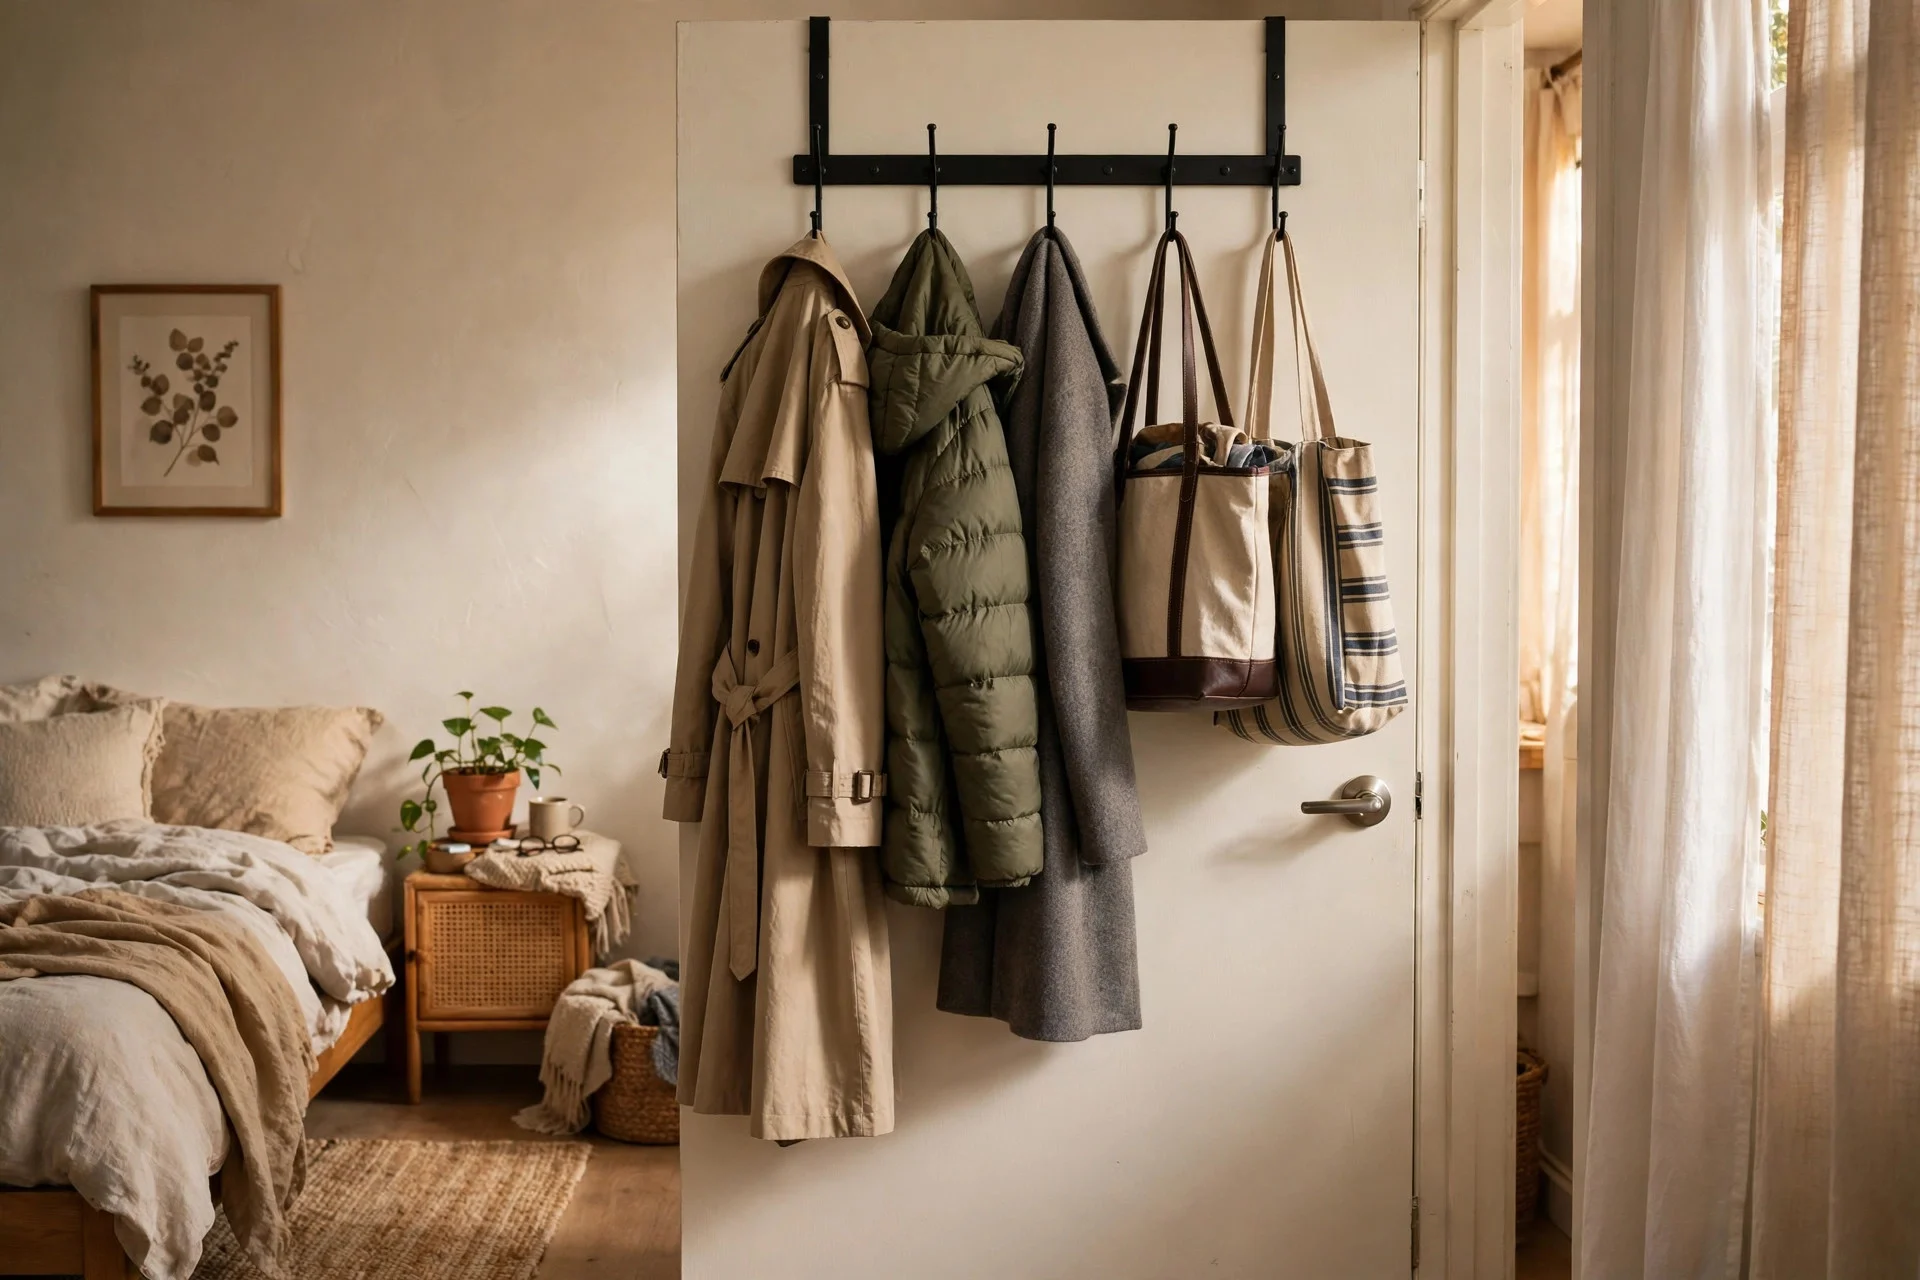
An over-the-door rack turns the back of a door into a full row of storage without any tools at all. It works because doors are dead space in most apartments, yet they sit right where you need things: coats by the front door, towels in the bathroom, robes in the bedroom. A sturdy rack costs $15 to $30, and setup takes under five minutes. Difficulty is easy. Tip: add small felt pads where the metal hooks meet the door to stop rattling and scuffs. Watch out: a rack loaded with heavy winter coats can stop a door from closing cleanly, so check the fit and keep the heaviest items near the hinge side.
Step 3: Fit Tension Rods Inside Cabinets and Under Sinks
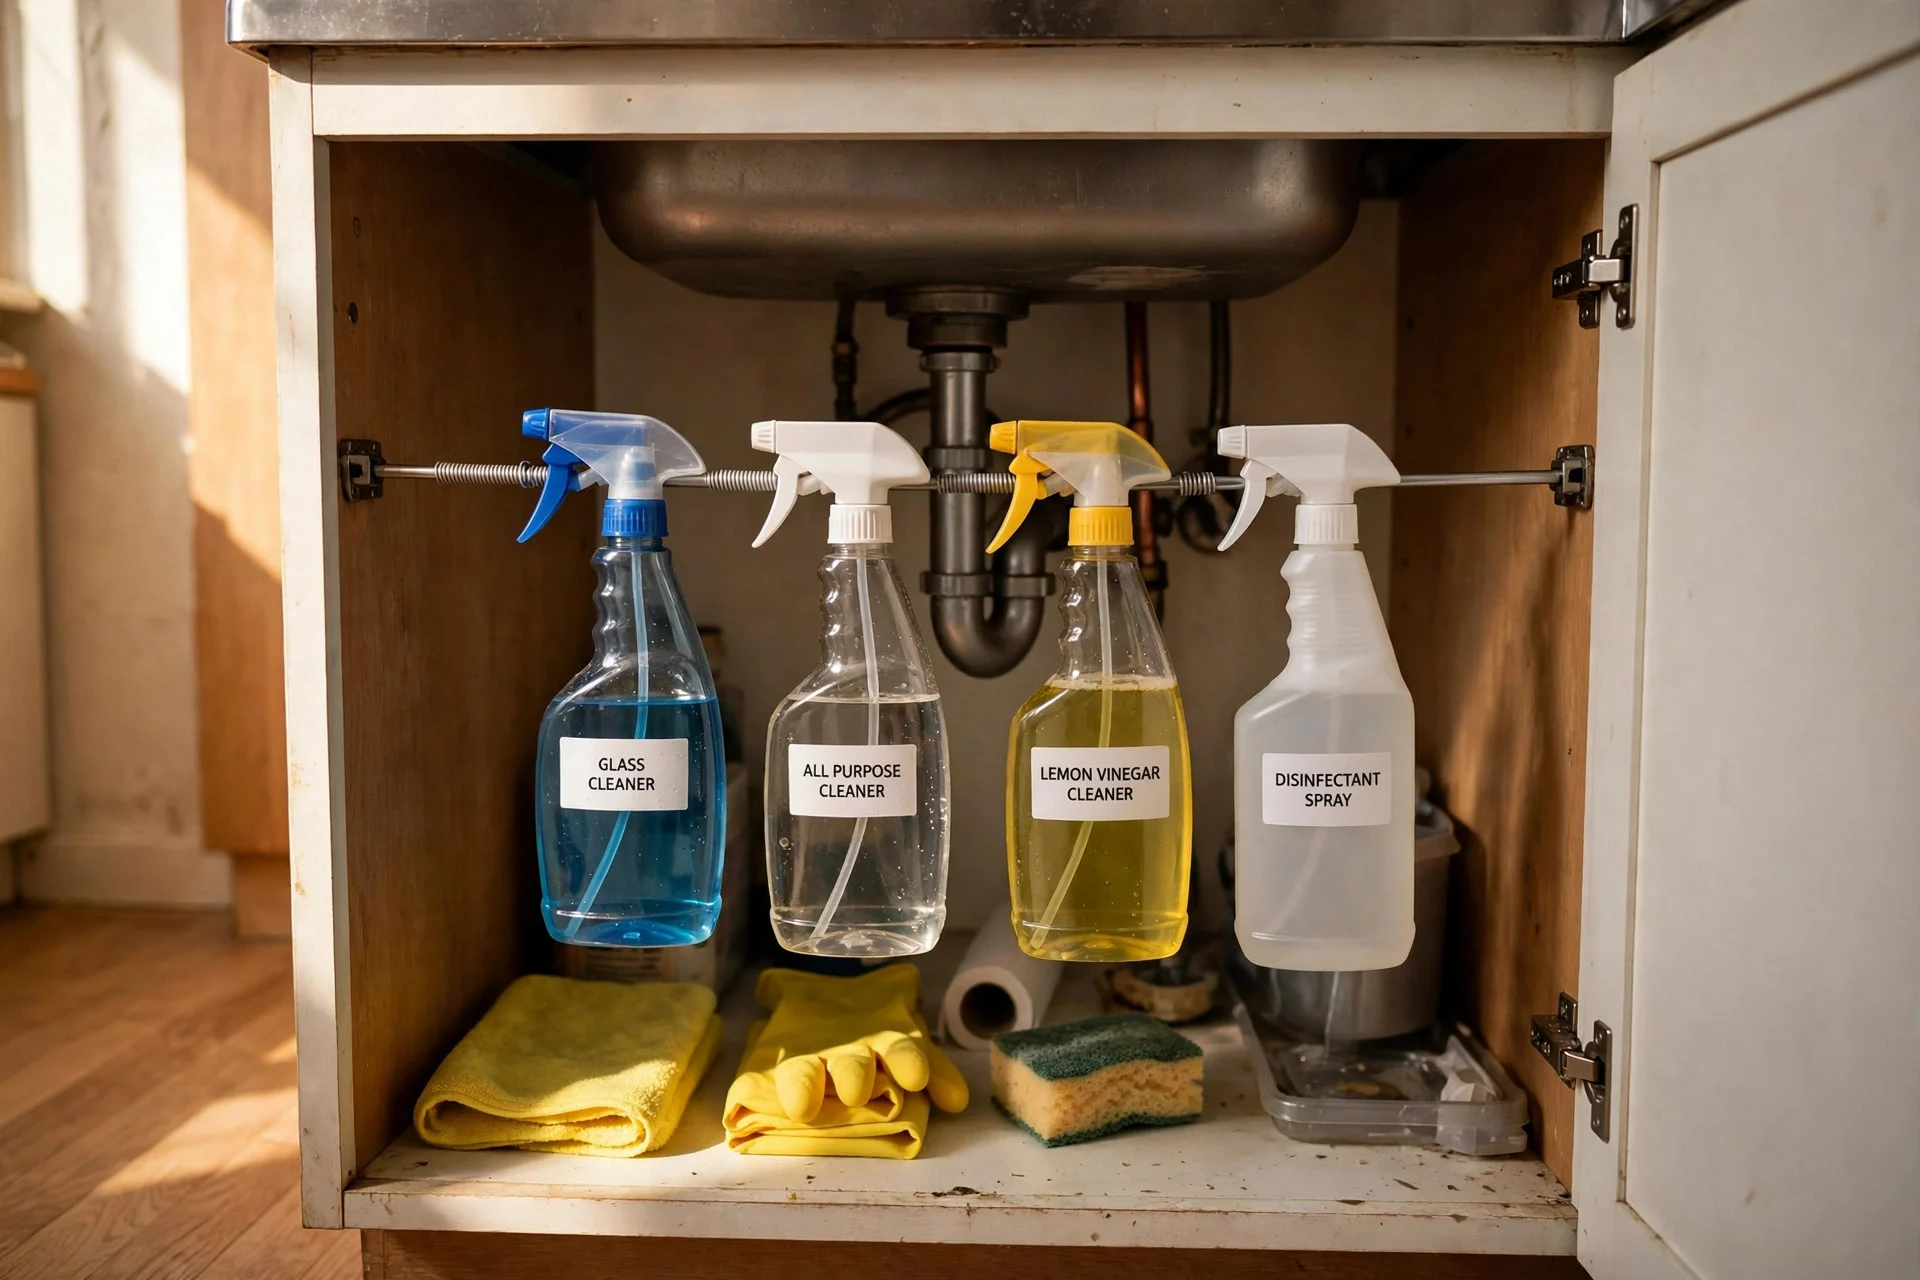
A tension rod wedged across a cabinet creates an instant extra rail for spray bottles, cleaning cloths, or small hanging baskets. It works because it uses the empty vertical space under a sink that shelves usually waste. Rods cost $5 to $12 each, and fitting one takes about five minutes. Difficulty is easy. Tip: measure the inside width at the exact height you plan to use, since cabinet walls often taper slightly. Watch out: tension rods can slip on smooth or damp surfaces, so tighten firmly and check them again after a day, especially under a sink where pipes can knock them loose.
Step 4: Stack Bins and Shelf Risers Inside Your Cabinets
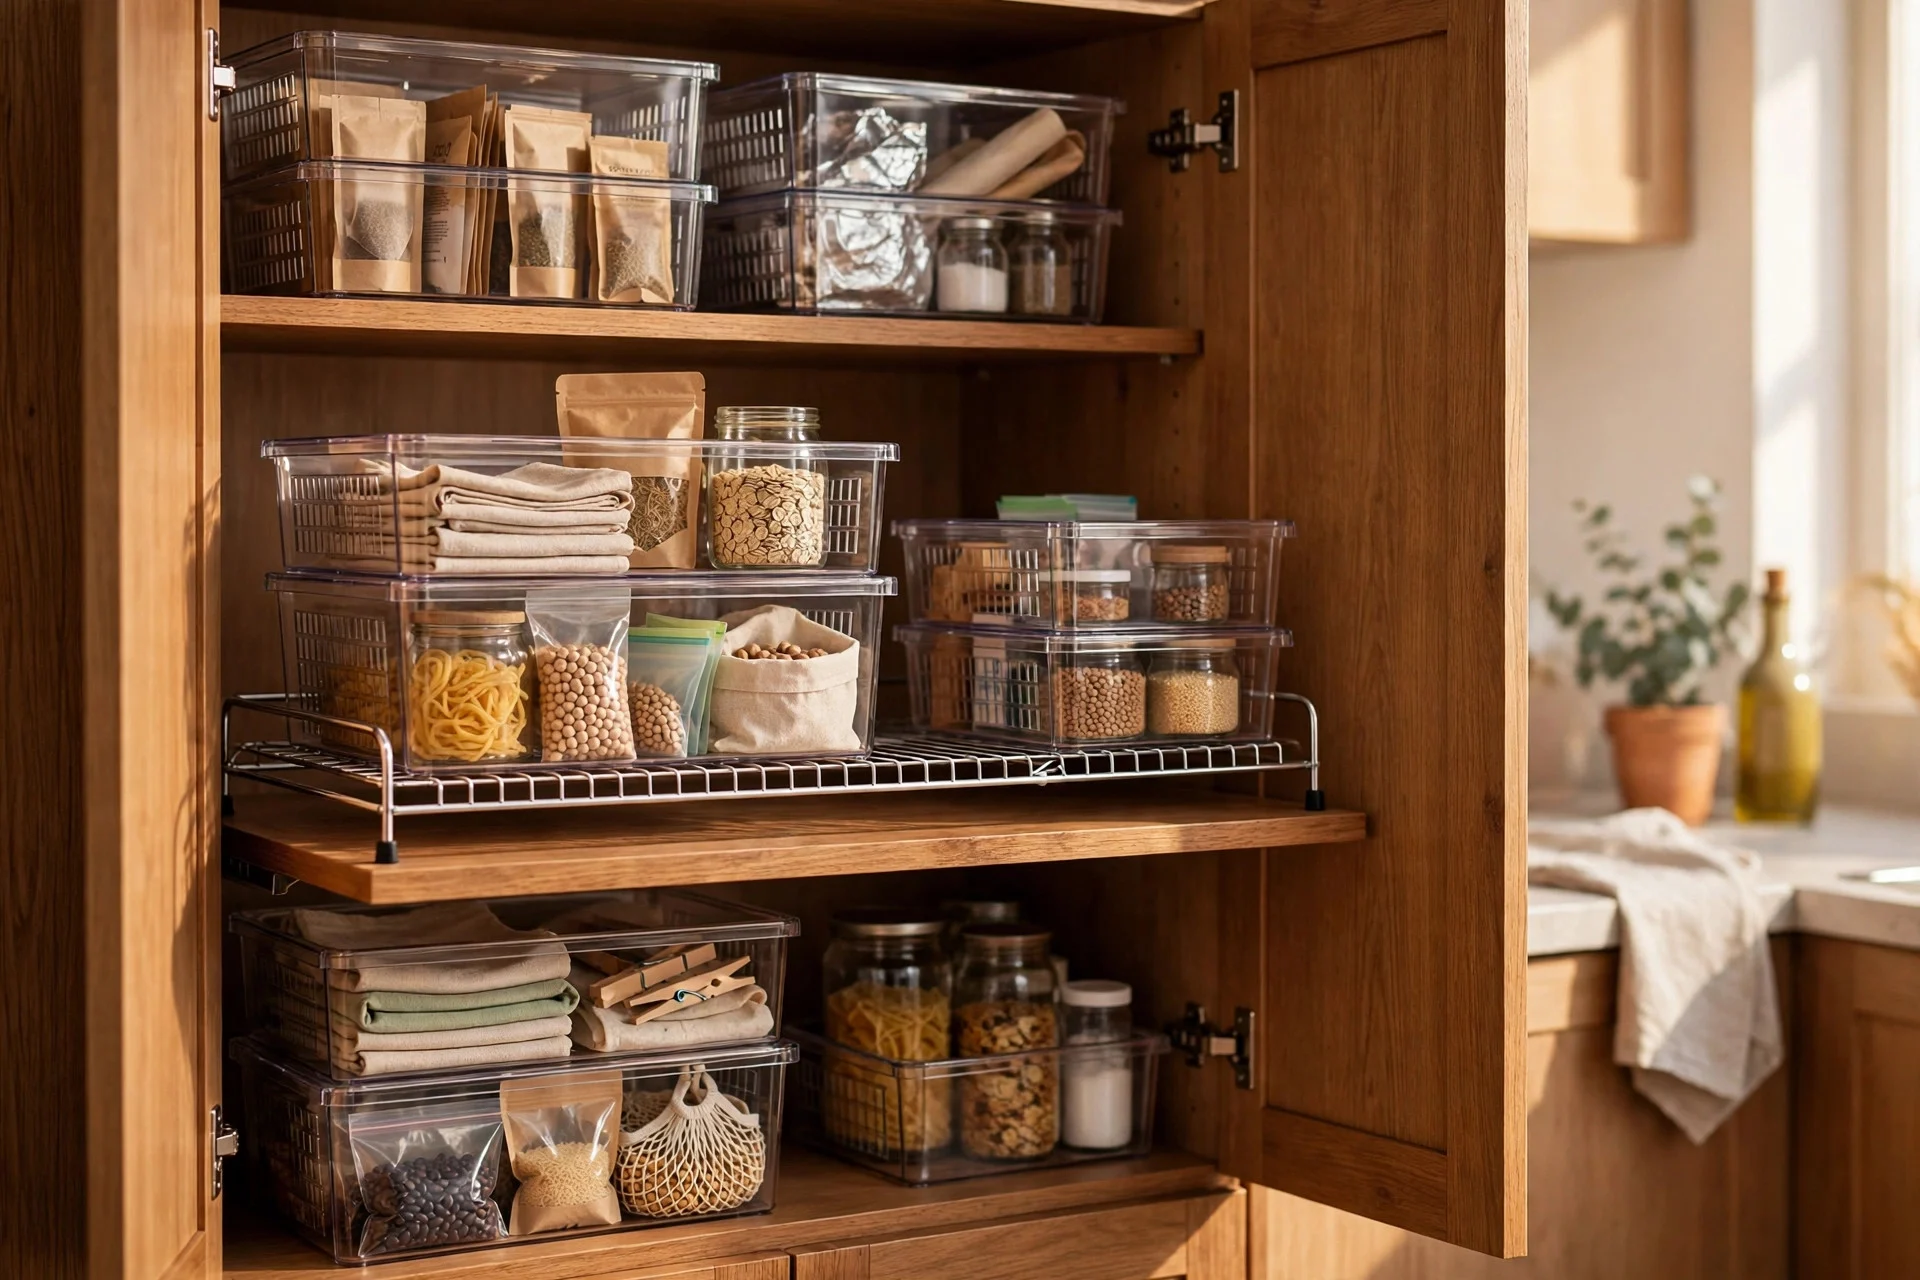
Stackable bins and shelf risers double the usable space inside a cabinet by splitting one tall, messy gap into two or three tidy levels. This works because most cabinets are far taller than the items inside them, so food, dishes, and supplies end up in one sliding pile. A set of bins or risers costs $12 to $25, and sorting one cabinet takes twenty to thirty minutes. Difficulty is easy. Tip: label the front of each bin so you reach for the right one without pulling everything out. Watch out: measure the cabinet height and door opening first, since a riser that is too tall will stop the door from shutting.
Step 5: Slide a Slim Rolling Cart Into Narrow Gaps
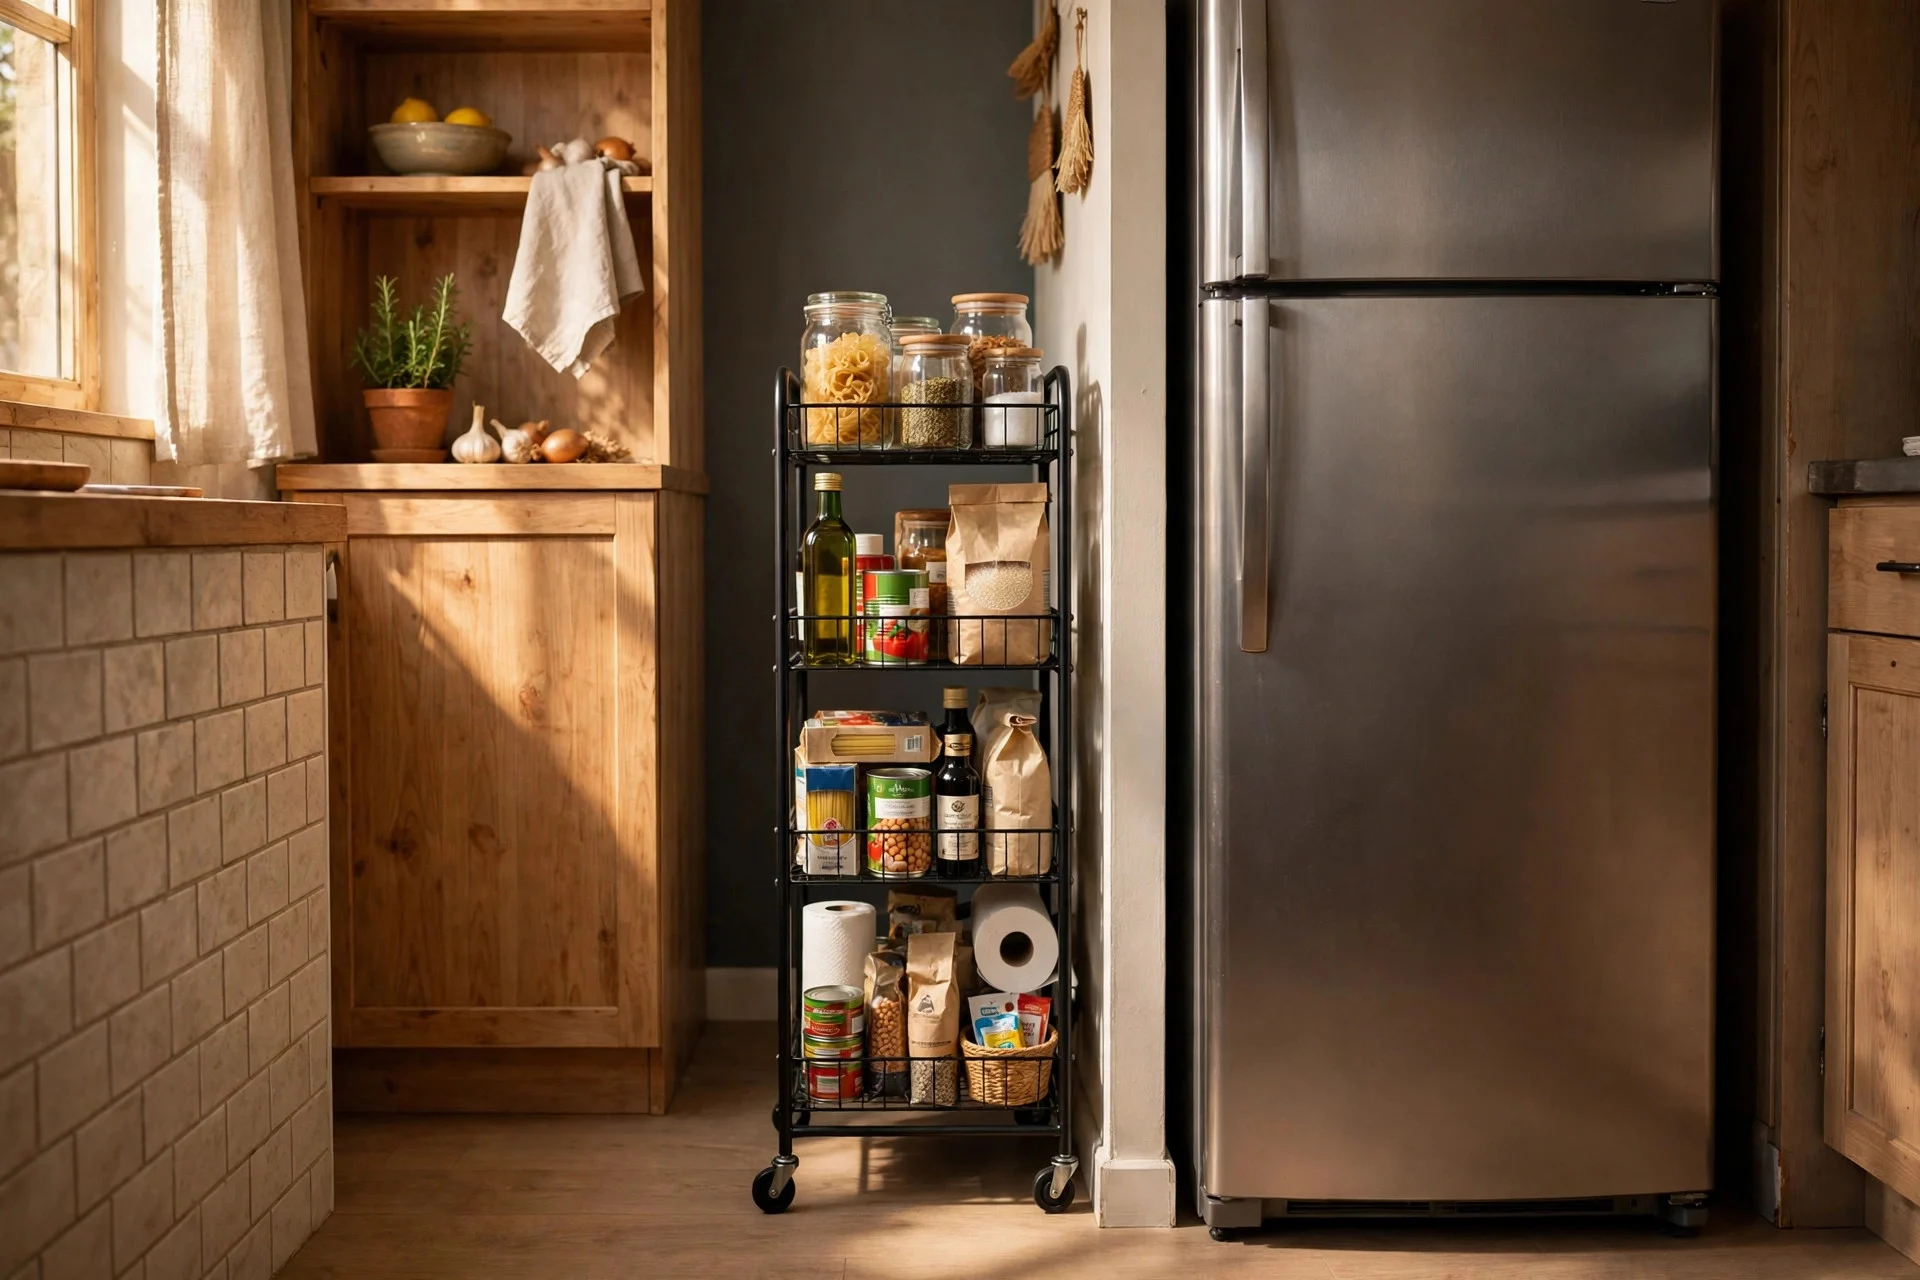
A slim rolling cart fits into the awkward gap beside the fridge, between the washer and the wall, or next to a desk, and rolls out when you need it. It works because those gaps are usually wasted, yet they are exactly the right width for cans, cleaning supplies, or toiletries. A three- or four-tier cart costs $20 to $35, and assembly takes fifteen to twenty minutes. Difficulty is easy to moderate. Tip: keep the heaviest items on the bottom shelf so the cart stays stable when you pull it out. Watch out: measure the gap twice, including any skirting boards, since a cart that is even a centimetre too wide will not slide in.
Step 6: Mount No-Drill Floating Shelves With Adhesive Brackets
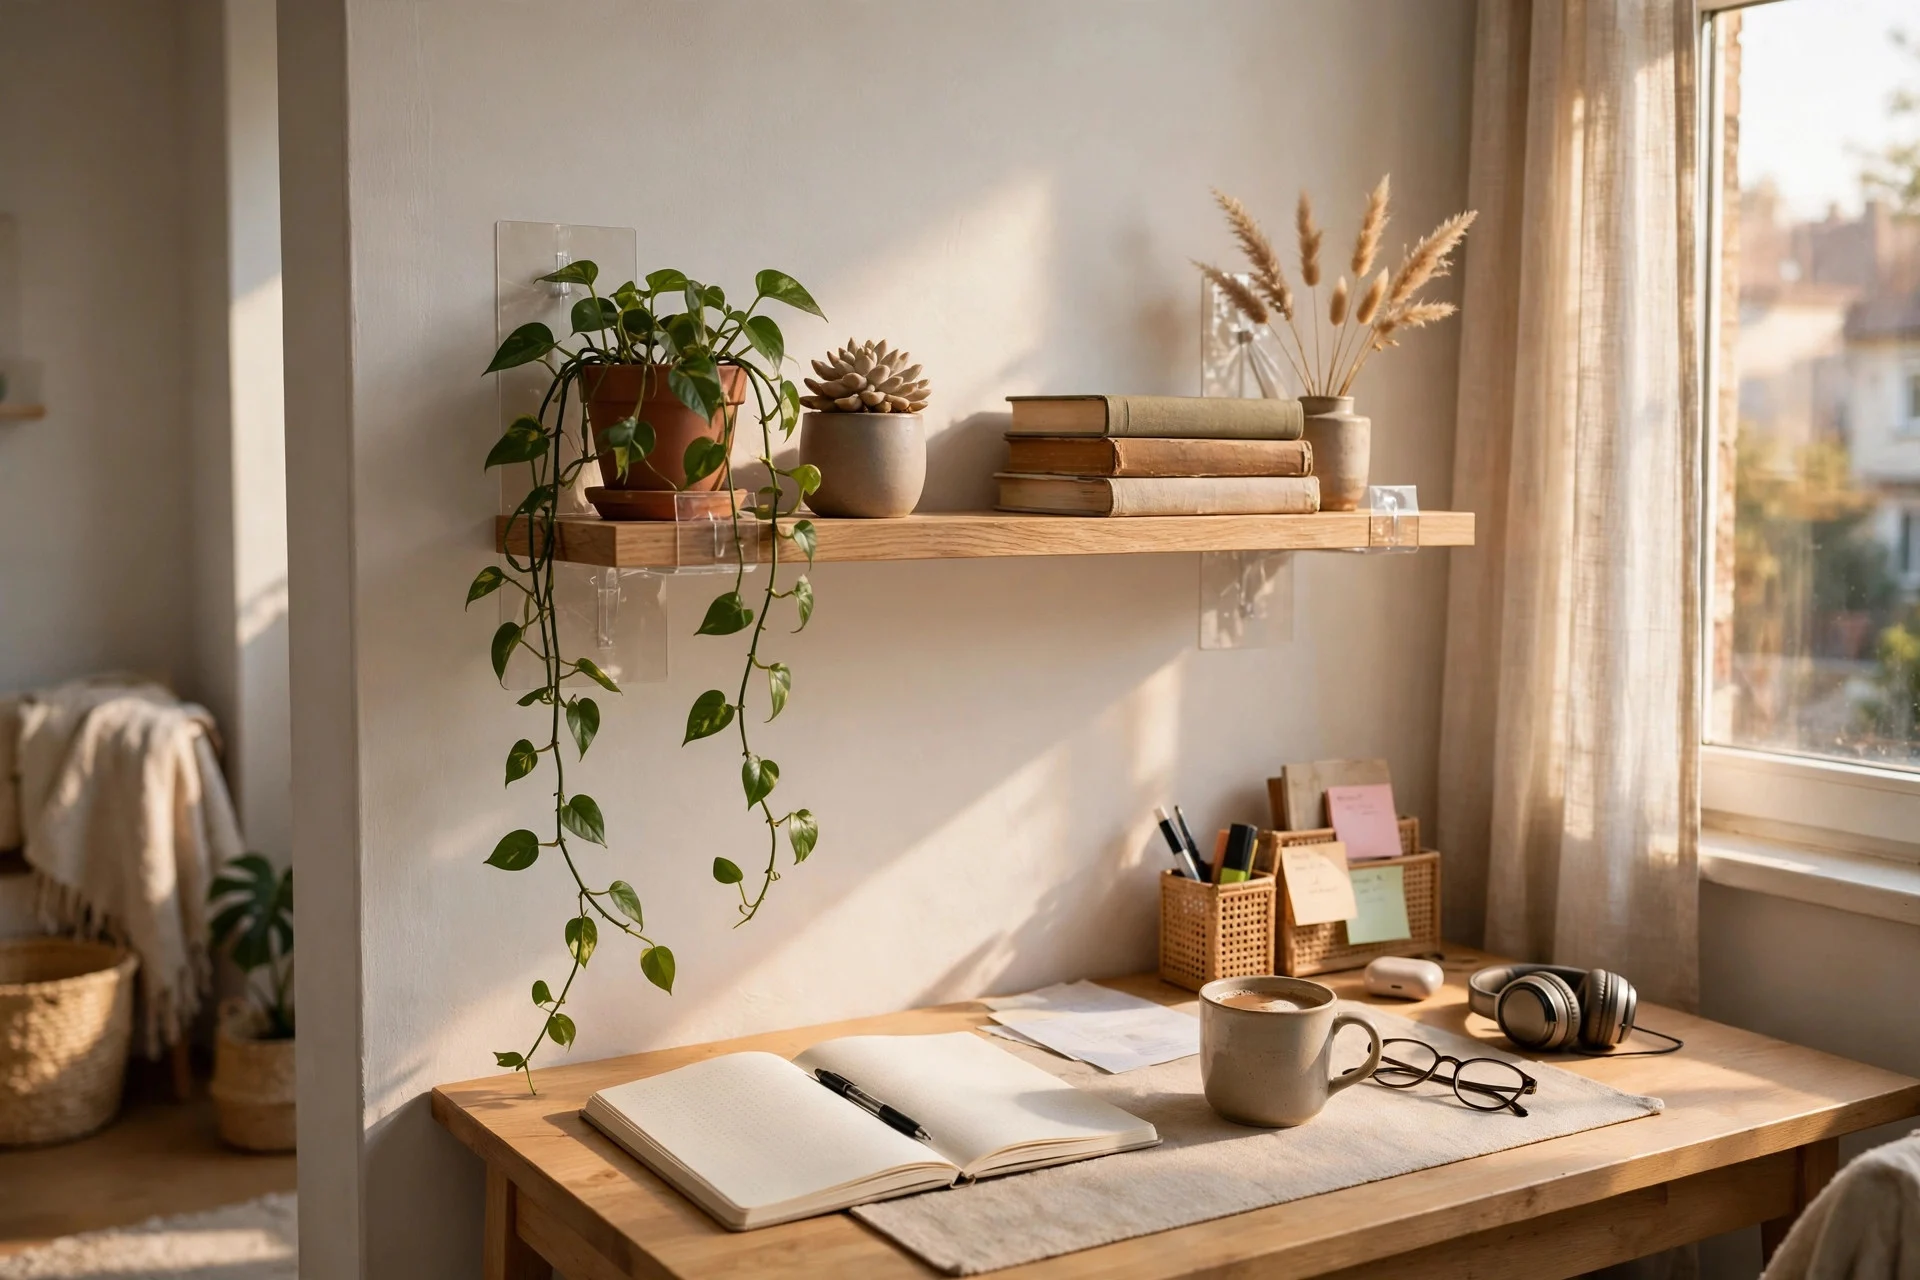
Adhesive-mounted floating shelves give you display and storage space above a desk, a sofa, or a bed without screws. They work because modern adhesive brackets can hold several kilos on a clean, flat wall, which is plenty for books, plants, and small decor. A shelf with brackets costs $18 to $35, and mounting takes about twenty minutes plus curing time. Difficulty is easy to moderate. Tip: use a level and mark both bracket positions with a pencil before sticking anything down, since adhesive cannot be repositioned once it bonds. Watch out: these shelves are not suited to textured walls, brick, or wallpaper, and they should never hold heavy items like full book collections or fragile valuables.
Step 7: Use Magnetic Strips and Racks on the Fridge and Metal Surfaces
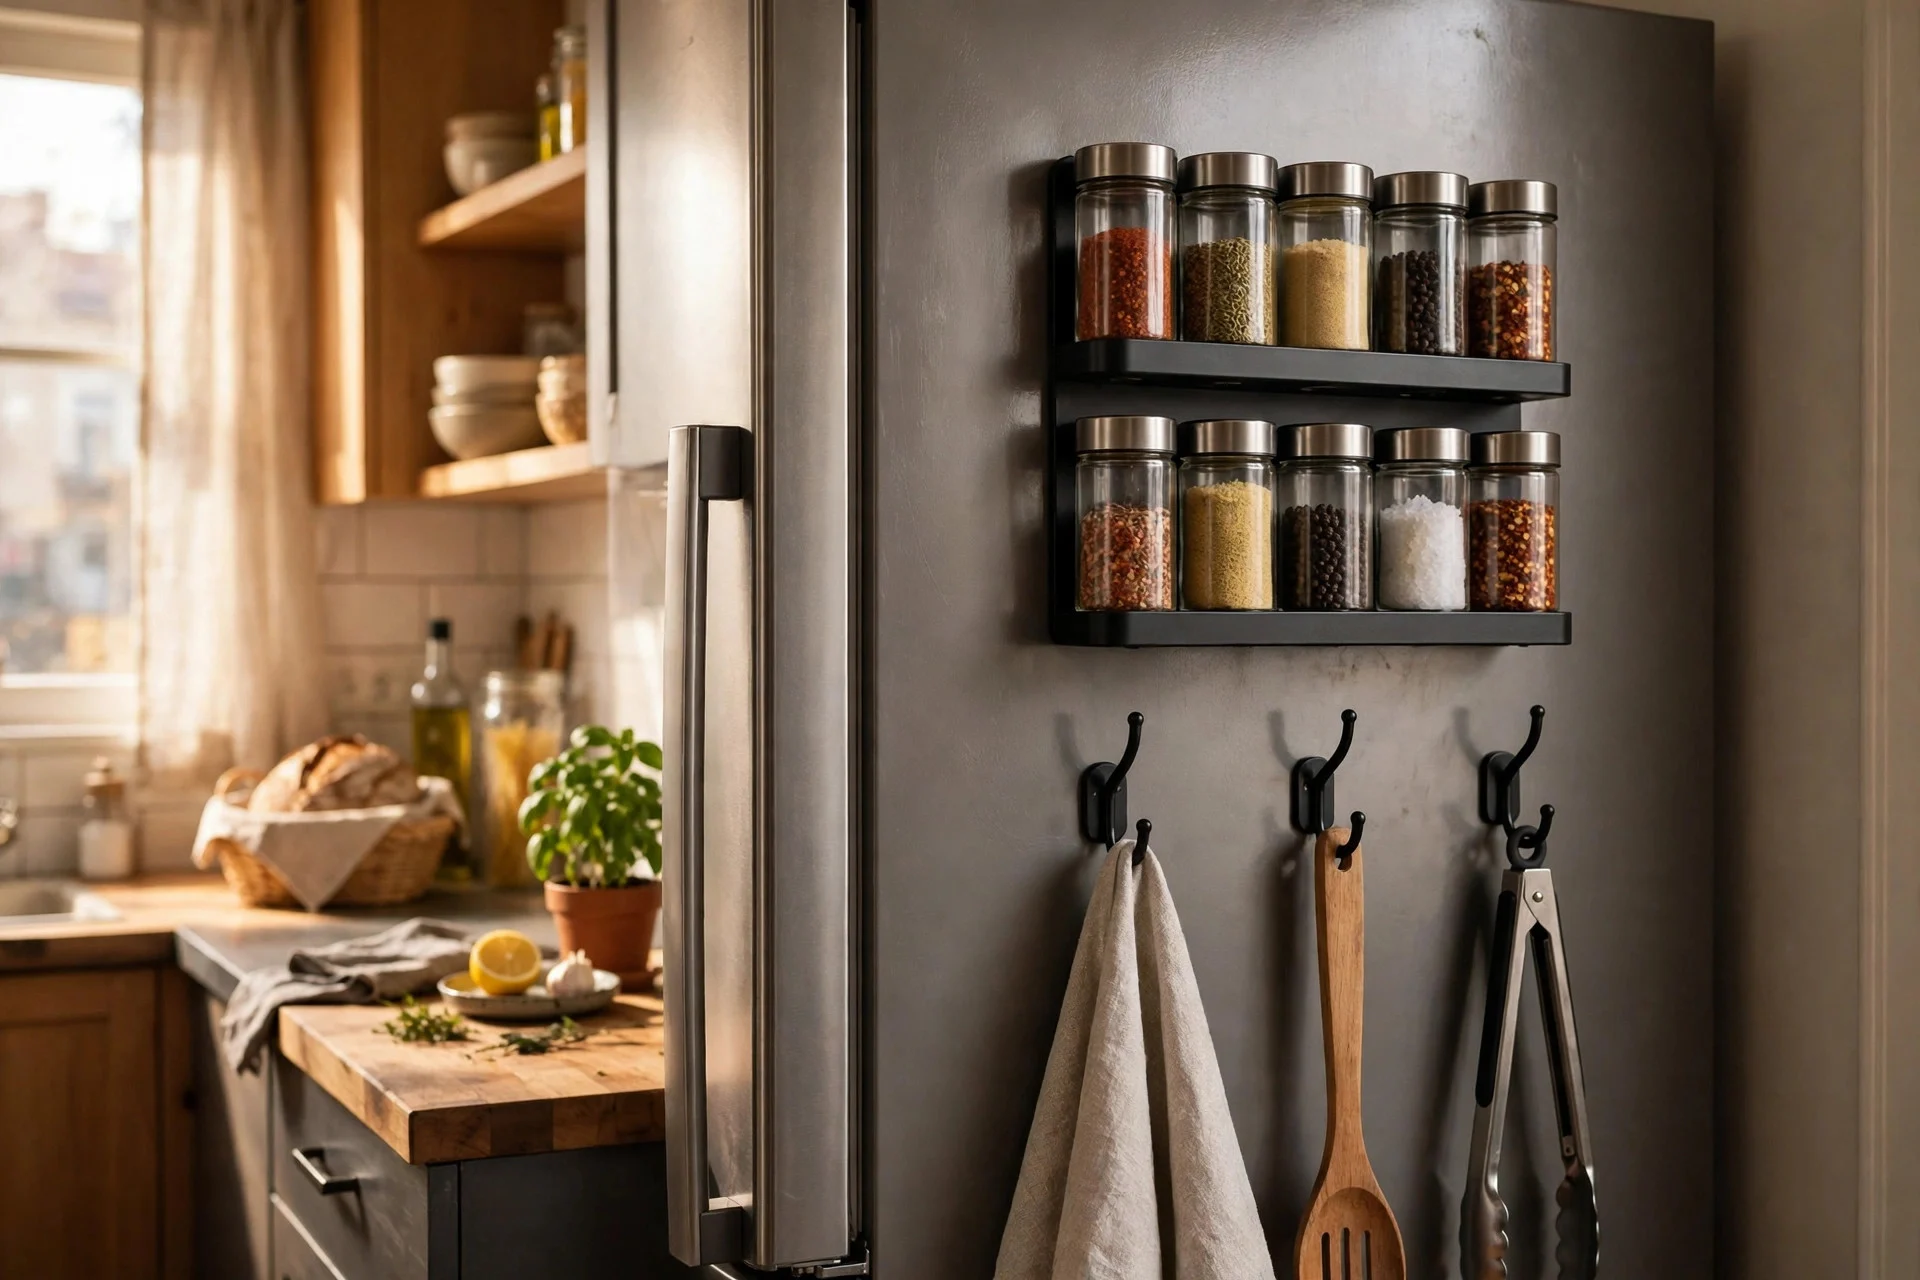
Magnetic strips and racks stick straight onto the fridge, a metal door, or a filing cabinet, giving you spice storage, knife storage, or a spot for notes and small tools. This works because metal surfaces in a small apartment are often bare, even while the counters around them are crowded. Magnetic spice jars or a rack cost $12 to $28, and setup takes ten minutes. Difficulty is easy. Tip: put the items you grab daily, like salt, pepper, and cooking oil spray, at eye level and the rest higher up. Watch out: magnets can slide down a fridge side if overloaded, so spread the weight evenly and avoid hanging anything heavy from a single magnet.
Step 8: Add a Freestanding Over-Toilet Unit in the Bathroom
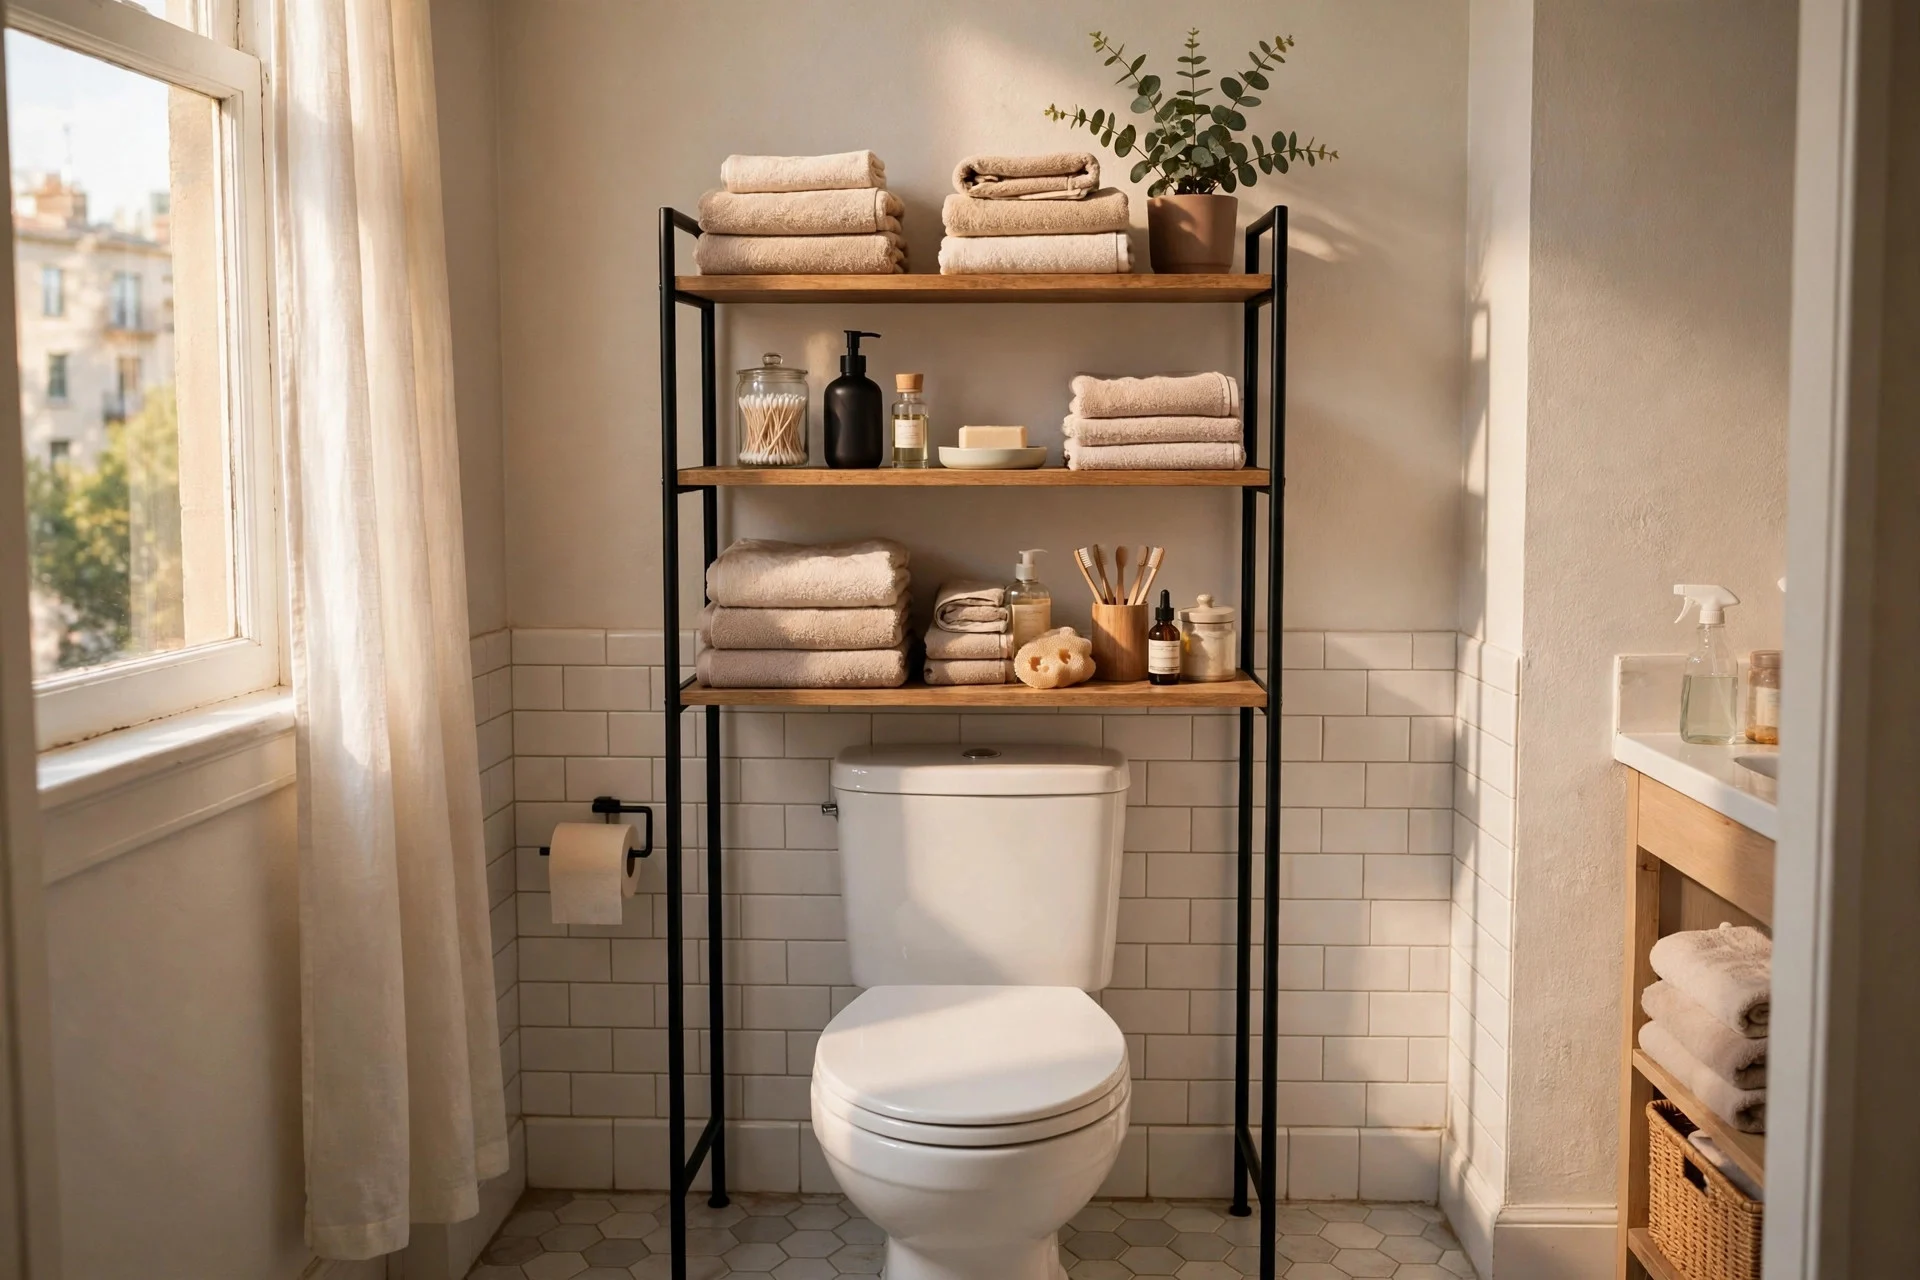
A freestanding over-toilet unit frames the toilet with two or three shelves, turning the wall above it into towel and toiletry storage. It works because that wall is almost always empty, and the unit stands on the floor, so no drilling or wall fixings are needed. Units cost $30 to $60, and assembly takes thirty to forty-five minutes. Difficulty is moderate. Tip: choose a unit with adjustable feet so it sits level on tiled floors that are rarely perfectly flat. Watch out: measure the width around your toilet and the height to any window or shelf above it, since a unit that is too wide will block access or crowd the room.
Step 9: Roll Storage Boxes Under the Bed
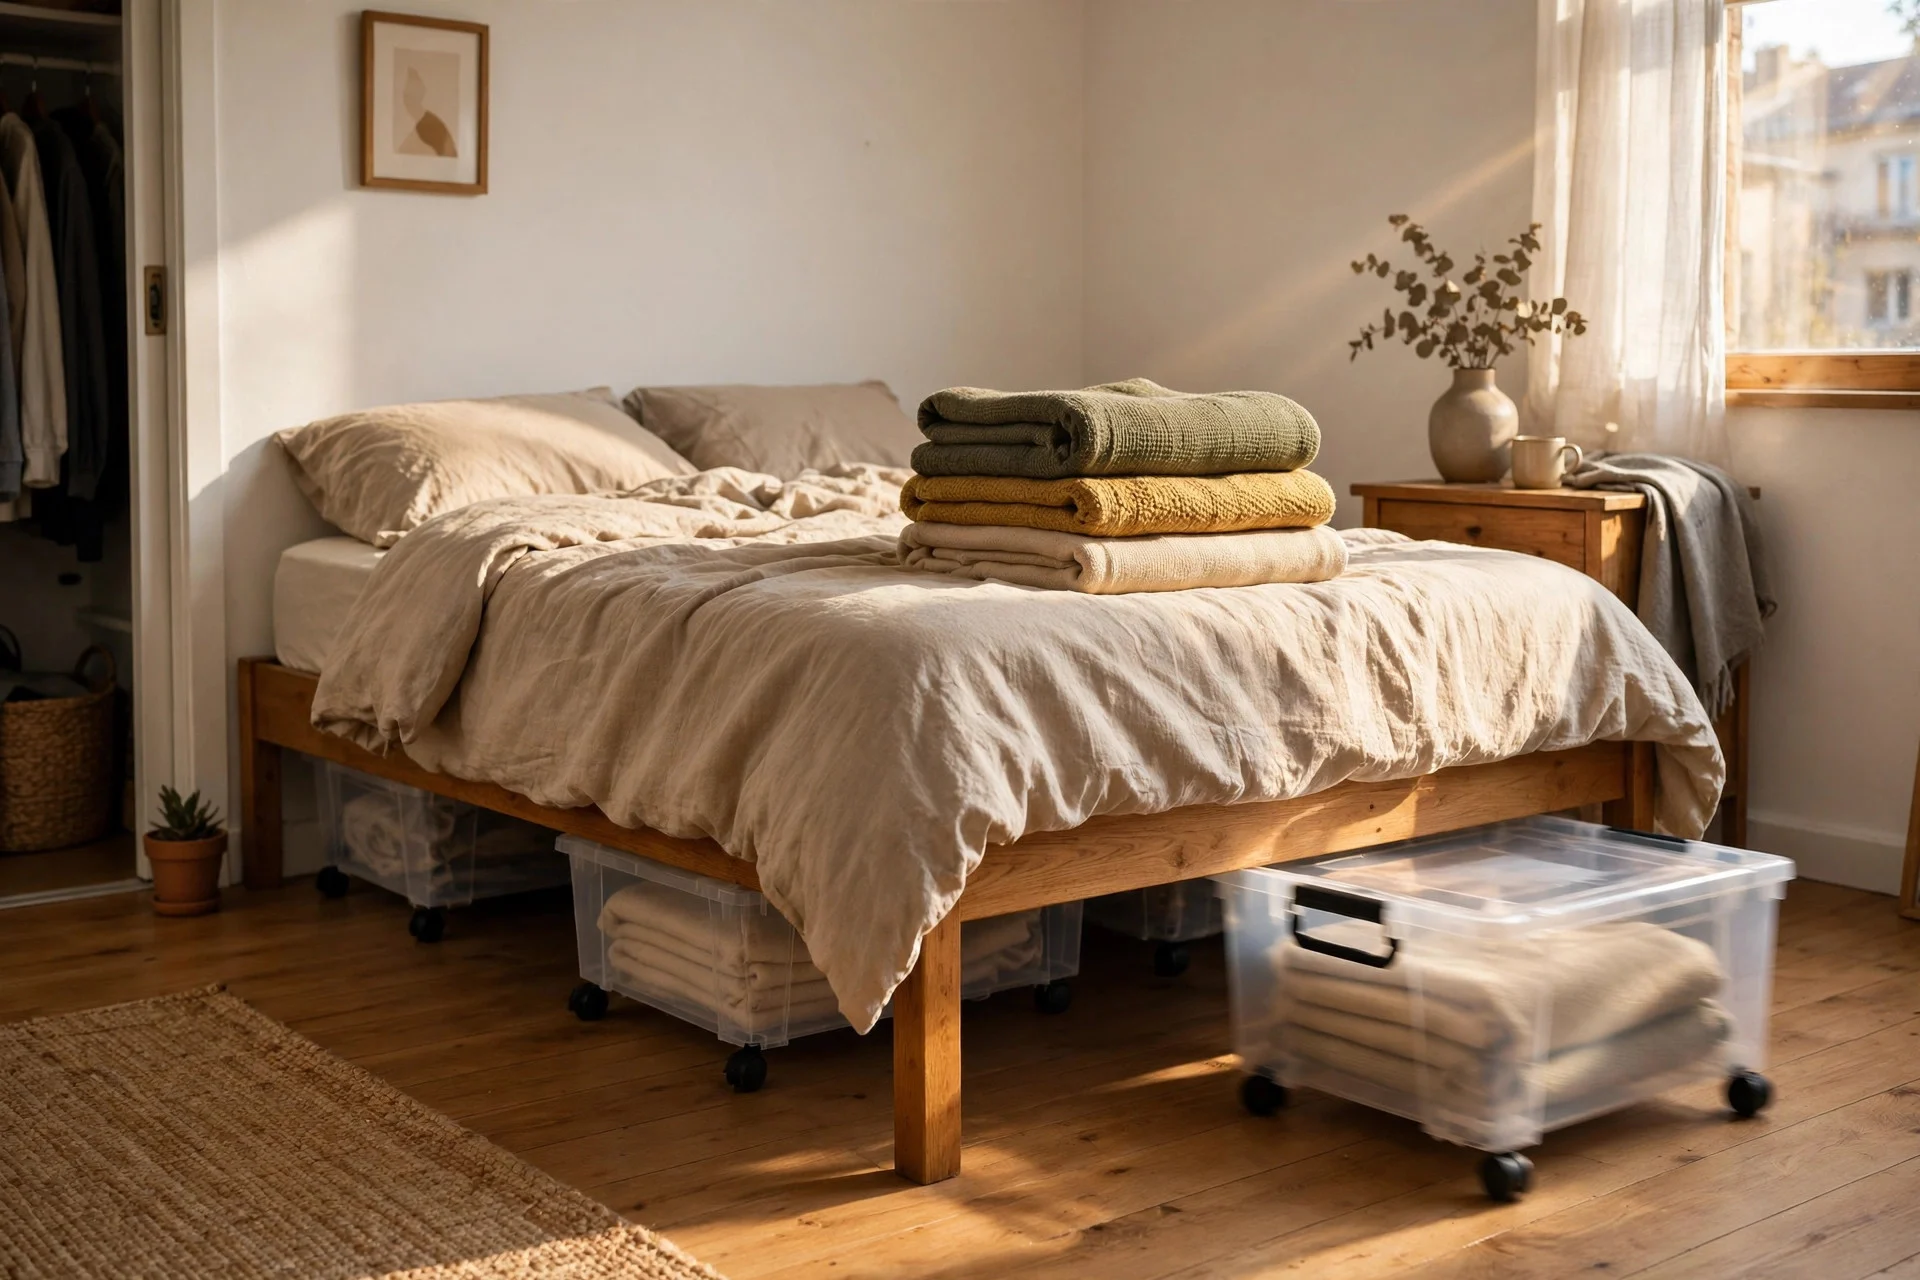
Under-bed rolling boxes turn the largest unused space in a bedroom into storage for out-of-season clothes, spare bedding, or shoes. This works because a bed already takes up that floor area, so the space beneath it costs you nothing extra. A pair of low boxes costs $20 to $40, and sorting and loading them takes about thirty minutes. Difficulty is easy. Tip: pick clear boxes or add labels, so you can find the winter jumpers without dragging every box out. Watch out: measure the clearance under your bed frame first, including any centre support bar, and choose flat boxes with wheels that roll smoothly on your floor type.
Step 10: Hang a Closet Organizer on the Bedroom Door or Rail
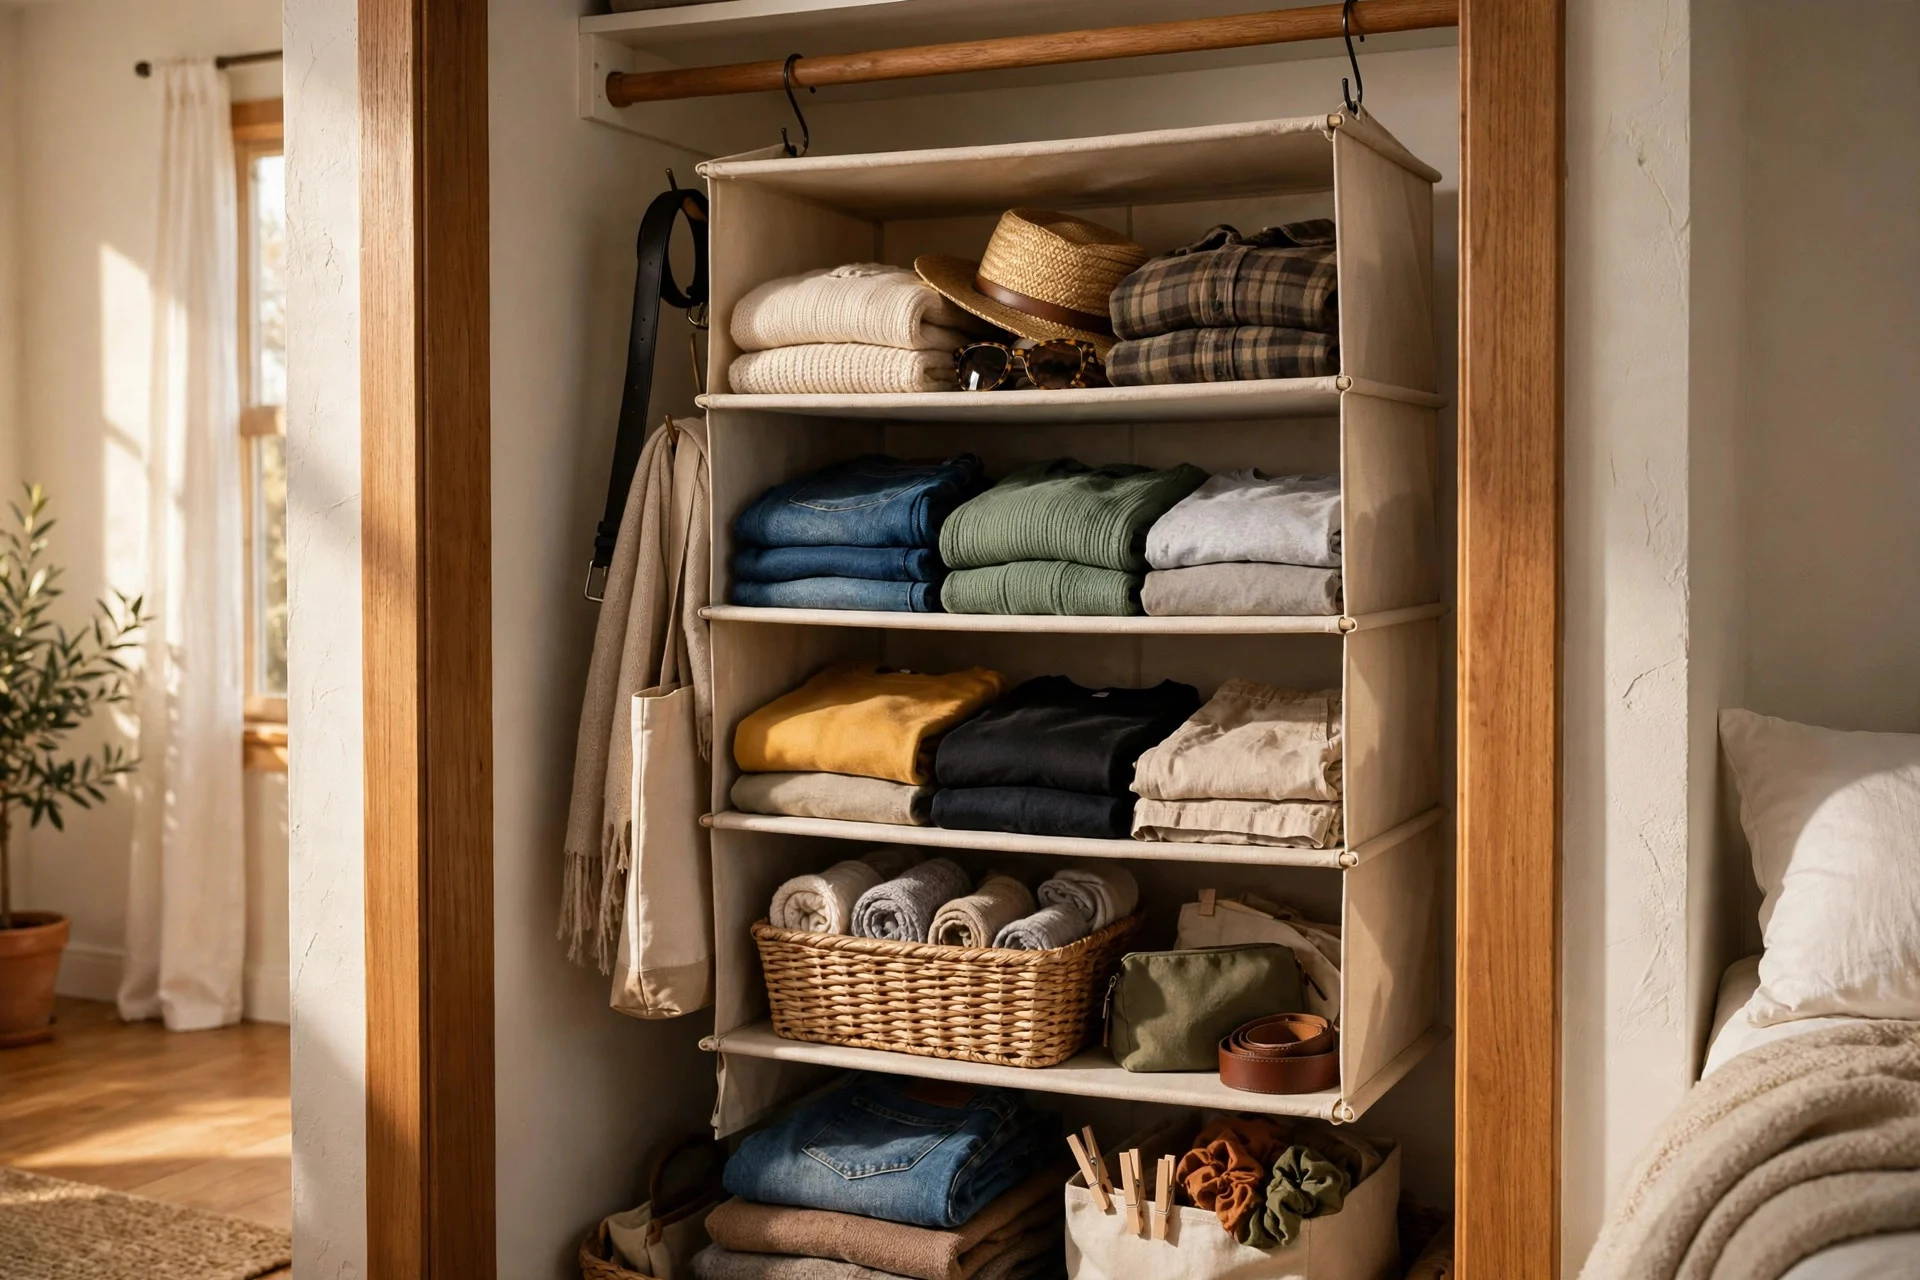
A hanging closet organizer, either over a door or hooked onto the existing rail, adds shelves and pockets to a closet that has only one rail and a lot of wasted air. It works because folded clothes, bags, and accessories stack neatly in fabric compartments instead of piling on the closet floor. Organizers cost $12 to $25, and hanging one takes ten minutes. Difficulty is easy. Tip: put daily items at eye level and seasonal pieces at the top, so the organizer saves you time every morning. Watch out: a fabric organizer stuffed with heavy items can sag and swing, so keep shoes and heavy bags on the closet floor or on a low shelf instead.
Step 11: Stick Suction-Cup Caddies in the Shower and Kitchen
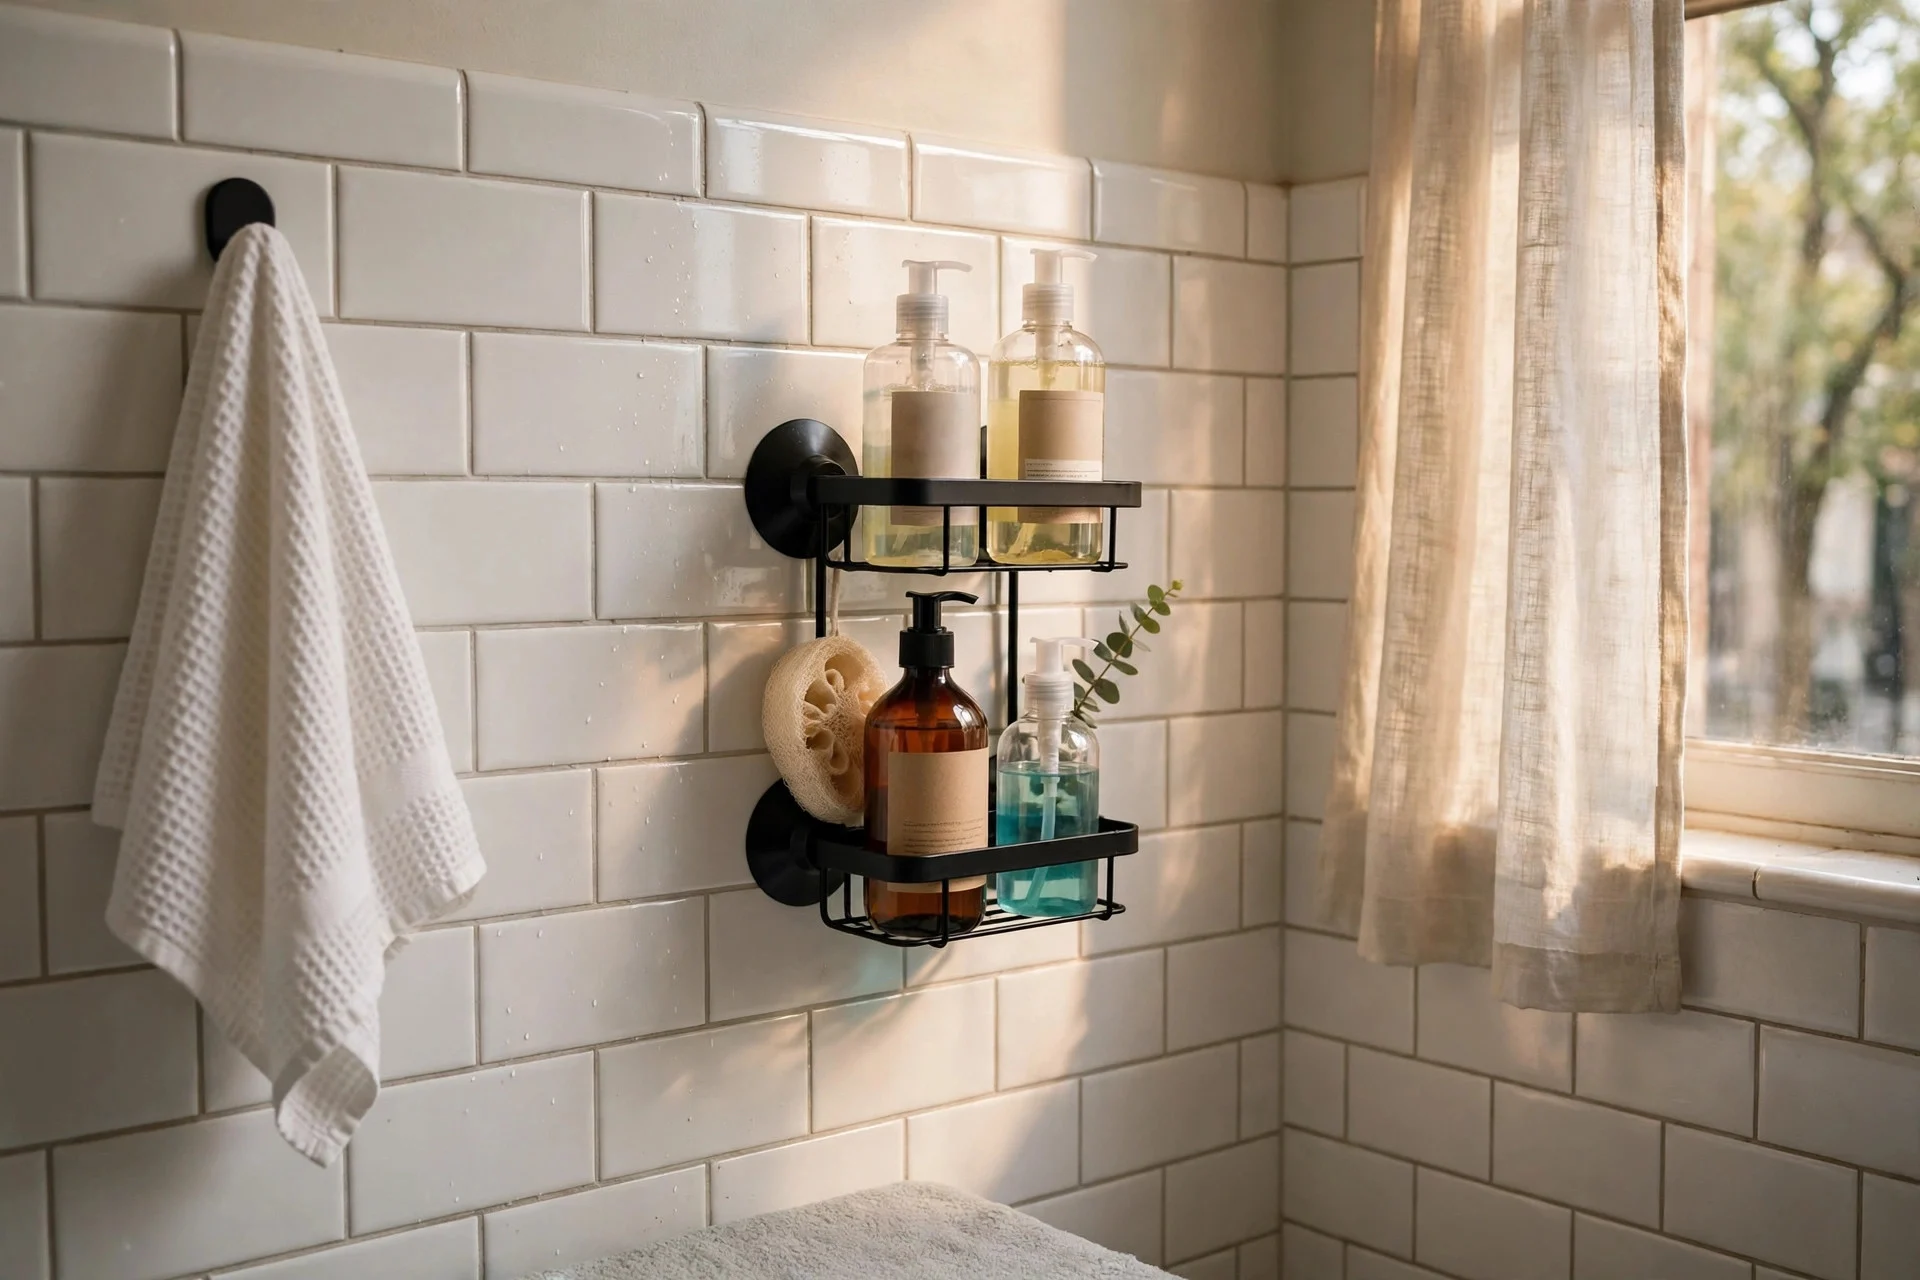
Suction-cup caddies hold shampoo, soap, and kitchen sponges on smooth tile or glass without any holes. They work because a good suction cup forms a tight seal on a flat surface, and many caddies now include a locking lever that keeps that seal strong even in a steamy shower. A caddy costs $10 to $22, and fitting takes five minutes. Difficulty is easy. Tip: press the cup onto clean, dry tile, flip the lock, and wait a few minutes before loading it, then check the seal once a week. Watch out: suction cups fail on textured tile, grout lines, and natural stone, so test the spot first and never hang a caddy over anything breakable.
Step 12: Bring In a Freestanding Garment Rack or Ladder Shelf
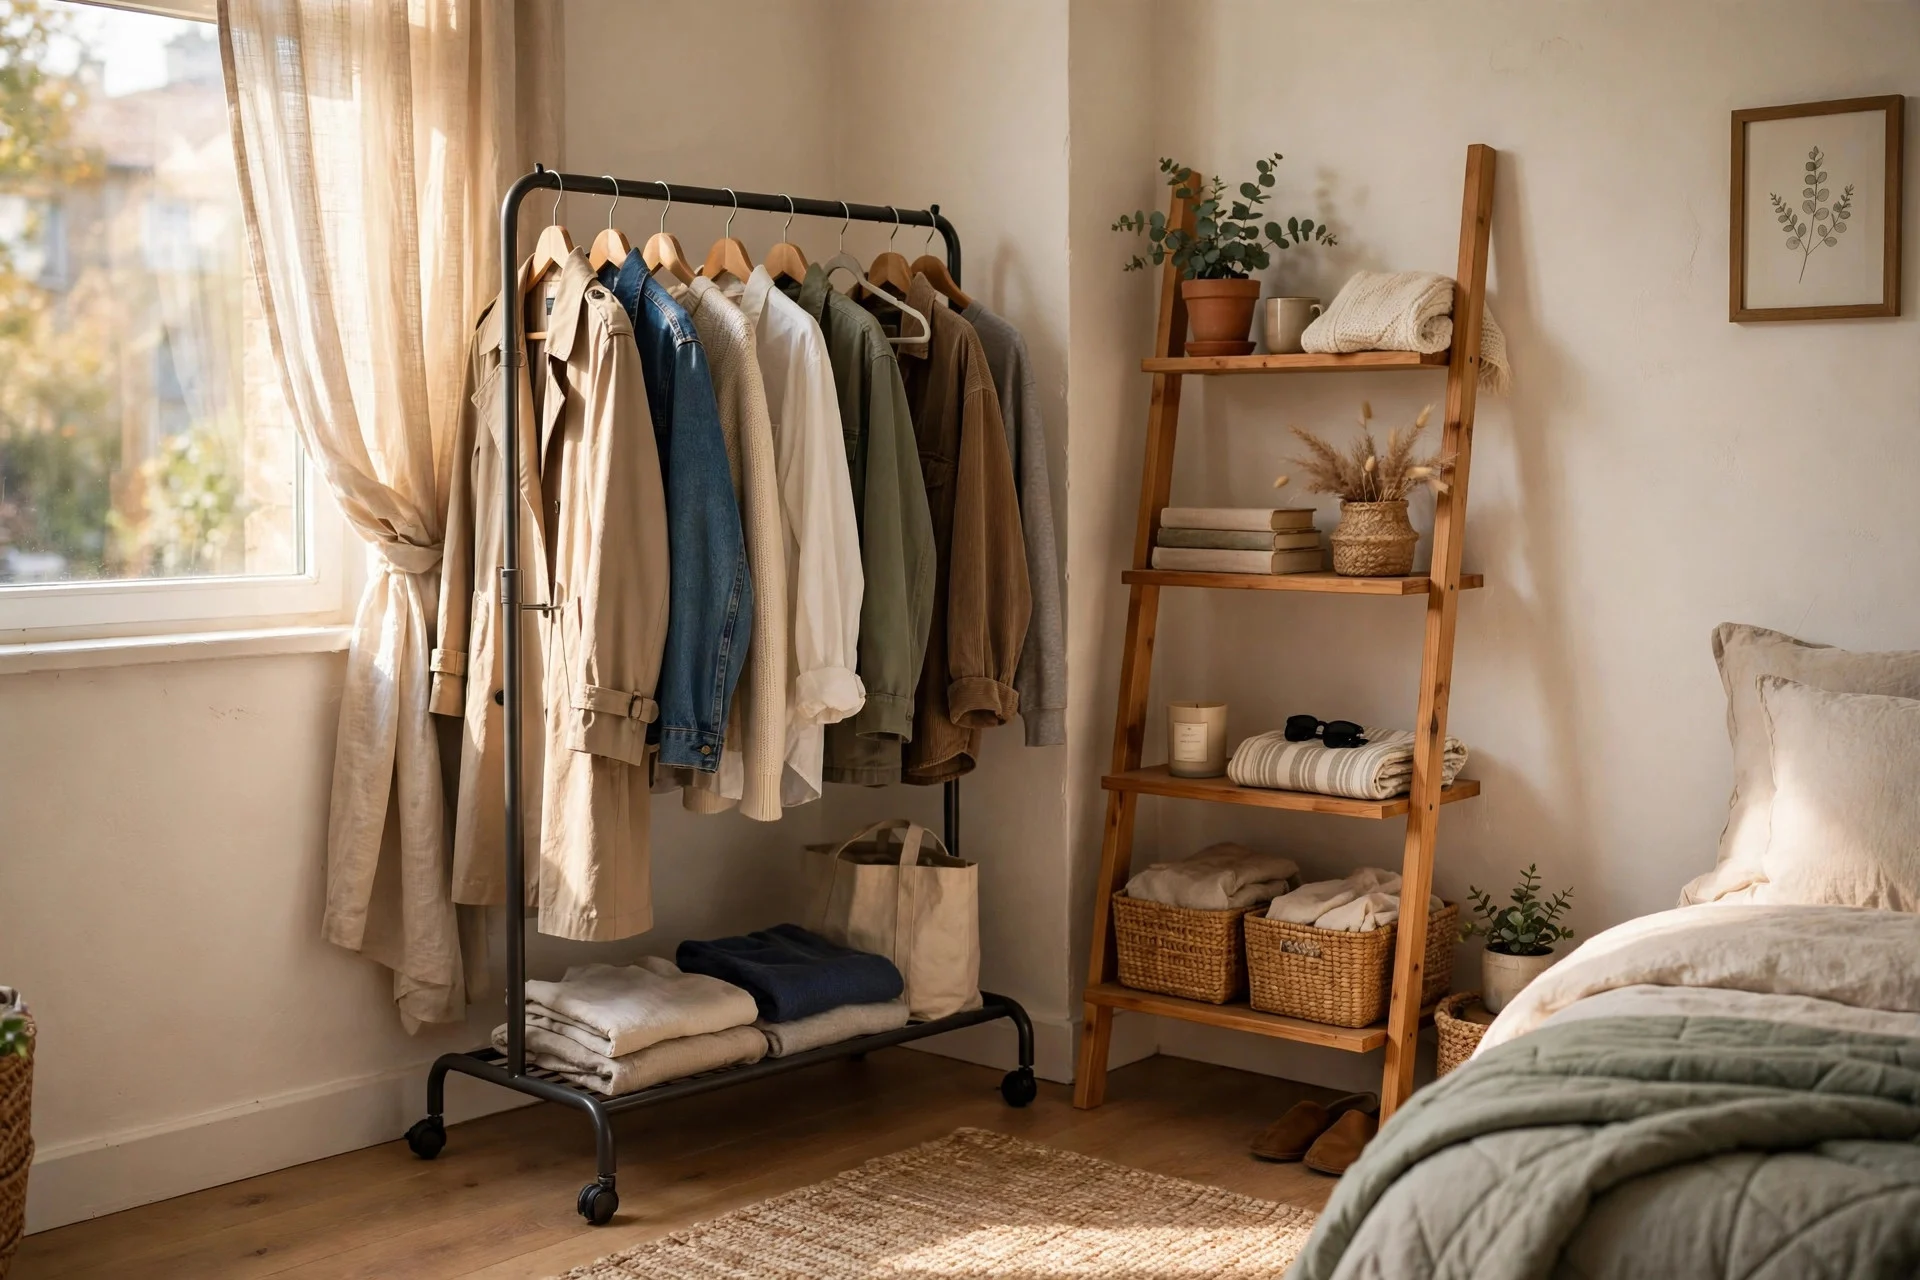
A freestanding garment rack or ladder shelf adds a whole extra closet and display area that leans or stands on the floor, no wall fixings needed. It works because it gives bulky coats, tomorrow’s outfit, and plants or books a dedicated home, which stops them from landing on chairs and beds. A rack costs $25 to $50 and a ladder shelf $35 to $70, and assembly takes twenty to forty minutes. Difficulty is easy to moderate. Tip: style the top of a ladder shelf and keep the rack to one row of clothes, so both pieces look intentional rather than like overflow. Watch out: both pieces need floor space and a clear path around them, so measure your room first and keep them away from radiators and walkways. For more ideas on pieces that do double duty, see these multi-purpose furniture ideas for apartments, which pair well with a freestanding rack in a tight layout.
Frequently Asked Questions
Will adhesive hooks damage my walls when I move out?
Usually not, if you buy strips rated for your wall type and follow the removal steps on the package. Clean the surface before sticking, stay within the weight limit, and pull the tab slowly along the wall at removal time. Test one strip in a hidden spot first if your paint is old or flaky.
How much weight can no-drill storage actually hold?
It depends on the fix. Small adhesive hooks hold one to three kilos each, over-door racks handle several kilos spread across the hooks, and freestanding units hold far more because the floor carries the load. Always check the rating on the package and spread heavy items across several hooks or shelves rather than loading one point.
What if my walls are textured or brick?
Adhesive and suction fixes grip poorly on textured, brick, or rough surfaces, so lean on freestanding pieces in those rooms instead. Rolling carts, over-toilet units, garment racks, and under-bed boxes need no wall contact at all. If you want wall storage on brick, a freestanding ladder shelf placed against the wall gives a similar look with no fixings.
How do I keep no-drill storage from looking cluttered?
Give every item a set spot, keep the fronts of shelves and carts tidy, and use matching bins where you can. A good rule is to leave a little breathing room on each shelf rather than packing it edge to edge. If a spot keeps overflowing, that is a sign you need a different fix there, or fewer items in it. Small-space storage ideas like these tiny house storage ideas also show how edited, well-grouped storage makes a small home feel calmer.
Your No-Drill Storage Checklist
Walk through your apartment with a tape measure and note where clutter gathers: the entry, the kitchen cabinets, the bathroom, and the bedroom closet are the usual spots. Start with adhesive hooks and one over-door rack, then add one fix per problem area rather than buying everything at once. Clean each surface, respect every weight limit, and test each new fix for a day before loading it fully. Done this way, your apartment gains real storage, your walls stay hole-free, and your deposit stays safe.