12 Shared Kids’ Bedroom Ideas With Space for Both of Them
A shared kids’ bedroom works when each child gets a clear spot to sleep, study, store their things, and play — without the room feeling split down the middle like a border dispute. The trick is to plan by zone instead of buying furniture one piece at a time. Give the sleeping area a smart layout, carve out two work spots, build storage that is easy to keep fair, and leave one corner that is just for fun. The 12 ideas below walk through the room in that order, so you can pick the ones that fit your space and budget and skip the rest.
1. Bunk Beds With Drawers Built Into the Base
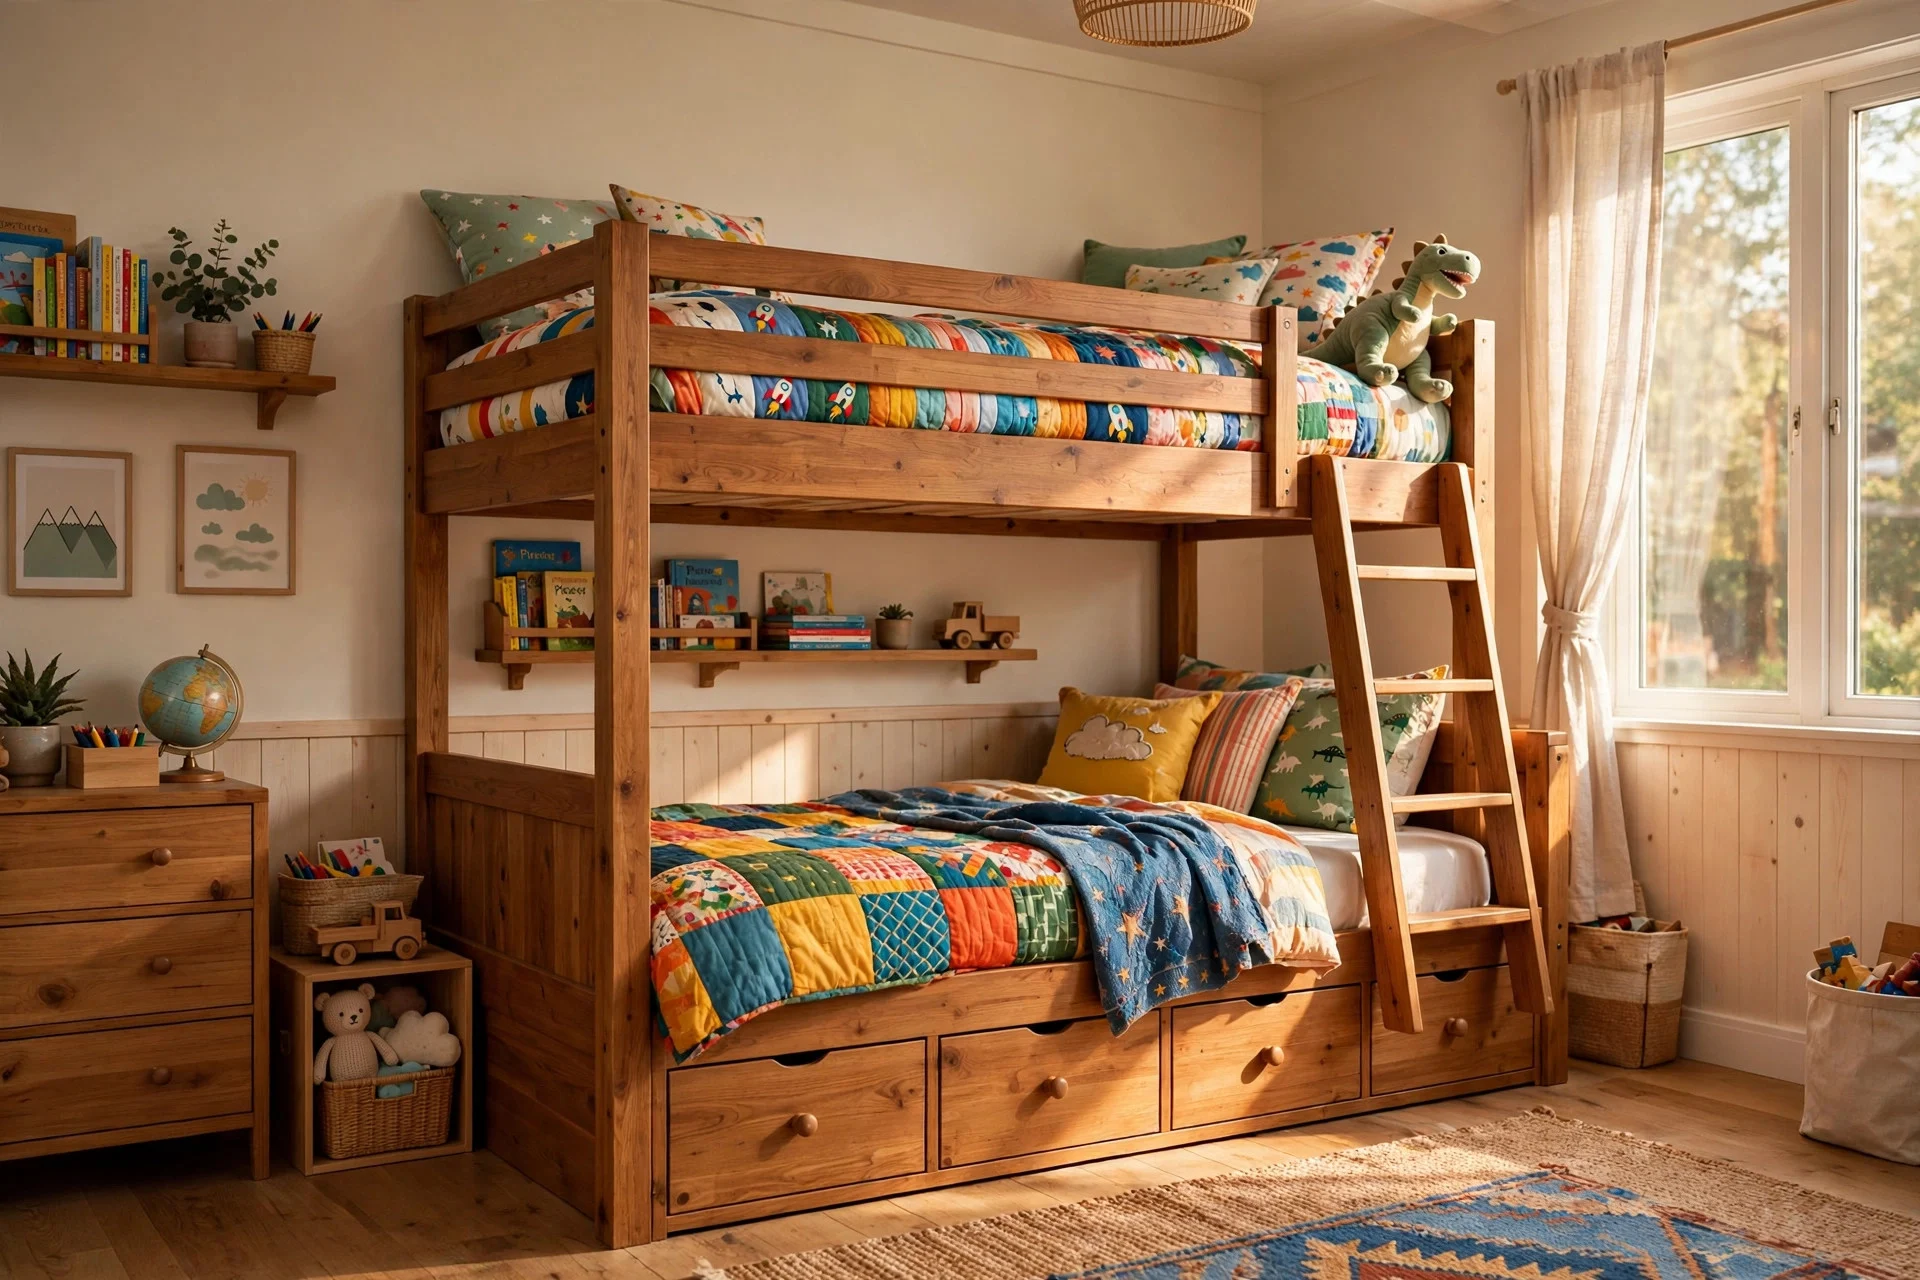
Sleeping zone. A bunk bed is the classic space-saver for a reason: it sleeps two children in the footprint of one bed and frees up most of the floor. Models with drawers in the base go a step further, turning dead space under the bottom bunk into storage for bedding, out-of-season clothes, or bulky toys.
Expect to pay $350 to $900 for a solid wood or sturdy metal bunk with built-in drawers, and budget 2 to 4 hours for assembly with two adults. It is a weekend job, not a quick evening task, so clear the room first and keep the Allen key handy. Hands-on tip: give each child one drawer and label it with their name, so neither one has to dig through the other’s things. Watch out for ceiling height — you need at least 30 inches between the top mattress and the ceiling so the child on top can sit up without bumping their head.
Fairness note: let the children swap bunks every few months if they both want the top, or set a simple rotation at the start of each school term.
2. Parallel Twin Beds With a Shared Nightstand Between Them
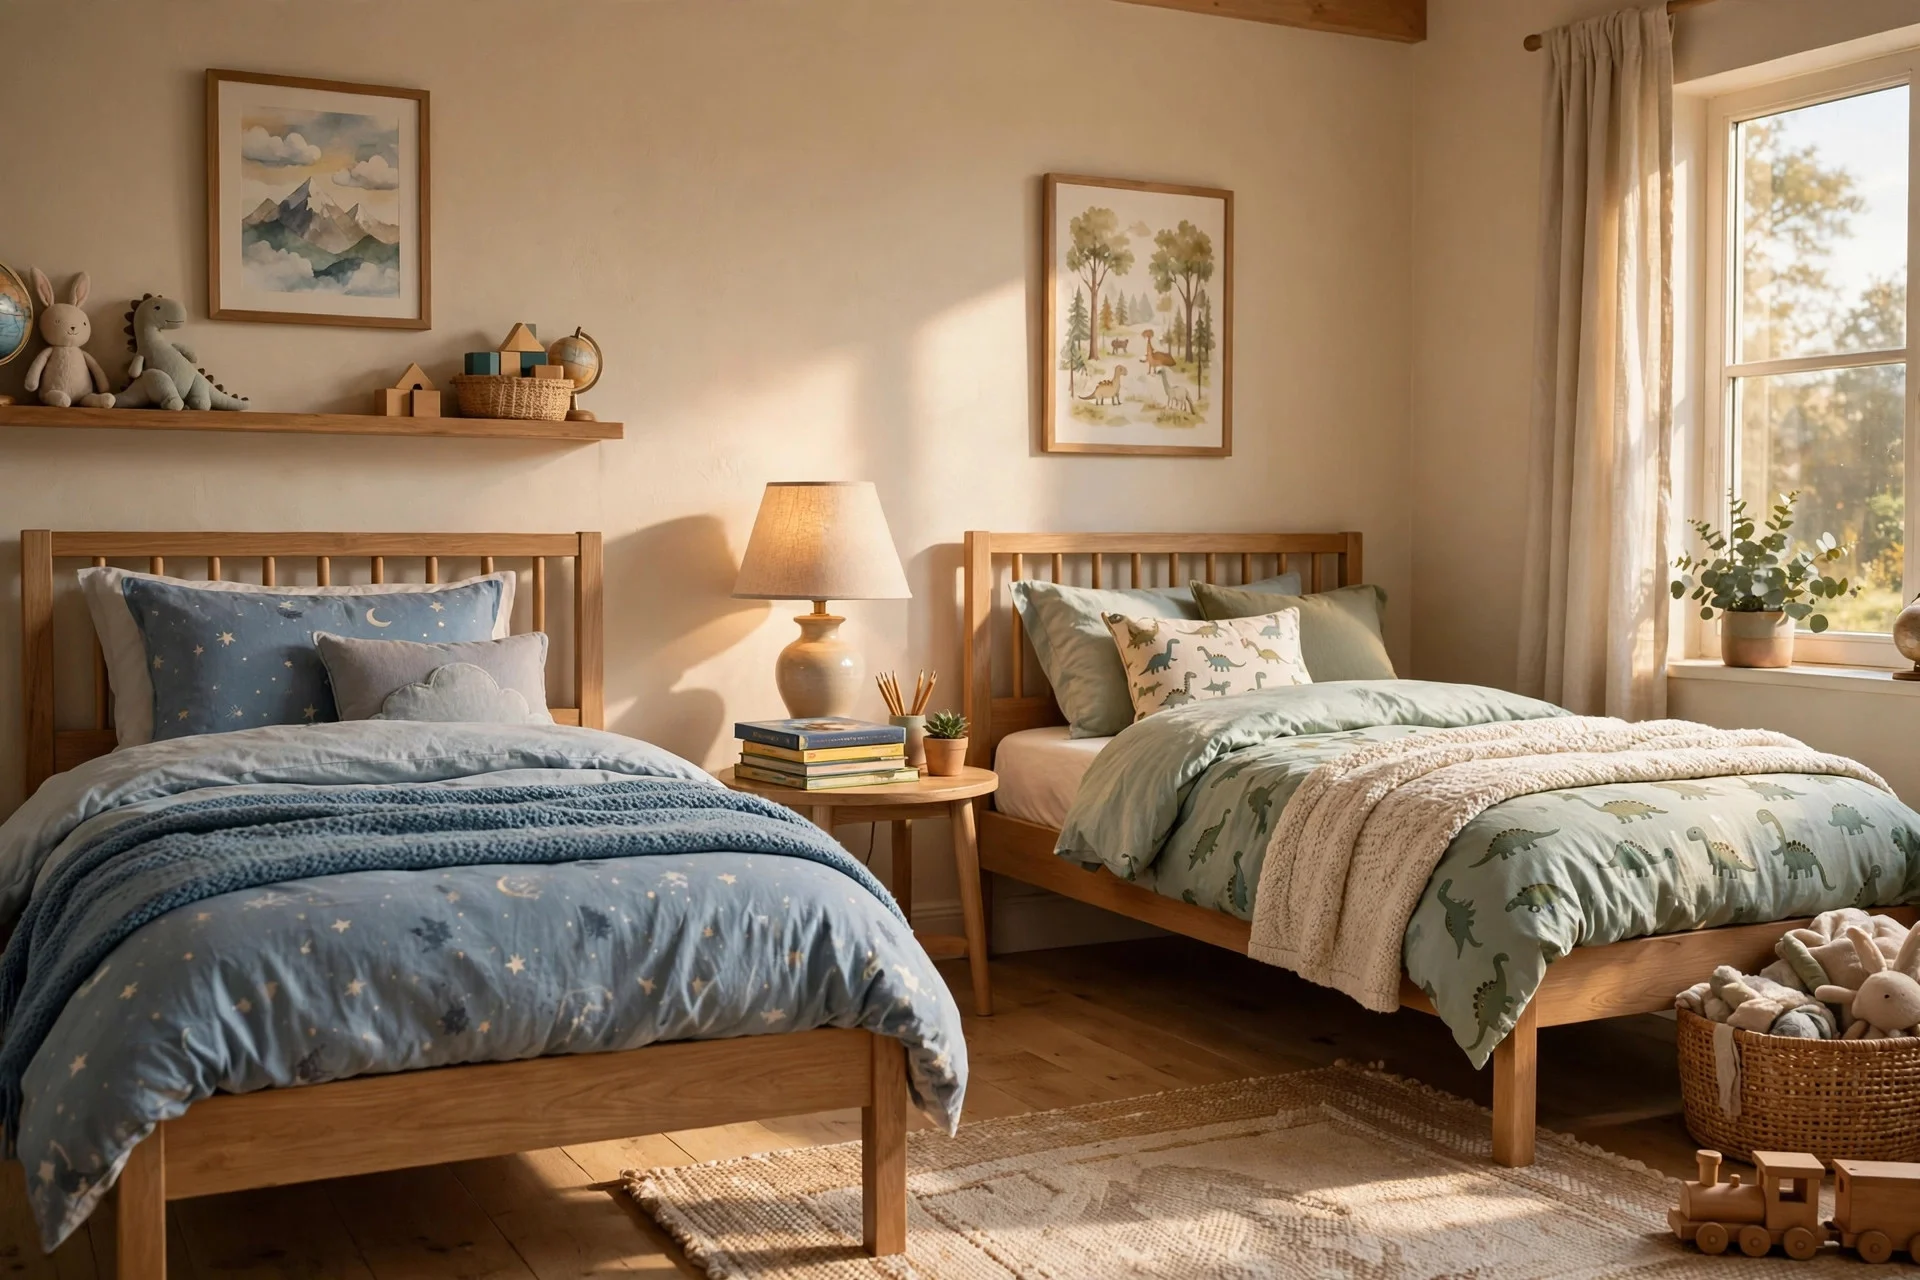
Two twin beds placed side by side, with a small nightstand in the middle, suit children who are close in age and do not want to climb a ladder every night. Each child gets their own mattress, their own bedding, and a clear side of the room, while the shared nightstand keeps lamps and books within reach of both.
A pair of basic twin frames runs $200 to $600, plus $40 to $120 for a nightstand. Assembly takes about an hour per bed. Hands-on tip: put a small tray or two separate baskets on the nightstand, one per child, so chargers, glasses, and water bottles do not get mixed up. Watch out for the gap: if the beds are pushed too close together, blankets tangle and arguments follow, so leave at least 12 inches between the frames. For more twin-bed layouts, see these twin beds guest room ideas and adapt the spacing to a kids’ room.
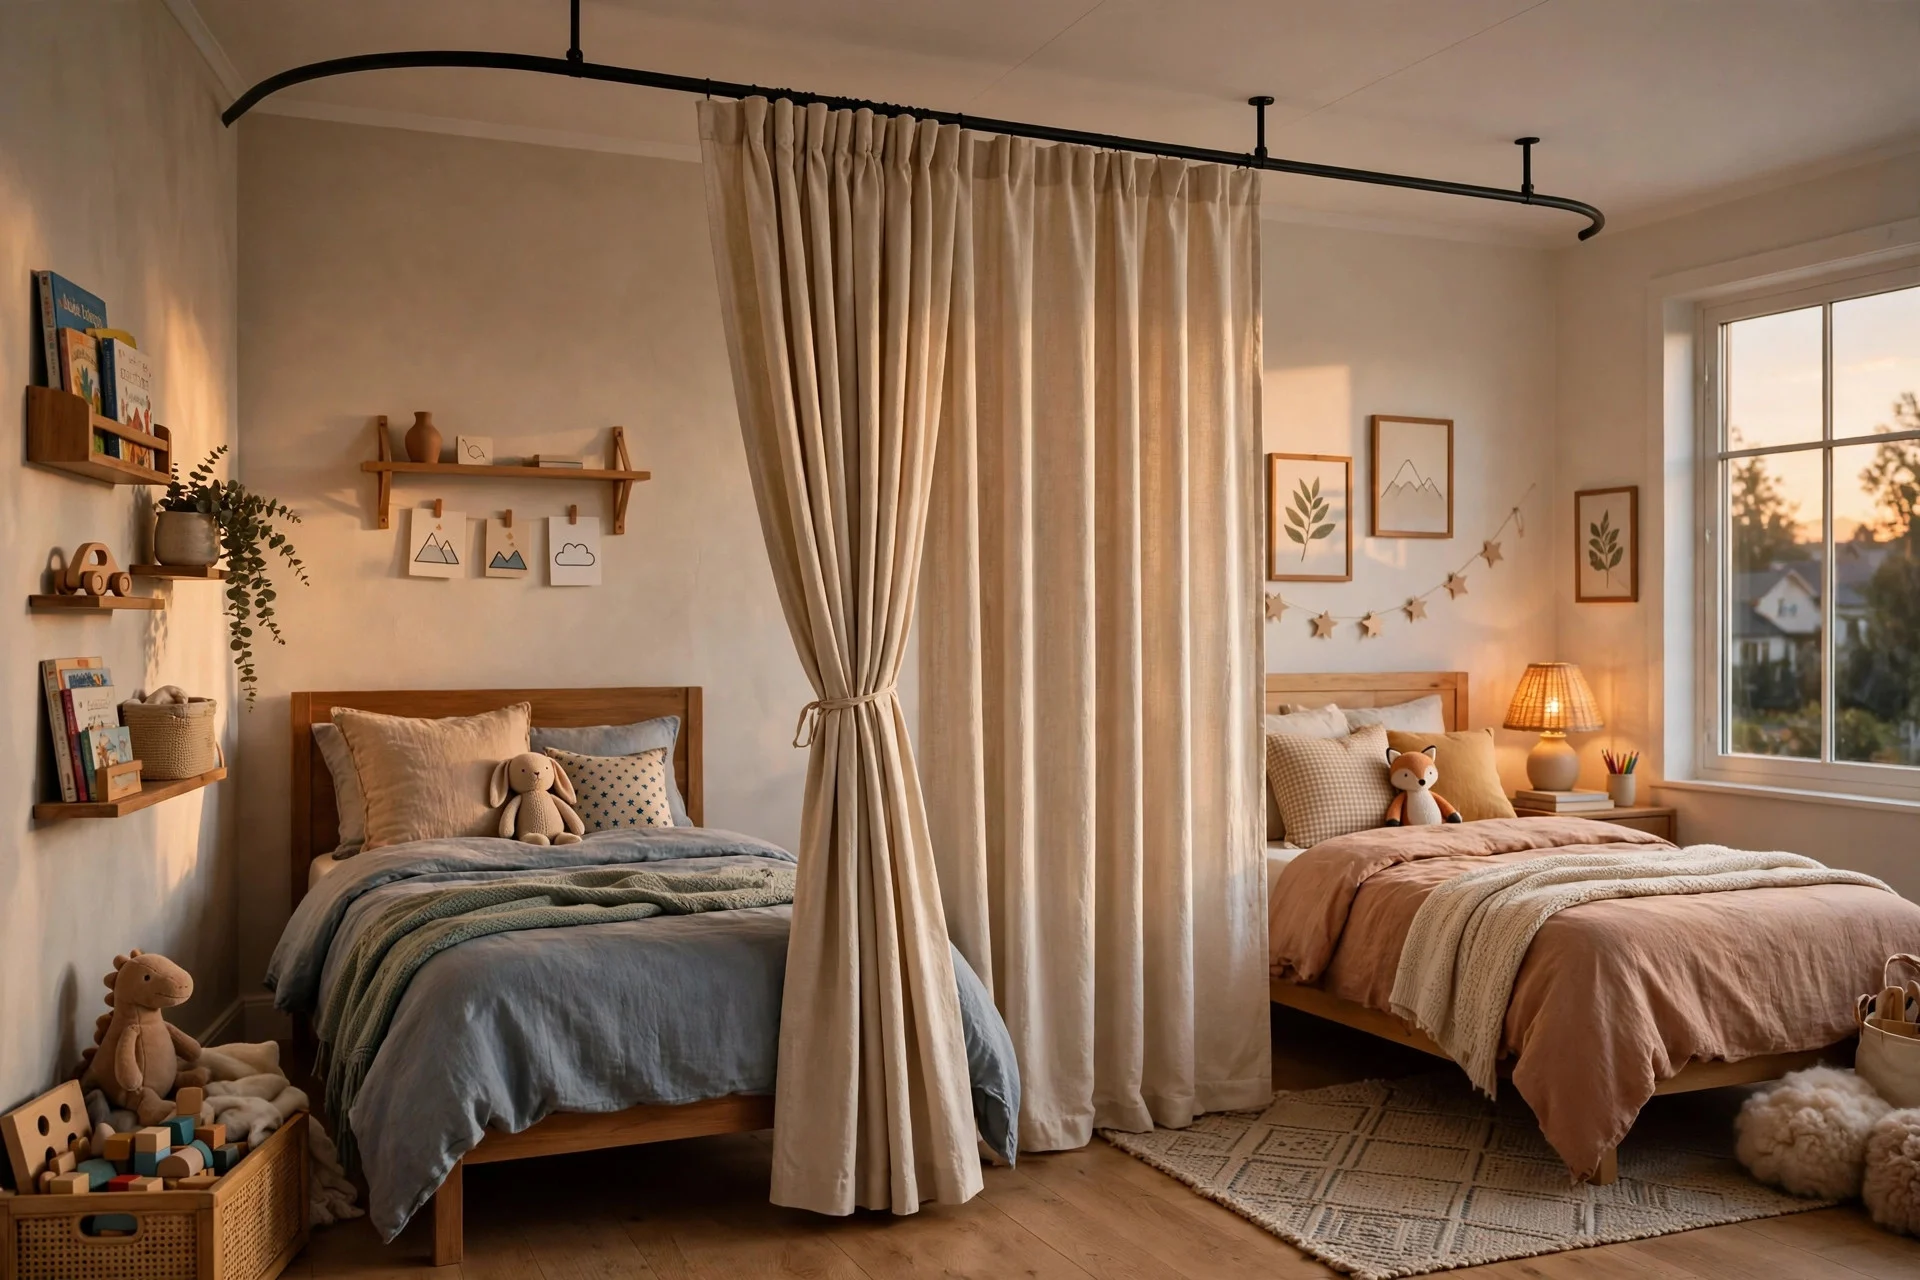
3. A Curtain Rail Down the Middle of the Sleeping Area
A ceiling-mounted curtain rail, hung between the beds or around one bed, gives each child a way to close off their own sleeping spot at night. It costs far less than a wall, it can be opened in seconds during the day, and it helps a light sleeper fall asleep while the other child reads.
A sturdy ceiling rail costs $25 to $70, plus $20 to $60 for curtains. Fitting takes 30 to 60 minutes, including finding the ceiling joists. Hands-on tip: choose curtains that are washable and light enough for a child to pull without yanking the rail down. Watch out for safety: keep cords and long curtain ties out of reach of younger children, and use a rail that is fixed firmly rather than a tension rod, which can fall. This works best as a night-time privacy screen, not a full-time wall — keep it open during the day so the room still feels shared.
4. One Long Desk With a Centre Divider
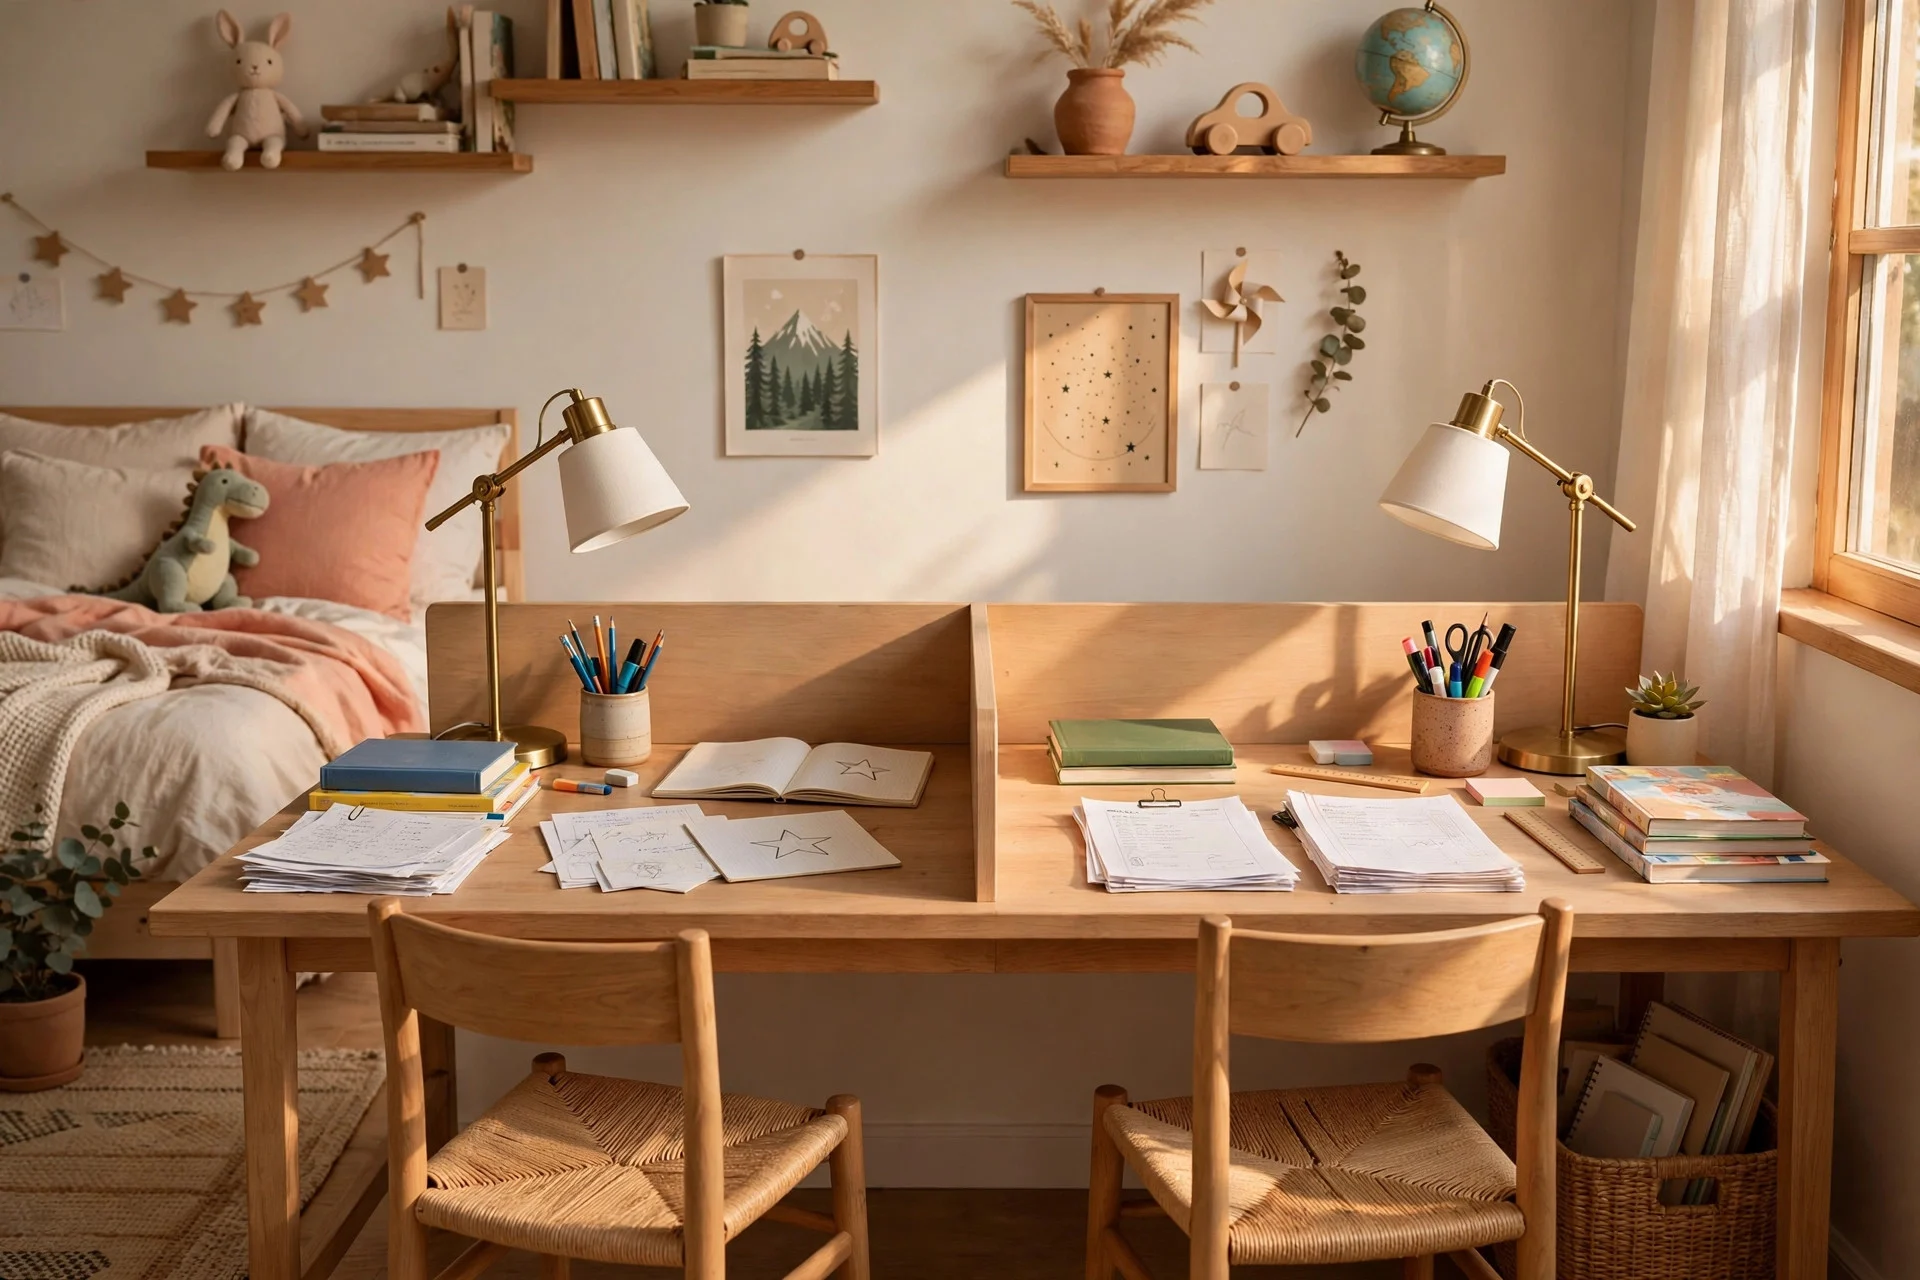
Study zone. A single desk that runs along one wall, roughly 60 to 72 inches wide, gives two children side-by-side work space without taking up two separate corners. A low divider in the middle — a small shelf, a pinboard, or a simple wooden panel — marks where one workspace ends and the other begins.
A long desk costs $150 to $450, and a divider adds $20 to $80. Set aside 1 to 2 hours to assemble and level it. Hands-on tip: give each child their own desk lamp and pen cup, even if the desk itself is shared, because small personal items make a shared surface feel like two desks. Watch out for homework clashes: agree on quiet hours for the desk, and keep a small basket for each child’s school papers so one child’s worksheet does not end up under the other’s books.
5. Two Wall-Mounted Fold-Down Desks
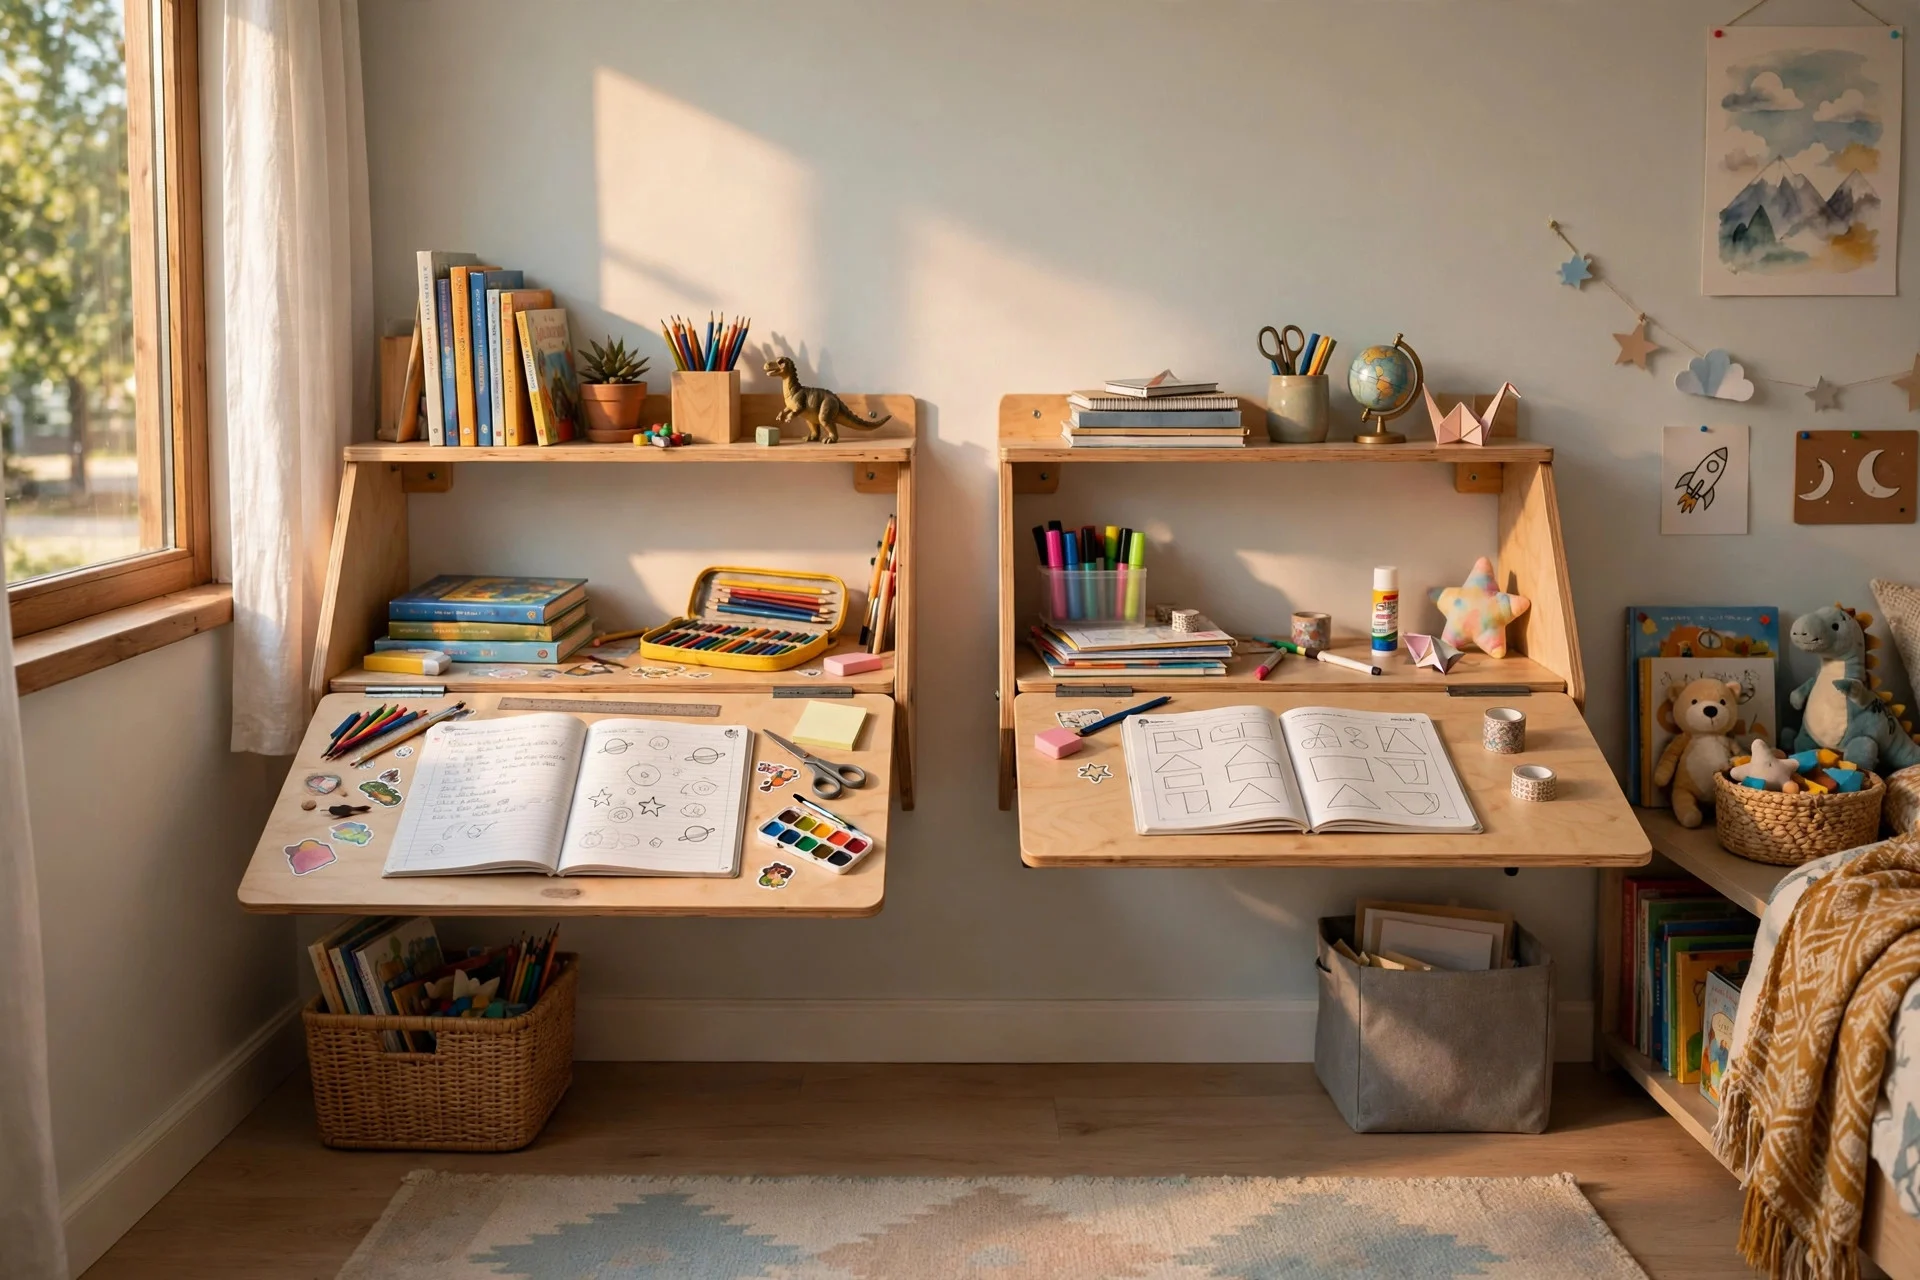
If floor space is tight, fold-down desks are a strong option. Each child gets a desk that folds flat against the wall when it is not in use, freeing the floor for play in the afternoon and giving each child a spot that is truly theirs.
Wall-mounted fold-down desks cost $80 to $220 each, and fitting takes 45 to 90 minutes per desk, including fixing them into wall studs. Hands-on tip: mount them at the right height for each child, not at one compromise height — a desk that is too high leads to sore shoulders and messy handwriting. Watch out for weight limits: check the rating before loading a desk with books, and teach children to fold it up gently rather than letting it drop. This idea pairs well with a shared shelf above each desk for books and supplies.
6. A Wardrobe Split Straight Down the Middle
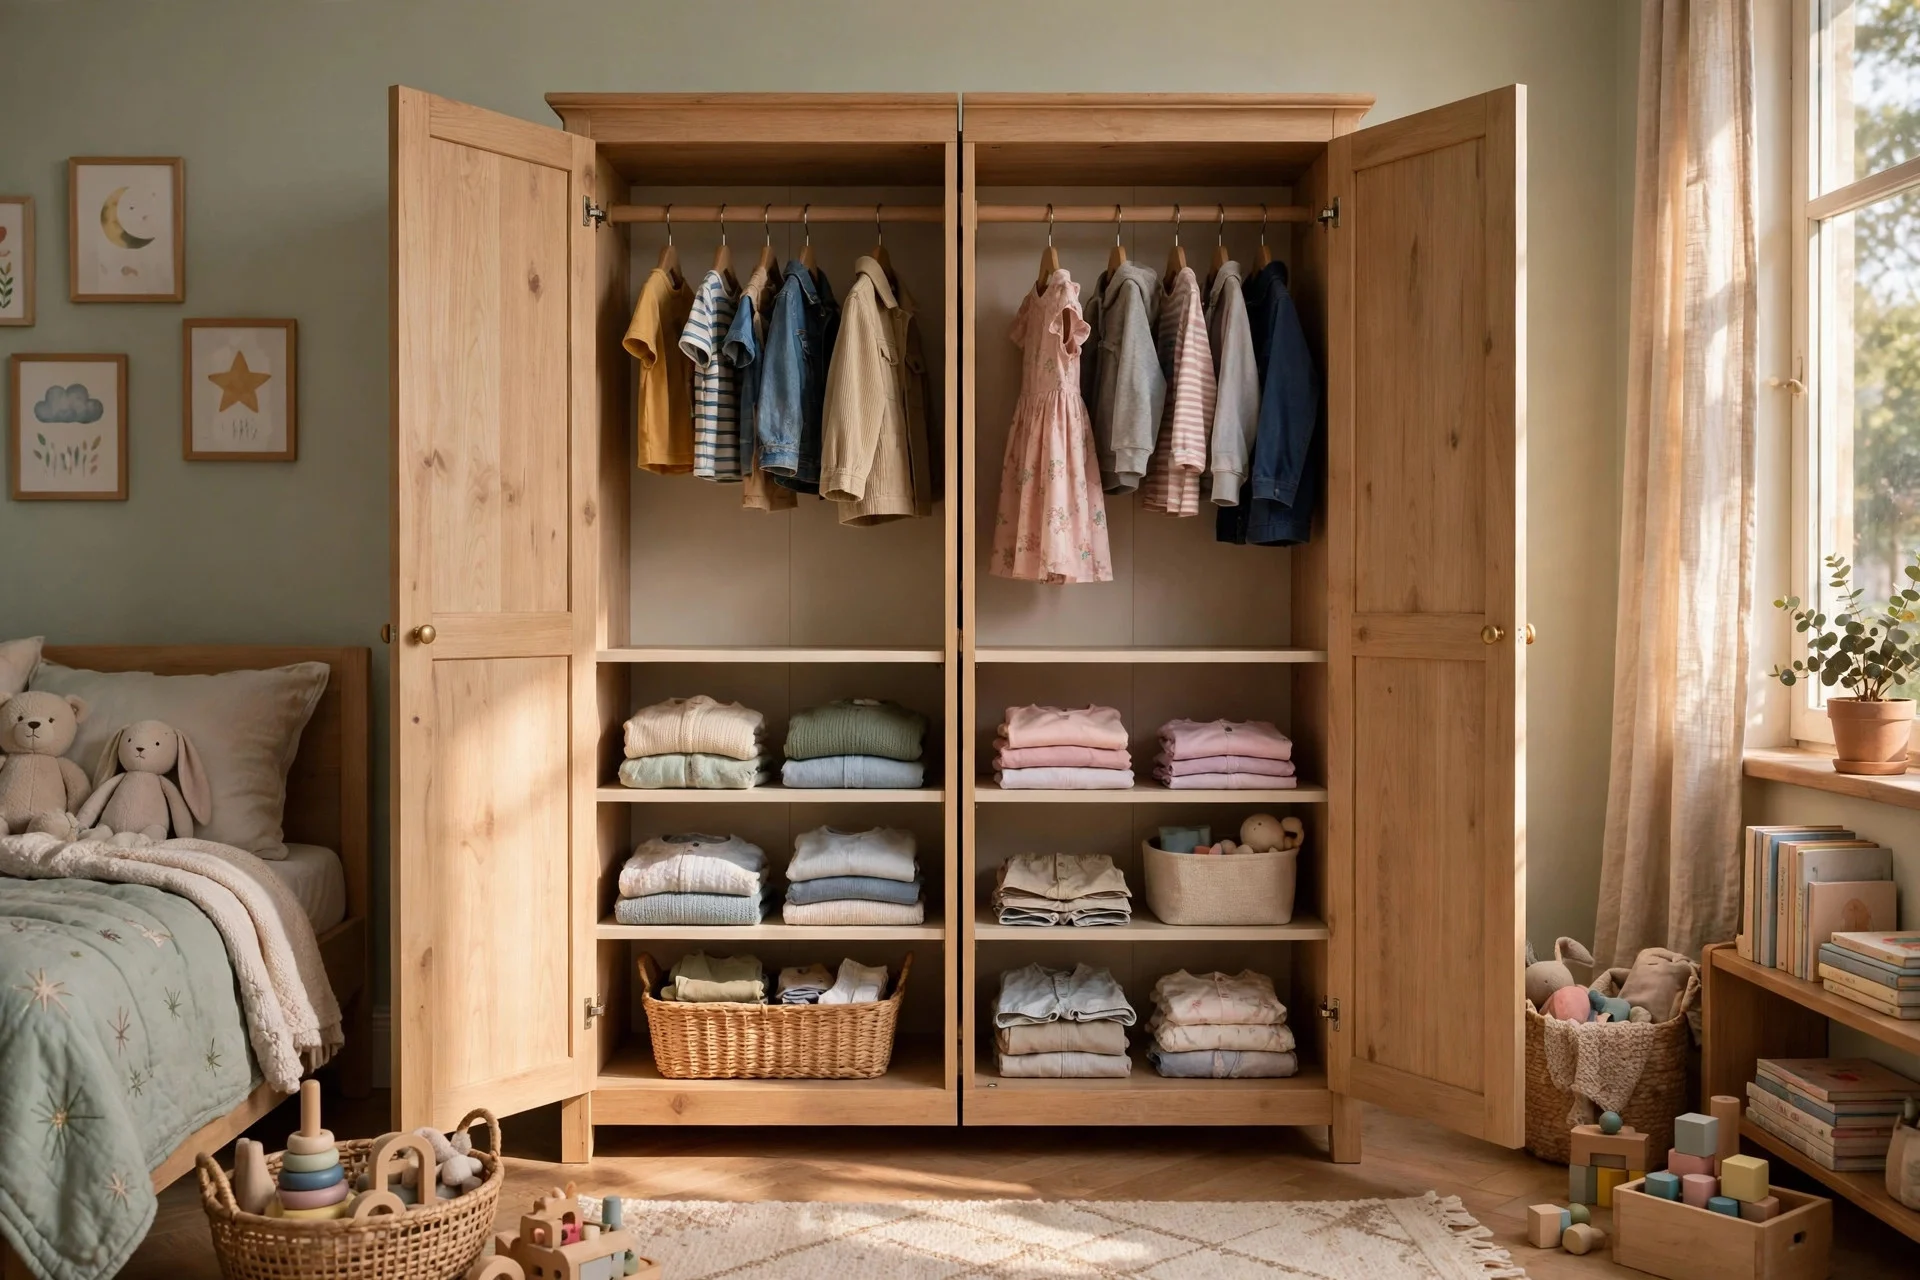
Storage zone. One large wardrobe, divided into two equal halves, is often fairer than two small wardrobes that never quite match. Give each child their own hanging rail, their own shelves, and their own door or curtain, so getting dressed in the morning does not turn into a negotiation.
A freestanding double wardrobe costs $250 to $800, while a built-in or closet-system version runs $600 to $1,500. Fitting a freestanding unit takes 2 to 3 hours; a built-in job may take a full day. Hands-on tip: put a small strip of washi tape or a painted line down the centre of shared shelves during the first month, until each child learns where their half ends. Watch out for uneven loads: if one child has far more clothes, do not shrink the other child’s half to compensate — use the ideas in the next section for overflow instead.
7. A Cubby Wall With Named Bins
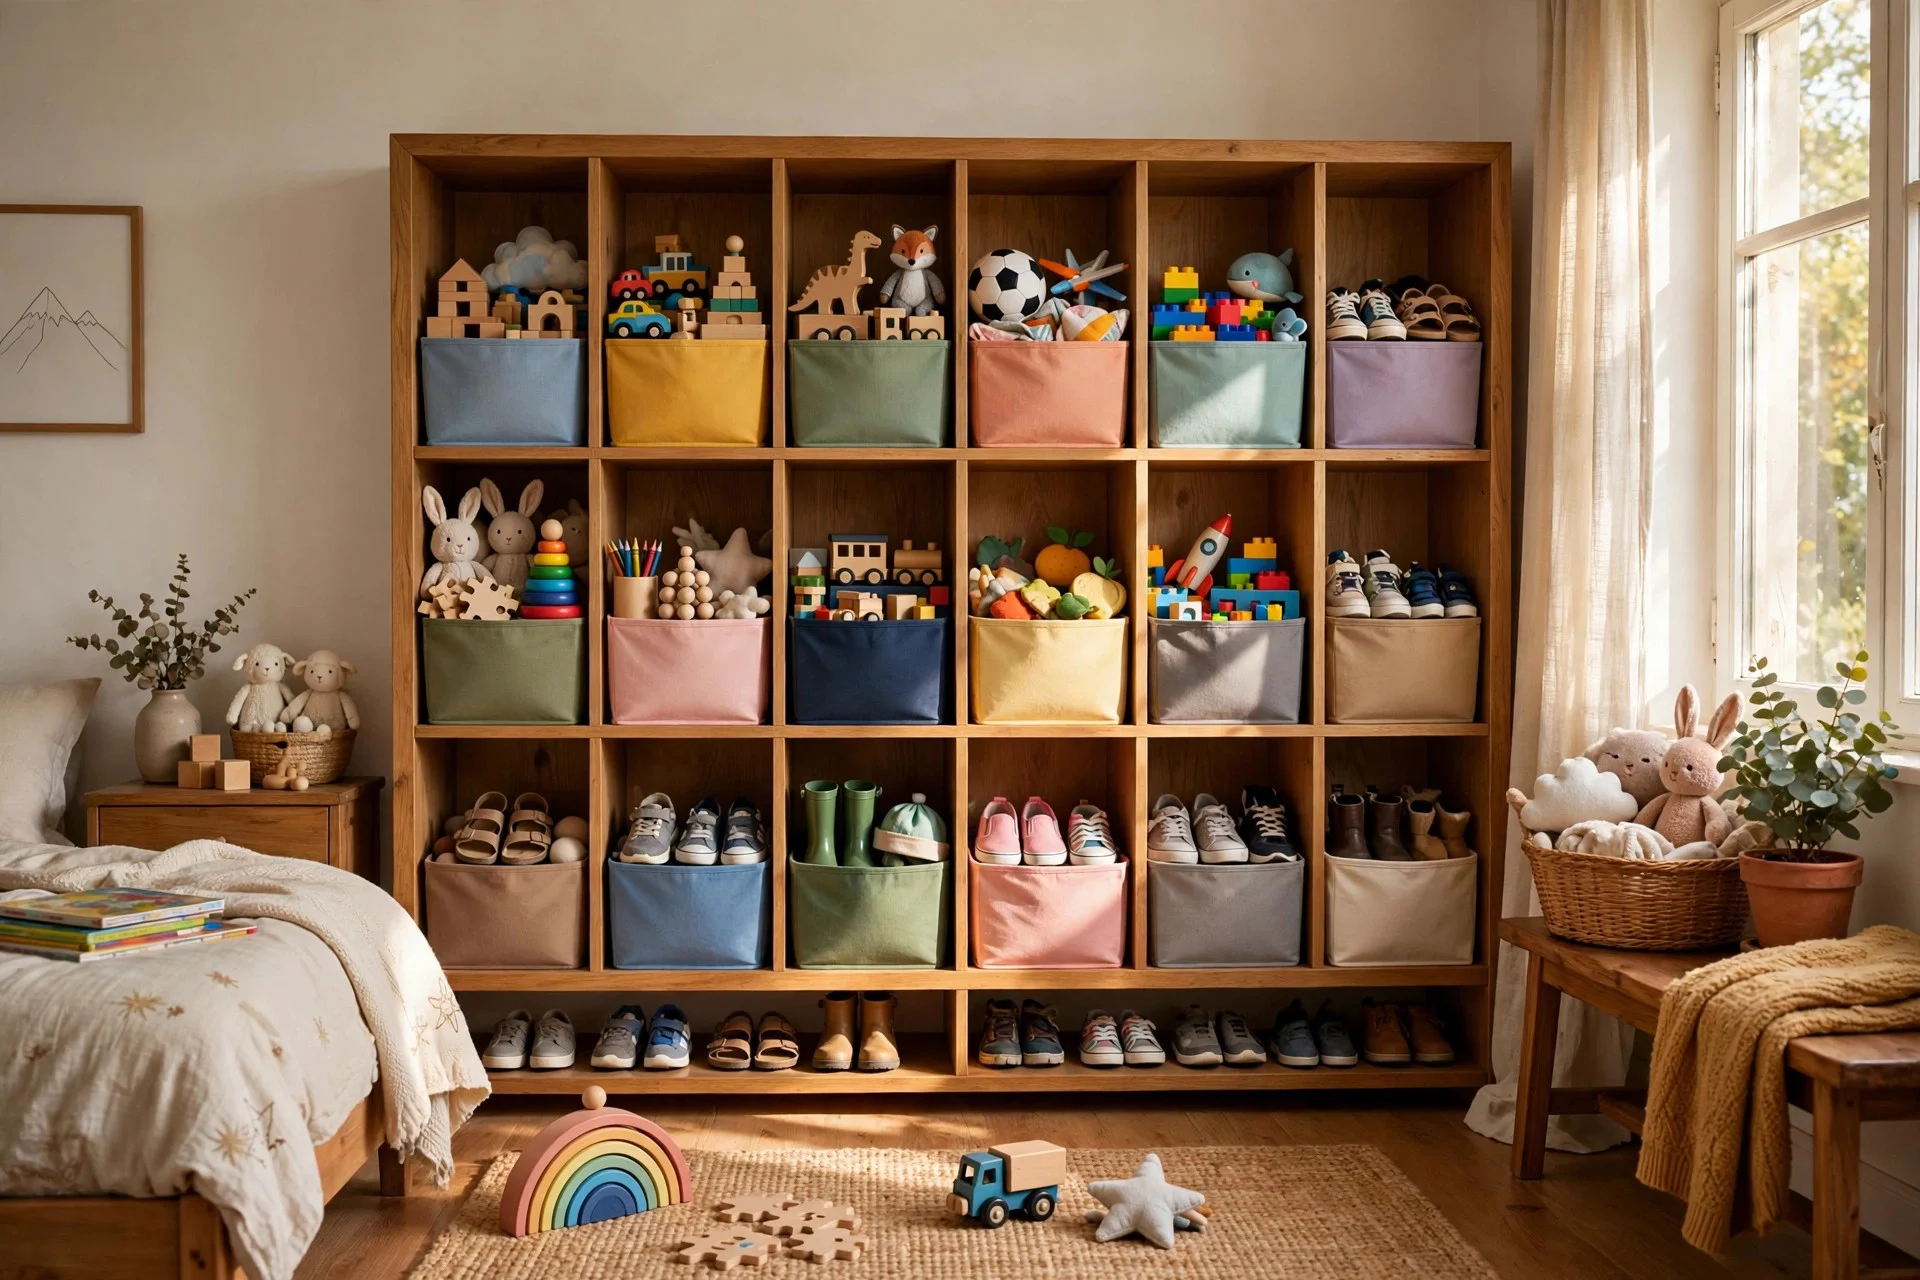
Open cubbies work better than deep drawers for toys, shoes, and school gear, because children can see what is theirs at a glance. Assign each child a row or a colour of bins, and label every bin with a name or a picture for younger children who cannot read yet.
A 6- to 9-cubby unit costs $90 to $300, and bins cost $5 to $15 each. Assembly takes 1 to 2 hours, plus 20 minutes to label everything. Hands-on tip: do a 10-minute tidy-up together each evening for the first two weeks, so the system becomes a habit instead of a one-day project. Watch out for bin size: bins that are too big invite dumping, while bins that are too small mean toys end up on the floor anyway. Medium bins, about 11 inches square, suit most toys and shoes.
8. Rolling Drawers Under Each Bed
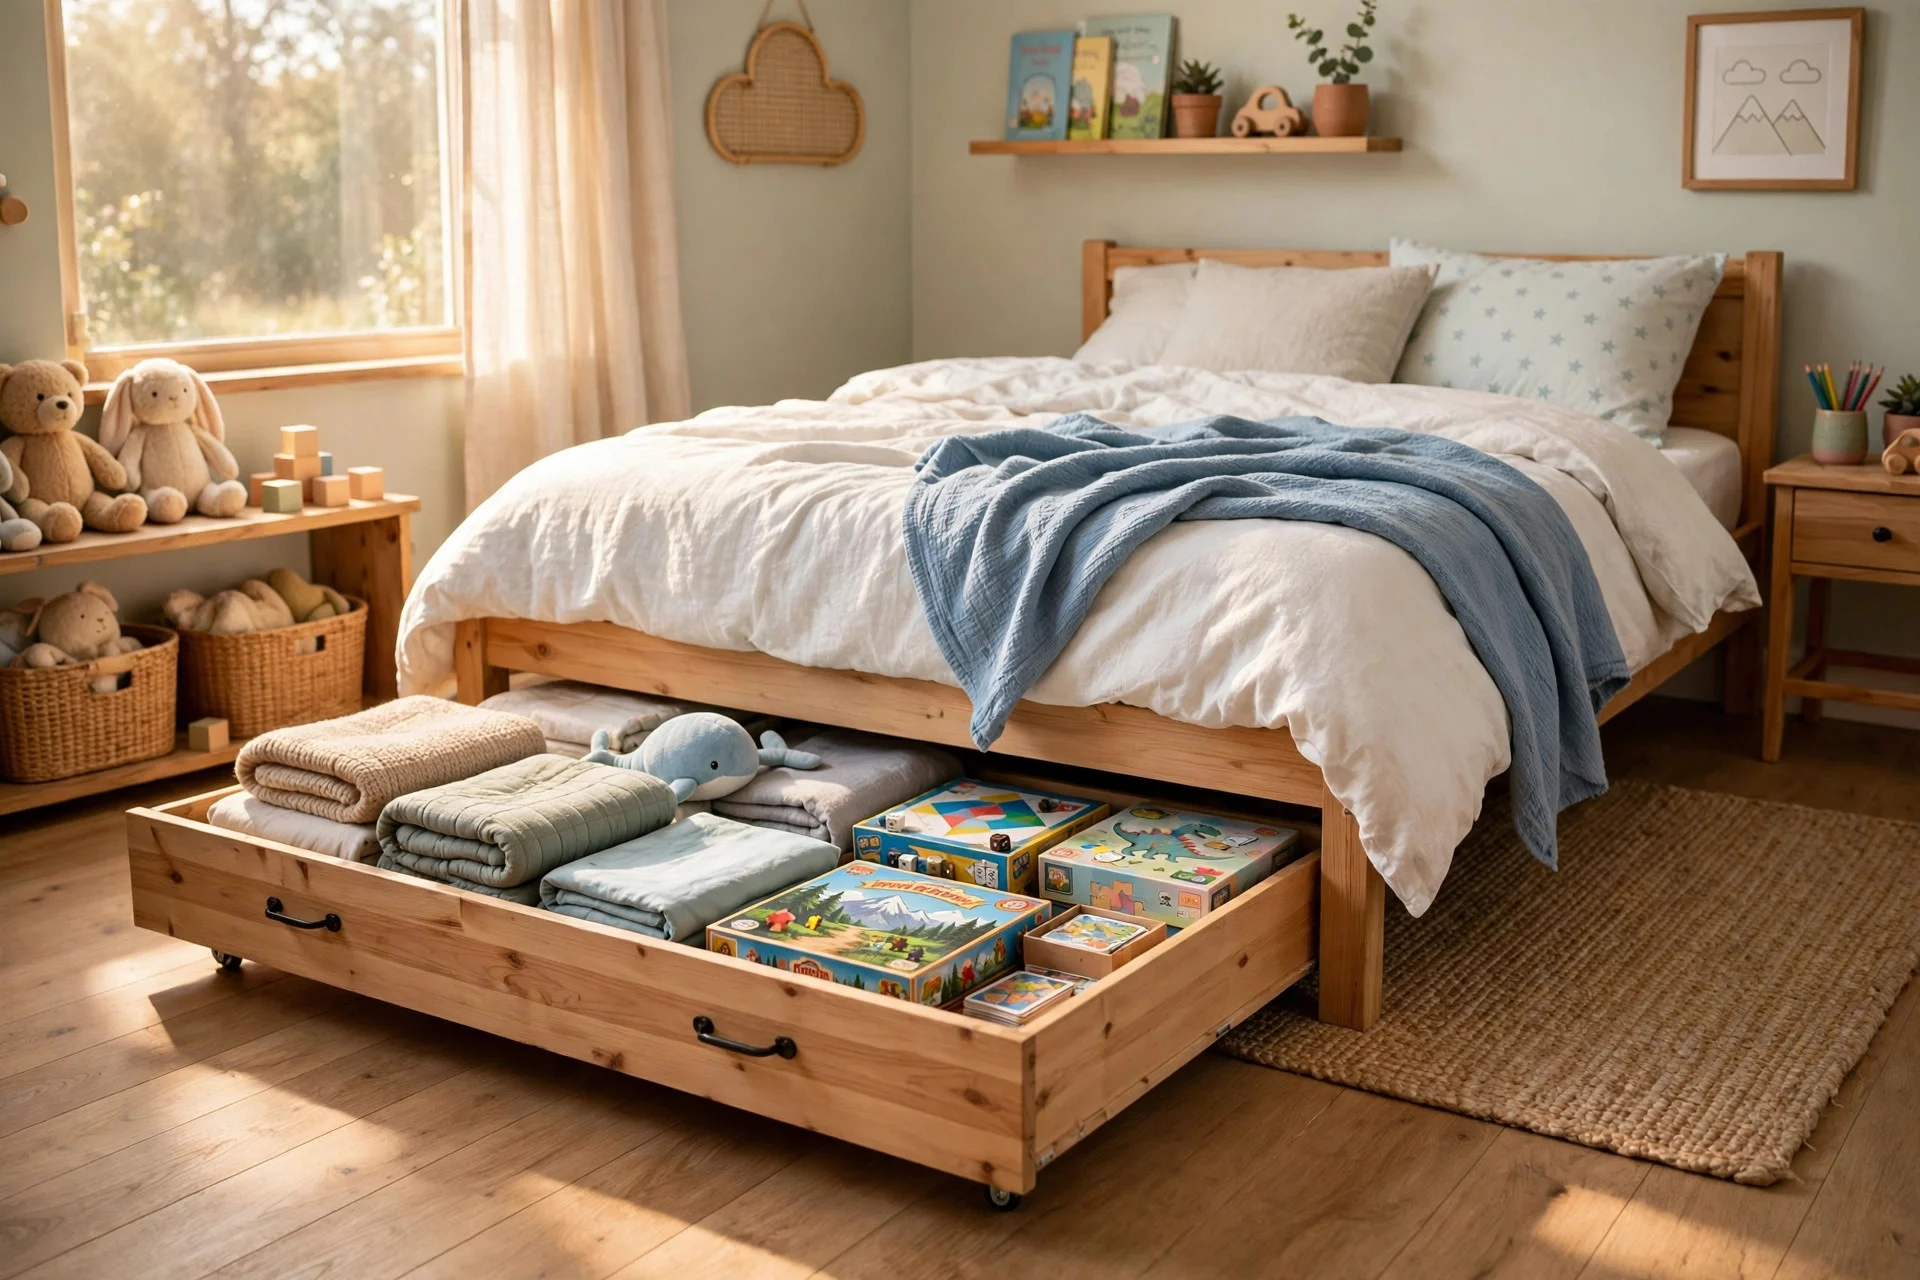
Under-bed rolling drawers catch the things that do not fit anywhere else: spare bedding, board games, sports kit, and craft supplies. Because each bed gets its own drawers, there is no argument about whose things are taking up the shared closet.
Rolling under-bed drawers cost $30 to $90 each, and you can set them up in under 15 minutes. Hands-on tip: use flat, wide drawers rather than tall boxes, so they slide out without catching on the bed frame, and put the least-used items in the drawer furthest from the door. Watch out for dust: wipe the drawers out once a month, and avoid storing soft toys under the bed for long periods, since they collect dust quickly. If floor space is very tight, a murphy bed for a small bedroom can free up even more floor during the day, though it suits older children better than younger ones.
9. A Reading Nook in the Window Corner
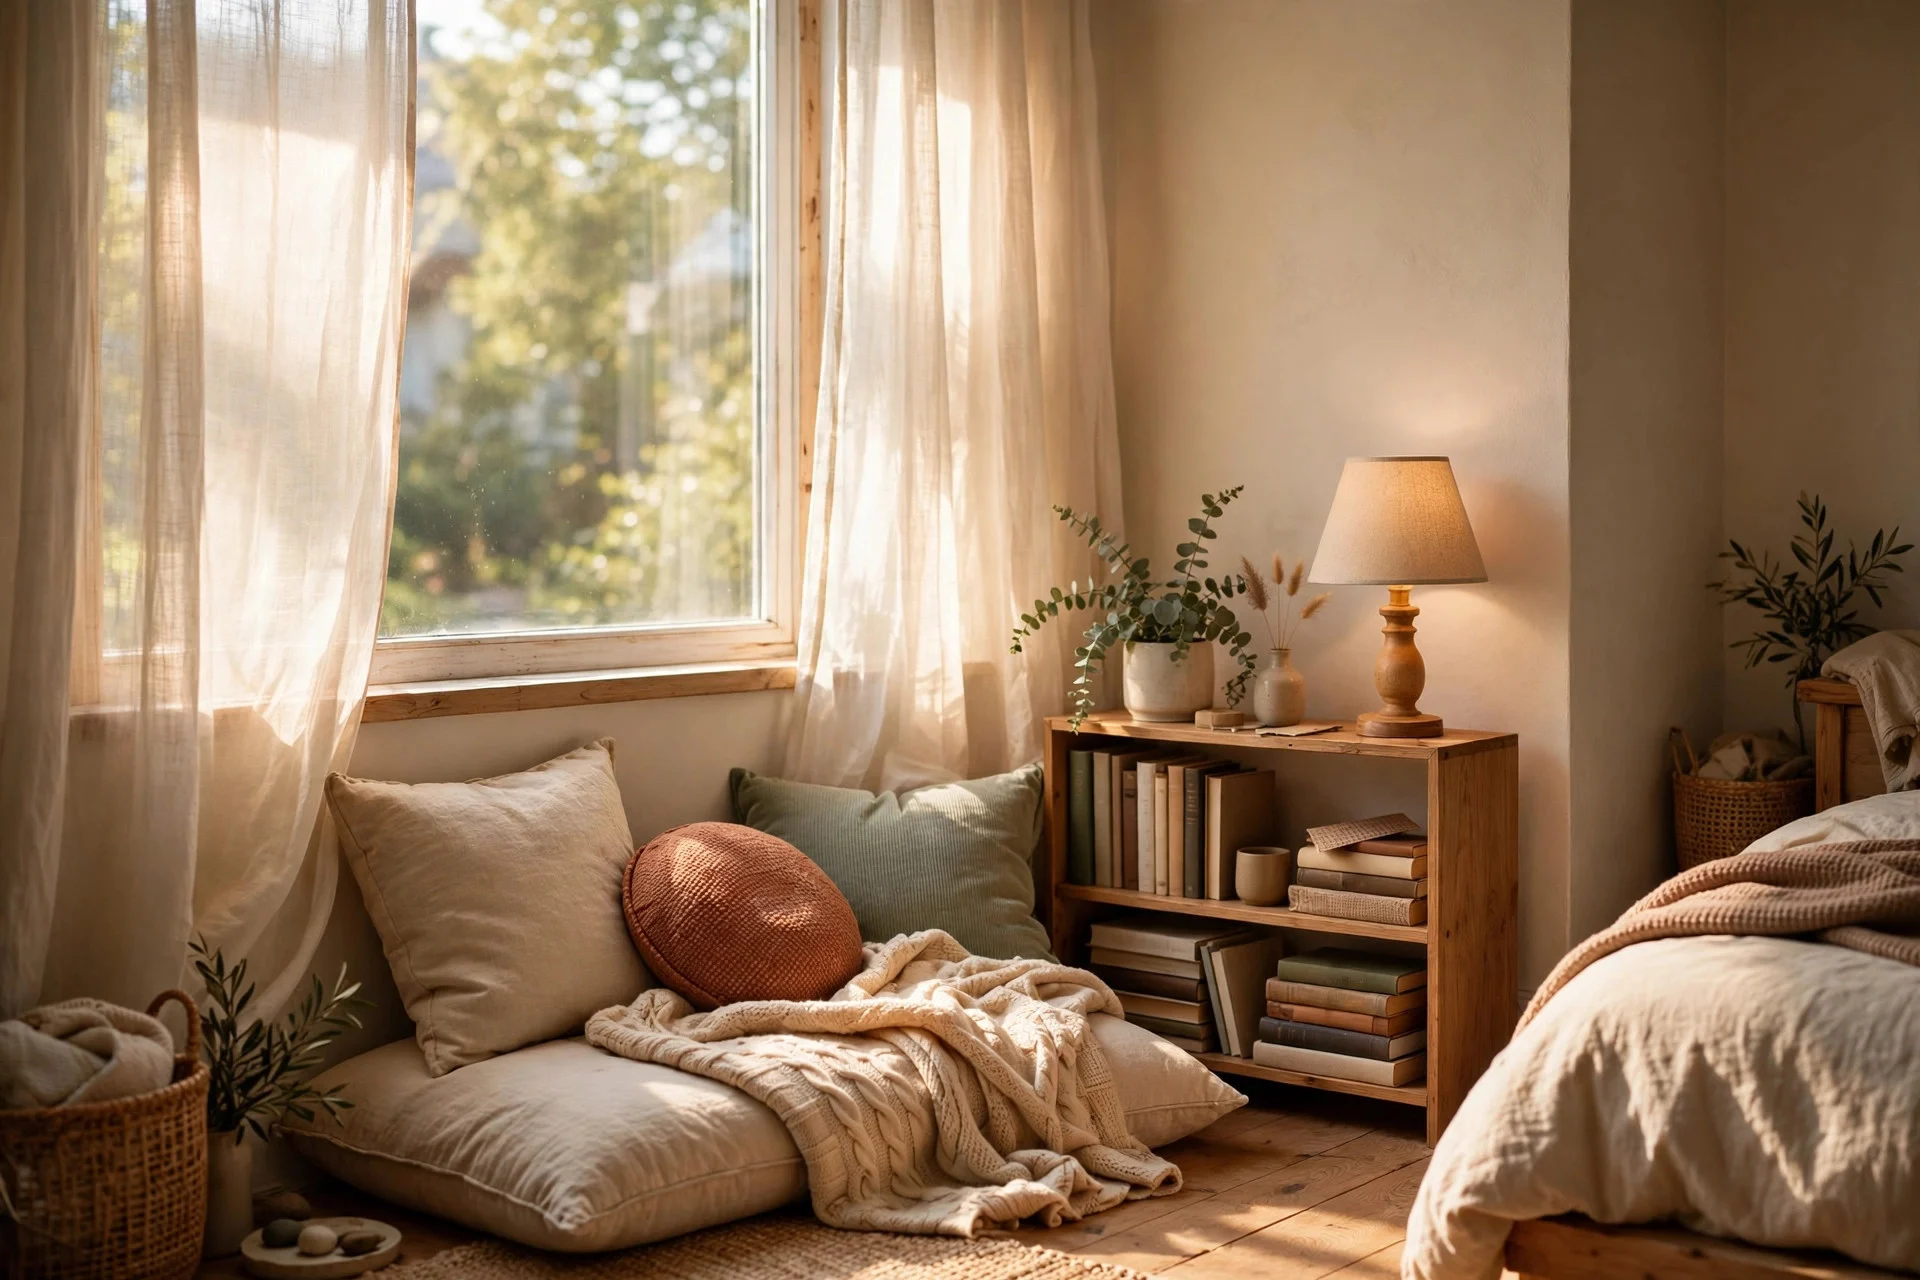
Play zone. A window corner makes a natural reading nook: a bench or a pile of floor cushions, a small shelf of books, and a lamp for evening reading. It gives both children a calm spot that is separate from the beds and the desk, which helps the room feel bigger than it is.
A simple cushion nook costs $60 to $200, while a built-in window bench runs $300 to $900. A cushion version takes under an hour to set up; a built-in bench takes a day with basic carpentry. Hands-on tip: add a small basket for each child’s current book, so the nook stays inviting instead of turning into a pile. Watch out for glare and draughts: a sheer curtain softens bright sun, and a draught excluder on an older window keeps the corner comfortable in winter. For bench styles and cushion layouts, these bedroom window seat ideas show how a seat can double as extra storage.
10. A Play Rug That Marks the Play Area
A large rug, roughly 5 by 7 feet, draws a clear boundary for play without building anything. Toys stay on the rug, blocks have a home base, and the rest of the room stays clear for walking, dressing, and studying. Choose a low-pile rug that is easy to vacuum and washable if you can find one.
A washable play rug costs $50 to $180. Laying it takes 10 minutes, plus time to move furniture. Hands-on tip: keep a low, open toy shelf right beside the rug, with two baskets per child, so tidying up means walking three steps instead of crossing the room. Watch out for rug size: a rug that is too small gets pushed aside, while one that is too big creeps under bed legs and bunches up. Measure the open floor first, and leave at least 12 inches of bare floor around the rug. Younger siblings sharing with an older child benefit from this clear play boundary too, since zones keep small toys away from walkways.

11. Two Gallery Walls, One Per Child
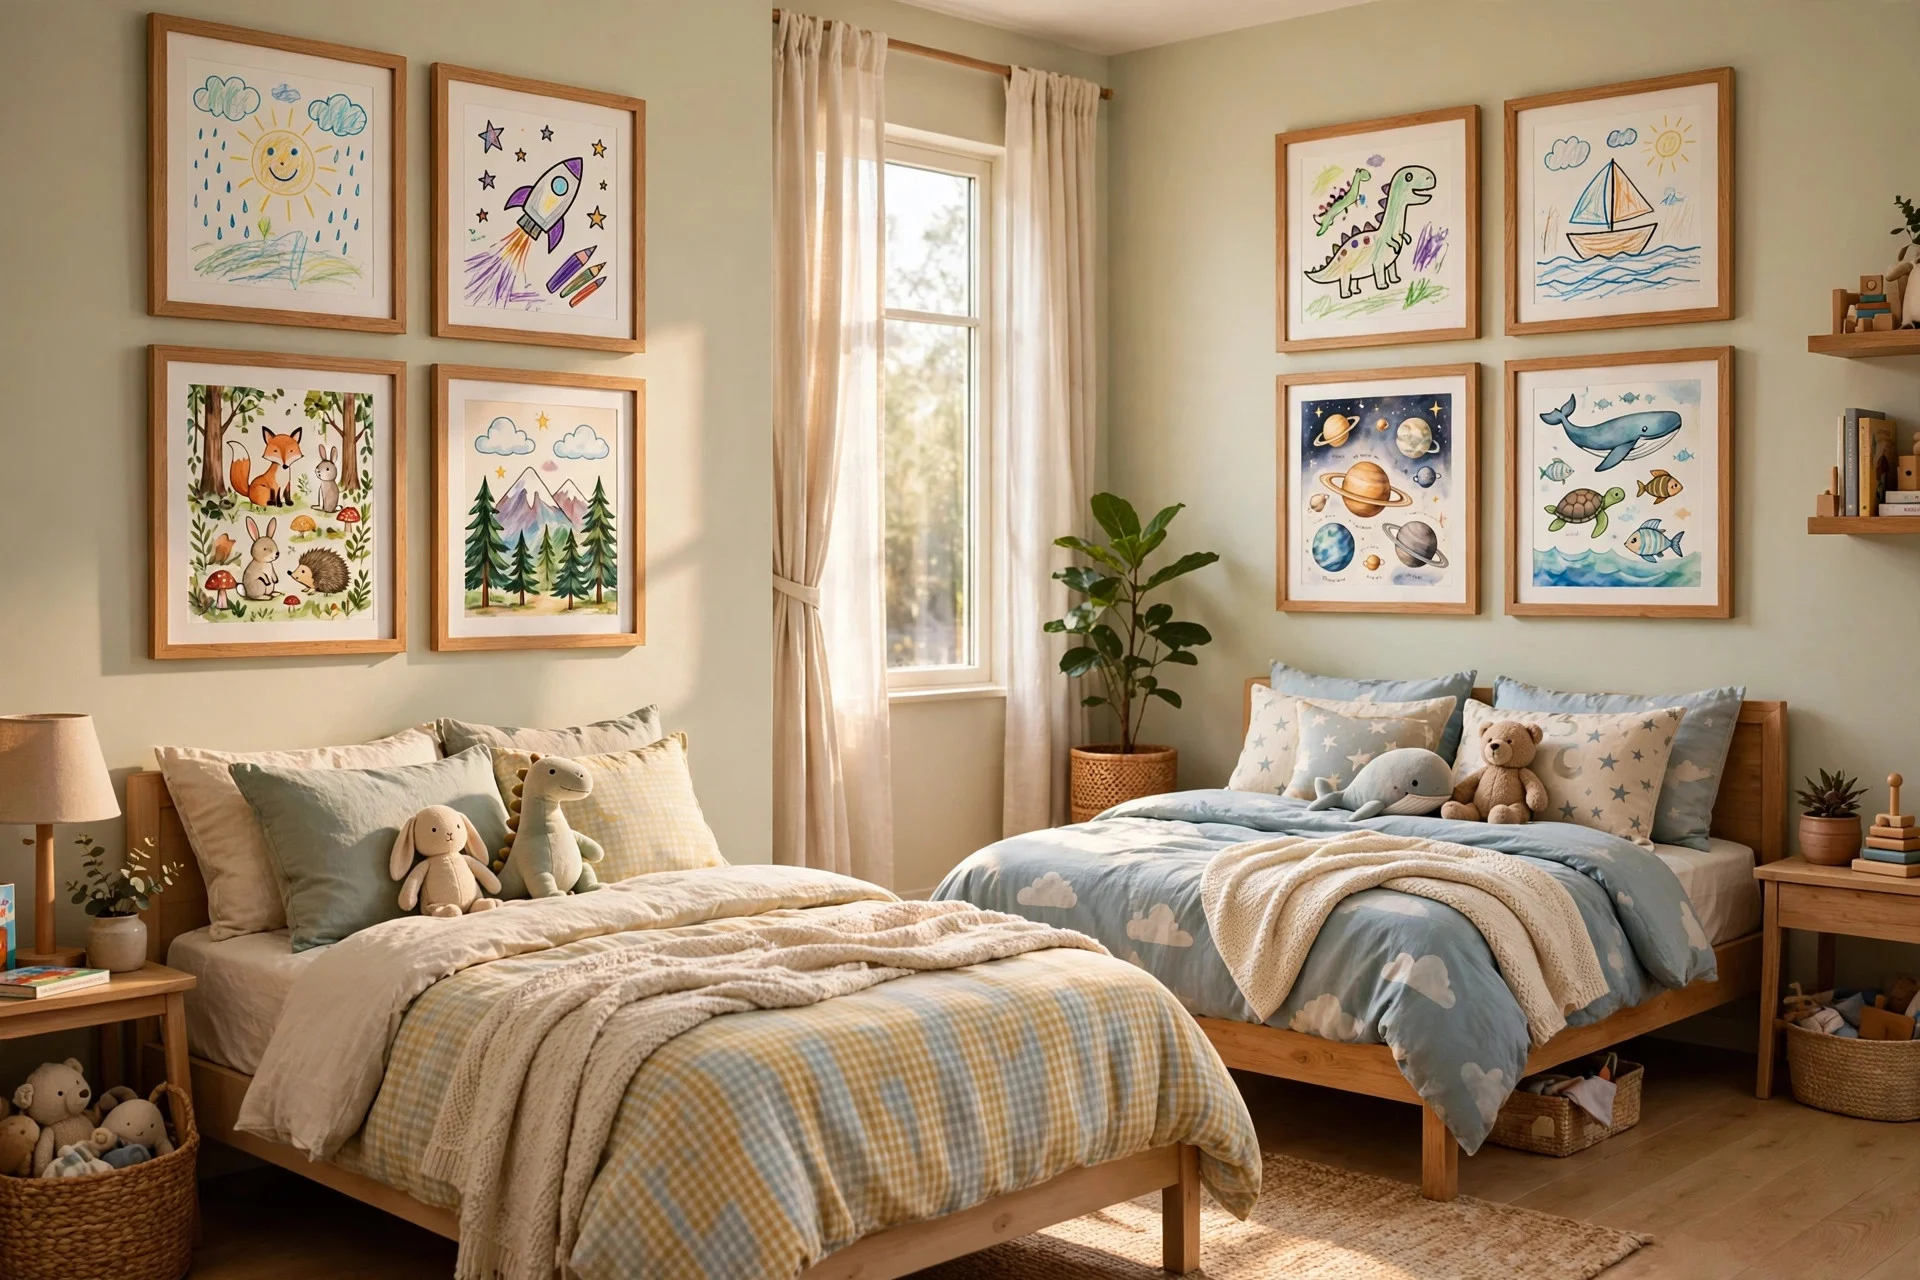
Walls and door zone. Give each child their own stretch of wall for art, photos, and posters. It sounds small, but own wall space is one of the fastest ways to stop a shared room from feeling like one child’s room with a guest in it. Use matching frames or matching washi-tape borders so the two walls still look like part of one room.
Frames and hanging strips cost $30 to $100 for both walls, and hanging takes 1 to 2 hours. Hands-on tip: use removable hanging strips on painted walls, and let each child choose what goes up and swap pieces monthly. Watch out for height: hang art at each child’s eye level, not at adult height, so they can actually enjoy it and change it themselves. Keep a simple rule — nothing goes on the other child’s wall without asking — and the gallery walls do a lot of quiet fairness work on their own.
12. A Door Organizer and Hook Row for the Entry
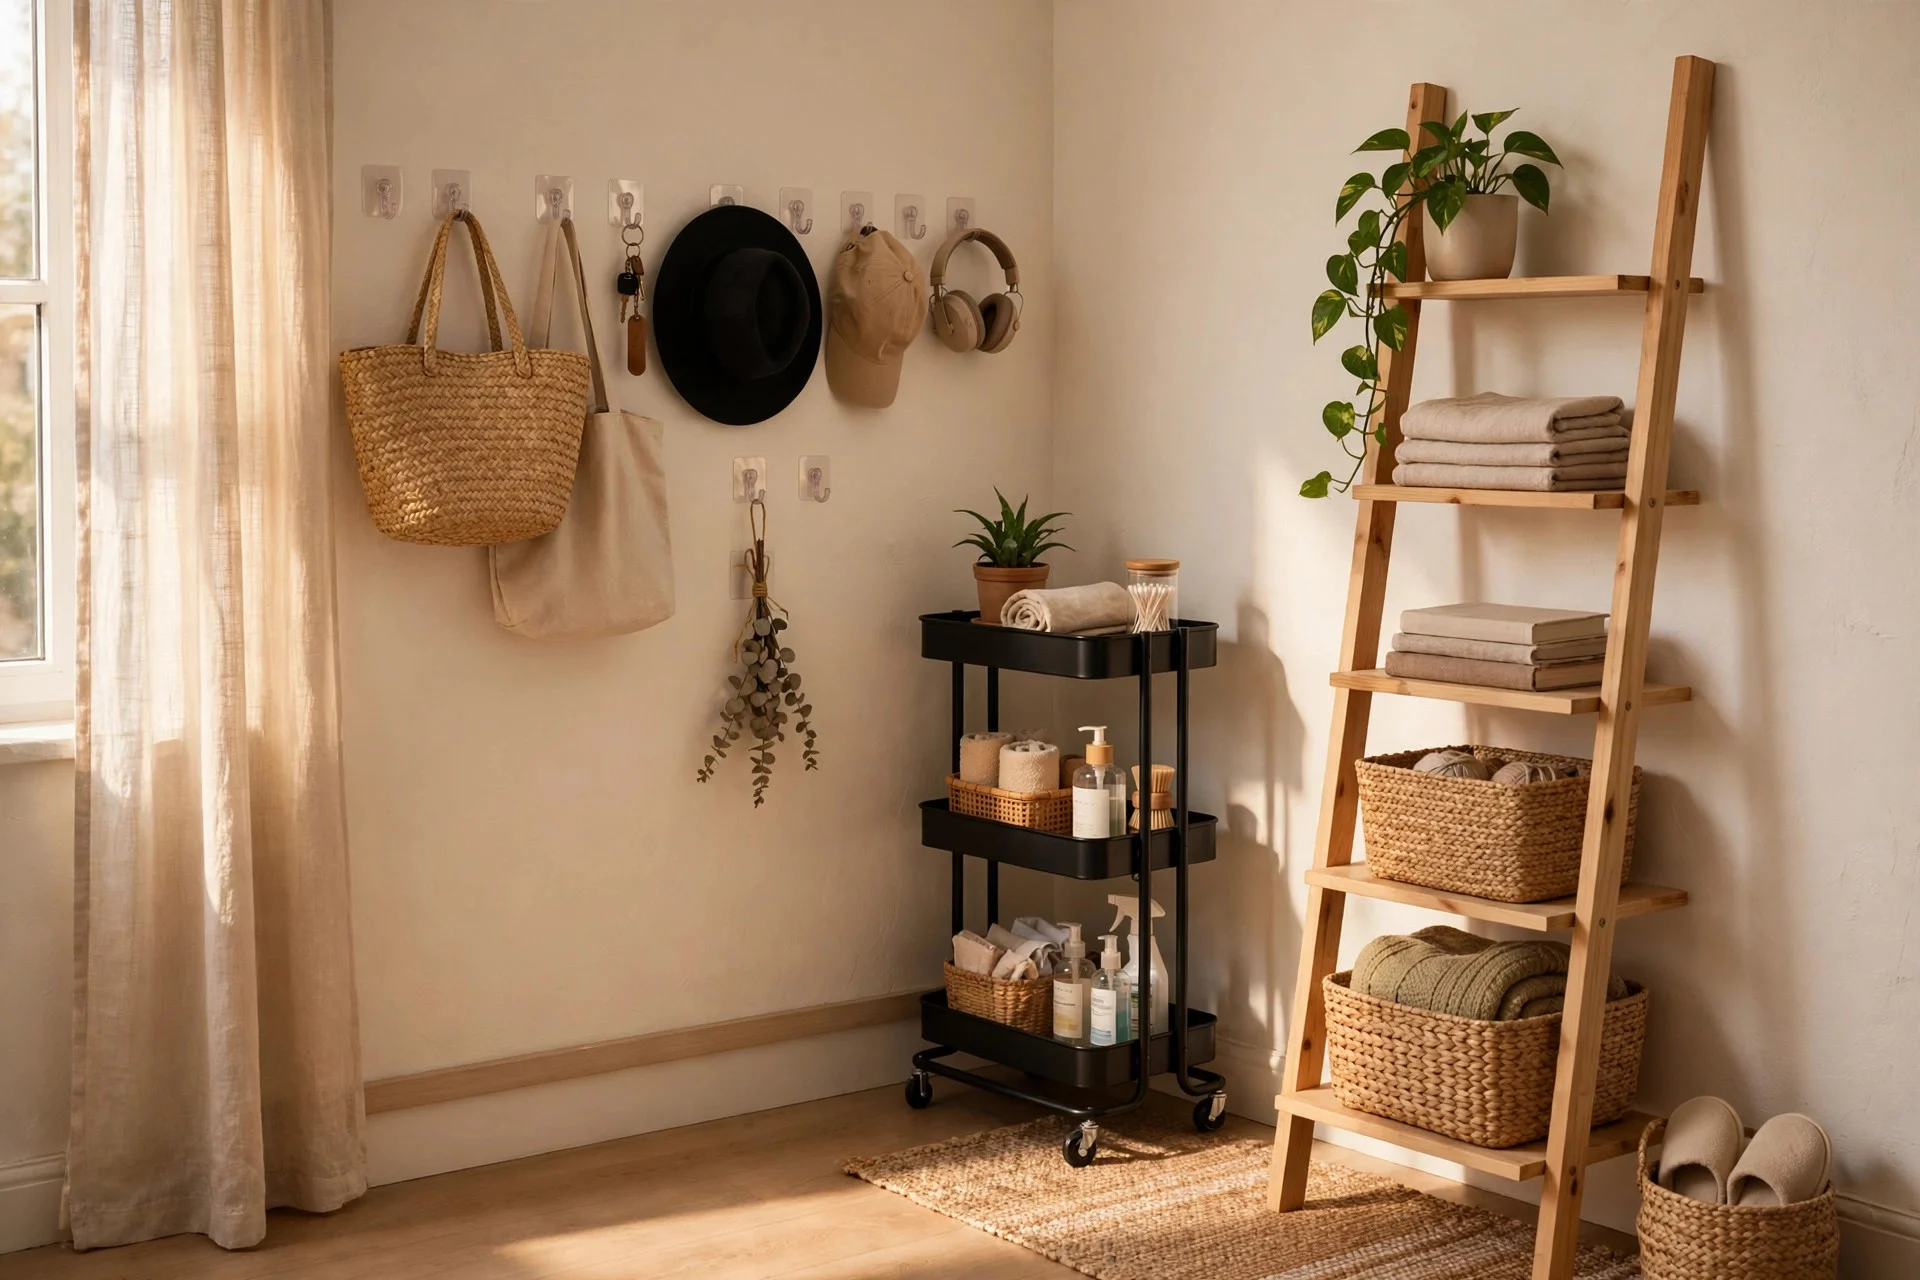
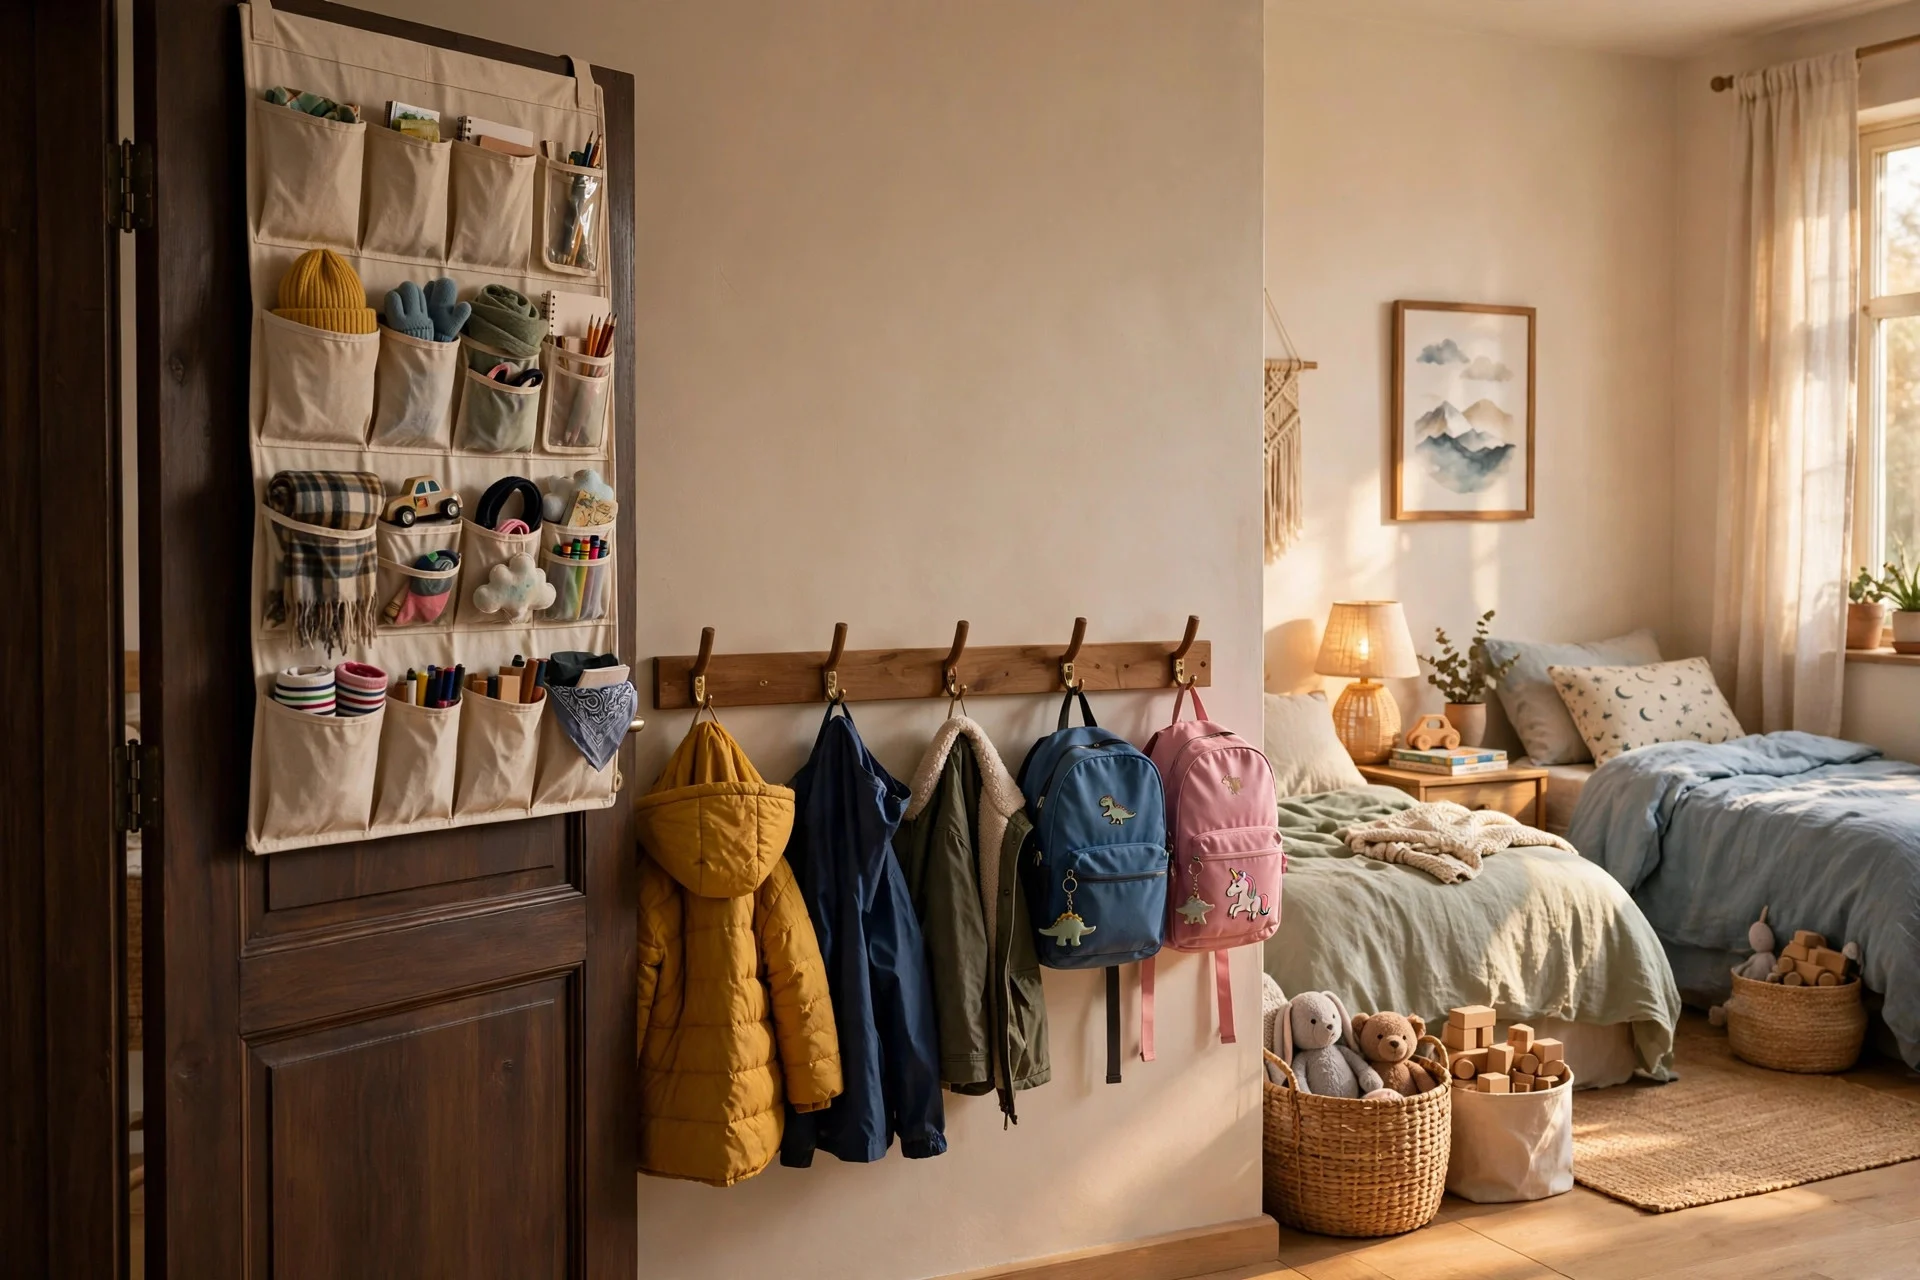
The last zone is the one most shared rooms forget: the strip just inside the door. A row of hooks at child height, one set per child, plus an over-door organizer for bags, hats, and school kit, stops coats and backpacks from landing on beds and chairs.
A hook rail costs $15 to $45, and an over-door organizer costs $15 to $35. Fitting takes 20 to 40 minutes. Hands-on tip: label the hooks and give each child two hooks — one for a coat, one for a bag — so there is always a spare when a friend visits. Watch out for door clearance: check that an over-door organizer does not stop the door from closing, and do not hang heavy bags on a hollow door without a proper hook. This small entry zone saves the rest of the room from clutter creep, and it is the cheapest idea on this list to try first.
Frequently Asked Questions
How do you make a shared kids’ bedroom feel fair?
Split the things children notice most: bed space, storage, desk space, and wall space. Equal halves matter more than identical furniture. Name bins, label hooks, and set a simple rule that each child’s shelf and wall are theirs to manage, with shared areas tidied together.
What size room works for two children?
A room around 10 by 12 feet can work well with bunk beds or parallel twins, a long desk, and built-in storage. Smaller rooms need fold-down desks and under-bed storage to keep floor space clear. Measure beds and door swings before buying anything, since a few inches decide if a layout feels open or cramped.
Should siblings share a room if they are different ages?
Yes, with a few adjustments. Give the older child a later reading light and a desk spot for homework, and give the younger child lower storage they can reach safely. A curtain divider at bedtime helps different sleep times, and separate bedtime routines — one reads while the other settles — reduce friction.
How often should a shared room be reorganized?
Do a light reset every three to six months, when school terms change or children outgrow toys. Check what no longer fits, swap bunks if you use a rotation, and let each child pick one new item for their wall or desk. Small, regular resets beat one big overhaul each year.
Wrap-Up Checklist
Start with the sleeping layout, then add study space, then storage, then play and wall space. Measure twice, buy once, and label everything from day one. Give each child a bed, a desk spot, a storage half, and a wall they can call theirs, and keep one shared play corner for time together. Walk the room with your children, try the layout on paper first, and adjust one zone at a time — a shared bedroom that feels fair is built in small steps, not in a single shopping trip.