17 First Apartment Bedroom Ideas When the Budget Is Tight
A first apartment bedroom on a budget does not need a full makeover to feel good. Start with the bed, the lighting, and one storage fix, and the room already feels more settled. Spend in small steps, cheapest first, and you can build a room you like without draining the money you need for rent, bills, and groceries. The 17 ideas below are grouped by price, from under $50 up to $200 and beyond, so you can stop at whatever tier fits your wallet right now.
Under $50: quick wins that cost little and take an afternoon at most
1. Refresh the Bed With New Layers
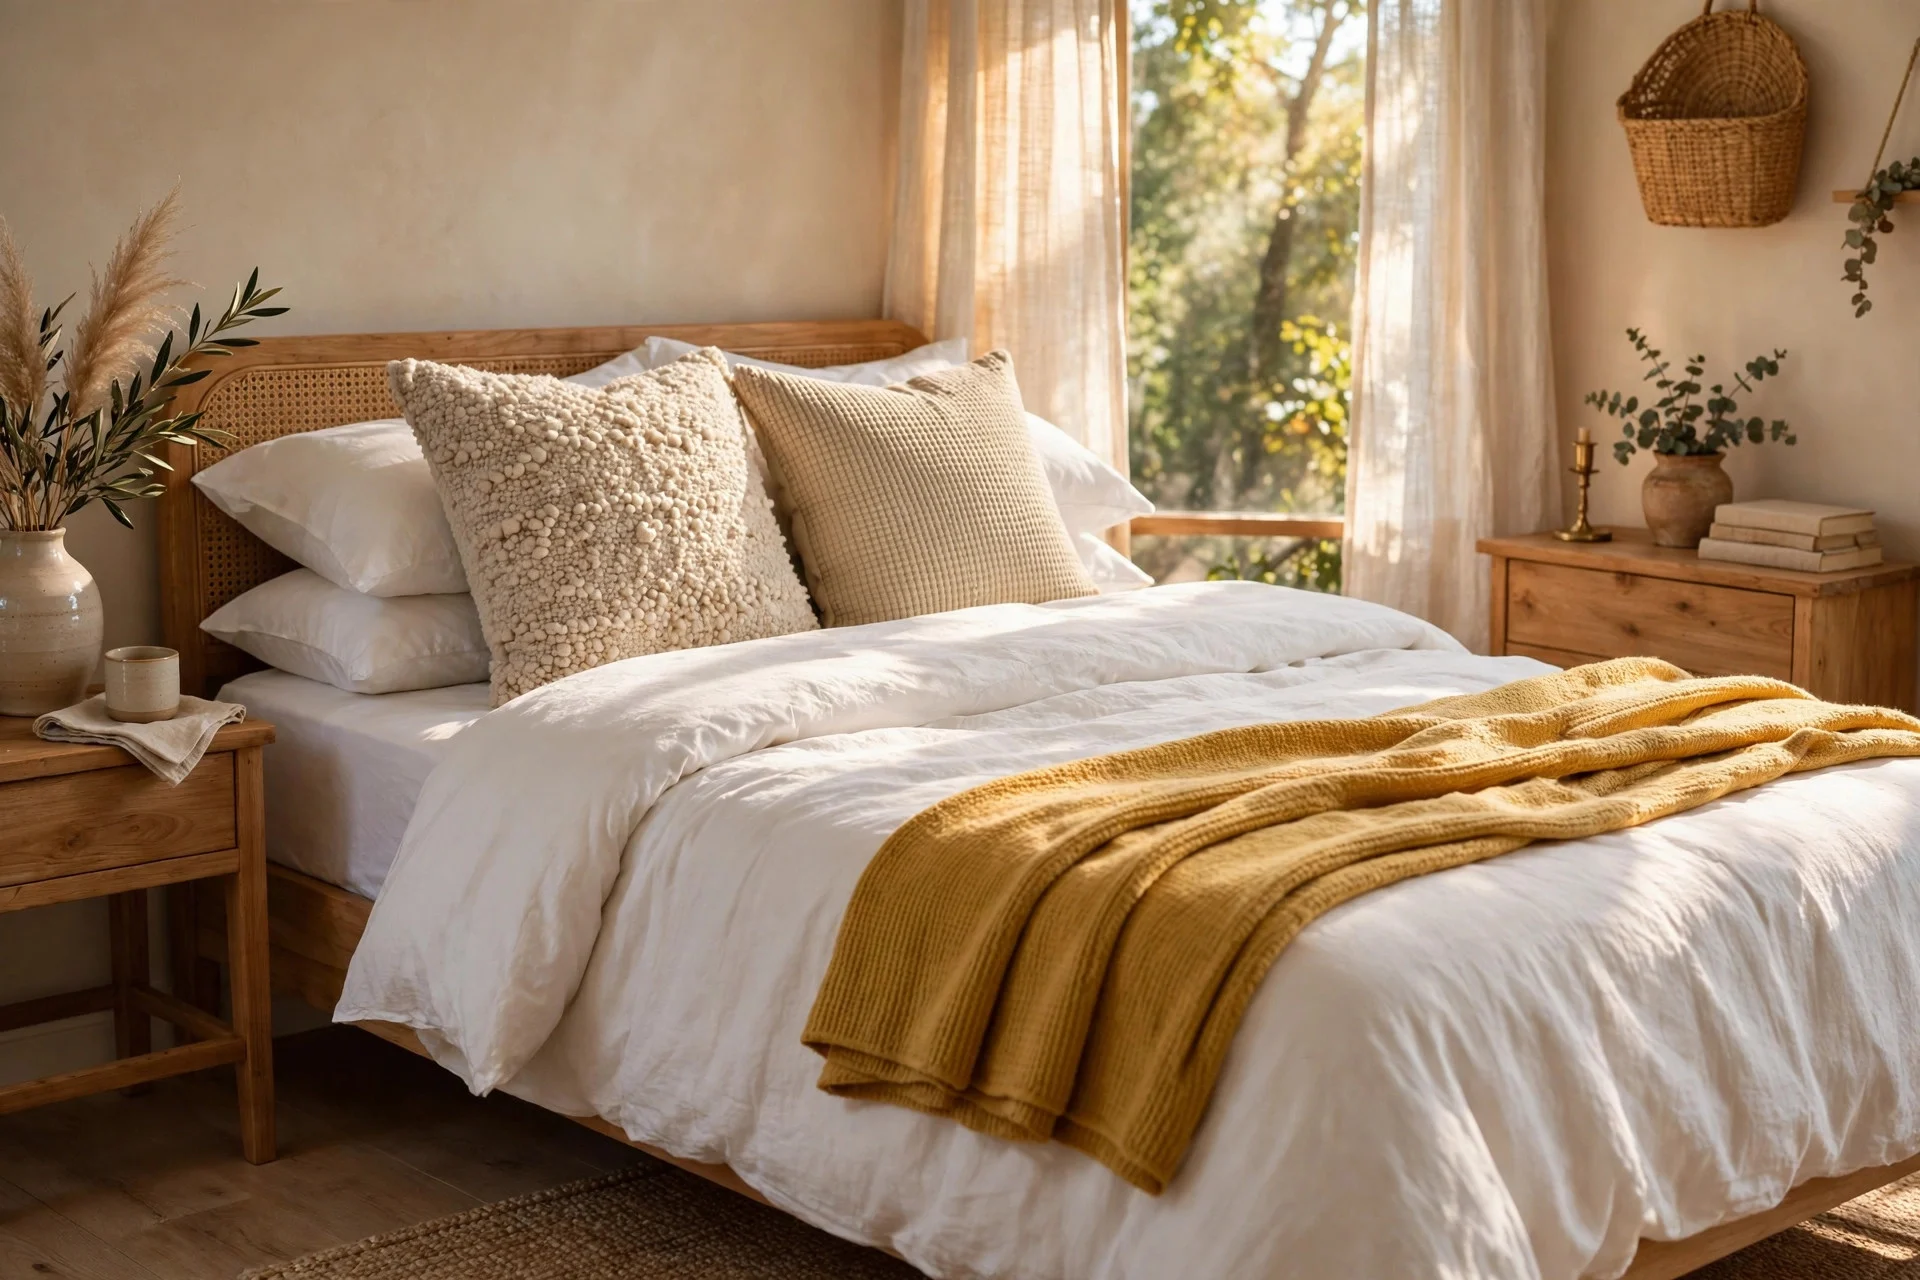
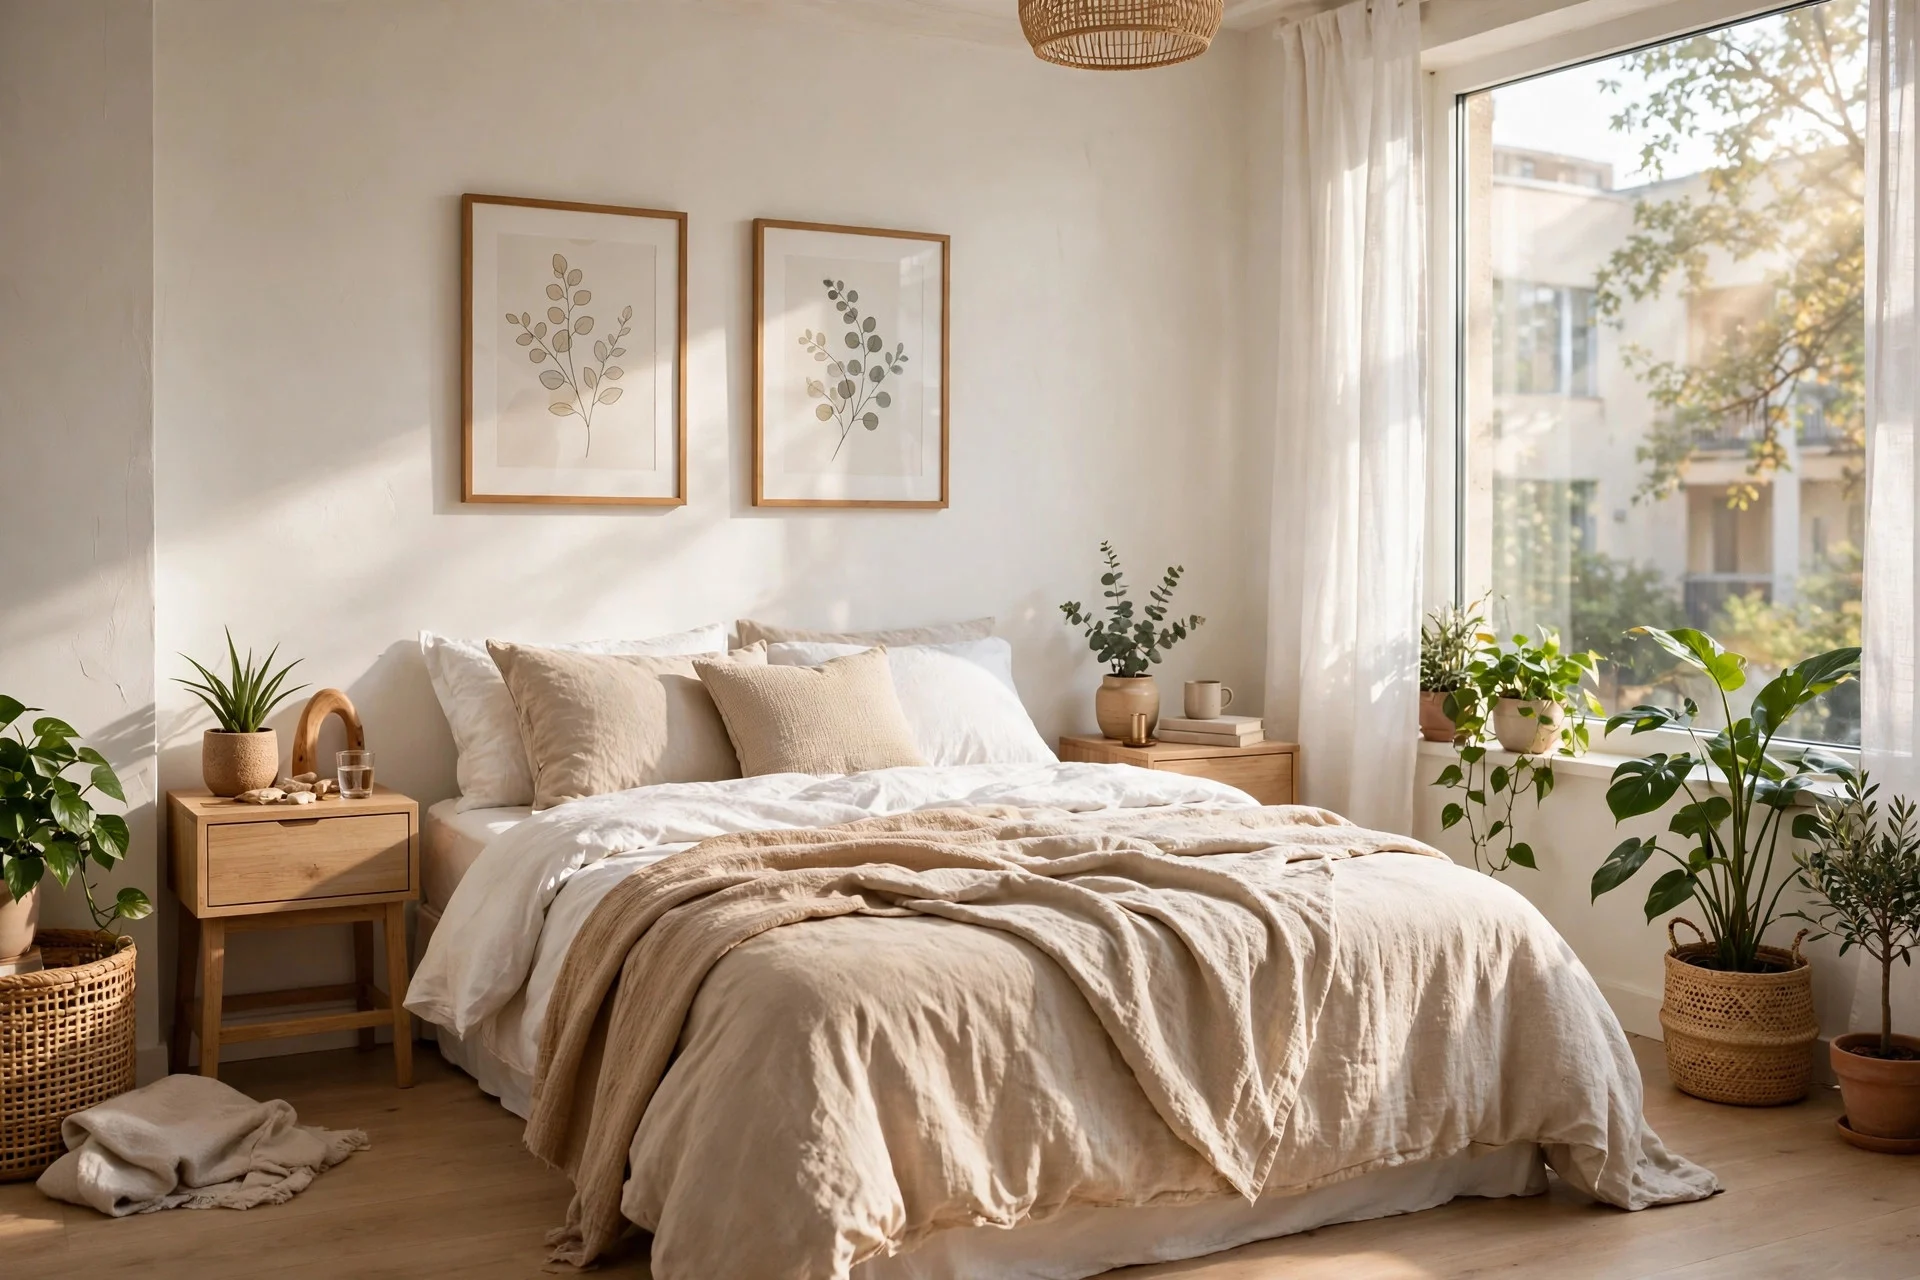
Cost: $25–$45 | Difficulty: easy | Time: 20 minutes. New bedding layers are the fastest way to make a plain bed look finished. Add a soft throw across the foot of the bed and two pillowcases in a colour that ties in with your curtains or rug. The bed fills most of the room, so changing what sits on it changes the whole look. Wash everything first so it smells fresh from day one.
Hands-on tip: fold the throw into thirds and lay it slightly off-centre so it looks relaxed rather than stiff. Watch out: skip heavy, dark throws in a small room, since they can make the bed look bulky and the space feel cramped.
2. Add a Removable Accent Wall
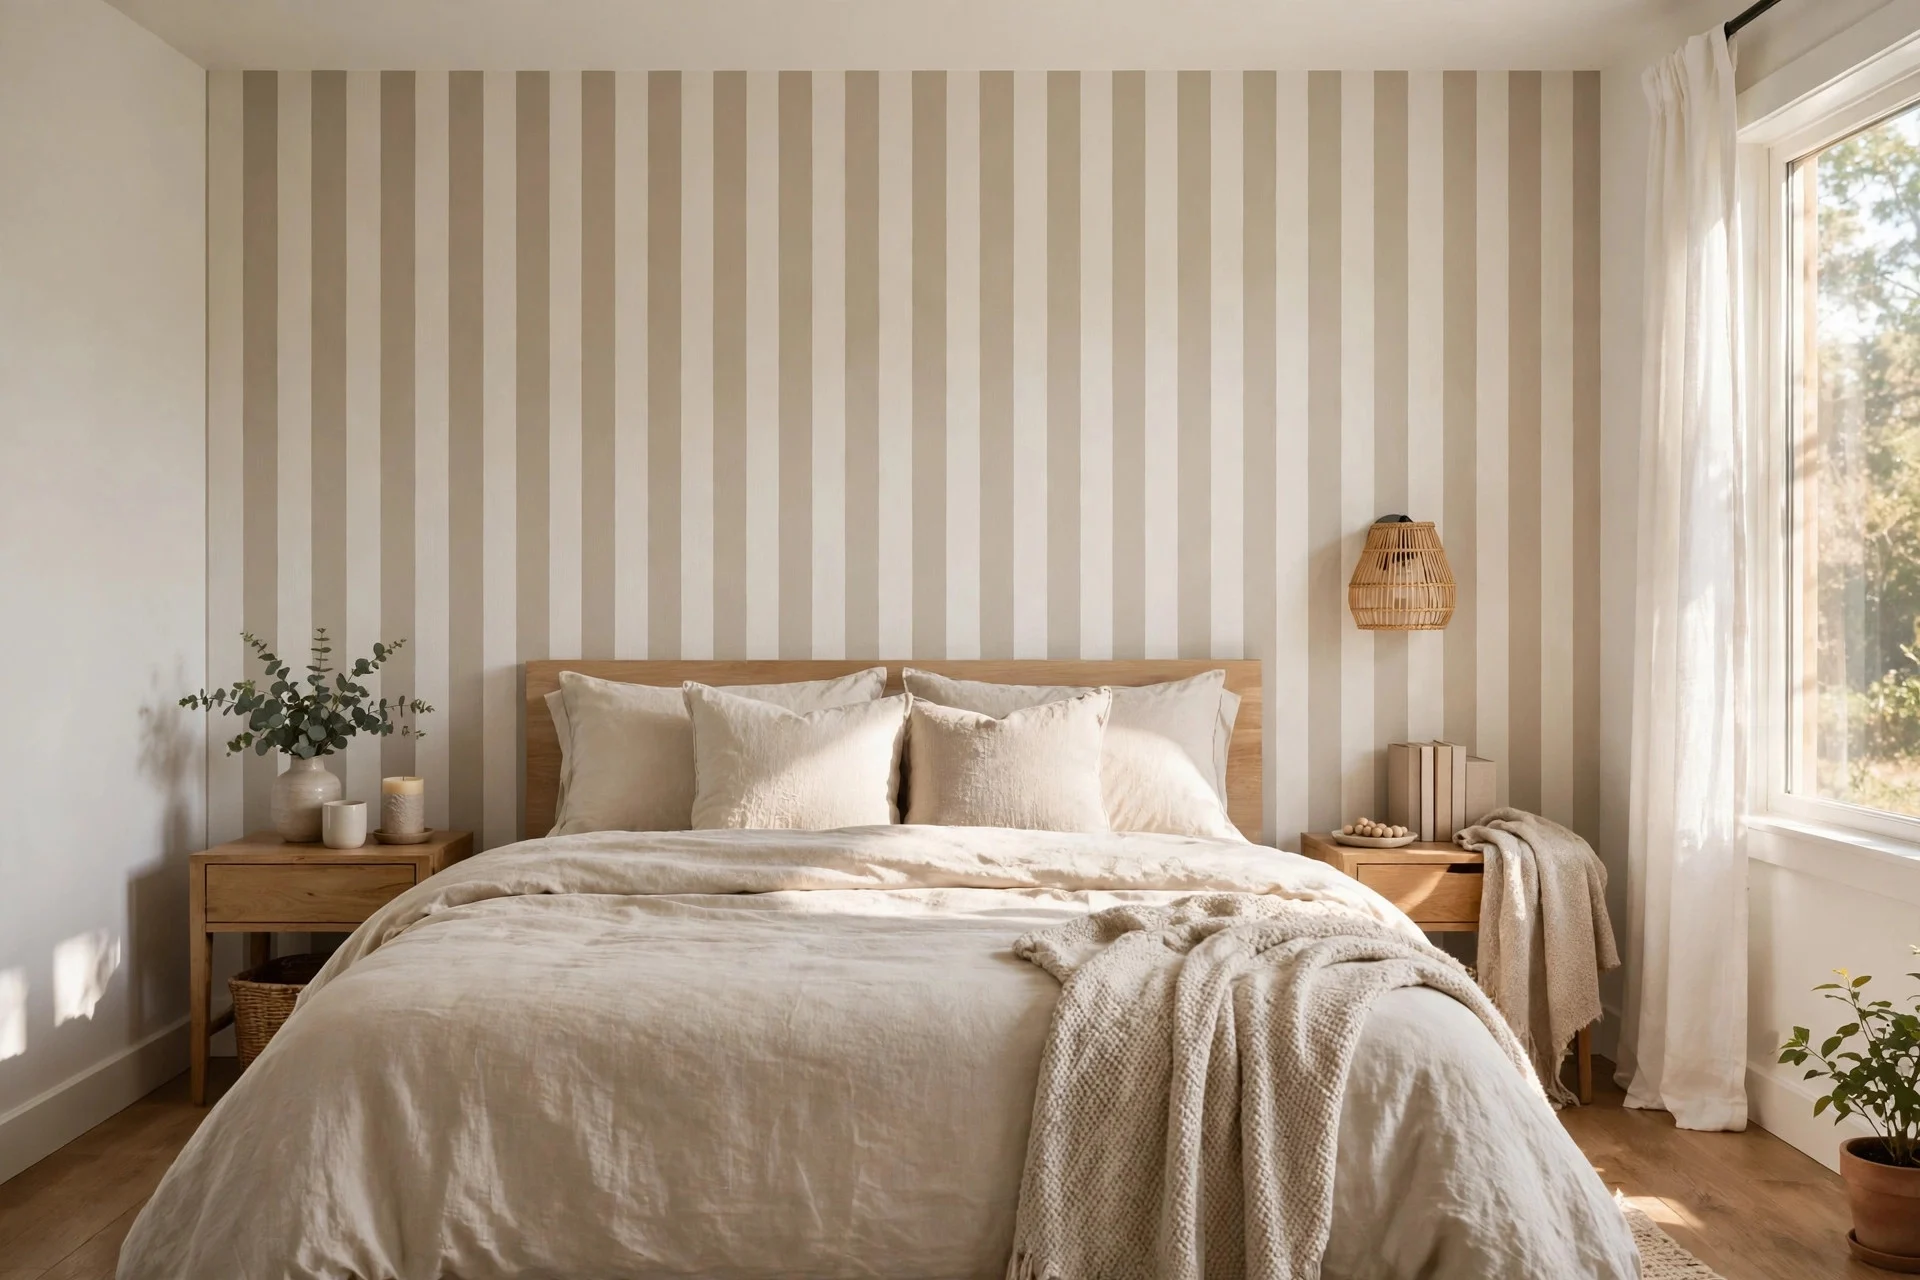
Cost: $20–$45 | Difficulty: easy | Time: 1–2 hours. Peel-and-stick wallpaper or large wall decals give you a feature wall without paint, drilling, or a fight with your landlord. One roll usually covers the wall behind the bed in a small bedroom, and most types peel off cleanly when you move out. Pick a simple stripe, arch, or subtle pattern that works with bedding you already own.
Hands-on tip: start at the top centre and smooth outward with a dry cloth to push air bubbles to the edges. Watch out: test one strip on a hidden spot first, since older or textured paint can peel off along with the paper.
3. Fix the Lighting With a Thrifted Lamp
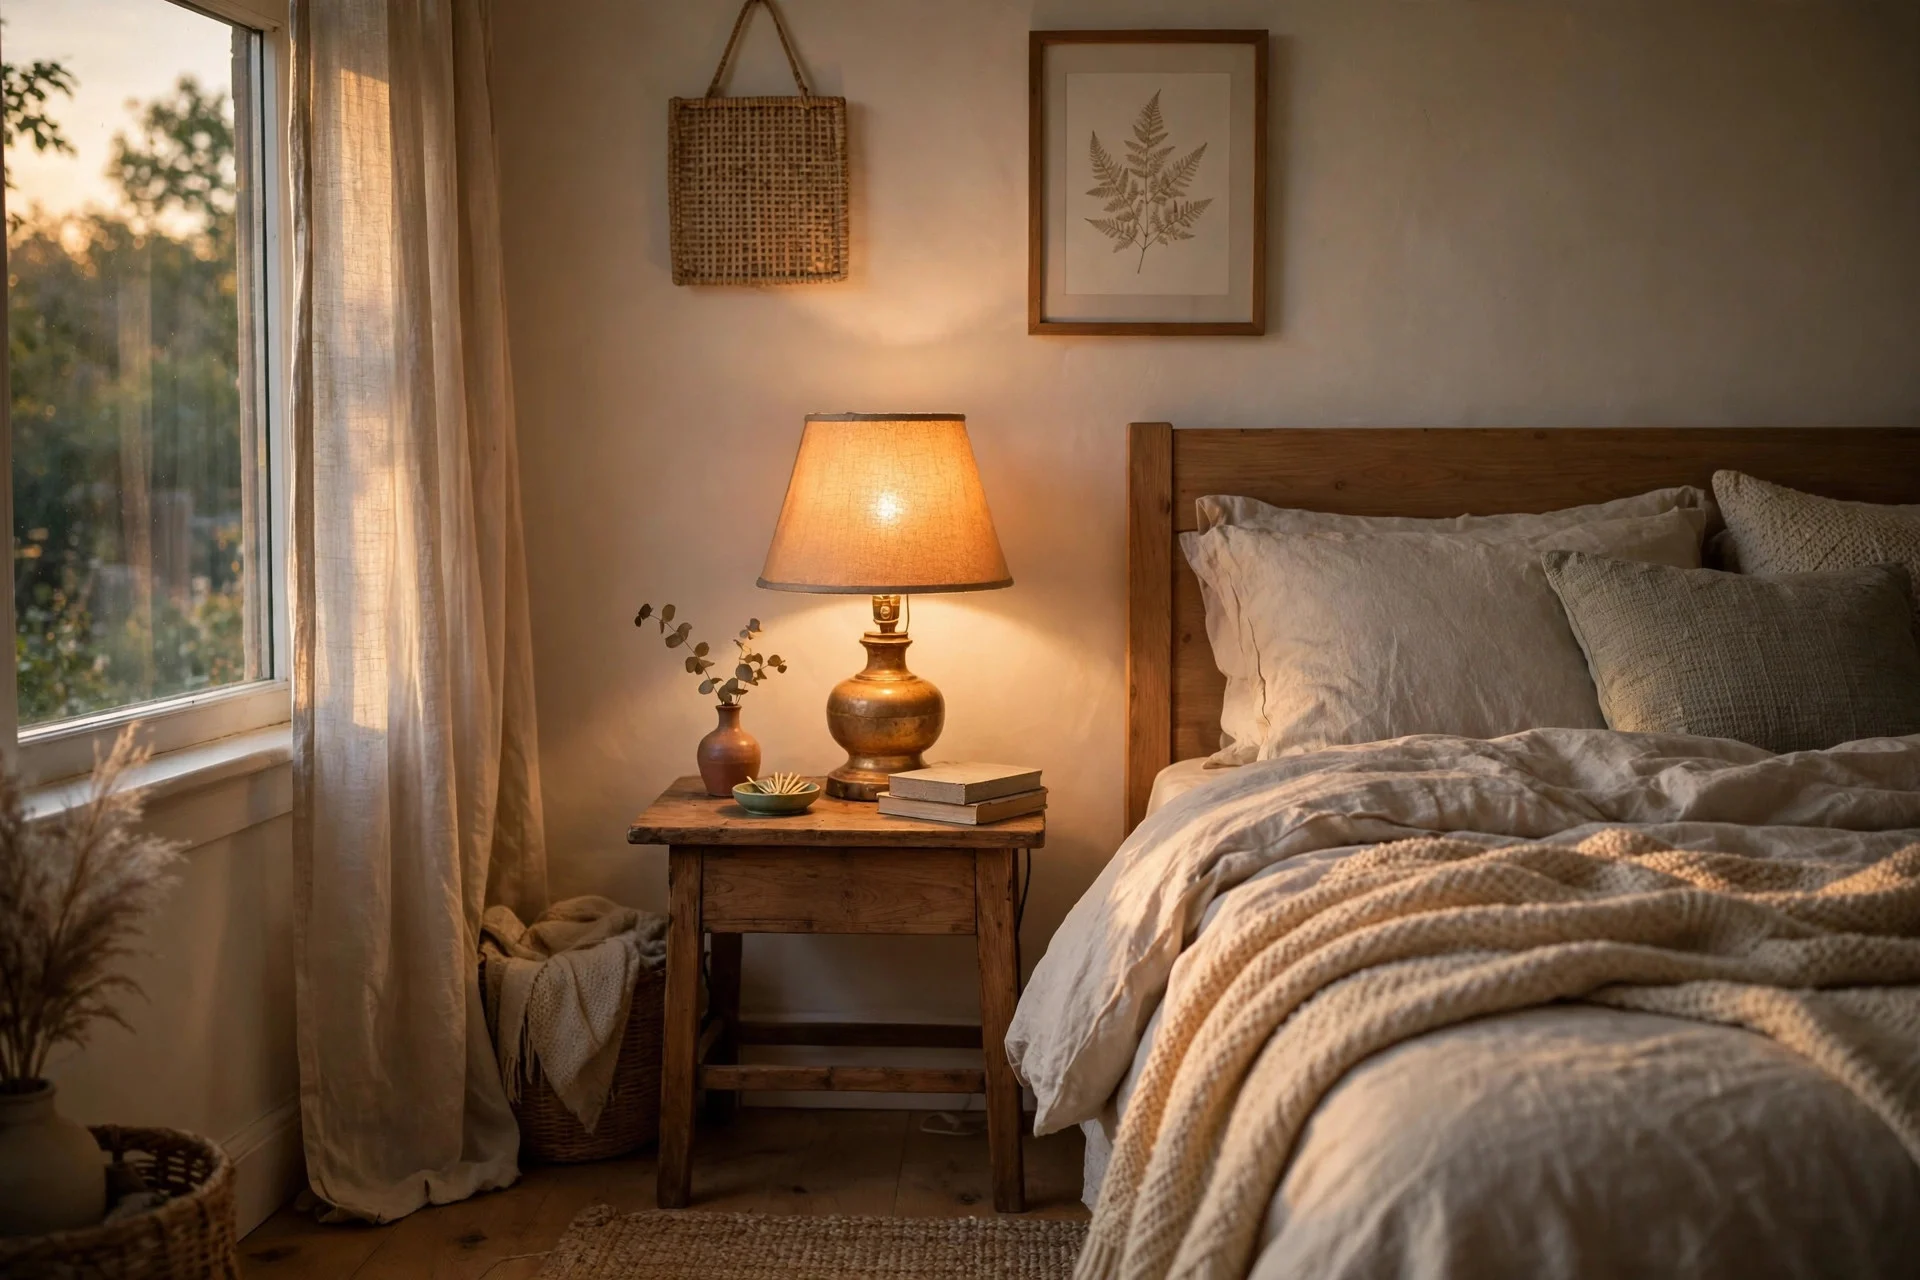
Cost: $15–$40 | Difficulty: easy | Time: 30 minutes. Harsh ceiling light is one of the biggest reasons a first bedroom feels cold. A second-hand lamp with a warm bulb (2700K) beside the bed gives you softer evening light for reading and winding down. Thrift shops, local buy-and-sell groups, and clearance bins are full of solid lamps for a few dollars each.
Hands-on tip: pick a lamp tall enough that the shade sits just above your shoulder when you sit up in bed. Watch out: check the cord and plug for fraying before you buy, and replace any cracked socket straight away.
4. String Lights for Soft Evening Glow
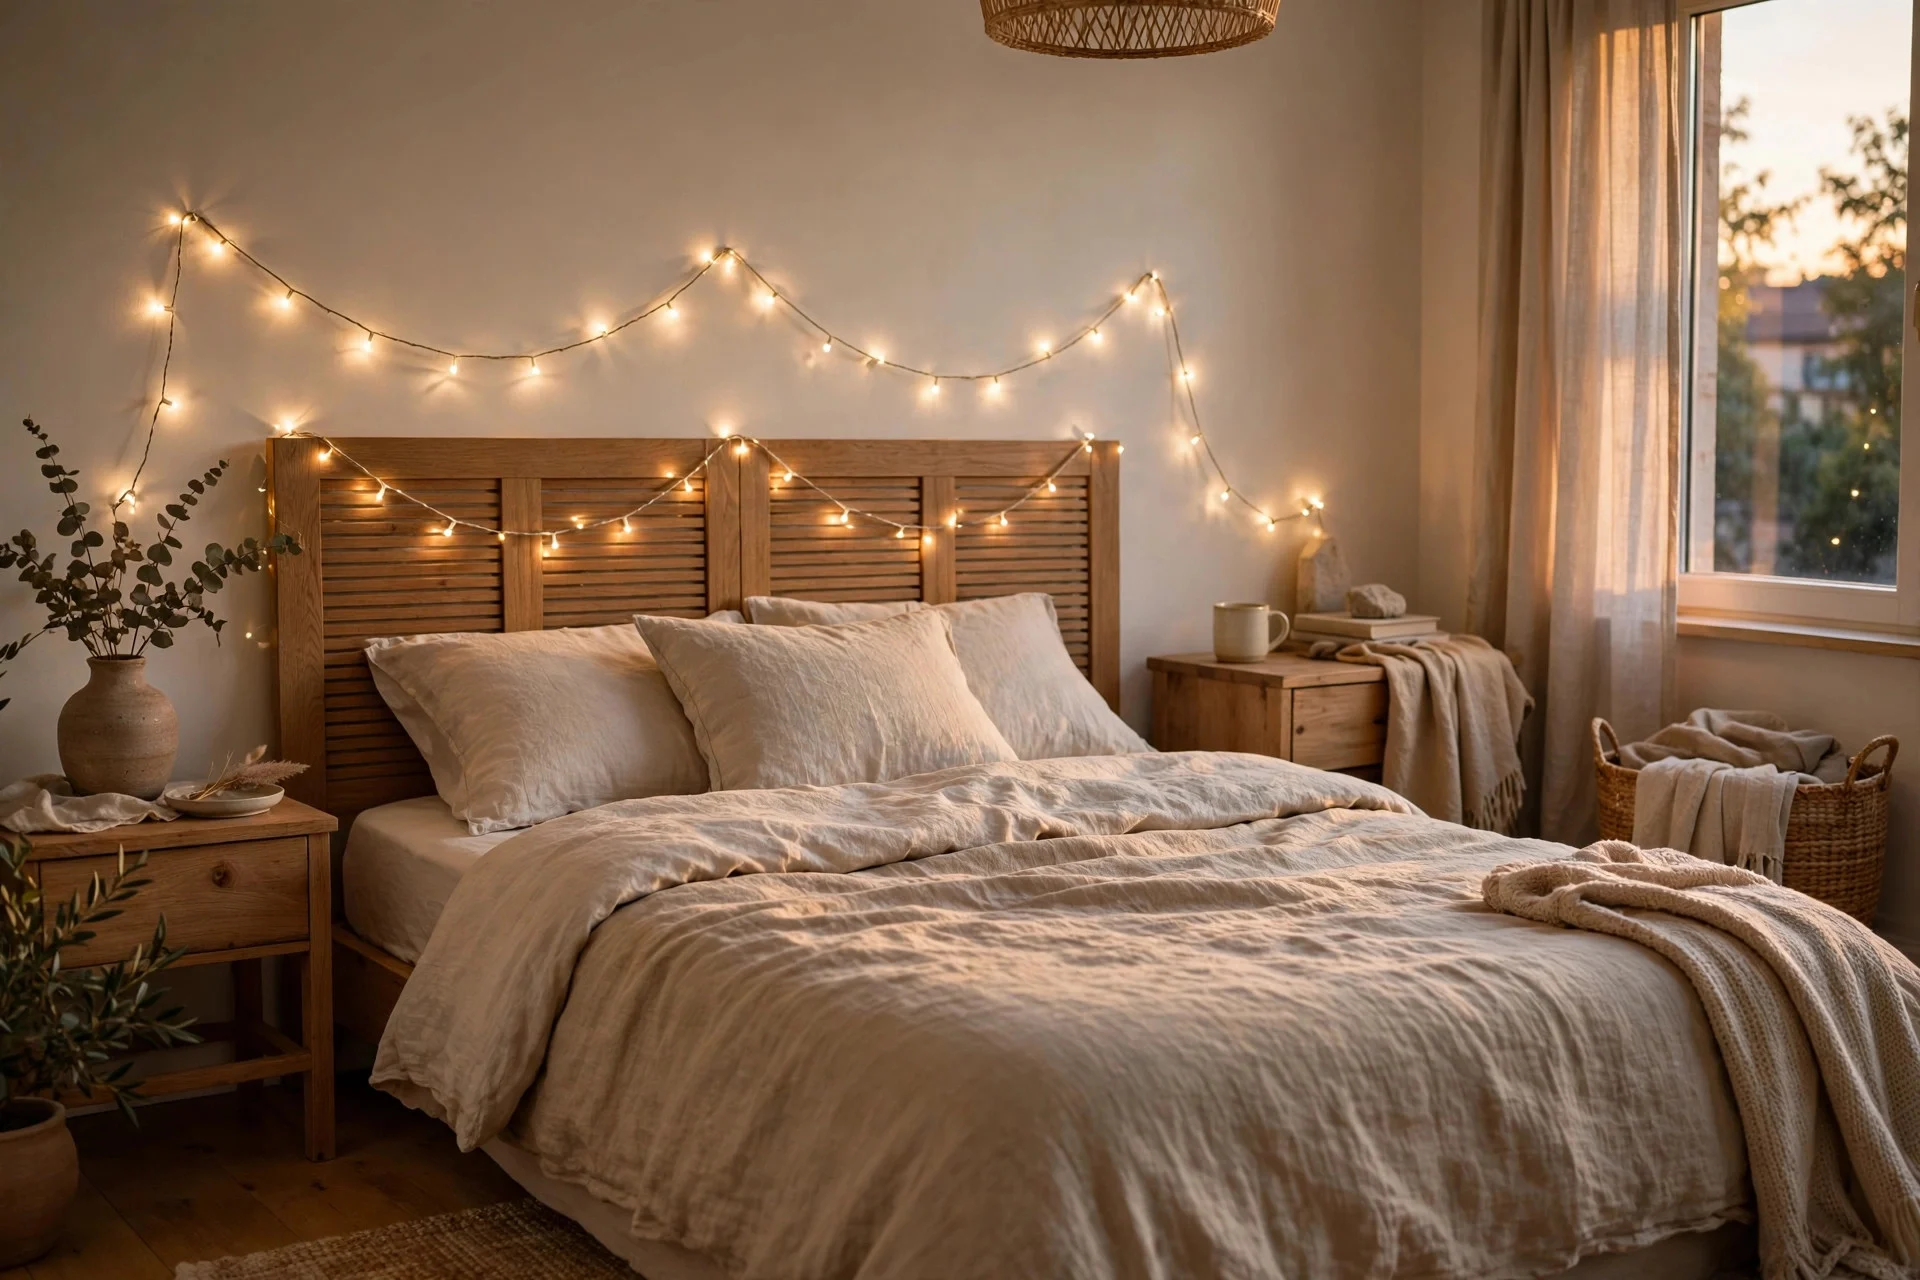
Cost: $12–$30 | Difficulty: easy | Time: 30–45 minutes. A single strand of warm-white fairy lights along a headboard wall, shelf, or window frame adds a gentle glow that overhead lights never give. Battery or USB strands keep the setup simple, with no electrician and no extra outlets needed. They work best as a second light source, not your only one.
Hands-on tip: use small clear adhesive clips instead of tape, which falls off and leaves marks. Watch out: keep lights away from curtains and bedding, and switch them off when you leave the room or go to sleep.
5. Make a No-Drill Fabric Headboard Panel
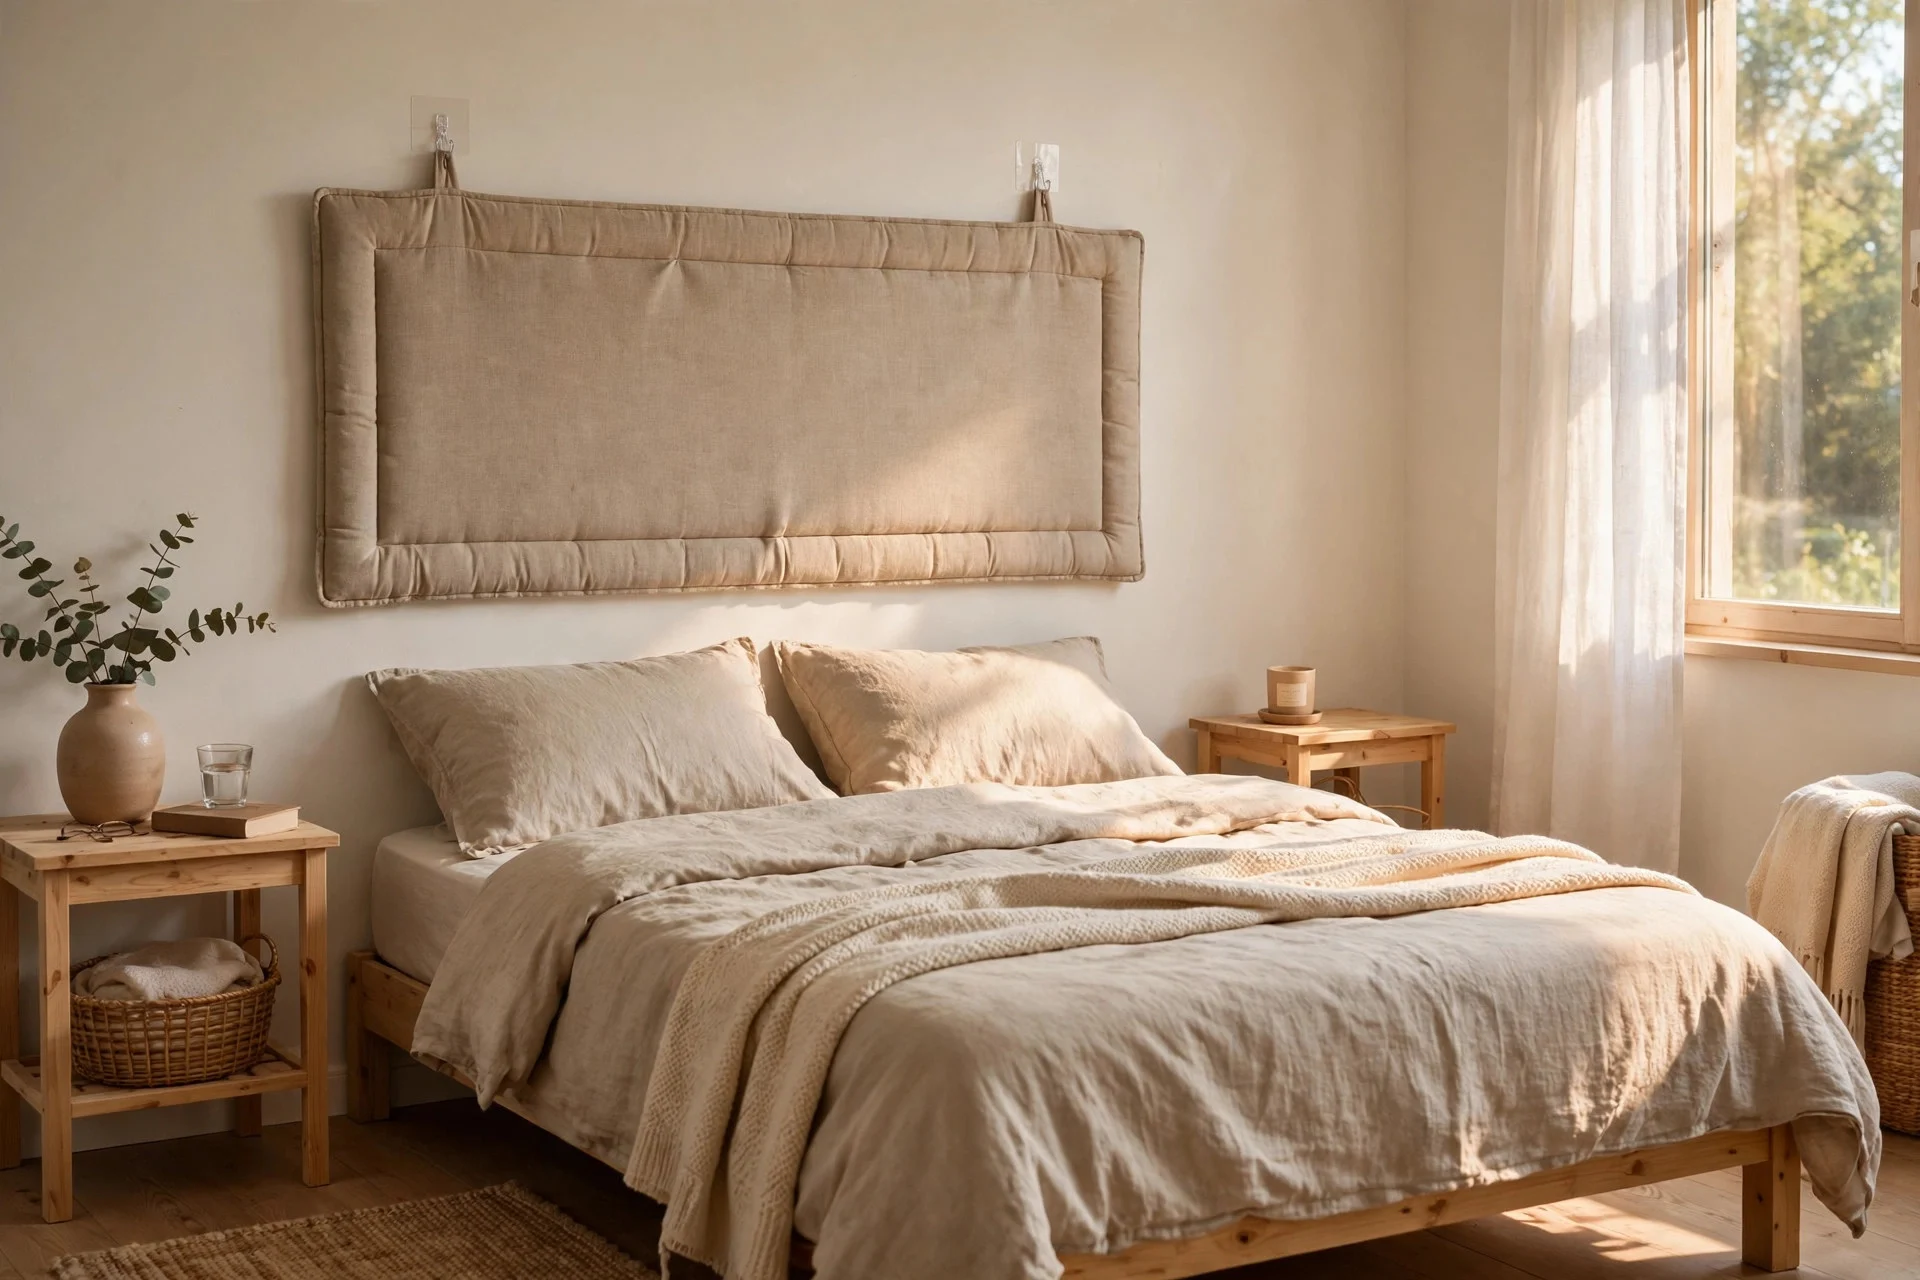
Cost: $30–$50 | Difficulty: easy to moderate | Time: 1–2 hours. A padded fabric panel hung with adhesive hooks gives you the look of a headboard without drilling into the wall. Wrap batting and a metre of fabric around a lightweight foam board, staple the back, and hang it with two or three heavy-duty adhesive hooks. If you want more no-drill options, these bedroom ideas with no headboard cover other renter-safe routes.
Hands-on tip: iron the fabric before wrapping so creases do not show through the padding. Watch out: check the weight rating on your hooks and give the adhesive a full 24 hours to set before you hang the panel.
6. Sort Under-Bed Storage With Bins
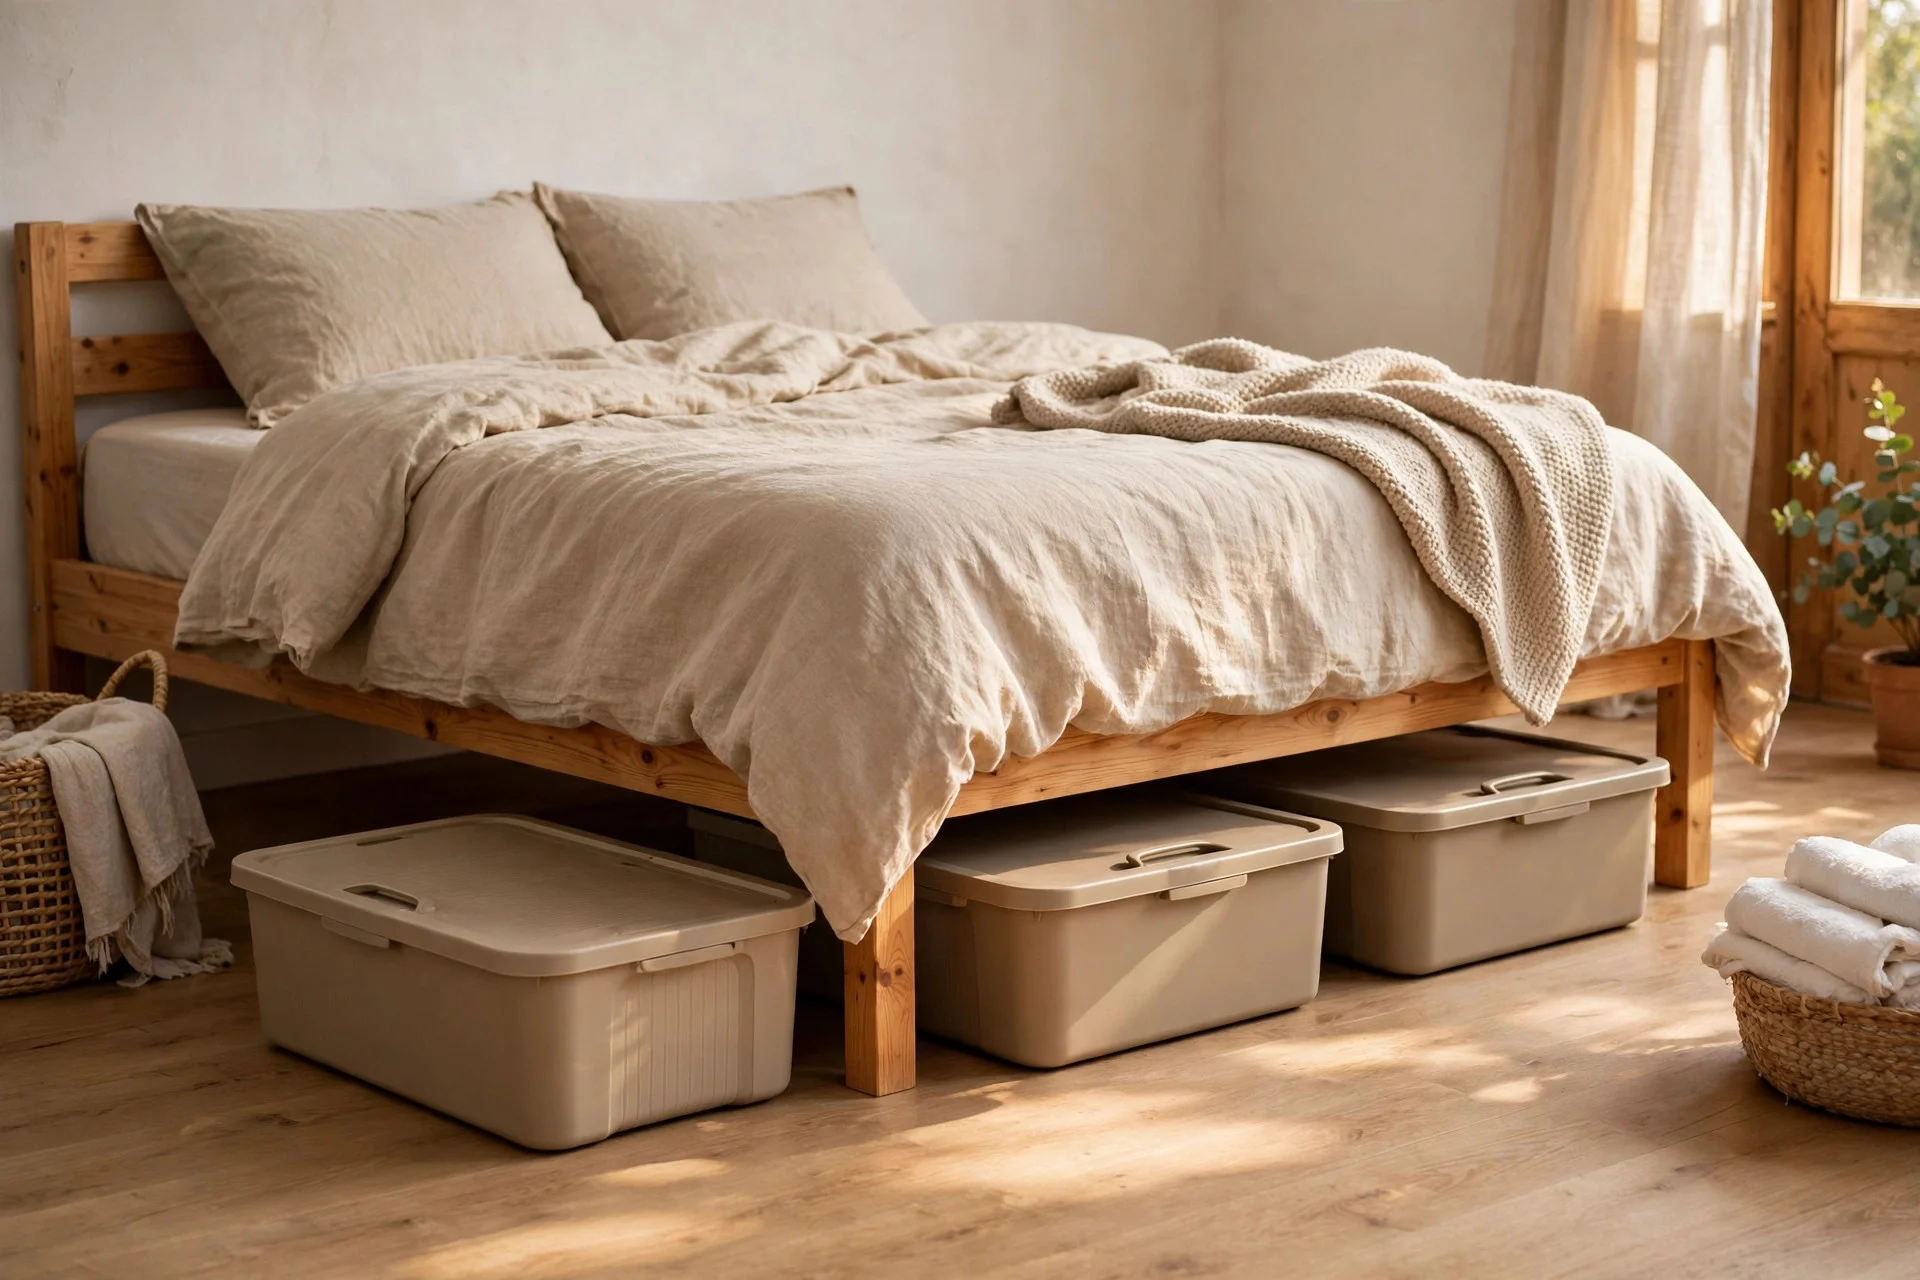
Cost: $25–$48 | Difficulty: easy | Time: 30 minutes. Under-bed bins turn dead space into storage for off-season clothes, spare bedding, or shoes. Measure the gap under your bed first, since most frames leave 15–25 cm of clearance, and buy low, lidded bins that slide out without catching. Labelling each bin saves you from pulling out all four to find one sweater.
Hands-on tip: put the least-used bin at the very back, against the wall, and keep everyday items near the open side. Watch out: skip open fabric boxes on bare floors, since dust builds up fast and they are hard to drag out.
$50–$200: upgrades that make the room feel properly finished
7. Ground the Room With a Large Rug
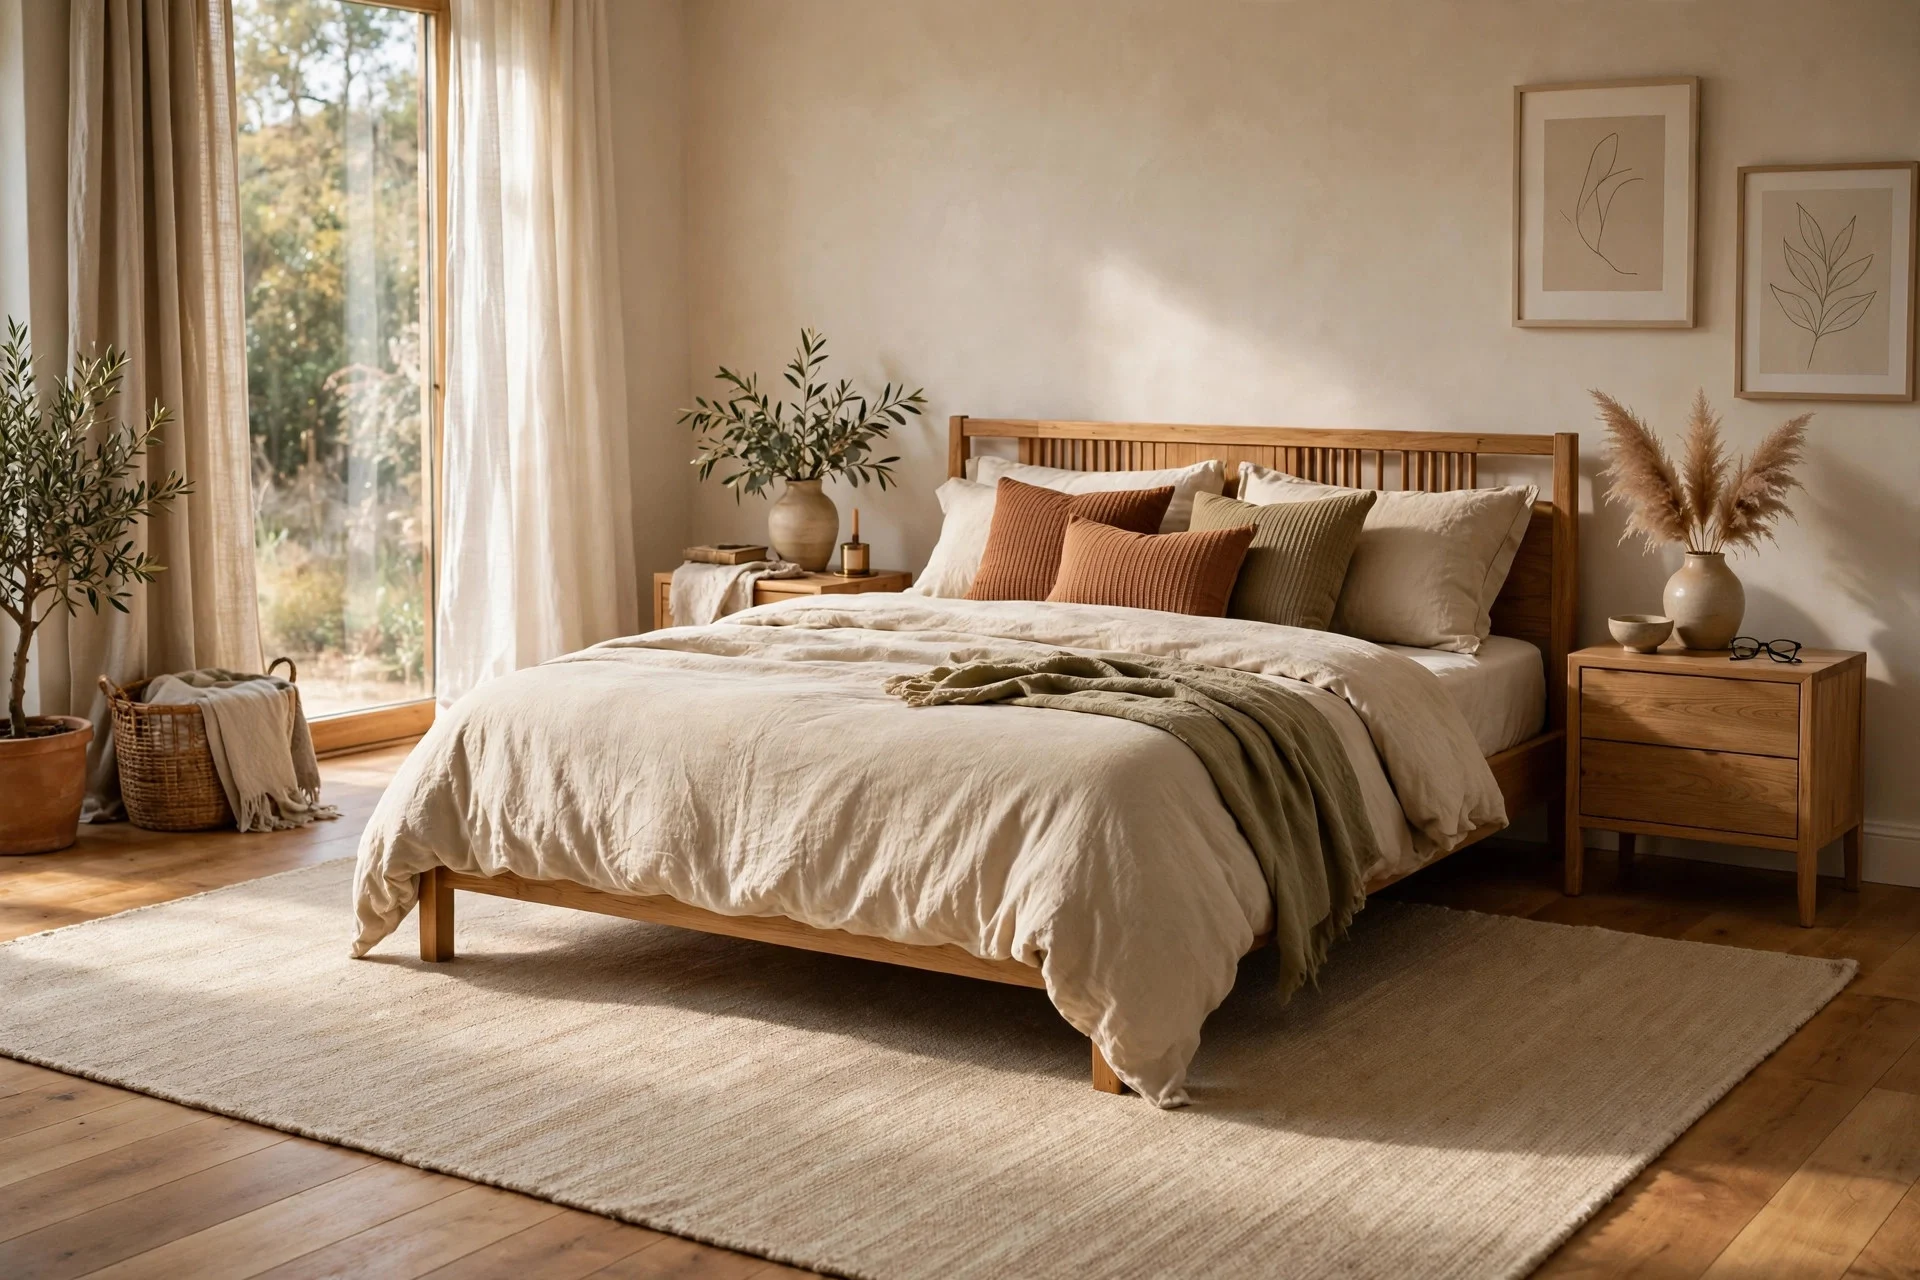
Cost: $80–$180 | Difficulty: easy | Time: 20 minutes. A rug that extends at least 45 cm past each side of the bed warms up cold floors and ties the furniture together. Flatweave or low-pile rugs in this price range are easy to vacuum and hold up well in a first apartment. Aim for a rug that runs two-thirds under the bed, so your feet land on soft fabric every morning.
Hands-on tip: add a thin non-slip rug pad underneath so the rug stays put on smooth floors. Watch out: measure your floor space before ordering, since a rug that crowds the door swing is a daily annoyance.
8. Hang Blackout Curtains for Better Sleep
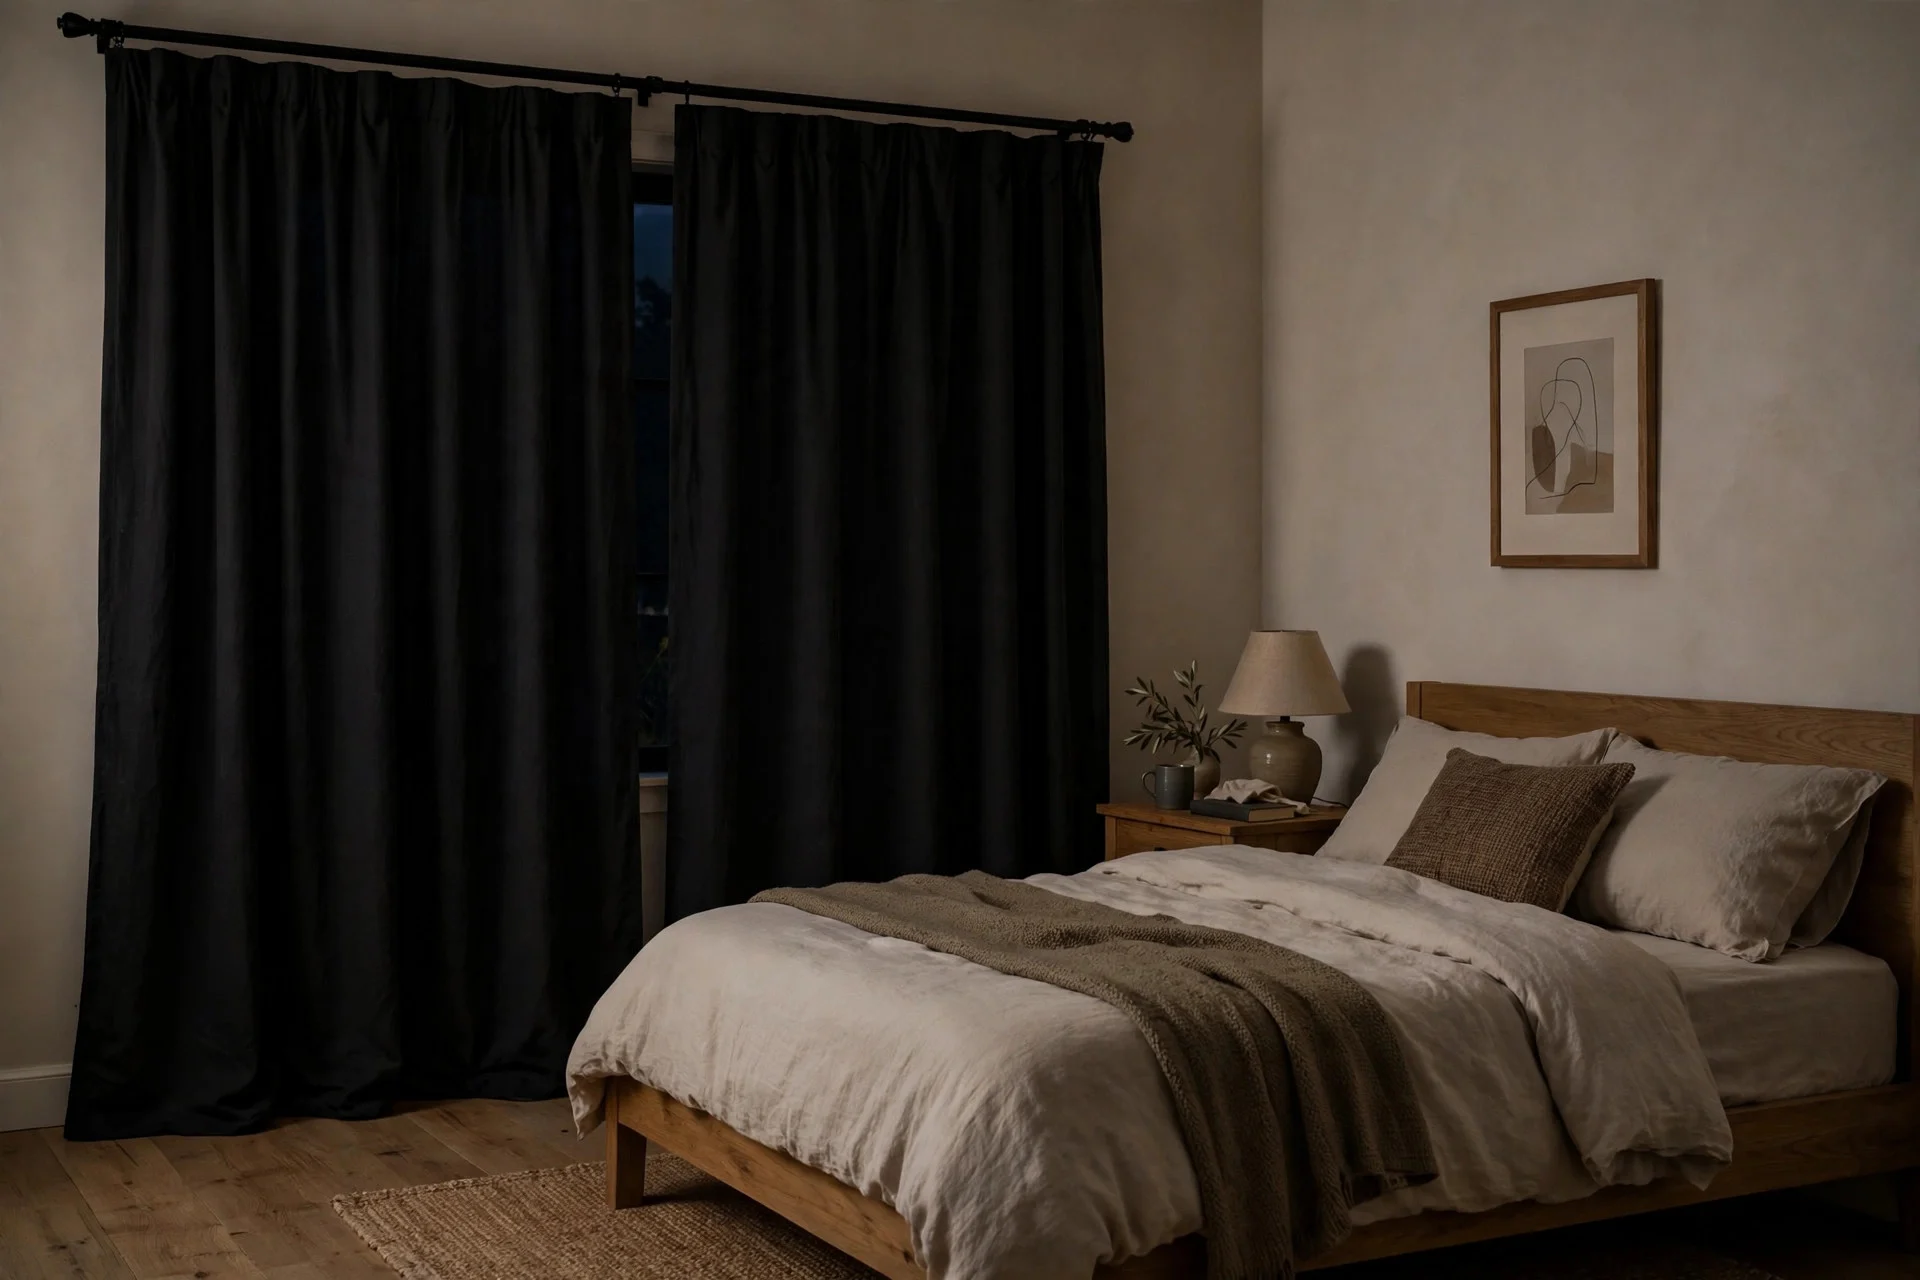
Cost: $60–$150 | Difficulty: easy | Time: 1 hour. Blackout curtains block streetlights and early sun, which helps a lot if your bedroom faces a road or your shifts change. A tension rod or adhesive rod holders keep the job renter-friendly, with no drilling needed. Hang the rod 10–15 cm above the window frame and 8–10 cm wider on each side so the panels cover the glass fully.
Hands-on tip: steam or iron the panels before hanging so fold lines do not spoil the drape. Watch out: very cheap panels sometimes let light leak at the seams, so hold one up to a bright window before you commit to a pair.
9. Upgrade the Nightstand on a Thrift Budget
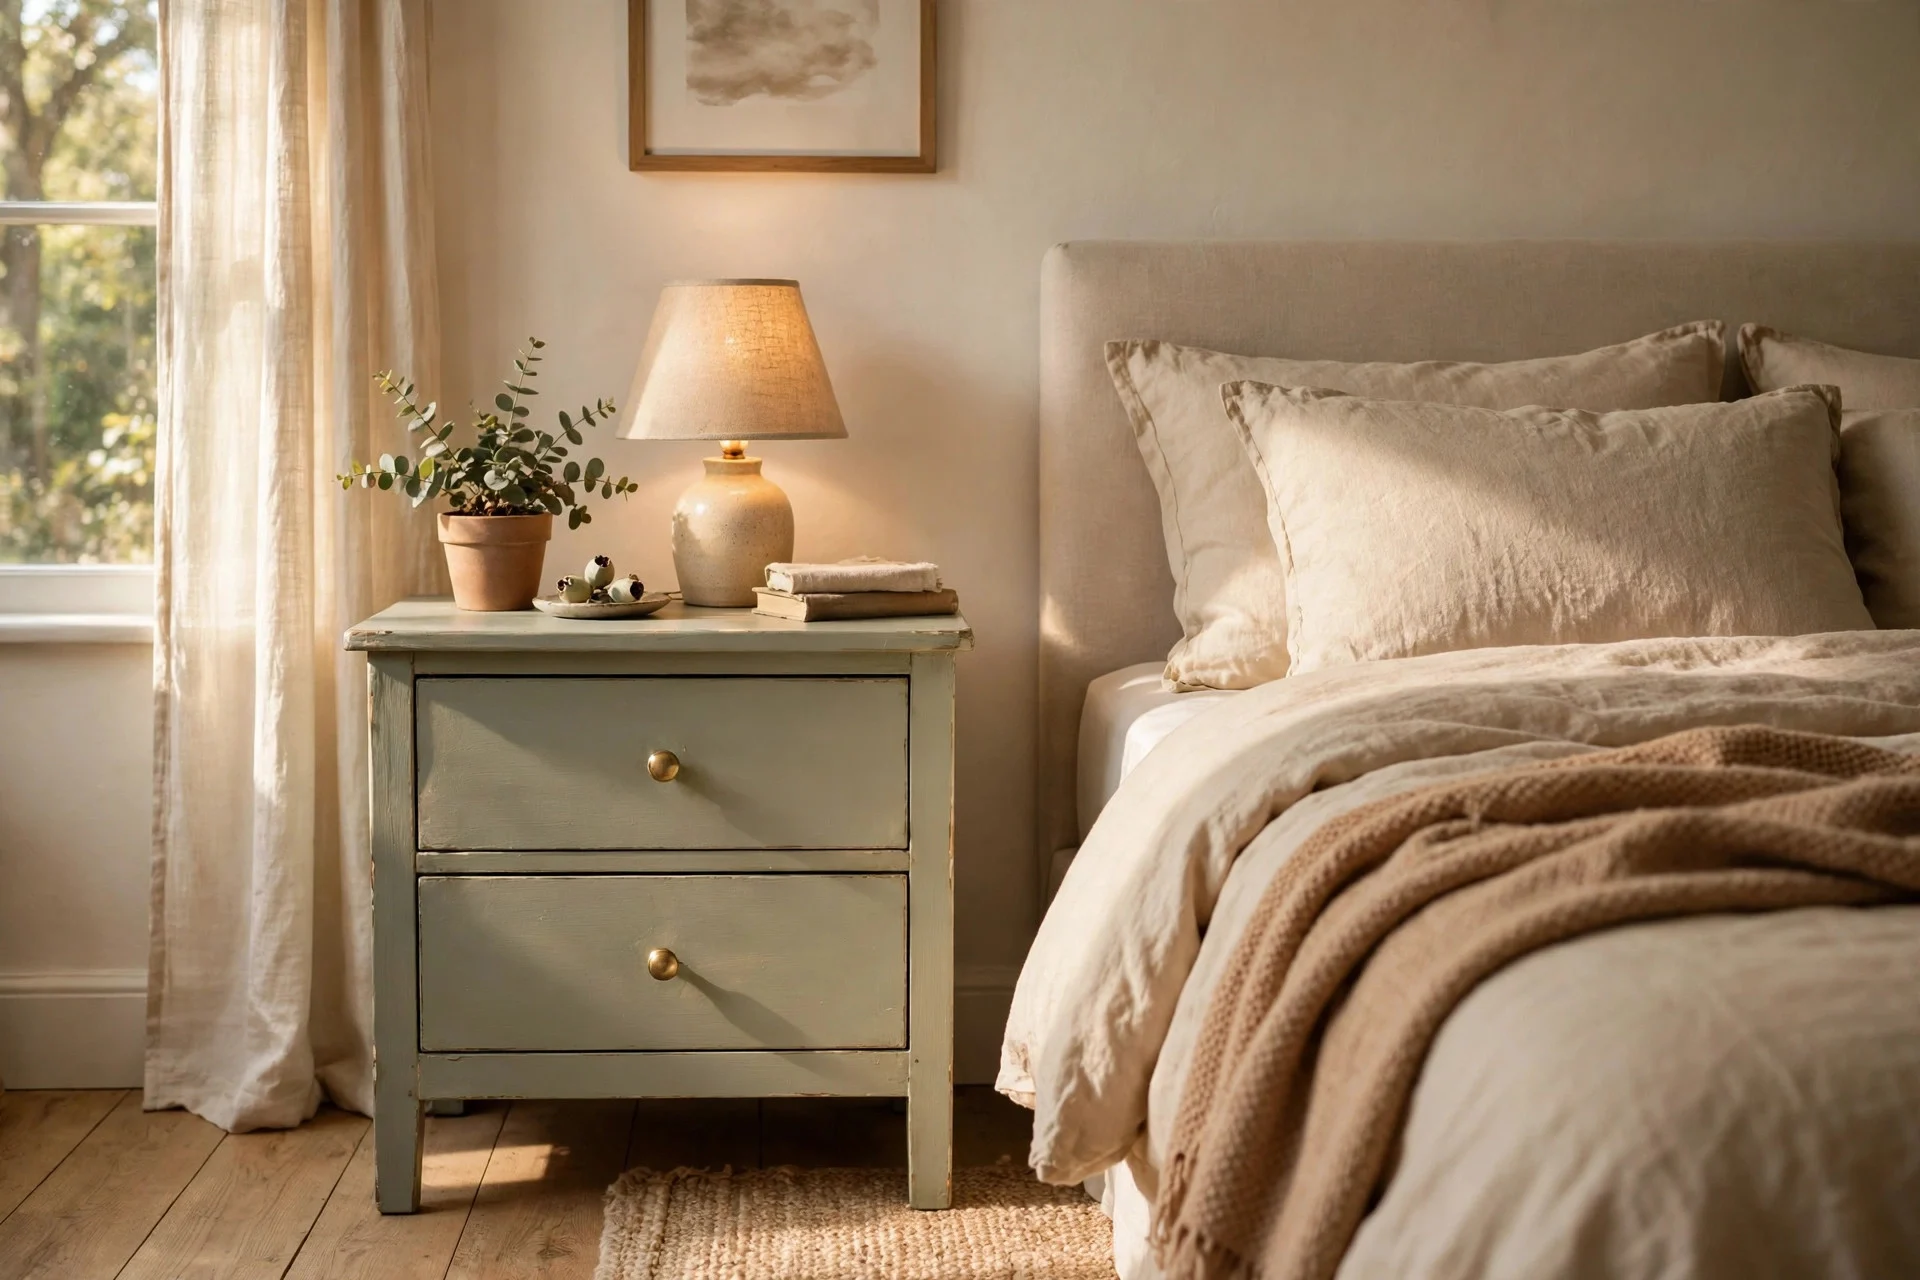
Cost: $70–$160 | Difficulty: moderate | Time: half a day. A solid second-hand nightstand, sanded and repainted, looks far better than a wobbly flat-pack cube. Budget for the table itself ($20–$60), a small tin of paint, sandpaper, and new knobs. A drawer or shelf keeps chargers, books, and glasses out of sight, which matters in a small room.
Hands-on tip: test the drawer runners and leg joints in the shop before you pay, since loose joints are hard to fix cheaply. Watch out: paint in a ventilated space and let each coat dry fully, or the finish stays tacky and picks up dust.
10. Build a Small Framed Print Gallery
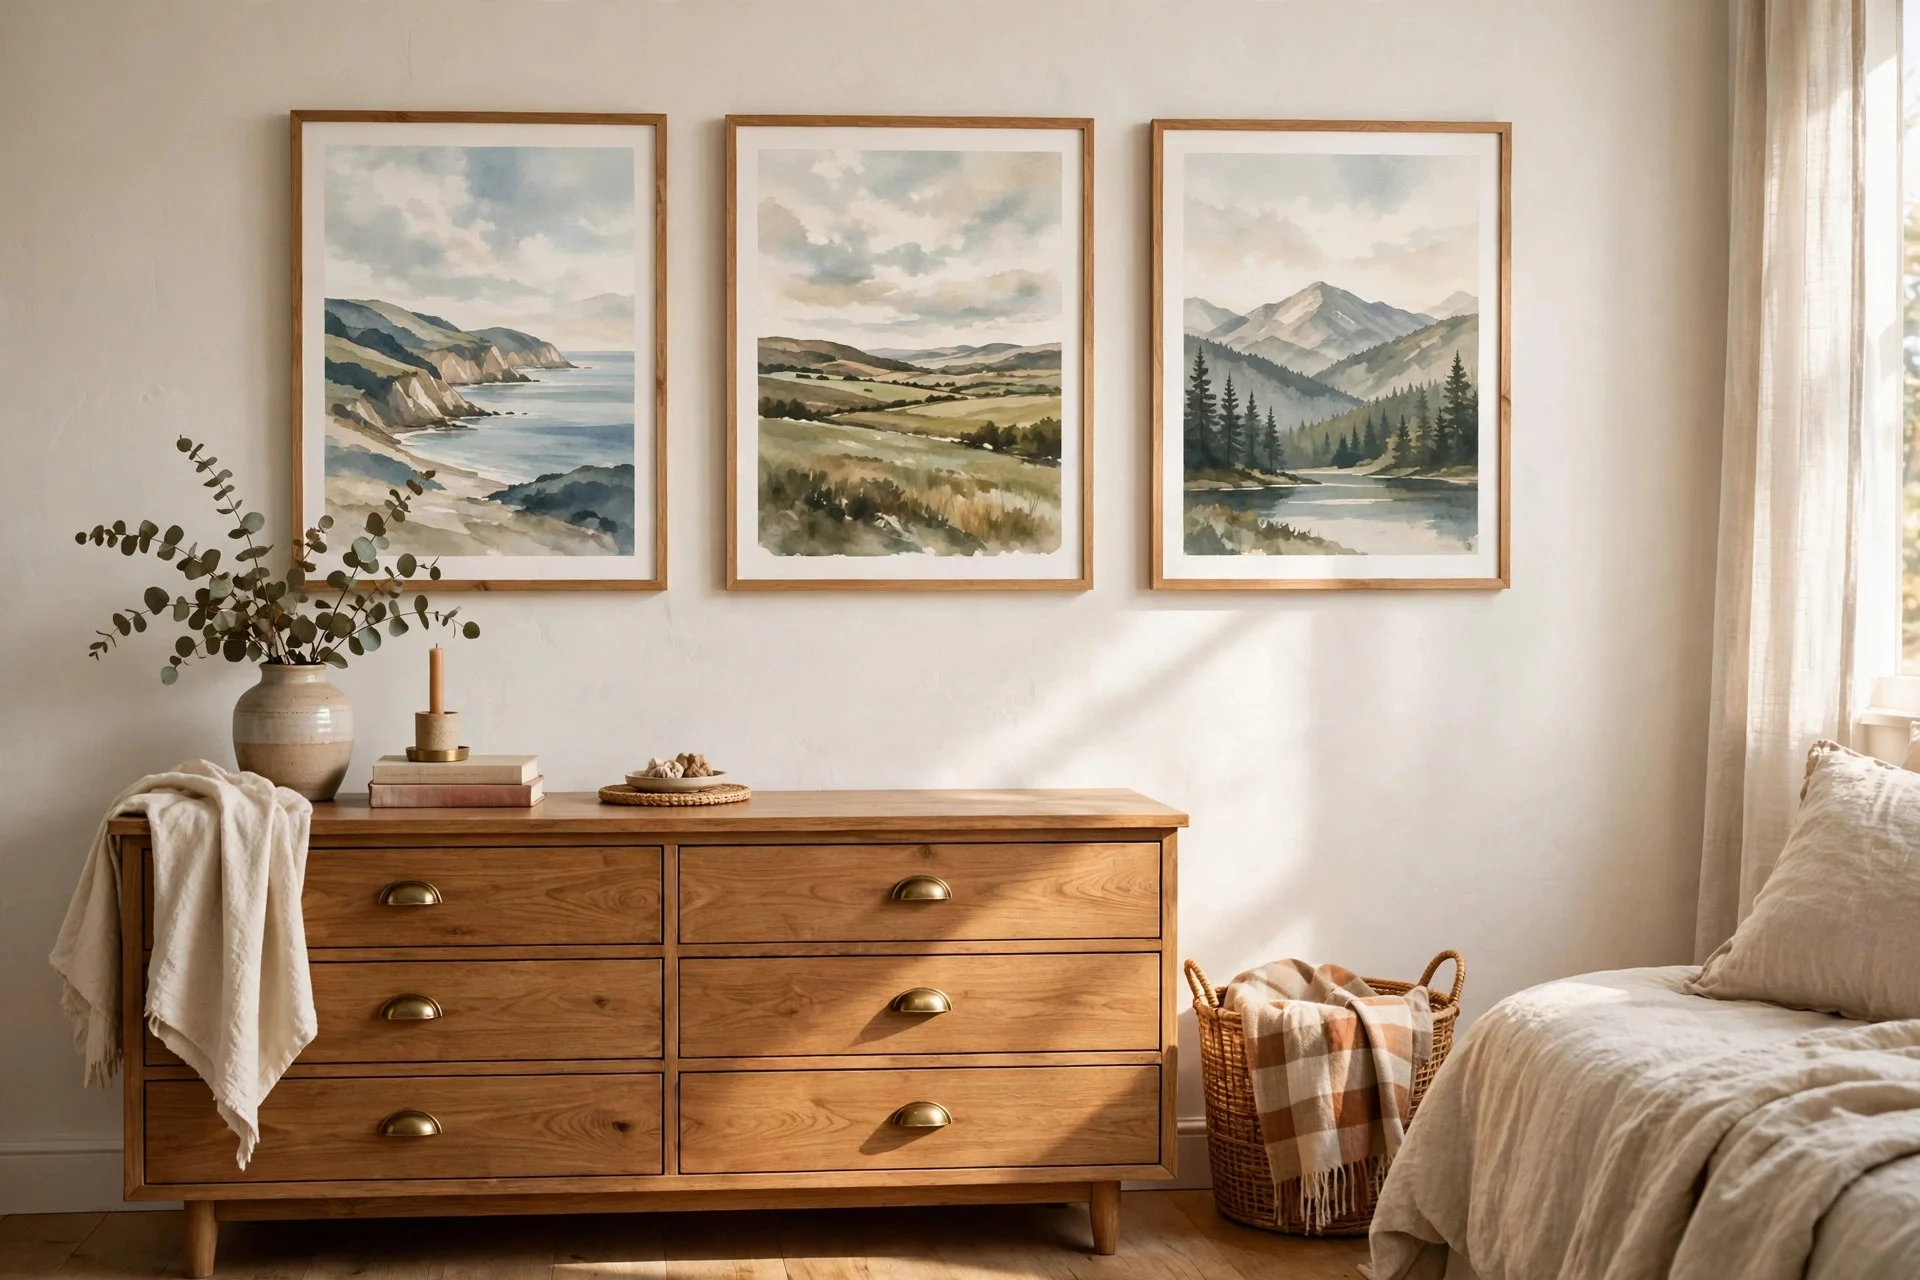
Cost: $60–$140 | Difficulty: easy | Time: 1–2 hours. Three or four framed prints above a dresser or bed give the room personality without a big spend. Mix one larger print (40 x 50 cm) with two smaller ones, and keep the frames in one finish so the group looks planned. Printable art, thrifted frames, and standard-size mounts keep costs down.
Hands-on tip: lay the arrangement on the floor first and photograph it, so you hang it once, not three times. Watch out: adhesive picture strips have weight limits, so use proper hooks for any frame over 2 kg.
11. Add a Mattress Topper for Instant Comfort
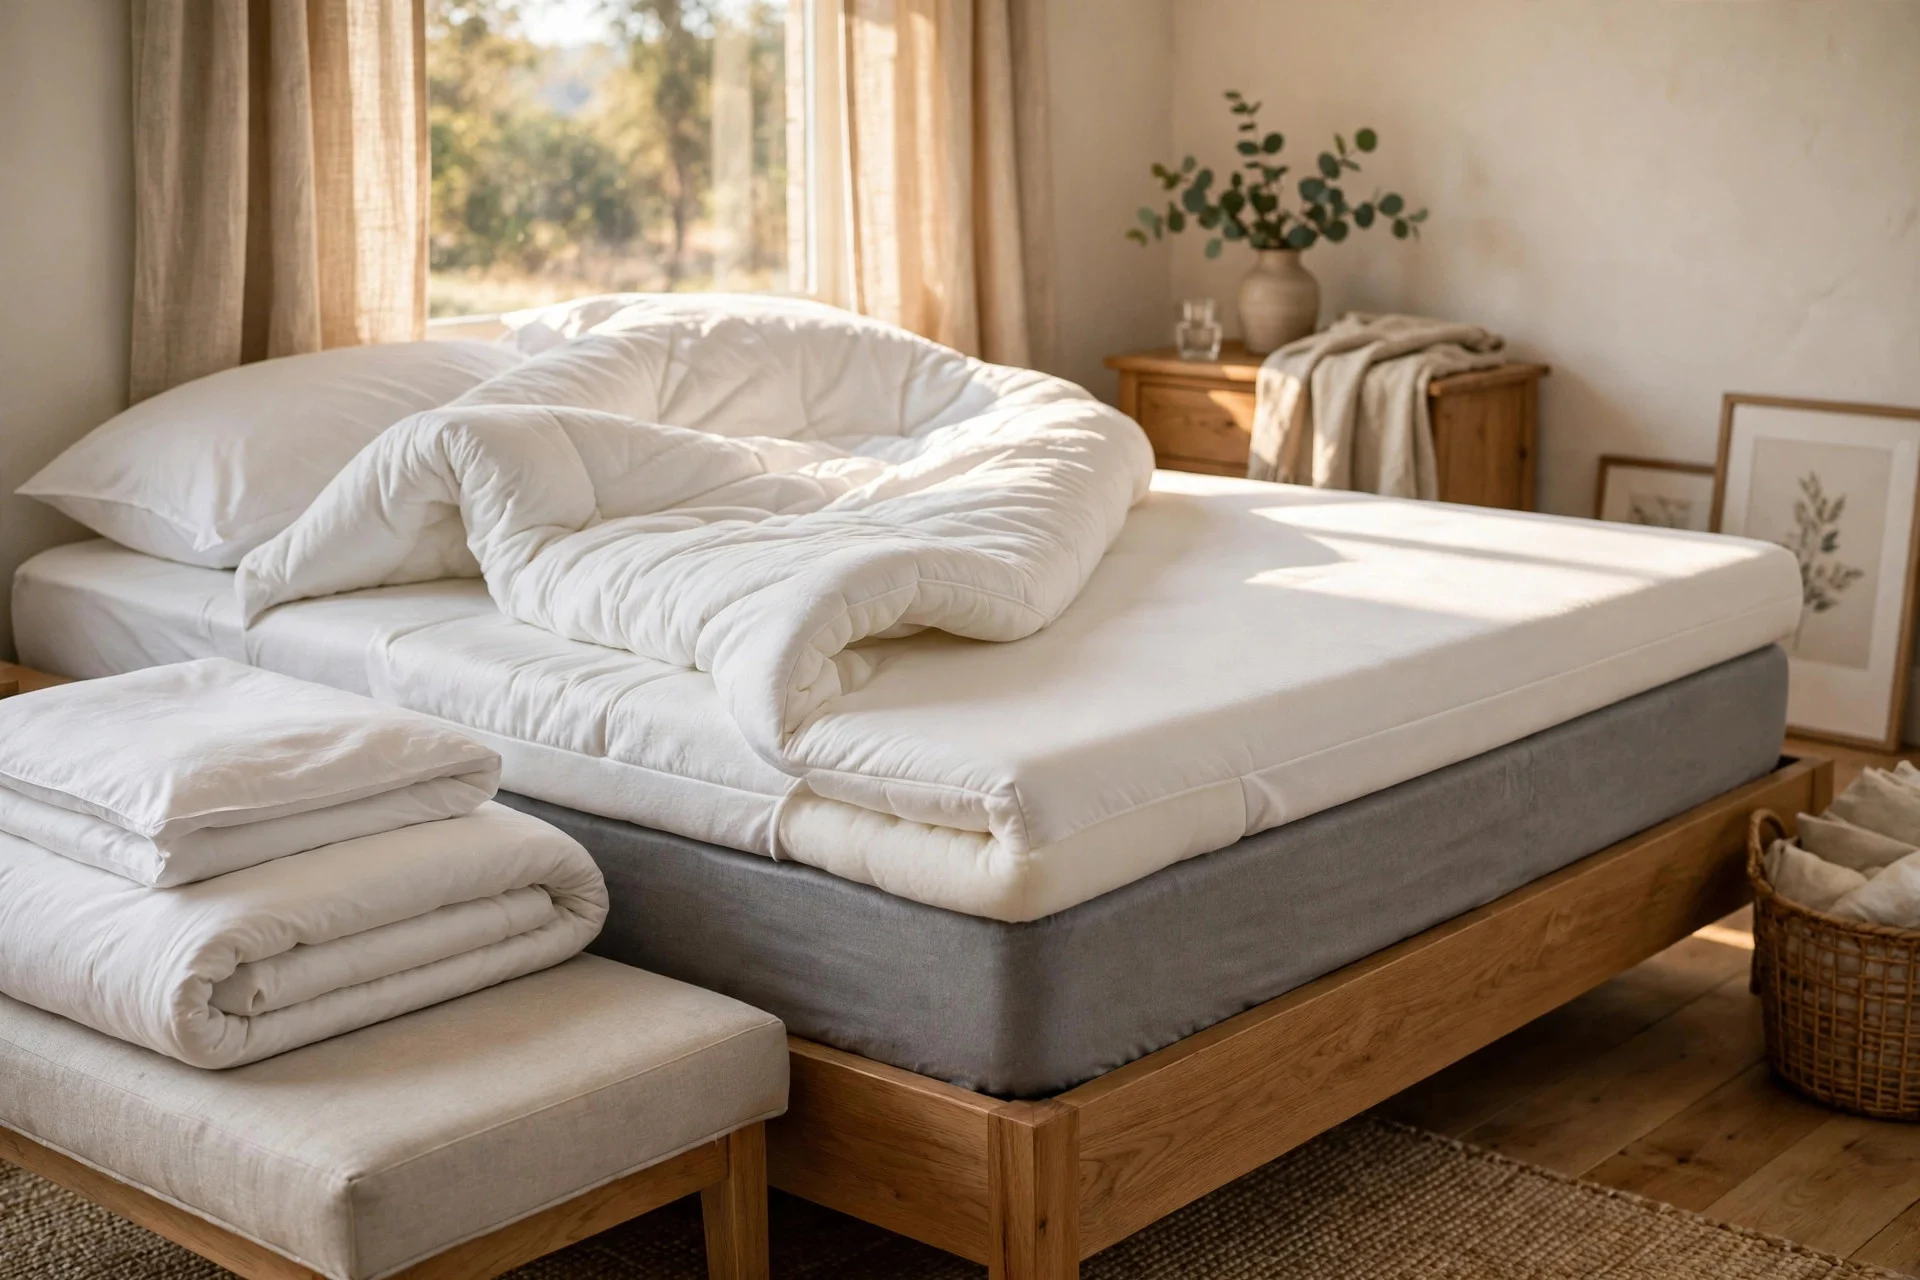
Cost: $70–$190 | Difficulty: easy | Time: 15 minutes. If your mattress is firm, thin, or second-hand, a 5–8 cm memory foam or latex-blend topper can change how you sleep from the first night. It is also far cheaper than a new mattress, which matters when the rest of the apartment still needs furnishing. For more low-cost sleep upgrades, these bedroom ideas that feel like a hotel on a budget pair well with this one.
Hands-on tip: air the topper out for a day before use, since new foam often carries a factory smell. Watch out: a topper cannot fix a sagging mattress with broken springs, so check the base first and replace it if the dip is deep.
12. Add a Leaning Shelf for Storage and Display
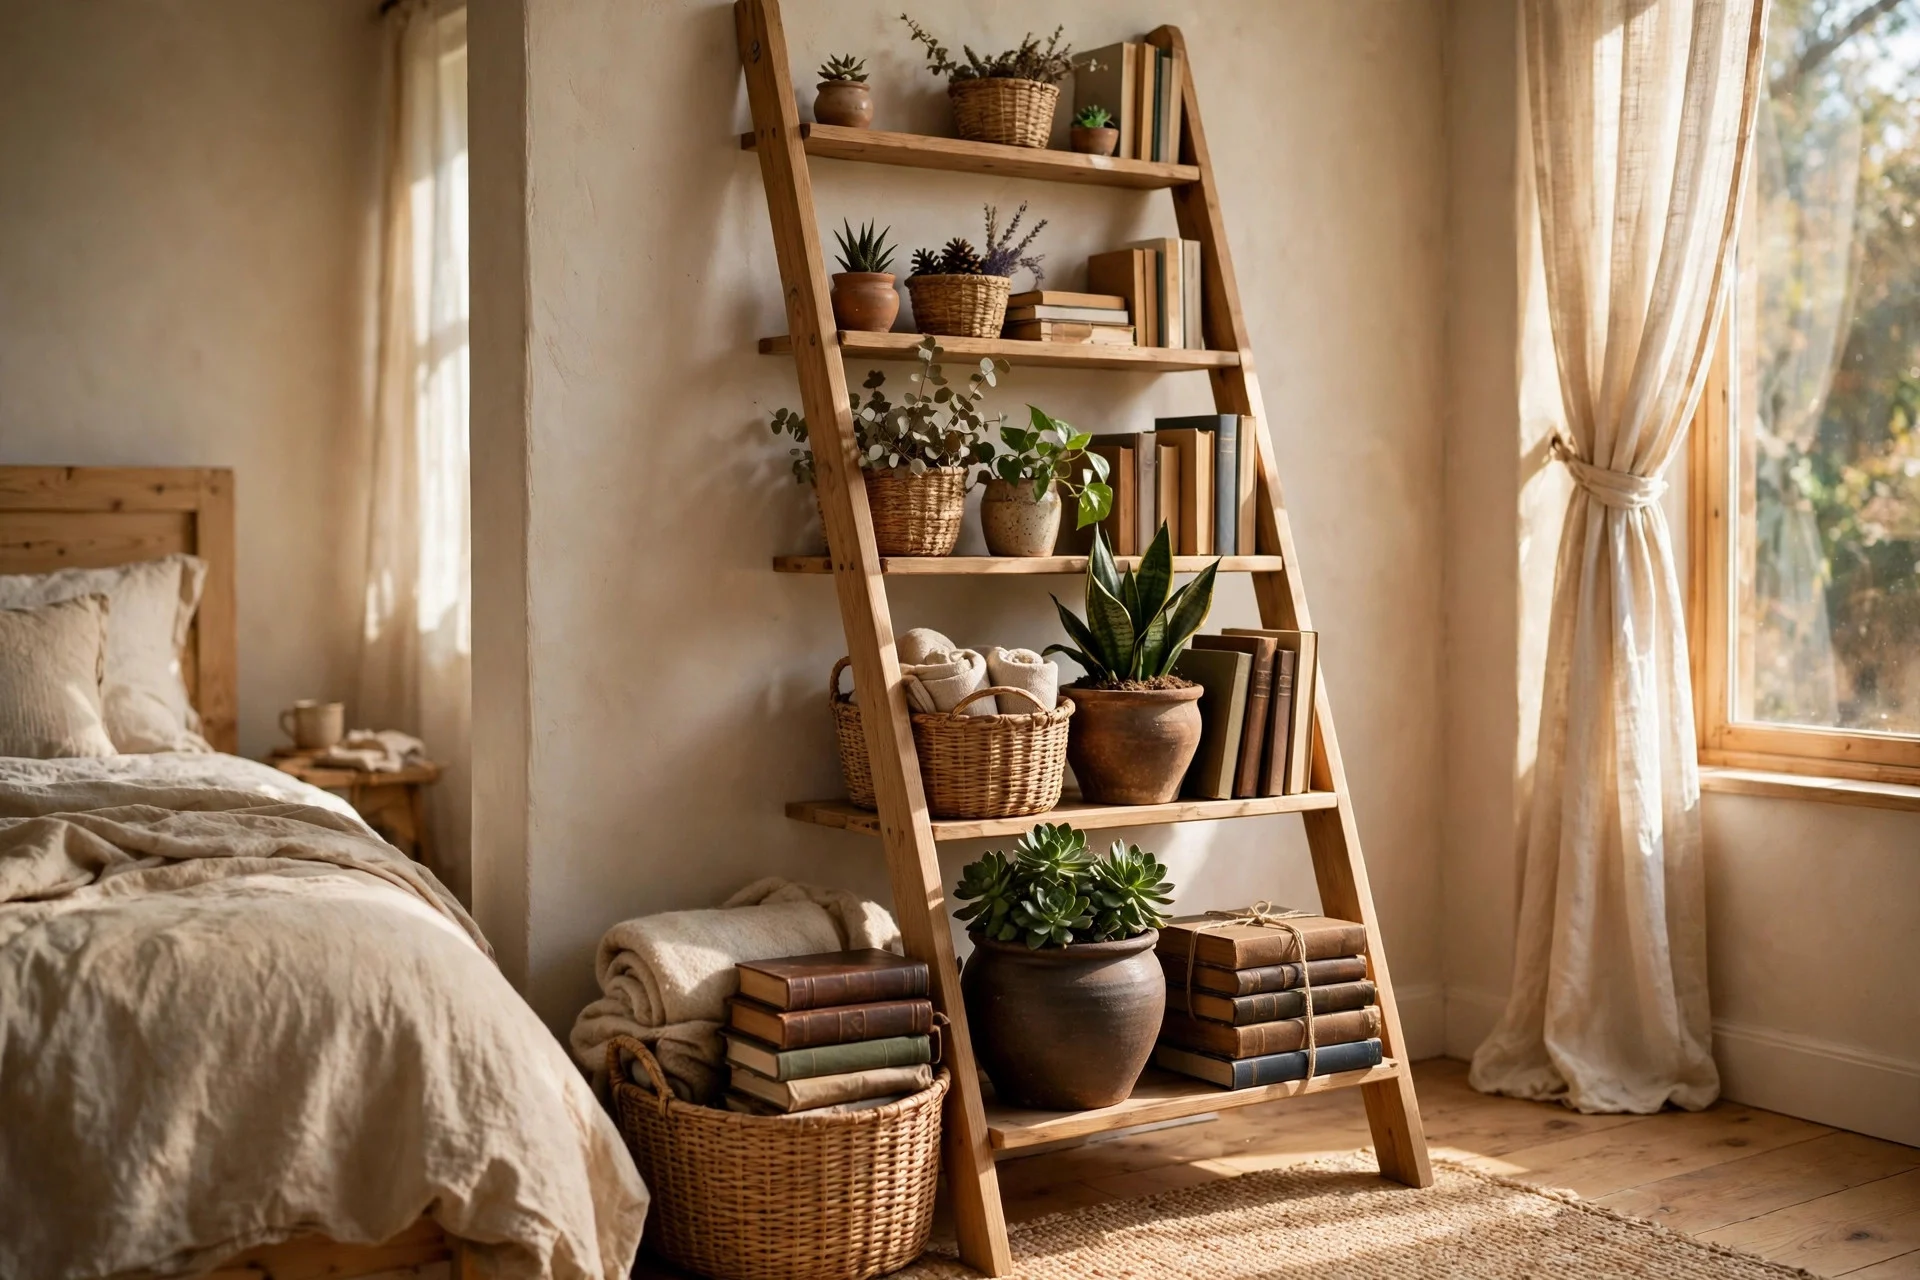
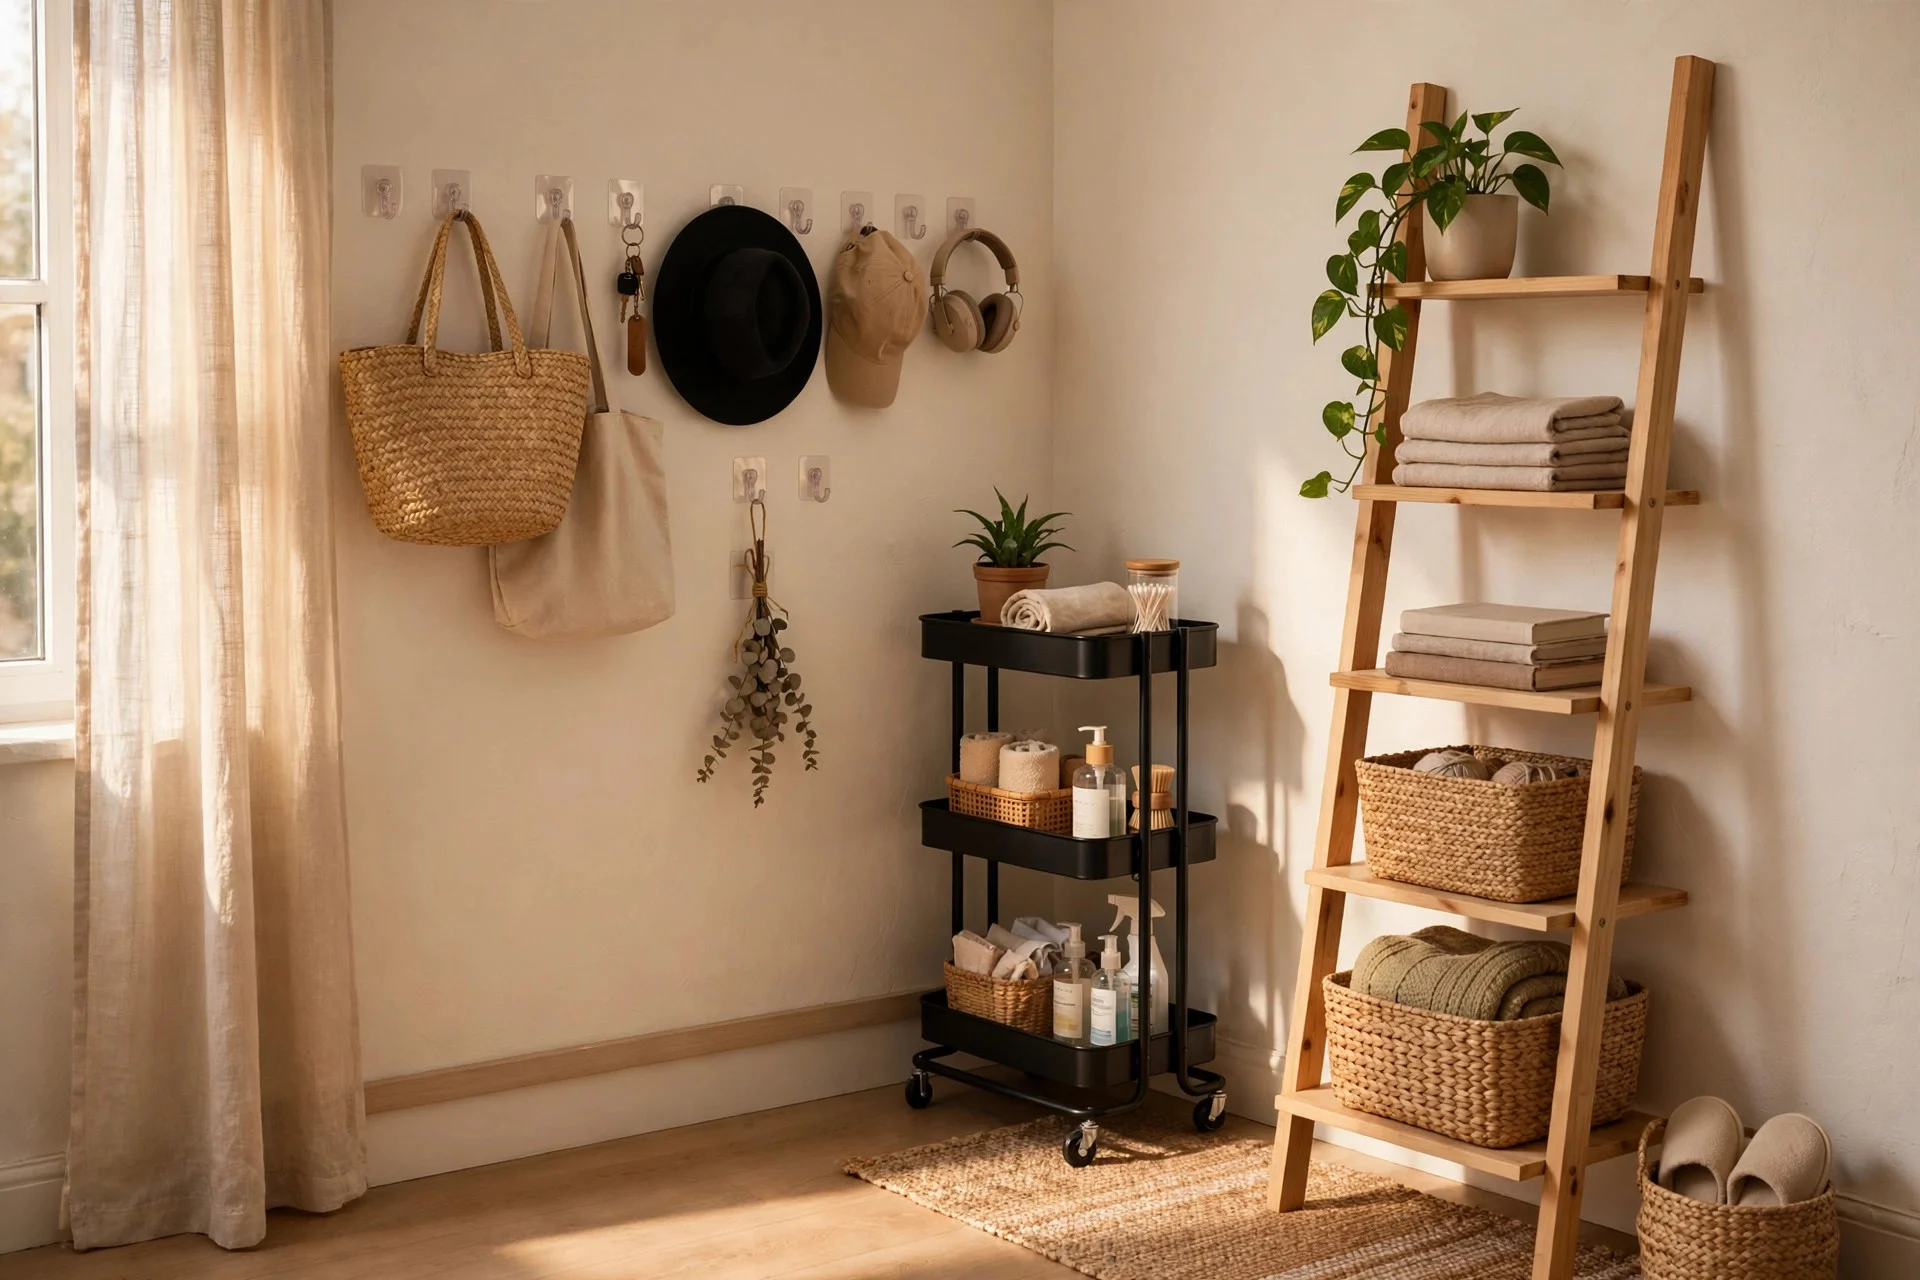
Cost: $90–$180 | Difficulty: easy | Time: 30–45 minutes. A leaning ladder shelf leans against the wall, needs no drilling, and holds books, plants, and baskets in a narrow footprint. It suits renters well, and you can take it with you when you move. Keep heavier items on the lower rungs and lighter decor up top so the unit stays stable.
Hands-on tip: anchor the top with a removable adhesive strap if the shelf wobbles on smooth floors. Watch out: check the depth of each shelf before buying, since shallow rungs will not hold standard books upright.
$200 and up: the bigger buys worth saving for
13. Invest in a Solid Platform Bed Frame
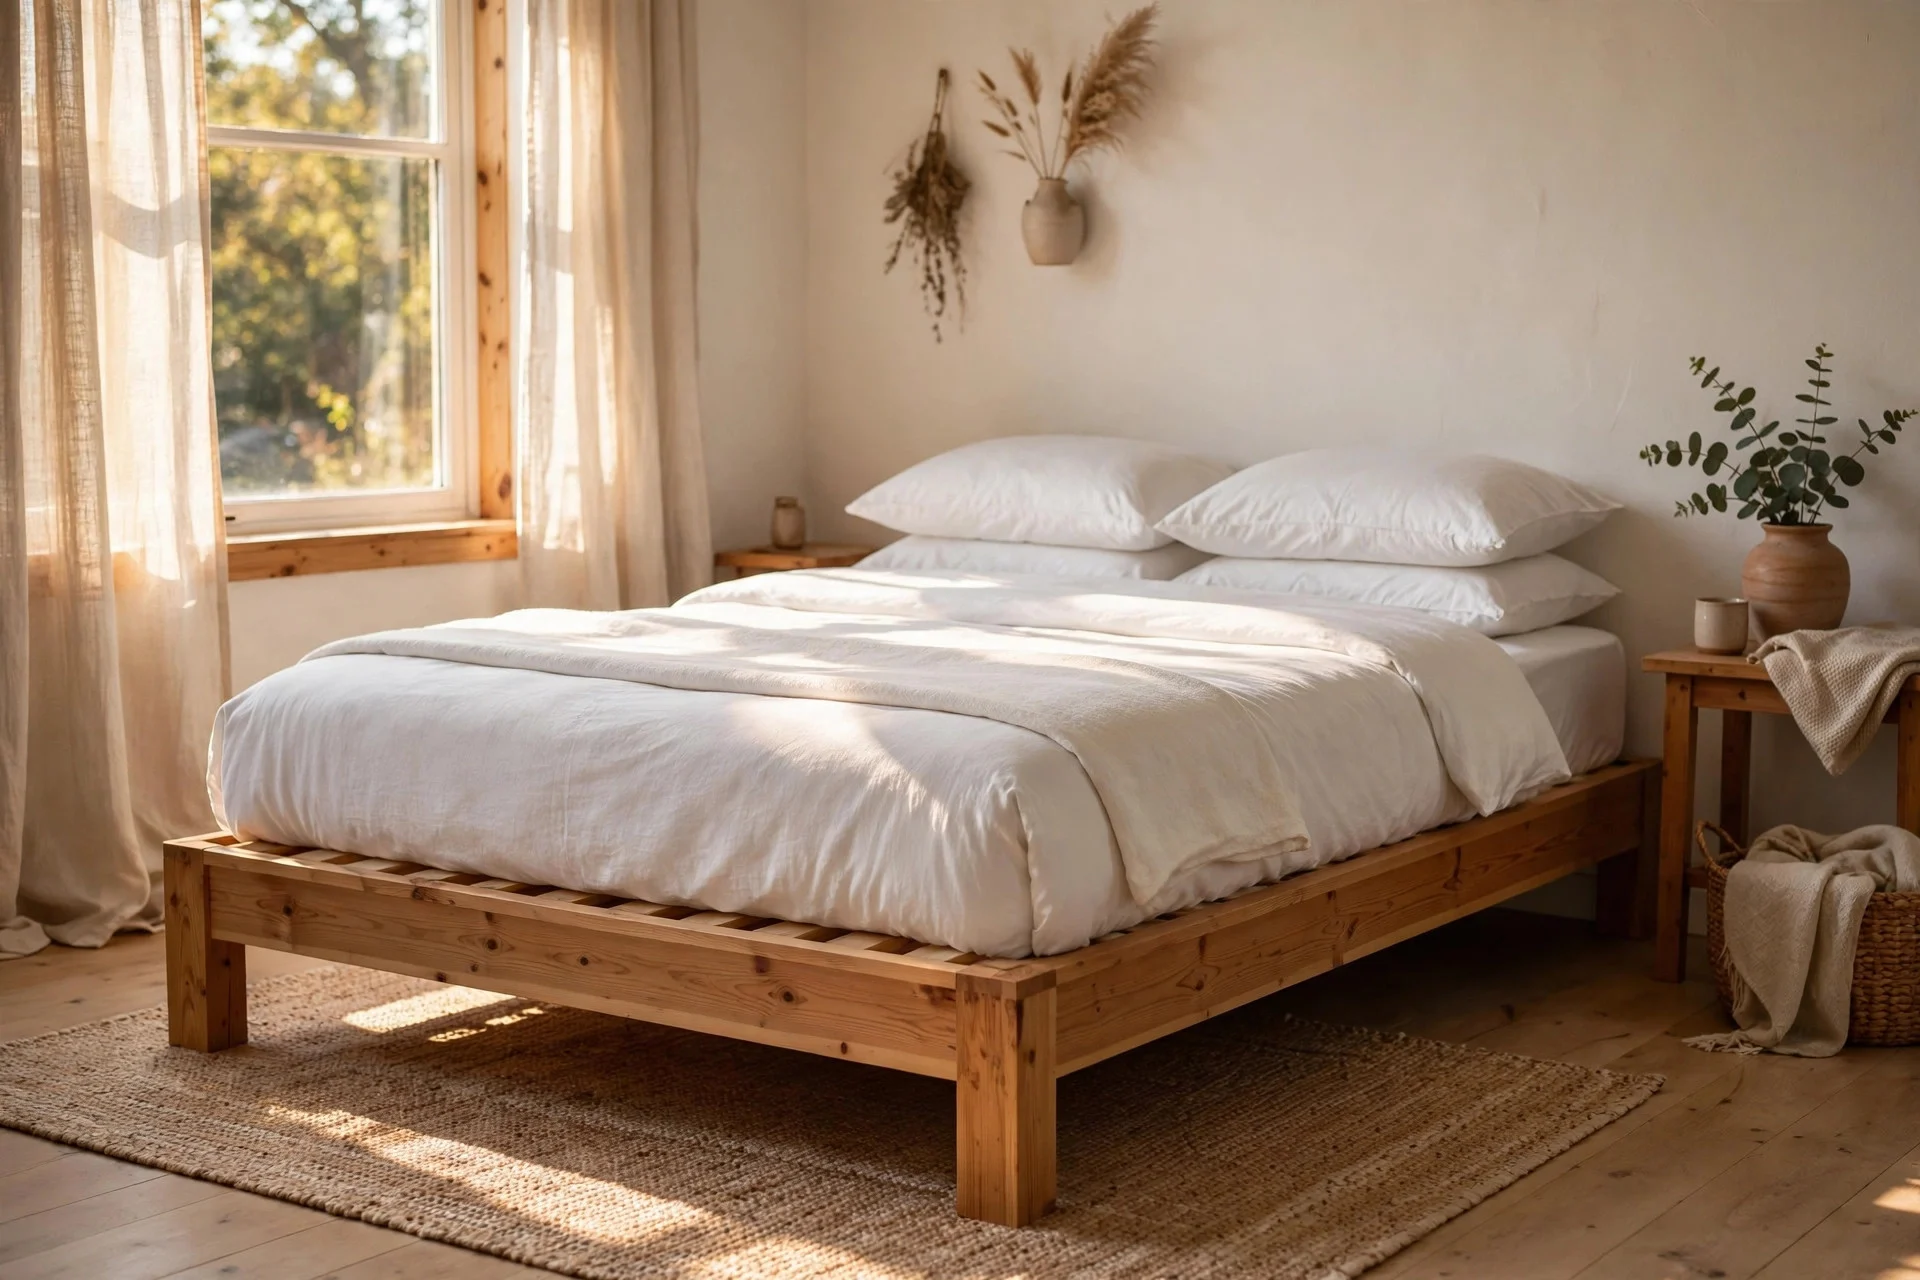
Cost: $200–$350 | Difficulty: moderate | Time: 1–2 hours. A sturdy platform frame lifts the bed off the floor, removes the need for a box spring, and stops the nightly creaks of a cheap metal frame. Wood or upholstered frames in this range are widely available, and most flat-pack in one box with clear instructions. A frame you can disassemble also survives future moves far better than a glued one.
Hands-on tip: tighten every bolt after the first week, since new frames settle and loosen slightly. Watch out: measure your doorways and stairwell before ordering, since long side rails do not bend around tight corners.
14. Buy a Proper Dresser Instead of Stacking Boxes
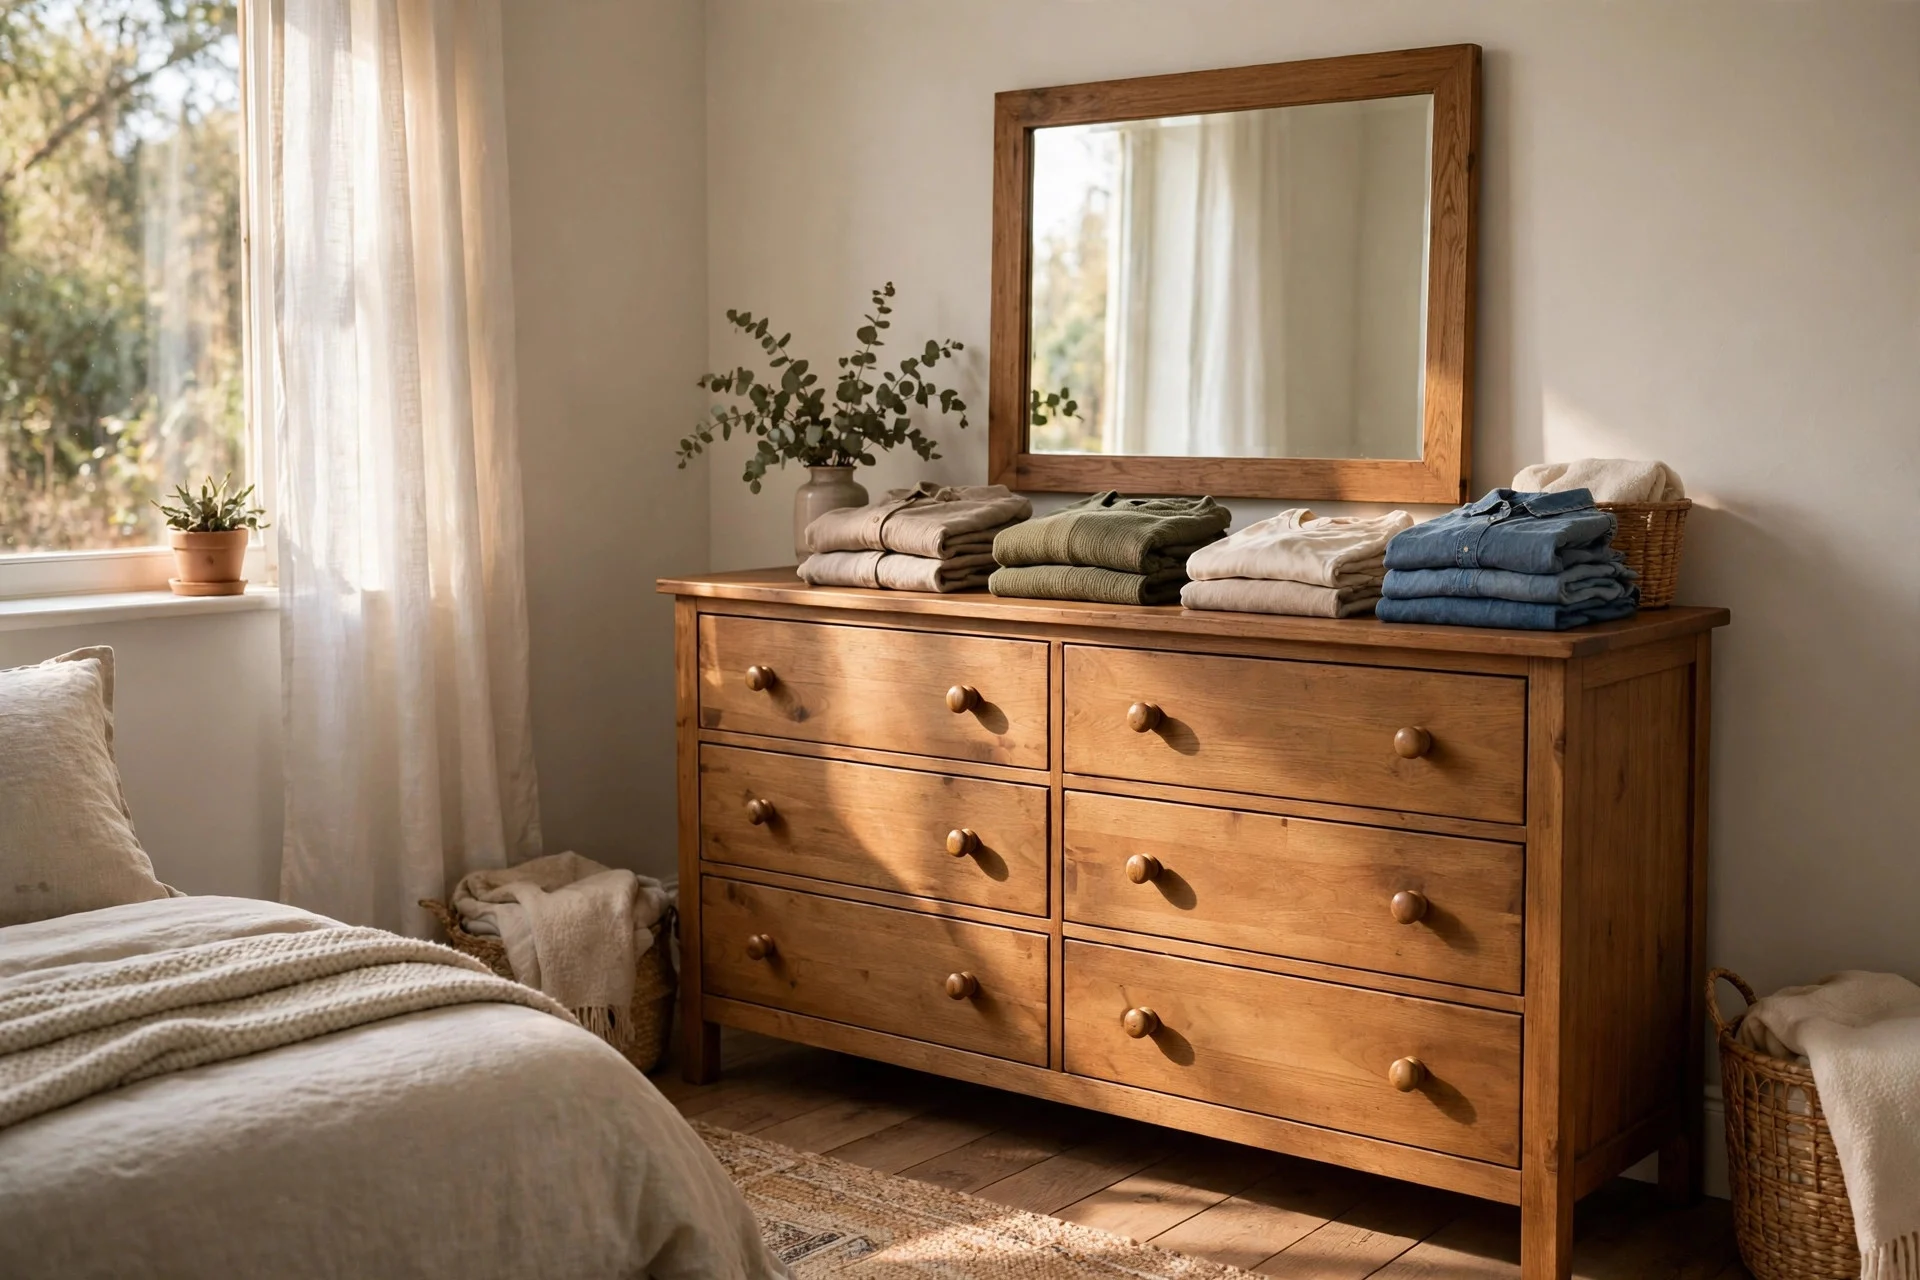
Cost: $220–$400 | Difficulty: moderate | Time: 1–2 hours to assemble. A six-drawer dresser ends the pile-of-boxes phase and gives every category of clothing a home. Solid pine or good-quality engineered wood lasts through several moves, while flimsy drawers jam within months. Drawers that run on metal runners, rather than bare wood grooves, are worth paying extra for.
Hands-on tip: sort clothes by drawer before you start unpacking, so each drawer gets one job and stays tidy. Watch out: anchor tall dressers to the wall with the supplied strap, especially if kids visit, since a loaded dresser can tip forward.
15. Zone a Studio Corner With a Curtain Wall
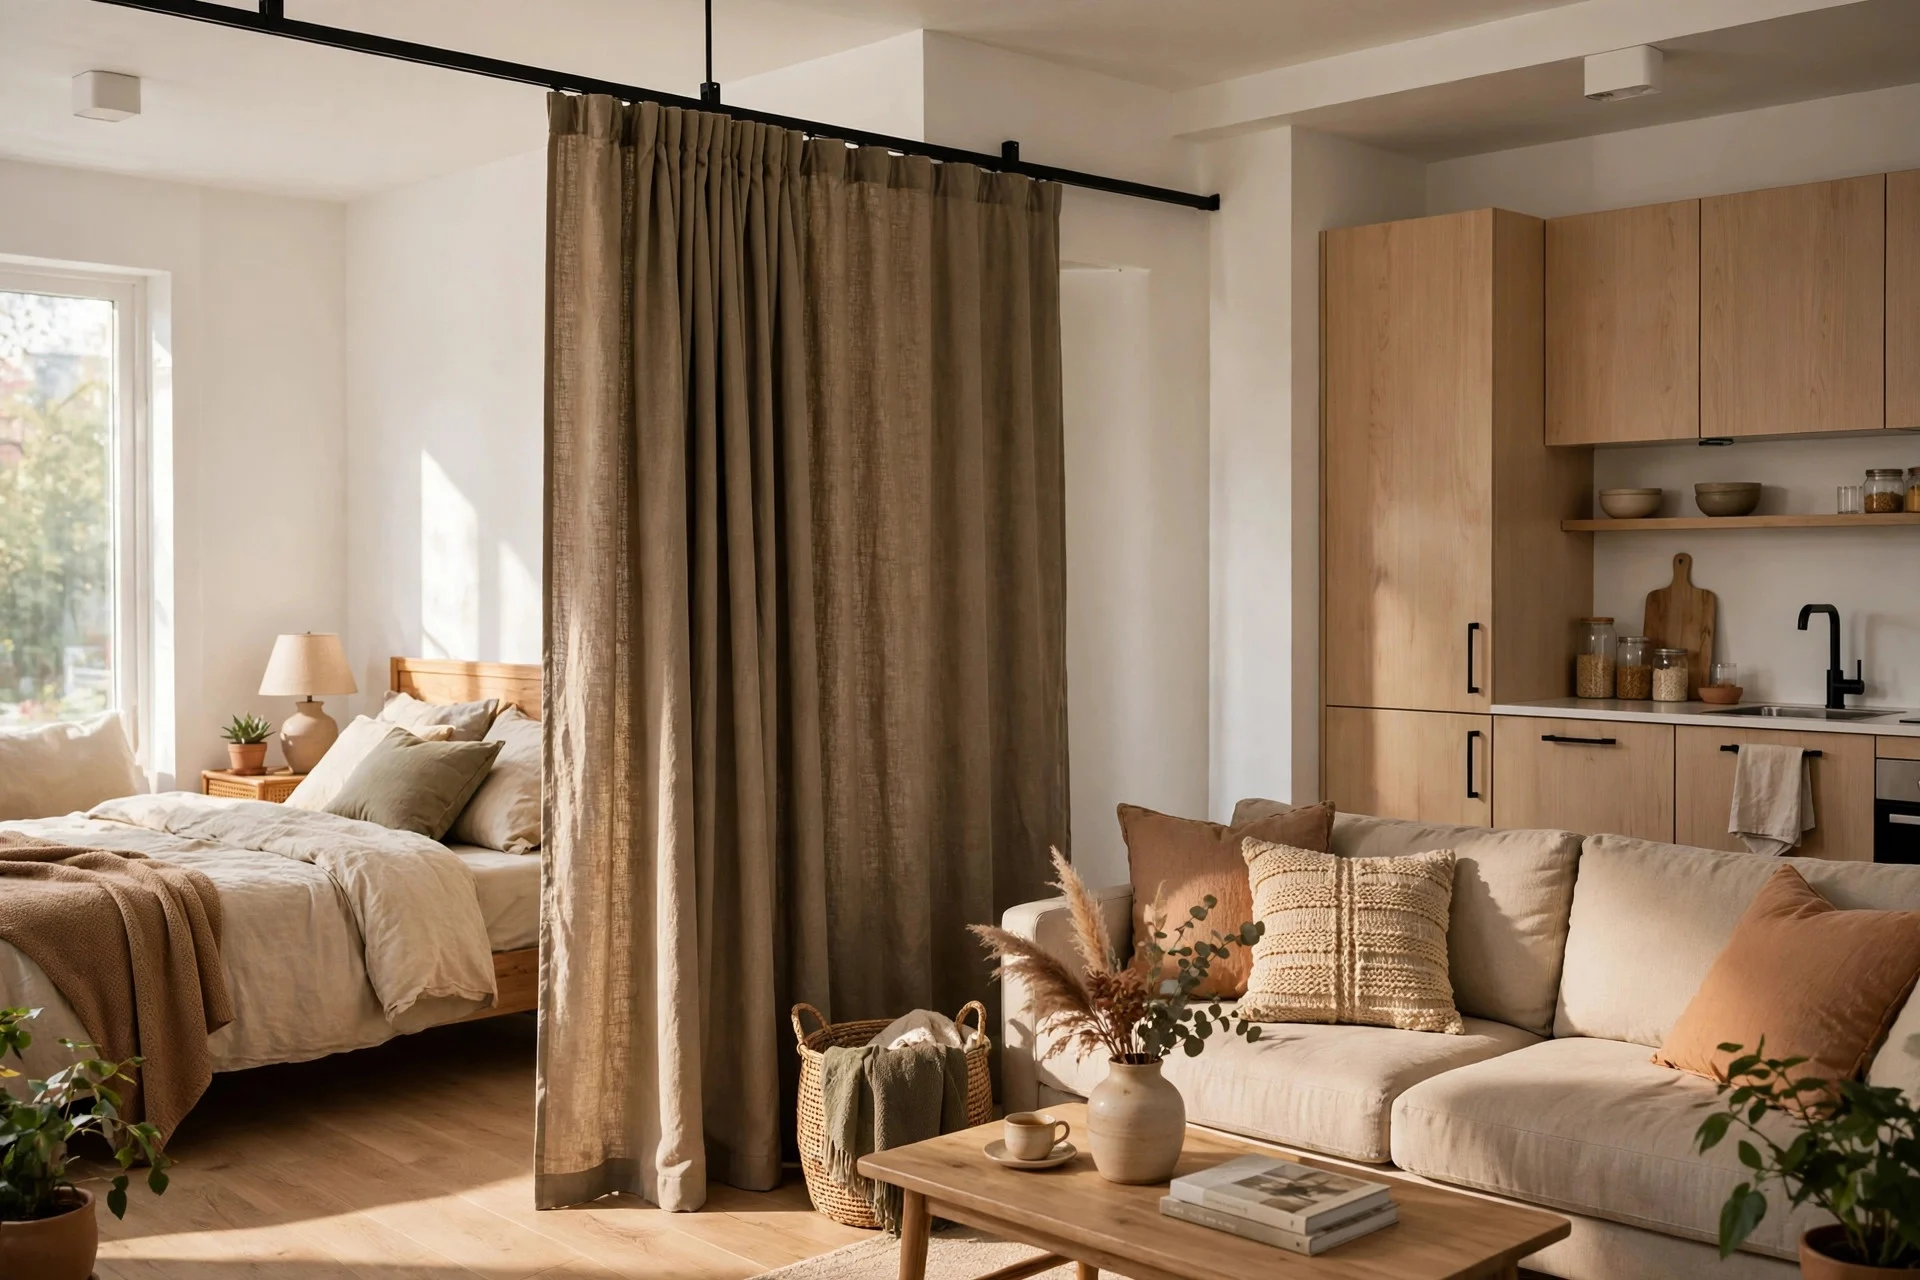
Cost: $200–$300 | Difficulty: moderate | Time: 2–3 hours. In a studio, a ceiling-track curtain gives your bed its own zone without building anything permanent. A ceiling track, two curtain panels, and a tension-mounted track kit cost far less than a partition wall and come down cleanly at move-out. Choose a heavy fabric so the divider hangs straight and blocks sightlines properly.
Hands-on tip: run the track wall to wall so no gap shows at the sides. Watch out: ceiling tracks need solid fixing points, so check what your ceiling is made of before you drill, and ask your landlord if the lease requires permission.
16. Set Up a Small Work Nook That Does Not Eat the Room
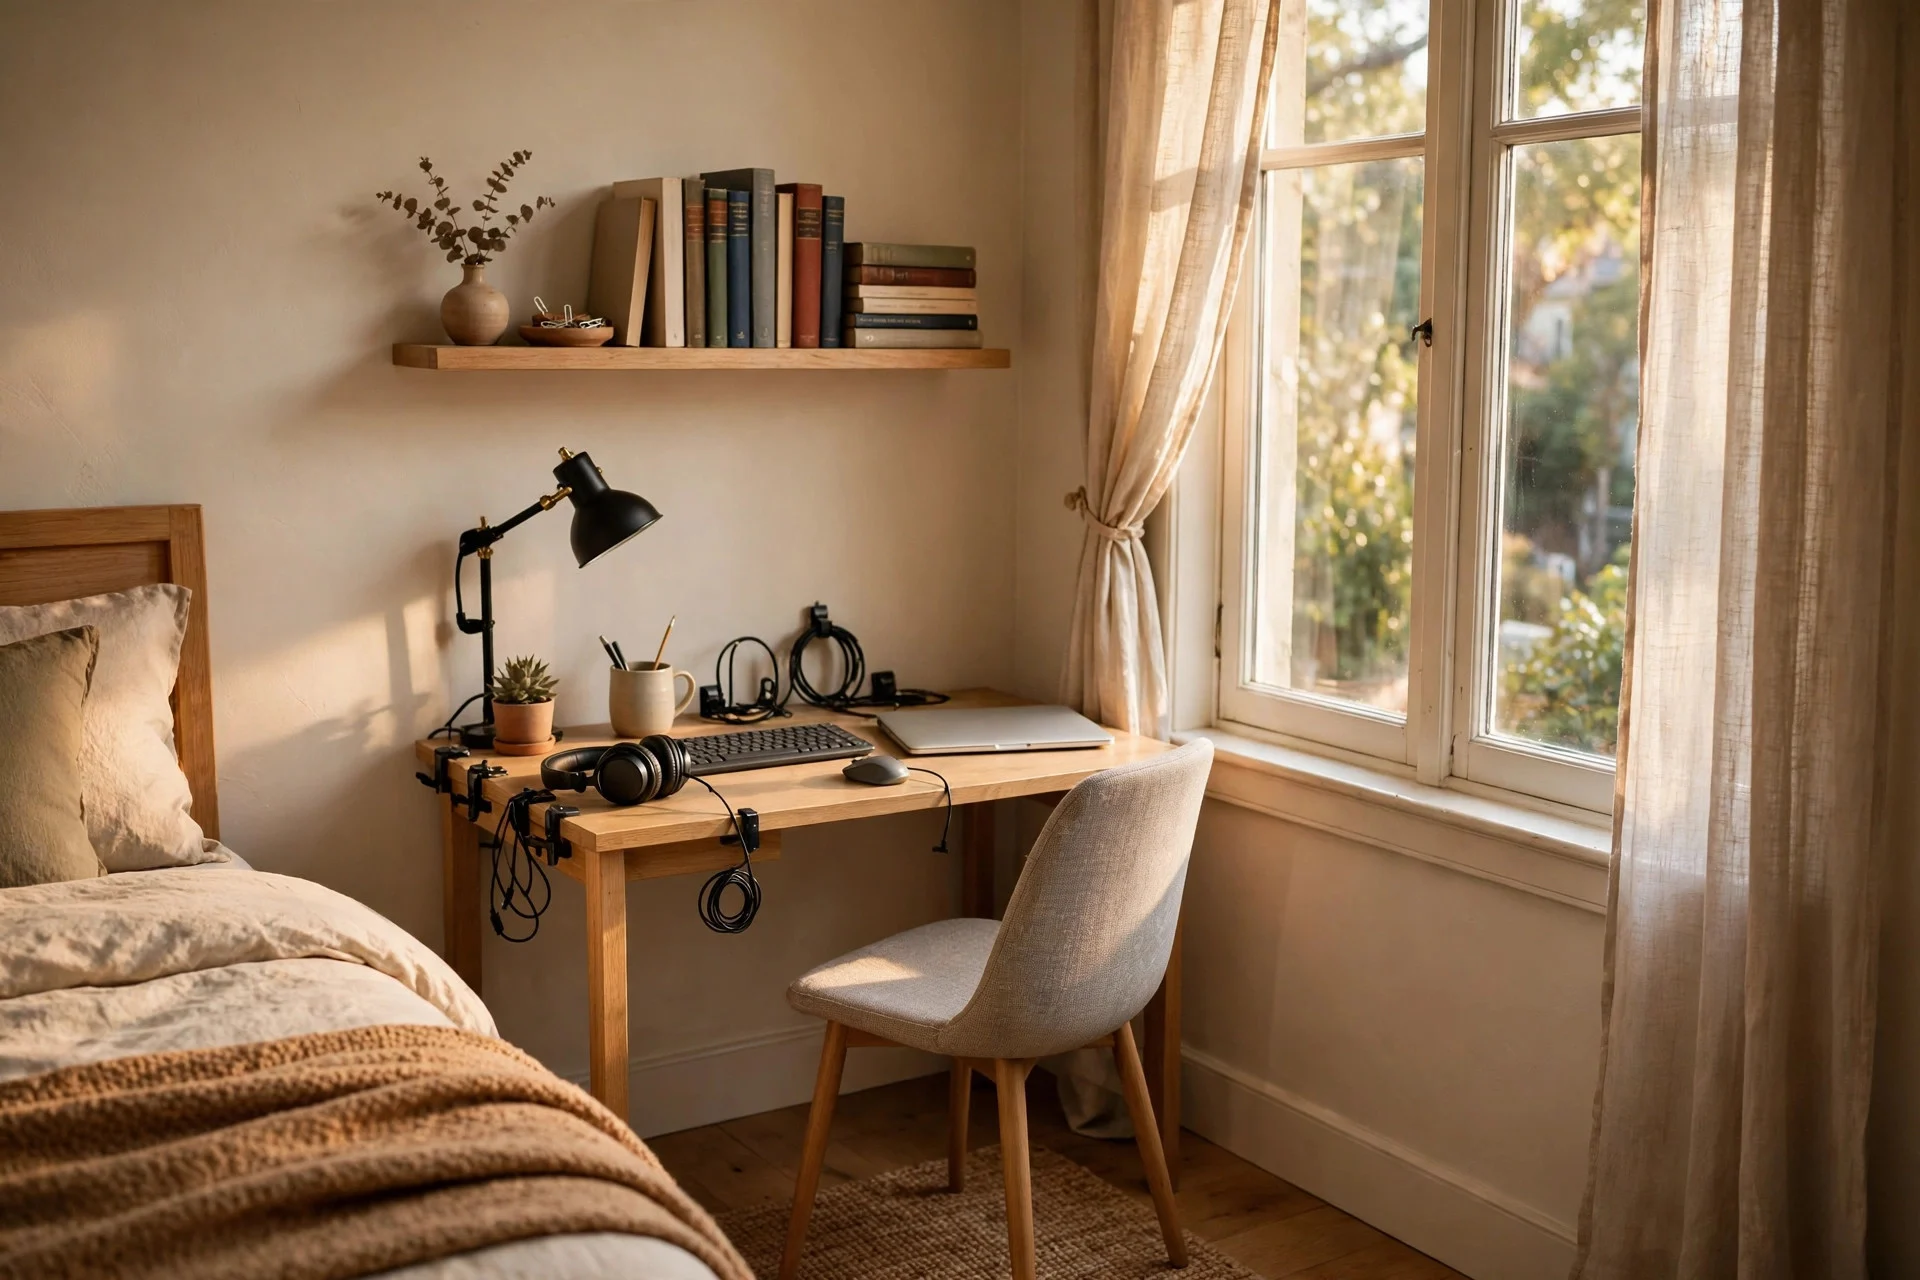
Cost: $210–$380 | Difficulty: moderate | Time: 2 hours. A compact desk (100–120 cm wide) and a comfortable chair turn a spare corner into a work spot without swallowing the bedroom. Place it near the window for daylight, add a small shelf above for books, and keep cables in one clip-on tray so the corner stays tidy. A folding or wall-mounted desk is a smart fallback if floor space is very tight.
Hands-on tip: sit at the desk and check elbow height before you buy the chair, since a mismatch causes sore shoulders within days. Watch out: keep the nook away from the bed if you can, so work gear does not creep onto your pillow at night.
17. Finish With an Accent Chair and Reading Light
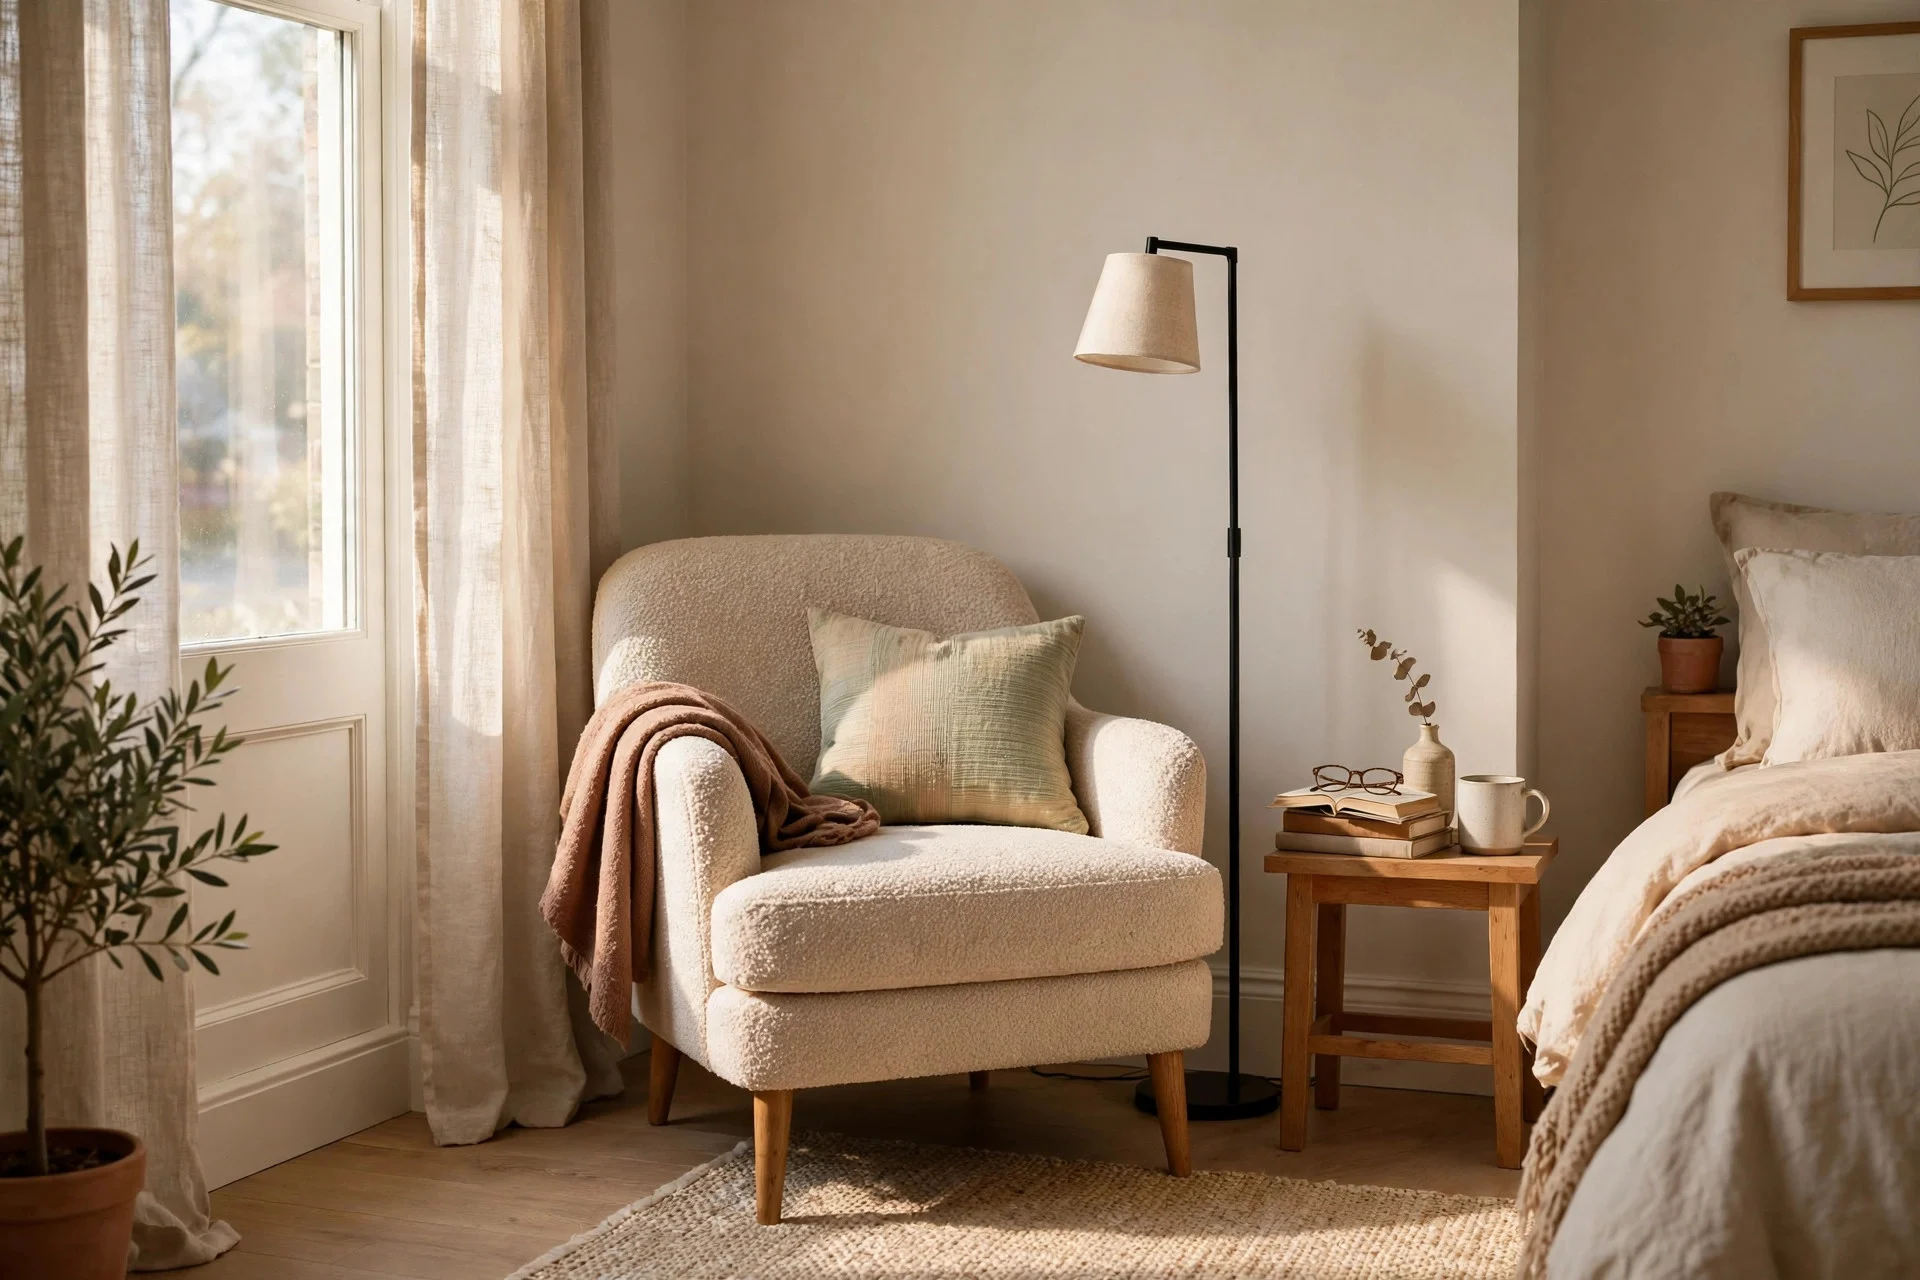
Cost: $200–$350 | Difficulty: easy | Time: 30 minutes. An accent chair plus a slim floor lamp turns an empty corner into a reading spot and gives the room a second place to sit besides the bed. Look for a chair with a seat height near 45 cm, firm cushioning, and a washable cover if you drink coffee nearby. Second-hand shops often carry solid chairs in this range that only need a clean.
Hands-on tip: leave 10 cm of breathing room behind the chair so the fabric does not rub the wall. Watch out: measure the chair through your door and hallway first, since assembled chairs are the hardest furniture to return.
Frequently Asked Questions
How much should I budget for a first apartment bedroom?
Most people can make a room feel comfortable for $300–$600 spread over a few months, starting with bedding and lighting under $50. You do not need to buy everything at once, and spreading purchases lets you test what the room actually needs.
What should I buy first for a first apartment bedroom on a budget?
Buy bedding, a bedside lamp, and basic storage first, since those three affect sleep and daily order more than decor does. Add a rug and curtains next, then save for larger furniture like a bed frame or dresser.
How can I decorate a bedroom without damaging the walls?
Use adhesive hooks, picture strips, tension rods, leaning shelves, and peel-and-stick wallpaper, all of which come off without holes. These renter-friendly living room ideas use the same no-damage approach and adapt well to bedrooms too. Always check weight limits and test adhesives on a hidden spot first.
Is it better to buy cheap furniture now or save for better pieces?
Buy cheap on items you will replace soon, like small decor, and save for pieces you use daily, like the bed frame, mattress, and dresser. Spending a little more on daily-use furniture usually saves money over time, since you replace it less often.
Wrap-Up: Your Starter Priority Order
Work through this list in order and stop whenever your budget runs out: (1) bedding layers, (2) a warm bedside lamp, (3) under-bed bins, (4) blackout curtains, (5) a rug, (6) a mattress topper, (7) a solid bed frame, (8) a dresser. Each step builds on the last, so the room feels better after every single purchase, not just at the end. Revisit the list each payday, buy one item, and let the room grow with you.