How to Layer Bedding So the Bed Looks Properly Made
A properly made bed is not about owning expensive bedding. It is about order: sheets first, then a blanket, then a duvet, then pillows, with each layer folded back just enough to show the one beneath it. Follow the twelve steps below in order and you will end up with a bed that looks like it belongs in a photo, using whatever bedding you already own.
Before you start, strip the bed down to the mattress and shake out every piece. Layering over wrinkles just hides them for a day, and they will show through the top layers. Give yourself ten minutes and a clear floor to work from.
Step 1: Pull the Fitted Sheet Tight
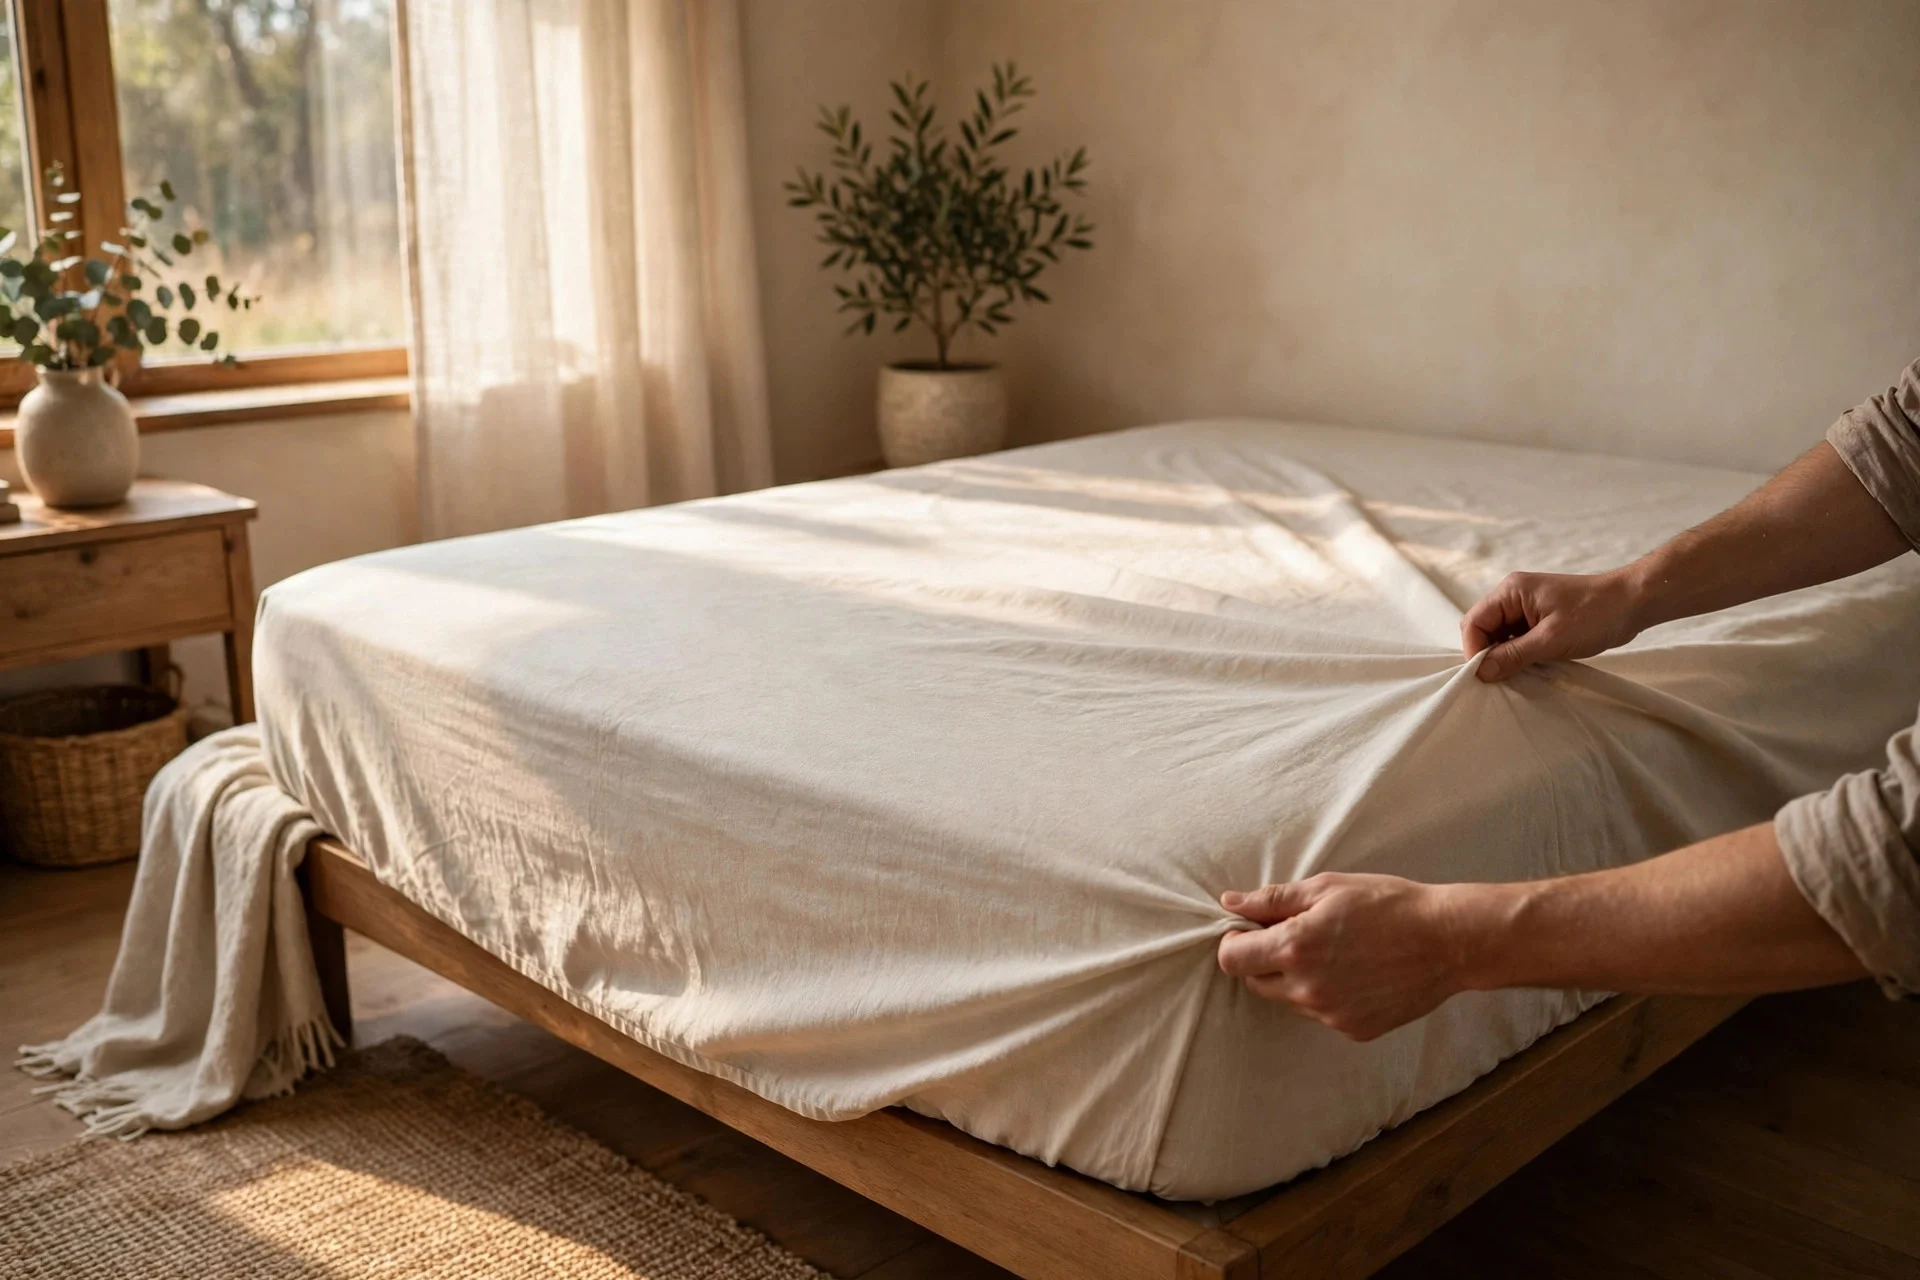
Start with the fitted sheet, and pull each corner deep onto the mattress so the elastic sits underneath, not on the side. A sheet that pops off at night ruins the whole stack, so if yours keeps slipping, try sheet straps or a slightly deeper pocket size. Smooth the top surface with your hands from the center outward, pushing out air pockets as you go. The fitted sheet is the foundation, and every layer above it will look better if this one lies flat. Tuck any loose fabric under the mattress rather than letting it bunch at the corners.
Tip: put the fitted sheet on right after laundry, while it is still slightly warm, since it stretches into place more easily.
Step 2: Lay the Flat Sheet With the Top Edge at the Headboard
Spread the flat sheet over the bed with its finished top edge lined up at the head of the mattress. Let the sides hang evenly on both sides, and leave about 12 inches of sheet past the foot, which you will tuck later. If your sheet has a patterned border, that border should sit at the head end, since it will end up folded back and on display. Smooth it out the same way as the fitted sheet, working from the middle toward the edges.

Tip: if the sheet is too wide for the bed, fold the extra under the mattress on one side only, so the drape stays even.
Step 3: Tuck the Foot and Sides Neatly
Tuck the foot of the flat sheet under the mattress with a firm push, then tuck the sides, keeping the tension even. Hospital corners are worth learning here: lift the side fabric, fold it at a 45-degree angle, and tuck the hanging part under, which gives you a crisp diagonal fold at each bottom corner. You don’t need to tuck the top half of the sides, since those will be folded back later. The goal is a smooth lower half that won’t come loose when you get into bed.

Tip: make the bed from one side, then walk around and even out the other side, rather than leaning across the mattress.
Step 4: Add a Light Blanket or Coverlet
Next comes a light blanket, a cotton coverlet, or a waffle weave, laid over the flat sheet with its top edge about 6 inches below the headboard. This middle layer adds warmth without weight, and it gives the bed its first visible texture. If your room runs warm, this layer can be the main cover on summer nights, with the duvet folded at the foot. Let it hang a little past the mattress on both sides, but keep it shorter than the sheet at the foot so the layers step down visibly.

Tip: pick a coverlet in a different texture from your sheets, since contrast between layers is what makes a bed look layered.
Step 5: Lay the Duvet or Comforter on Top
Shake out the duvet, hold it by two top corners, and let it fall over the bed so it lands evenly. Give it a few shakes from the foot end to push the filling toward the middle, which stops it bunching at the sides. The duvet should cover the whole mattress and hang about halfway down the sides, with the foot end reaching the end of the bed. If you use a duvet cover, make sure the duvet is clipped or tied inside it, or it will slide into a corner by morning. For more ideas on dressing a bed well on a budget, these bedroom like a hotel on a budget tips cover the same crisp look without new bedding.

Tip: a duvet one size larger than the bed drapes better on the sides and looks fuller than a tight-fitting one.
Step 6: Fold Back the Top Third
This is the step that makes the bed look finished. Fold the duvet, the blanket, and the flat sheet back together, about a third of the way down from the headboard, in one smooth fold. The fold shows the layers underneath: sheet edge, blanket, duvet, stacked like pages. Keep the fold straight by lining it up with the pillow line, and smooth it flat with your hands. If the fold looks lumpy, pull the layers taut from the sides before you fold, since slack fabric is what causes the lumps.

Tip: fold the layers back before you place the pillows, so the pillows sit on top of the fold and hold it in place.
Step 7: Add a Throw Across the Foot
A throw folded into a long band across the foot of the bed adds color and a final texture, and it gives you an extra layer on cold nights without remaking the bed. Fold it to about a third of the bed’s width, lay it straight across, and let the ends hang evenly on both sides. A chunky knit works in winter, while a light linen throw suits summer. The throw should contrast with the duvet, or it will blend in and add nothing. If the bed already has a strong pattern, keep the throw plain.
Tip: fold the throw to the same width every time, so the bed looks consistent rather than thrown together.
Step 8: Fluff and Place the Sleeping Pillows
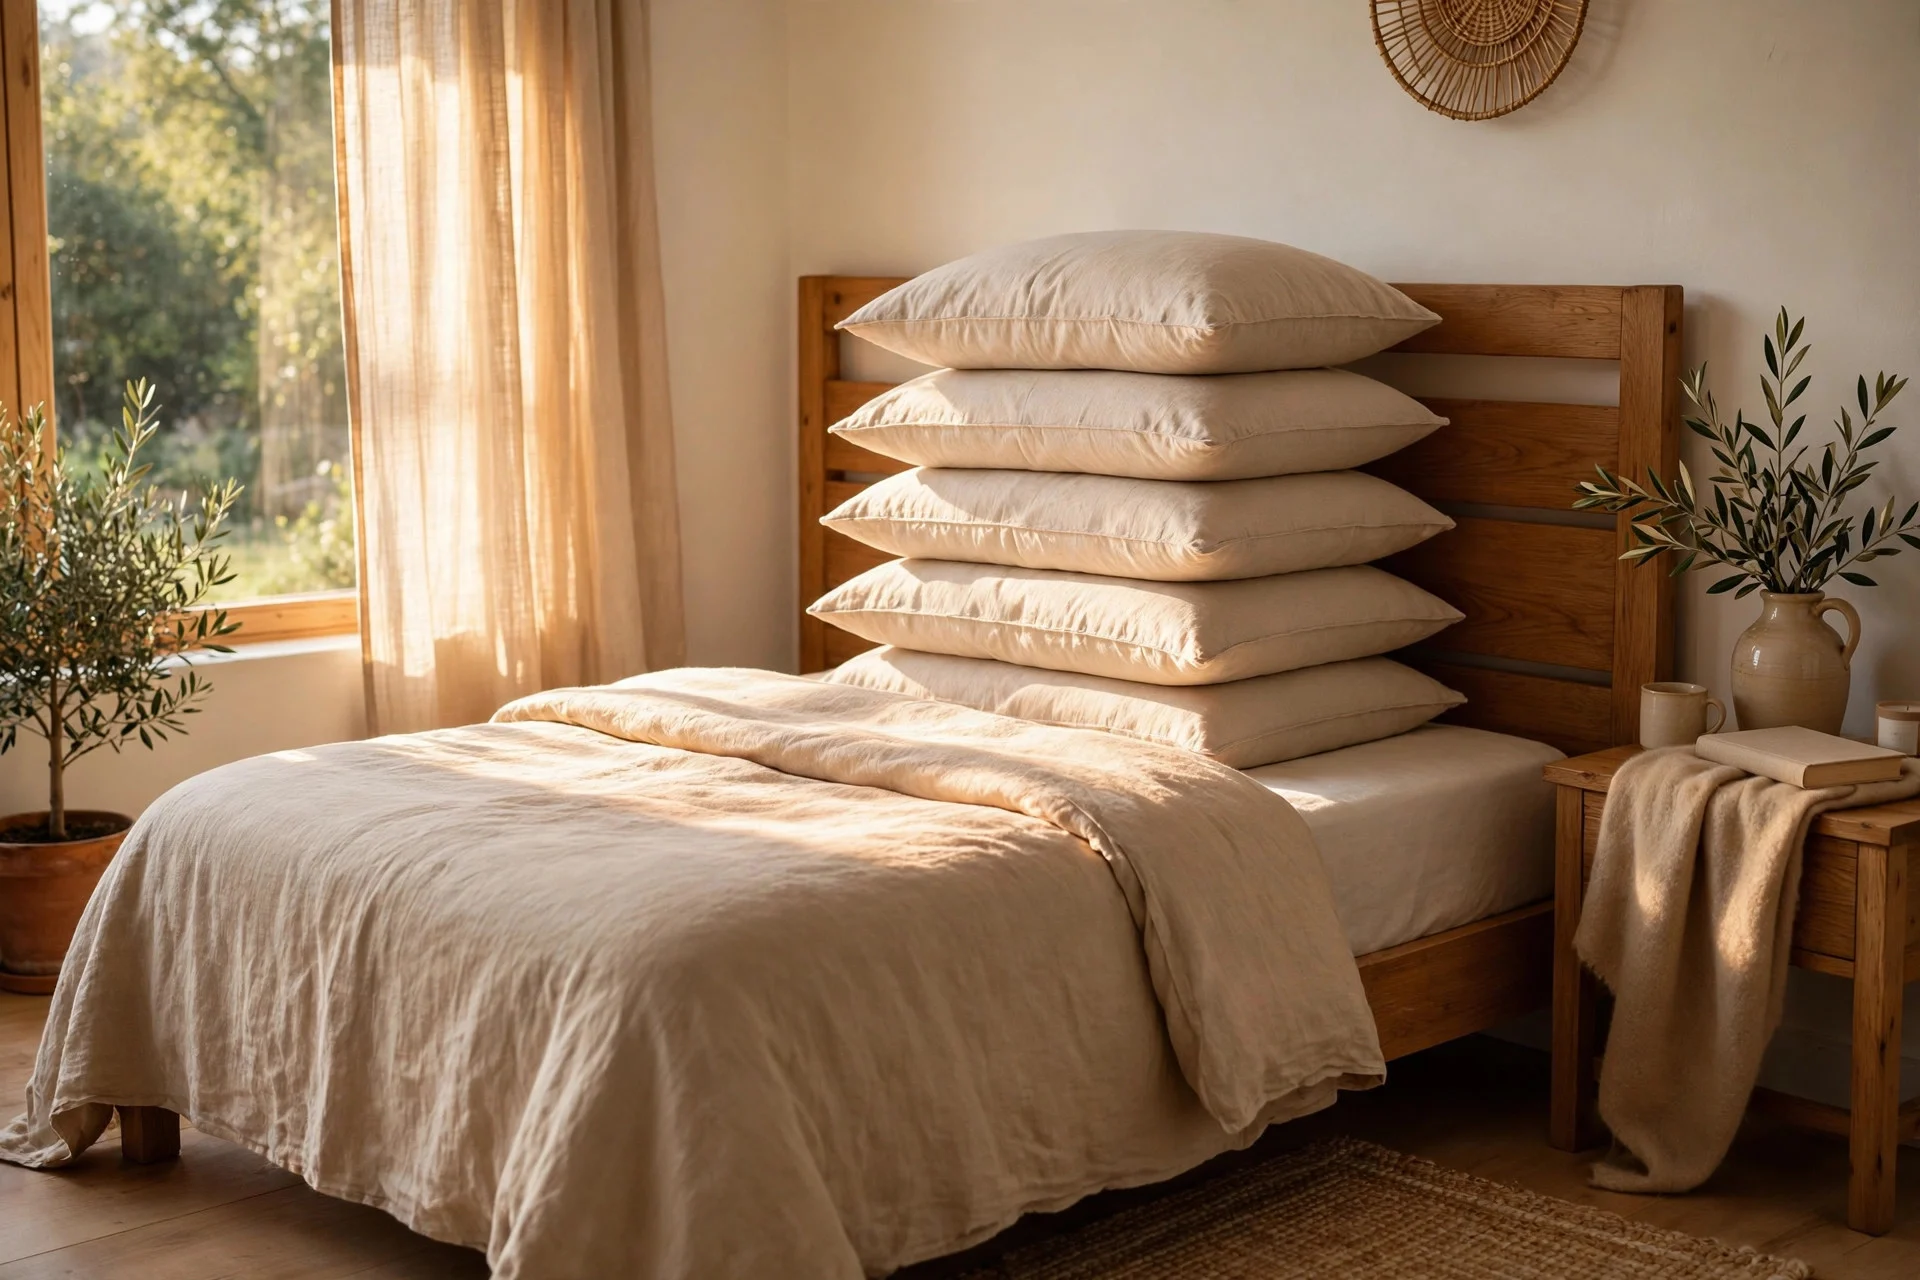
Fluff each sleeping pillow by punching the sides inward and shaking it out, then stand them upright against the headboard, or lay them flat in a stack if you prefer a lower profile. Sleeping pillows go on first, closest to the headboard, since they are the ones you actually use. If you stand them upright, press the tops forward slightly so they lean at a slight angle rather than standing stiff. Two pillows per side is the norm for a double bed, but one good pillow beats two flat ones.
Tip: replace pillows when they stop springing back after a fluff, since no amount of layering fixes a dead pillow.
Step 9: Add Euro Shams in Front
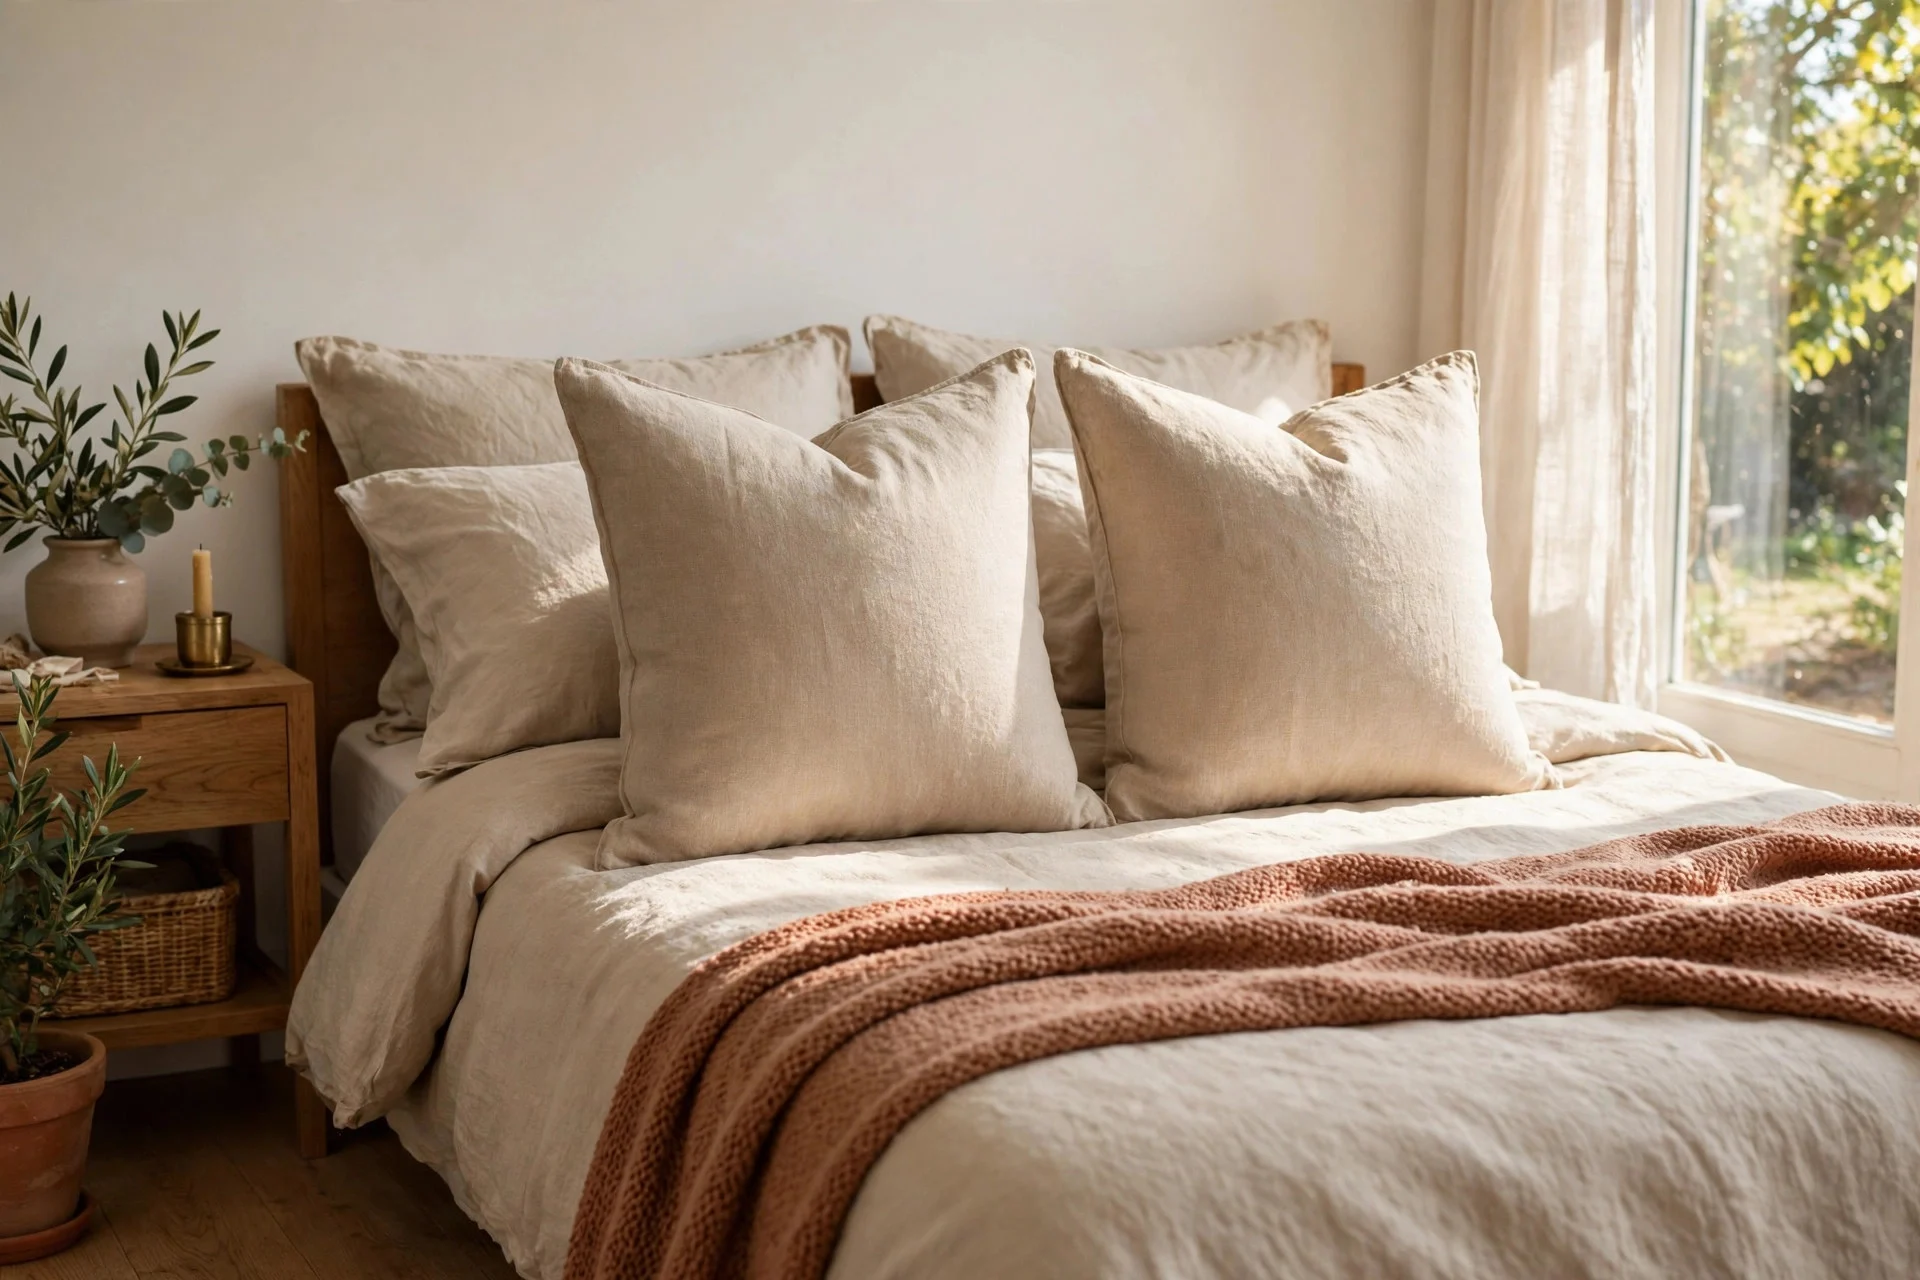
Euro shams are the big square pillows, usually 26 inches, that sit in front of the sleeping pillows. They fill the gap between the sleeping pillows and the decorative pillows, and they give the bed its height. Stand them upright and slightly in front of the sleeping pillows, overlapping them a little so there are no gaps. If your bed is a single or small double, one Euro sham centered may look better than two crowded ones. Keep the sham covers smooth and the corners pushed out.

Tip: use sham inserts one size larger than the cover, so the shams look full instead of limp.
Step 10: Place the Standard or Decorative Shams
Next come standard shams or decorative pillows in the same size as your sleeping pillows, placed in front of the Euros. These can match the duvet cover or carry a subtle pattern that ties in with the throw. Stand them upright, centered on the bed, with even spacing between them. This layer is where most beds go wrong: too many pillows here and the bed looks cluttered, too few and it looks unfinished. Two on a double bed is usually right.

Tip: match the sham fabric to the duvet, not the throw, so the middle of the bed reads as one calm block.
Step 11: Finish With One or Two Accent Cushions
Accent cushions are the smallest pillows and the last layer. One or two is enough: a round bolster, a small lumbar cushion, or a single patterned square placed in front of the shams. Odd numbers look more relaxed than even ones, so if you already have two shams, add one cushion, not two. The cushion is also the easiest place to add a color accent, so if the room needs a lift, this is where to put it. Keep it small, or it will crowd the pillows behind it.

Tip: take the accent cushions off at night and put them on a bench at the foot of the bed, since sleeping on a pile of pillows helps no one.
Step 12: Step Back and Adjust the Drape
Stand at the foot of the bed and look at the whole thing. Check that both sides hang evenly, the fold at the top is straight, and the pillows sit centered. Pull the duvet down a touch on the side that rides up, straighten the throw, and nudge any pillow that leans. This last check takes thirty seconds and is the difference between a bed that looks made and one that looks almost made. Once it passes the foot-of-the-bed test, leave it alone. Over-adjusting is how a good bed ends up looking fussed over.

Tip: do this check in daylight, since bedroom lamps hide uneven drapes that daylight shows clearly.
Frequently Asked Questions
How many layers should a bed have?
Three to four is the sweet spot: sheets, a light blanket, a duvet, and a throw. Fewer layers look flat, and more layers make the bed hard to get into and a chore to remake each morning.
Do I need a flat sheet if I use a duvet?
It helps a lot. A flat sheet keeps the duvet cleaner, since you wash the sheet weekly and the duvet far less often, and it adds a visible layer to the fold-back at the top of the bed.
What size duvet looks best on a bed?
One size up from the bed usually looks best, since the extra width drapes over the sides and covers the mattress fully. A duvet that just fits the mattress tends to pull up and expose the sides.
How do I stop pillows from sliding flat overnight?
Stand sleeping pillows upright against the headboard and place the shams in front of them to hold them up. If the headboard is slippery, a small non-slip pad behind the pillows stops the slide.
Layering is a habit more than a skill. Do the steps in order for a week and the whole routine takes under five minutes. The payoff is a bed you actually want to walk past in the morning, and a room that feels pulled together before you have done anything else.