How to Fit a Dining Table Into a Studio Apartment
Yes, you can fit a real dining table into a studio apartment — you just can’t shop for one the way you would for a big dining room. The trick is to start with your floor space, pick a table sized for the people who actually eat there most days, and give it a job when dinner is over. Done that way, a small table stops being a squeeze and starts being the spot where you eat, work, and have friends over.
Most studios fail at this for one simple reason: the table arrives before the measurements do. A 48-inch round table sounds small in a shop, but in a small studio it can eat the walkway between your bed and your kitchen. Measure first, buy second.
What you’ll need before you start: a tape measure, painter’s tape, and about 30 minutes. If you already own a table, add a friend to help shift furniture. Most studio solutions land between $0 (rearranging what you own) and $600 for a new fold-down, extendable, or counter-height setup. Chairs or a bench usually add $80–$300 for a pair.
Step 1: Measure the Spot, Not Just the Table
Pick the corner or wall where the table will live, then measure its length and width. Write down door swings, radiator covers, and the path you walk from the front door to the kitchen, because a table that blocks that path will annoy you every single day.
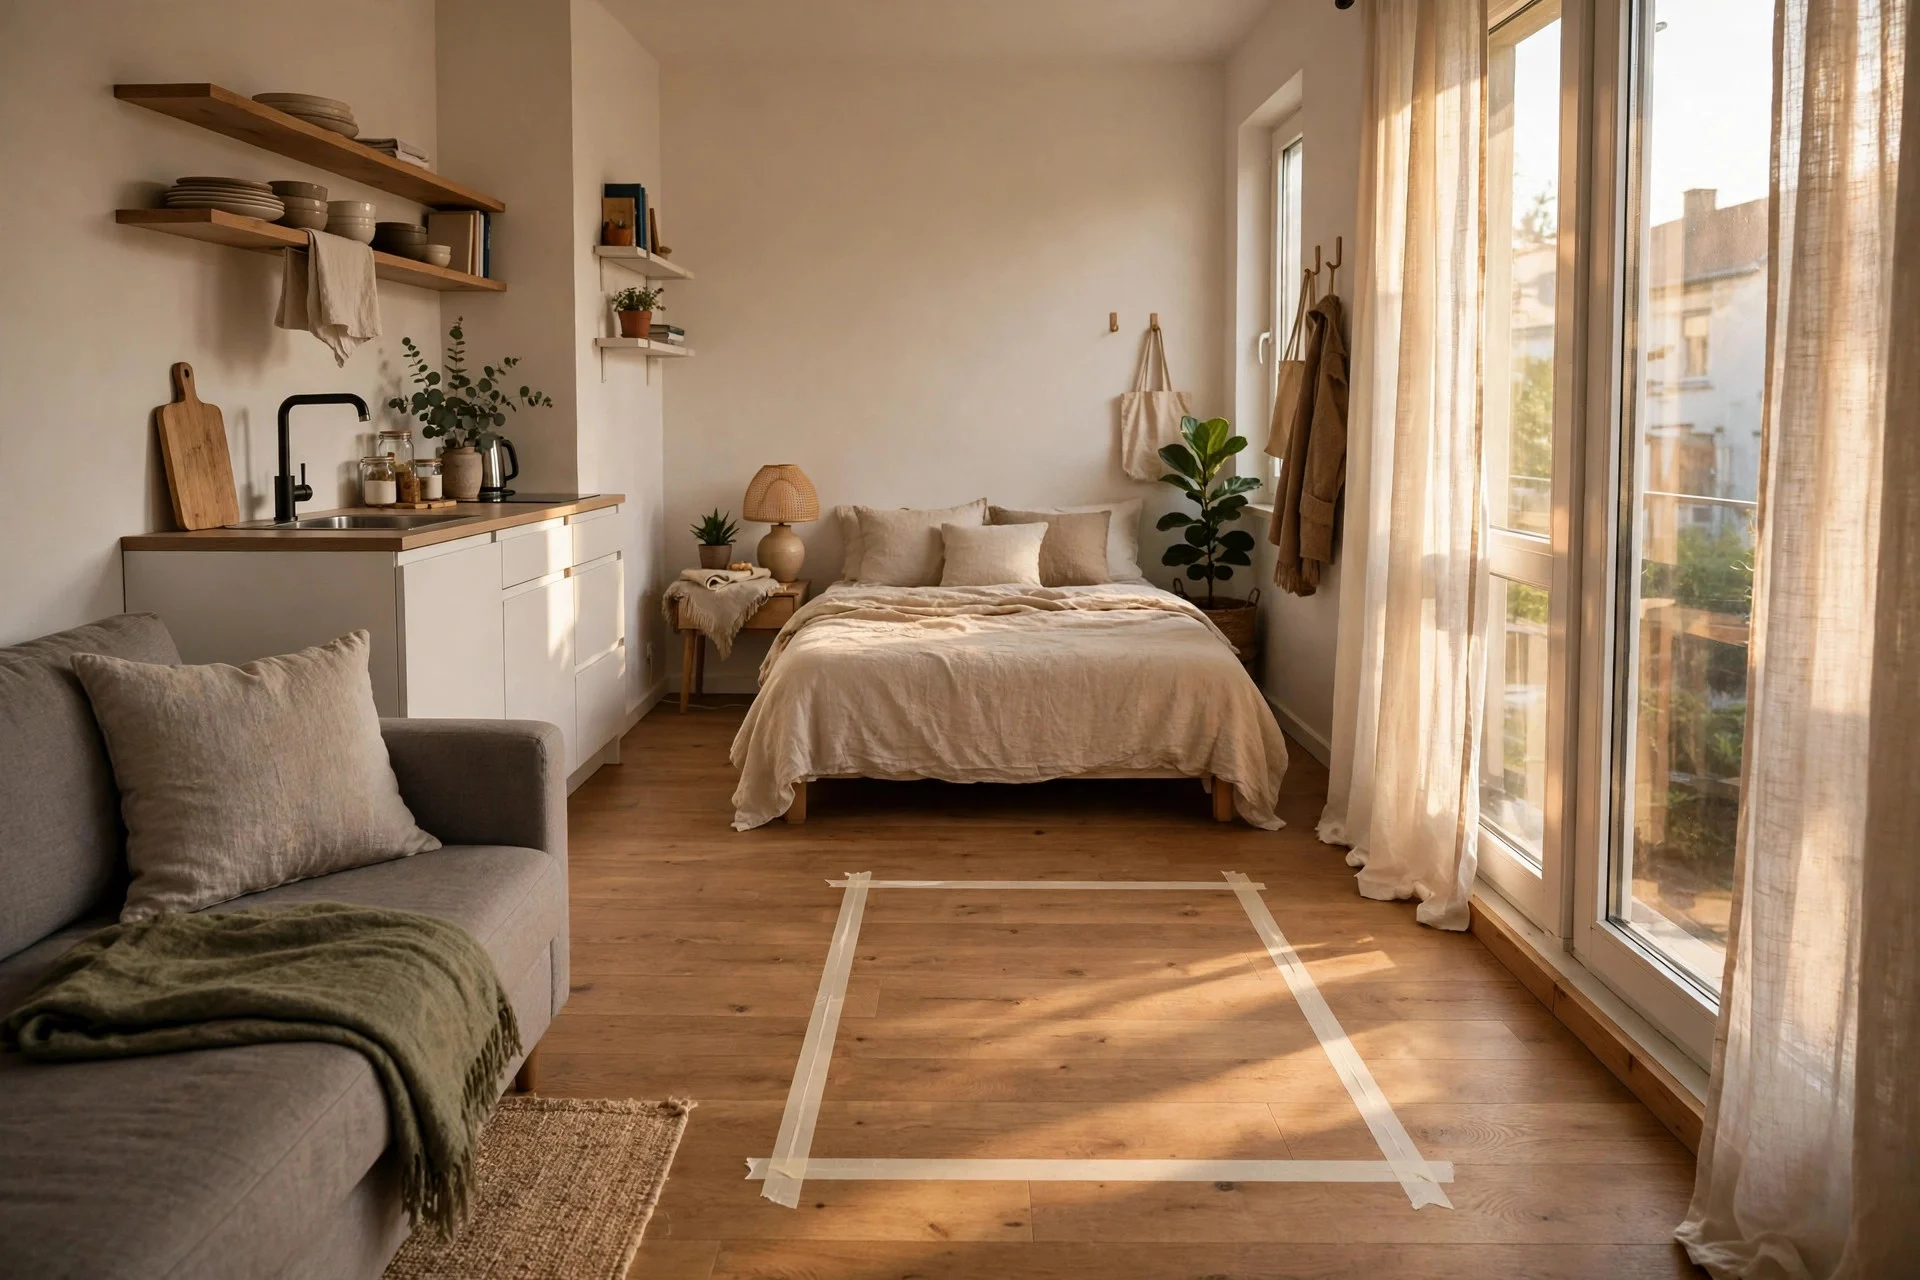
Now tape the table’s footprint on the floor. A two-person table needs roughly 30 by 30 inches, plus about 24 inches behind each chair so someone can pull out and stand up. Walk around the taped shape and open the nearest drawer or door. If you have to shuffle sideways to pass, the spot is too tight.
Cost: $0–$8 for painter’s tape. Difficulty: easy, about 30 minutes. Tip: leave the tape down for a day and live with it before you buy anything. Watch out: don’t measure an empty room and forget the rug, the chair legs, and the space a chair needs when it’s pulled out, not pushed in.
Step 2: Decide How Many People Eat There Most Days
Be honest about your real life, not your dream dinner party. If it’s usually just you, or you and one other person, a two-seater is plenty. If friends come over twice a month, you need a table that grows for those nights, not a big table that crowds you the other 28 days.
As a rough guide, allow about 24 inches of table edge per person. A 30-inch round table seats two comfortably and three at a push; a 36-inch round seats four. A 36 by 24-inch rectangle seats two, and a 48 by 30-inch rectangle seats four if the chairs fit around it.
Cost: $0 at this stage — this step saves money later. Difficulty: easy, 10 minutes of honest thinking. Tip: count the chairs you already own before you buy a table to match them. Watch out: buying for eight guests you host once a year is the fastest way to lose half your living room.
Step 3: Choose a Round Table for Tight Corners
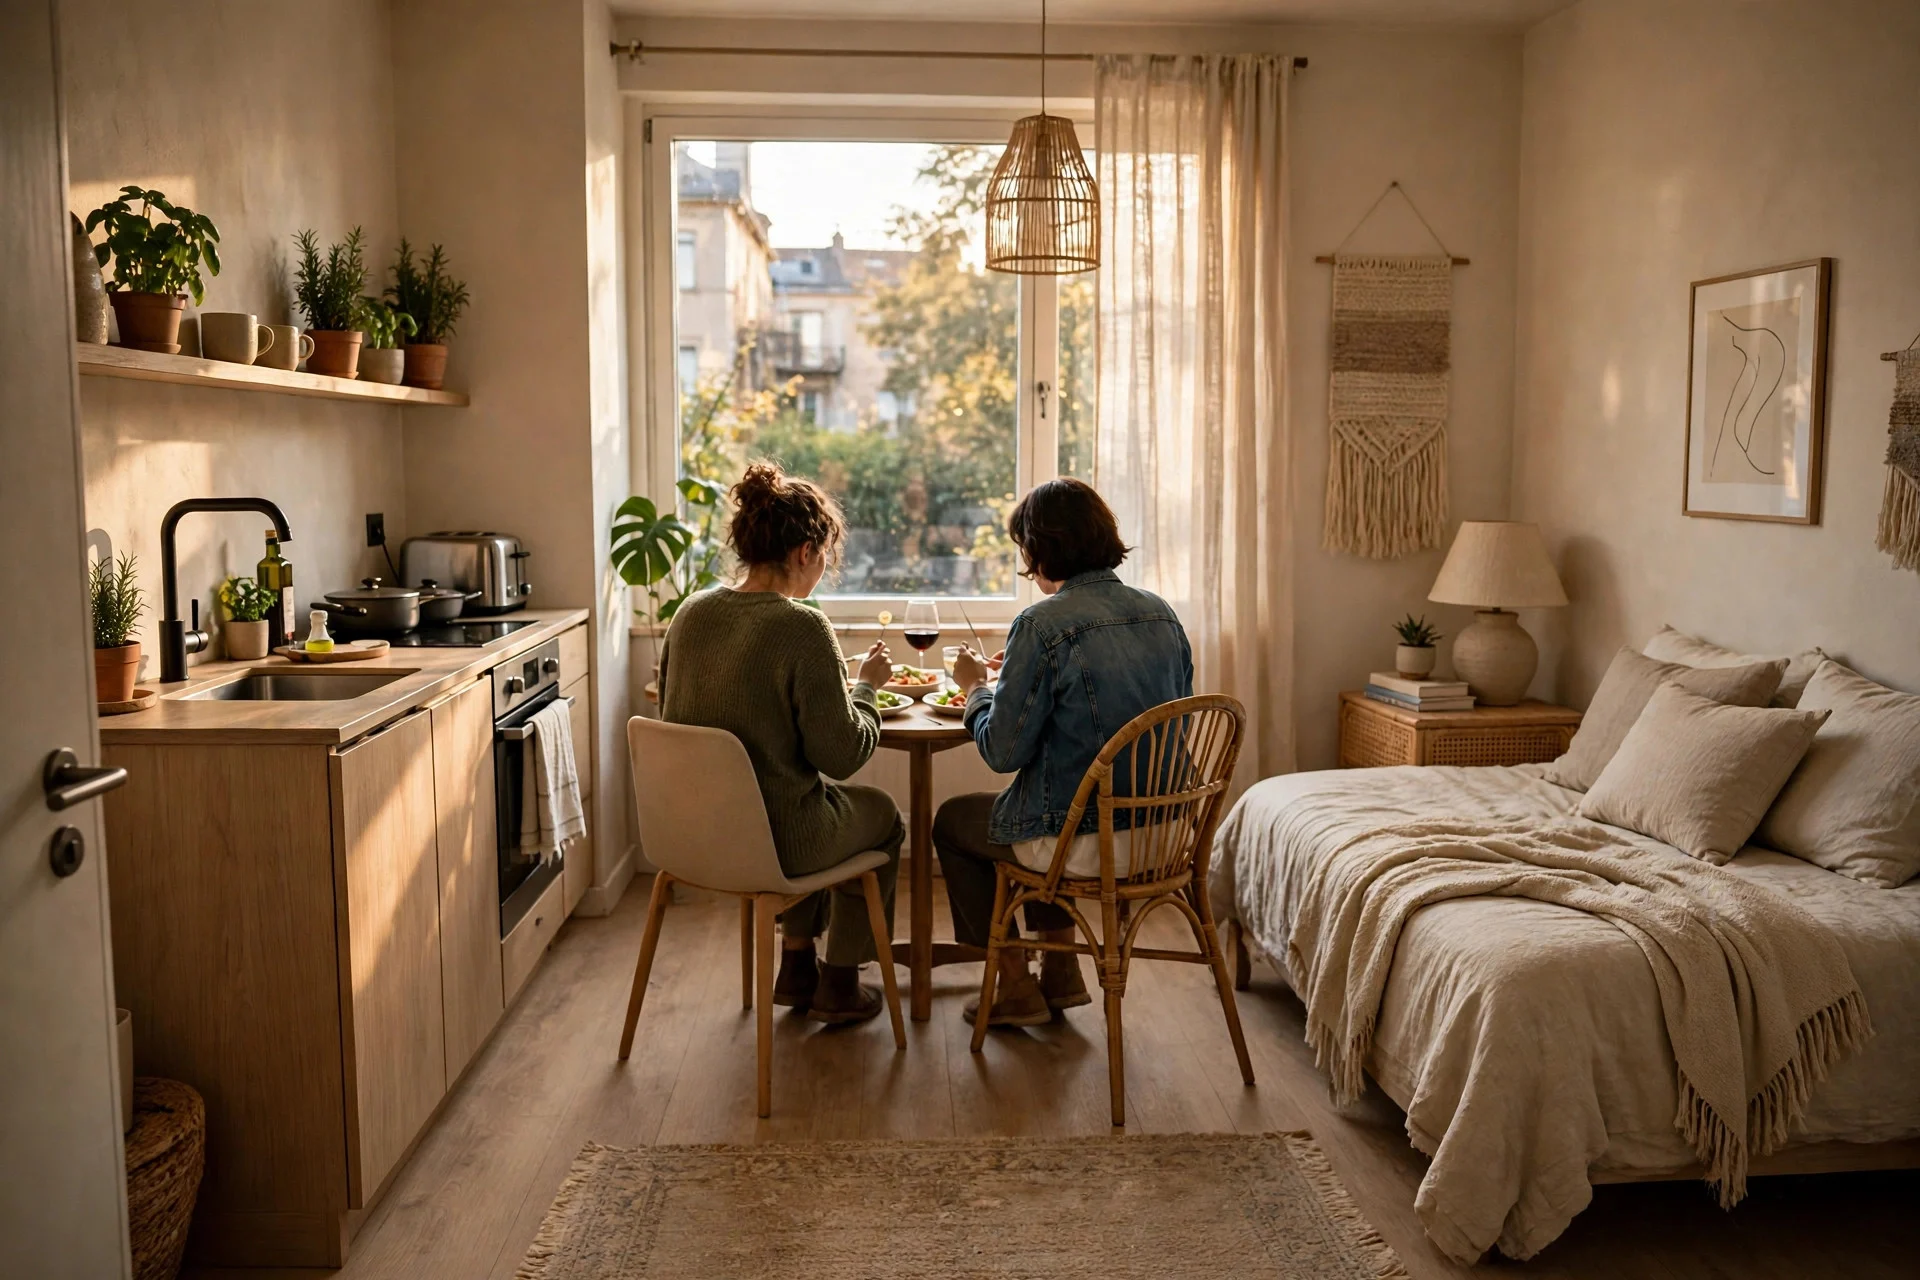
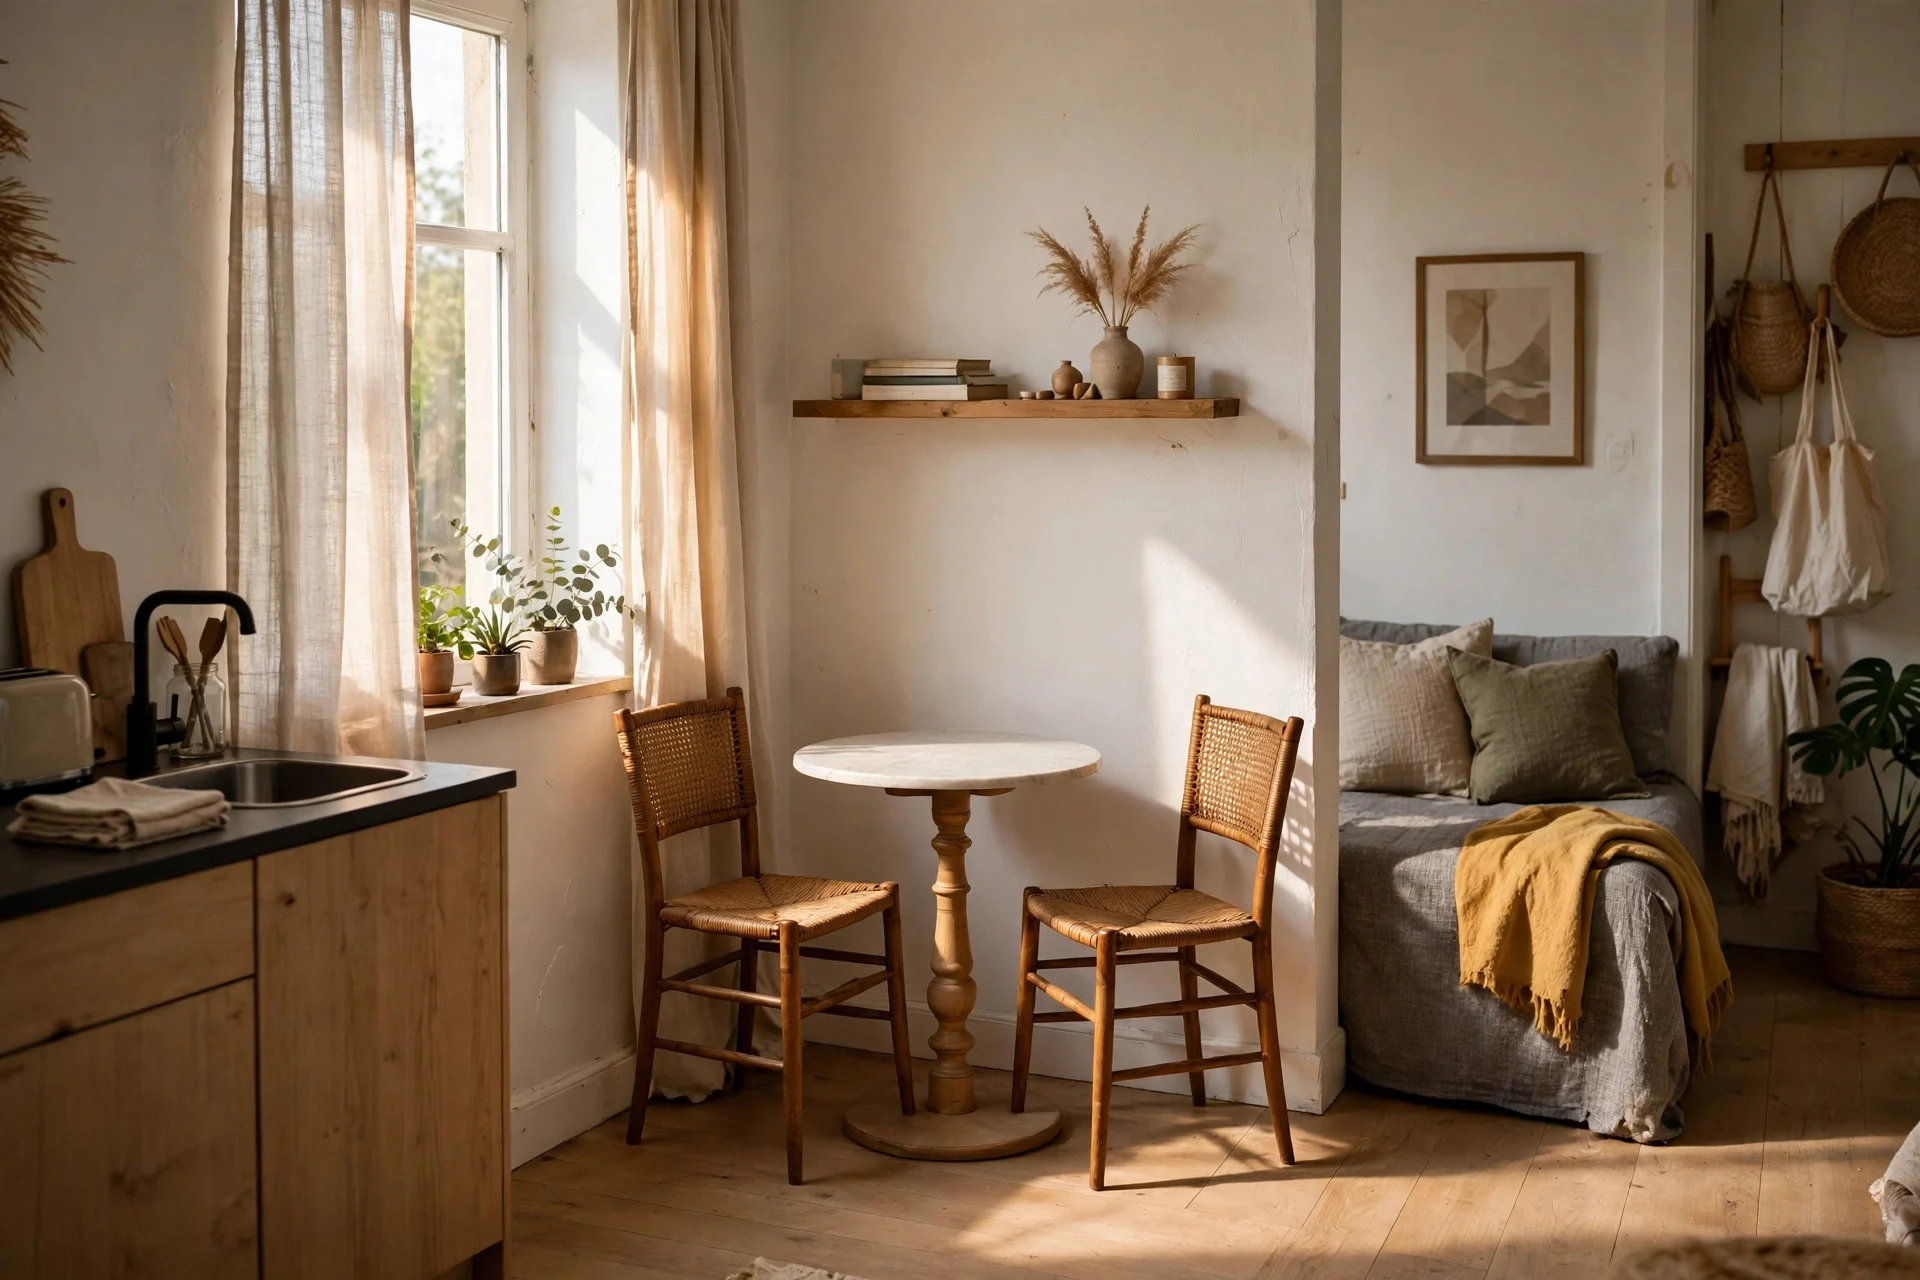
Round tables suit studios because they have no corners to catch your hip, and people can squeeze in around the curve. They also look softer in a room that already has a lot of rectangles: bed, sofa, kitchen counter, wardrobe.
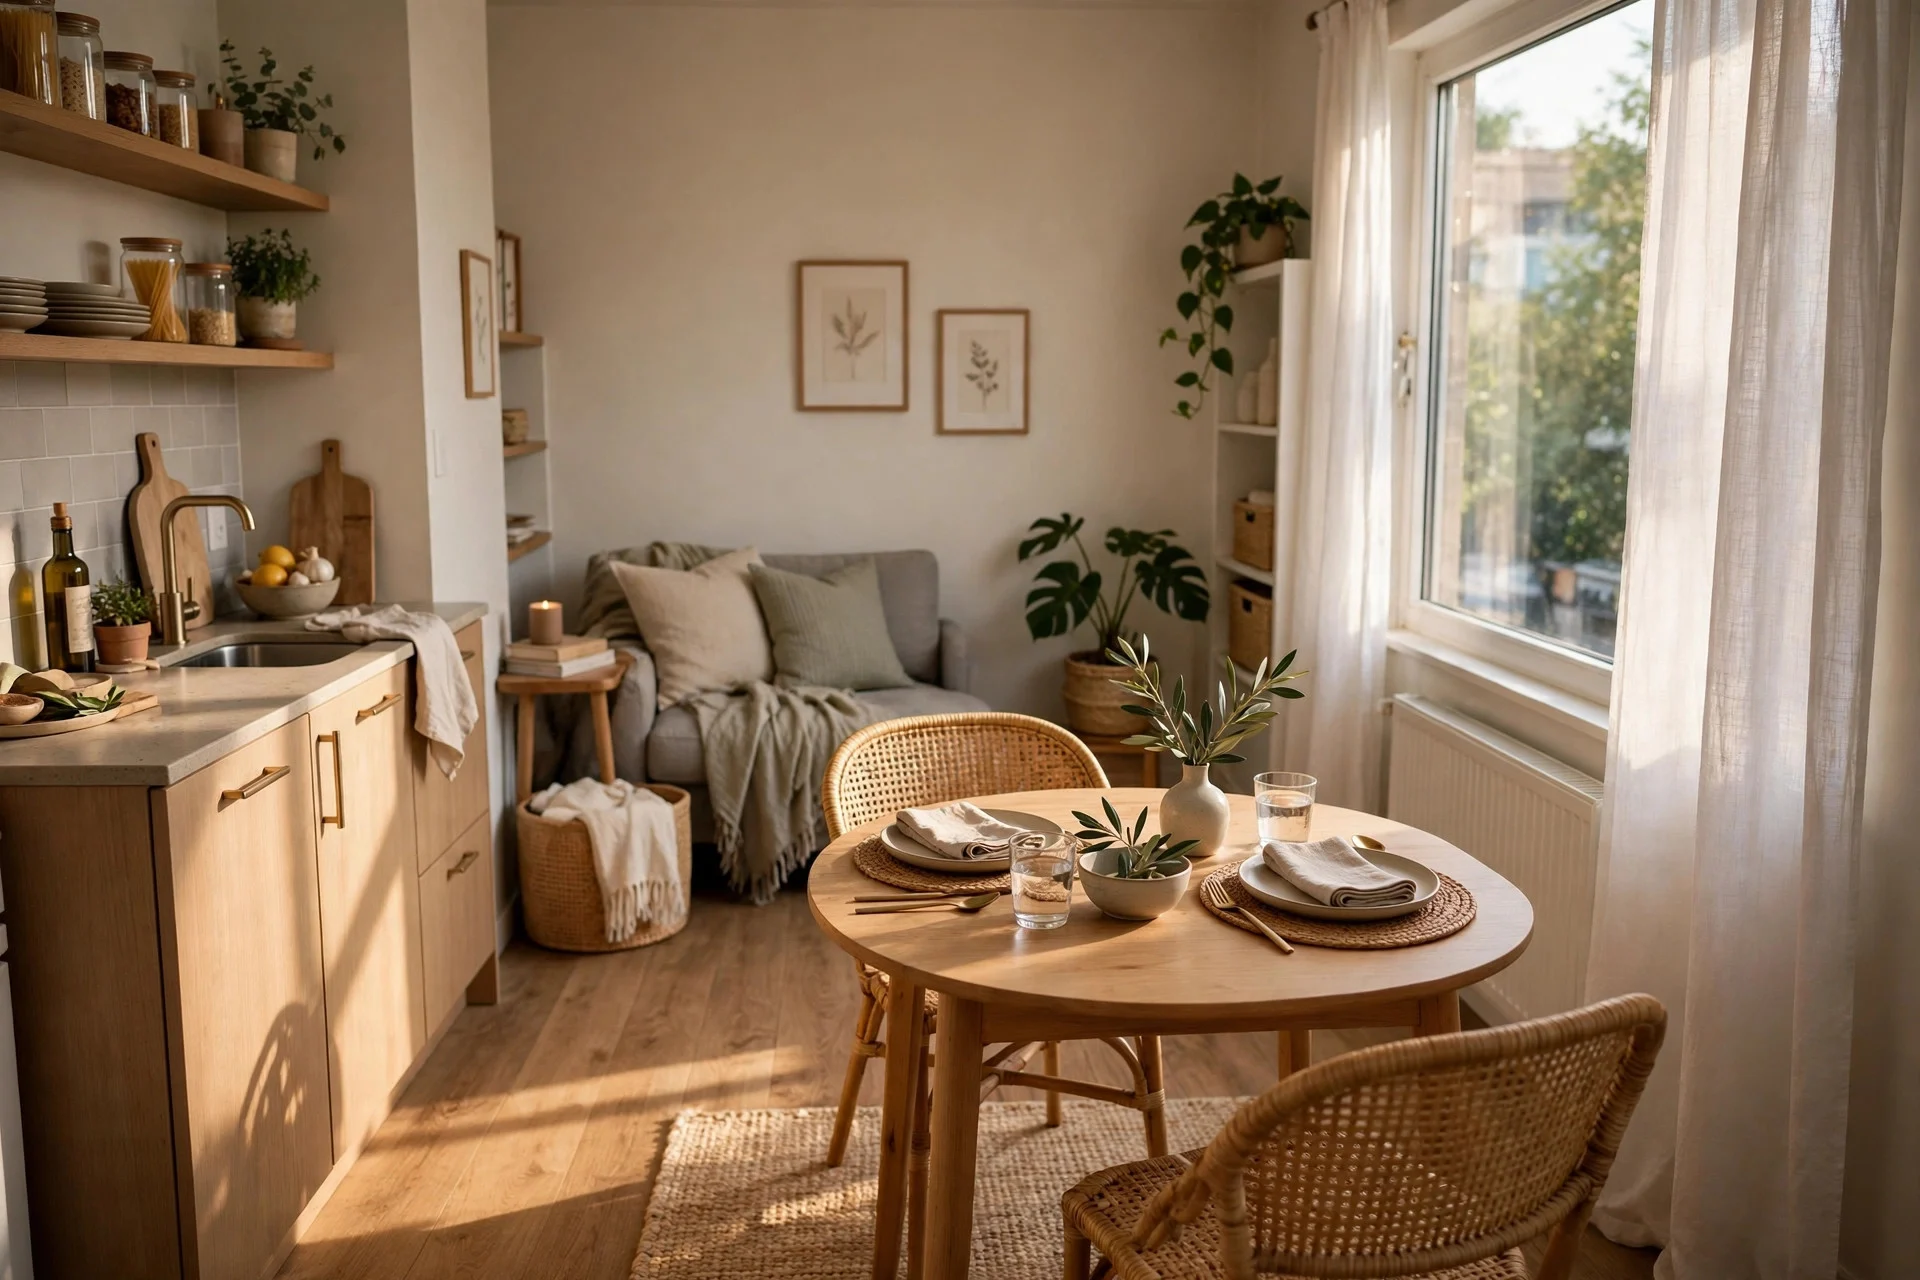
A pedestal base beats four legs here. With one central leg, chairs slide in closer and nobody’s knees fight a table leg. A 30 to 36-inch round pedestal table is the sweet spot for most studios, and a light top — pale wood, white, or glass — keeps a dark corner from feeling boxed in.
Cost: $120–$400 for a small pedestal table. Difficulty: easy; assembly usually takes 30–60 minutes. Tip: check the base width before you buy — a base wider than 20 inches can still block chair legs. Watch out: glass tops show every fingerprint and crumb, so skip glass if that will drive you mad.
Step 4: Try a Drop-Leaf Table That Grows Only When You Need It
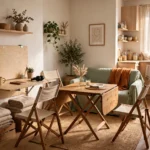
A drop-leaf table is the classic studio fix for a reason. Folded down, it sits against a wall like a narrow console. Lift one or both leaves, and it becomes a proper table for two or four. On ordinary days it takes up almost no floor at all.
Look for leaves that lock flat and a base that stays steady when only one leaf is up — wobble ruins the whole idea. Solid wood versions last longer than hollow-core ones, and a 36-inch drop-leaf opened fully seats four.
Cost: $150–$500. Difficulty: easy to use daily; assembly 45–90 minutes. Tip: test the leaf hinges in the shop or check reviews for hinge quality before you commit. Watch out: a drop-leaf pushed hard against a wall can scuff paint, so stick felt pads on the back edge.
Step 5: Mount a Fold-Down Table on the Wall
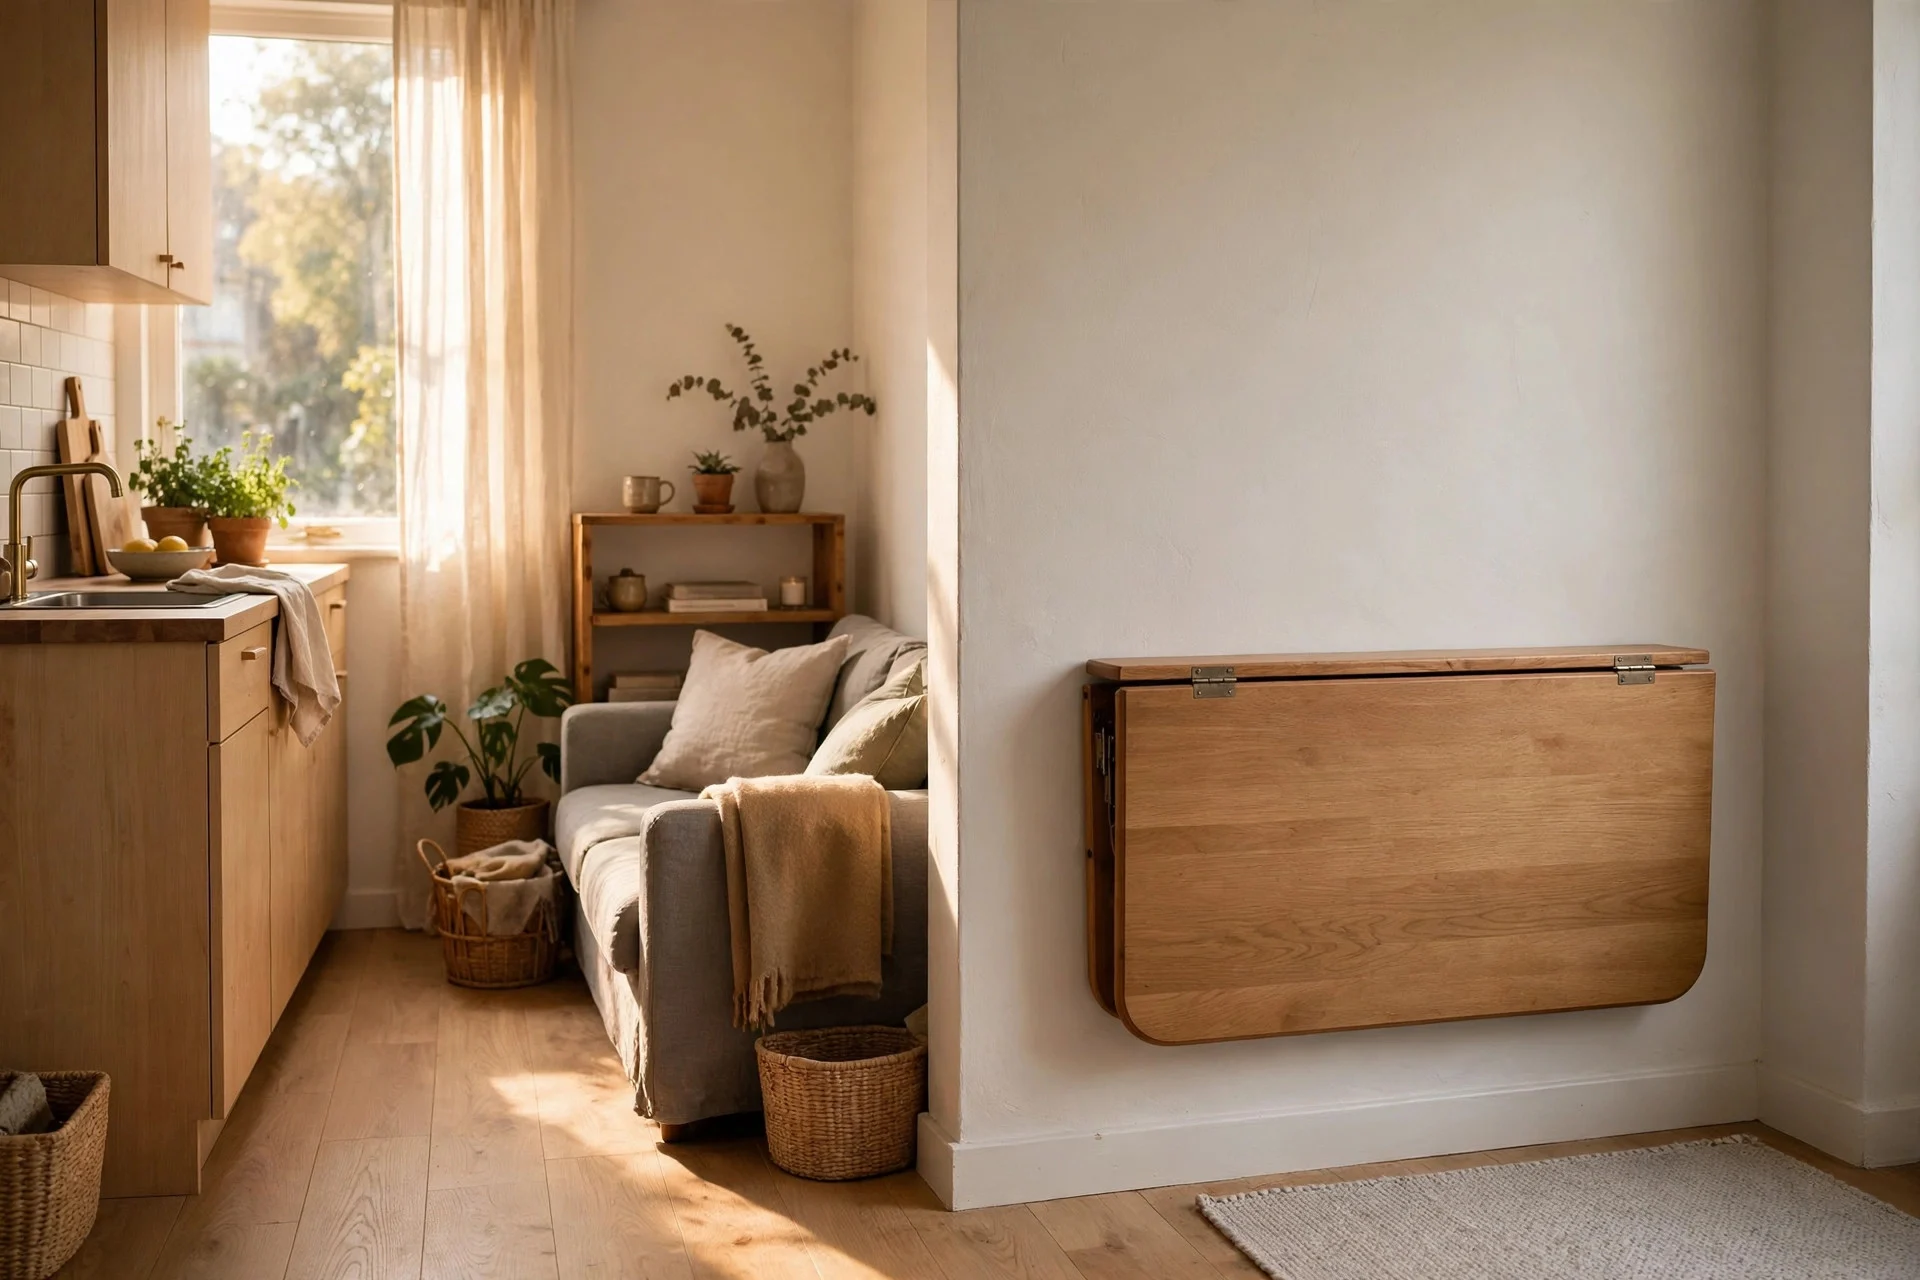
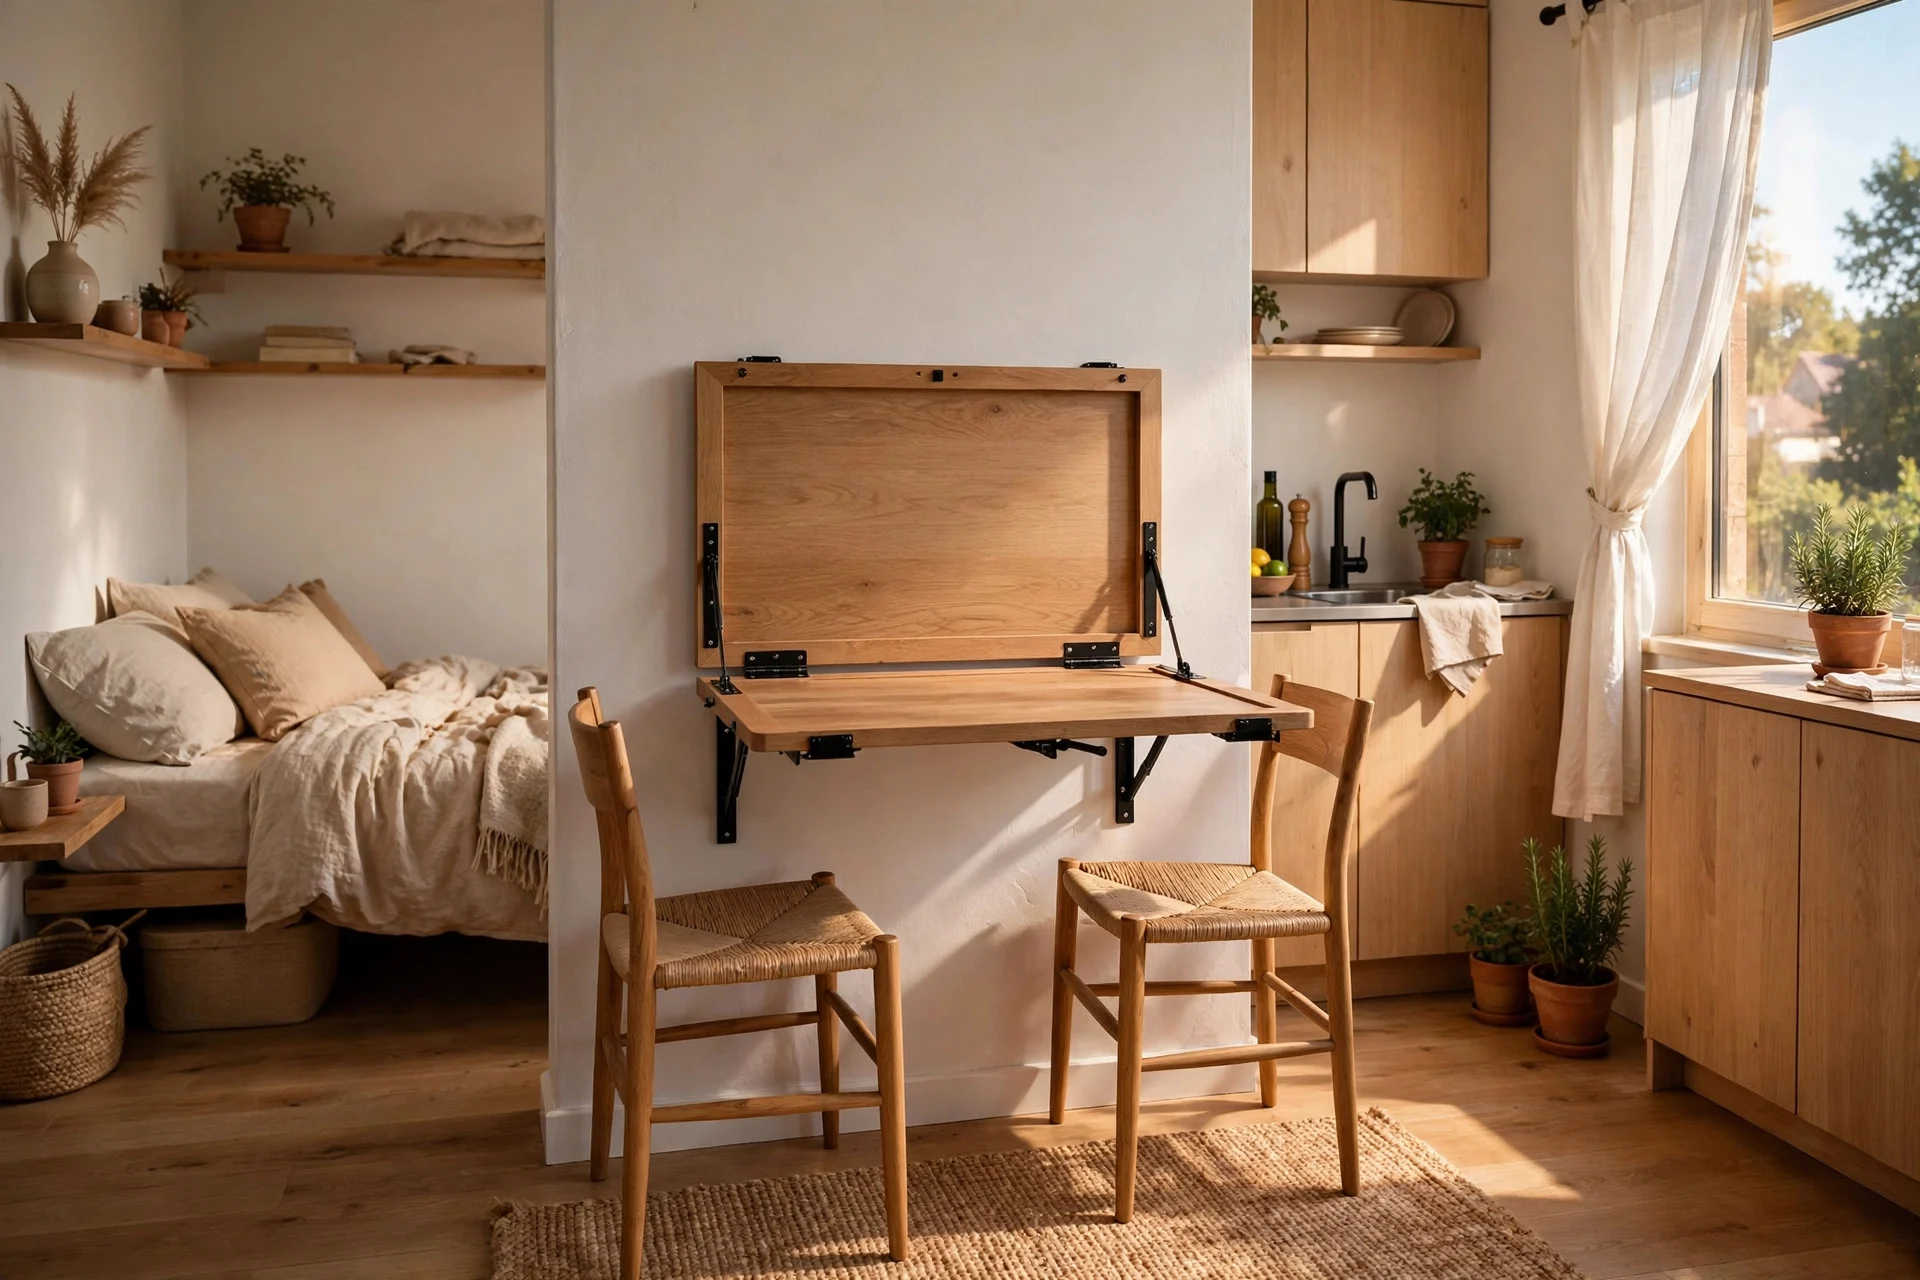
If floor space is truly scarce, a wall-mounted fold-down table is hard to beat. Folded up, it’s a slim panel on the wall. Folded down, it’s a table for two. Some versions even have a shelf or a chalkboard on the outside, so the folded panel looks like decor rather than a hidden table.
This step needs a solid wall, not just plasterboard. Find a stud with a stud finder, or use proper wall anchors rated for the weight. Mount it at about 29–30 inches and leave room for chairs to pull out. If you rent, ask your landlord first. For more renter-friendly ideas, see these living room ideas for renters.
Cost: $60–$250 for the table, plus $15–$40 for fixings. Difficulty: medium; allow 1–2 hours including finding studs. Tip: mount it near the kitchen so carrying plates is a short trip. Watch out: never mount a fold-down table on a hollow partition wall without anchors rated for the load — it will pull out.
Step 6: Pick an Extendable Table for Occasional Guests
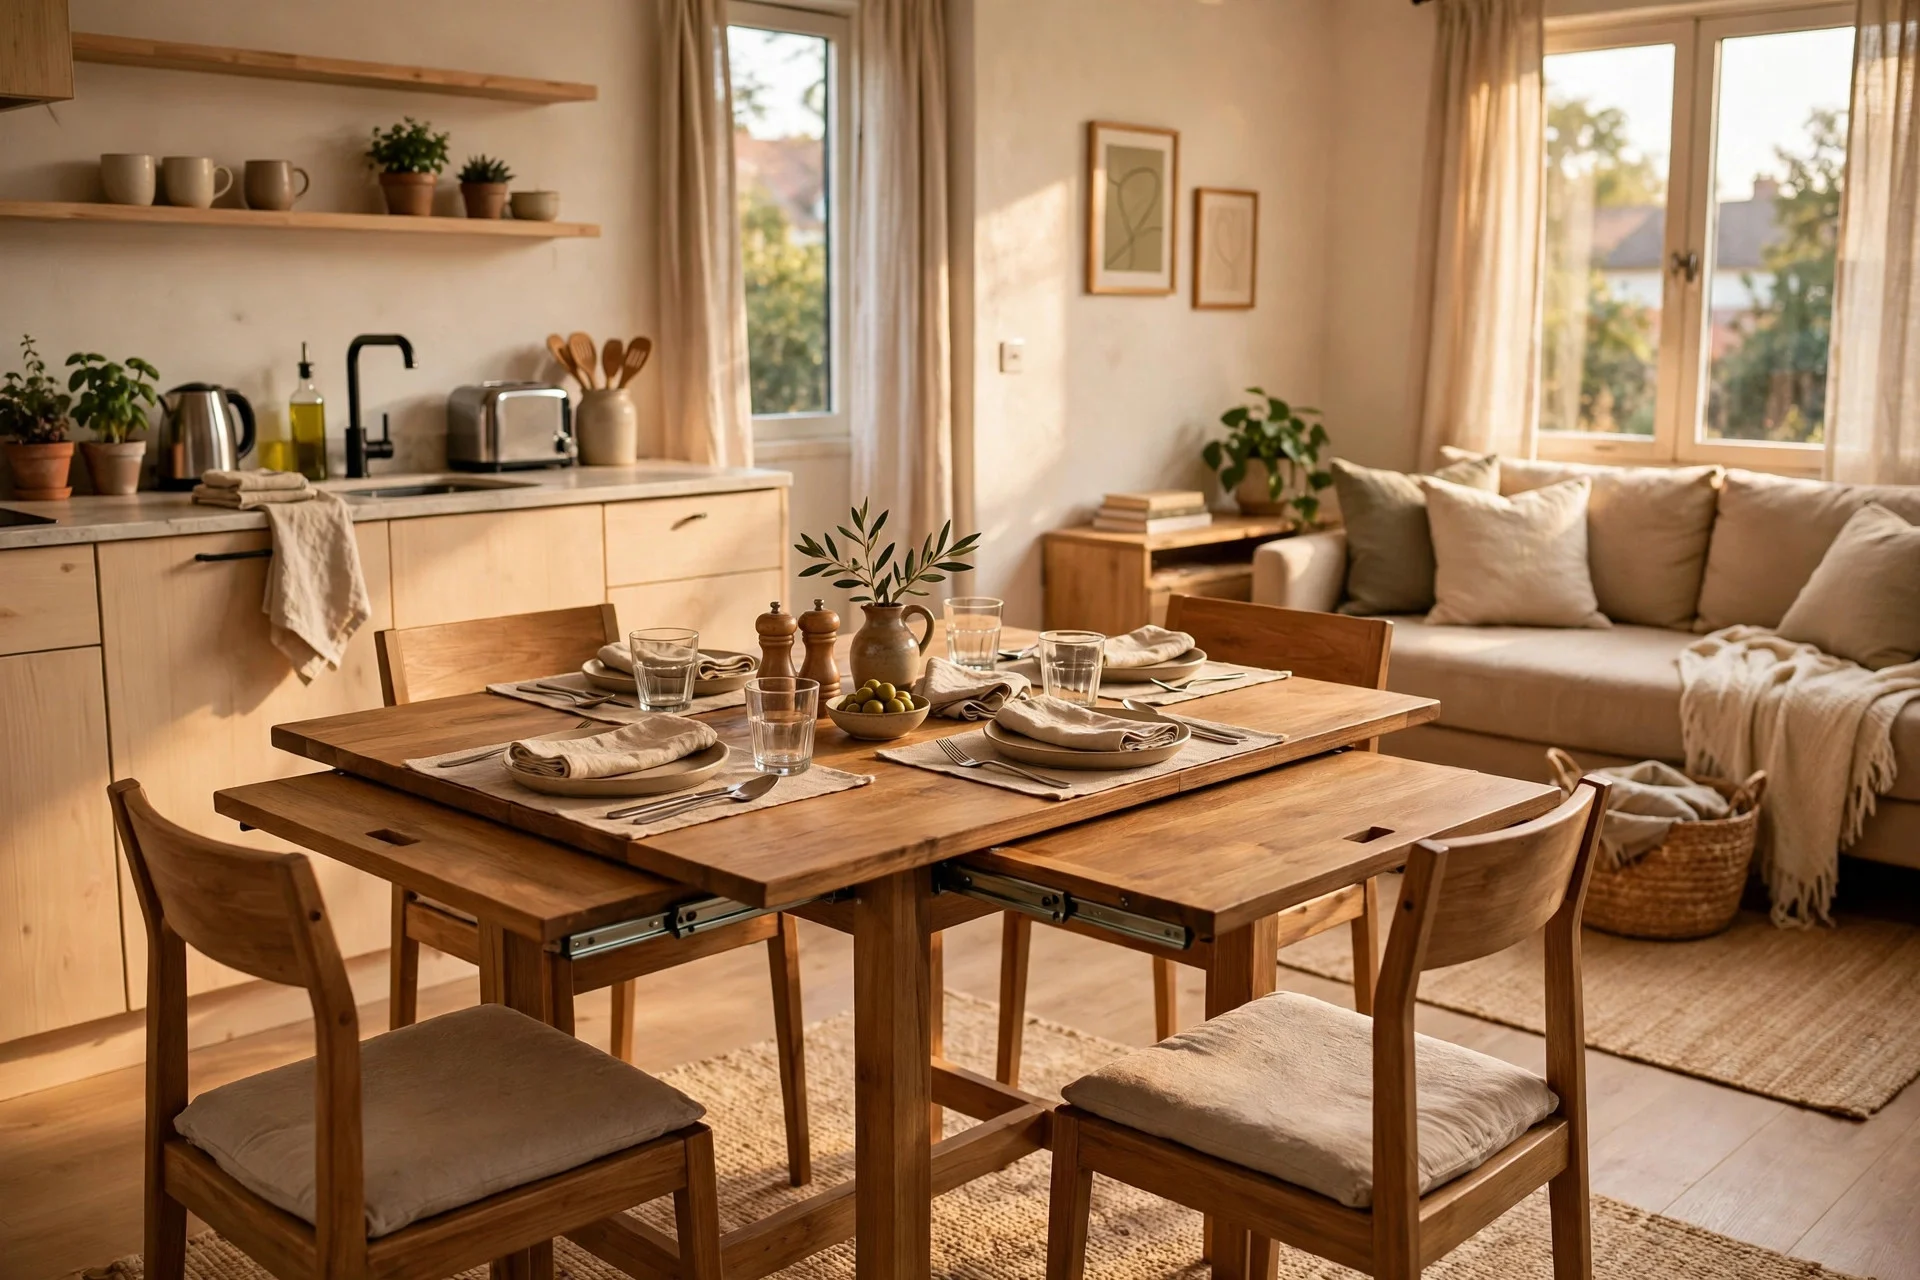
An extendable table gives you the best of both worlds: small on weekdays, bigger on Saturday night. Butterfly-leaf versions hide the extra leaf inside the table, so there’s nothing to store in a cupboard you don’t have. Pull-out versions slide apart and drop a leaf in the middle.
Measure the table in both states, not just the small one. Tape both footprints on the floor before you buy, and practice opening and closing it once if you can — a stiff mechanism you dread using is one you’ll stop using.
Cost: $200–$600. Difficulty: easy daily use; assembly 1–2 hours. Tip: keep the extension leaf clean and dry, since a warped leaf won’t sit flat. Watch out: some extendable tables wobble at full stretch, so check reviews for stability at the extended size.
Step 7: Use a Counter-Height Table or Breakfast Bar as Your Dining Spot
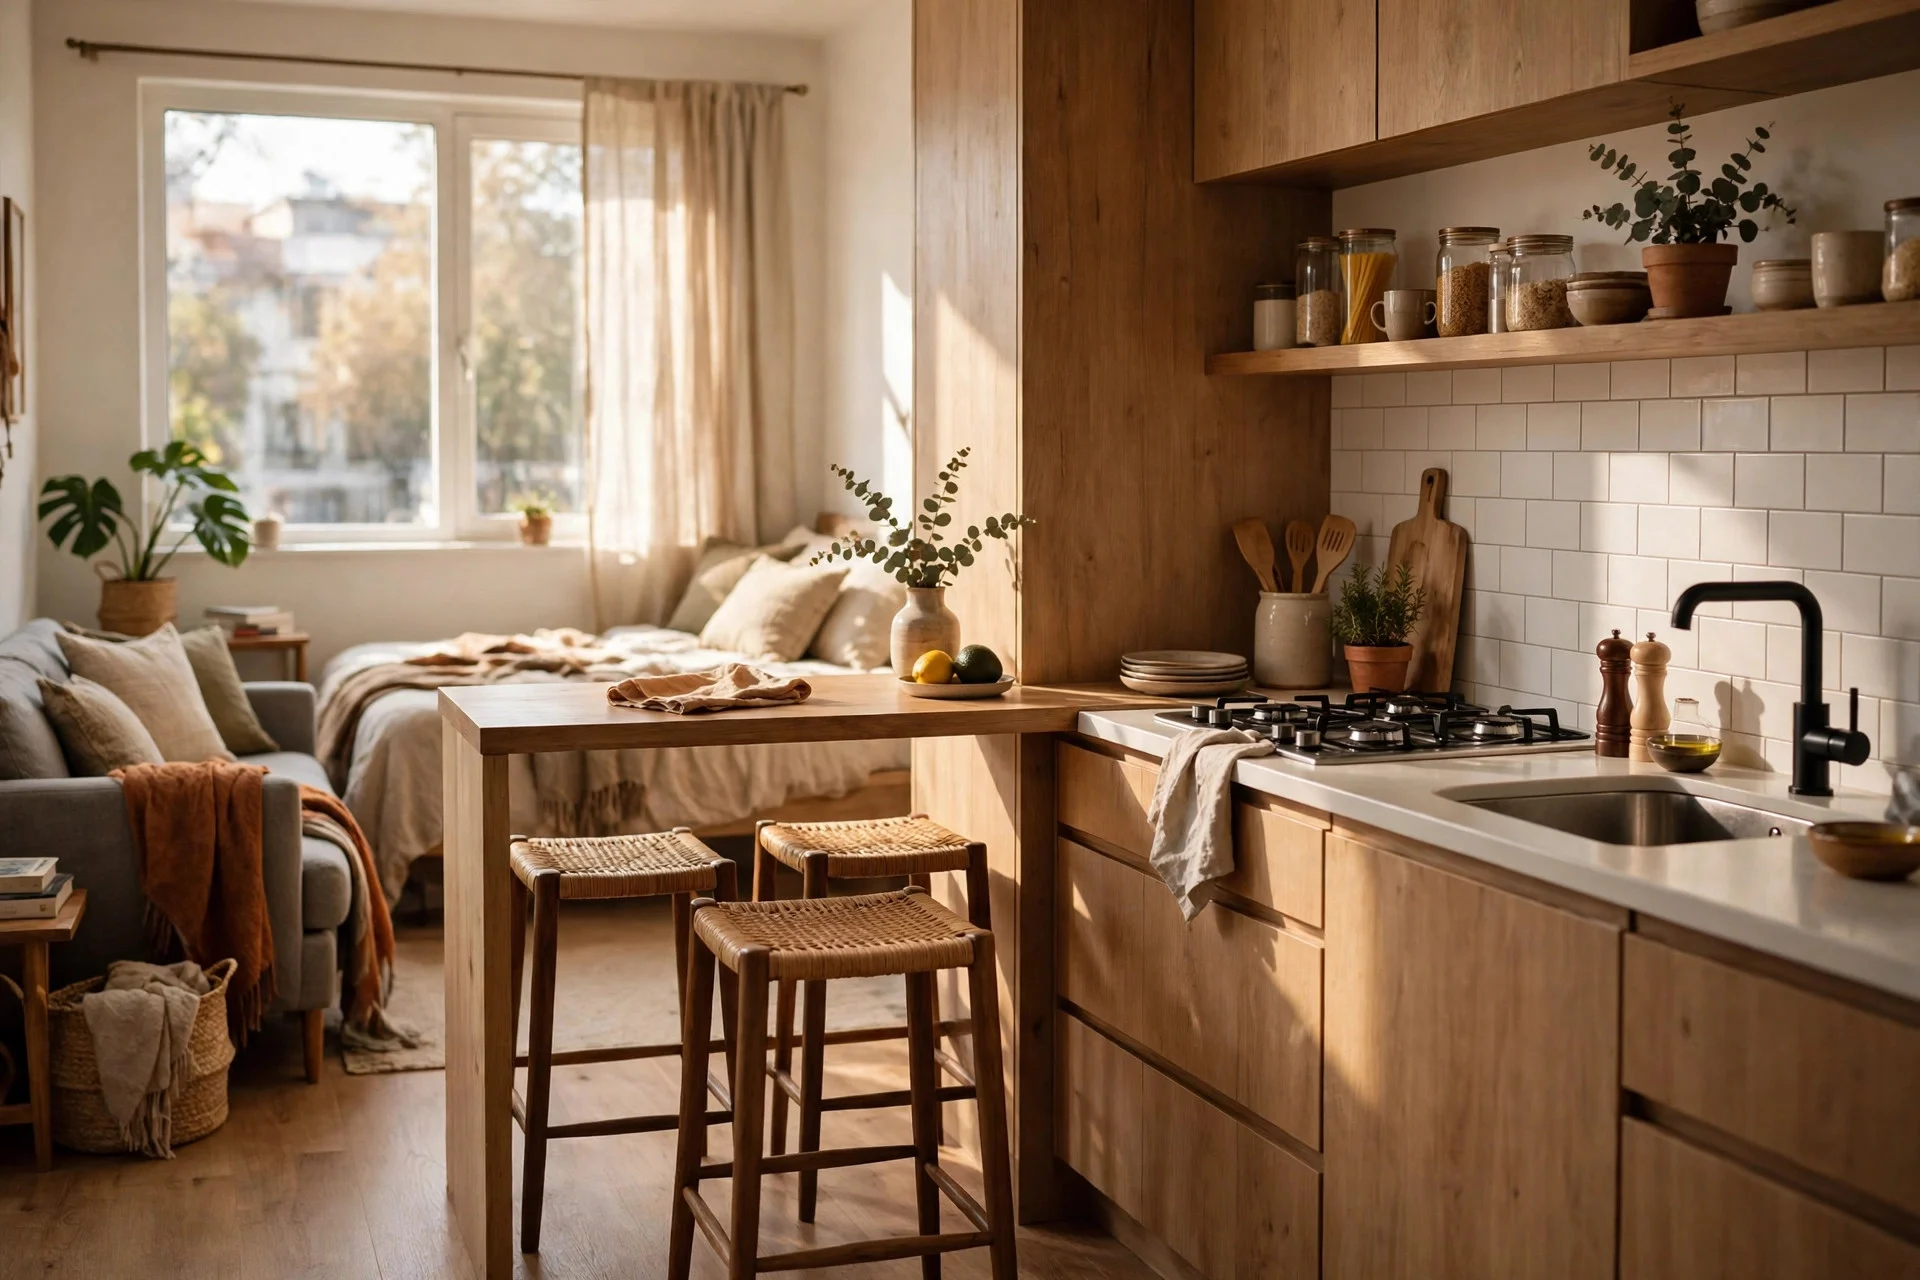
A counter-height table, around 36 inches tall, works well in studios because it doubles as extra kitchen prep space. It also creates a visual line between the kitchen and the living zone without a wall, which helps a studio feel zoned rather than jumbled.
Pair it with backless stools that tuck fully underneath, so the whole setup hugs the counter when you’re not eating. A narrow 24-inch-deep counter seats two comfortably and can run along a wall or the end of a kitchen counter.
Cost: $150–$450 for table and two stools. Difficulty: easy; assembly under an hour. Tip: sit on the stools before you buy — counter stools vary a lot in comfort. Watch out: counter height is tiring for long meals or for kids and older guests, so it’s a poor pick if long sit-down dinners matter most to you. If your kitchen feels cramped in other ways, these ideas for organizing a small kitchen with no counter space can help alongside the table.
Step 8: Slide the Table Against a Wall or Window
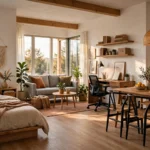
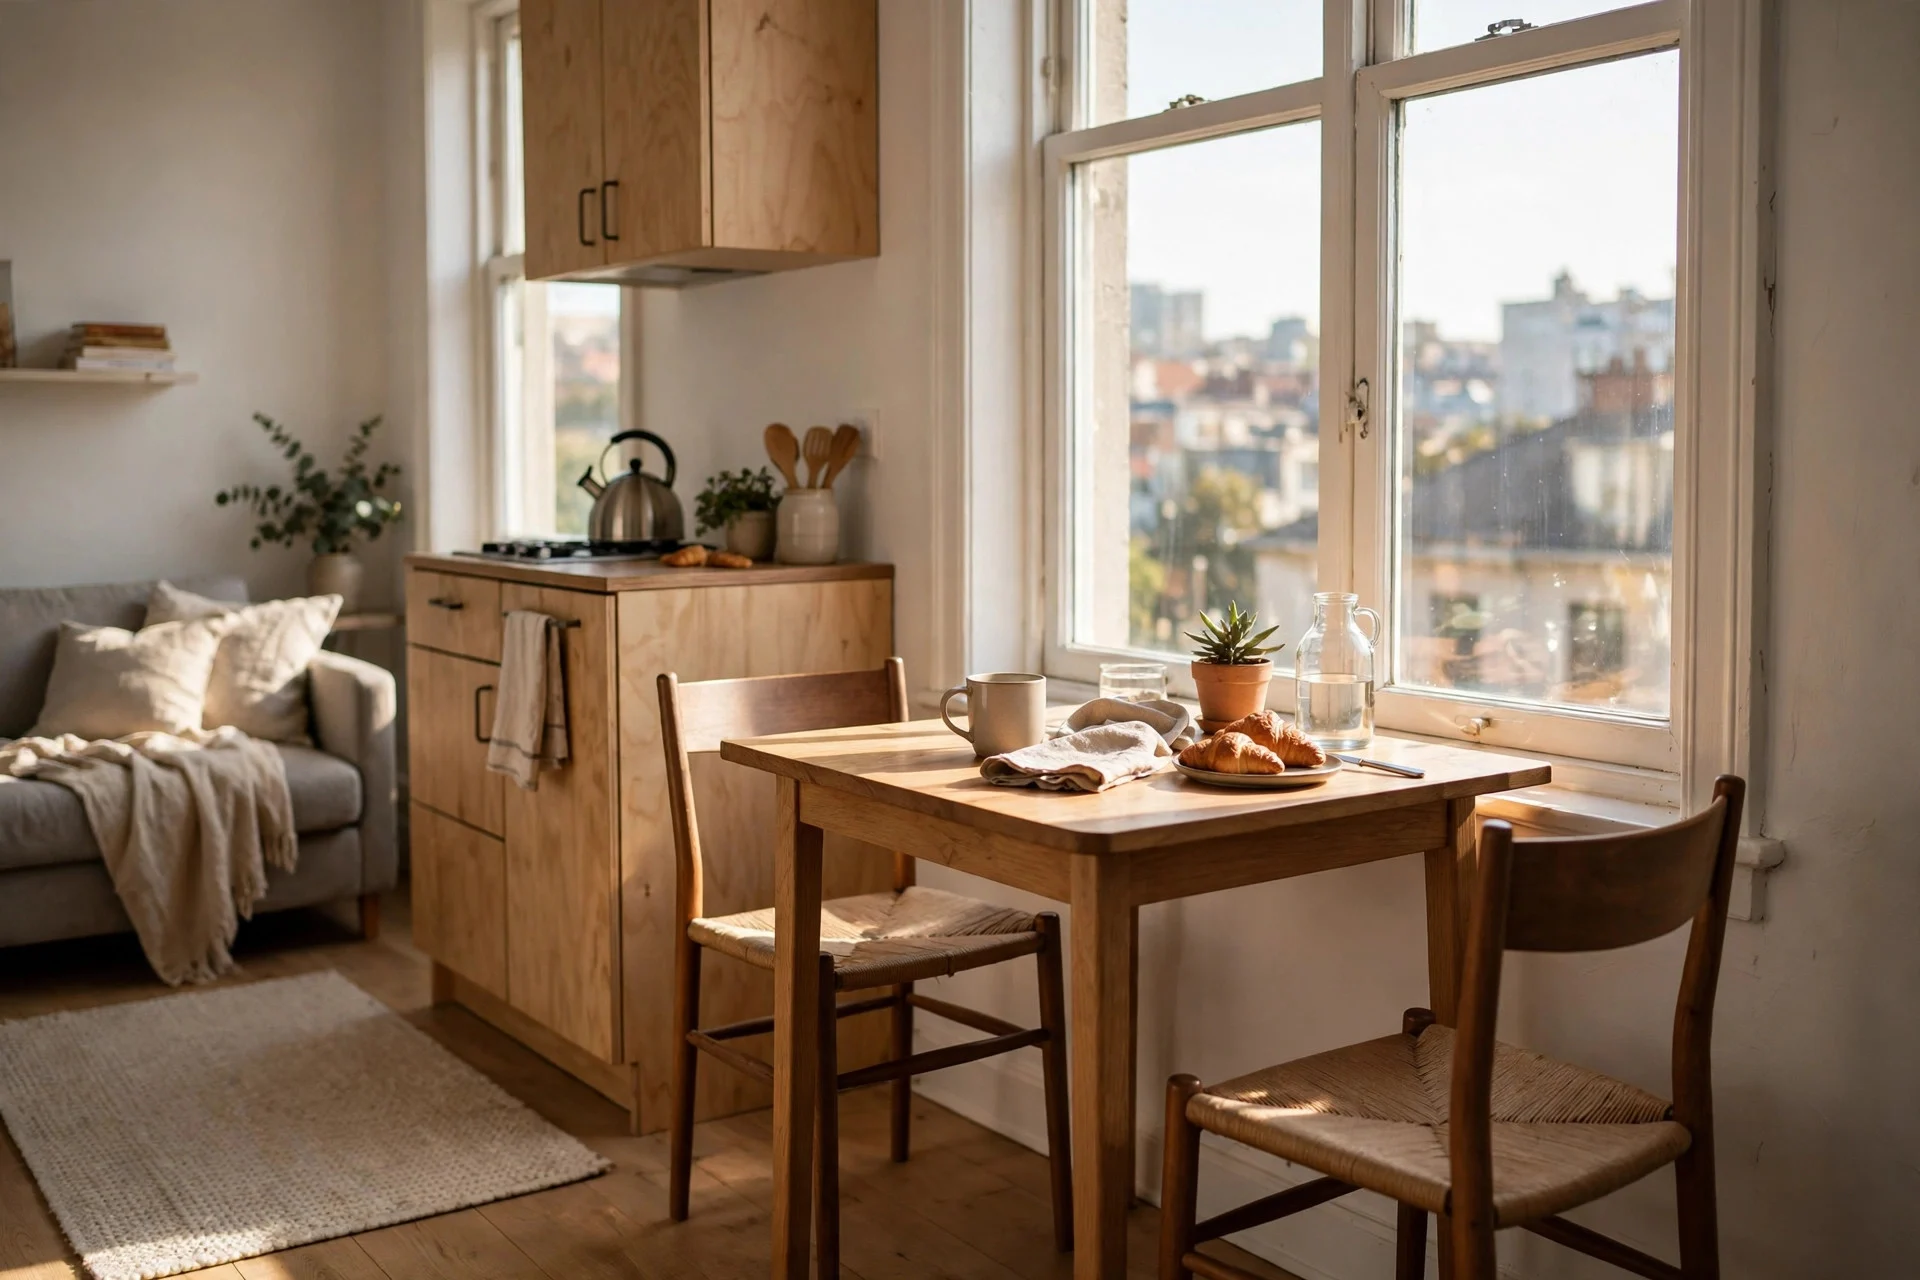
You don’t have to float a table in the middle of the room. Pushed against a wall, a rectangle seats two on the open sides and leaves the walkway clear. Pushed under a window, the same table gets daylight and a view, which makes a small eating spot feel much nicer than its size suggests.
A bench on the wall side saves even more room, since it slides right under the table when not in use. Leave a few inches for curtains or blinds to move freely, and avoid blocking a radiator.
Cost: $0 if you move a table you own; $80–$250 for a bench. Difficulty: easy, 20 minutes to rearrange. Tip: put a small plant or a candle on the window side — it marks the spot as a dining zone, not leftover space. Watch out: don’t push chairs against a cold outside wall in winter if condensation forms there; damp chairs and walls don’t mix well.
Step 9: Let the Table Do Double Duty as a Desk
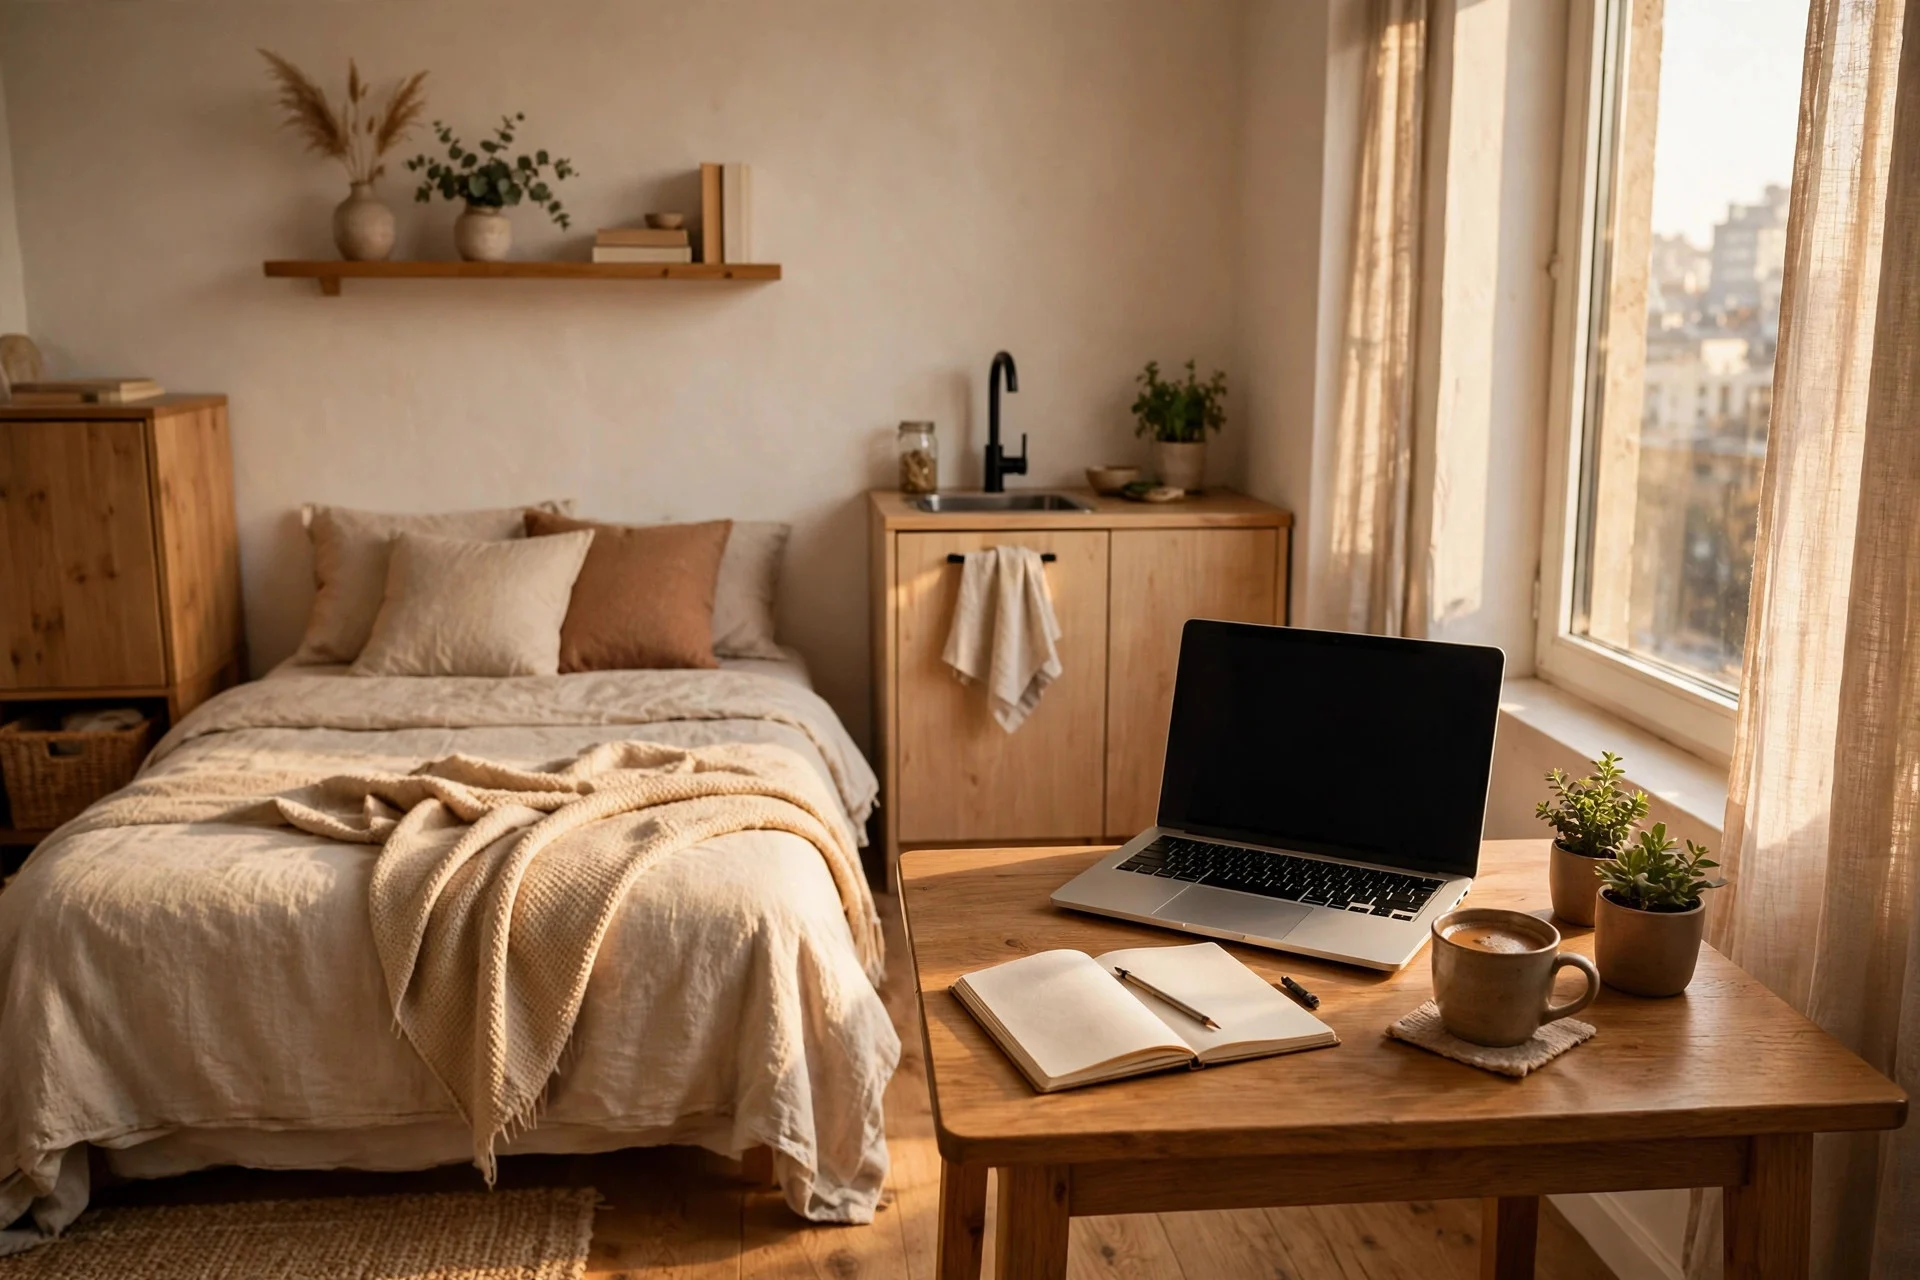
In a studio, almost every piece of furniture needs a second job, and the dining table is the easiest win. Pick a table with a wipe-clean top, a height that suits both eating and typing, and enough depth for a laptop plus a plate — about 28–30 inches deep is a good target.
Keep work gear in one basket or box you can lift off the table in a minute. That single habit stops the table turning into a permanent office you can never eat at.
Cost: $0–$40 for a storage basket and cable tidy. Difficulty: easy. Tip: choose chairs that work for both meals and laptop sessions — a dining chair with a straight back beats a stool for a long work stretch. Watch out: a glass top shows laptop heat marks and scratches, so use a mat if you work there daily.
Step 10: Swap Bulky Chairs for a Bench or Stacking Stools
Chairs take up more room than people expect, mostly because they stick out behind the table even when pushed in. A bench slides under the table and seats two or three in the space of two chairs. Stacking stools do the same trick and can be piled in a corner when guests leave.
Measure the bench height against the table: you want about 10–12 inches between the seat and the underside of the tabletop so legs fit comfortably. A bench with storage inside gives you a place for placemats or board games. If you pick stools, go for ones with a footrest.
Cost: $80–$300 for a bench; $40–$150 per stool. Difficulty: easy. Tip: add thin cushions to a bench — hard wood gets old after 30 minutes. Watch out: a bench against a wall traps the person in the middle at mealtimes, so use it on the open side if people need to get up often.
Step 11: Add Storage Around the Table, Not Just Under It
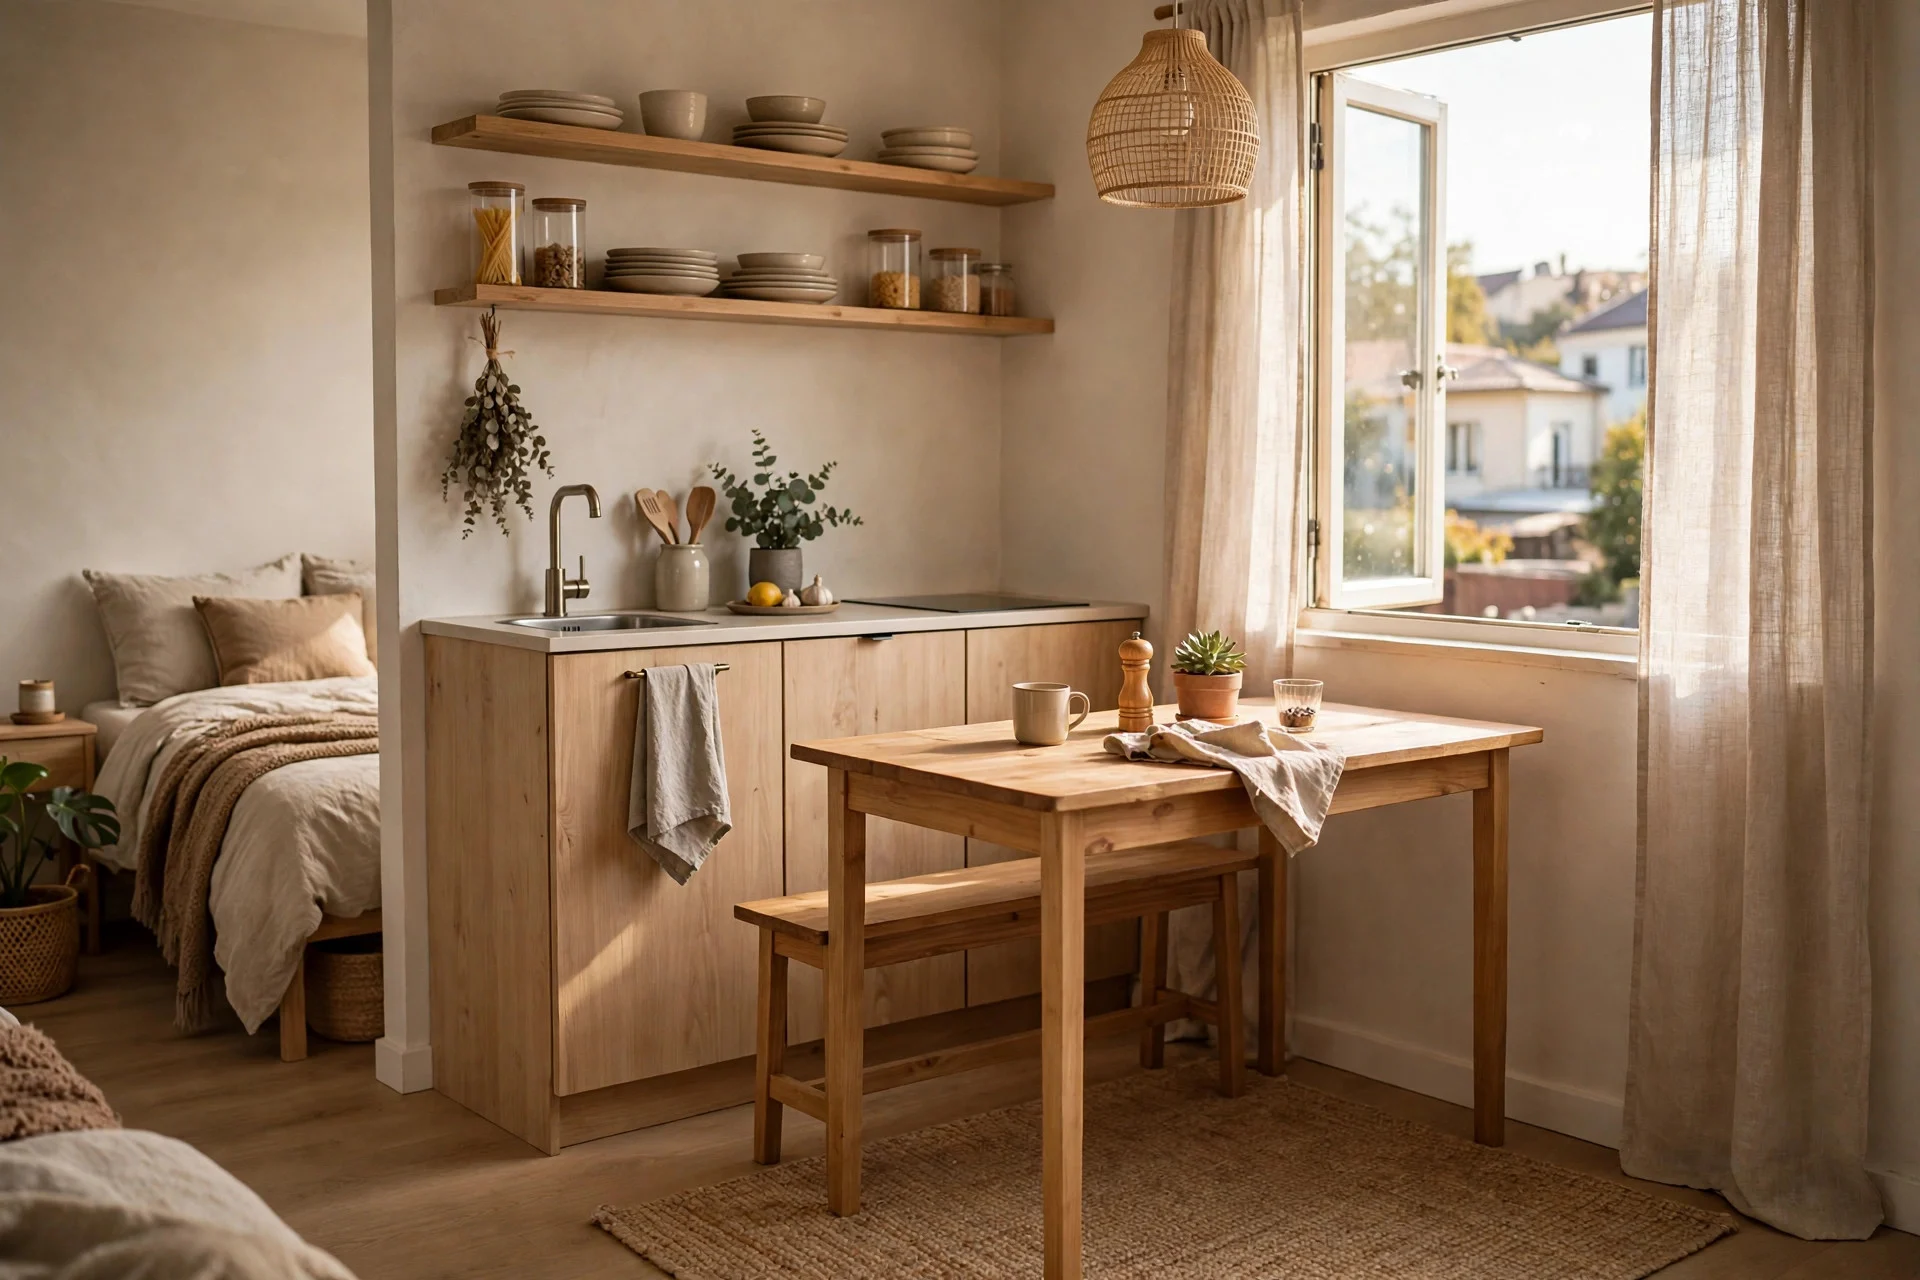
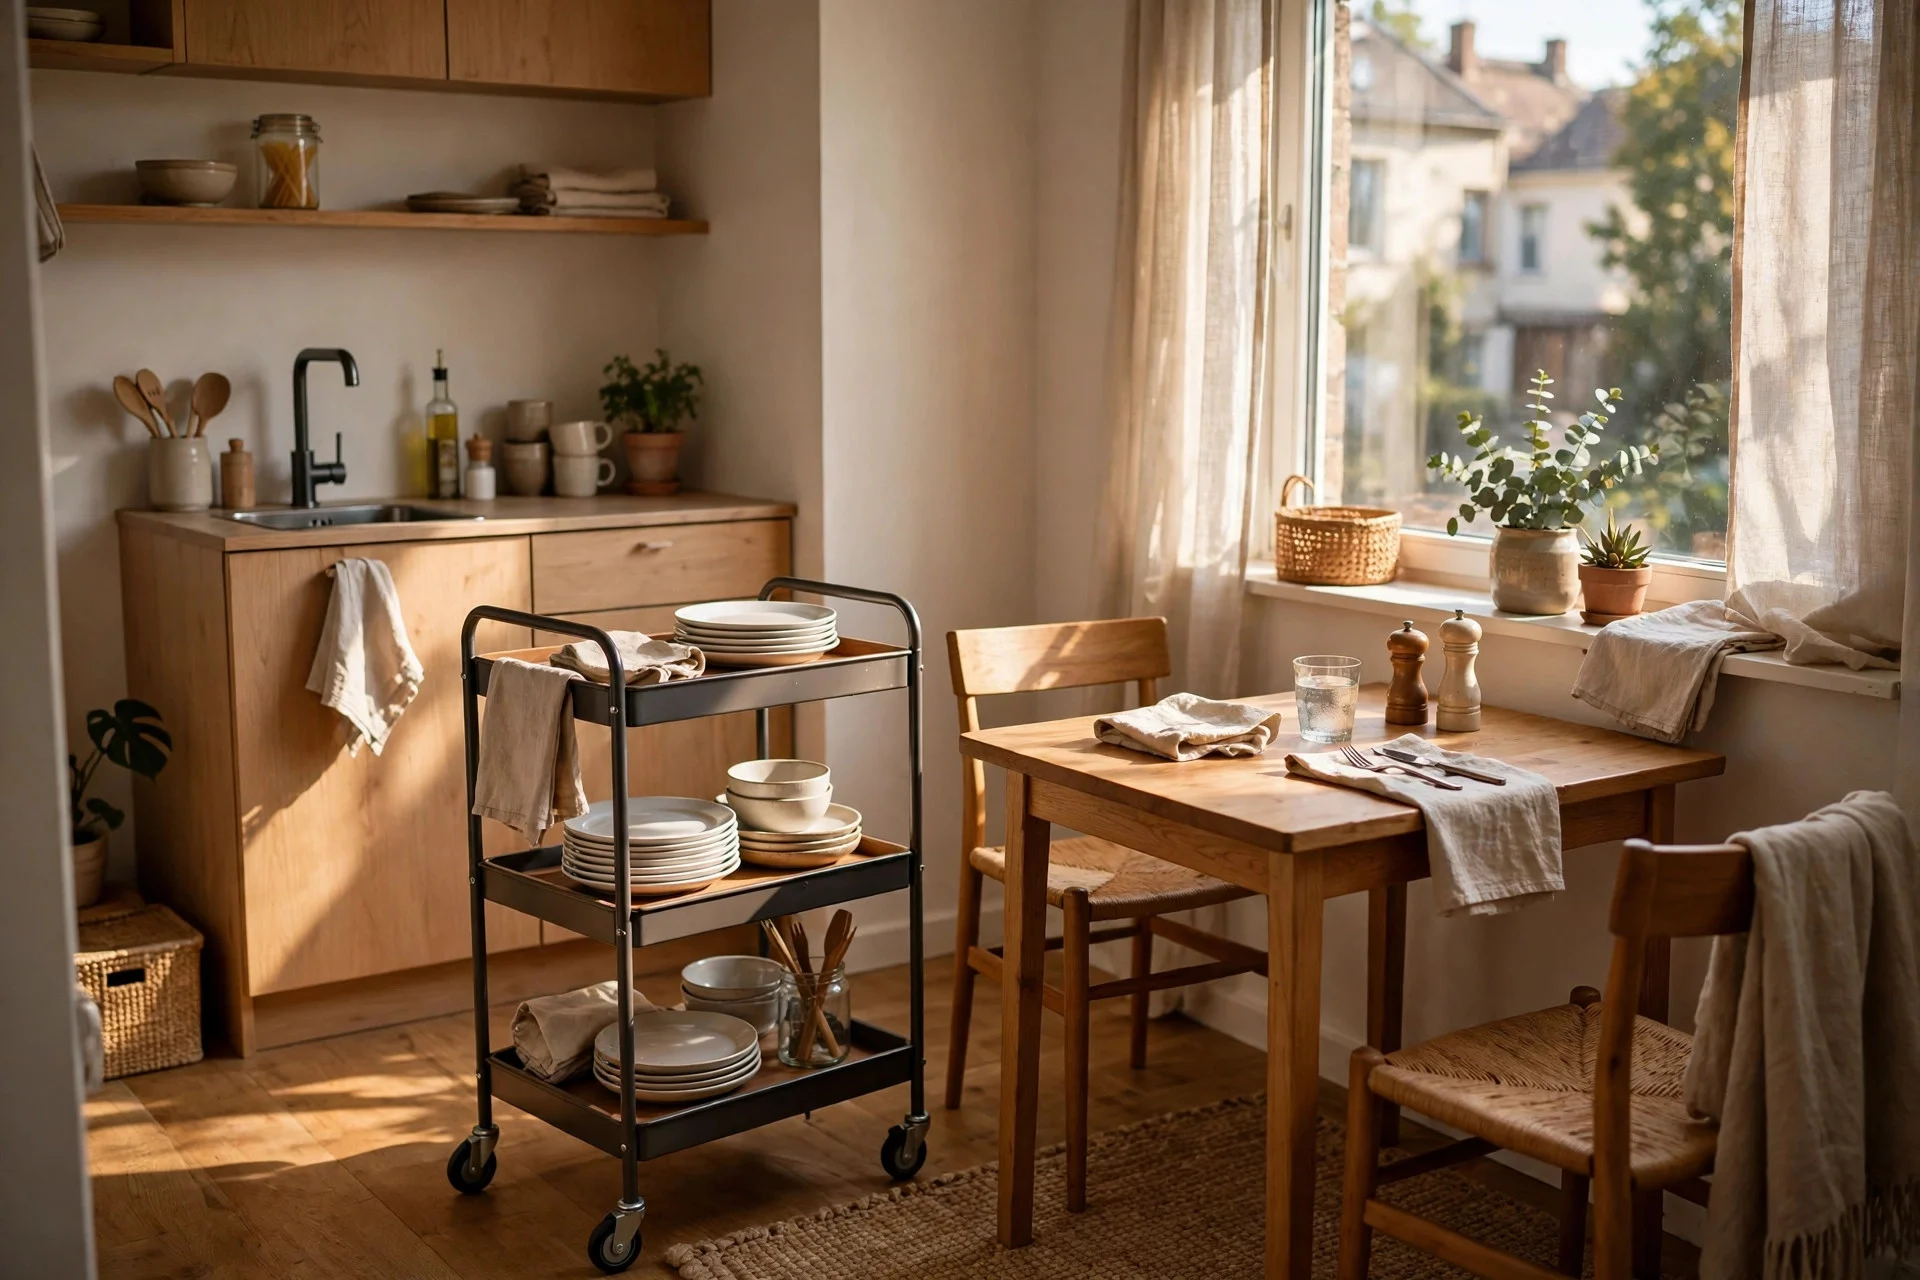
A dining zone in a studio works better when plates, glasses, and placemats live nearby. Otherwise every meal starts with a trek across the room and ends with clutter piled on the table. A narrow shelf above the table, a small sideboard, or even a rolling cart parked beside it can hold the lot.
Keep daily items at arm’s reach and occasion-only items higher up or further away. A cart with wheels is a smart pick because you can roll it to the table for serving, then back against the wall. If your whole first apartment is tight, these first apartment bedroom ideas on a budget cover the same small-space thinking for the rest of the room.
Cost: $40–$250 for a cart or shelf unit. Difficulty: easy to medium if wall shelves need fixing. Tip: store placemats rolled, not folded — they take less space and don’t crease. Watch out: open shelves above a dining table collect cooking grease, so wipe them weekly if they’re near the stove.
Step 12: Keep Walkways Clear and Style It Simply
Once the table is in place, protect the walkways around it. You need about 30–36 inches for a main path through the room and about 24 inches to pull a chair out. If a walkway drops below that, shift the table a few inches or swap a chair for a bench — small changes make a big difference here.
Style the table lightly. A small vase or a folded runner is enough. Big fruit bowls and tall candlesticks block sightlines across a studio and make the table feel like a display, not a place to eat. Clear the table after meals when you can — in a small home, a clear table makes the whole room feel calmer.
Cost: $0–$50 for a runner or small vase. Difficulty: easy. Tip: a light-coloured tablecloth or runner can make a dark second-hand table feel brighter for very little money. Watch out: long tablecloths and low-hanging runners catch on chair legs and pet paws, so keep them short in a tight space.
Frequently Asked Questions
What size dining table fits a studio apartment?
For most studios, a 30 to 36-inch round table or a 36 by 24-inch rectangle works for two people, and a 36-inch round or 48 by 30-inch rectangle works for four. Always add about 24 inches behind each chair for pulling out.
Can a dining table fit in a 300-square-foot studio?
Yes, but it needs to be small or foldable. A drop-leaf or wall-mounted table for two is the safest choice at that size, since it folds away when you need the floor for something else.
Is a round or rectangular table better for a small apartment?
Round tables suit tight corners and awkward layouts because they have no sharp corners and people can squeeze around the curve. Rectangular tables suit walls and windows better, and they pair well with a bench. If you push the table against a wall, go rectangular; if it floats in a corner, go round.
How do I fit a dining table in a studio without blocking walkways?
Keep about 30–36 inches clear on main walking paths and 24 inches behind chairs. Push the table against a wall or window, use a bench or stools that tuck underneath, and pick a foldable or extendable table if the room has to change roles during the day. If you still can’t keep a path clear, the table is too big for that spot.
Quick Checklist Before You Buy
Run through this list once, and you’ll avoid the most common studio table mistake — buying first and measuring second. Tape the footprint on the floor and live with it for a day. Count the people who eat there on a normal weekday, not at a party. Pick a table that folds, extends, or tucks away if guests are occasional rather than daily. Check chair clearance, door swings, and walkways before you pay.