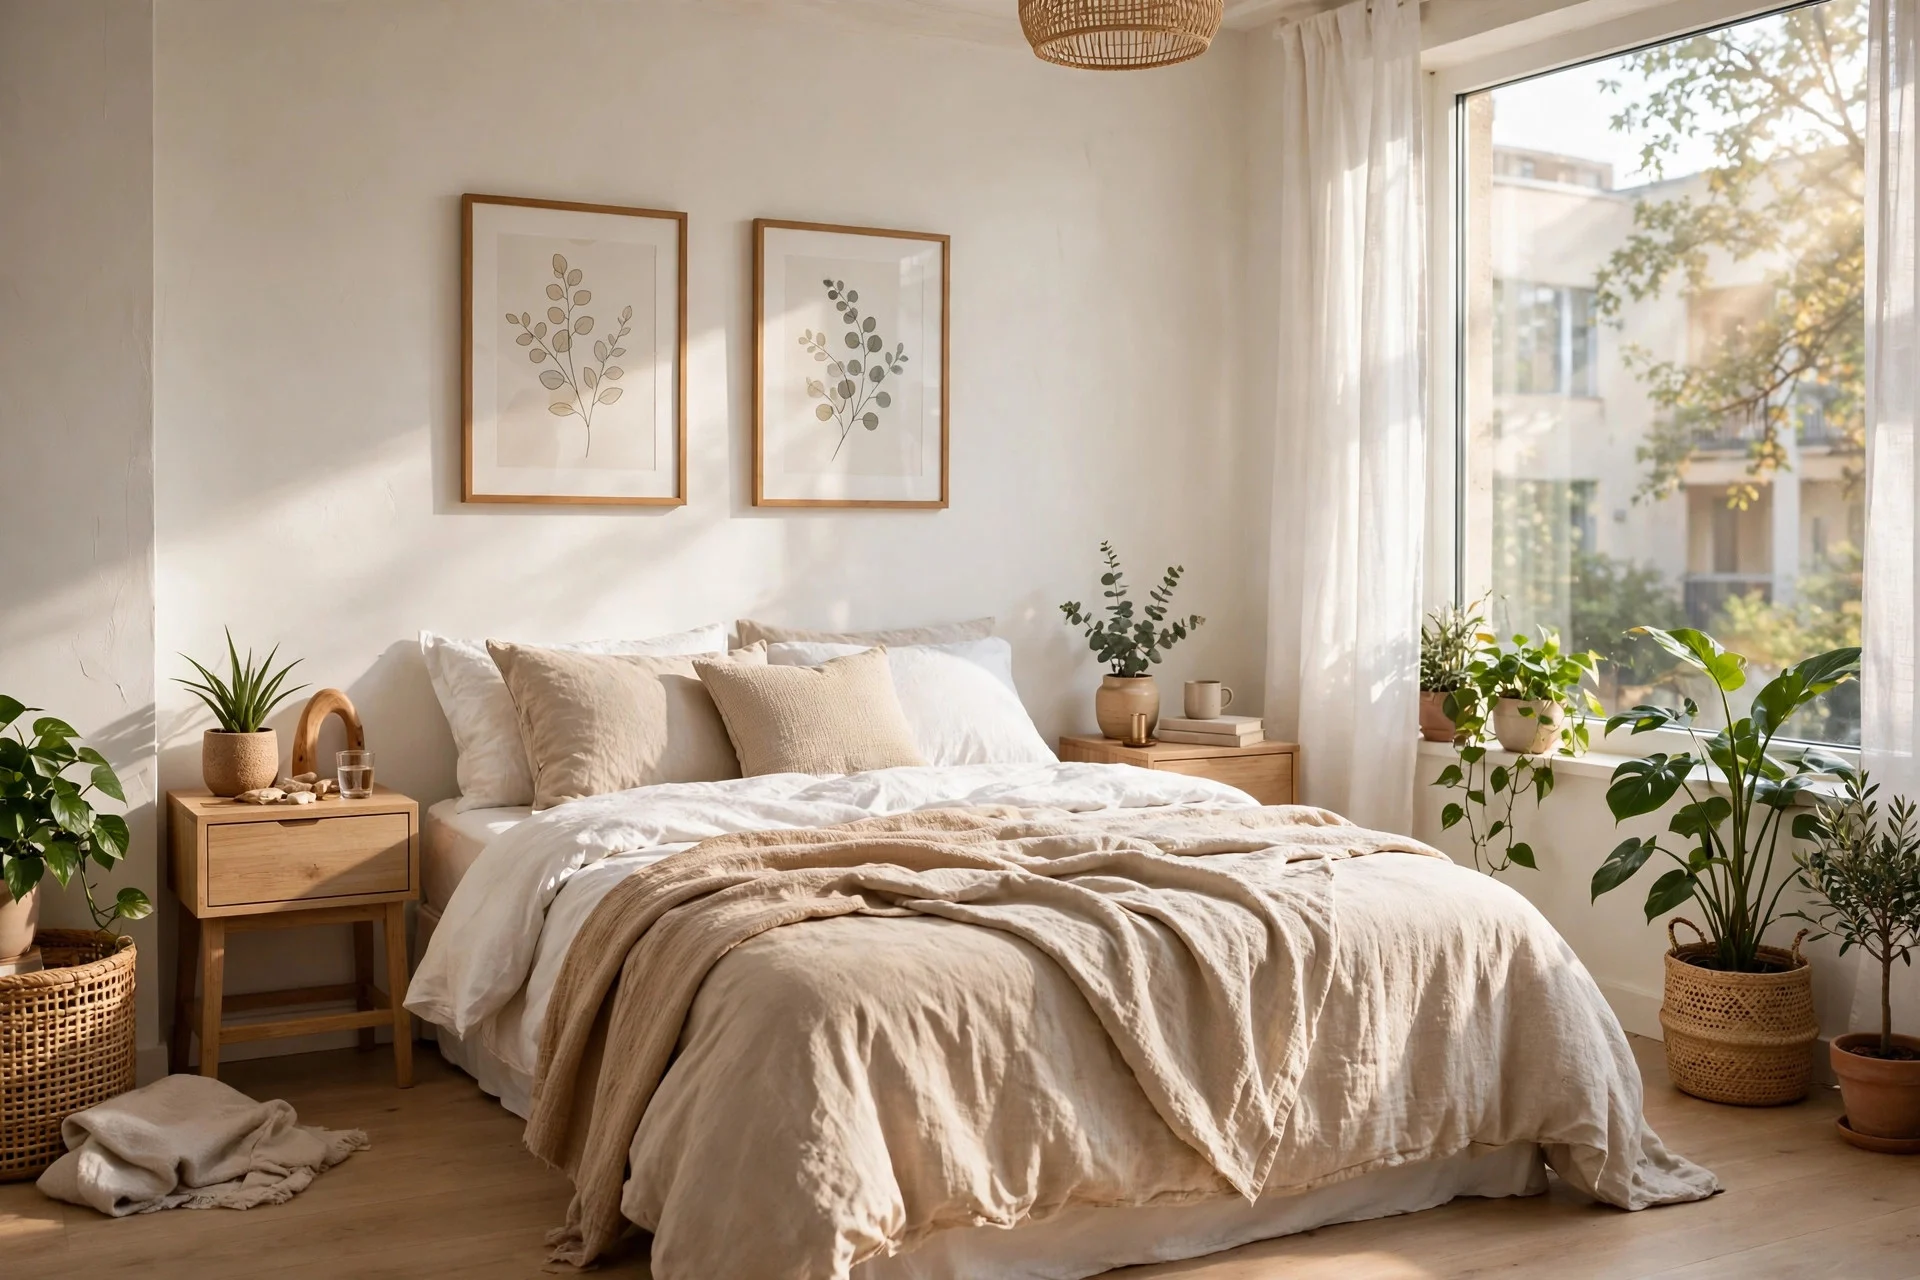
How to Decorate a Rented Apartment Without Losing Your Deposit
Yes, you can make a rented apartment feel like home and still get your deposit back. The trick is to pick changes that come off cleanly, leave no holes, and can be put back exactly as you found them. Every step below follows that test: if you cannot reverse it in an afternoon, skip it or ask your landlord first.
Start with the boring part: photograph the place, read your lease, and keep the original fixtures in a labelled box. Then work room by room with removable products, freestanding furniture, and soft layers. Most steps here cost under $100, and several cost nothing.
Step 1: Photograph and Document Everything Before You Unpack
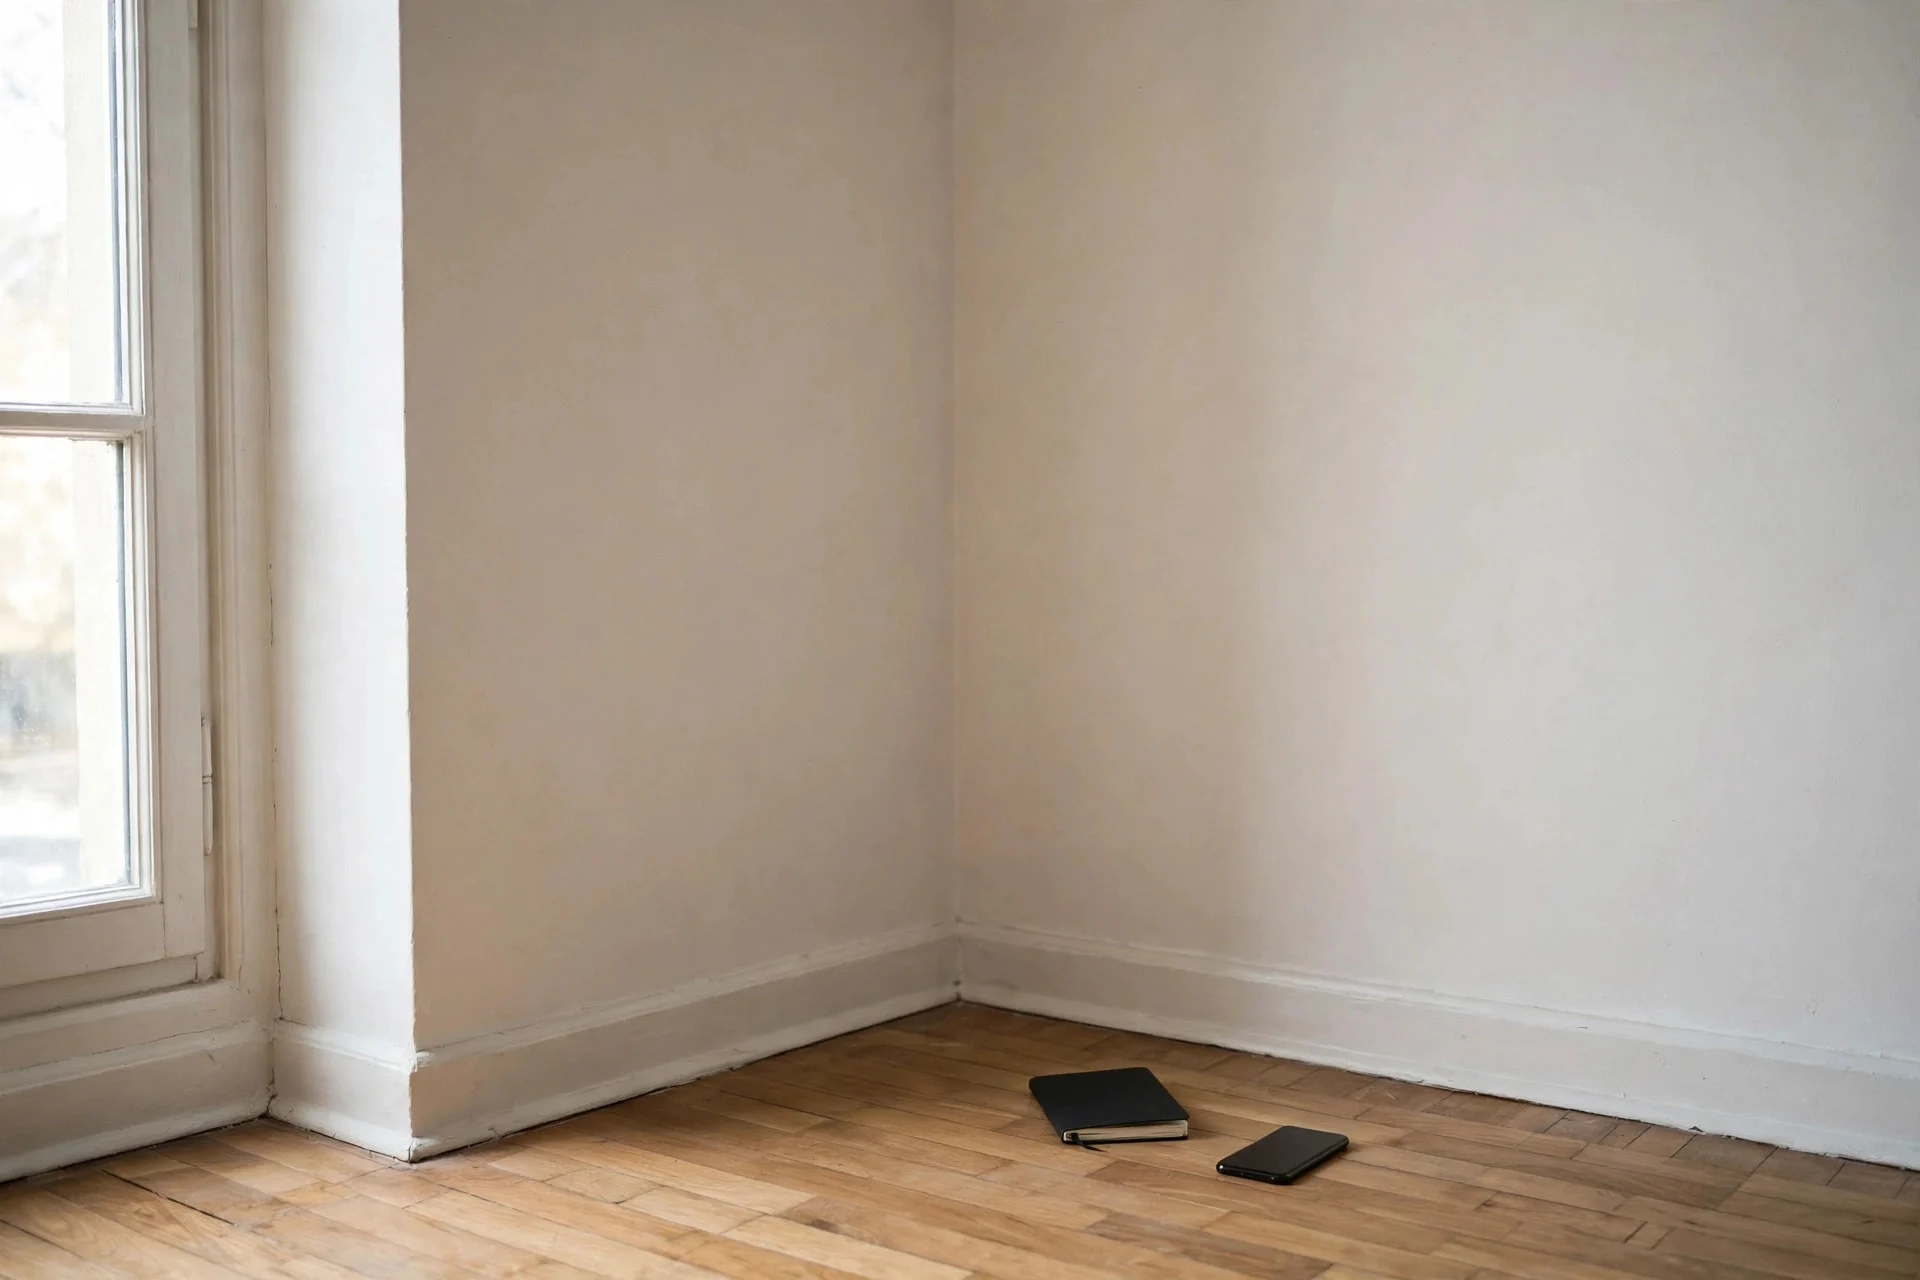
Walk through the apartment with your phone before a single box is opened. Photograph every wall, floor, window, appliance, and any mark you can see, even small scuffs near doorways. Photograph inside cupboards too, and email the photos to yourself so they carry a date stamp.
This gives you proof of damage that was already there. Without dated photos, a day-one scuff can look like your fault at move-out. It also shows which walls get light and where the outlets sit before you spend anything.
Cost: $0. Difficulty: Easy, about 30 to 45 minutes for a one-bedroom place.
Hands-on tip: Photograph each room from the doorway, then take close-ups of damage with a coin or your hand beside it for scale.
Watch out: If your landlord gave you a move-in checklist, fill it in and return it by the deadline in your lease. A checklist you never handed back is much weaker evidence.
Step 2: Read Your Lease and Get Permission in Writing
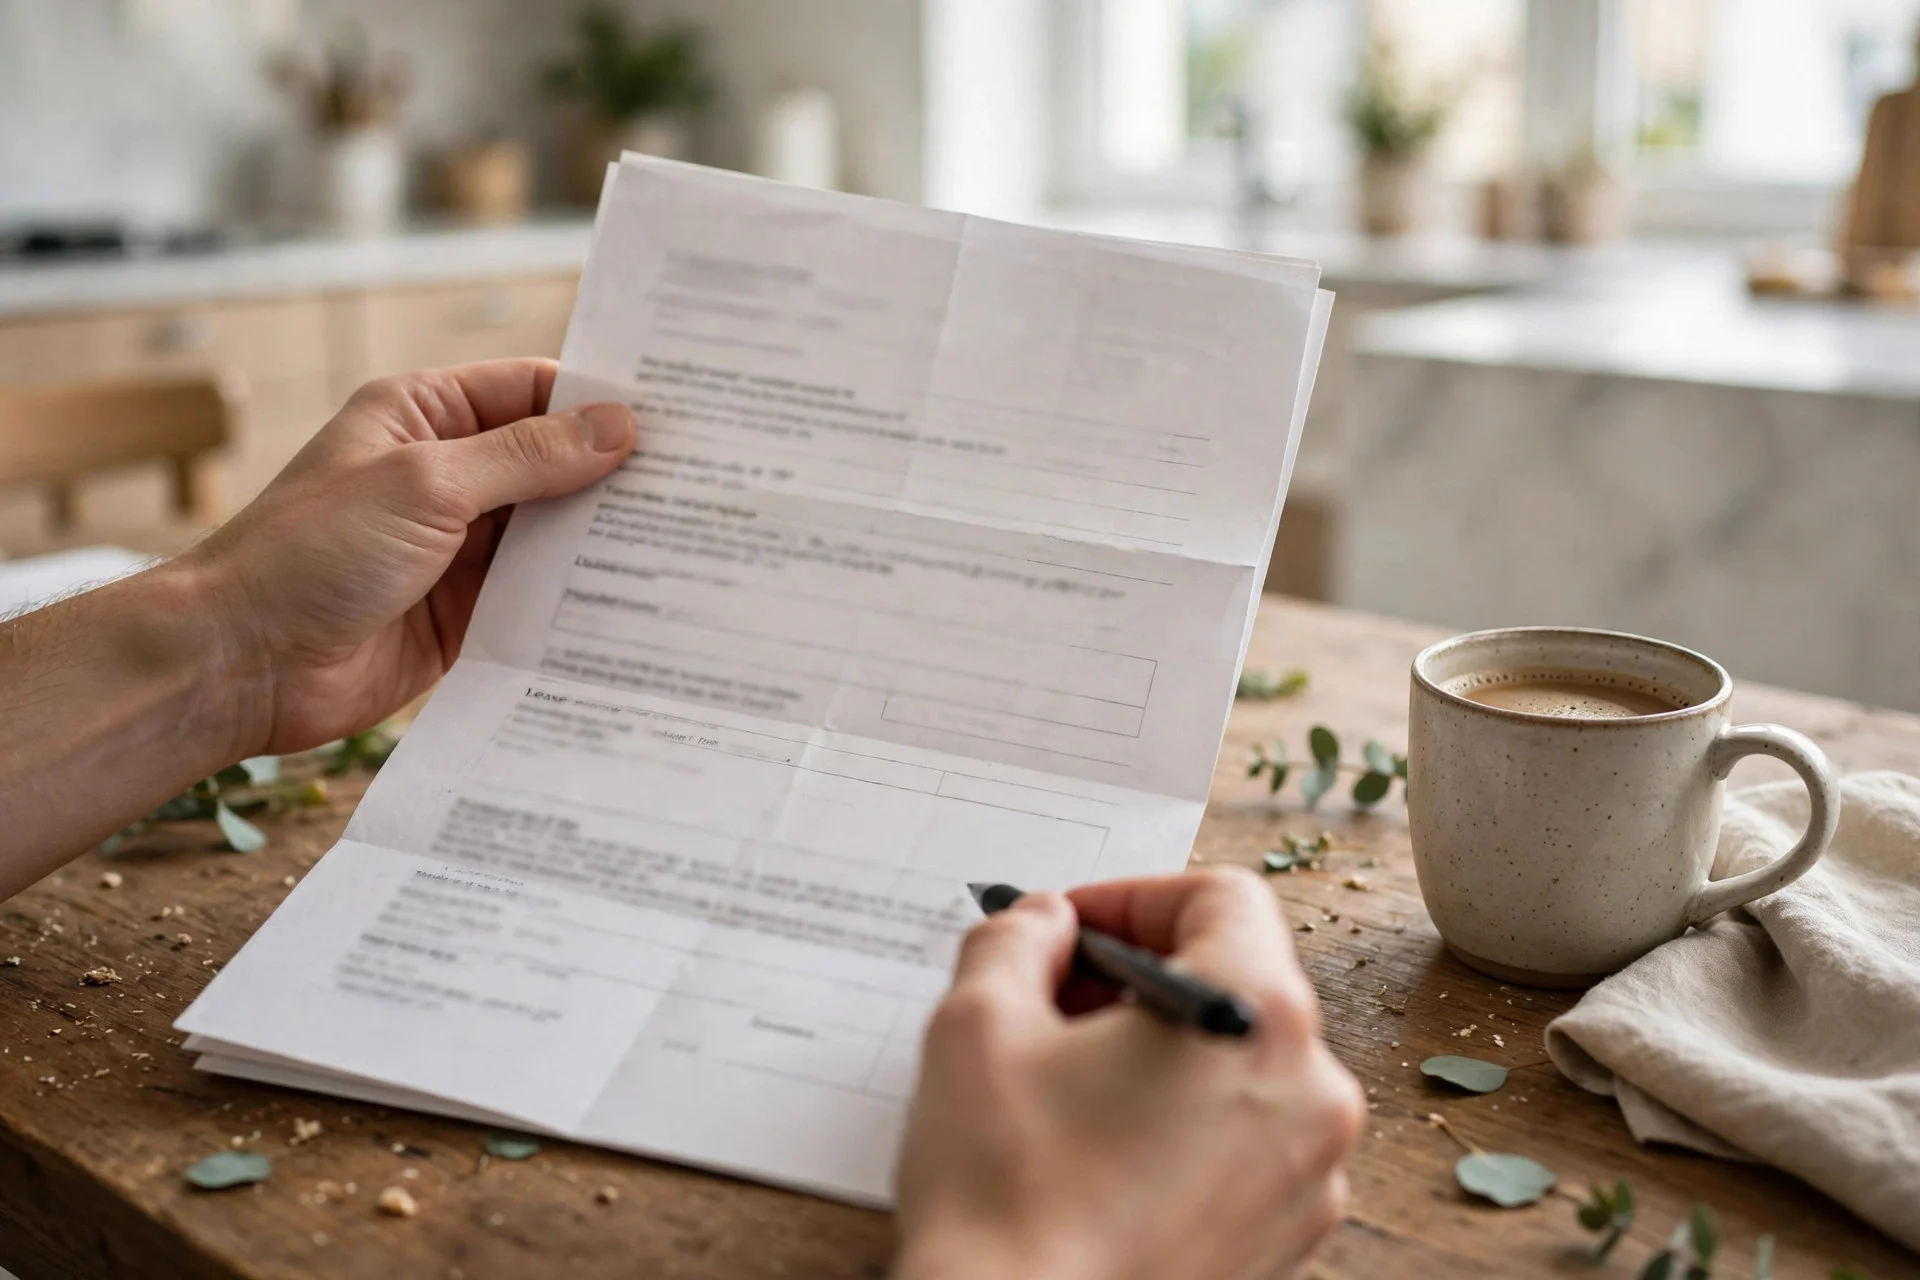
Read the sections on alterations, painting, nails, and wall hangings before you buy anything. Some leases ban adhesive hooks on certain surfaces; others allow small nails but charge for patching. Note the exact wording, then email your landlord about anything you plan to change.
Written permission matters because a verbal “sure, go ahead” is hard to prove later. A short email works: state what you want to do, how you will remove it, and that you will restore the wall or fixture. Keep the reply with your lease papers.
Cost: $0. Difficulty: Easy, about 20 minutes of reading plus one email.
Hands-on tip: Ask about two or three changes in one email instead of sending a new message for every small idea. Landlords answer faster when the request is short and clear.
Watch out: Painting is the most common deposit dispute. Never paint, even a single accent wall, without written approval that says who repaints it at move-out.
Step 3: Add Colour With Peel-and-Stick Wallpaper on One Wall
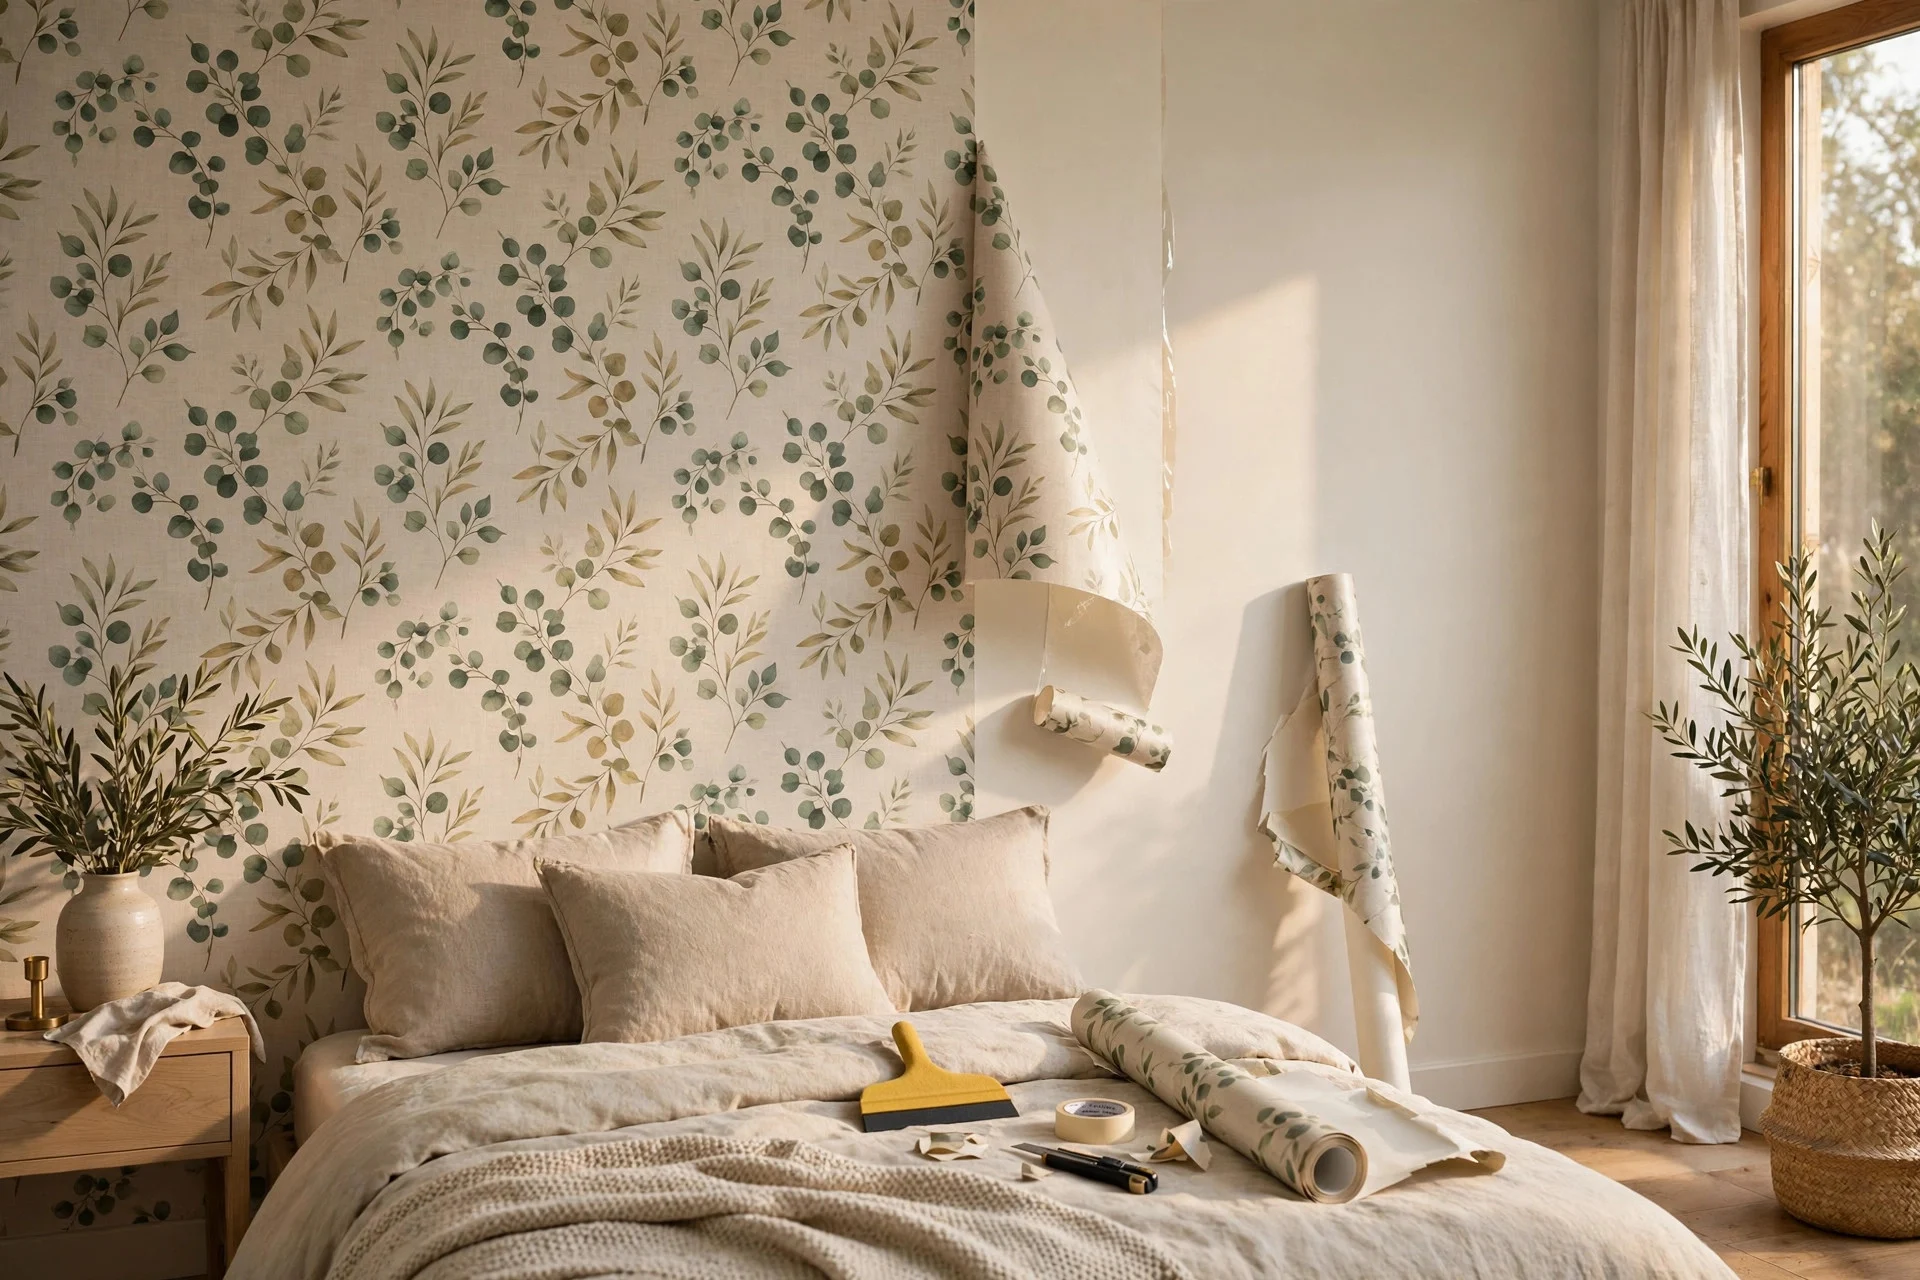
Peel-and-stick wallpaper gives you a finished accent wall without paste, primer, or a paint roller. Measure your wall, order one roll more than you think you need, and start at the top corner. Smooth each strip down with a plastic card and trim at the baseboard. One accent wall behind a bed or sofa is usually enough.
The adhesive is made to release, so most brands lift without pulling paint when peeled slowly at a low angle. Test a small piece behind furniture for a week first, especially on freshly painted or textured walls.
Cost: $30 to $90 for one accent wall, depending on the pattern and wall size. Difficulty: Moderate, about 2 to 3 hours.
Hands-on tip: Line up the pattern before you peel the backing. Mark the wall lightly in pencil at the top of each strip so the repeat stays straight.
Watch out: Heat and steam weaken the adhesive, so skip peel-and-stick paper right above a stove or inside a shower area. Peel it off slowly on move-out day, and warm a stubborn edge with a hair dryer on low.
Step 4: Build a Gallery Wall Without Nails
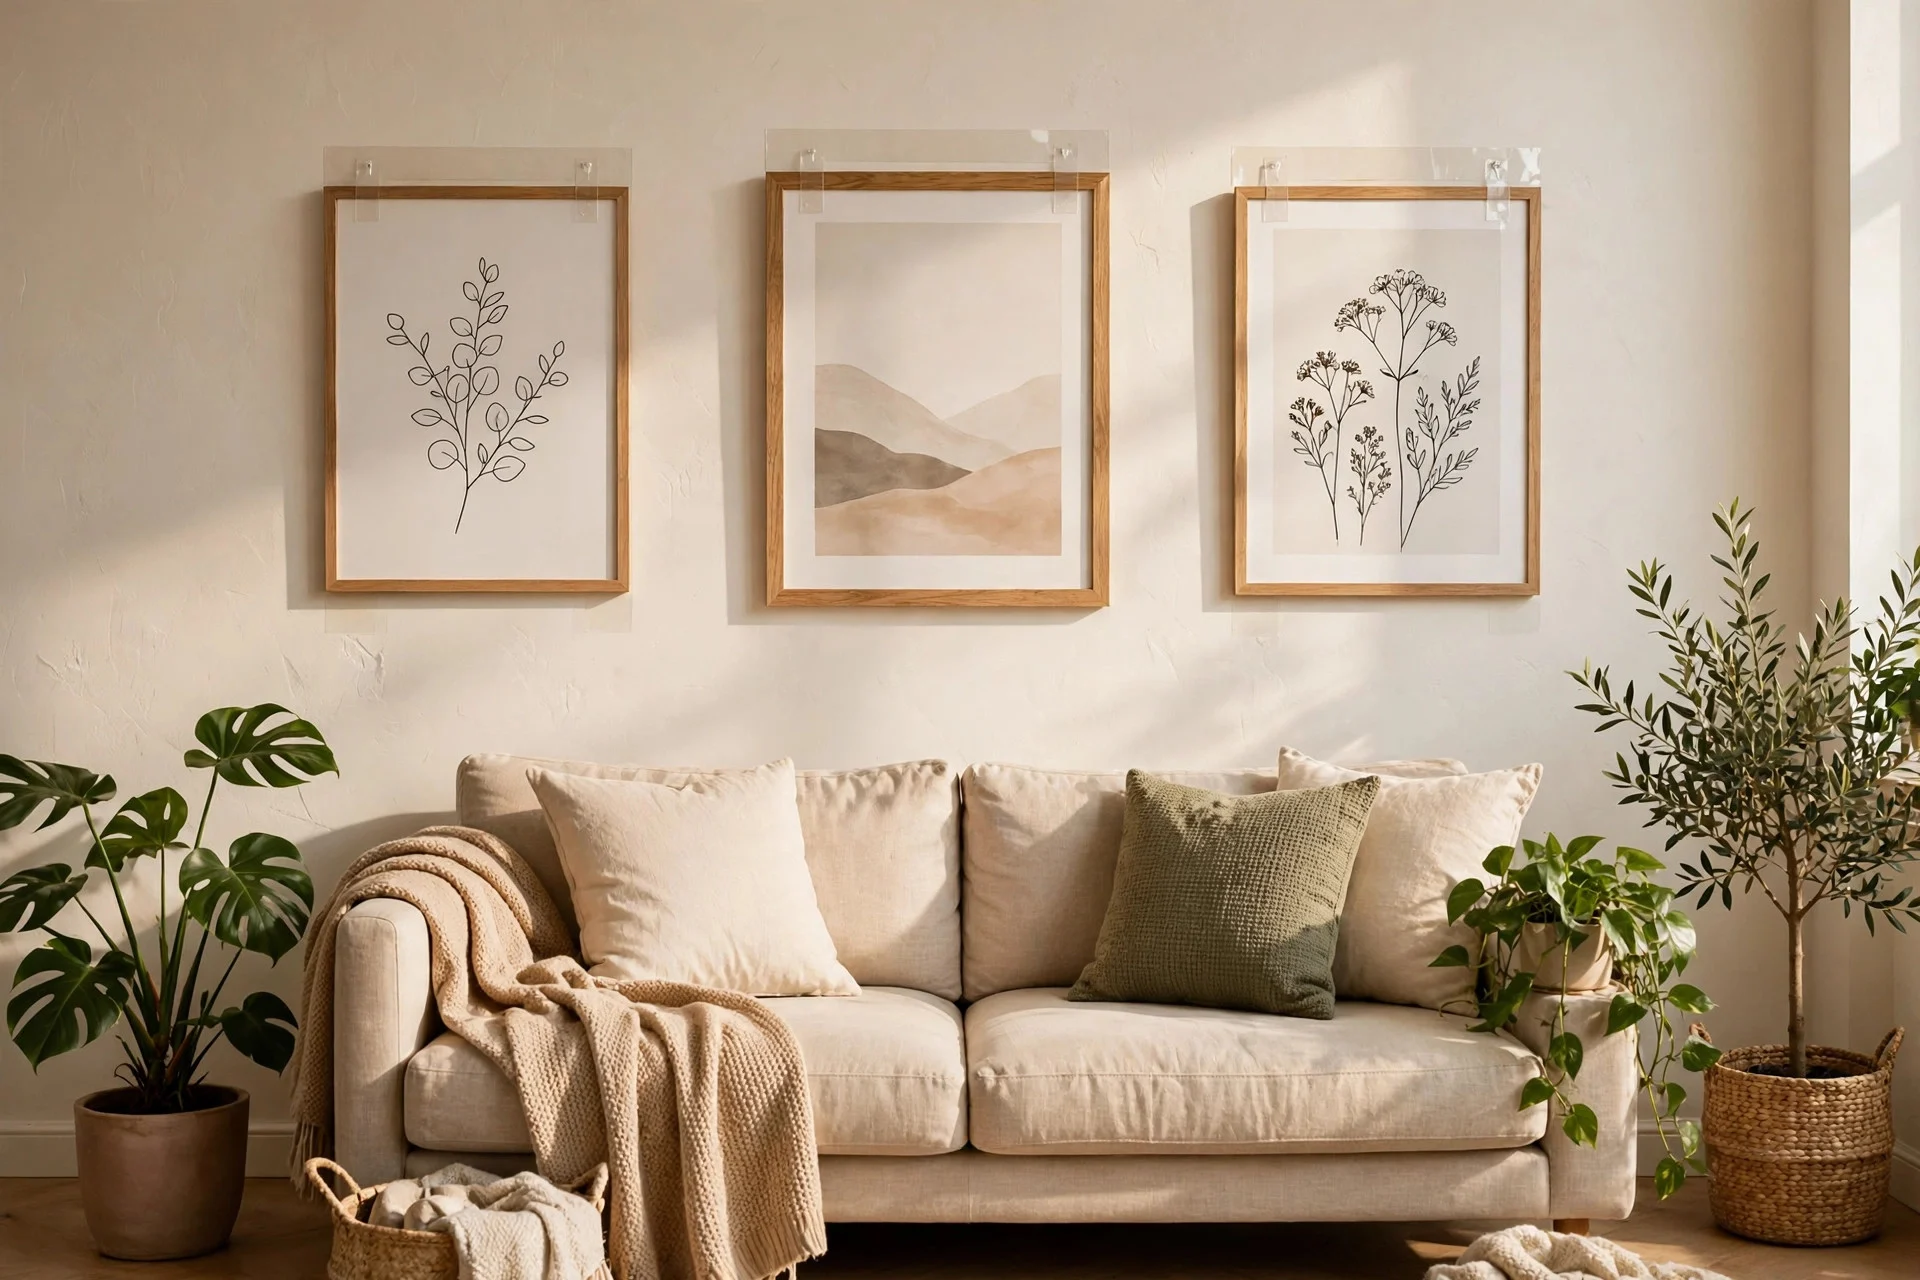
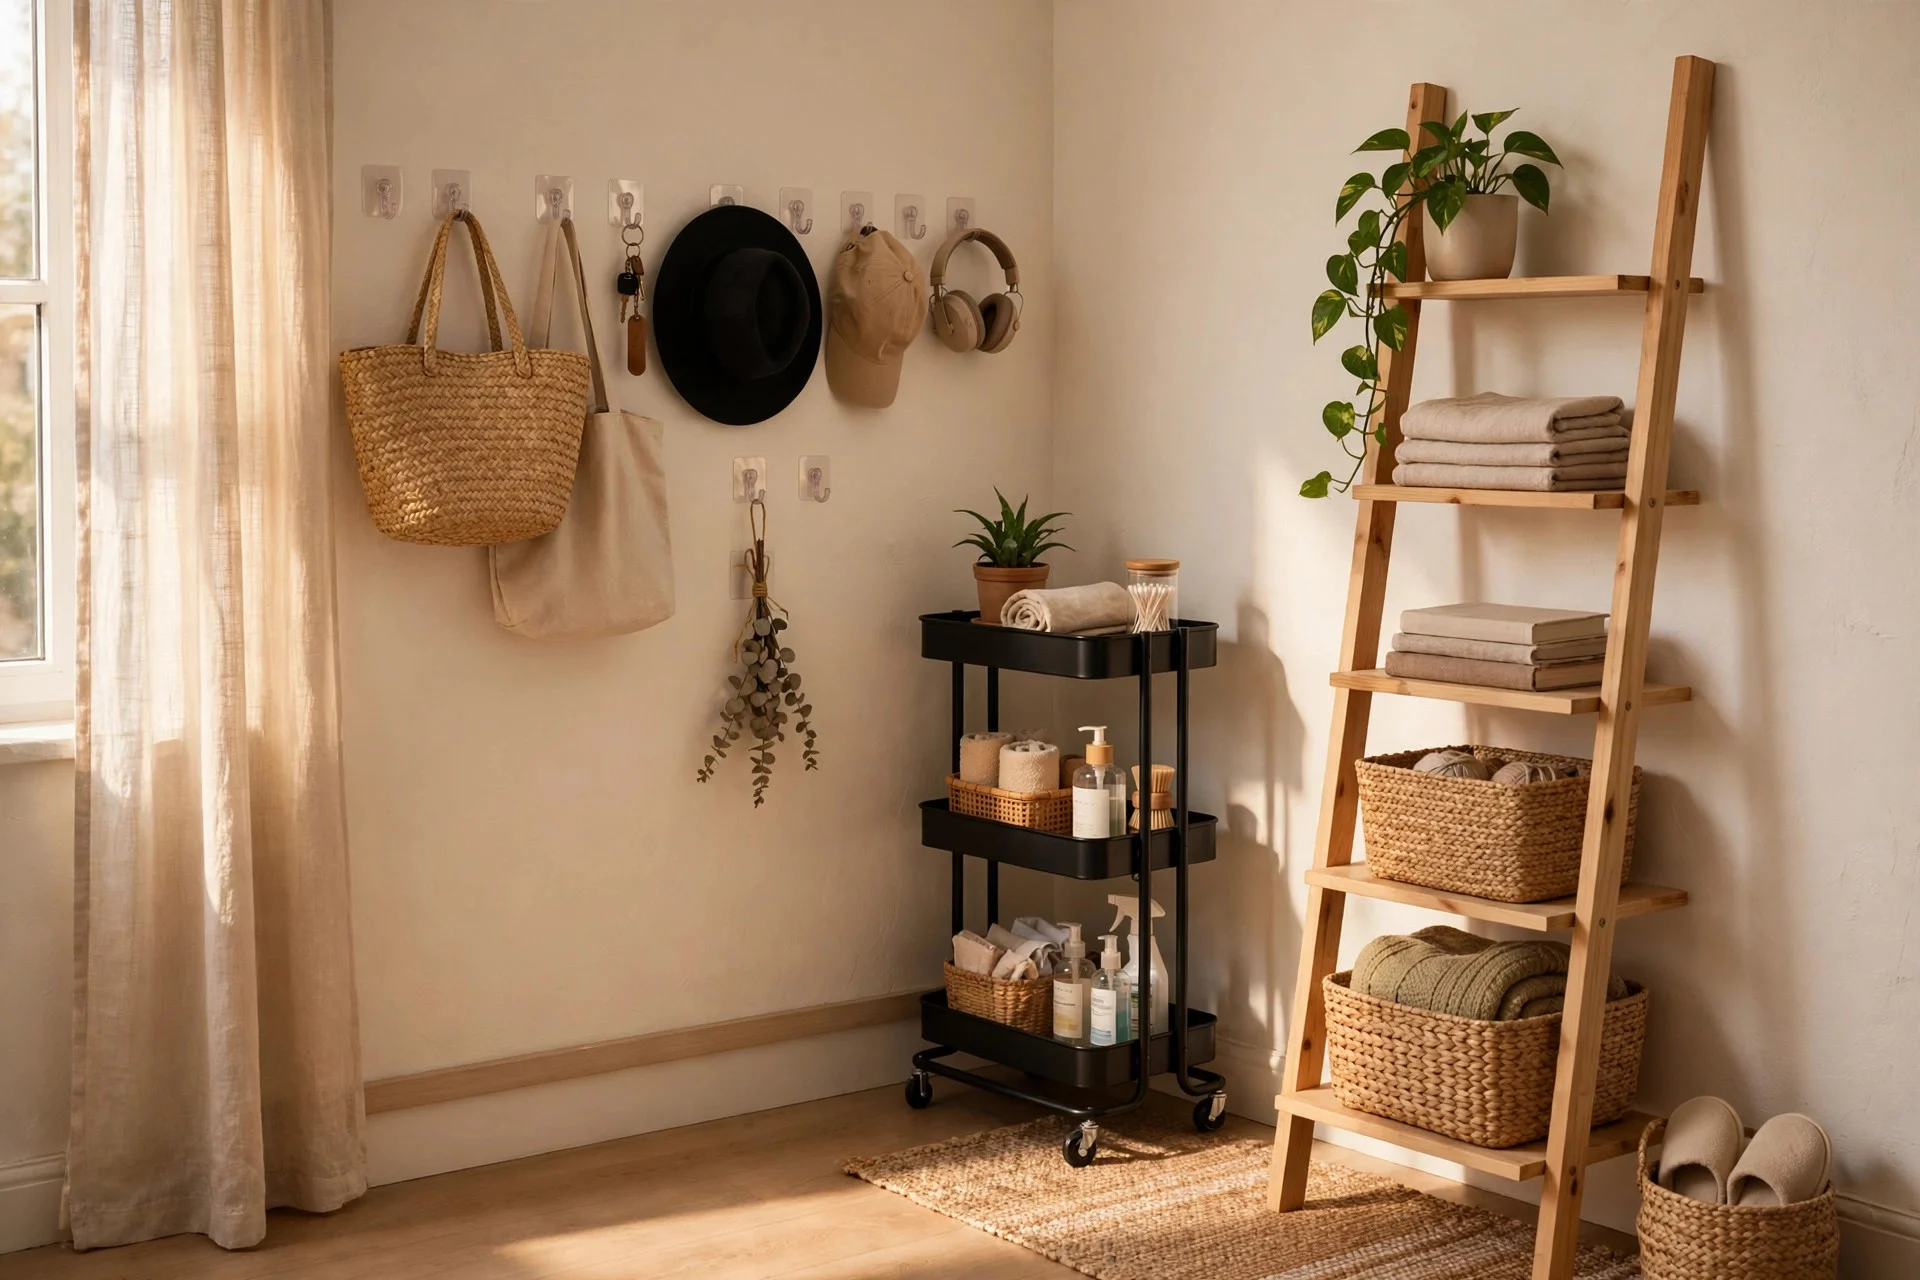
Choose lightweight frames, lay them out on the floor first, and hang them with adhesive strips rated for each frame’s weight. Press each strip firmly for 30 seconds and wait an hour before hanging the frame. Keep heavy glass frames off the wall; lean larger pieces on a sideboard instead.
Strips spread weight across a flat pad instead of punching a hole in the plaster, and they release when you pull the tab straight down, slowly. For more renter-friendly living room ideas, the same no-nail rule applies to shelves and mirrors, which are better freestanding or leaned than drilled in.
Cost: $25 to $80 for frames and strips. Difficulty: Easy, about 1 to 2 hours.
Hands-on tip: Trace each frame on paper, tape the paper shapes to the wall, and live with the layout for a day before you stick anything up.
Watch out: Adhesive strips fail on brick, rough plaster, and wallpaper. Check the weight rating and the surface list on the pack, and never hang a mirror with strips alone.
Step 5: Layer Your Lighting Instead of Changing Fixtures
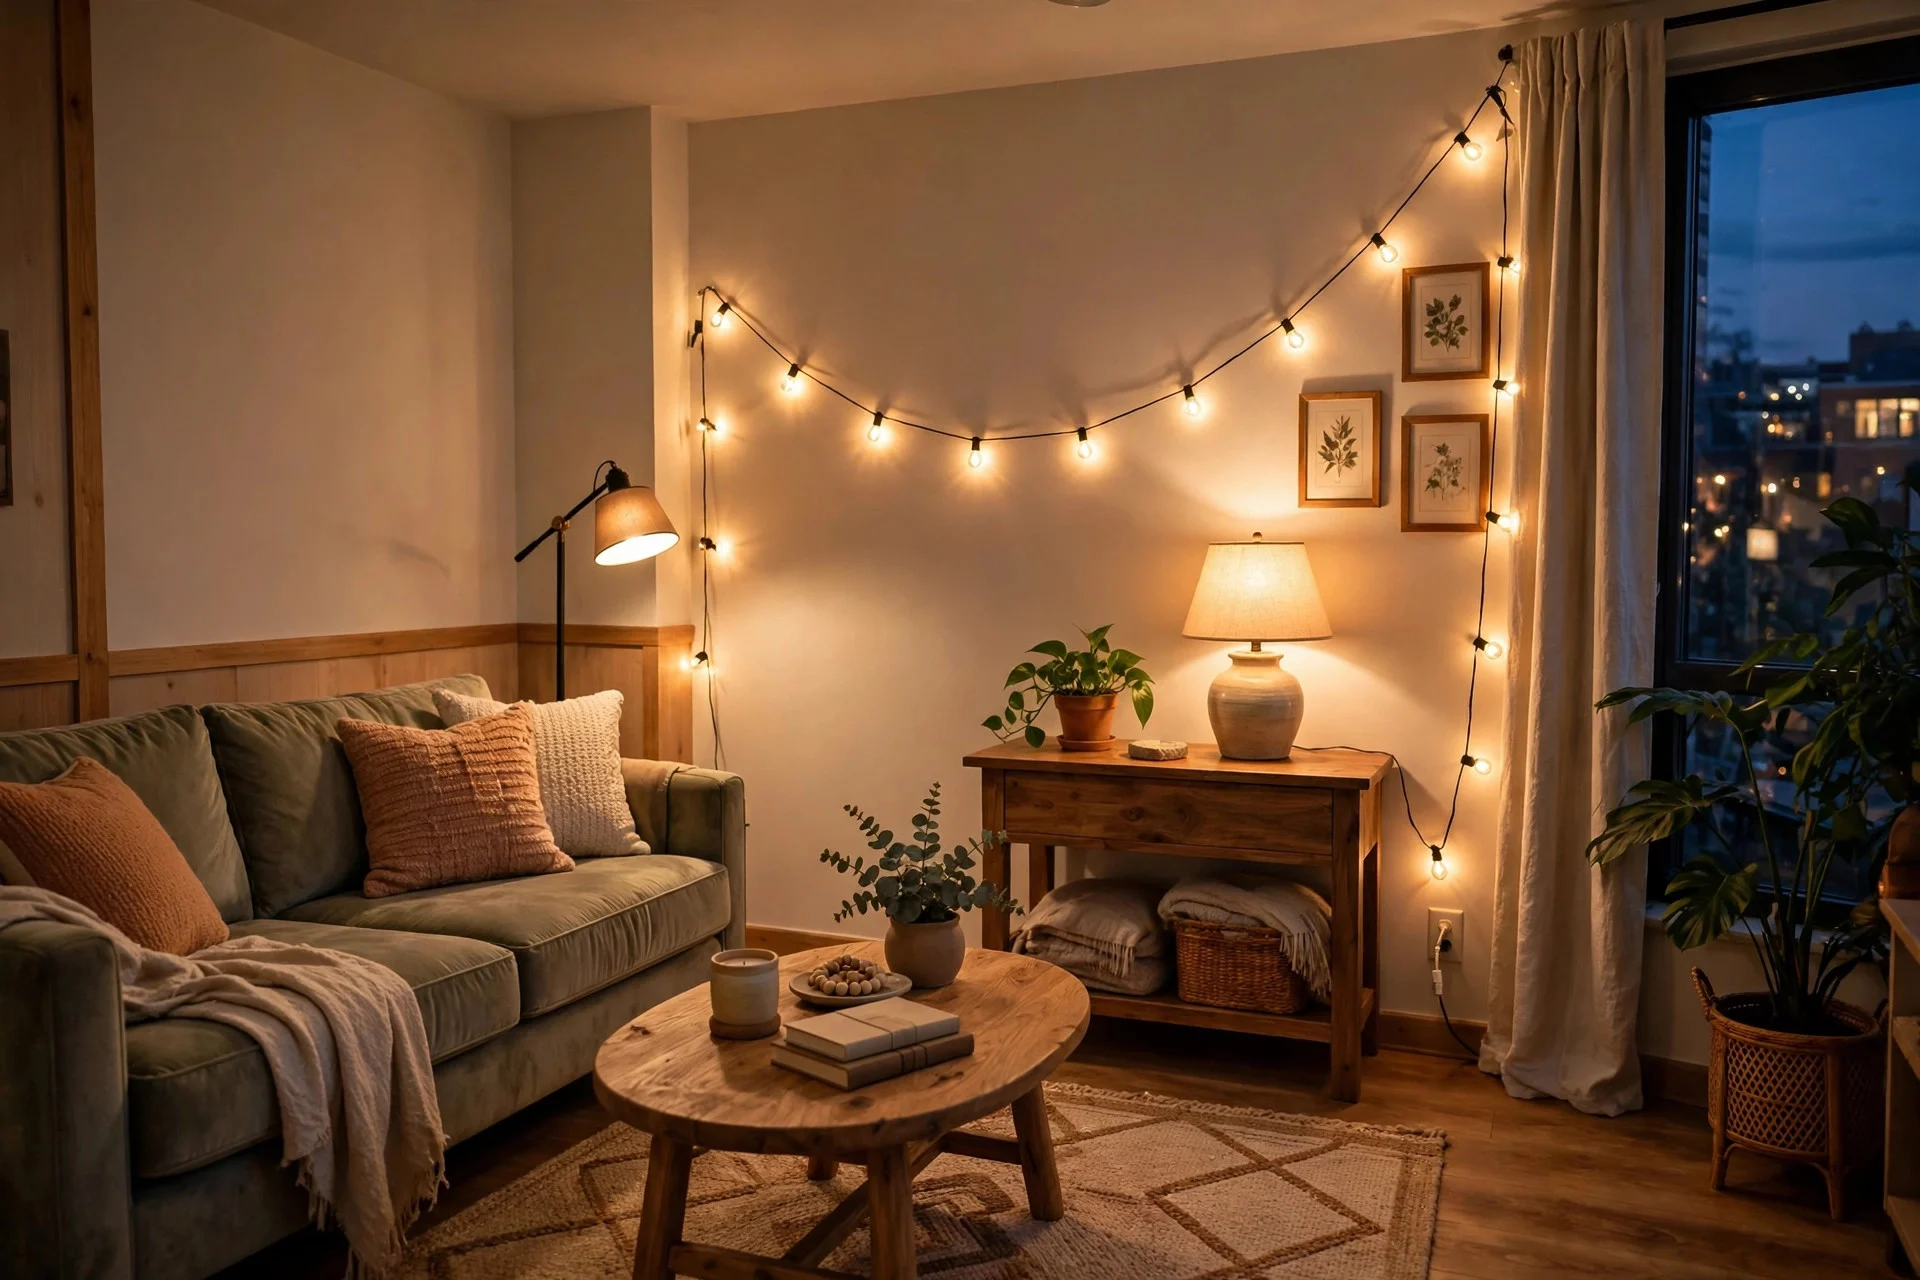
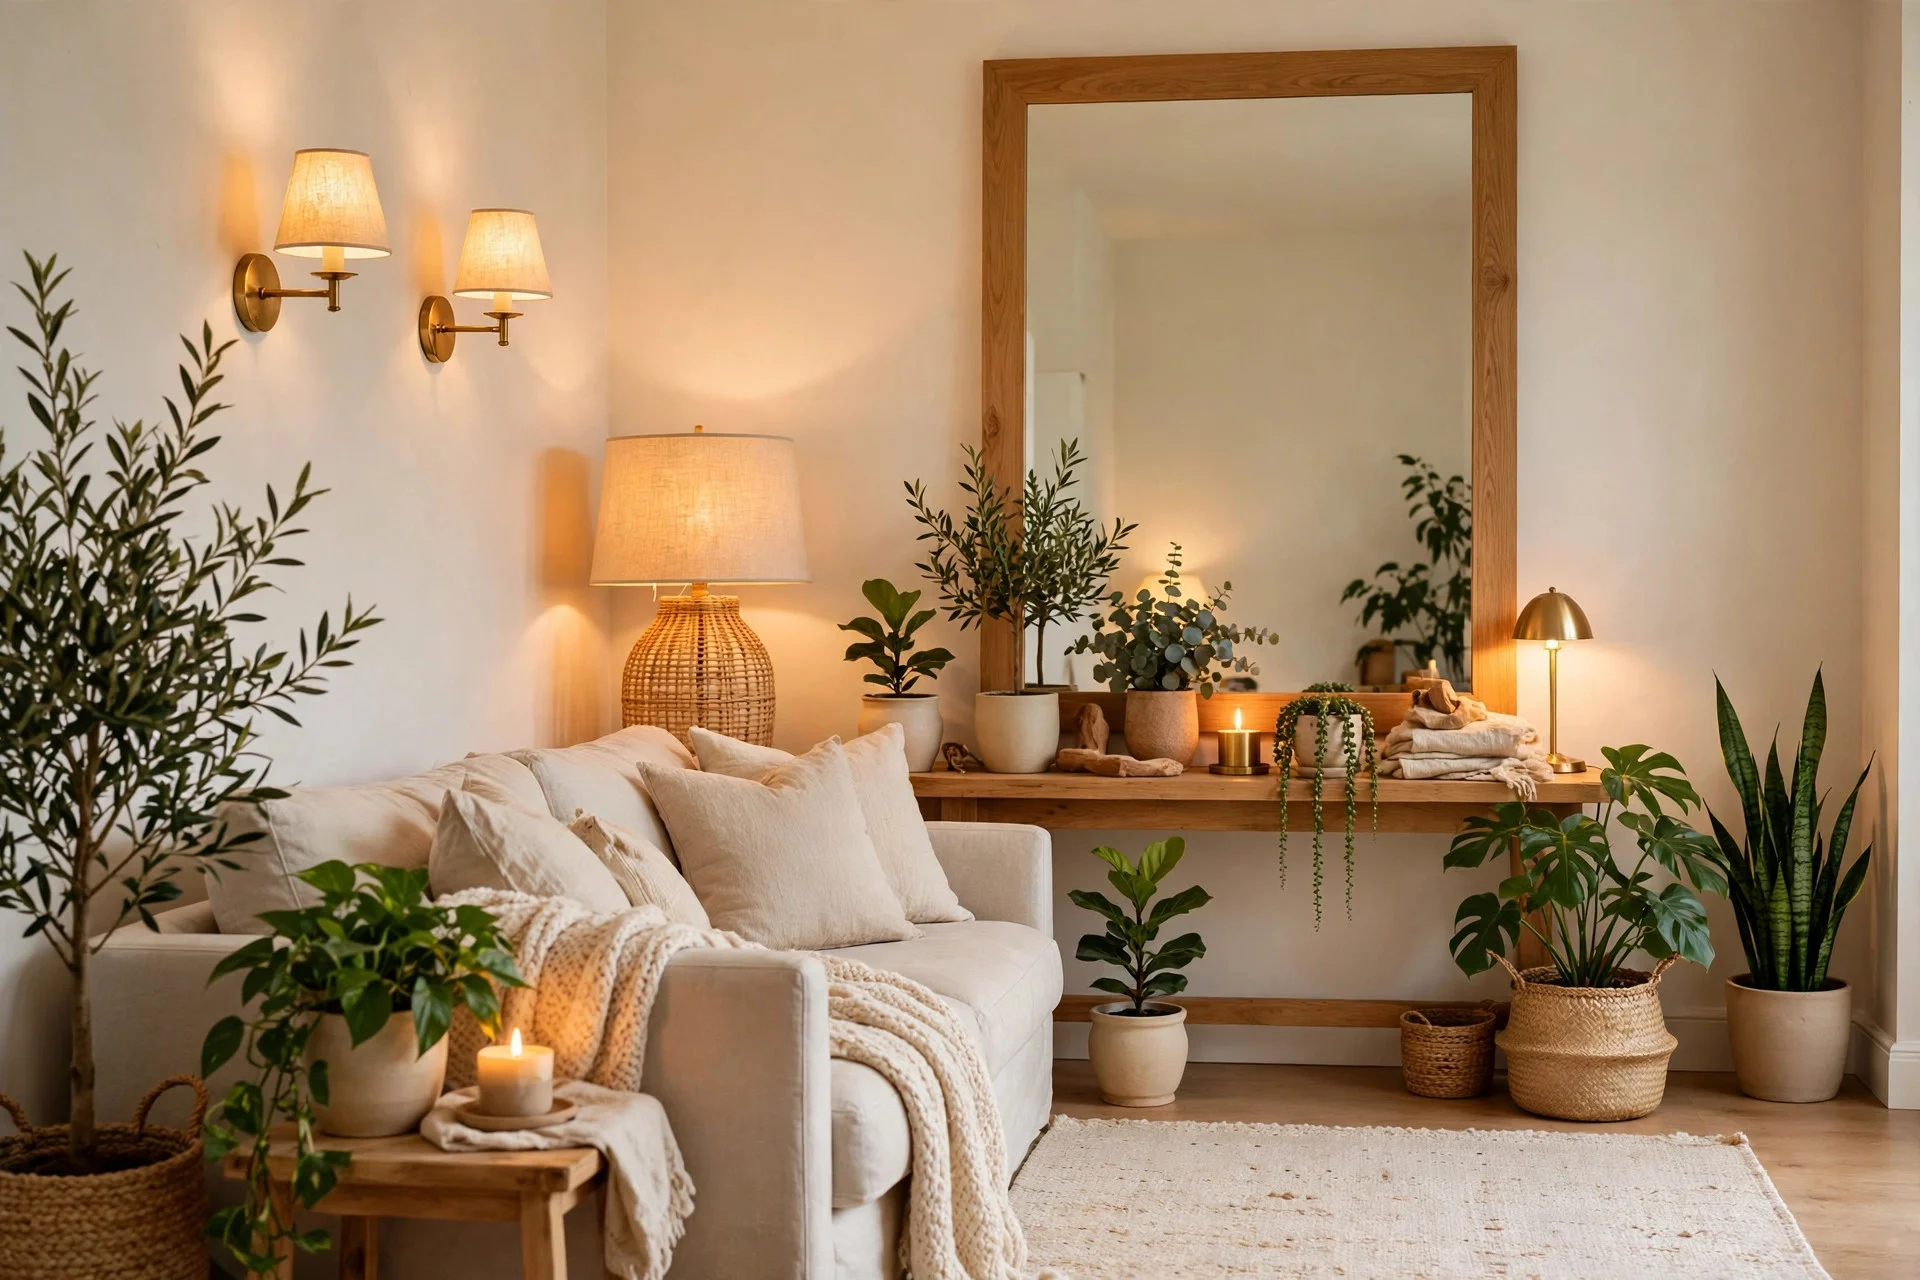
Most rentals come with one harsh ceiling light per room. Fix that with layers you plug in: a floor lamp beside the sofa, a table lamp on a sideboard, and a warm-toned bulb in each. Battery puck lights under a kitchen shelf add task light for a few dollars.
Plug-in lighting is deposit-safe because nothing is wired or screwed into the ceiling, and you take every lamp with you. Warm bulbs, around 2700K, also soften plain walls and beige carpet far better than bright white bulbs.
Cost: $40 to $150 for two or three lamps and bulbs. Difficulty: Easy, under an hour. This is also a fast piece of a weekend living room refresh if you want a visible change in a single Saturday.
Hands-on tip: Put lamps at three heights in one room, such as a floor lamp, a table lamp, and a low shelf light. The mix of heights makes the room feel finished even before you add decor.
Watch out: Do not overload one outlet or run extension cords under rugs, where they can overheat. Use a surge-protected power strip and keep cords visible and tidy.
Step 6: Cover Tired Floors With a Large Rug

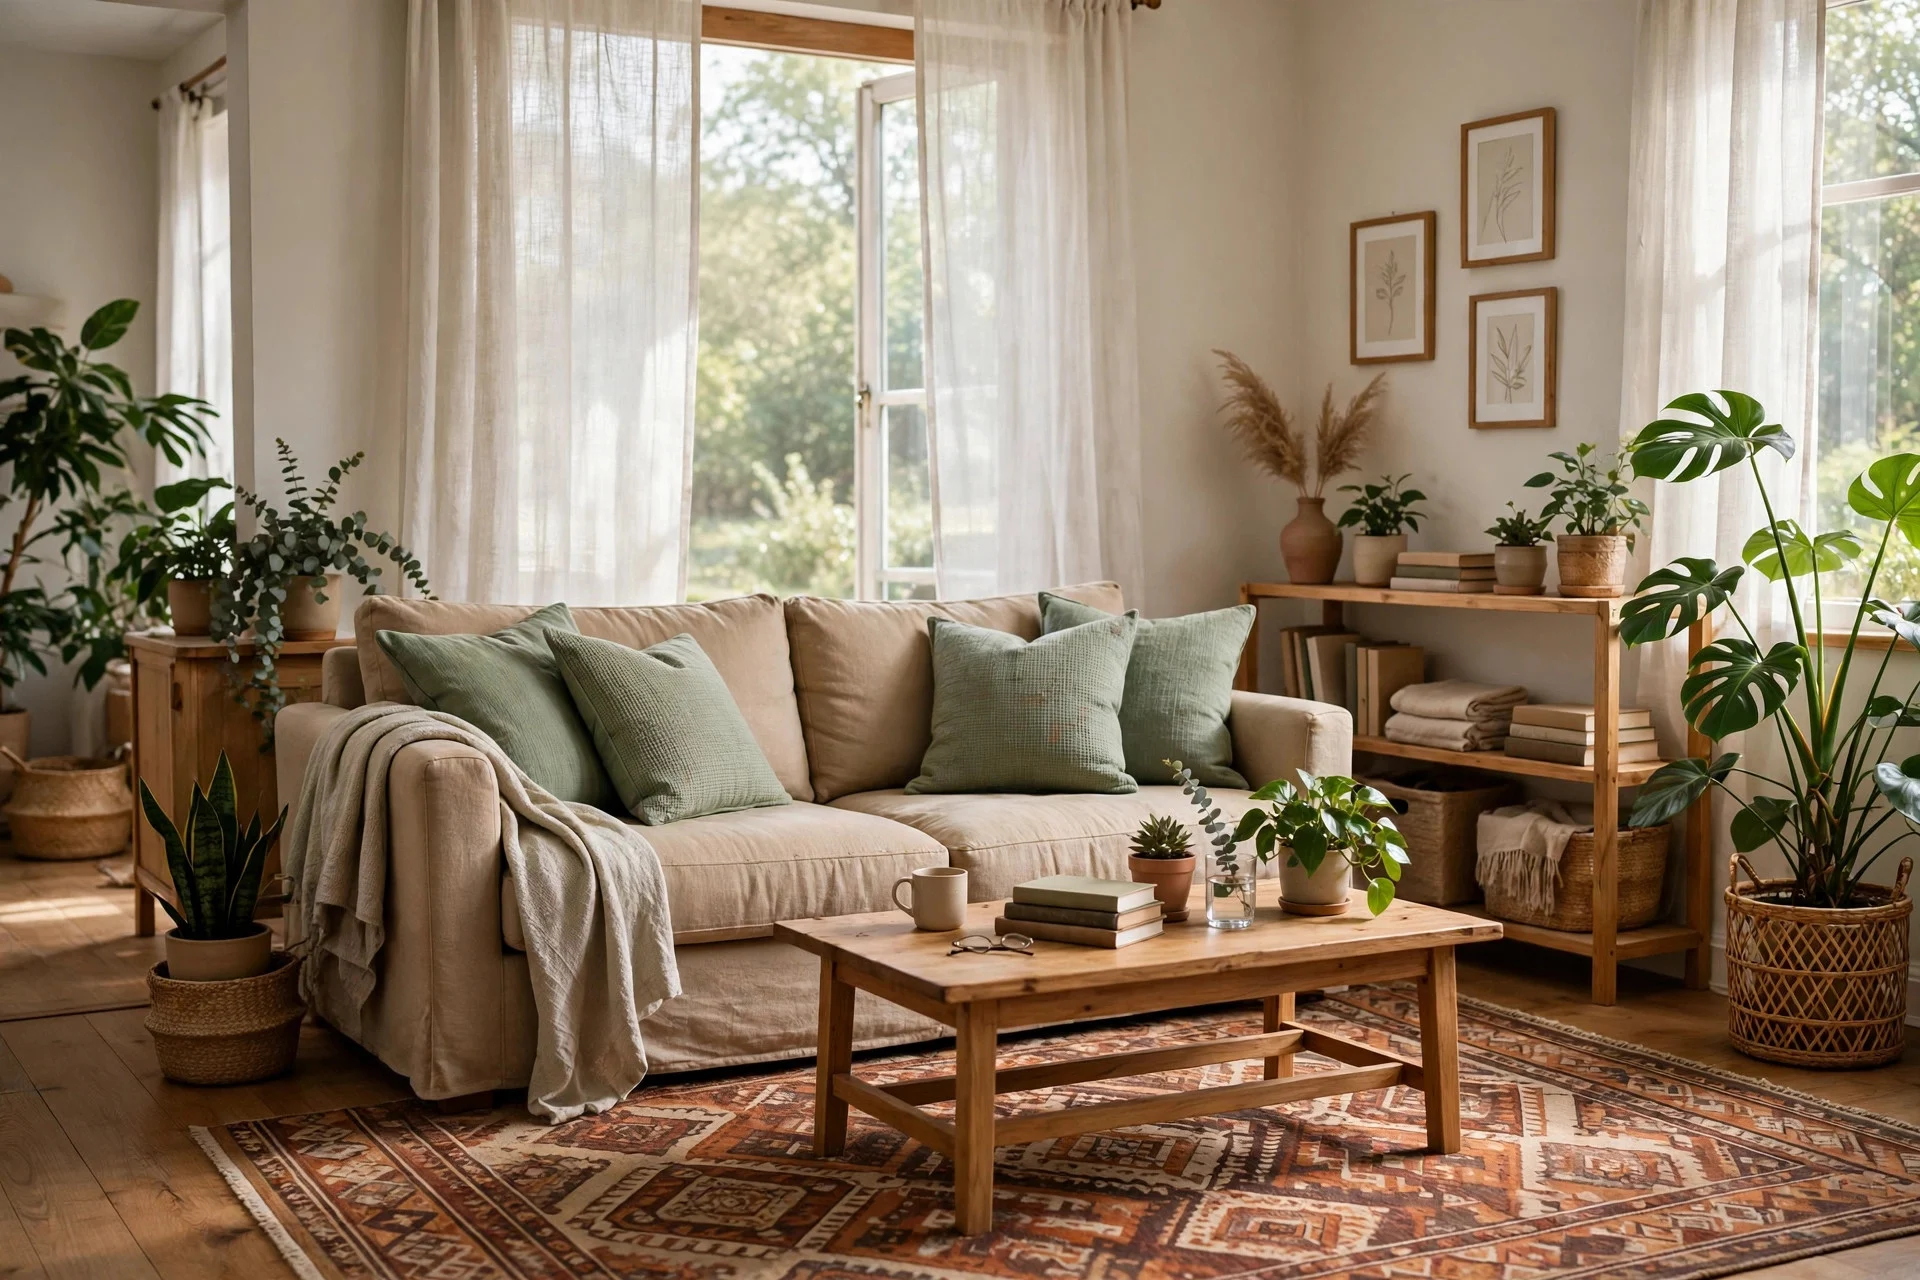
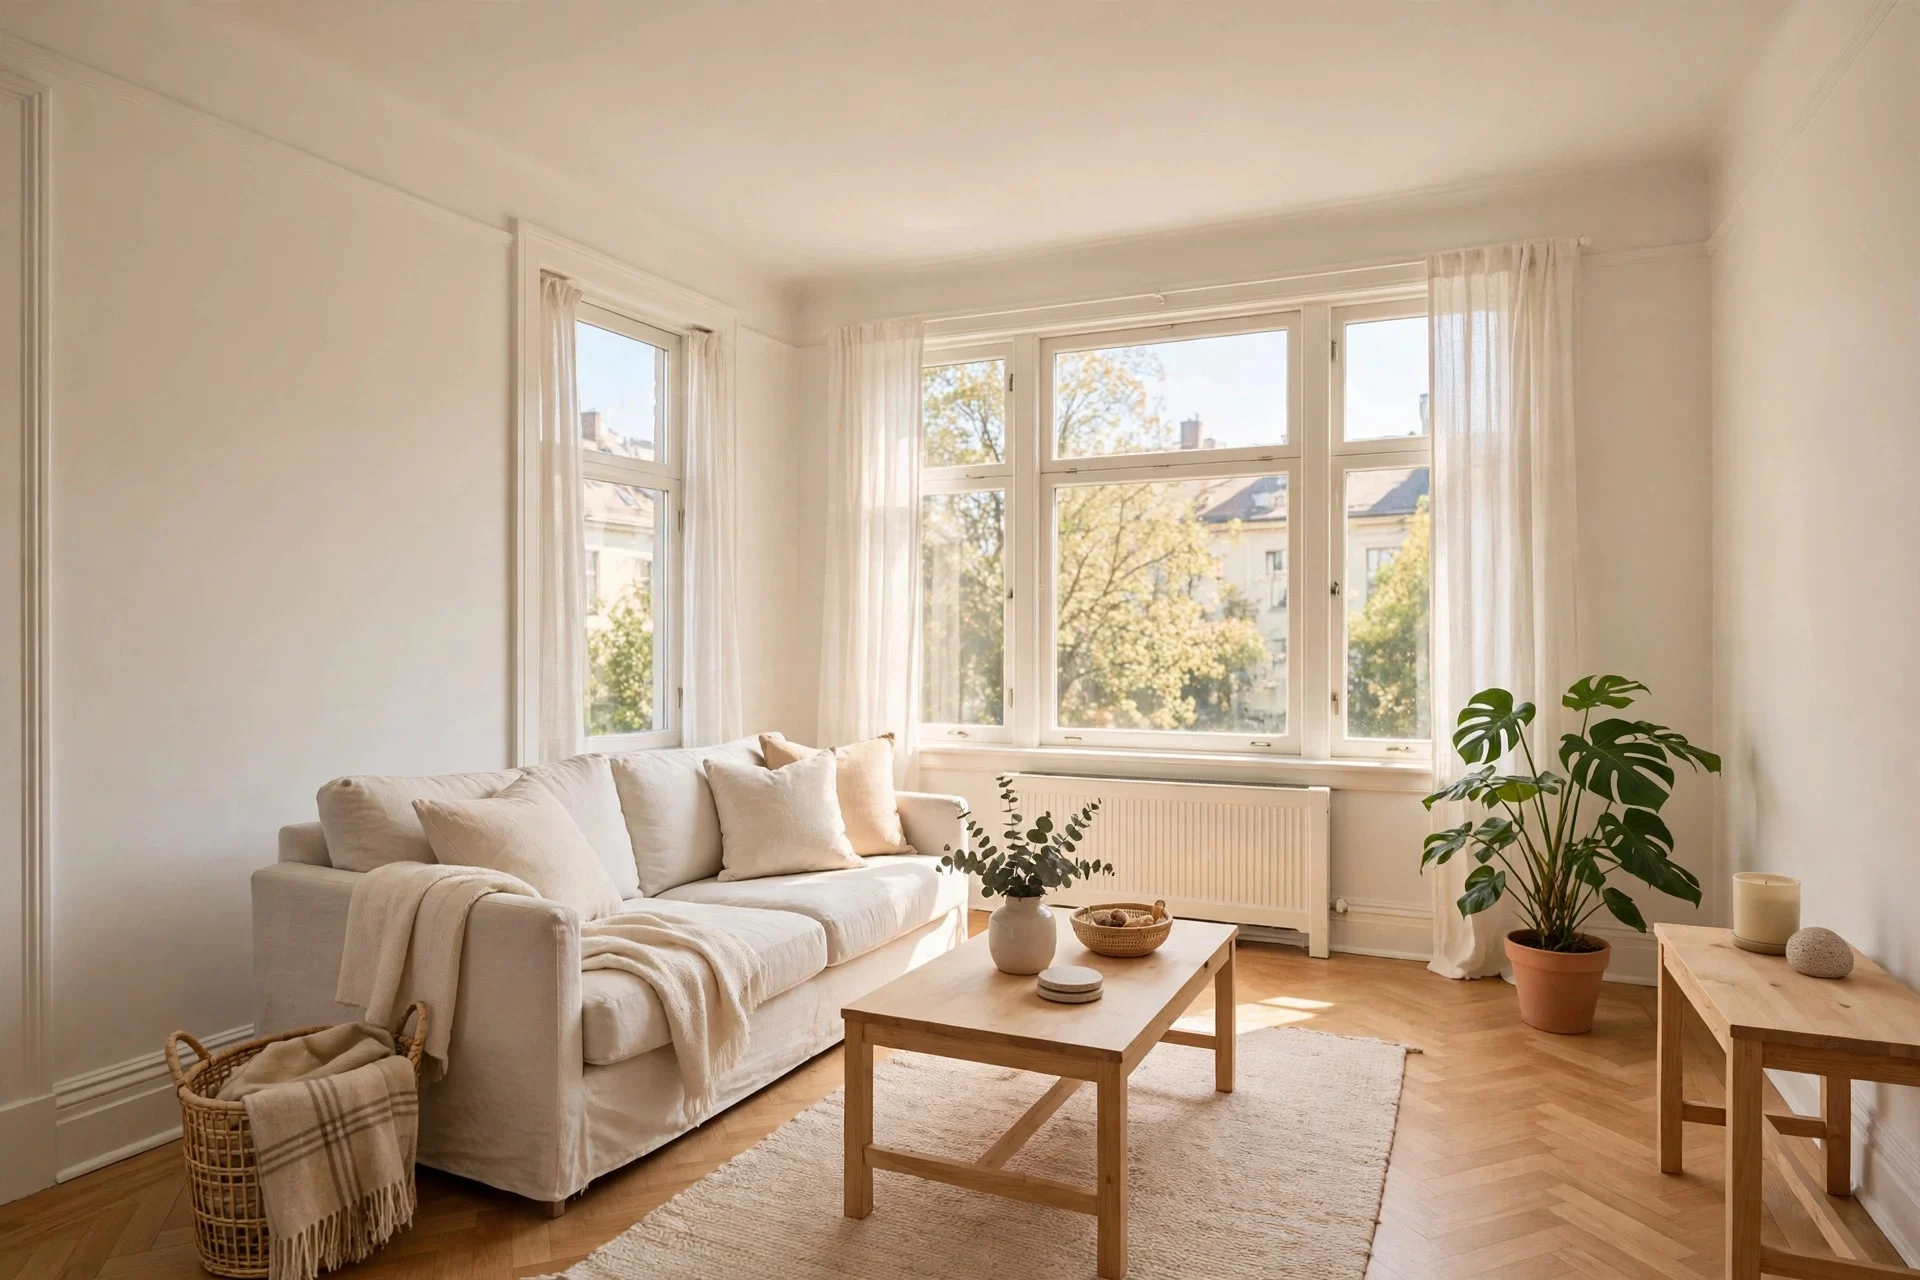
A rug is the fastest way to change a room you cannot refloor. In a living room, pick one large enough for the front legs of the sofa and chairs to sit on it, usually 8 by 10 feet. In a bedroom, a rug extending about 18 inches past each side of the bed softens the first step out of bed. Add a non-slip pad underneath.
Rugs hide worn carpet and scuffed vinyl, and they shield the floor from new scratches and spills. A washable rug is worth the extra cost in a dining area or a home with pets.
Cost: $60 to $250 for a living-room size, $30 to $80 for a bedroom runner. Difficulty: Easy, about 20 minutes.
Hands-on tip: Tape the rug outline on the floor with painter’s tape before you order. It is the cheapest way to check whether the size will crowd the doorways.
Watch out: A rug that is too small floats in the middle of the room and makes the space look smaller. When you are torn between two sizes, take the larger one.
Step 7: Dress Windows With Tension Rods and Ready-Made Curtains
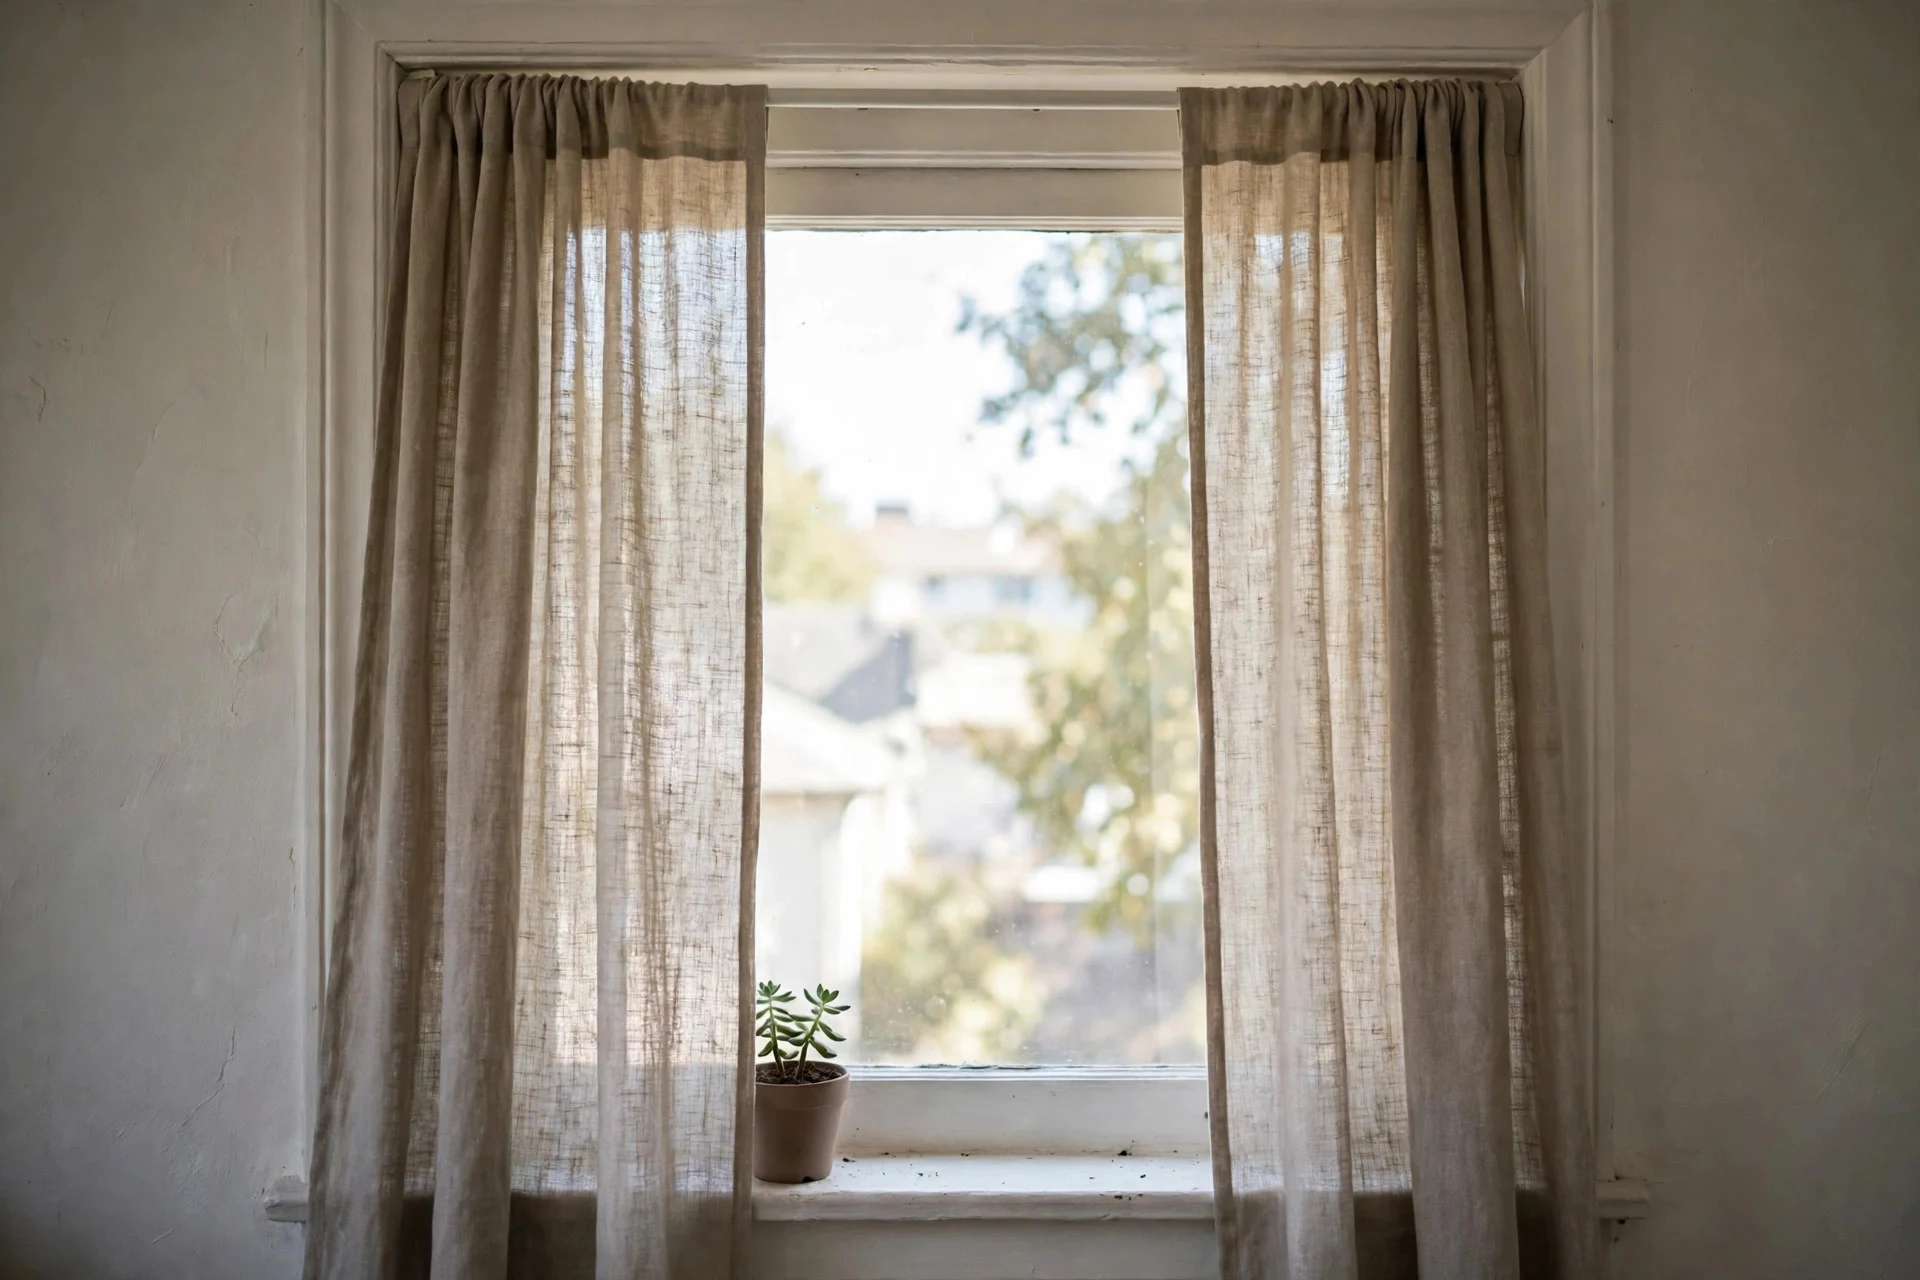
Hang curtains inside the window frame with a tension rod, and you need no drill, no brackets, and no patching later. Choose a rod that fits snugly, twist it until it holds firm, and hang ready-made linen or cotton panels that fall just past the sill or to the floor.
Curtains soften hard frames, cut glare, and add privacy without changing the window itself. Lined panels also block summer heat and reduce winter drafts. When you move, the rod twists out and the curtains pack flat.
Cost: $25 to $90 per window for a rod and panels. Difficulty: Easy, about 15 minutes per window.
Hands-on tip: Hang the panels a little wider than the glass so the window looks larger and the curtains do not block daylight when open.
Watch out: Heavy blackout curtains can slip on a smooth frame. Test the rod with a firm tug before you walk away, and use a lighter fabric on very wide windows.
Step 8: Choose Freestanding Furniture and Storage
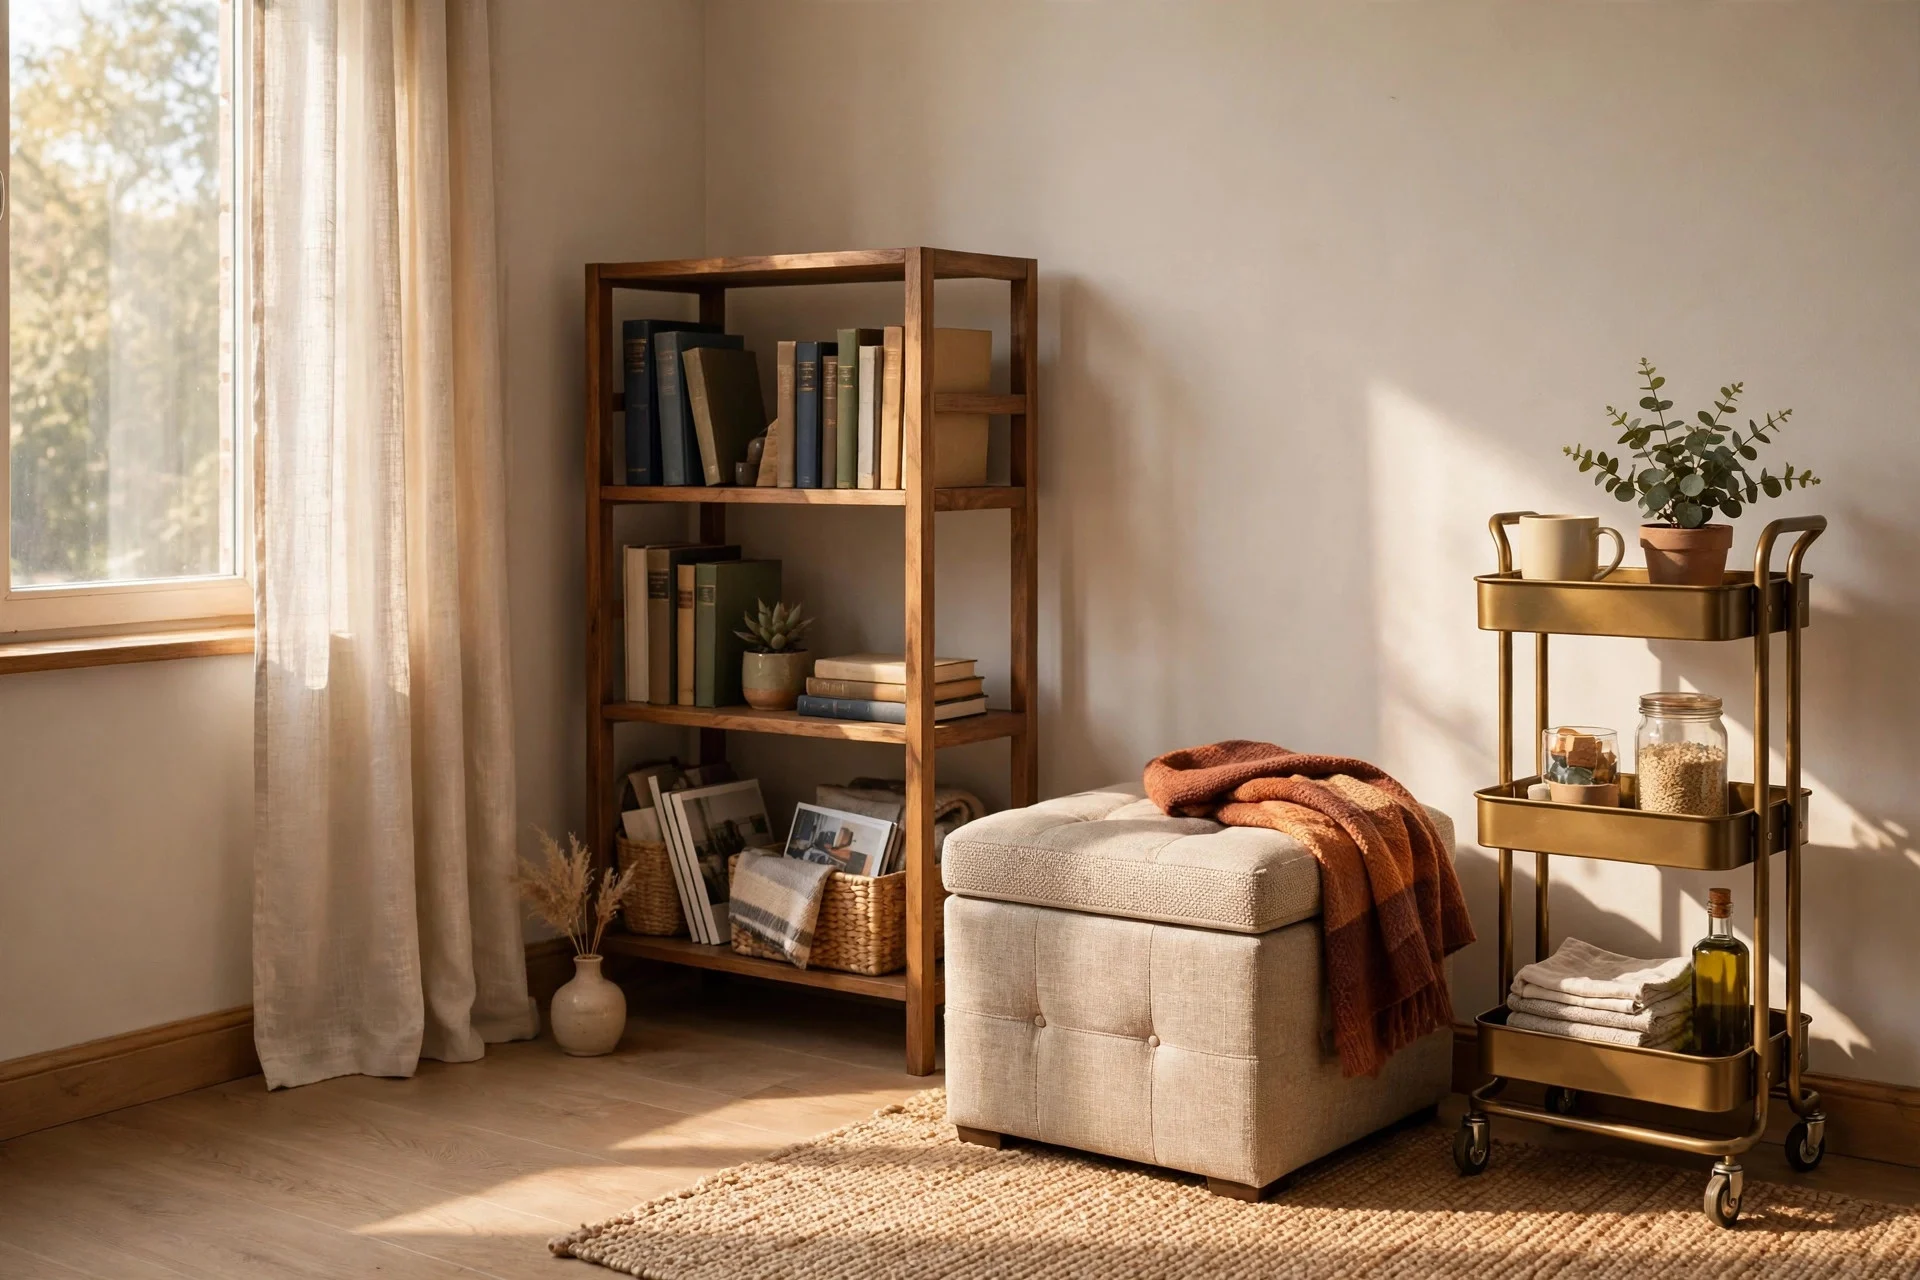
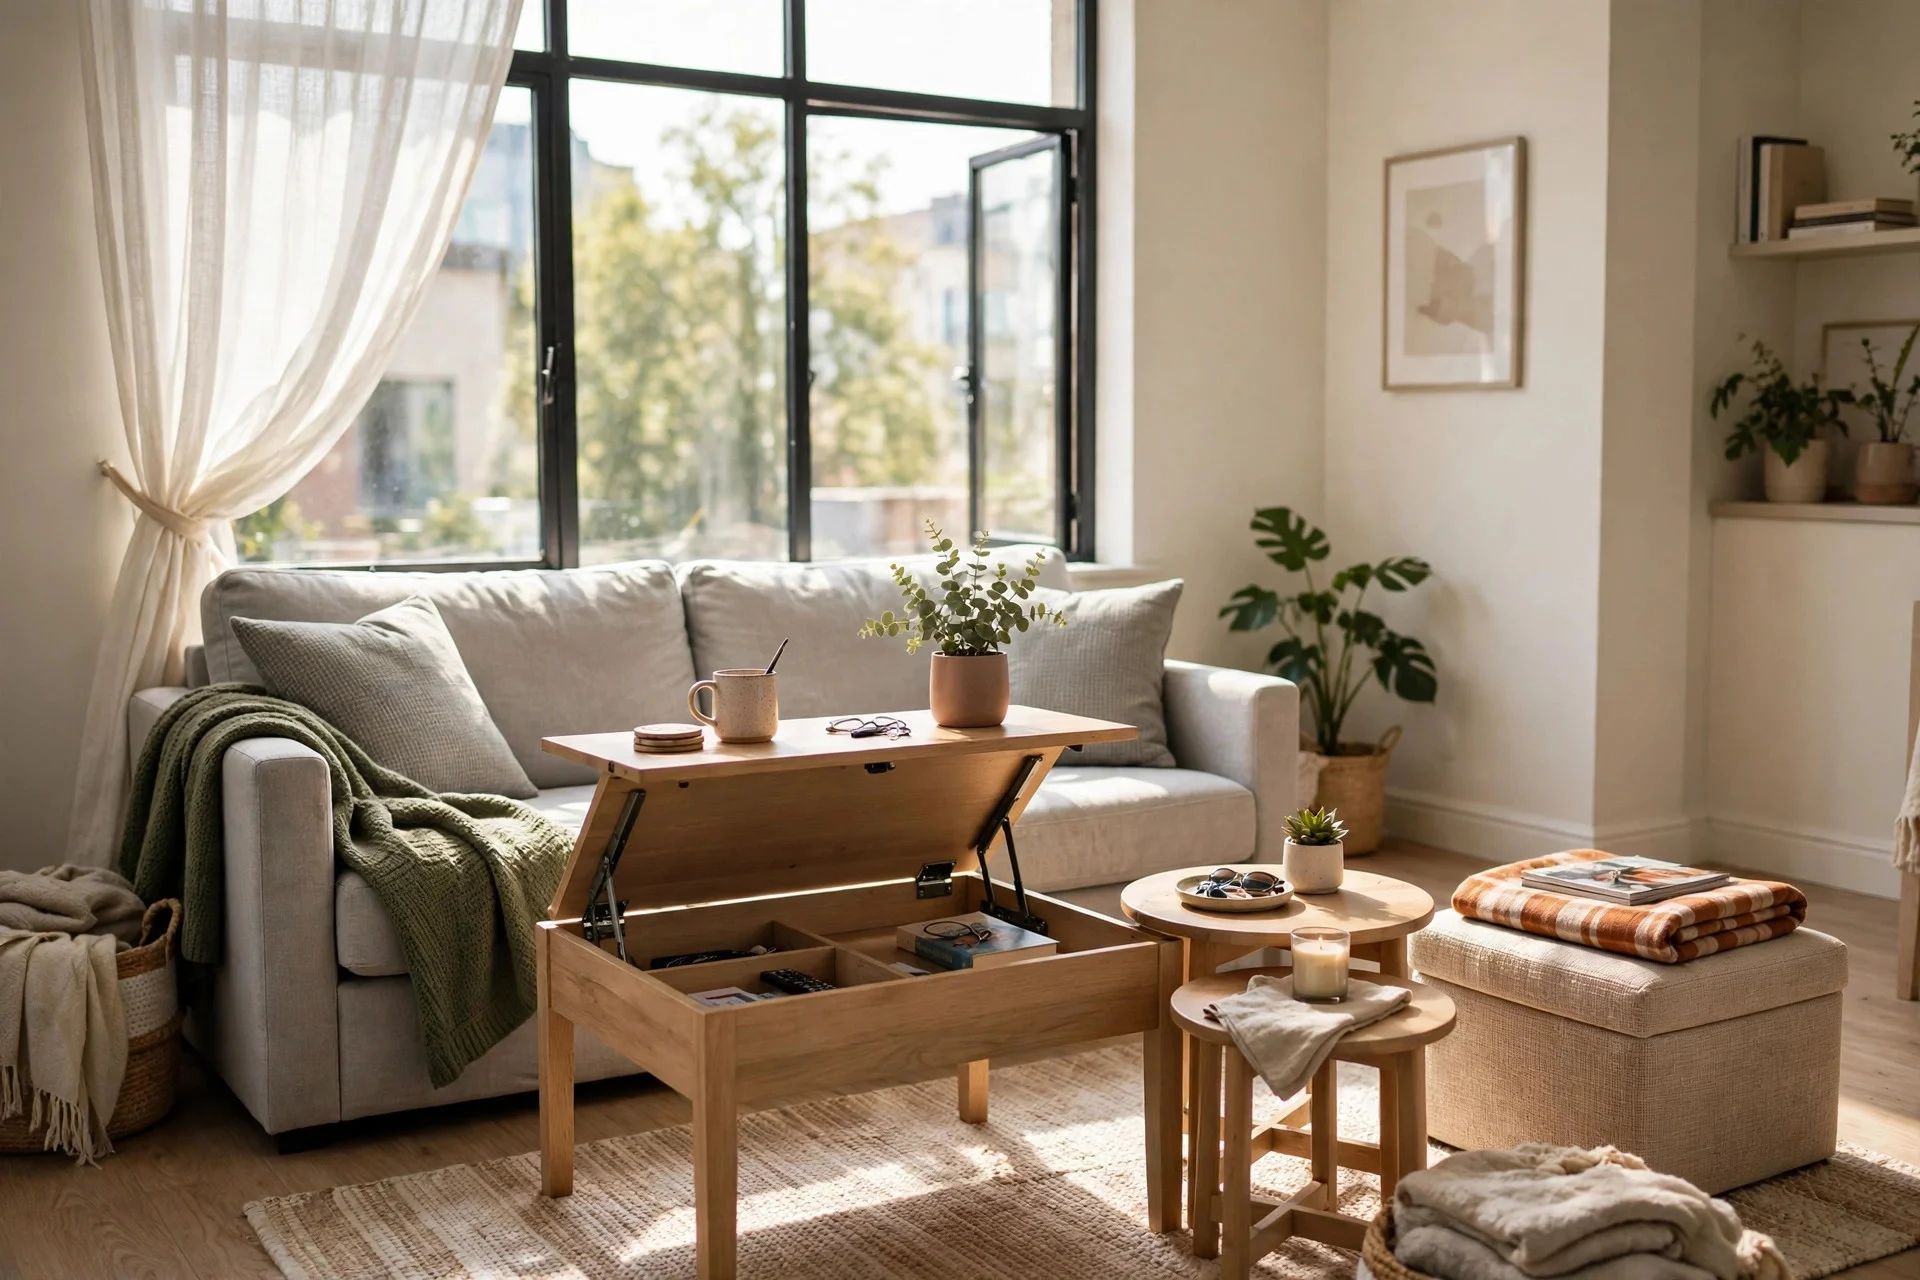
Skip wall-mounted shelves and built-in units. A tall bookshelf, a rolling kitchen cart, a storage ottoman, and a wardrobe with doors can hold as much as fitted storage without a single screw in the wall. Anchor tall bookcases only if your lease or safety rules require it, using removable furniture straps.
Freestanding pieces move with you, so you buy them once and use them in the next apartment too, instead of leaving fitted shelving behind. Move the bookcase, and the whole layout changes without repair work.
Cost: $50 to $300 per piece, or $0 if you rearrange what you already own. Difficulty: Easy to moderate, depending on assembly.
Hands-on tip: Measure doorways and the lift before you order a tall unit. A bookcase that cannot get into the room is a return fee you did not need.
Watch out: Keep tall furniture away from radiators and check that drawers and doors can open fully in a tight room. A piece that blocks a door swing will annoy you daily.
Step 9: Refresh the Kitchen Without Touching the Cabinets
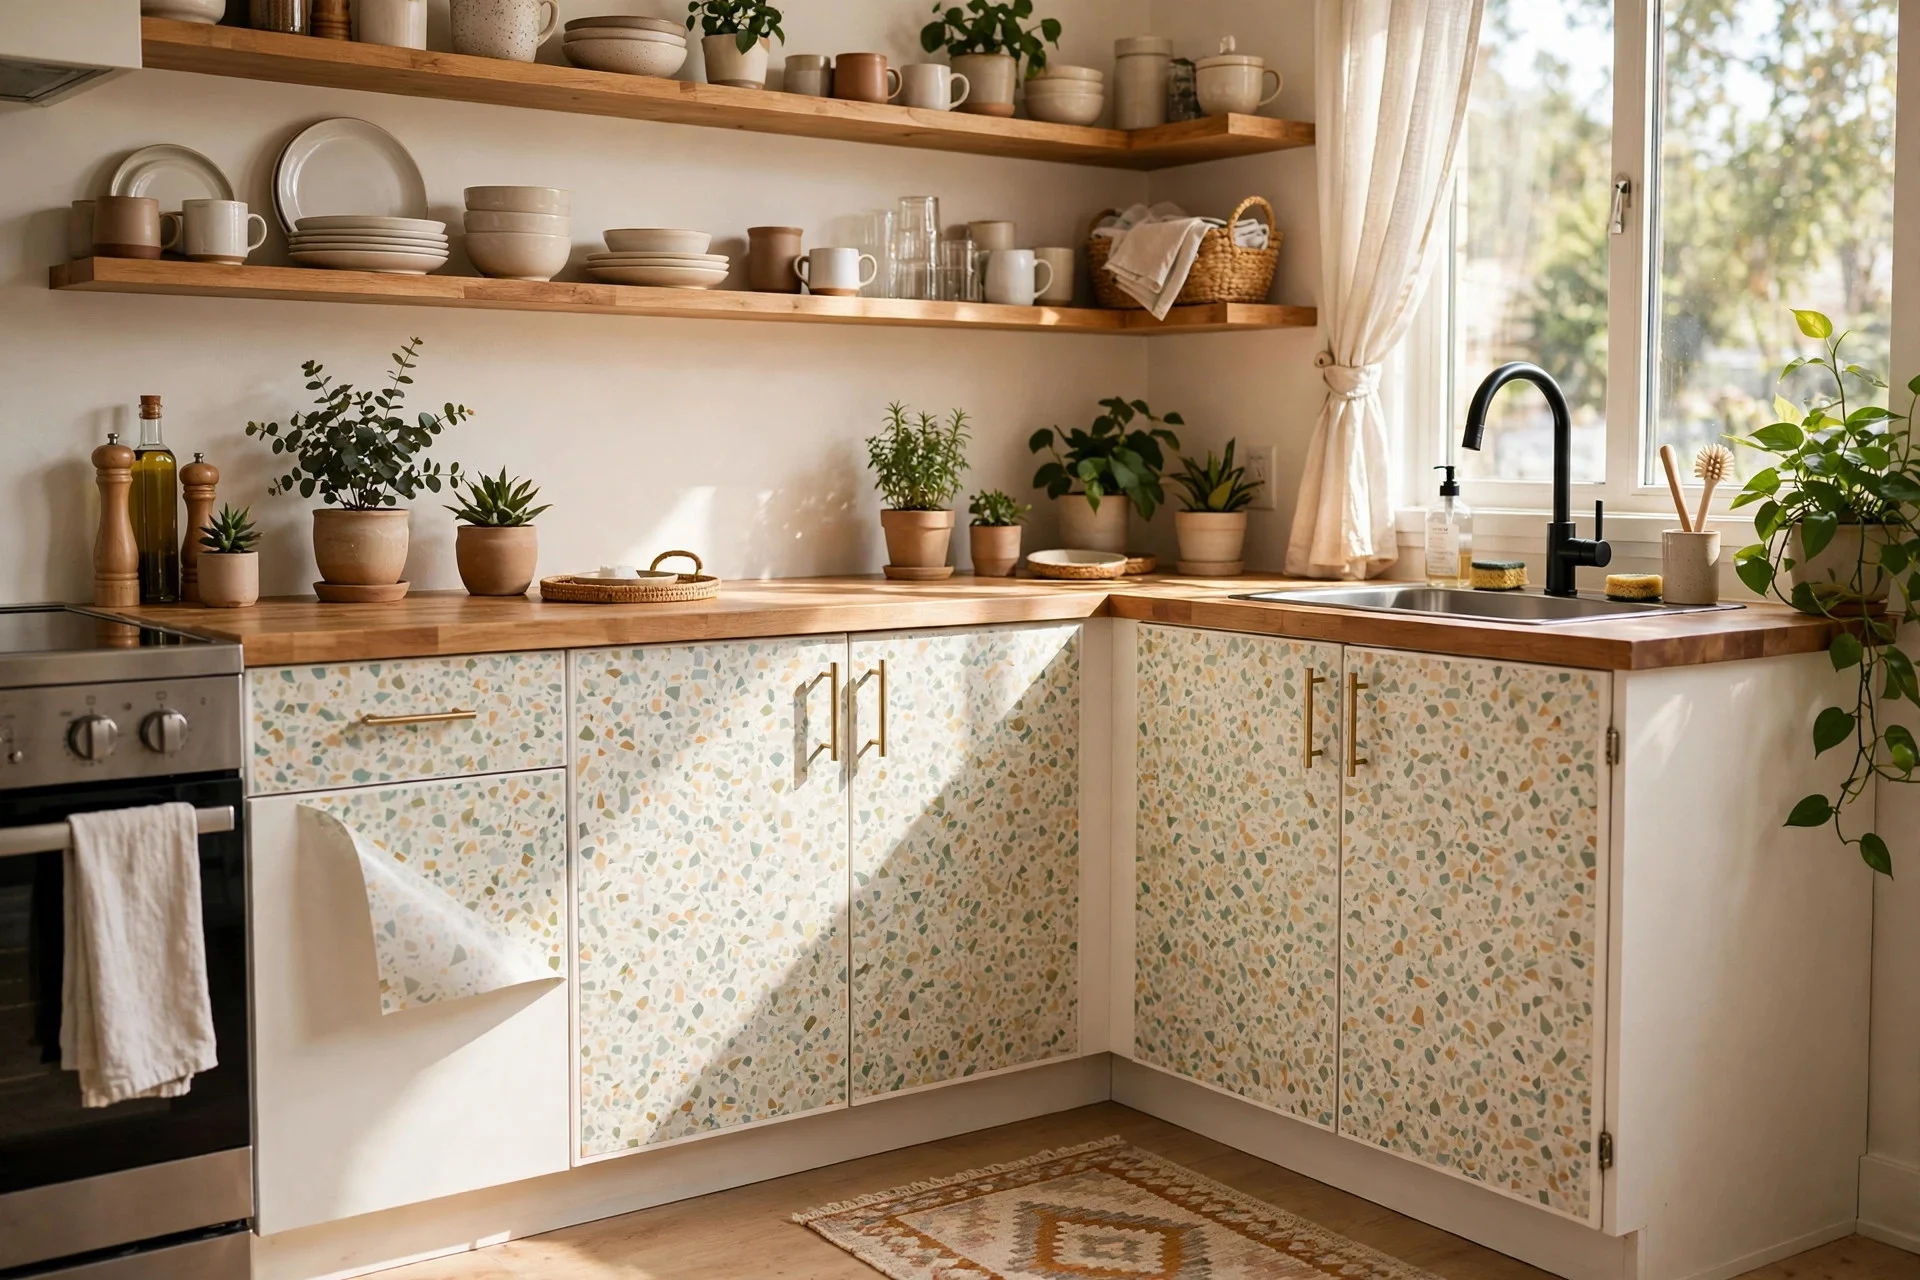
Cover dated cabinet fronts with removable contact paper, swap the hardware for handles you like, and store every original knob and screw in a labelled bag. Add a freestanding shelf for dishes and a rug runner by the sink. If your landlord agrees in writing, you can also change a tap aerator, but keep the original.
Every change here is reversible: contact paper peels off, hardware swaps back in minutes, and nothing is sanded or painted.
Cost: $30 to $120 for contact paper, hardware, and a runner. Difficulty: Moderate, about 2 to 4 hours.
Hands-on tip: Photograph each cabinet door before you remove its handle, so you know exactly which screw goes where when you put the originals back.
Watch out: Cheap contact paper can leave residue on warm surfaces near the oven. Test a small piece first, and keep it off the oven surround entirely.
Step 10: Give the Bathroom a No-Drill Makeover
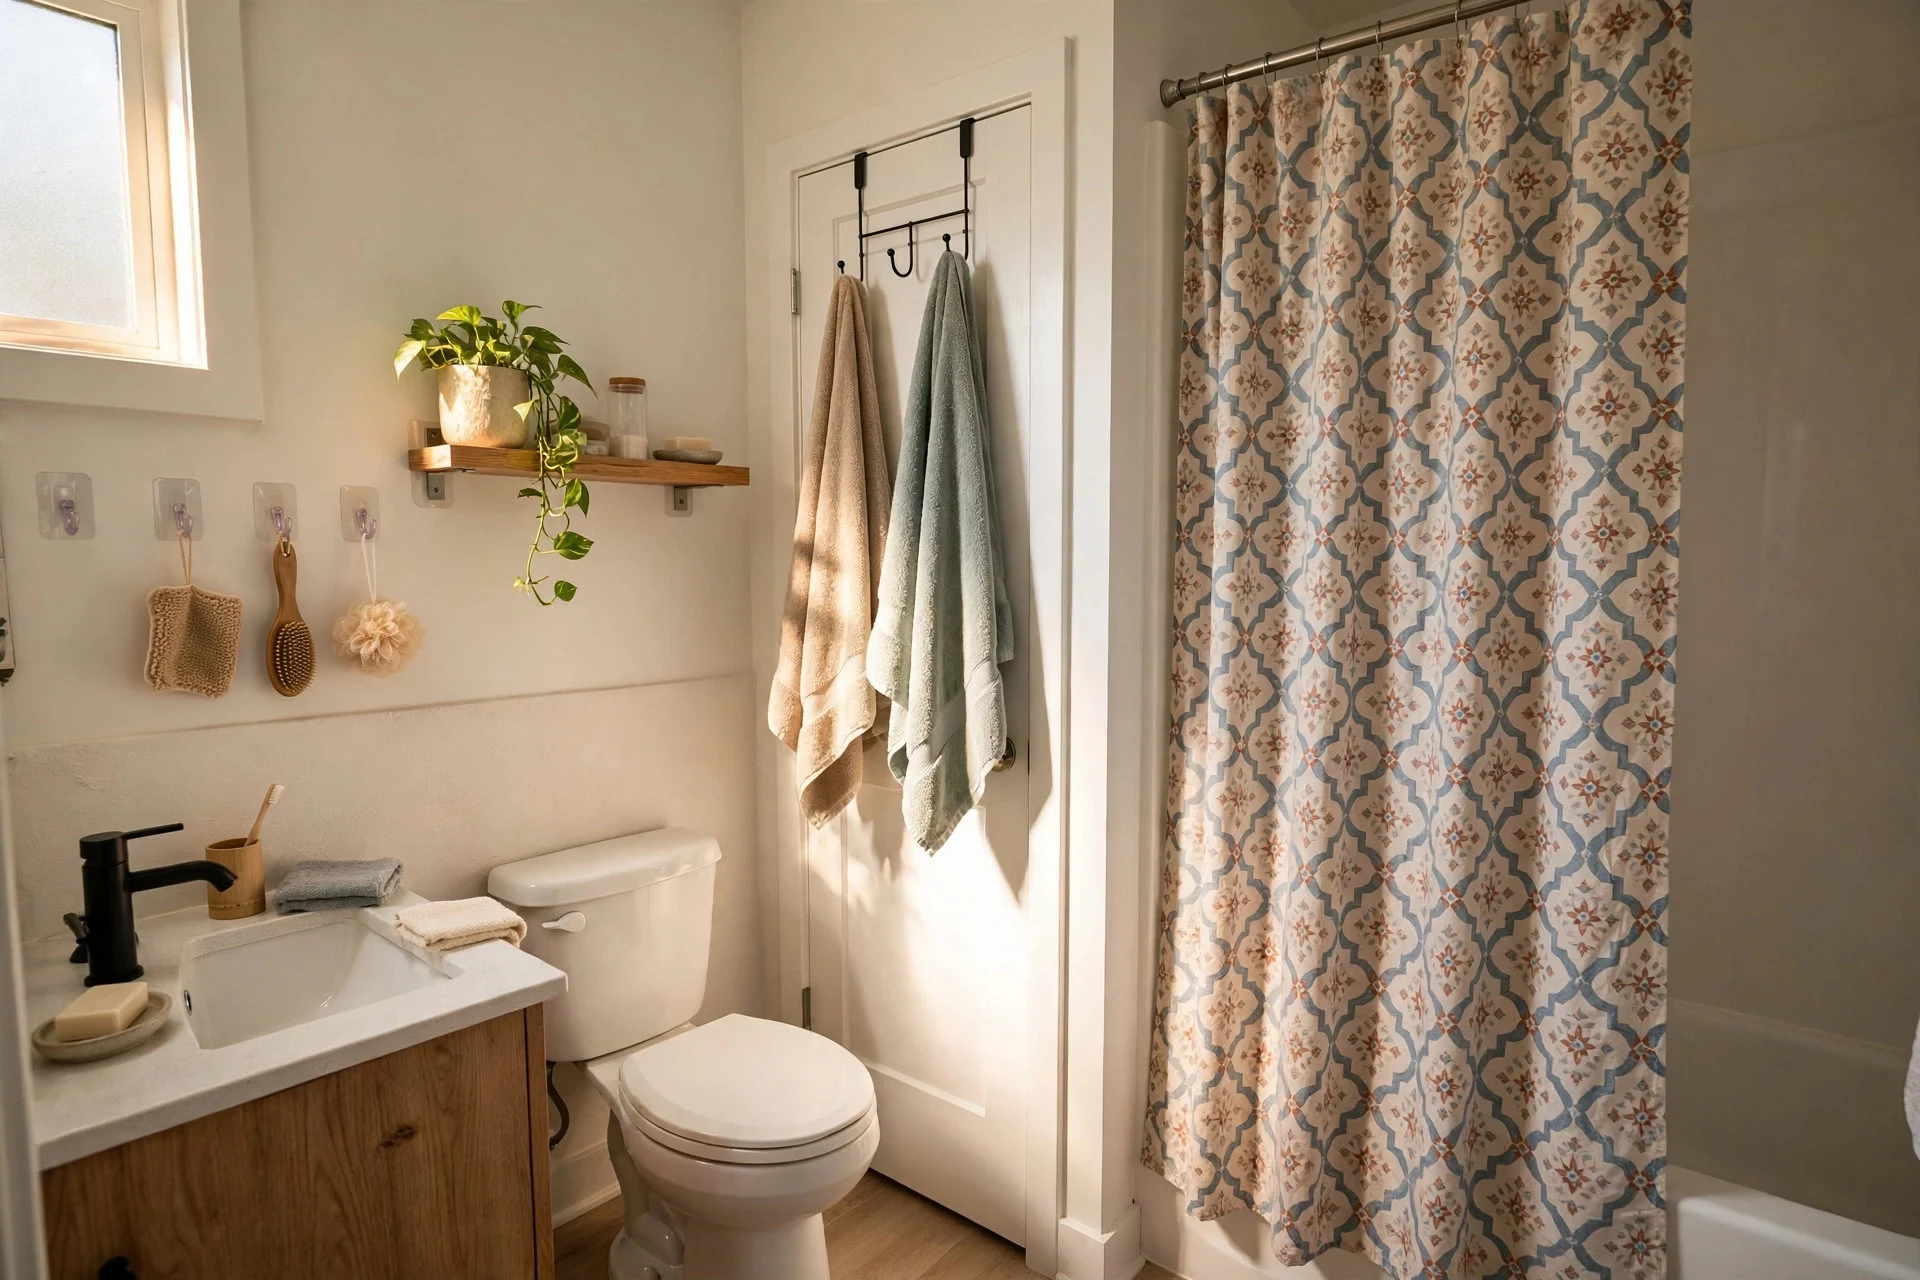
A new shower curtain, a matching bath mat, and over-door hooks can change a bathroom in one trip to the shops. Add adhesive hooks inside a cabinet door, a freestanding shelf over the toilet for towels, and a suction-cup shelf in the shower for shampoo.
Bathrooms cause many deposit deductions because tiles crack and grout stains. Avoiding drills protects the tiles, and a good shower curtain keeps water off floors and walls. Swap the shower head only if your lease allows it, and keep the old one in its box.
Cost: $30 to $90. Difficulty: Easy, under an hour.
Hands-on tip: Hang the shower curtain liner inside the tub and the decorative curtain outside it. That one detail stops most floor puddles.
Watch out: Suction cups fail on textured tile and grout lines. Press them onto smooth tile only, and re-check them weekly so a falling shelf does not crack a tile.
Step 11: Open Up the Room With a Leaning Mirror and Plants
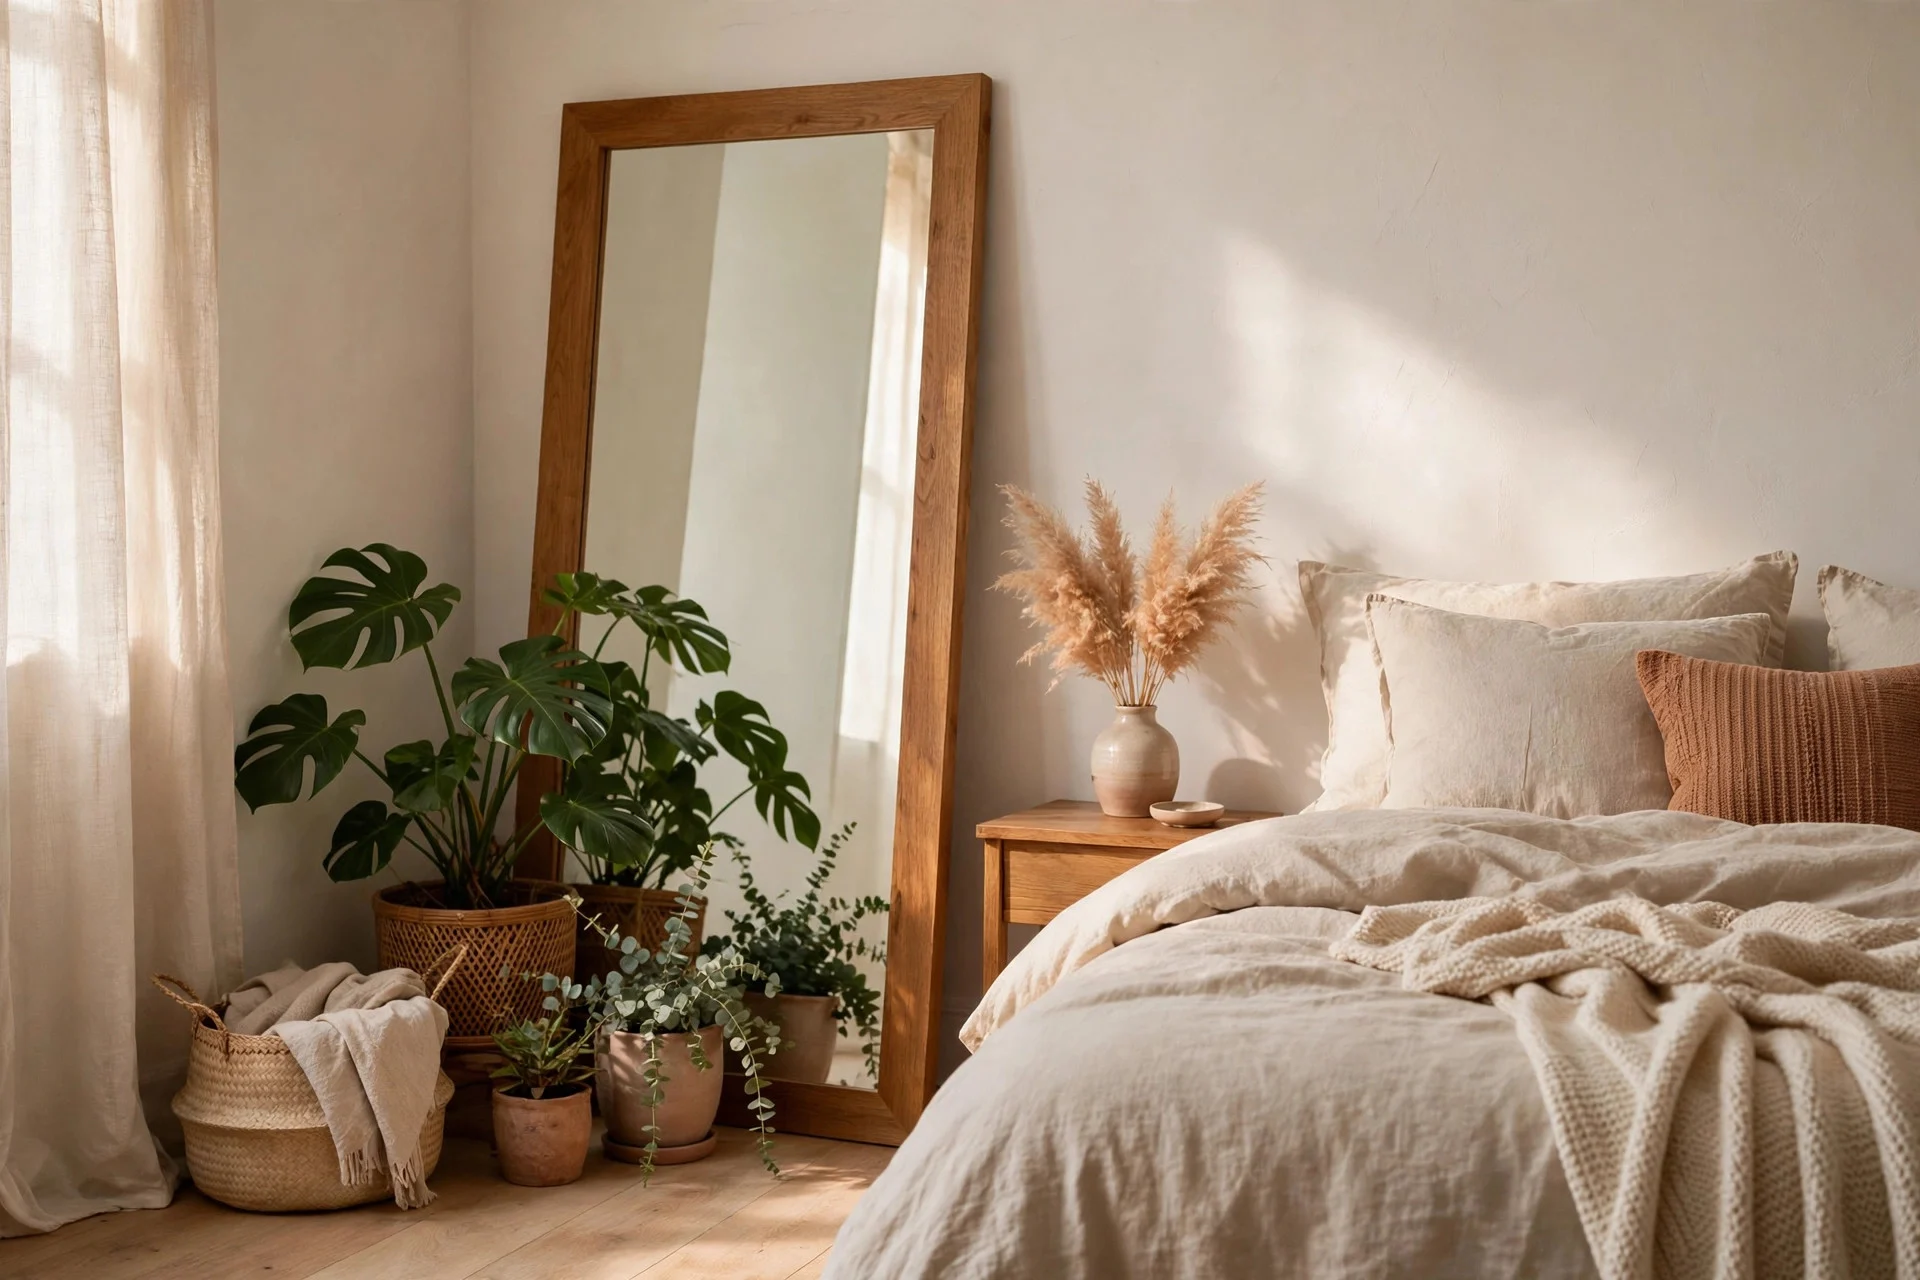
Lean a large mirror against a wall opposite a window, and the room gains light and depth without a hanging bracket. Add plants at different heights: a tall floor plant, a trailing plant on a shelf, and a small pot on a side table. If you have no headboard, see these bedroom ideas with no headboard for more ways to finish that wall without drilling.
A leaning mirror never touches the wall with a fixing, and plants add colour, cost little, and move with you. Choose plants that suit your light, not just the ones that look good in the shop.
Cost: $40 to $150 for a leaning mirror, $20 to $60 for three plants and pots. Difficulty: Easy, about 30 minutes.
Hands-on tip: Secure a leaning mirror at the top with a small adhesive furniture pad if you have pets or small children, and keep it out of direct sun, which can focus light and damage floors.
Watch out: Never lean a mirror on a wall you have just papered with peel-and-stick wallpaper. The weight can pull the paper away from the wall over time.
Step 12: Build Your Move-Out Reversal Kit From Day One
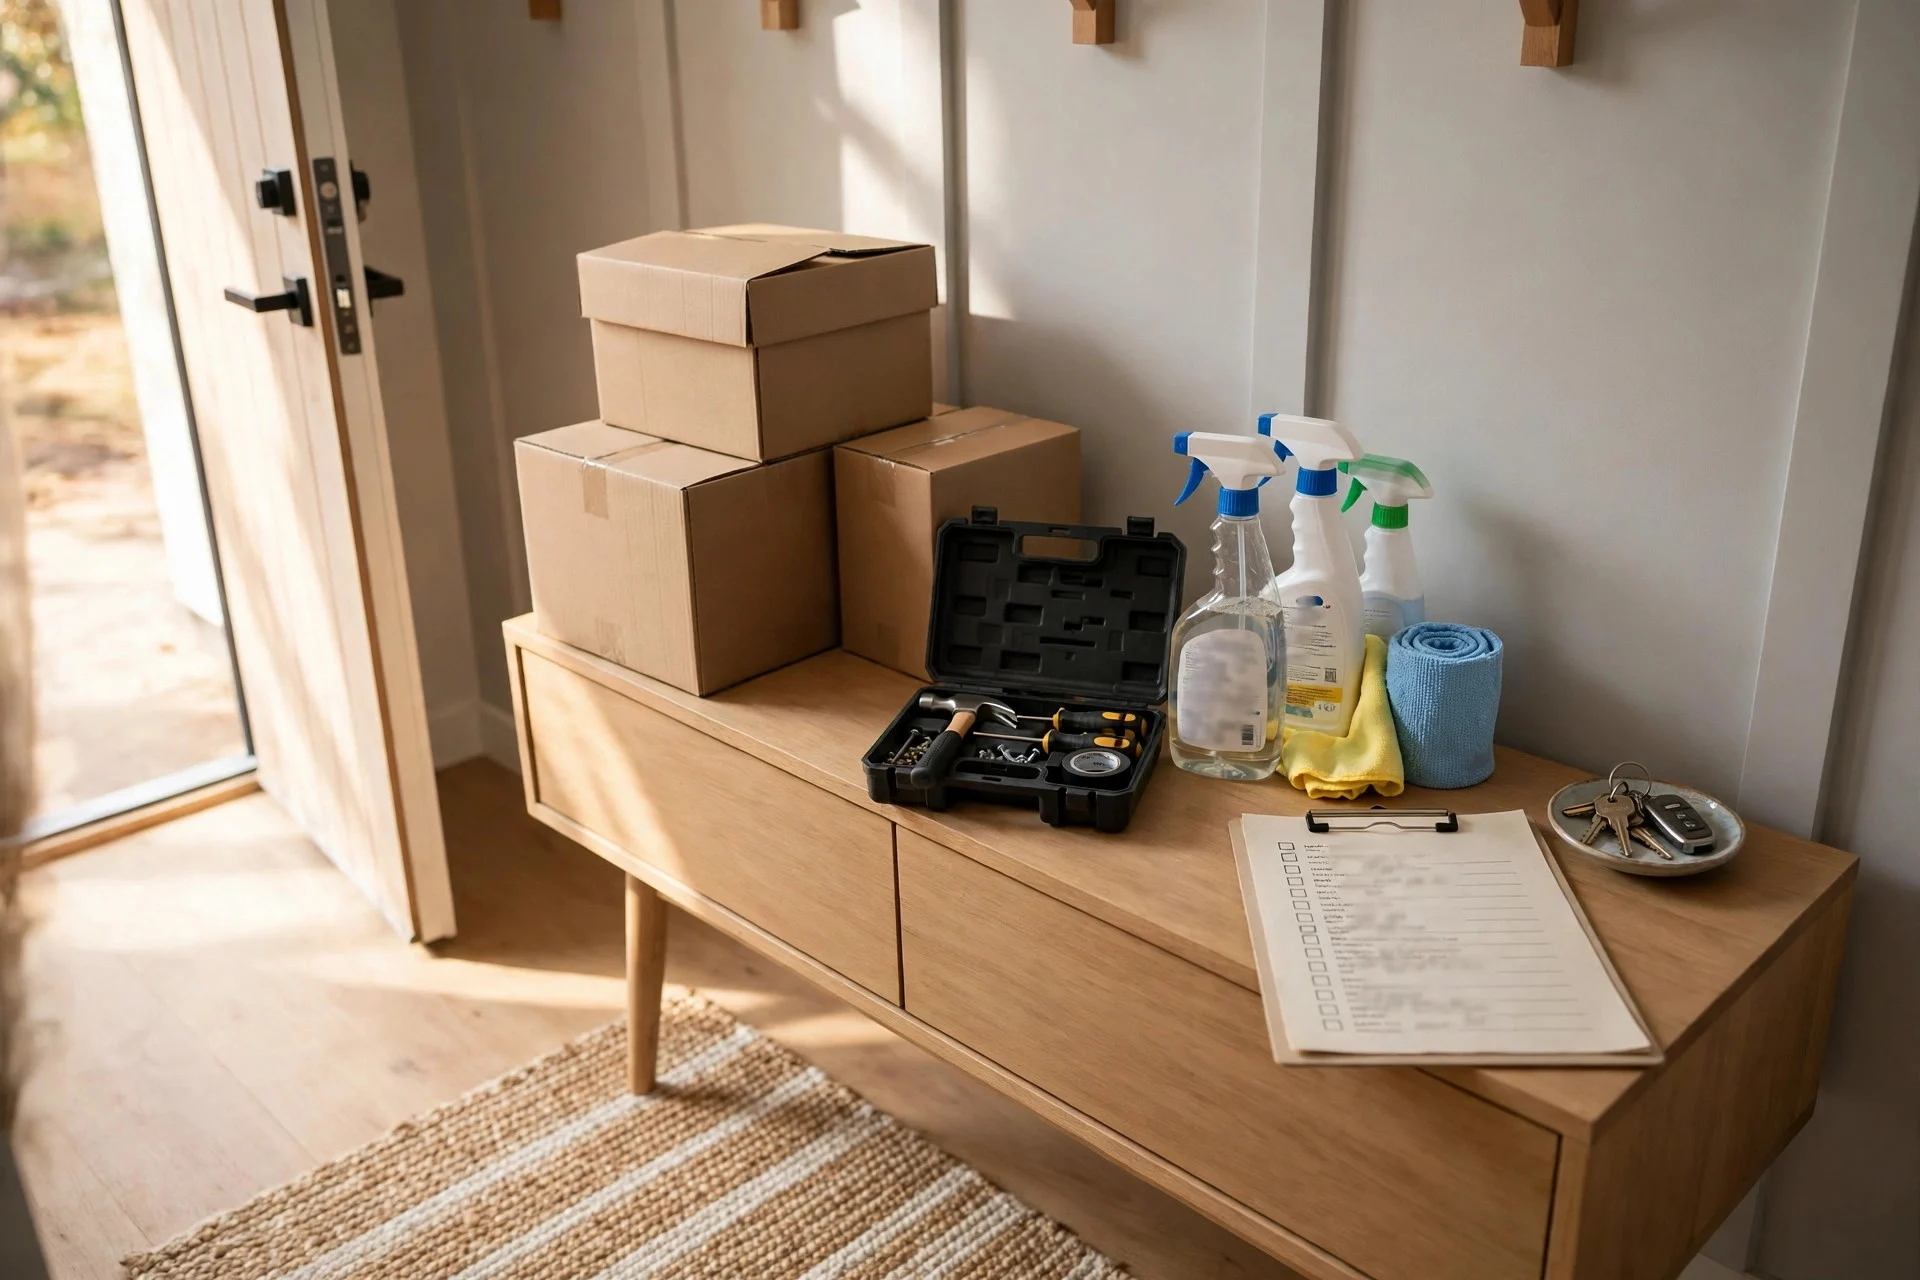
Keep one box for move-out: original cabinet hardware, spare adhesive strips, a small tube of filler, cleaning cloths, and your move-in photos. Each time you make a change, add its original parts to the box and note it on a simple list.
Most deposit disputes come from small, forgotten items: a missing light cover, a strip left on a wall, a curtain rod never removed. Work through your list room by room a few weeks before you leave, so you can fix each item properly instead of rushing on the last day.
Cost: $15 to $40 for filler, cloths, and a storage box. Difficulty: Easy, about 30 minutes to set up, then a few minutes each time you change something.
Hands-on tip: Photograph the apartment again on your last day, in the same order as your move-in photos. Send both sets to yourself so the before-and-after comparison is easy to find.
Watch out: Do not fill nail holes with toothpaste or soap. Those shortcuts show up under paint and can cost more than proper filler would have.
Frequently Asked Questions
Can I hang anything on the walls in a rental?
Yes, in most rentals, if you use removable methods and check your lease first. Adhesive strips suit light frames, leaning art suits large pieces, and freestanding shelves suit heavier items. Get written permission before you drill anything.
Does peel-and-stick wallpaper damage walls?
It should not, if the wall is smooth, clean, and painted with standard paint. Test a small piece for a week and peel slowly at a low angle. Fresh paint, textured walls, and damaged plaster are the risky surfaces.
What is the cheapest way to make a rental look better?
Start with light, textiles, and a rug. Swap bright white bulbs for warm ones, add curtains, and put a large rug under your seating. Those three changes cost under $150 in many rooms.
Should I tell my landlord about small changes?
Tell them about anything that touches walls, fixtures, or plumbing, even if it seems minor. A short email gives you written cover. For freestanding changes, like a rug or a lamp, no permission is needed.
How do I get my full deposit back?
Return the apartment in the condition you found it, minus normal wear. Remove every strip and tension rod, refit the original hardware, clean thoroughly, and photograph the empty rooms.
Your Deposit-Safe Checklist
Work through this list before you call the job done. Photograph the move-in condition, get permission in writing, and keep every original fixture in a labelled box. Use removable wallpaper, adhesive strips, tension rods, and plug-in lighting. Cover floors with rugs, choose freestanding storage, and refresh the kitchen and bathroom without drilling.
That is the whole method: change what you can reverse, keep proof of what you found, and leave the apartment ready for the next person.