How to Zone a One-Room Apartment Into Four Living Areas
One-room apartment layout zoning sounds fancy, but it really means one simple thing: giving every part of your room a clear job. When bed, sofa, desk, and dining table share one open space, the room can feel messy even when it is clean. The fix is not a bigger apartment — it is clear boundaries that show where sleeping ends and living begins.
You do not need to build walls or hire anyone. Most ideas below use furniture you already own, plus one cheap addition like a rug or a curtain. Work through the four zones in order — sleep, lounge, work, eat and cook — and the room will start to feel like a small home instead of a storage unit with a bed in it.
Zone 1 — Sleep: Start here, because the bed is usually the biggest thing in the room. If you get the sleep zone right, everything else falls into place around it.
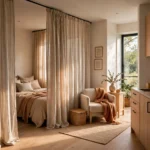
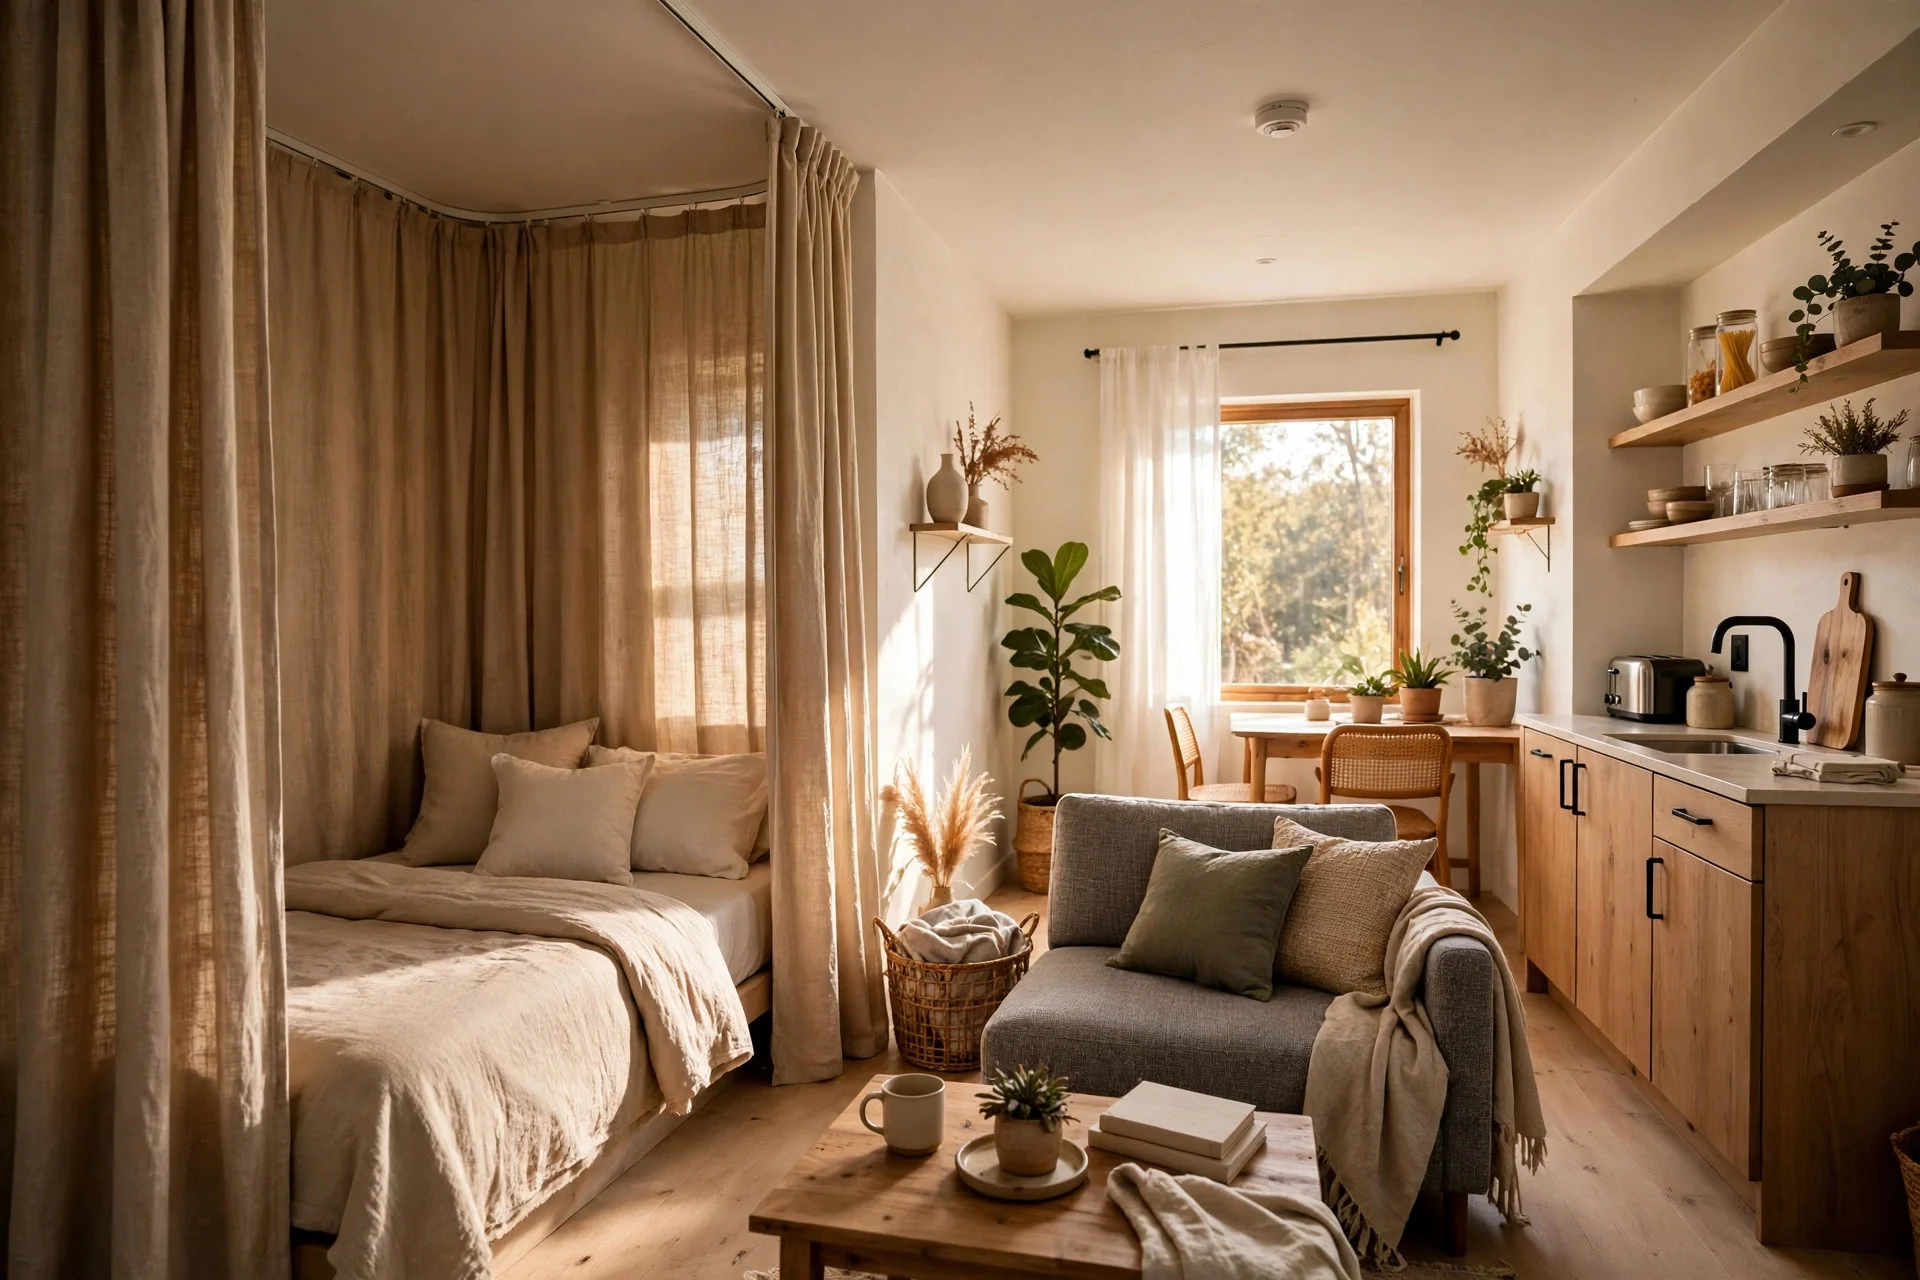
1. Hang a Curtain Around the Bed Nook
A ceiling-mounted curtain track turns a corner of the room into a private sleep nook for very little money. You mount one straight or L-shaped track to the ceiling, hang floor-length curtains, and suddenly the bed has its own little room. Close them at night and the rest of the apartment disappears; open them in the morning and the space feels big again.
Why it works: your brain reads a closed curtain as a wall, so it is easier to switch off at night even when your desk is three steps away. Cost runs about $40–$120 for the track and curtains if you shop sales or use plain cotton panels. Difficulty is low — most people finish in an hour or two with a drill and a step ladder. Tip: pick solid curtains slightly darker than your walls so the nook feels calm. Watch out: leave a small gap at the floor or use lightweight fabric, or the nook can trap warm air in summer.
2. Raise the Bed Onto a Storage Platform
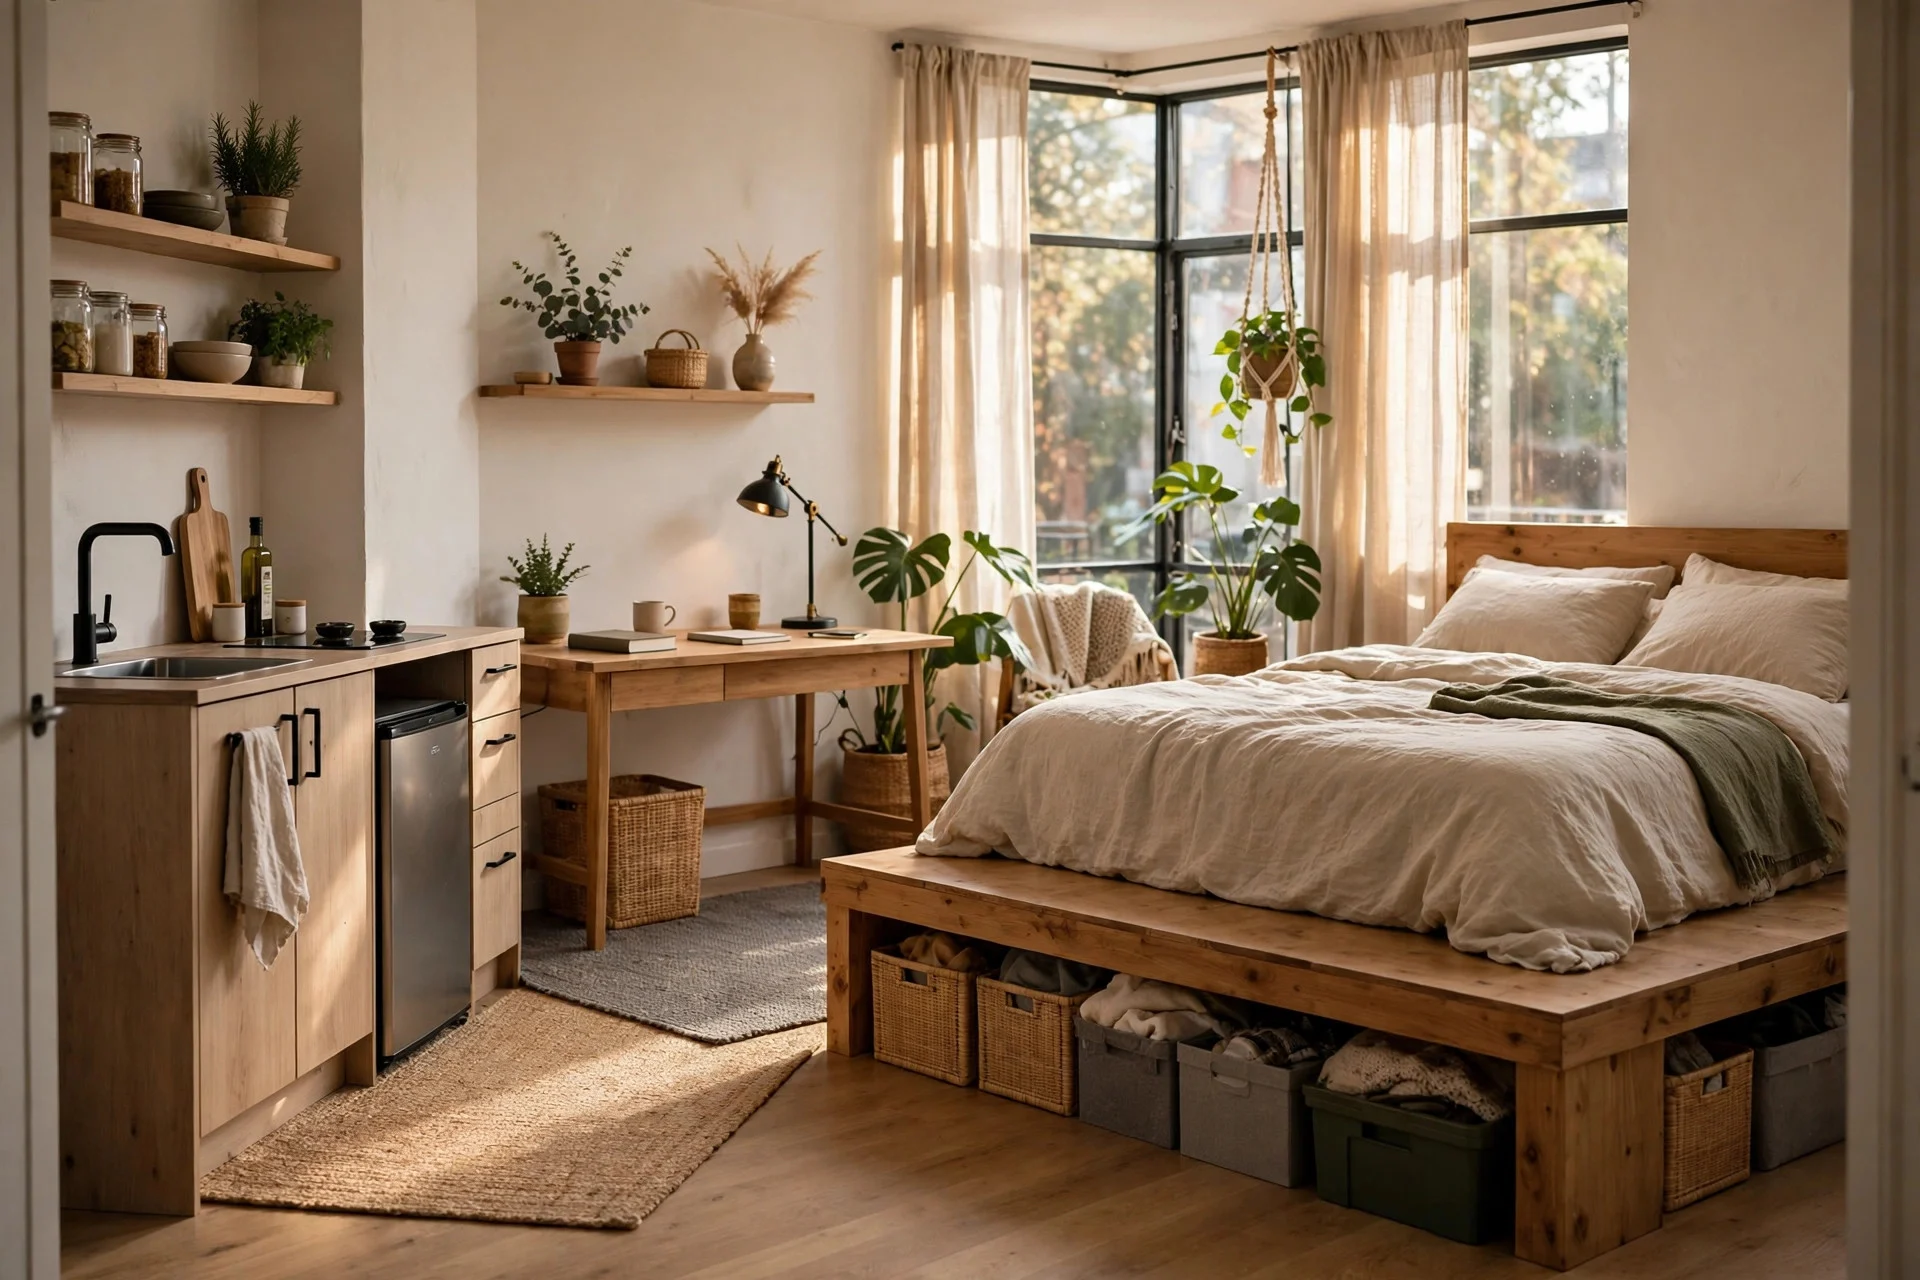
A low wooden platform under the mattress does two jobs at once. It marks the sleep zone with a clear edge you can see and feel underfoot, and it hides a surprising amount of storage underneath. Slide flat boxes, off-season clothes, or spare bedding into the space below, and you free up closet room for everything else.
Why it works: a raised edge makes the bed feel like its own area instead of furniture dumped in the middle of the room. A basic platform frame costs $150–$400 ready-made, or $80–$200 in lumber if you build a simple one yourself. Difficulty is moderate — plan half a day if you are building, under an hour if you are assembling a kit. Tip: keep a sturdy ottoman beside the platform as a step up. Watch out: measure your ceiling height first. You need enough room to sit up in bed without feeling cramped.
3. Use an Open Shelf as a Headboard Wall
Instead of pushing the bed flat against a wall, pull it out a few inches and place a low, open-backed bookshelf behind the headboard. The shelf acts as a see-through wall: it divides the sleep zone from the rest of the room without blocking light or air. Books and a lamp on the shelf make the bed side look finished.
Why it works: you get a boundary you can walk around and look through, so the room still feels open while the bed gains privacy. A sturdy cube shelf costs $60–$180. Difficulty is easy — it is mostly a matter of placing it straight and anchoring it to the wall so it cannot tip. Tip: keep the shelf lower than your shoulder when you are standing, so sightlines stay open across the room. Watch out: do not overload the top row with heavy books, and agree with flatmates on what goes on the shelf so it does not turn into a dumping ground. If your bed has no proper base yet, look at storage bed ideas for rooms with no linen closet for bases that add even more hidden space.
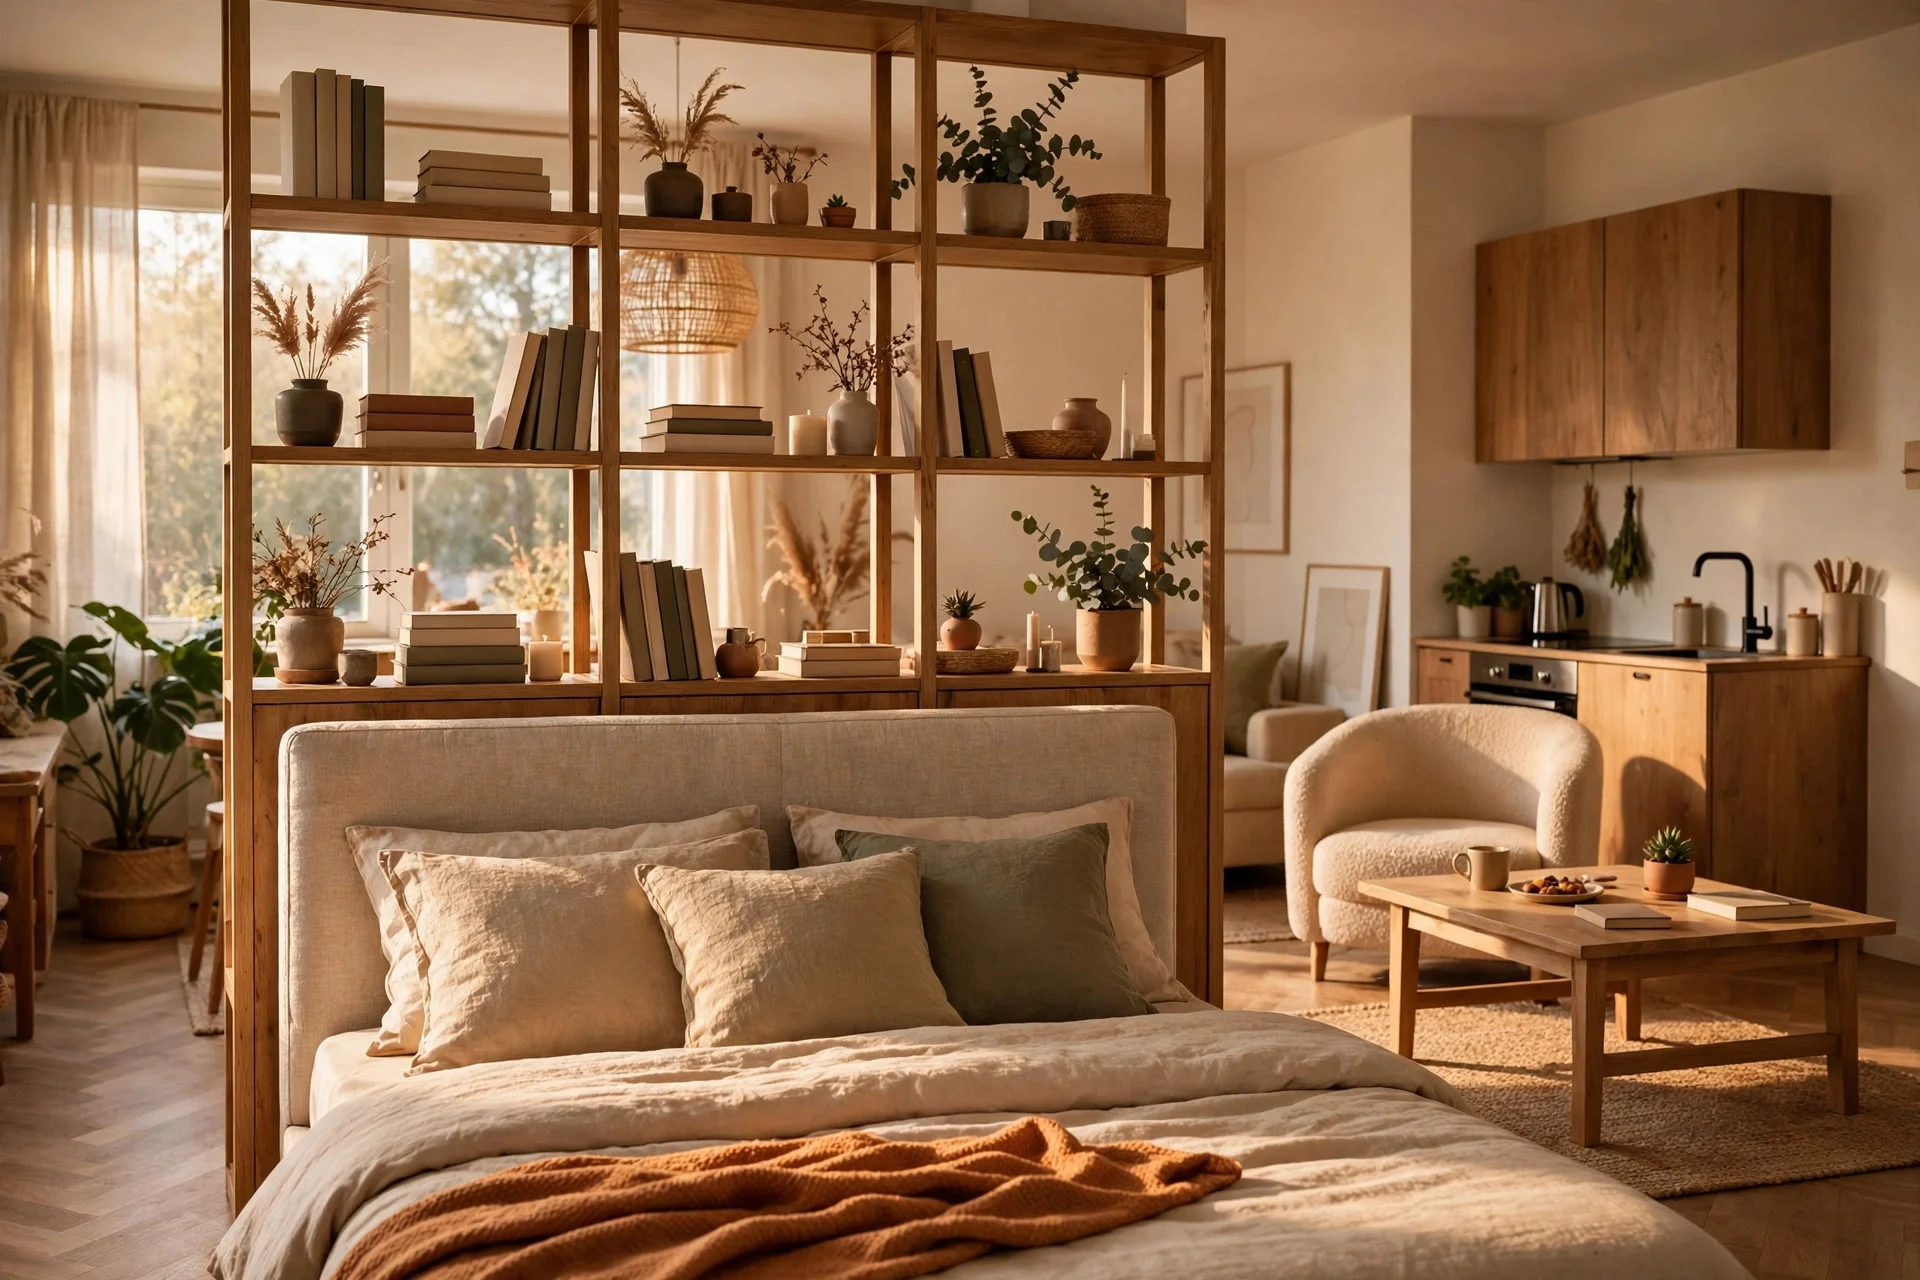
Zone 2 — Lounge: With the bed tucked into its own corner, you can now build a lounge area that feels like a real living room, not a waiting area next to a bed.
4. Anchor the Lounge With One Big Rug
A rug is the fastest way to say “this patch of floor is the living room.” Lay a rug large enough that the front legs of your sofa and chairs sit on it, and the lounge zone instantly reads as its own space. It also softens sound and adds warmth on hard floors.
Why it works: the eye follows the rug’s edge, so the lounge feels contained even though there is no wall around it. A good flatweave rug costs $80–$250. Difficulty is easy — unroll, centre it under the seating, done in ten minutes. Tip: go bigger than you think you need. A rug that is too small makes the seating look scattered, while one that is slightly large pulls the whole group together. Watch out: if the rug sits partly under the bed zone too, the boundary blurs, so keep a clear strip of bare floor between zones.
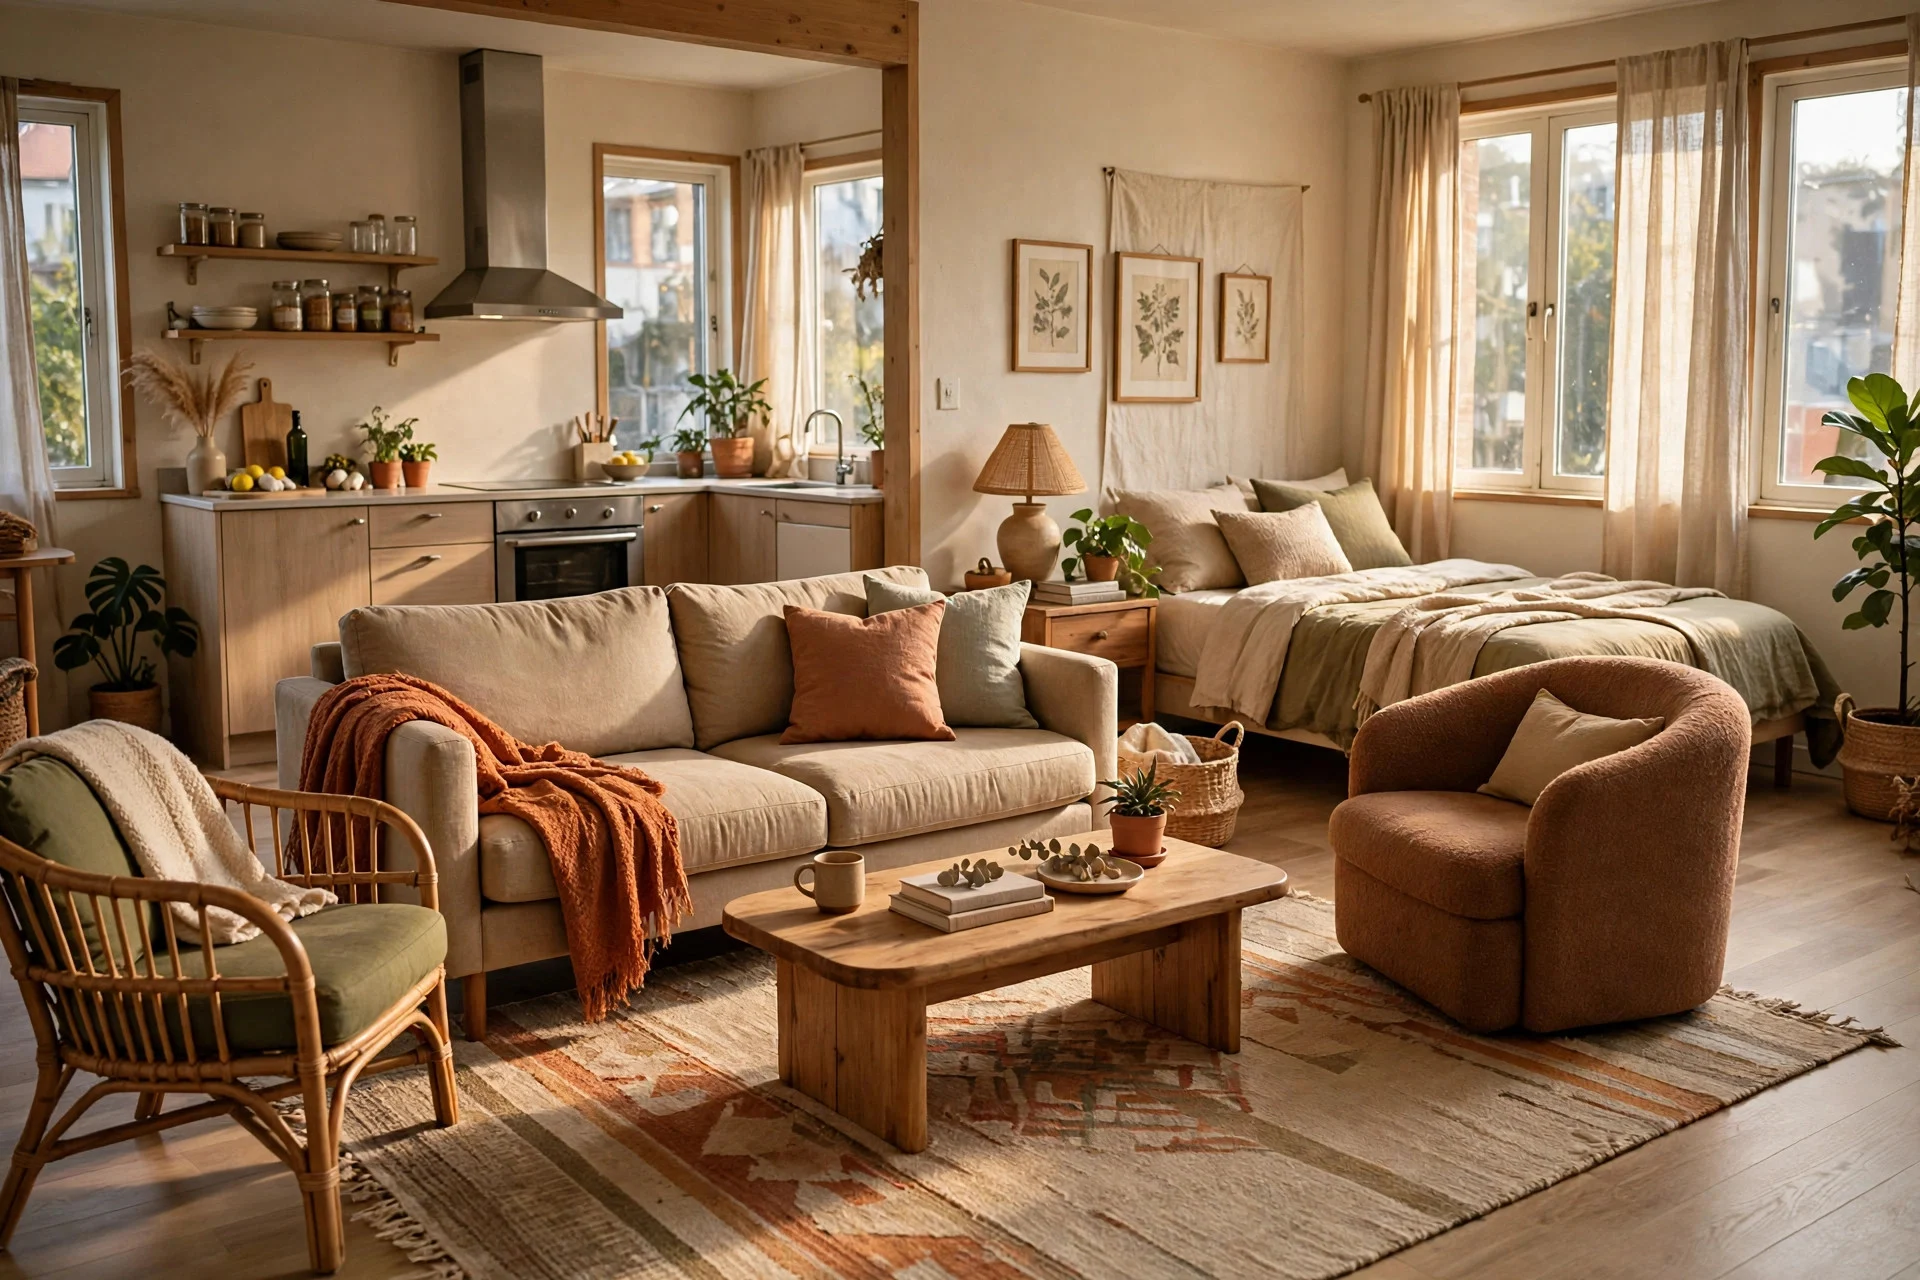
5. Turn the Sofa Back to the Bed
How you angle the sofa changes the whole room. Place a loveseat or small sofa with its back toward the sleep zone, and you have just built a wall out of furniture. From the lounge side you see a welcoming seat; from the bed side you see a neat back, not a jumble of cushions and TV glare.
Why it works: the sofa back blocks the direct view of the bed, so guests sit in a living room rather than staring at your pillows. A compact loveseat costs $300–$800, or $0 if you simply turn the sofa you already own. Difficulty is easy — it is a furniture shuffle, though you may need a second person to move heavier pieces. Tip: place a narrow console table behind the sofa so the back view looks intentional. Watch out: leave at least 24 inches of walkway behind the sofa so you can still reach the bed comfortably.
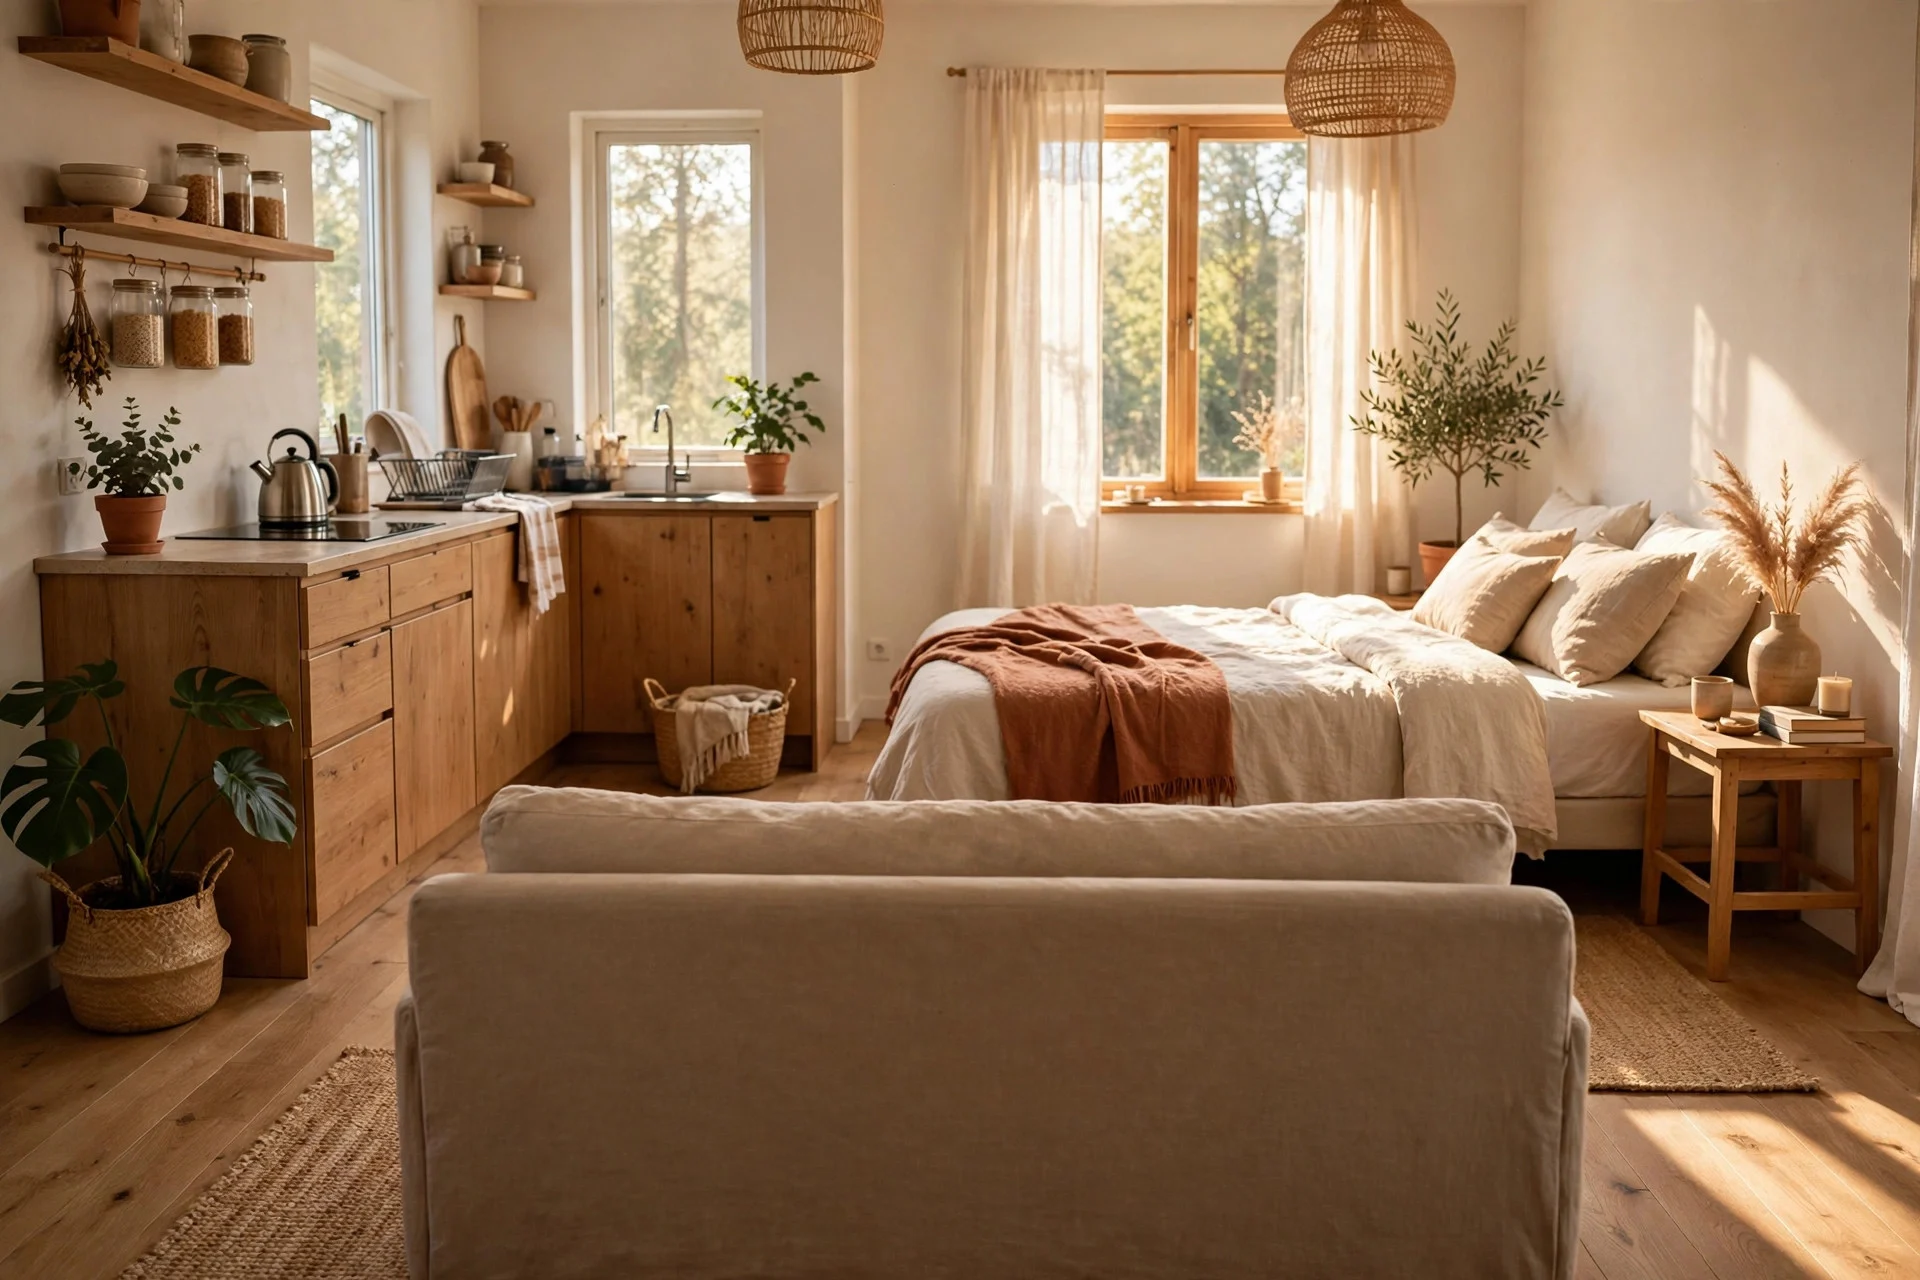
6. Mount the TV on the Wall, Not on a Stand
A bulky TV stand eats floor space and locks your lounge layout in place. Mounting the TV on the wall frees the floor, lets you place seating where it actually fits, and keeps the lounge zone feeling light. A slim shelf underneath holds the remote and streaming box.
Why it works: with nothing big sitting on the floor, the lounge zone looks larger and the eye travels straight to the screen, not to a heavy cabinet. A wall mount costs $25–$60, plus $50–$150 fitted. Difficulty is moderate if you drill into studs yourself — plan about an hour and check for wires first. Tip: sit in your usual seat and mark the height with tape before drilling; the centre of the screen should sit roughly at eye level. Watch out: if you rent, check your lease first, and use a no-drill mount or ask your landlord before making holes. For a seating piece that pulls double duty in a tight lounge, small living room ideas with a daybed instead of a sofa are worth a look.
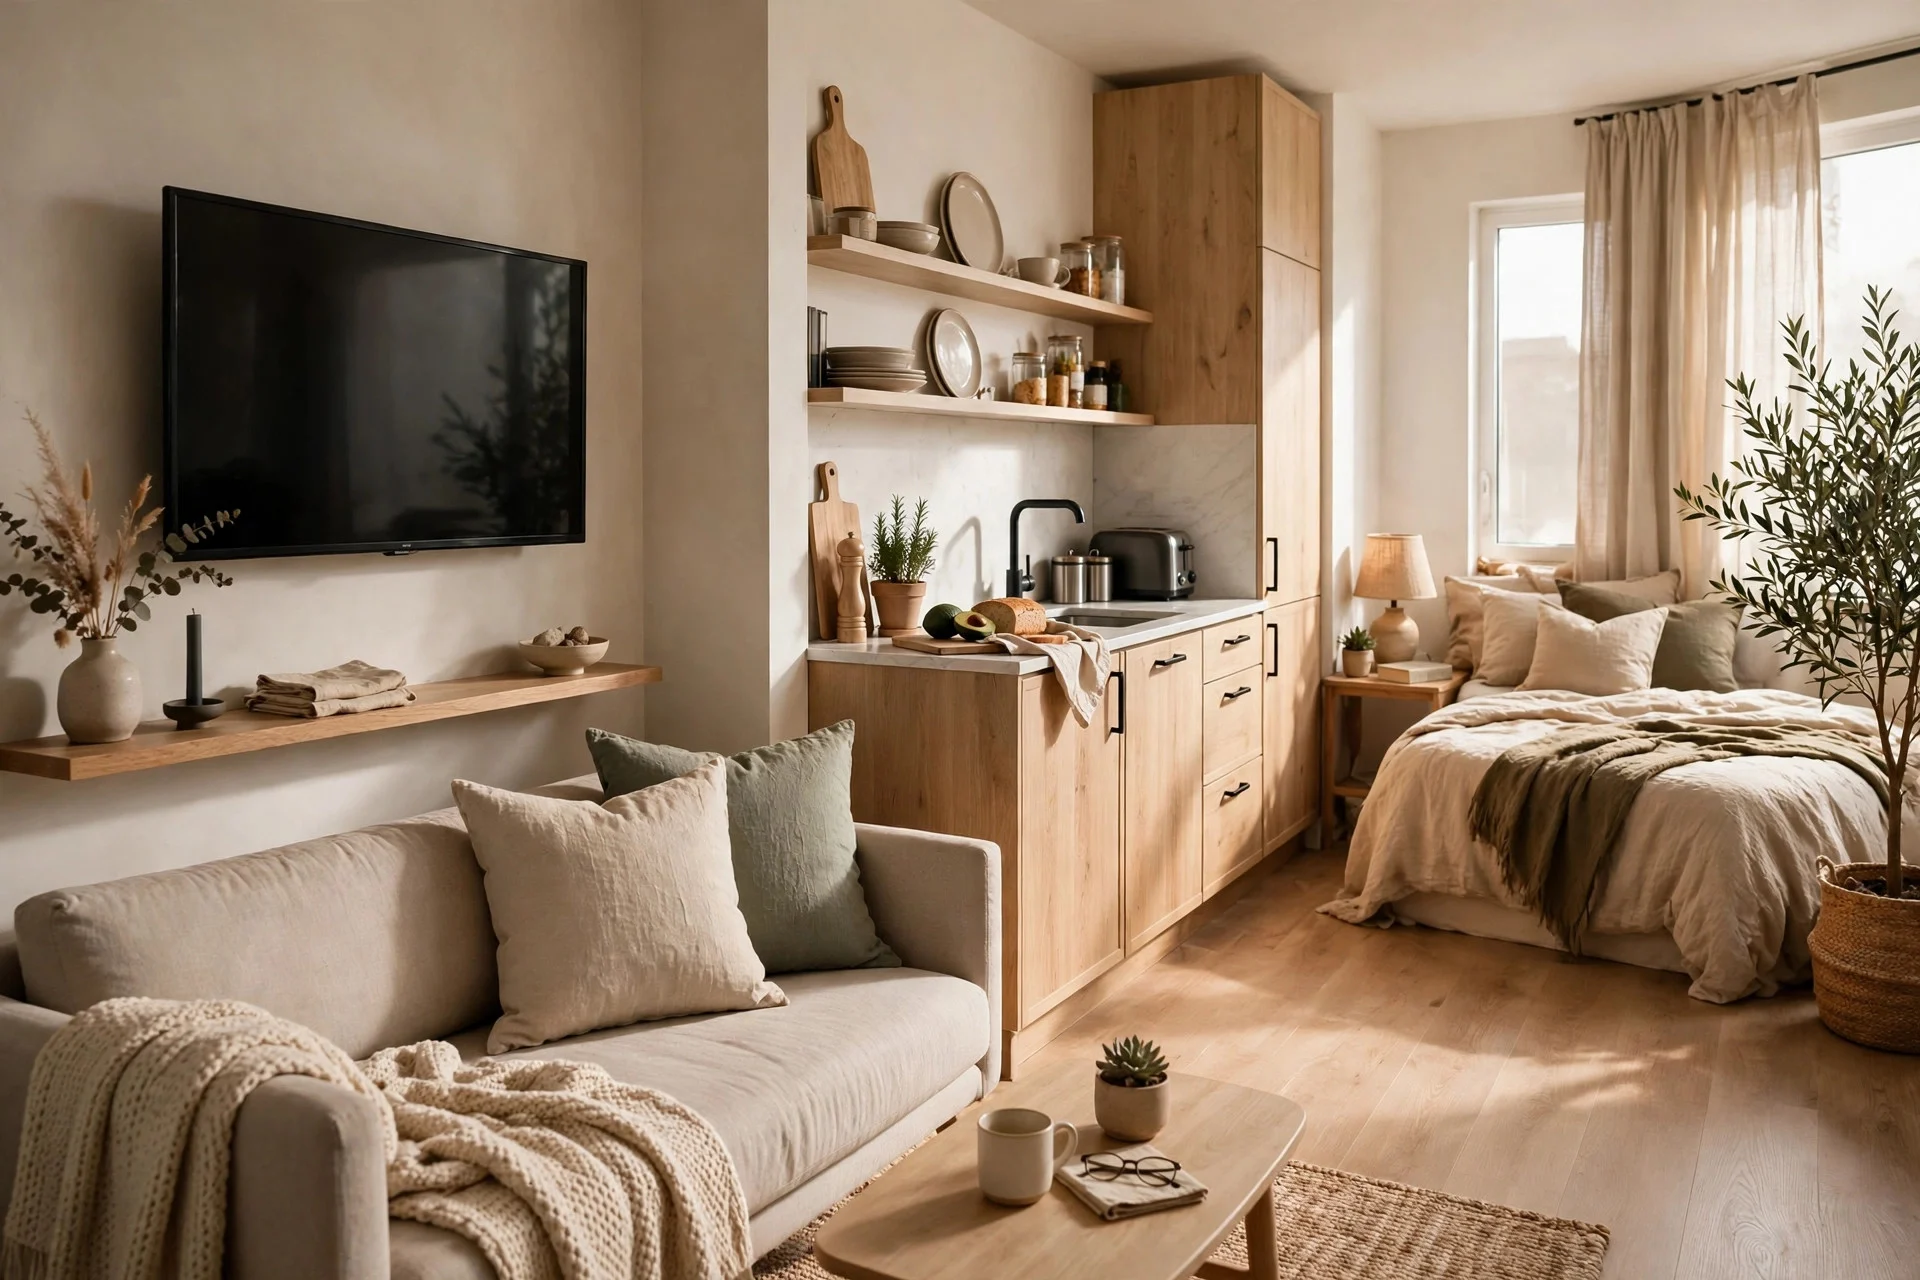
Zone 3 — Work: A work zone in a one-room flat needs to be usable all day and invisible at night, or work never really ends.
7. Fit a Fold-Down Wall Desk
A fold-down desk screws to the wall and folds flat when you are done, like an ironing board for your laptop. Open it for work, close it for dinner, and your office vanishes in five seconds.
Why it works: the work zone only exists while you use it, so the room never feels like an office after hours. A fold-down desk costs $70–$200 ready-made, or $40–$100 in materials for a simple DIY version. Difficulty is moderate — you need solid wall fixings and about an hour of careful measuring. Tip: mount a small shelf above the desk for a lamp and notebooks, so the closed desk still looks tidy. Watch out: check the weight rating before loading it with monitors, and keep the desk depth shallow (around 16–20 inches) so it does not block the walkway when open.
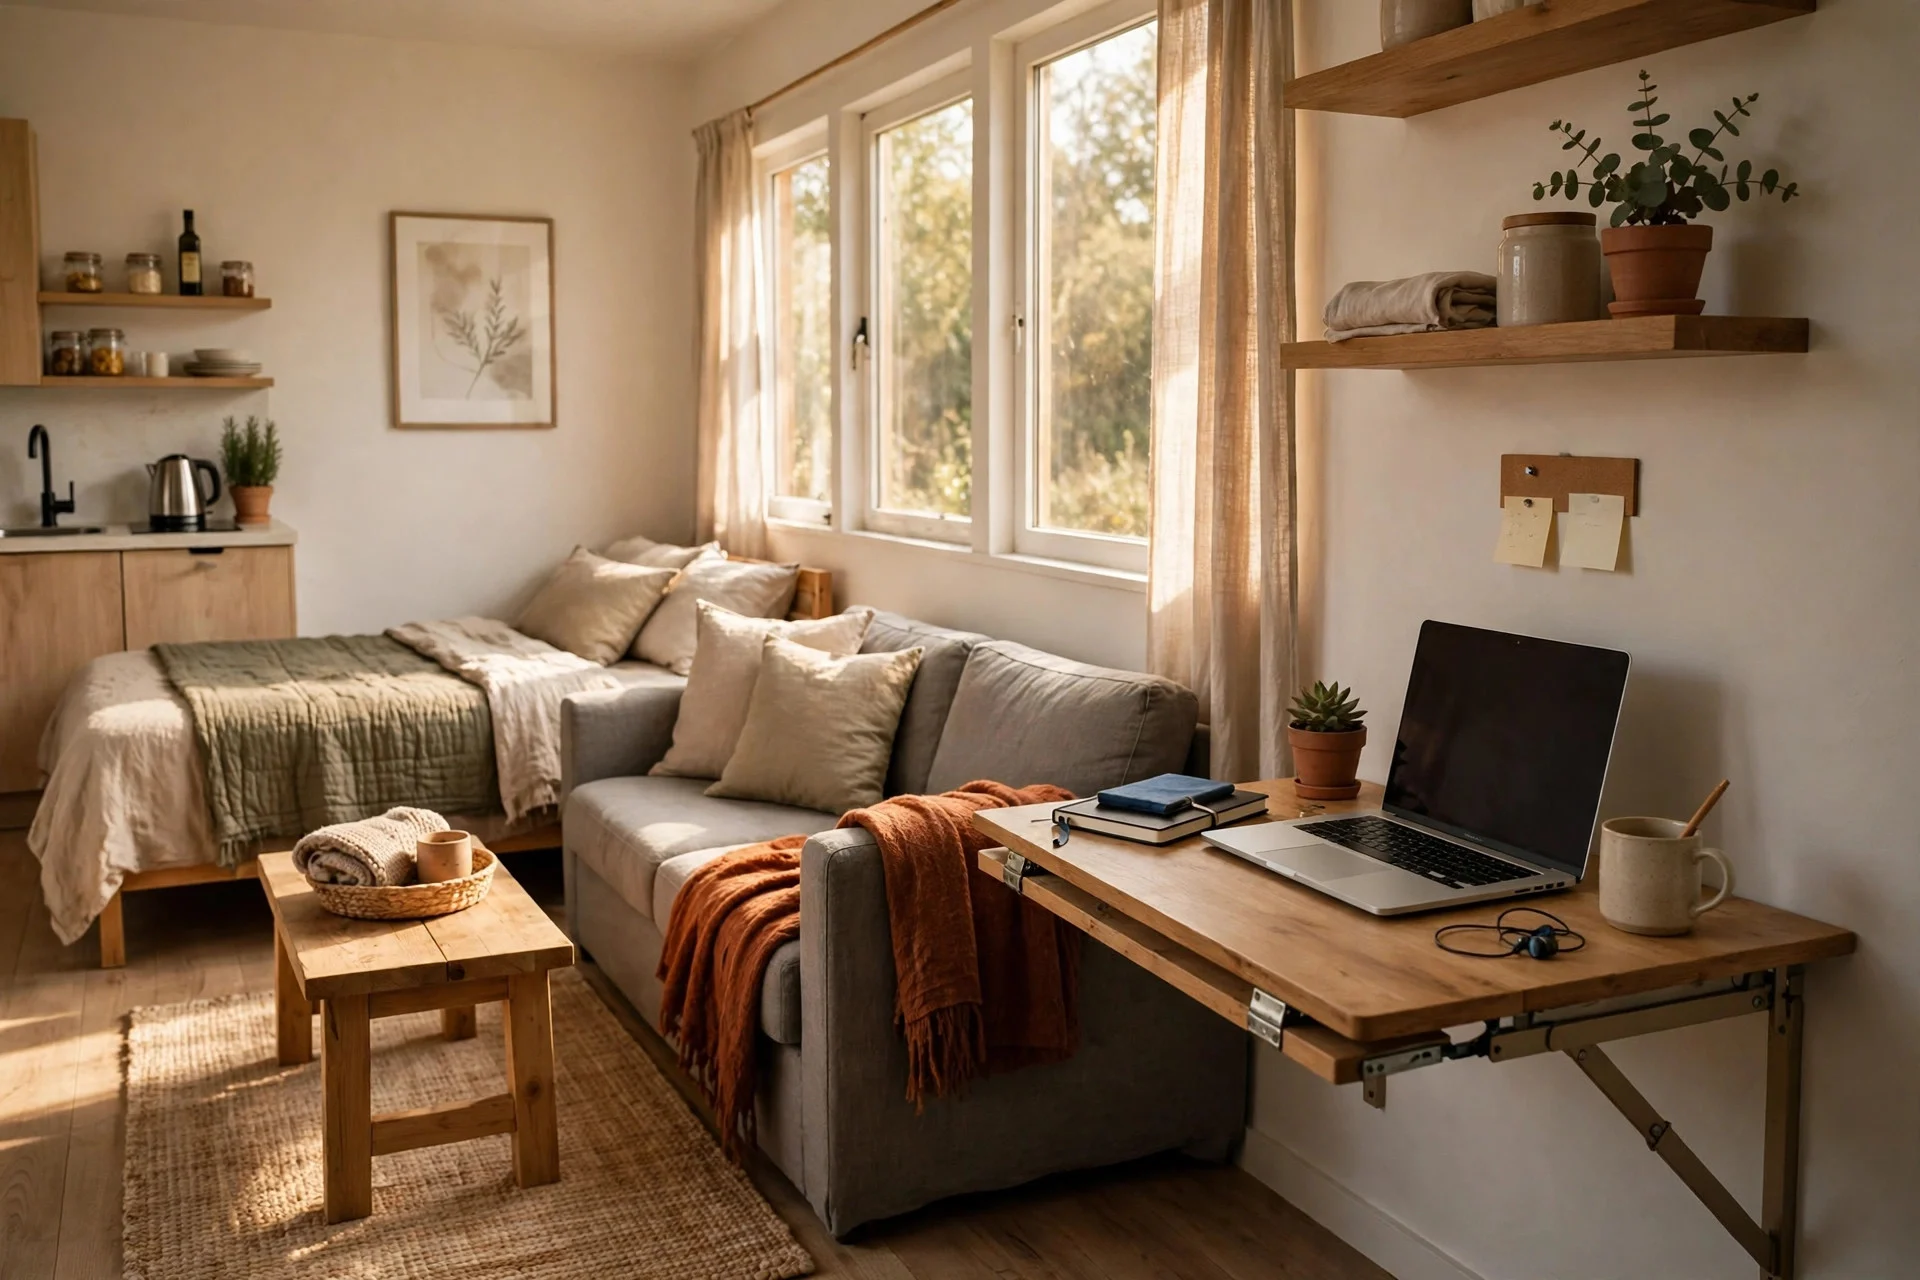
8. Claim the Window Corner for Daylight Work
If your room has one good window, that is where the desk belongs. Natural light keeps you alert, and facing the window gives your eyes somewhere to rest during long screen sessions. A small desk tucked into the window corner uses space often wasted on boxes.
Why it works: daylight does more for focus than any desk gadget, and the window corner is naturally separate from the bed and lounge areas. A compact desk costs $80–$250, plus $40–$120 for a comfortable chair. Difficulty is easy — it is mostly about clearing the corner and placing the desk at a right angle to the window to avoid screen glare. Tip: add a sheer curtain to soften harsh midday sun without losing the light. Watch out: avoid sitting with your back to the window if you take video calls, since the camera will only see a silhouette.
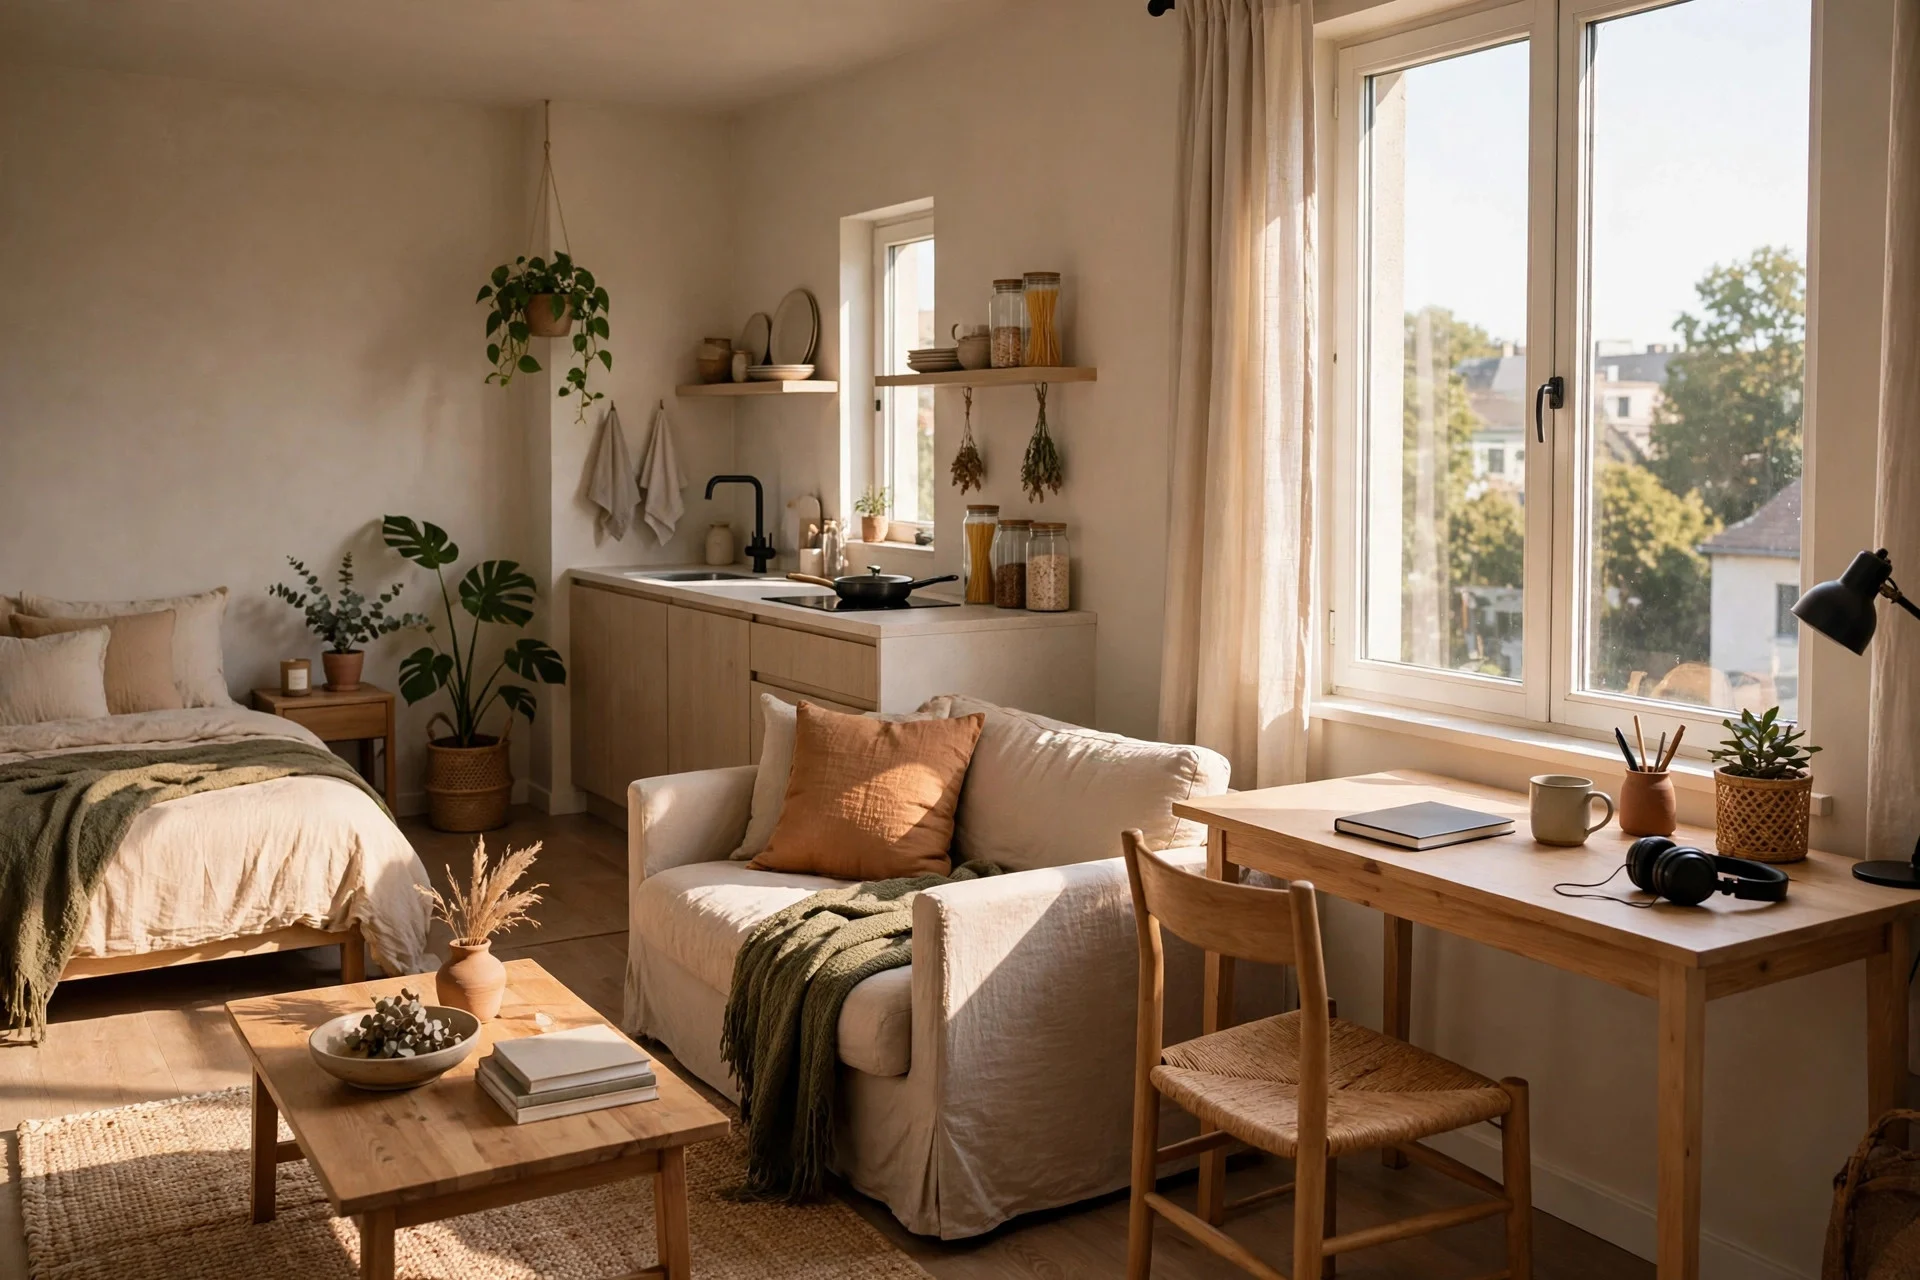
9. Park Your Office on a Rolling Cart
Not every work setup needs a desk at all. A sturdy rolling cart with two or three tiers holds a laptop, notebooks, chargers, and files, and rolls to wherever you want to work — the table, the sofa, the window. When the day ends, roll it into a closet or behind a curtain.
Why it works: the work zone moves with you, so no corner is sacrificed to a desk you use a few hours a day. A solid rolling cart costs $40–$120. Difficulty is easy — assembly takes under half an hour. Tip: keep a power strip on the cart so you only plug in one cable wherever you park it. Watch out: lock the wheels before you start typing, and do not stack the cart so high that it tips when you roll it over a rug edge.
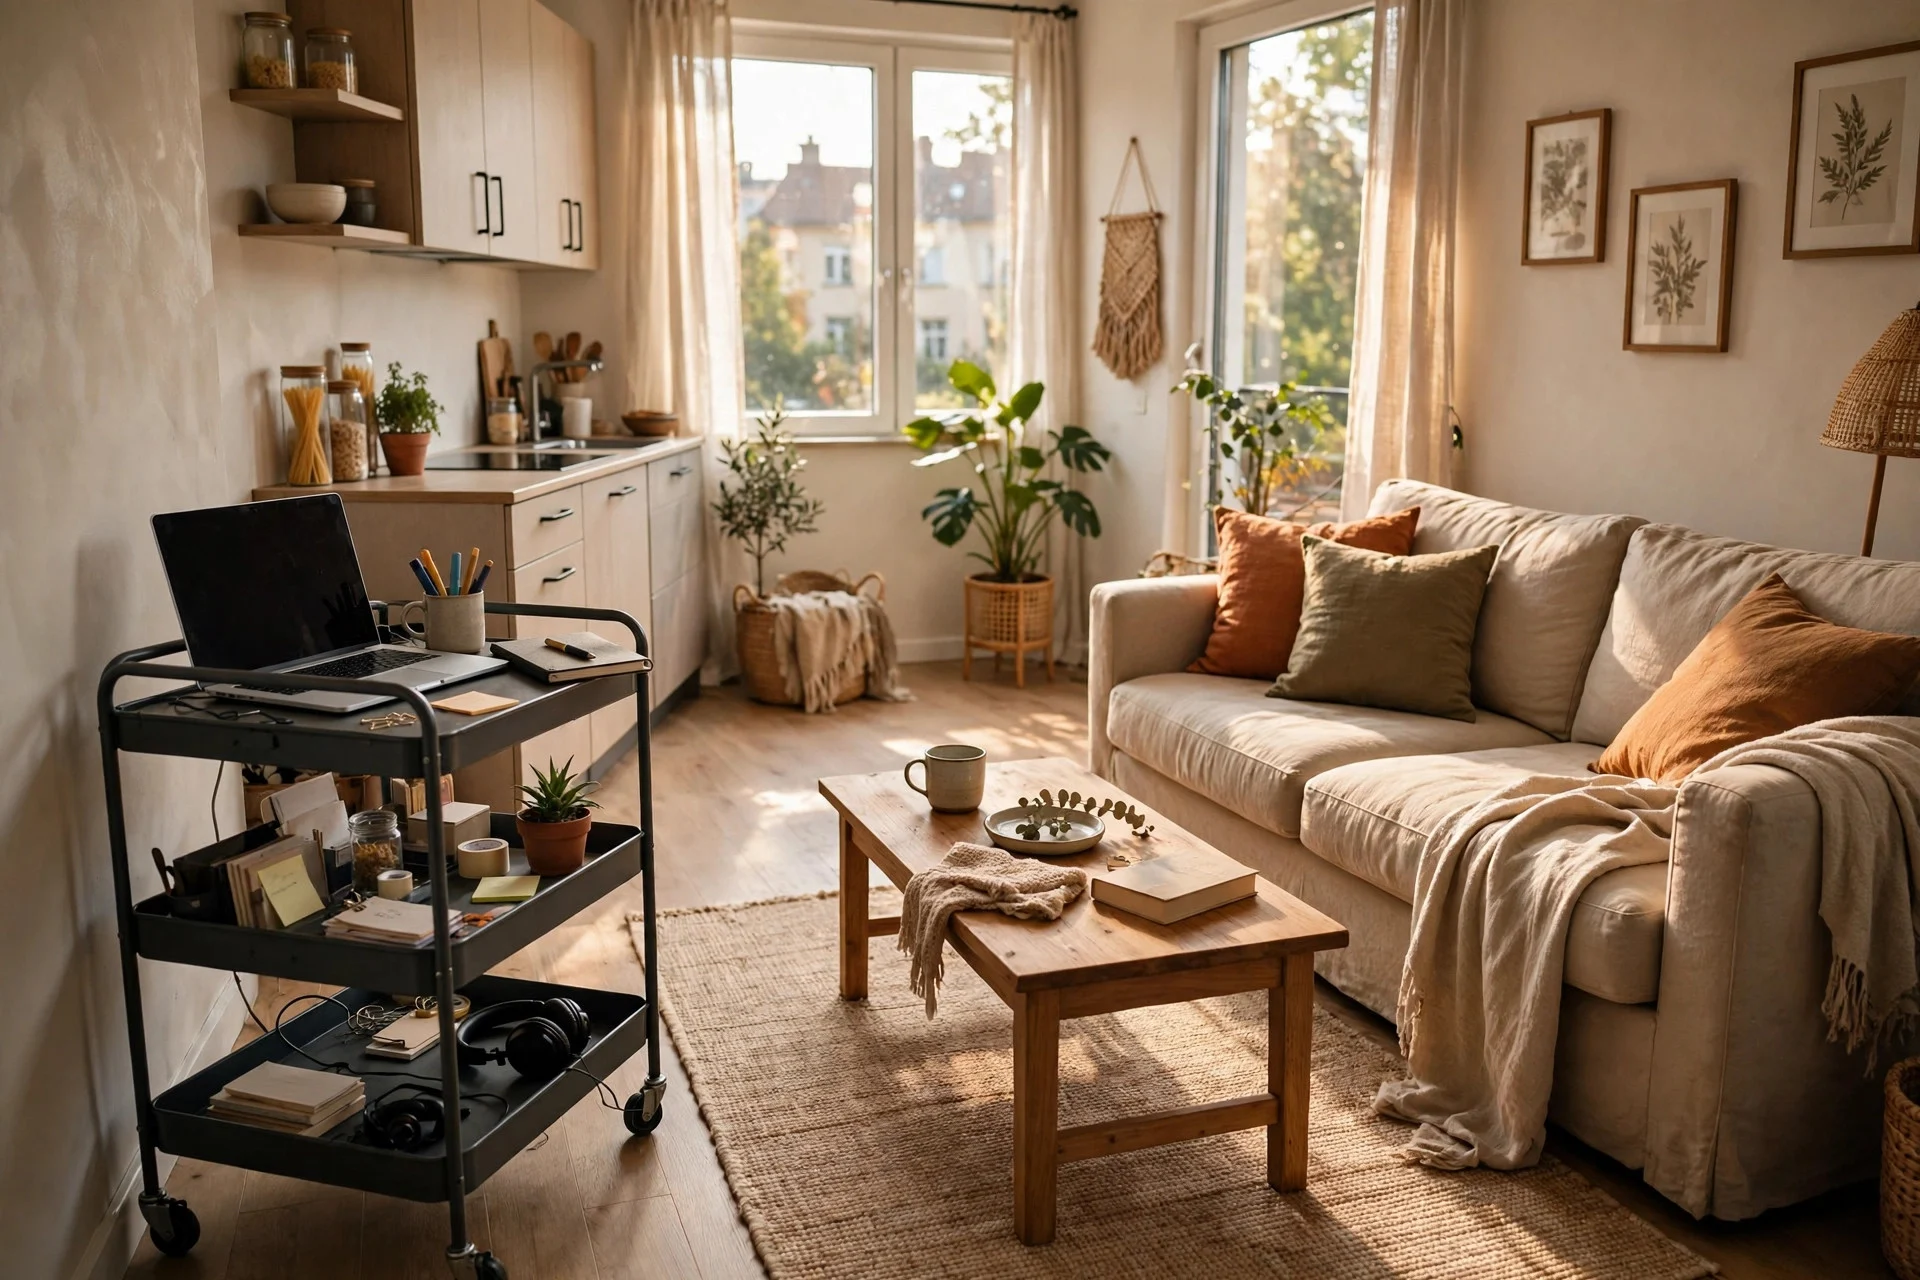
Zone 4 — Eat and Cook: The last zone is the trickiest, because kitchens in one-room flats are often just a strip along one wall. The goal is a clear place to eat that does not feel like standing in the kitchen.
10. Set a Bar Counter Between Kitchen and Room
A narrow bar-height counter placed at right angles to the kitchen wall draws a clean line between cooking and living. You prep food on the kitchen side and eat on the room side, and the counter doubles as extra worktop space when you need it. Two stools turn it into a breakfast spot without a full dining table.
Why it works: the counter is a boundary you can use from both sides, so the kitchen stops spilling into the rest of the room. A simple bar counter or kitchen island cart costs $120–$400, and stools run $40–$120 each. Difficulty is easy to moderate — assembly takes an hour or two, and you need to leave room to walk around both ends. Tip: choose a counter with open shelving underneath for pots and pans, which frees kitchen cabinets for food. Watch out: keep the counter clear of mail and keys, or it slowly becomes a junk shelf instead of an eating spot.
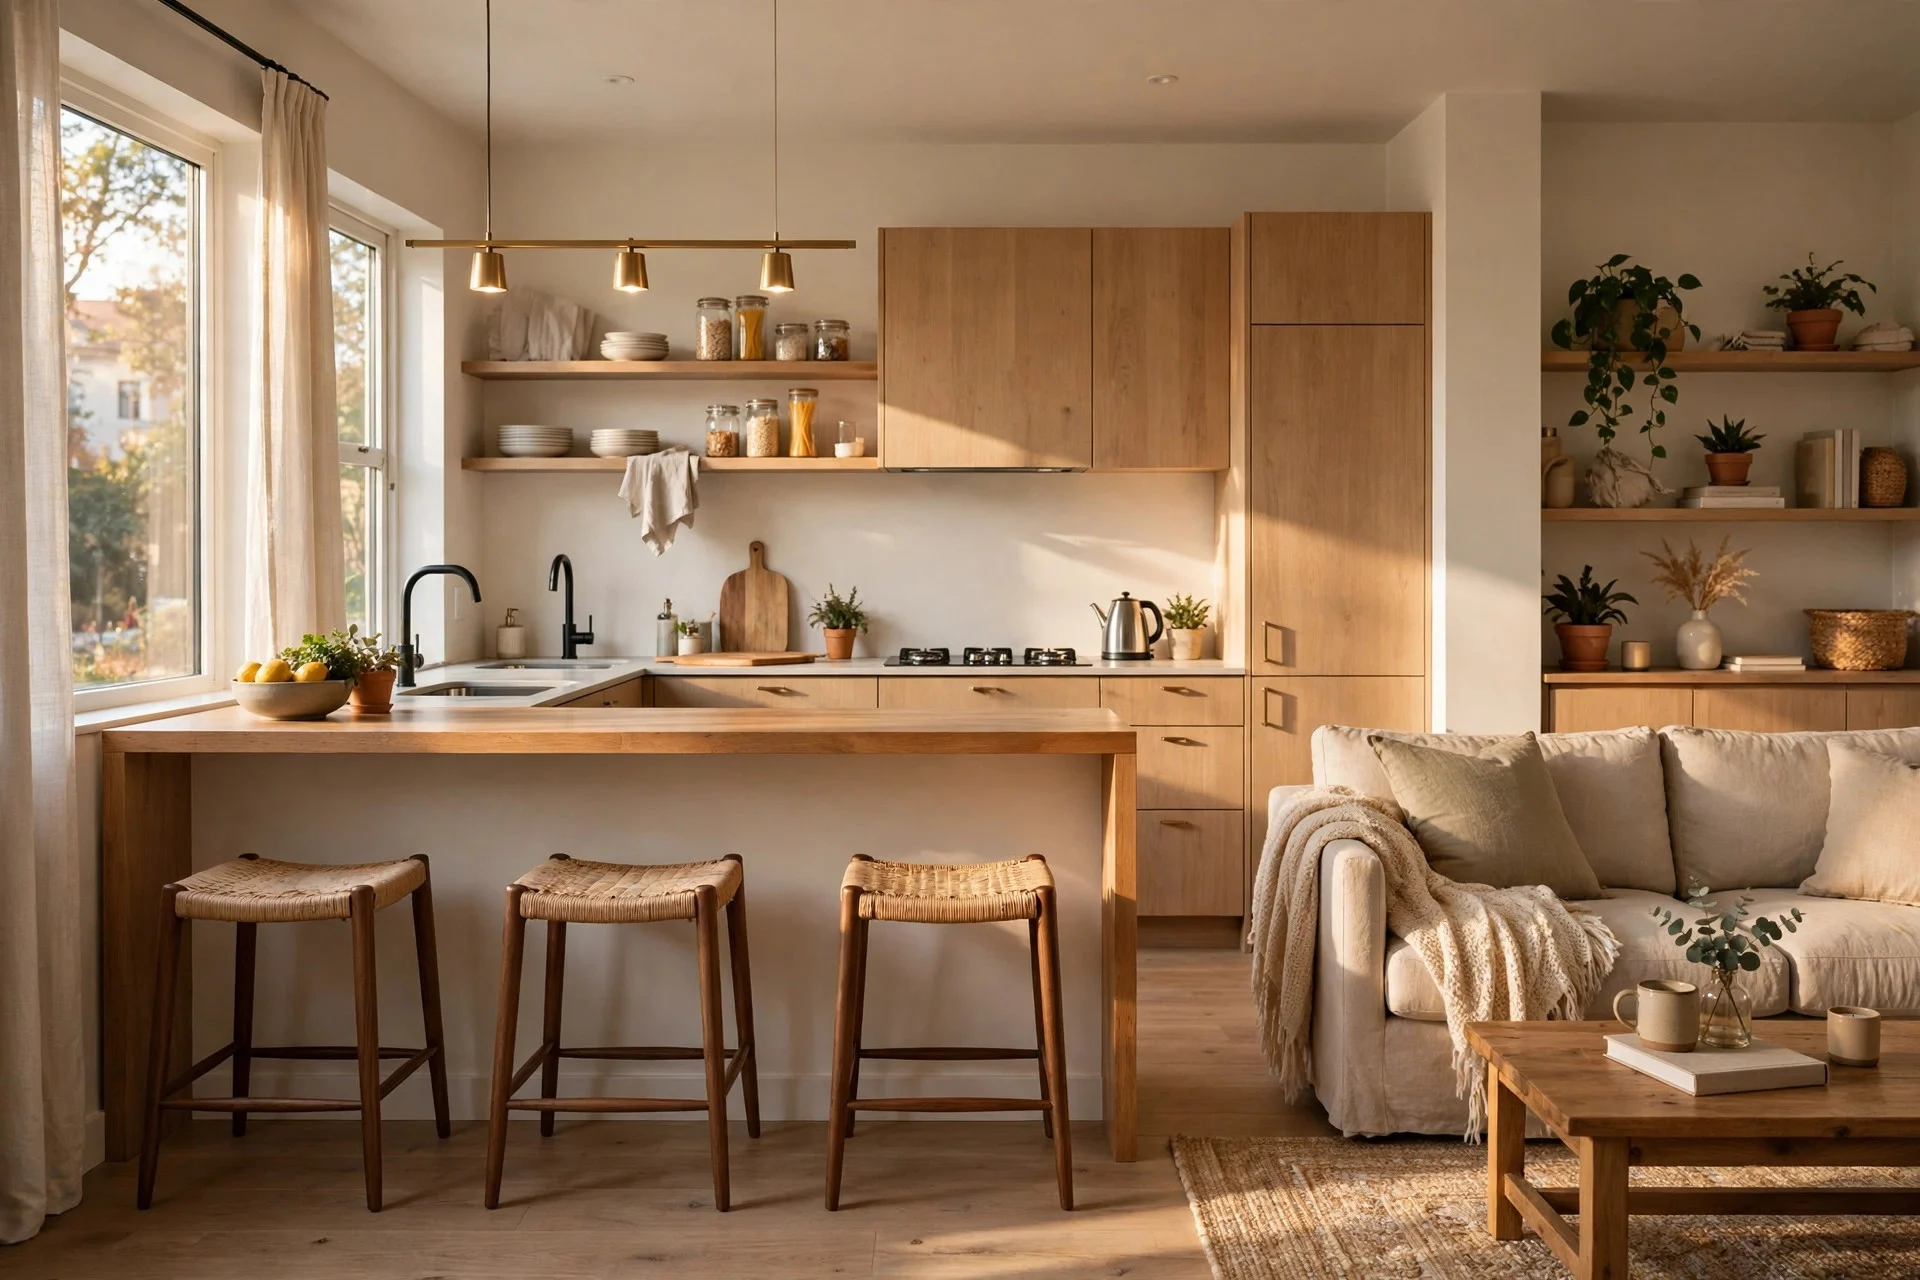
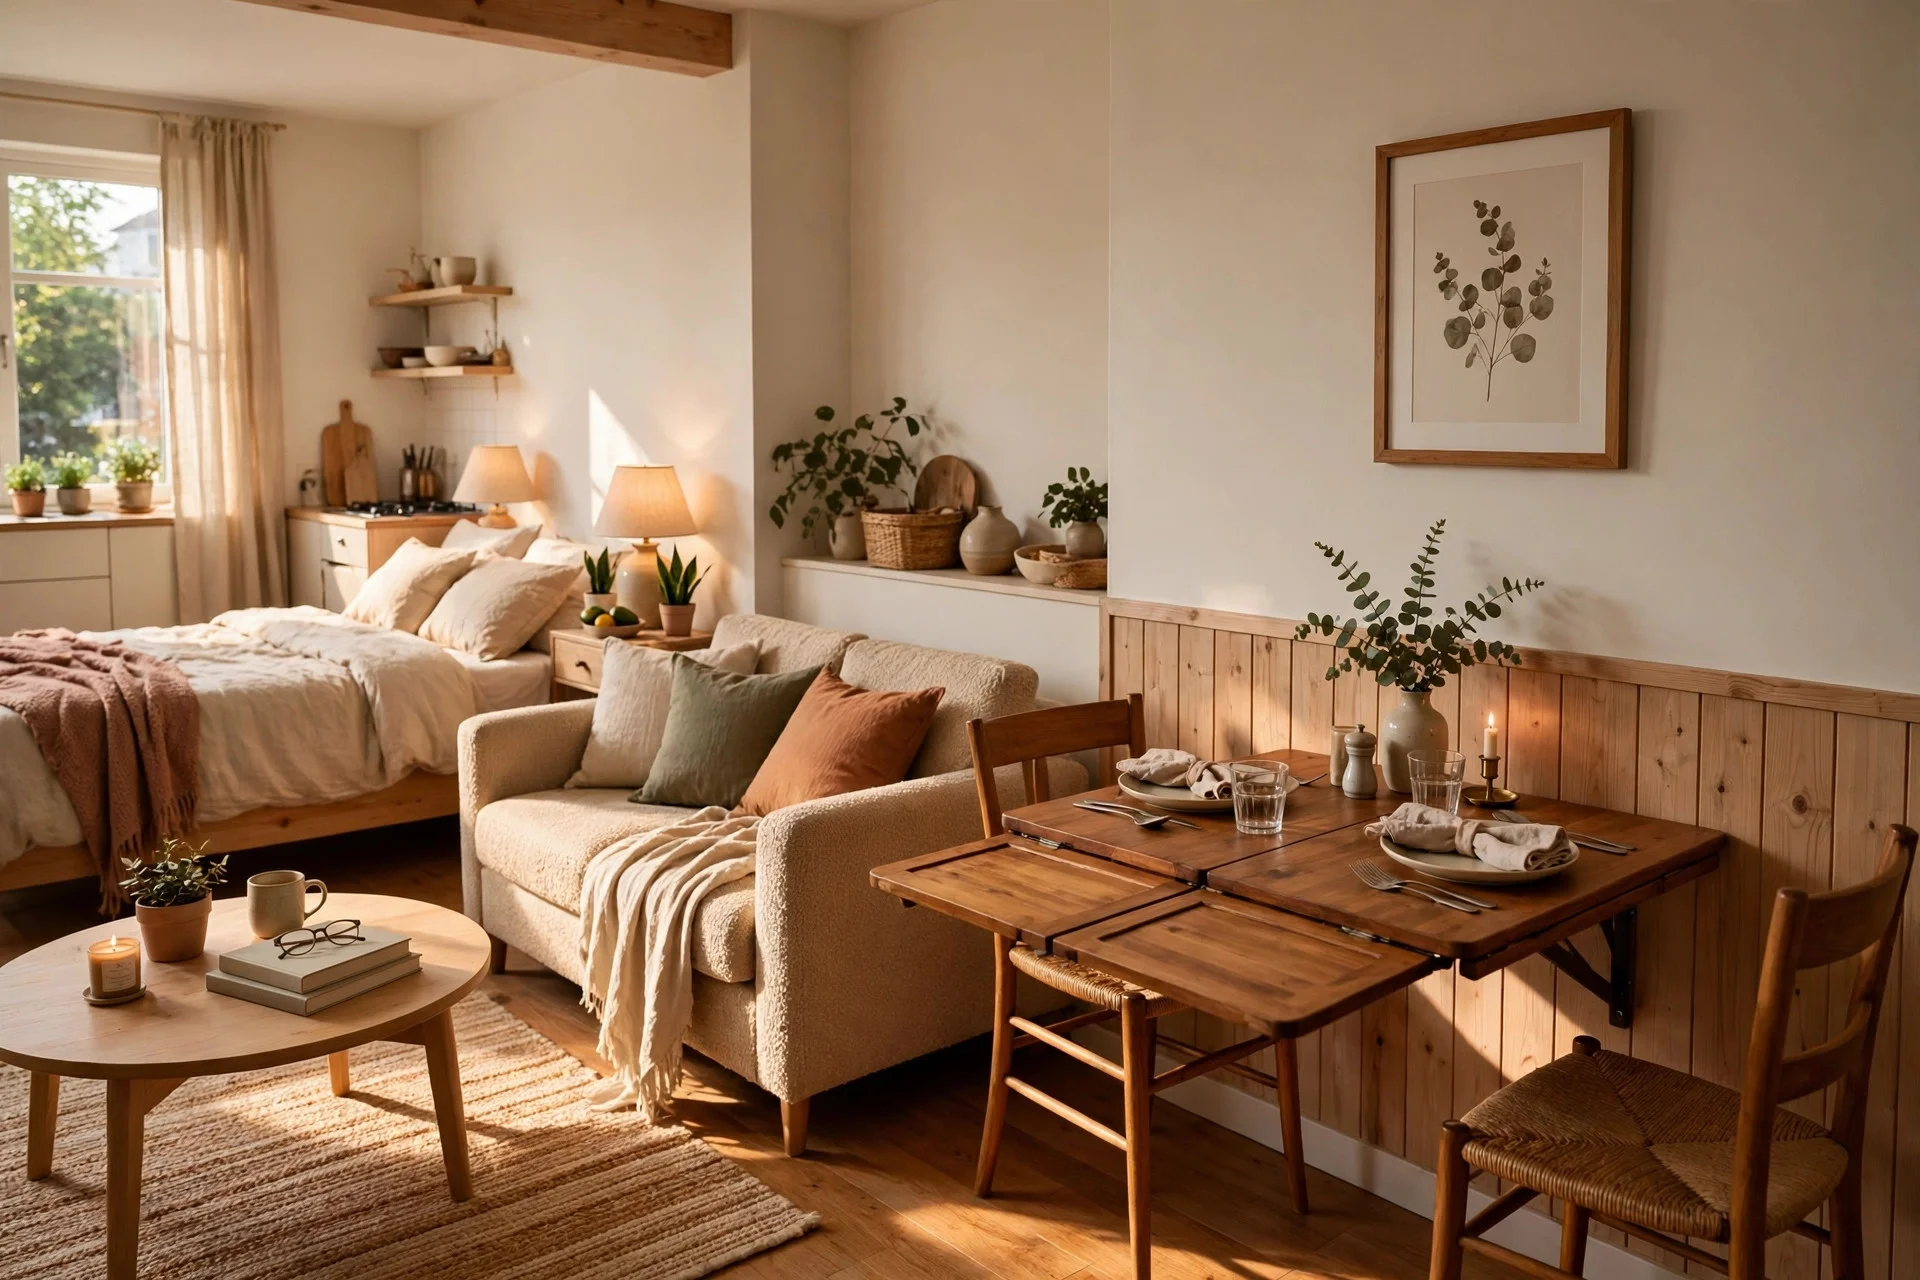
11. Use a Drop-Leaf Table for Two
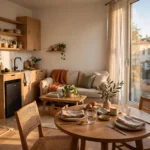
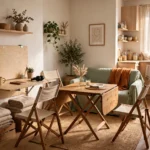
A drop-leaf table is the classic small-space dining fix for a reason. With both leaves down it is a slim console; one leaf up seats two for dinner; both up handle a guest. Folded away, the eating zone melts back into the room.
Why it works: you only use the floor space when you actually eat, which is a small part of the day. A drop-leaf table costs $100–$300, plus $50–$150 per chair if you need matching ones. Difficulty is easy — place it against the wall near the kitchen and fold the leaves as needed. Tip: store placemats and a small vase on the folded table so it looks like a console, not a piece of furniture waiting for a job. Watch out: check the table height against your chairs before buying — bar-height tables and standard chairs are a painful mismatch.
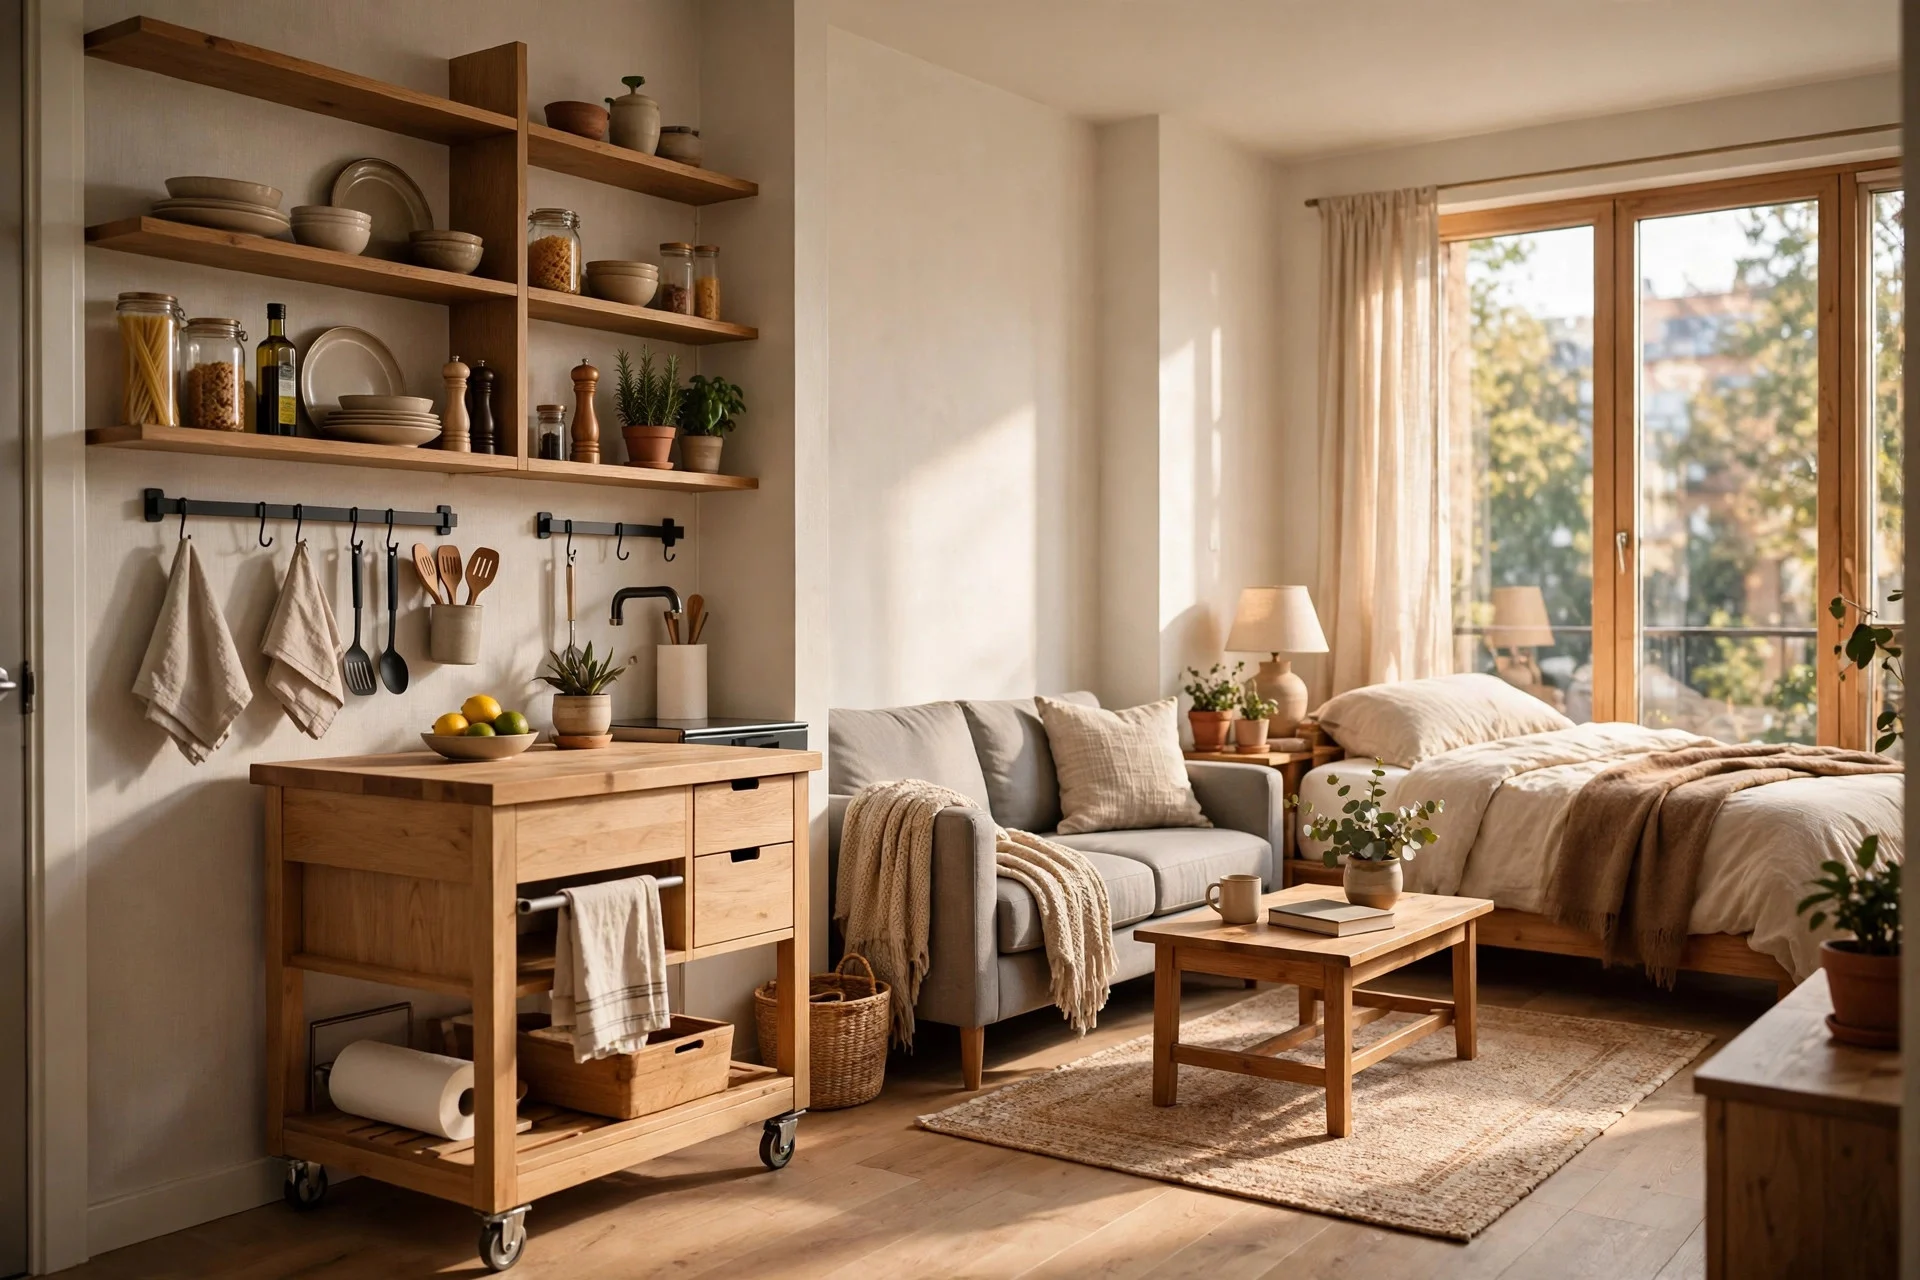
12. Add Open Shelving and a Rolling Island in the Kitchen
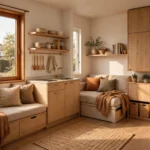
When the kitchen itself is tiny, storage has to work harder so cooking does not spread across the whole room. Open shelves hold daily dishes where you can grab them, and a small rolling island adds a worktop that moves away when you need floor space.
Why it works: everything you use daily stays visible and within reach, so you stop stacking things on the dining table or the lounge rug. Open shelves cost $30–$120, and a rolling island costs $90–$300. Difficulty is easy to moderate — shelves need wall fixings and about an hour, while the island is usually simple assembly. Tip: keep only daily, good-looking items on open shelves and hide the rest, so the kitchen looks calm. Watch out: open shelves collect grease near the stove, so place them away from direct cooking steam and wipe them weekly. If you are furnishing a first flat on a tight budget, first apartment bedroom ideas when the budget is tight have plenty of cheap storage tricks that work in the kitchen zone too.
Frequently Asked Questions
Do I need to buy a lot of furniture to zone a one-room apartment?
No. Start with what you own and move it first. A rug, a curtain, or simply turning the sofa can create a clear zone for under $100. Buy new pieces only after living with the layout for a week or two.
How do I zone a room without blocking light?
Use low or see-through dividers: open shelves, curtains, plants, and rugs mark a boundary without cutting off light. Keep tall bookcases against walls, never in the middle of the room.
Can zoning work in a rented apartment?
Yes, and most of it needs no drilling at all. Tension rods, freestanding shelves, rugs, and rolling carts all move with you. For ideas needing screws, ask your landlord first and keep fixings small so holes are easy to fill.
What is the biggest mistake people make with one-room layouts?
Pushing every piece of furniture against the walls and leaving a bare patch in the middle. That empty centre makes the room feel like a corridor. Pulling the sofa or a shelf a little way out from the wall creates real zones and makes the room feel larger, not smaller.
A Quick Checklist Before You Start
Measure the room and sketch the four zones before moving anything heavy. Place the bed first, then lounge, work, then eating. Leave a clear path from door to window, keep bare floor between zones, and live with the layout a few days before buying anything new.