14 Bedroom Ideas With a Faux Beam Ceiling
Faux beams are hollow boxes made from wood, polyurethane, or medium-density fibreboard that look like solid timber from below but weigh a fraction of the real thing. A typical faux beam costs $8 to $30 per linear foot for the beam itself, plus $200 to $600 per room for installation if you hire the job out, while genuine reclaimed timber often runs $40 to $100 per linear foot and needs serious structural support. They suit almost any bedroom with a flat or gently sloped ceiling, from small box rooms to large primary suites, and they come off again without major damage, which makes them a realistic option for renters who have permission to screw into joists. This guide walks you through the room zone by zone, starting above the bed and ending at the door, so you can pick the look that fits your ceiling height, budget, and style.
Before you buy anything, measure your ceiling height. Rooms under 8 feet need slim, light-coloured beams or the ceiling will feel lower than it is. Always fix beams into ceiling joists or solid blocking, never into plasterboard alone.
Above the Bed
1. Dark Walnut Beams Framing the Bed Wall
Three dark walnut box beams run across the ceiling and stop at the wall above the headboard, pulling the eye straight to the bed as the focal point of the room. The deep brown adds warmth to pale walls and pairs well with linen bedding, oak nightstands, and brass lamps. Expect $15 to $30 per linear foot for walnut-look beams, with a weekend installation for a confident DIYer or one day for a carpenter, at roughly $300 to $600 in labour. Tip: stain a test offcut and hold it against your headboard in daylight before you commit, because walnut tones shift a lot between warm and cool light. Watch out: very dark beams over a dark headboard can merge into one block, so keep the wall behind the bed light or add pale bedding to break it up.

2. Whitewashed Beams for a Bright, Airy Feel
Whitewashed beams keep the architectural interest of timber while bouncing light around the room, which suits small bedrooms and north-facing rooms that never get much sun. The pale finish softens the contrast between beam and ceiling, so the ceiling still reads as high. Budget $10 to $22 per linear foot, plus paint or whitewash if you finish plain beams yourself, and allow a full day including drying time. Tip: use a watered-down white paint wash rather than solid paint, wiped back with a rag, so hints of grain still show through. Watch out: whitewash marks easily during fitting, so touch up scuffs after the beams are up, not before.

3. A Beam Shelf Above the Headboard
A single chunky beam mounted on the wall just above headboard height doubles as a display ledge for framed prints, a small plant, and a clock. It gives the layered look of a built-in feature without any joinery, and it costs far less than a full ceiling grid. Plan $60 to $150 for one beam and brackets, and about two hours to fit it level and secure it into studs. Tip: keep the shelf styling shallow and light, with two or three objects at most, so nothing falls on pillows below. Watch out: this is a wall-mounted beam, not a ceiling beam, so it still needs stud fixings, and anything heavy or glass should sit elsewhere.

Ceiling Centre
4. A Coffered Grid Across the Middle of the Ceiling
A coffered grid divides the central ceiling into neat rectangles, which adds structure to a large or plain bedroom and makes a simple pendant or chandelier look intentional. The grid works best in rooms at least 12 feet wide, where the rectangles stay in proportion instead of crowding the ceiling. Expect $500 to $1,500 in materials for a mid-size room, and one to two days of fitting. Tip: draw the grid on paper first, centred on the light fitting, and keep the outer rectangles slightly larger than the inner ones so the pattern feels balanced from the bed. Watch out: coffering adds a lot of joints, so buy 10 percent extra material for cuts and mistakes.
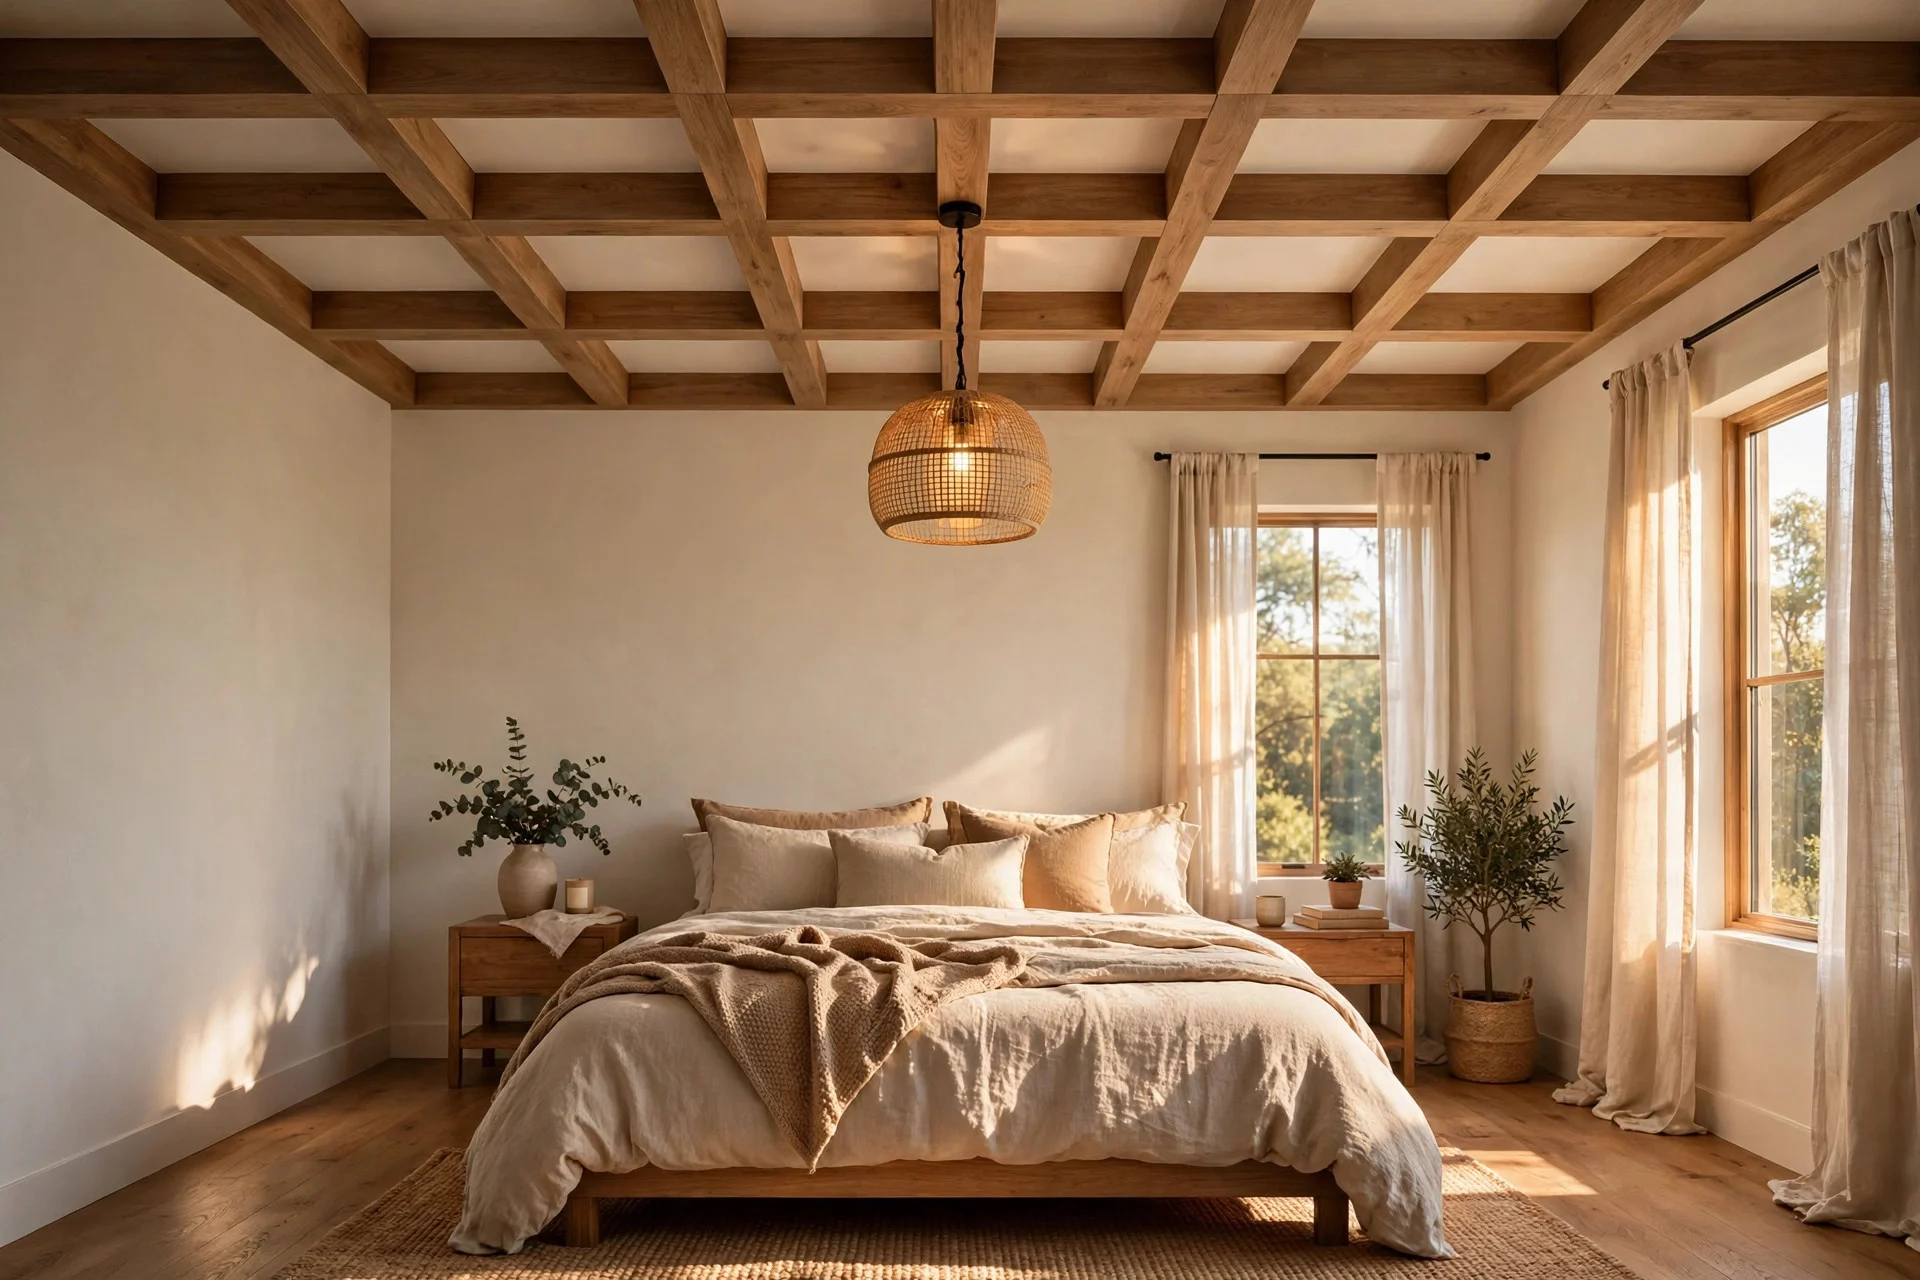
5. Crossed Beams Forming a Central Feature
Two beams crossing at right angles in the middle of the ceiling create a simple focal point without covering the whole ceiling, which keeps costs down and suits rooms where a full grid would feel too busy. Hang a pendant or a ceiling fan from the crossing point and the whole arrangement looks planned rather than improvised. Budget $150 to $400 for the beams, plus the light fitting, and half a day to fit them. Tip: centre the cross on the bed, not on the room, if the bed sits off-centre. Watch out: a fan hung from a faux beam needs a fan-rated bracket fixed through the beam into a joist, never into the hollow beam alone.

6. Rustic Beams With a Pendant Hung From the Centre Beam
Rough-sawn, reclaimed-look faux beams bring texture to a bedroom that feels too smooth or new, and a pendant hung from the central beam adds a warm pool of light over the bed. Plan $12 to $28 per linear foot for textured polyurethane or distressed wood beams, and a day for fitting plus wiring by an electrician if the pendant is new. Tip: pick a pendant with a warm bulb, around 2700K, so the light flatters both the beam texture and skin tones. Watch out: check the pendant drop so it hangs above head height when you sit up in bed, roughly 7 feet from the floor at minimum.

Perimeter and Edges
7. Perimeter Beams Tracing the Room Edges
Beams run around all four edges of the ceiling, framing the room like a picture frame and making a tray ceiling effect without any plasterwork. This suits bedrooms where you want definition but do not want beams crossing the middle of the ceiling and interrupting a fan or a skylight. Budget $400 to $1,000 for a standard room, and a day to fit, with corners mitred at 45 degrees. Tip: paint the ceiling inside the frame a shade lighter than the walls to push the centre of the ceiling visually higher. Watch out: mitred corners show gaps if walls are out of square, so measure each corner rather than assuming 90 degrees.

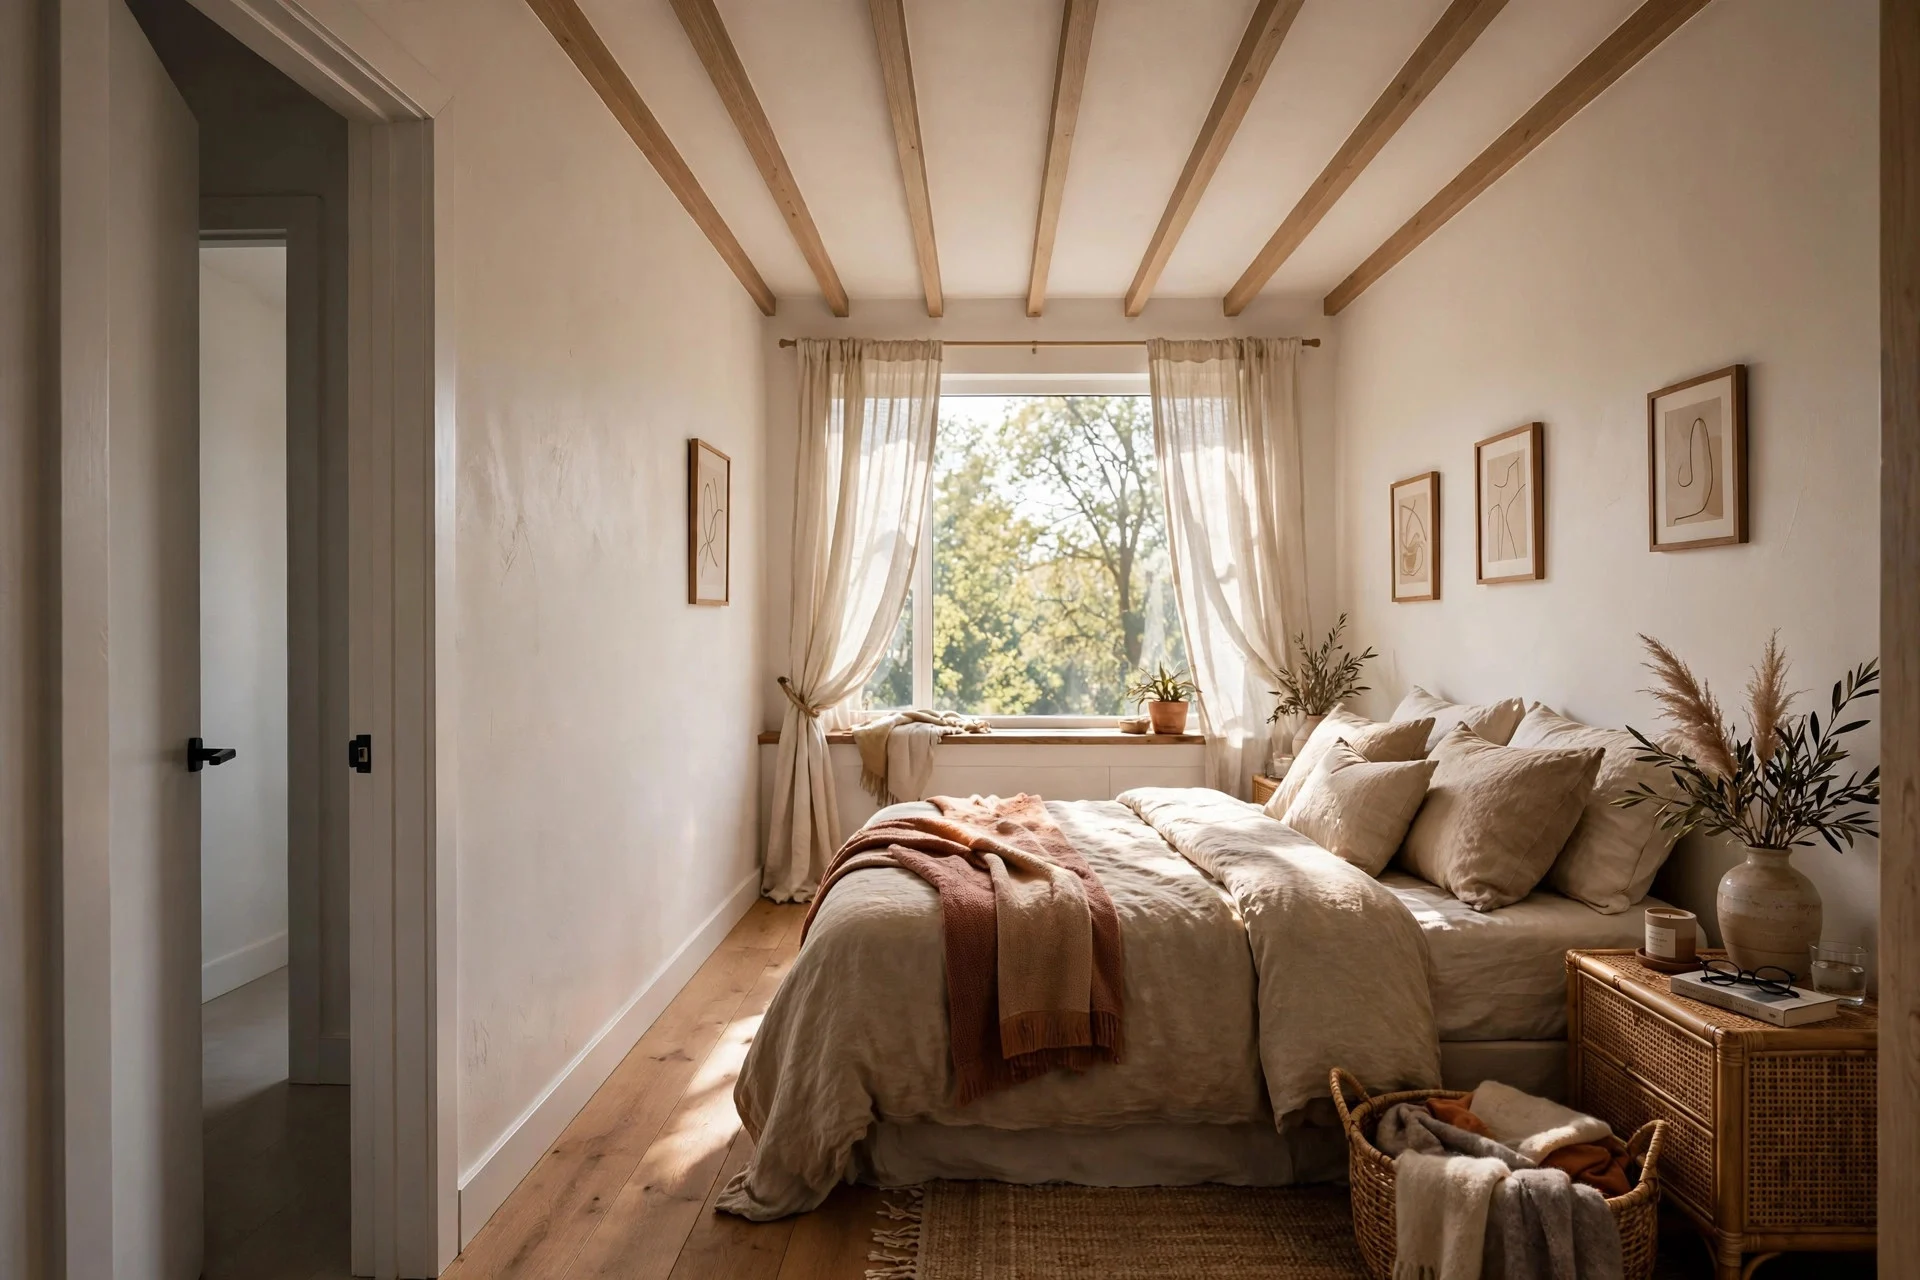
8. Lengthwise Beams to Stretch a Narrow Room
Beams running along the length of a narrow bedroom draw the eye from the door to the window and make the room feel longer and less tunnel-like. Keep the beams slim and evenly spaced, around 4 to 5 feet apart, so the pattern stays calm instead of striped. Expect $300 to $800 in materials for a typical narrow room, and a day to fit. Tip: run the beams parallel to the longest wall and align the first and last beam the same distance from the side walls, so the spacing looks even from the doorway. Watch out: beams running across the short direction have the opposite effect and can make a narrow room feel chopped up, so check the direction twice before cutting.
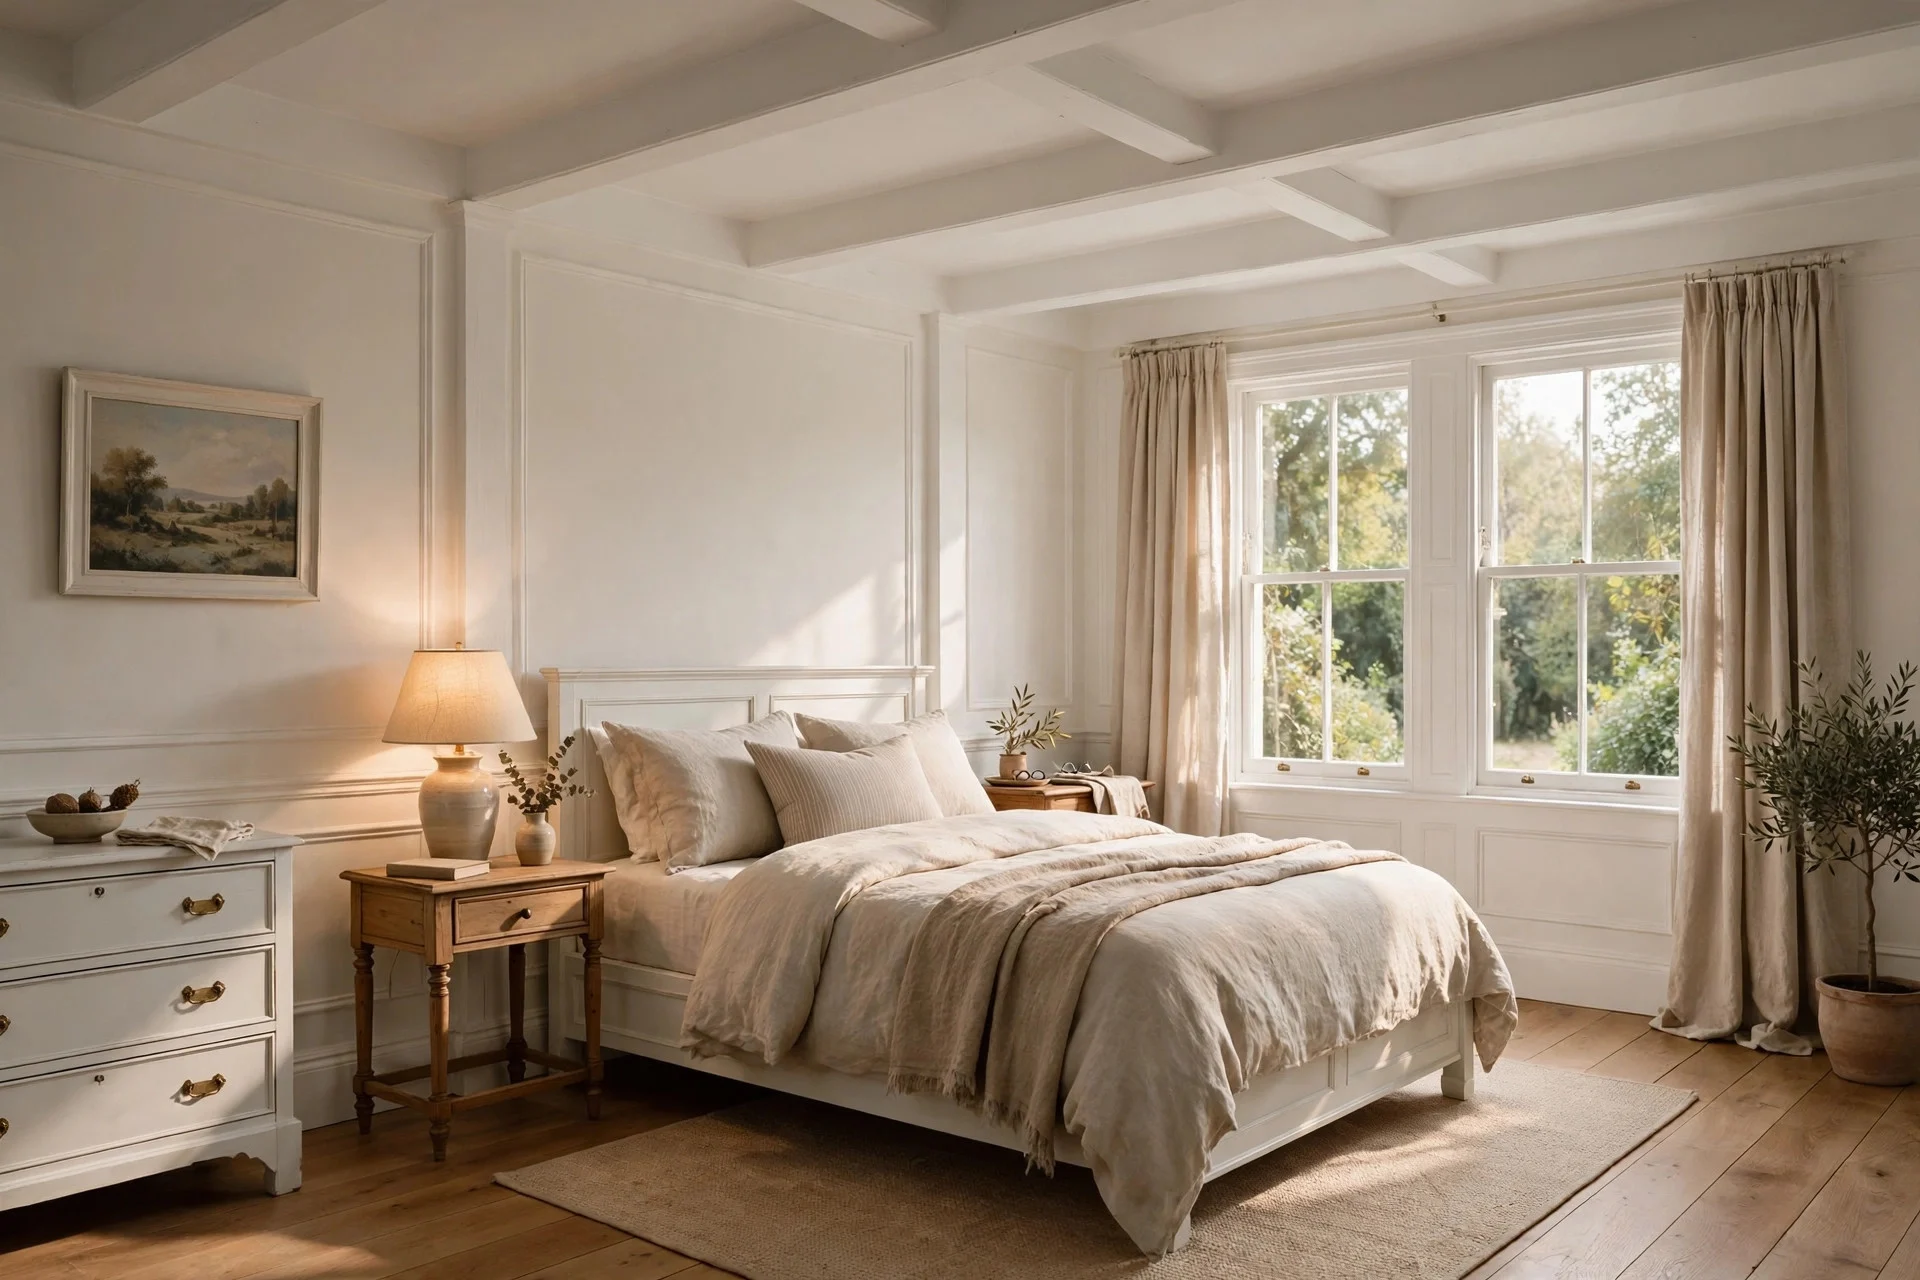
9. Beams Painted to Match the Trim
Painting faux beams the same colour as your skirting boards, door frames, and window trim gives a tailored, quiet look where the beams read as part of the room’s architecture rather than a rustic feature. This works well in traditional and transitional bedrooms and in rooms that already have painted woodwork. Budget $8 to $18 per linear foot for plain beams, plus primer and paint, and a weekend including painting and drying. Tip: use the same paint sheen as the trim, usually satin. Watch out: painted beams show dust more than dark wood, so wipe them with a dry duster every few weeks.
Reading Corner
10. Slim Beams With Warm LED Strips in a Reading Corner
Slim beams over a reading chair, with a warm LED strip tucked along the inner edge of one beam, give soft, indirect light for evening reading without a harsh overhead glare. The beams mark the corner as its own zone, even in a bedroom with no walls to divide it. Plan $100 to $250 for slim beams and a plug-in LED strip, and half a day to fit, with no electrician needed if the strip plugs into an existing outlet. Tip: choose a dimmable strip at 2700K and run it along the beam facing the chair, not facing the bed, so the light stays where you read. Watch out: keep the strip and its driver away from bedding and curtains, and never bury a driver inside a sealed beam where it can overheat.
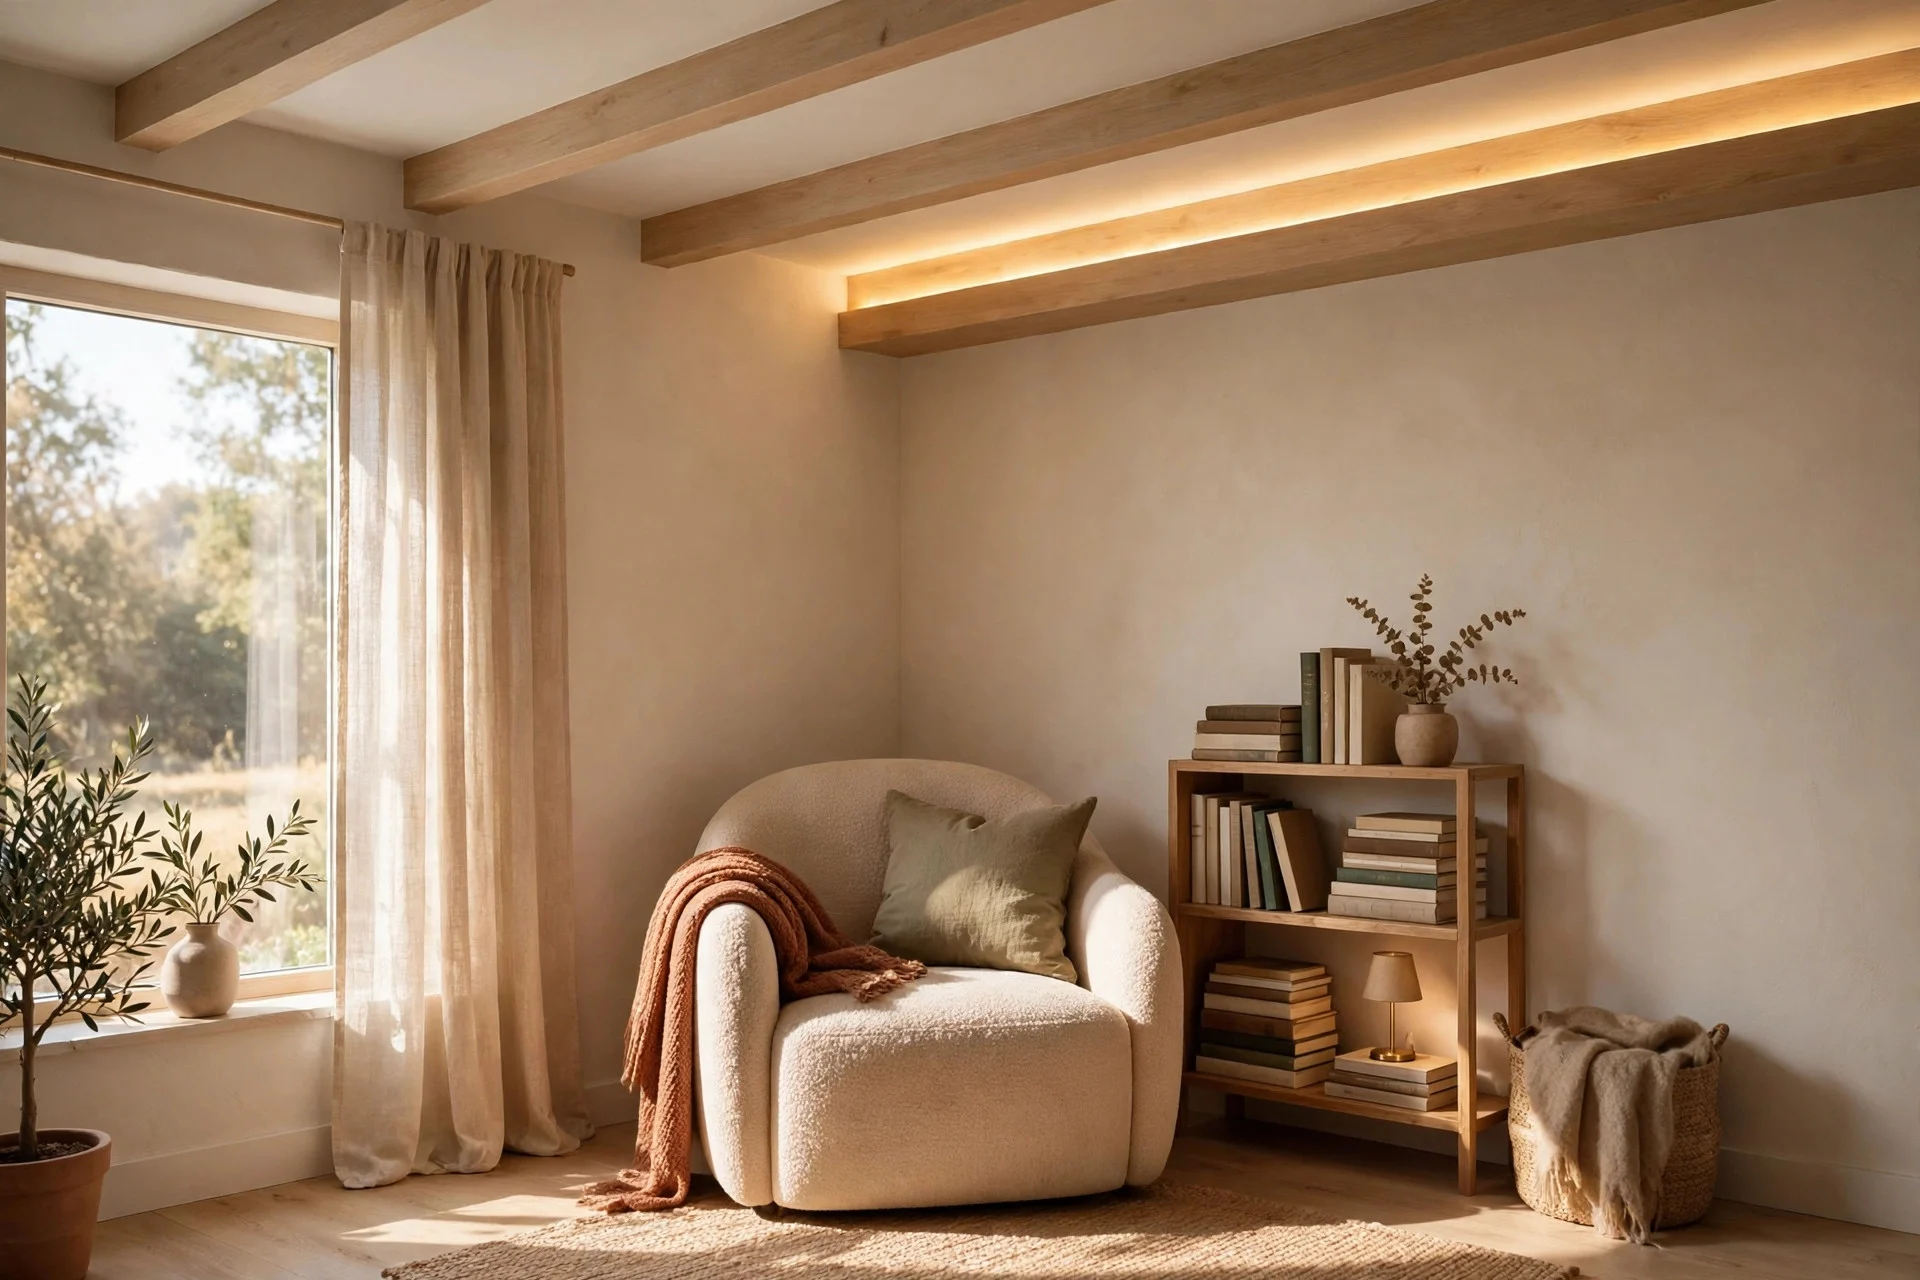
11. A Beam-Framed Nook Beside the Window
Two short beams crossing above a window-side chair and a small bookshelf turn an unused corner into a reading nook that feels built in. The beams echo the window frame and give the corner a sense of enclosure without blocking daylight. Budget $120 to $300 for the beams, and half a day to fit, plus whatever you spend on the chair and shelving. Tip: align the beams with the window frame edges so the nook lines up with the architecture that is already there. Watch out: do not fix beams into a window lintel or plasterboard header without checking what is behind it, because fixings there can be weak or hit hidden services.

Dressing Area
12. Beams Over a Vanity and Dressing Table
Beams running over a dressing table or vanity zone the area for getting ready and give a natural place to hang a mirror light or a small pendant. A lighter beam finish works well here because you want even, flattering light on your face rather than heavy shadows. Expect $100 to $300 for two or three short beams, and half a day to fit. Tip: pair the beams with a mirror light at face height on the wall, because ceiling light alone casts shadows downwards. Watch out: keep beams clear of heated styling tools and make sure nothing drapes over them, since even faux wood can scorch if a hot tool rests against it.

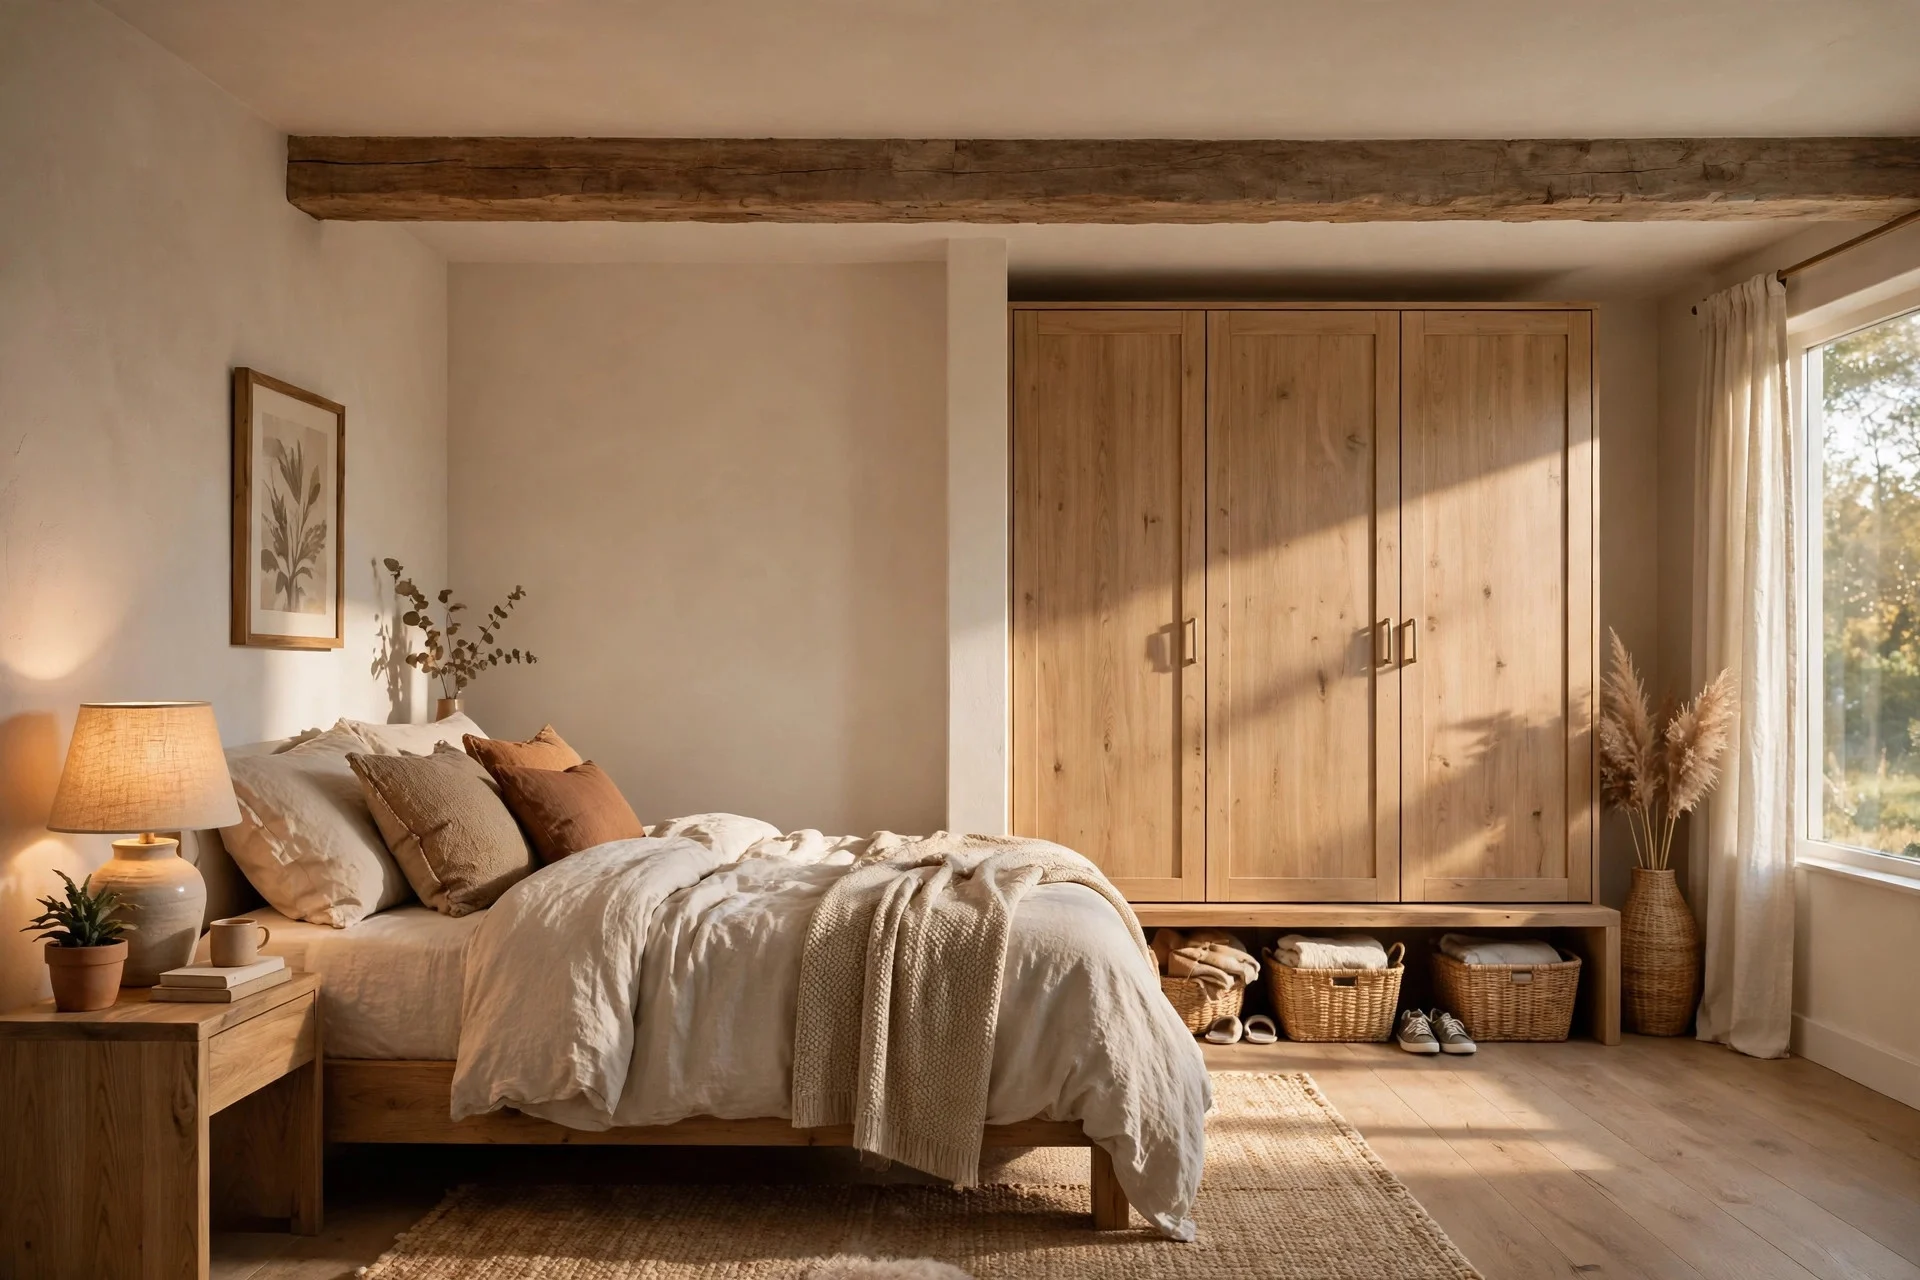
13. Beams Marking the Change Into a Wardrobe Zone
A single beam across the ceiling where the sleeping area meets a wardrobe or dressing zone acts as a quiet threshold, dividing the room without a wall or a curtain. This suits open-plan primary suites and large bedrooms where the wardrobe sits in an alcove off the main space. Budget $60 to $150 for one beam, and about two hours to fit. Tip: line the beam up with a change in flooring, a rug edge, or a wardrobe frame so the division reads as deliberate. Watch out: if the wardrobe doors swing up near the beam, check the clearance before fitting, because a beam that clips a door will annoy you every single day.
Entry Wall
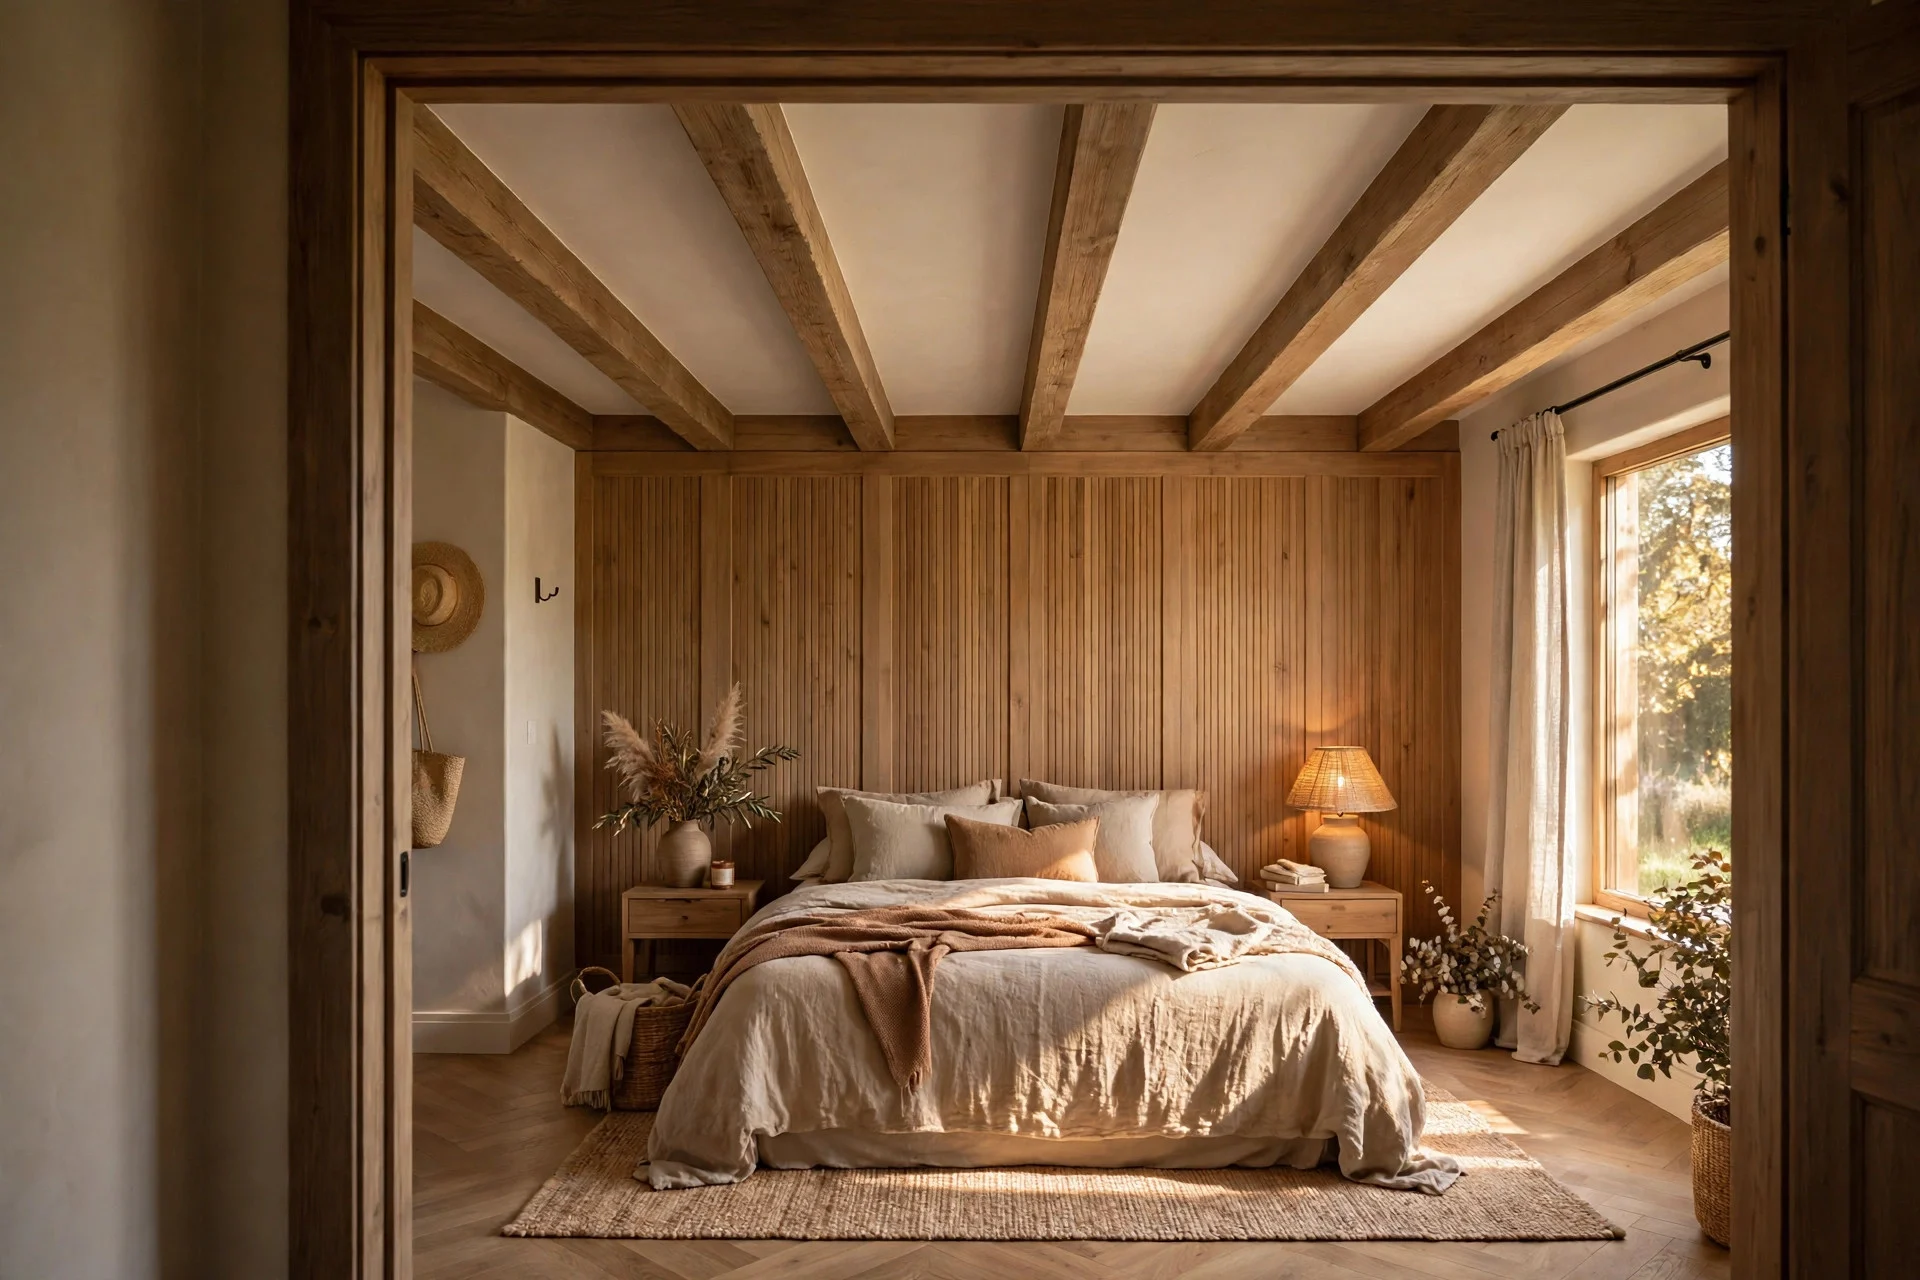
14. Beams Meeting a Feature Wall at the Entry
The last idea greets you at the door: beams run from the entry wall into the room and meet a panelled or painted feature wall, so the ceiling and the wall feel connected from the moment you walk in. This works especially well with vertical panelling, and if you like that look, see these board and batten bedroom wall ideas for the wall side of the pairing. Budget $150 to $400 for the entry beams, and half a day to fit. Tip: start the first beam a few inches inside the doorway rather than flush with the door frame, so the frame trim and the beam do not fight for attention. Watch out: entry beams sit above a high-traffic spot, so fix them firmly into joists and check them after the first month, because any movement will be noticed fast.
If your ceiling slopes, these attic bedroom ideas for sloped ceilings show how beams can follow the slope instead of fighting it. And if you want the bed itself to stay simple, these bedroom ideas with no headboard pair cleanly with a beam ceiling.
Frequently Asked Questions
How much does a faux beam ceiling cost for a bedroom?
Most bedrooms cost $400 to $1,500 in materials for polyurethane or wood-look box beams, plus $300 to $800 in labour if you hire a carpenter. A single accent beam can cost under $150 fitted, while a full coffered grid in a large room can pass $2,000. Get a quote based on your room’s linear footage rather than a flat rate, because beam spacing changes the total fast.
Can faux beams go on a low ceiling?
Yes, if you keep them slim and light. Beams around 4 inches deep in white, pale oak, or the same colour as the ceiling add interest without dropping the perceived height much. Skip chunky dark beams below 8 feet, because they will make the ceiling feel lower and the room smaller, and avoid hanging pendants from them in a low room.
Are faux beams safe to fit on a plasterboard ceiling?
They are safe only when fixed into joists or solid blocking behind the plasterboard. Hollow faux beams themselves weigh 2 to 5 pounds per linear foot, which sounds light, but a long run still adds up, and plasterboard alone will not hold it. Use a stud finder to mark every joist, pre-drill the beams, and use screws long enough to bite at least an inch into solid timber.
Can renters install faux beams?
Some renters can, with written permission from the landlord, because polyurethane beams are light and the screw holes are small and easy to fill at move-out. Others cannot, especially where the lease bans ceiling fixings. Ask first, keep the permission in writing, and consider freestanding or wall-mounted beam accents if ceiling screws are off the table.
Do faux beams work with a ceiling fan?
They do, as long as the fan hangs from a fan-rated bracket fixed through the beam into a joist or a fan-rated ceiling box. Never hang a fan from the hollow beam alone, because the vibration will loosen the fixings over time. If your fan is already fitted, you can box around its mount with beams, but leave access to the mounting screws for servicing.
Final Thoughts
Start with one zone, not the whole ceiling. Pick the area you look at most, usually above the bed, and fit that first. Live with it for a week in morning and evening light, then decide if you want beams elsewhere. Measure twice, fix into joists, and keep the finish lighter than you think you need at first, because you can always stain darker later.