How to Style a Bedroom With Sloped Ceilings and Low Walls
Sloped ceilings and low walls work best when you plan around them instead of fighting them. Put the bed and storage where the ceiling is lowest, keep tall furniture on the full-height wall, and use light colors, low-profile pieces, and layered lighting to make the room feel open. This guide covers attic bedroom sloped ceiling decor in 12 practical steps, from measuring the slope to the final styling touches.
Budget note: most steps here cost little beyond paint, lighting, and smart furniture choices. A full refresh often lands between $300 and $1,500 if you keep your current bed and add storage, lighting, and bedding. Custom built-ins and skylight work push that figure higher, so start with layout and light first.
Step 1: Measure the Slope and Map Your Usable Zones
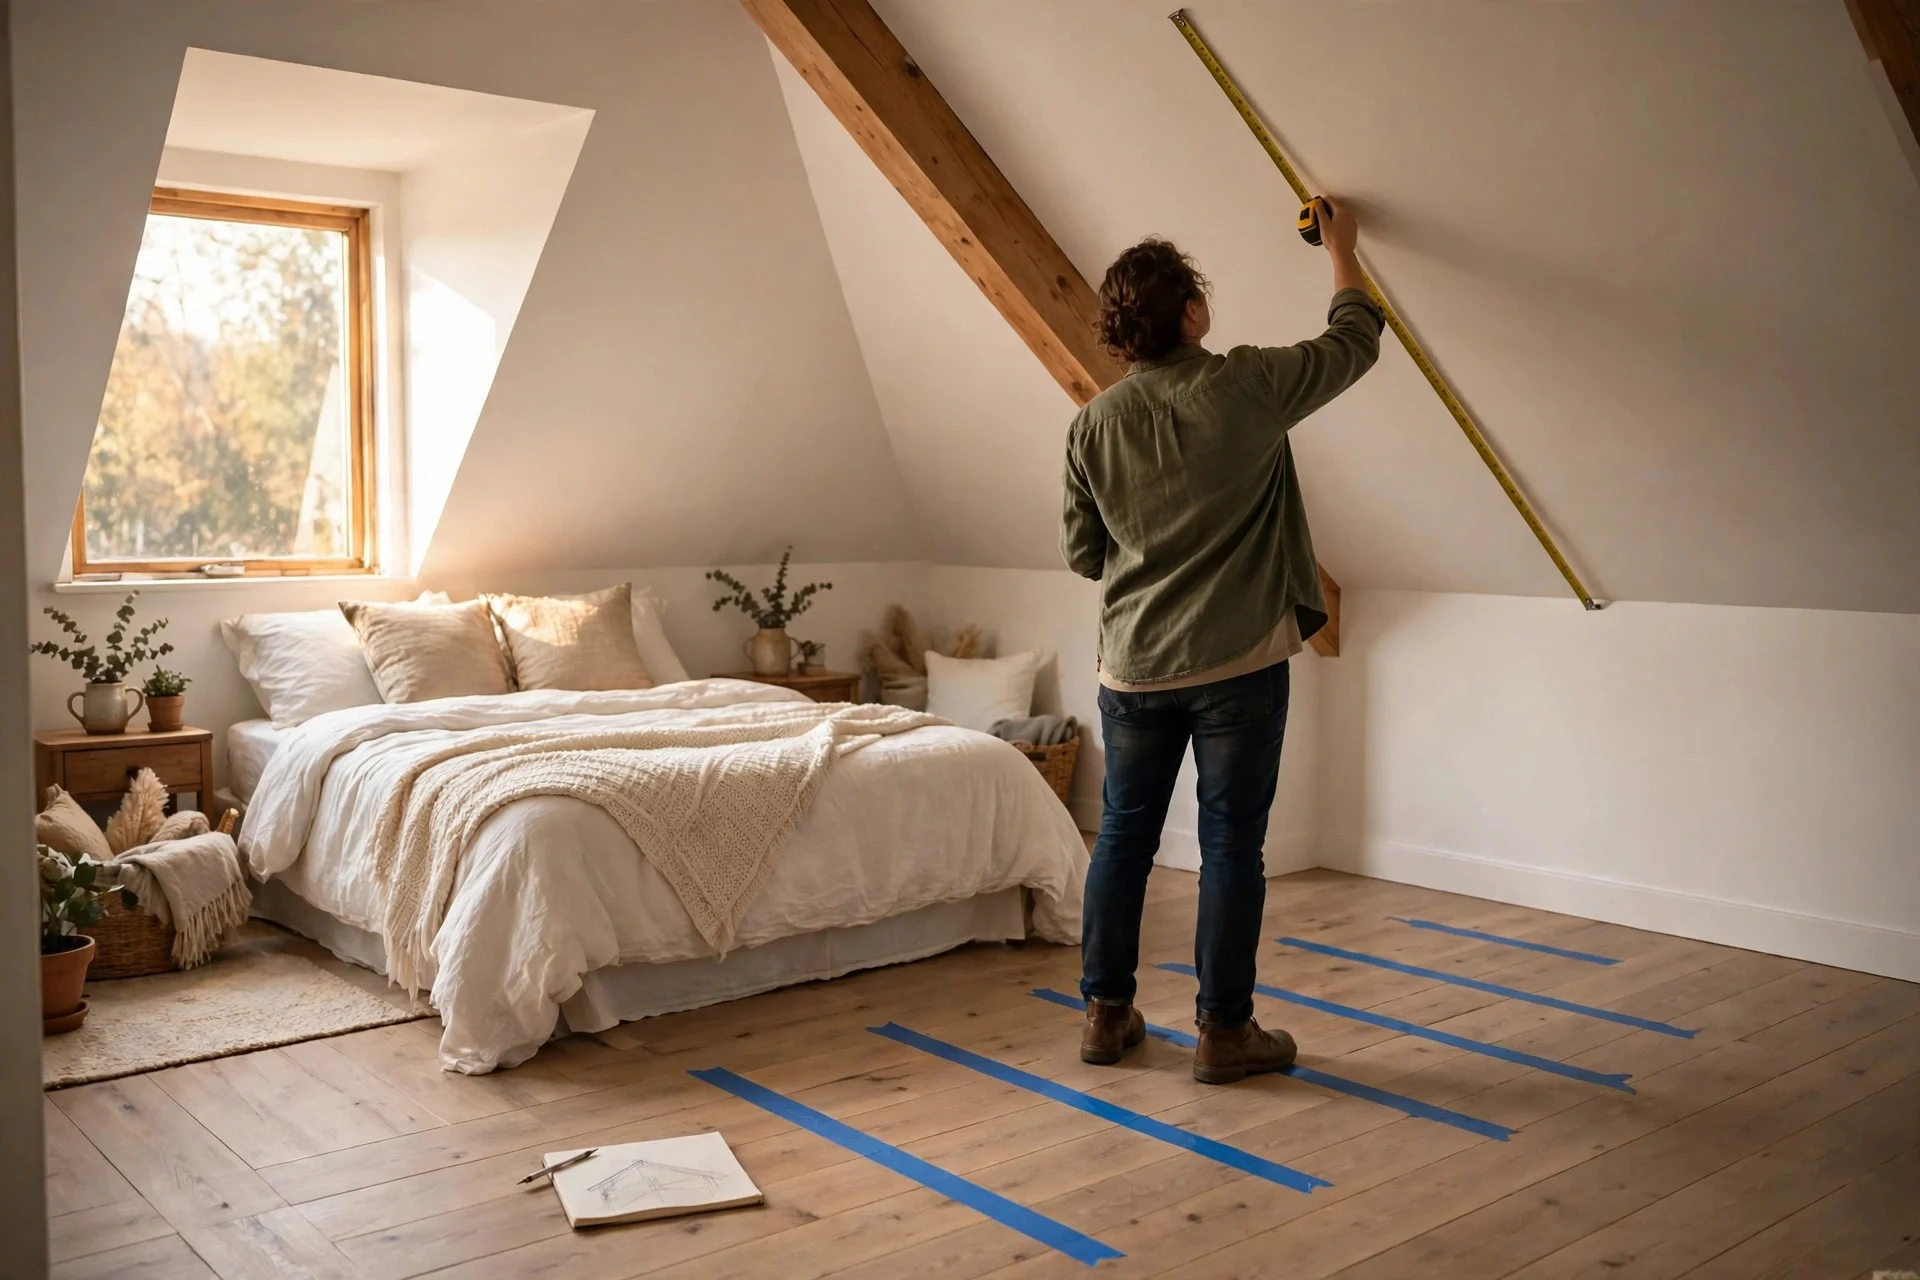
Measure the ceiling height at the low wall, then at 12 inches out, 24 inches out, and at the highest point. Mark where it reaches 48, 60, and 72 inches. Use the under-48-inch zone for storage, the 48-to-60-inch zone for a bed or bench, and the over-72-inch zone for walking and dressing. A simple sketch stops you buying furniture that looks right in a store and fails at home.
Cost: $0 to $15. Difficulty and time: Easy, 30 to 45 minutes. Tip: Mark the 48-inch and 60-inch lines on the floor with painter’s tape and live with them for a day before moving heavy pieces. Watch out: Do not guess heights from photos. Slopes look taller in pictures than they feel in person.
Step 2: Put the Bed Where the Ceiling Is Lowest
Place the bed with its headboard on the low wall or tucked under the slope. You lie down for hours, so the low area suits the bed far better than a wardrobe you must open while standing. Keep at least 24 inches clear on the side you get out of bed, and leave room to sit up without hitting the slope. The center of the room then stays open for dressing, and the high wall stays free for a wardrobe or mirror.
Cost: $0 if you move the bed you own. Difficulty and time: Easy, 30 to 60 minutes with two people. Tip: Sit on the bed, lean back on pillows, and raise your head slowly. Clearing the slope by 6 inches or more means the spot works for reading too. Watch out: Avoid placing the bed directly under a skylight that drips condensation or gives harsh midday sun.

Step 3: Choose a Low-Profile Bed Frame and Headboard
Pick a platform bed that sits 10 to 14 inches off the floor, with a headboard no taller than 30 to 36 inches. A low frame keeps your head clear of the slope, keeps sight lines open, and makes the ceiling feel higher. Skip tall canopy frames, high footboards, and thick box springs here, since each one eats vertical space. Many platform beds also offer drawers underneath, which helps a lot where closet space is tight.
Cost: $150 to $600 for a basic platform frame, $0 to $100 to lower an existing setup. Difficulty and time: Easy, 60 to 90 minutes to assemble. Tip: Measure from the top of your mattress, not the frame, to the slope above your sitting position. Watch out: Very low frames can be hard to get out of with knee or back trouble, so aim for a mattress top around 20 to 24 inches off the floor. For more small-room bed ideas, see these murphy bed ideas for a small bedroom.

Step 4: Build Storage Into the Knee Walls
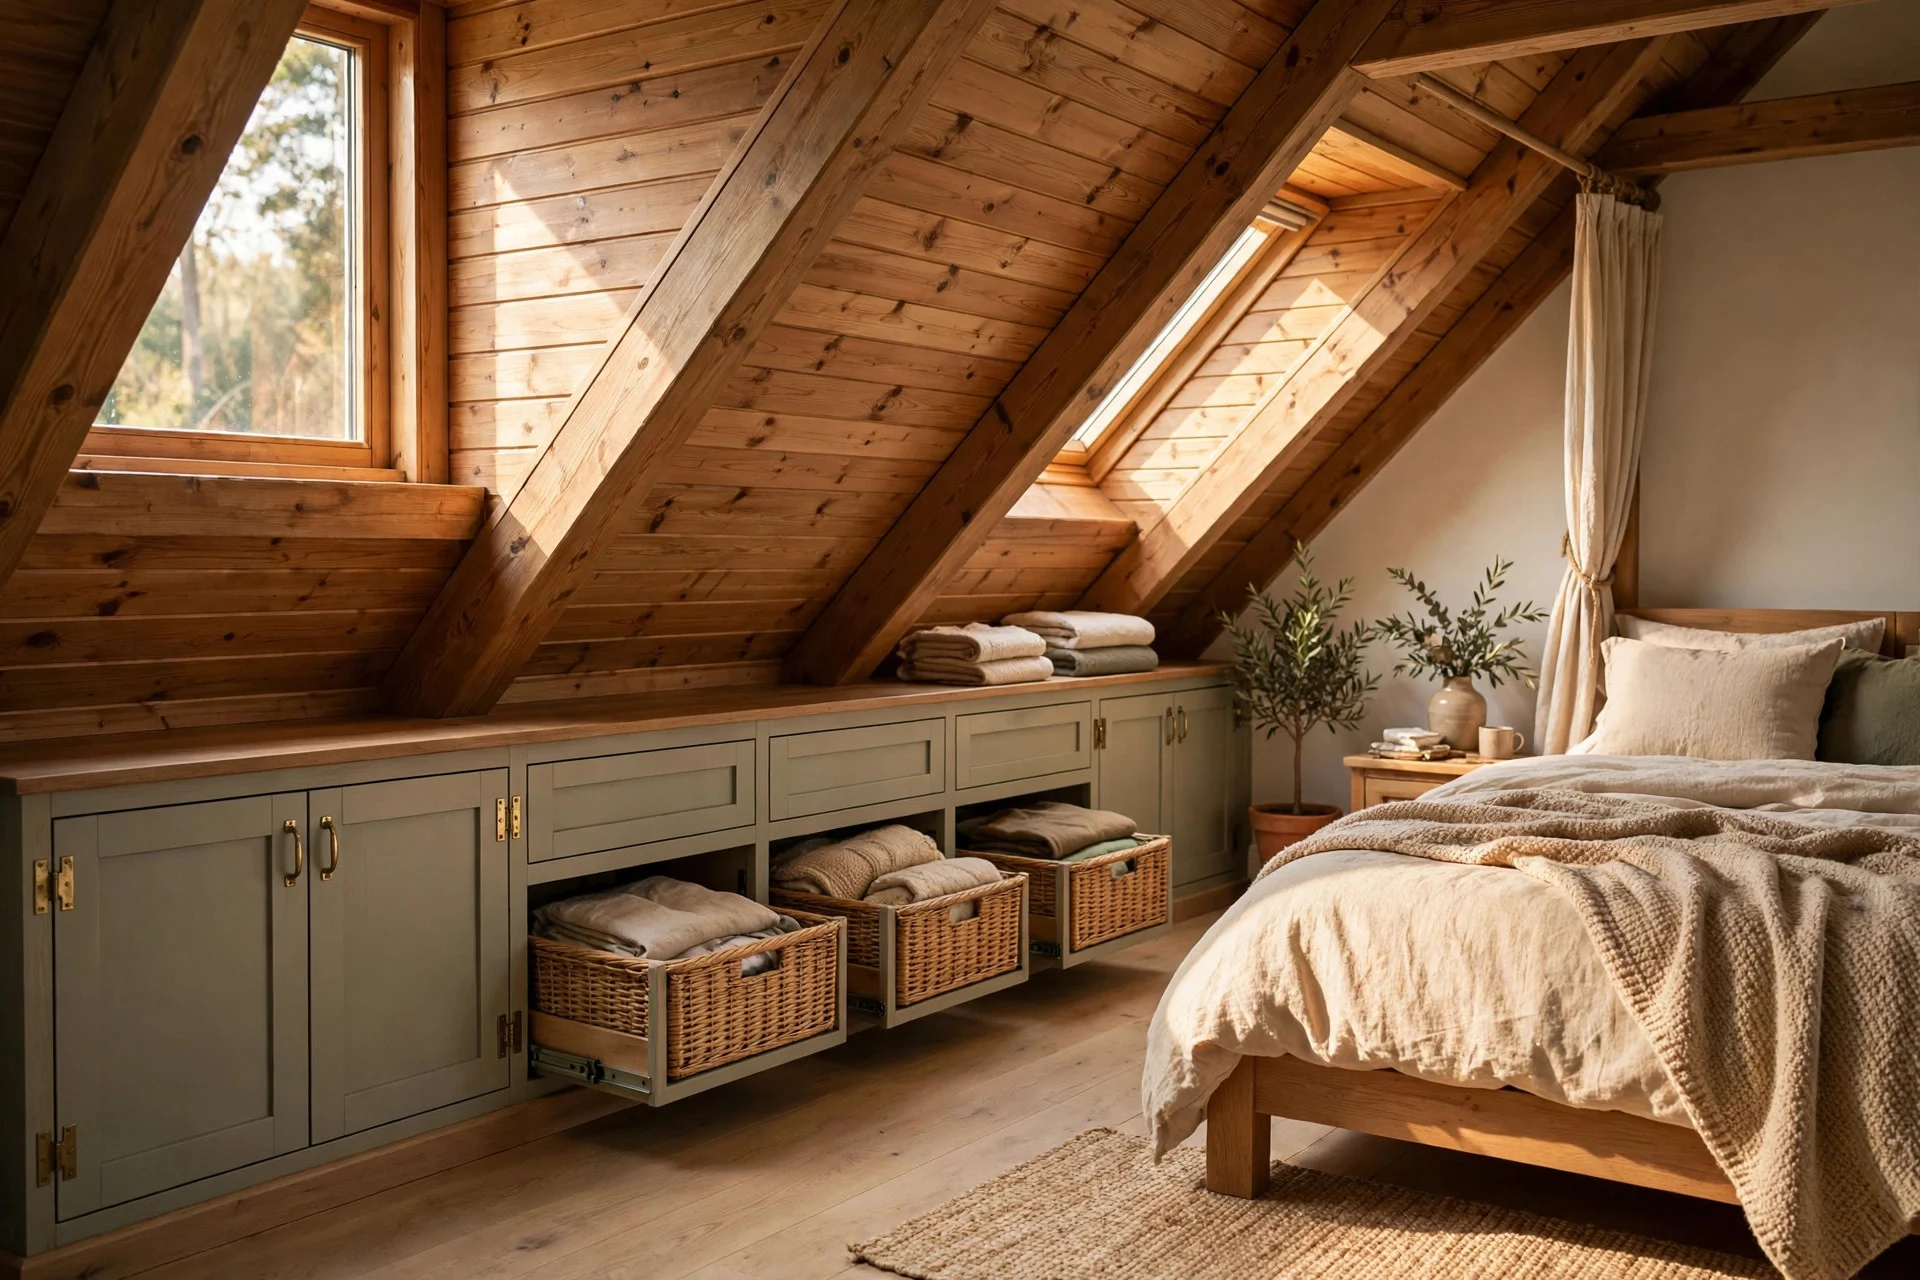
Knee walls, the short vertical walls under the eaves, hide the most useful storage in an attic bedroom. Add drawers, hinged doors, or pull-out bins behind them for off-season clothes, extra bedding, shoes, and luggage. Eight feet of knee-wall drawers can hold as much as a standard wardrobe, without taking any floor space. If custom carpentry is out of budget, start with low baskets and rolling bins that slide into the same low zone.
Cost: $80 to $250 for bins and baskets, $800 to $2,500 for custom drawers. Difficulty and time: Easy for bins, about 1 hour; moderate for built-ins, usually 1 to 3 days with a carpenter. Tip: Put weekly items near the access door and twice-a-year items at the far end. Watch out: Check for insulation, wiring, and pipes before cutting into a knee wall.
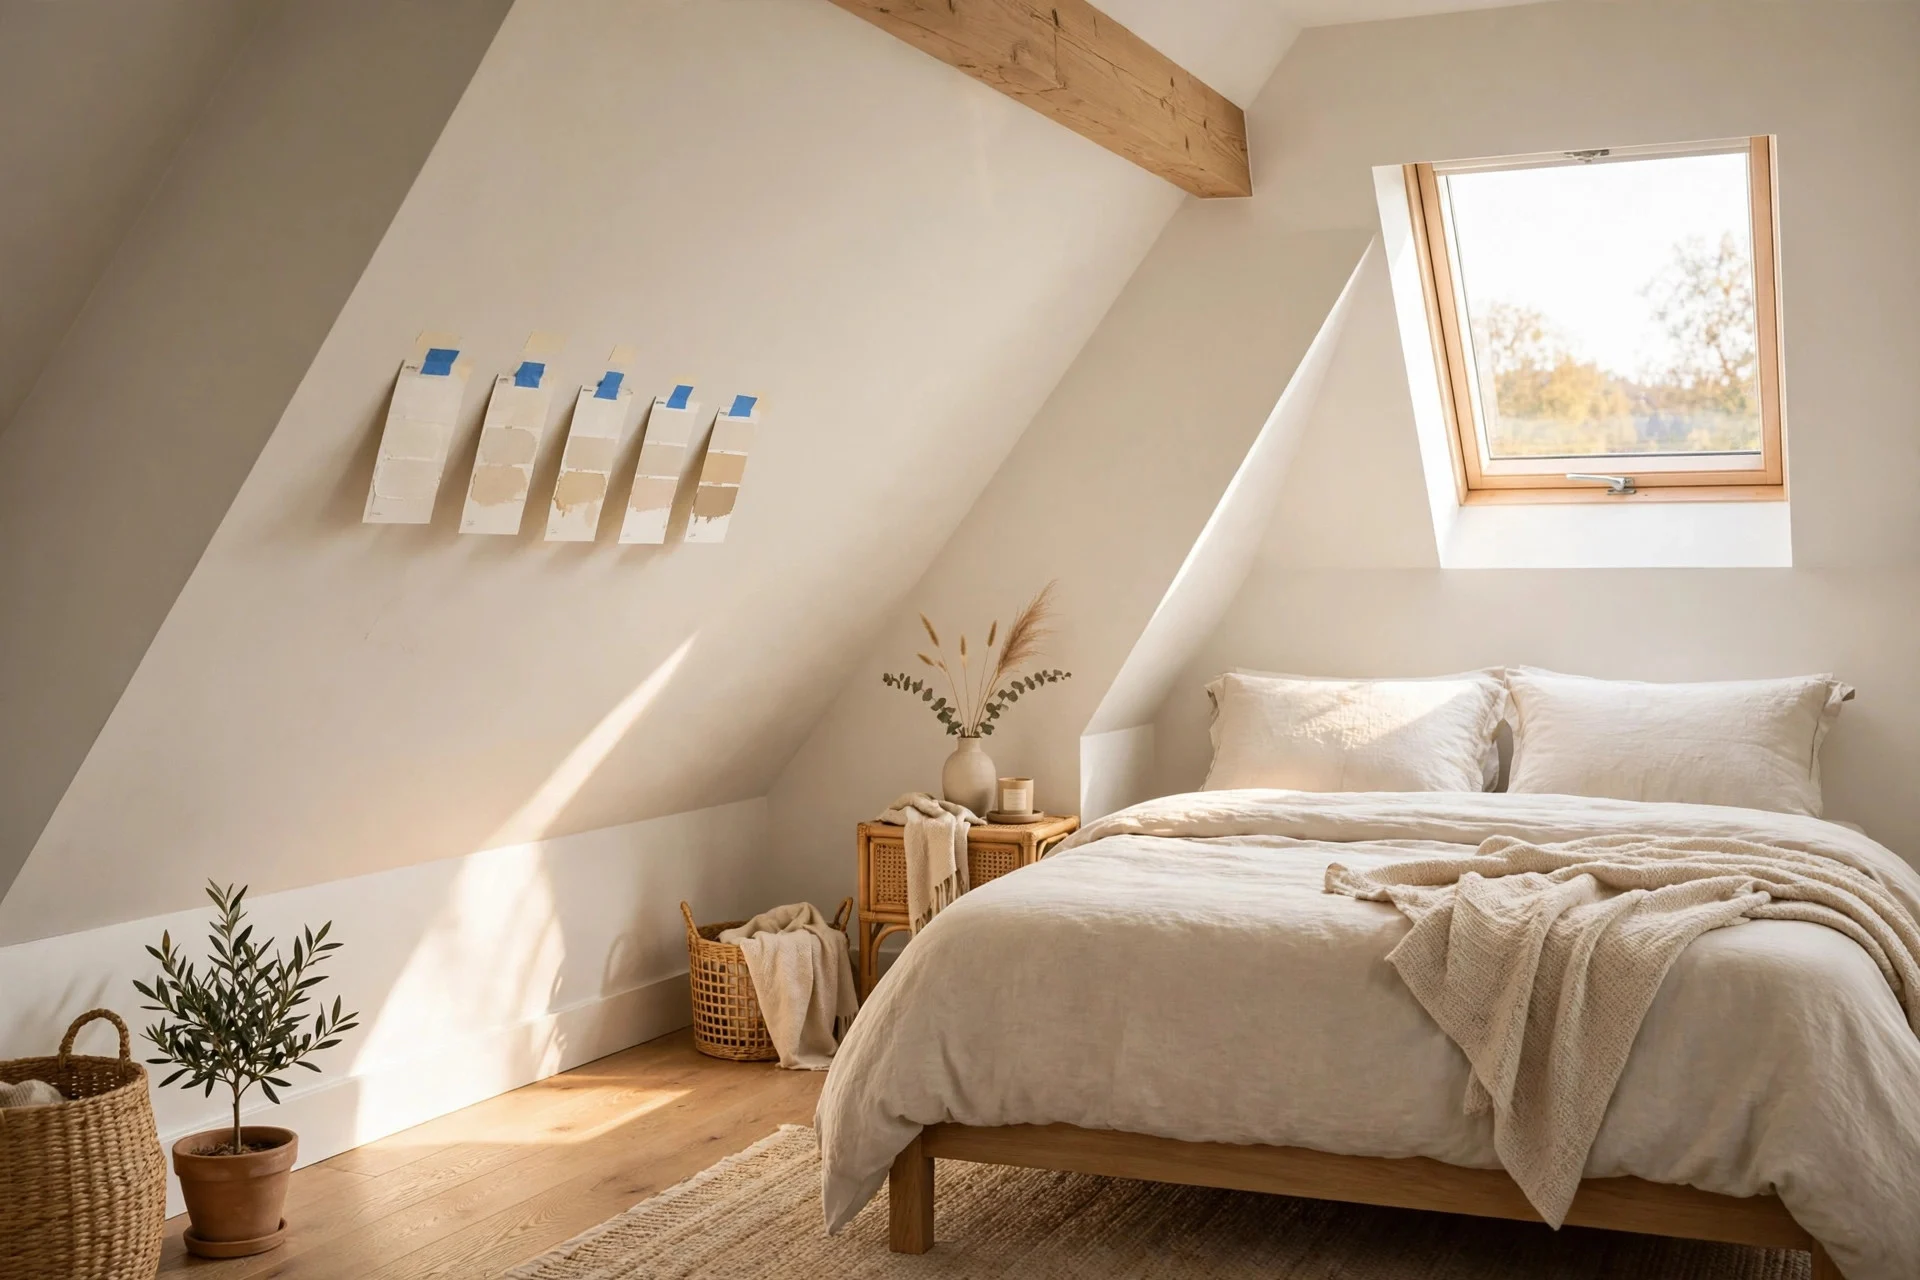
Step 5: Paint the Ceiling and Walls in Light, Matching Tones
Paint the sloped ceiling and walls in the same light color, or in two tones close together on a paint card. White, warm off-white, pale greige, and soft sage bounce light around and blur the line where wall meets slope. That blur makes the ceiling read as taller and the room calmer. If you want color, keep it on one full-height wall, bedding, or art, and keep the slopes light, since dark paint on a slope can make a low attic feel closer.
Cost: $60 to $180 for paint and supplies, $400 to $900 if you hire a painter. Difficulty and time: Moderate, 4 to 8 hours over a weekend. Tip: Test three swatches on the slope itself and check them at noon and at night, since slopes catch light at odd angles. Watch out: Do not skip primer on patched plaster or stained wood, or bare patches will show through light paint. The same light-and-low approach helps other tight rooms, as shown in this guide to living room low ceiling decor.
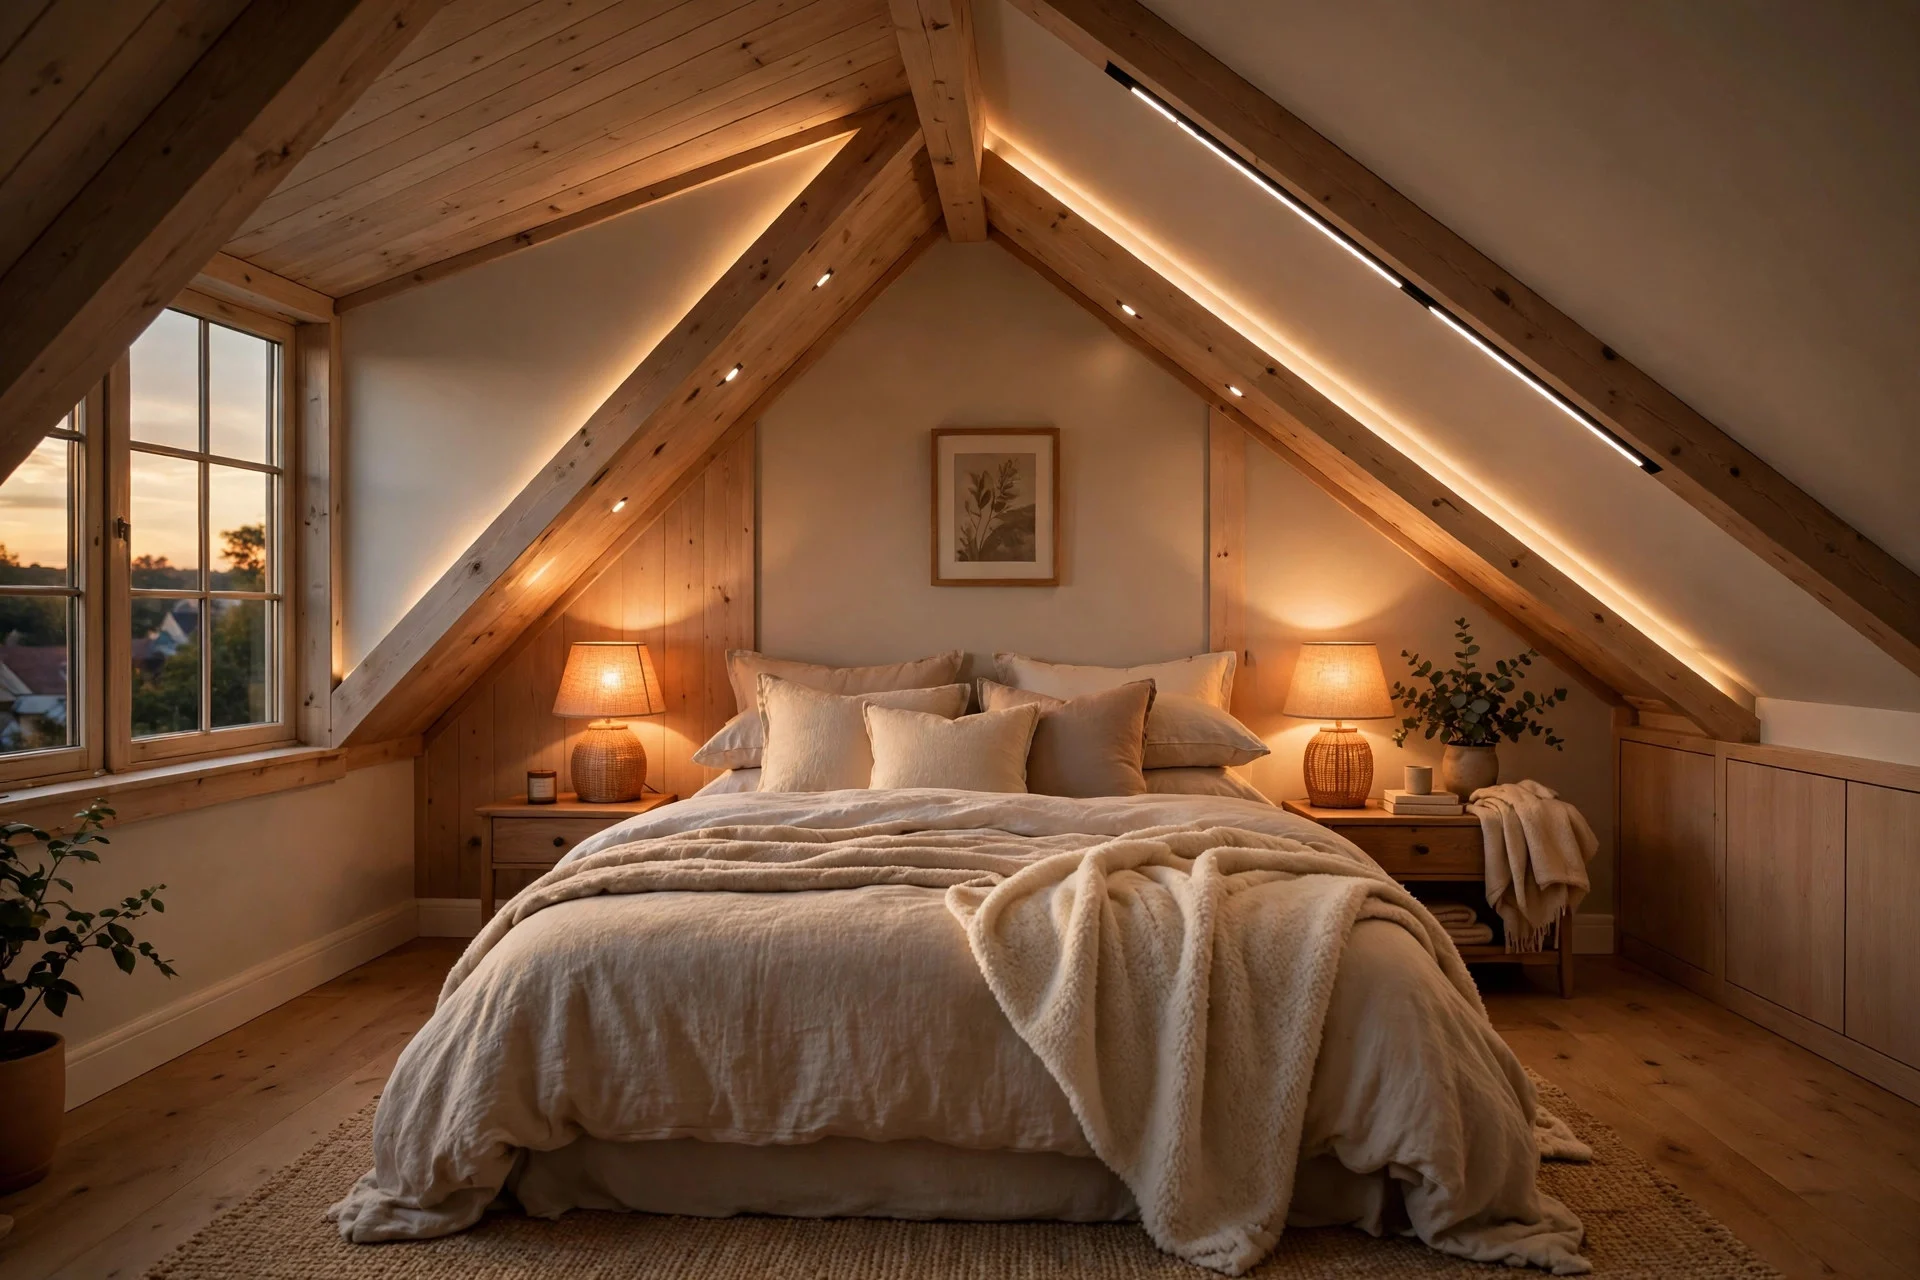
Step 6: Layer Low, Warm Lighting Instead of One Harsh Ceiling Light
Skip a single bright ceiling fixture and layer three types of light: soft ambient light, focused task light, and warm bedside light. Recessed lights, slim track lights, or wall sconces work well on slopes because they sit close to the surface and do not hang into head space. Add a bedside lamp or clip-on reading light for the bed, and a small lamp on a dresser for evening warmth. Bright, cool-white light suits cleaning and dressing, while warm 2700K light in the evening helps the room feel restful.
Cost: $40 to $150 for lamps and bulbs, $300 to $800 for recessed or track lighting fitted by an electrician. Difficulty and time: Easy for lamps, about 30 minutes; moderate for wired lights, usually half a day. Tip: Use dimmers wherever you can. One costs about $15 to $25 and makes a fixture work for mornings and late-night reading. Watch out: Never hang a pendant in the walking zone under a low slope. Keep hanging fixtures only where the ceiling is at least 84 inches high.
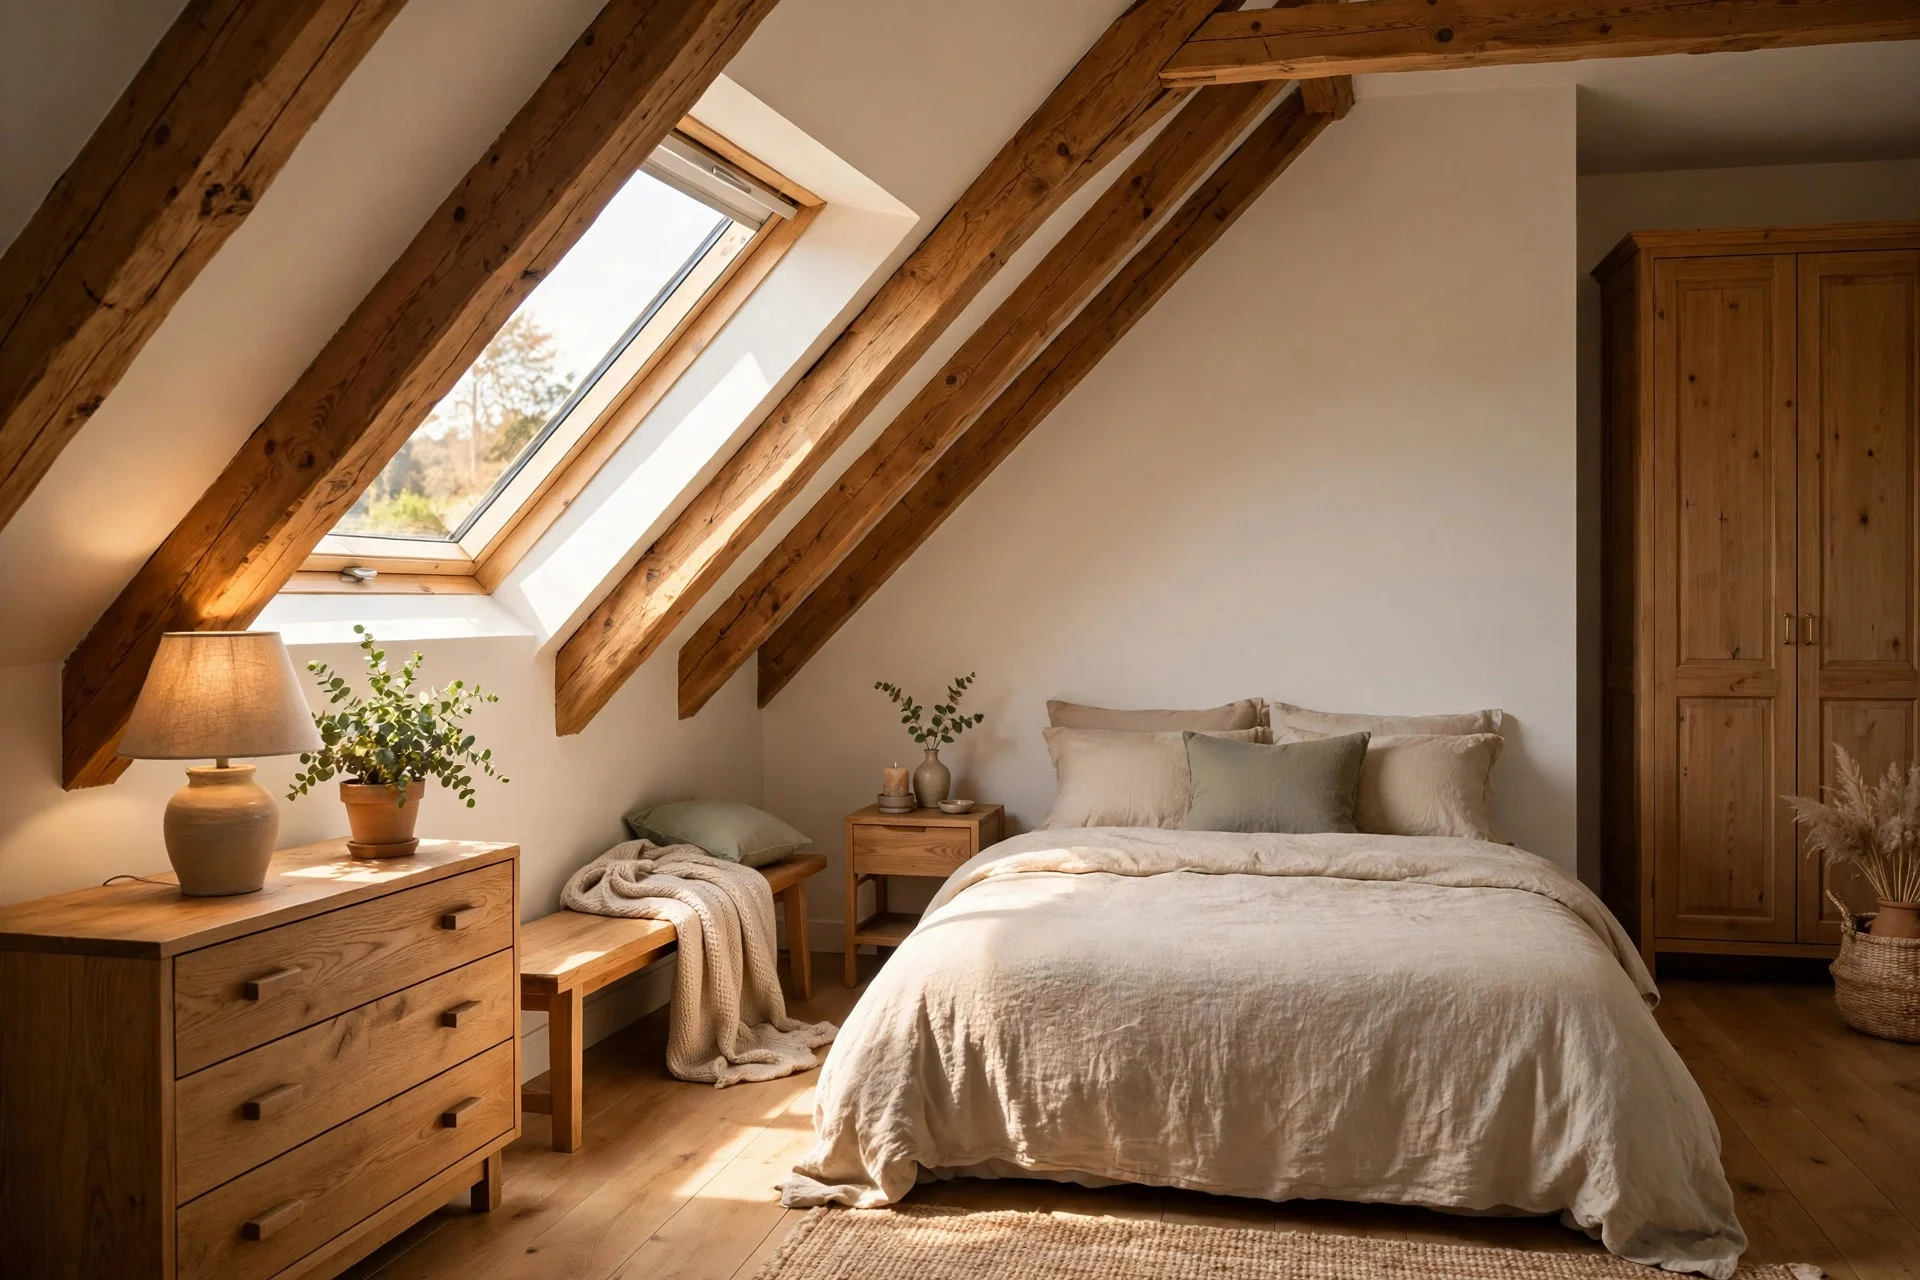
Step 7: Use Low Dressers, Benches, and Nightstands Along the Slope
Line the sloped wall with furniture that fits under it: dressers 30 to 34 inches tall, benches 17 to 19 inches tall, and nightstands just below the top of your mattress. Low furniture follows the ceiling line instead of fighting it, and leaves the upper slope open so the room breathes. A long, low dresser can also double as a shelf for a lamp, a plant, and a small tray. Keep tall pieces like wardrobes and bookcases on the full-height wall or gable-end wall.
Cost: $100 to $500 per low dresser or bench, less secondhand. Difficulty and time: Easy, 30 to 60 minutes to place and level each piece. Tip: Measure furniture height at the back edge, where it meets the slope, not just at the front, since a raised back lip can hit the ceiling. Watch out: Avoid stacking boxes on top of low furniture under a slope. The pile will creep into the ceiling line and make the room feel cramped again.
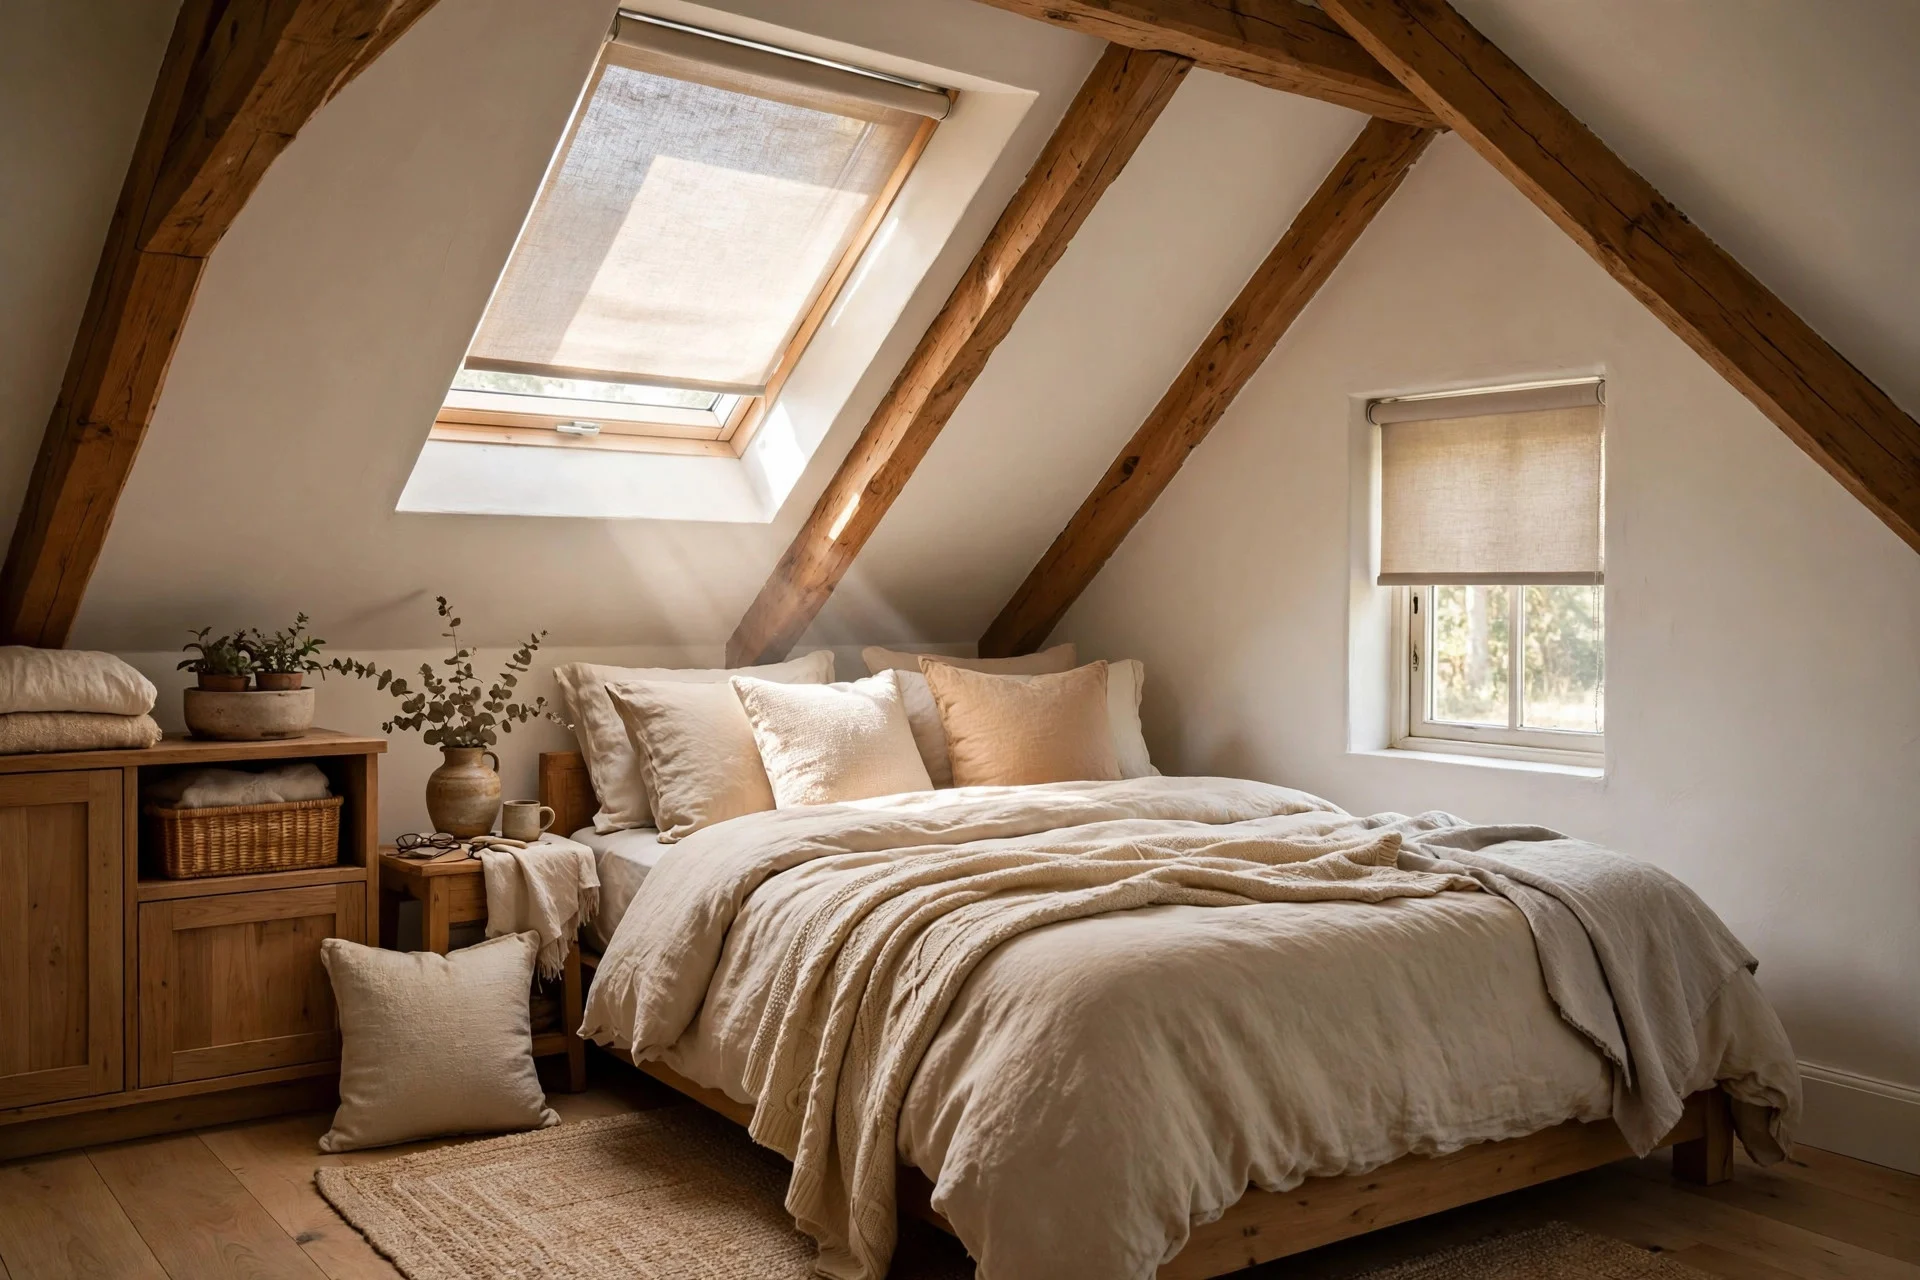
Step 8: Dress Skylights and Small Windows for Light and Privacy
Skylights are an attic bedroom’s best asset, so fit them with light-filtering shades that cut glare but keep daylight, plus blackout shades if you sleep past sunrise or work night shifts. For small gable windows, use roller shades or short curtains hung just above the frame, so fabric does not pool on the floor or block the slope. Good shades also control heat: a reflective or honeycomb shade cuts summer warmth and adds insulation overnight in winter.
Cost: $40 to $150 per standard skylight shade, $80 to $250 for motorized versions. Difficulty and time: Easy to moderate, 20 to 45 minutes per window. Tip: Order by the exact skylight brand and size code printed on the frame, not a rough measurement, since sizes vary by a few millimeters. Watch out: Do not cover a skylight with heavy curtains that trap heat against the glass. Use a shade made for skylights, with a gap for air to move.
Step 9: Create One Useful Nook in the Lowest Corner
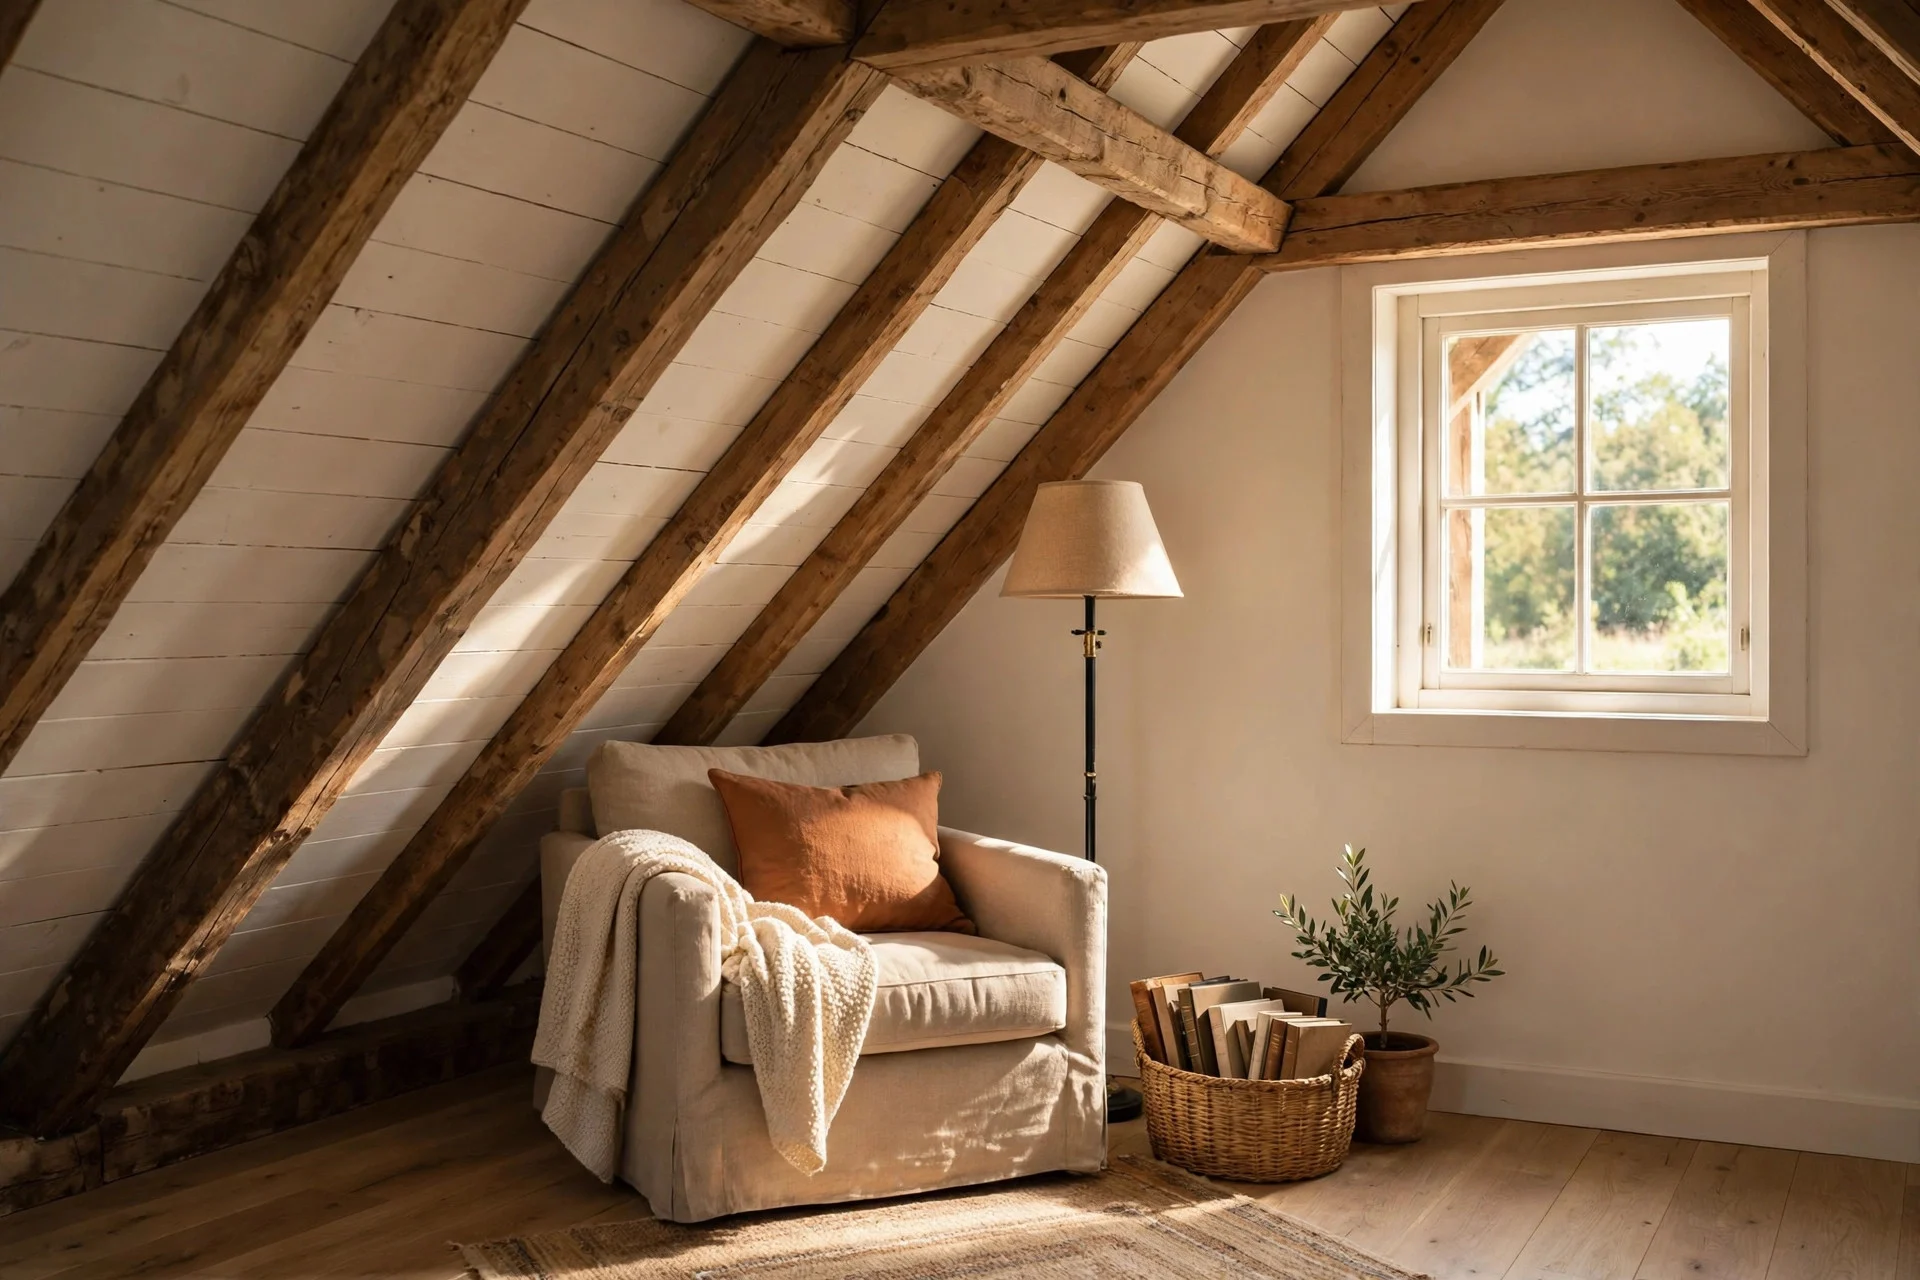
Give the lowest corner a clear job instead of leaving it as wasted space. A reading chair with a floor lamp, a small laptop desk, a dressing bench with a mirror, or a toy corner all work, as long as the job matches the height. A reading nook needs about 48 inches of sitting clearance, while a desk needs about 60 inches so you can sit and stand without ducking. Define the nook with a rug, a cushion, or a small shelf, so it reads as a spot on purpose rather than a leftover gap.
Cost: $50 to $300 for a chair, cushion, or small desk setup. Difficulty and time: Easy, about 1 hour to set up. Tip: Add a small basket or wall pocket for books, chargers, or headphones, so clutter does not spread across the floor. Watch out: Do not put a high-back desk chair where you must duck every time you stand. A low-back chair or stool keeps the nook comfortable and safe.
Step 10: Layer Bedding and Texture to Make the Bed the Focal Point
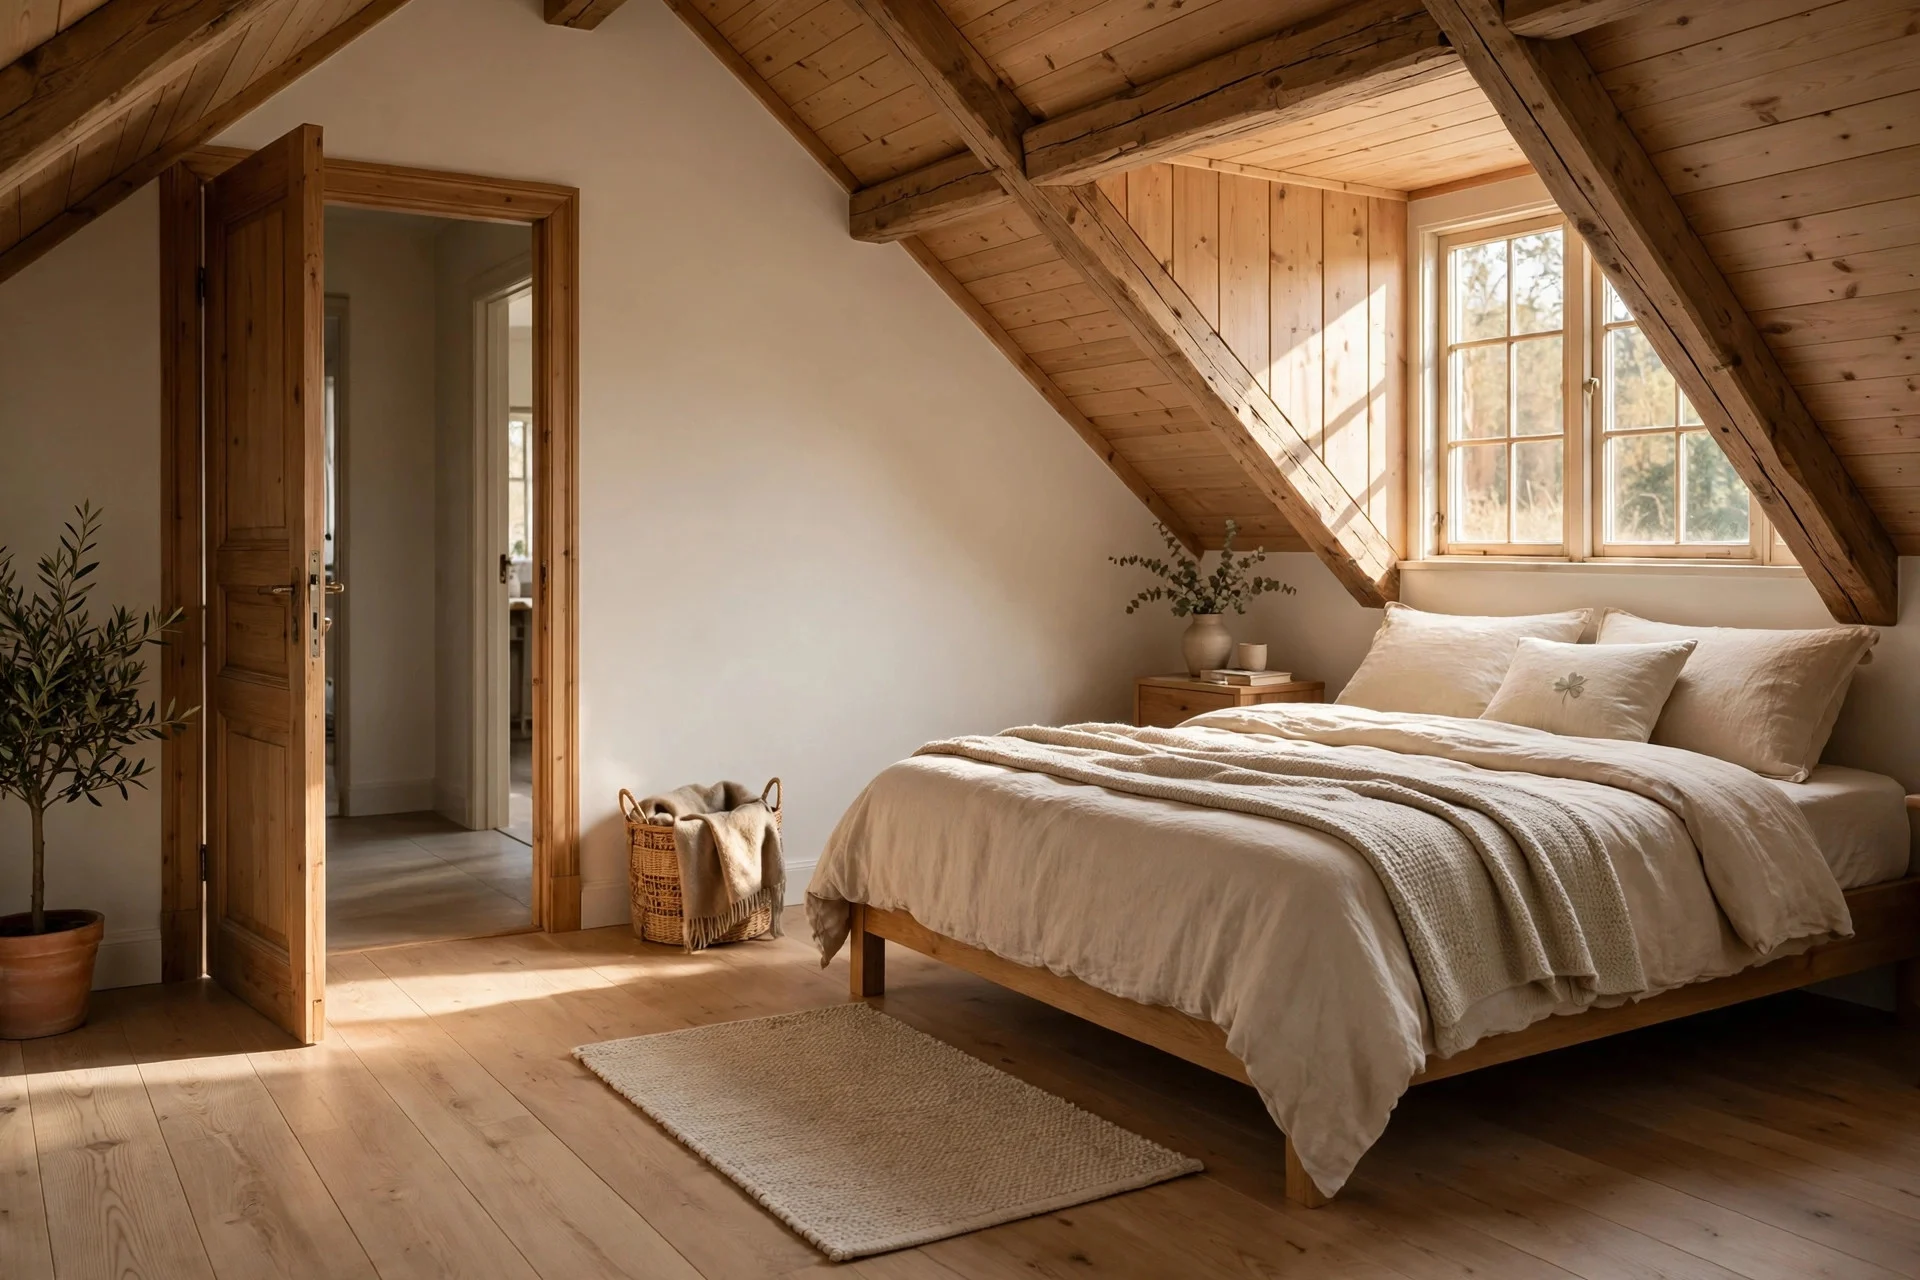
Since the bed sits under the slope, make it the best-looking part of the room. Layer a fitted sheet, a duvet or quilt, a folded throw at the foot, and two to four pillows in mixed sizes. Mix textures like cotton, linen, and a chunky knit, rather than buying everything in one shiny set. Keep the palette simple: one main color, one soft contrast, and a neutral base. White or cream bedding with a sage, dusty blue, or terracotta throw looks calm and works with most wall colors.
Cost: $80 to $300 for a full bedding refresh, $30 to $80 for a throw and two pillow covers alone. Difficulty and time: Easy, about 20 minutes to make the bed in layers. Tip: Fold the duvet back by one-third and place the throw across the lower third, which shows the layers and makes the bed look made even on a rushed morning. Watch out: Skip oversized pillows stacked three high under a low slope. They push your head toward the ceiling when you lean back. For budget-friendly hotel-style ideas, see how to get a bedroom like a hotel on a budget.

Step 11: Keep Walkways Clear and Rugs Sized to the Flat Floor
Measure rugs by the flat, walkable floor, not the full room footprint. A rug that runs under the slope and curls up the wall looks wrong and can trip you at the edge. Pick a rug that sits fully on flat floor, with at least 18 inches of bare floor around the bed for stepping out, and a clear path of 30 to 36 inches from the door to the bed and wardrobe. A low-pile rug vacuums well and does not catch on low furniture legs, which helps in an attic where dust gathers in corners.
Cost: $60 to $250 for a well-sized bedroom rug, $20 to $40 for a rug pad. Difficulty and time: Easy, about 20 minutes to place and adjust. Tip: Use rug tape or a non-slip pad, especially on wood floors, since a sliding rug is a fall risk in a room where you already duck. Watch out: Do not run power cords across a walkway to reach a lamp under the slope. Use a cord cover or move the lamp closer to an outlet.
Step 12: Style the Walls Without Crowding the Slope
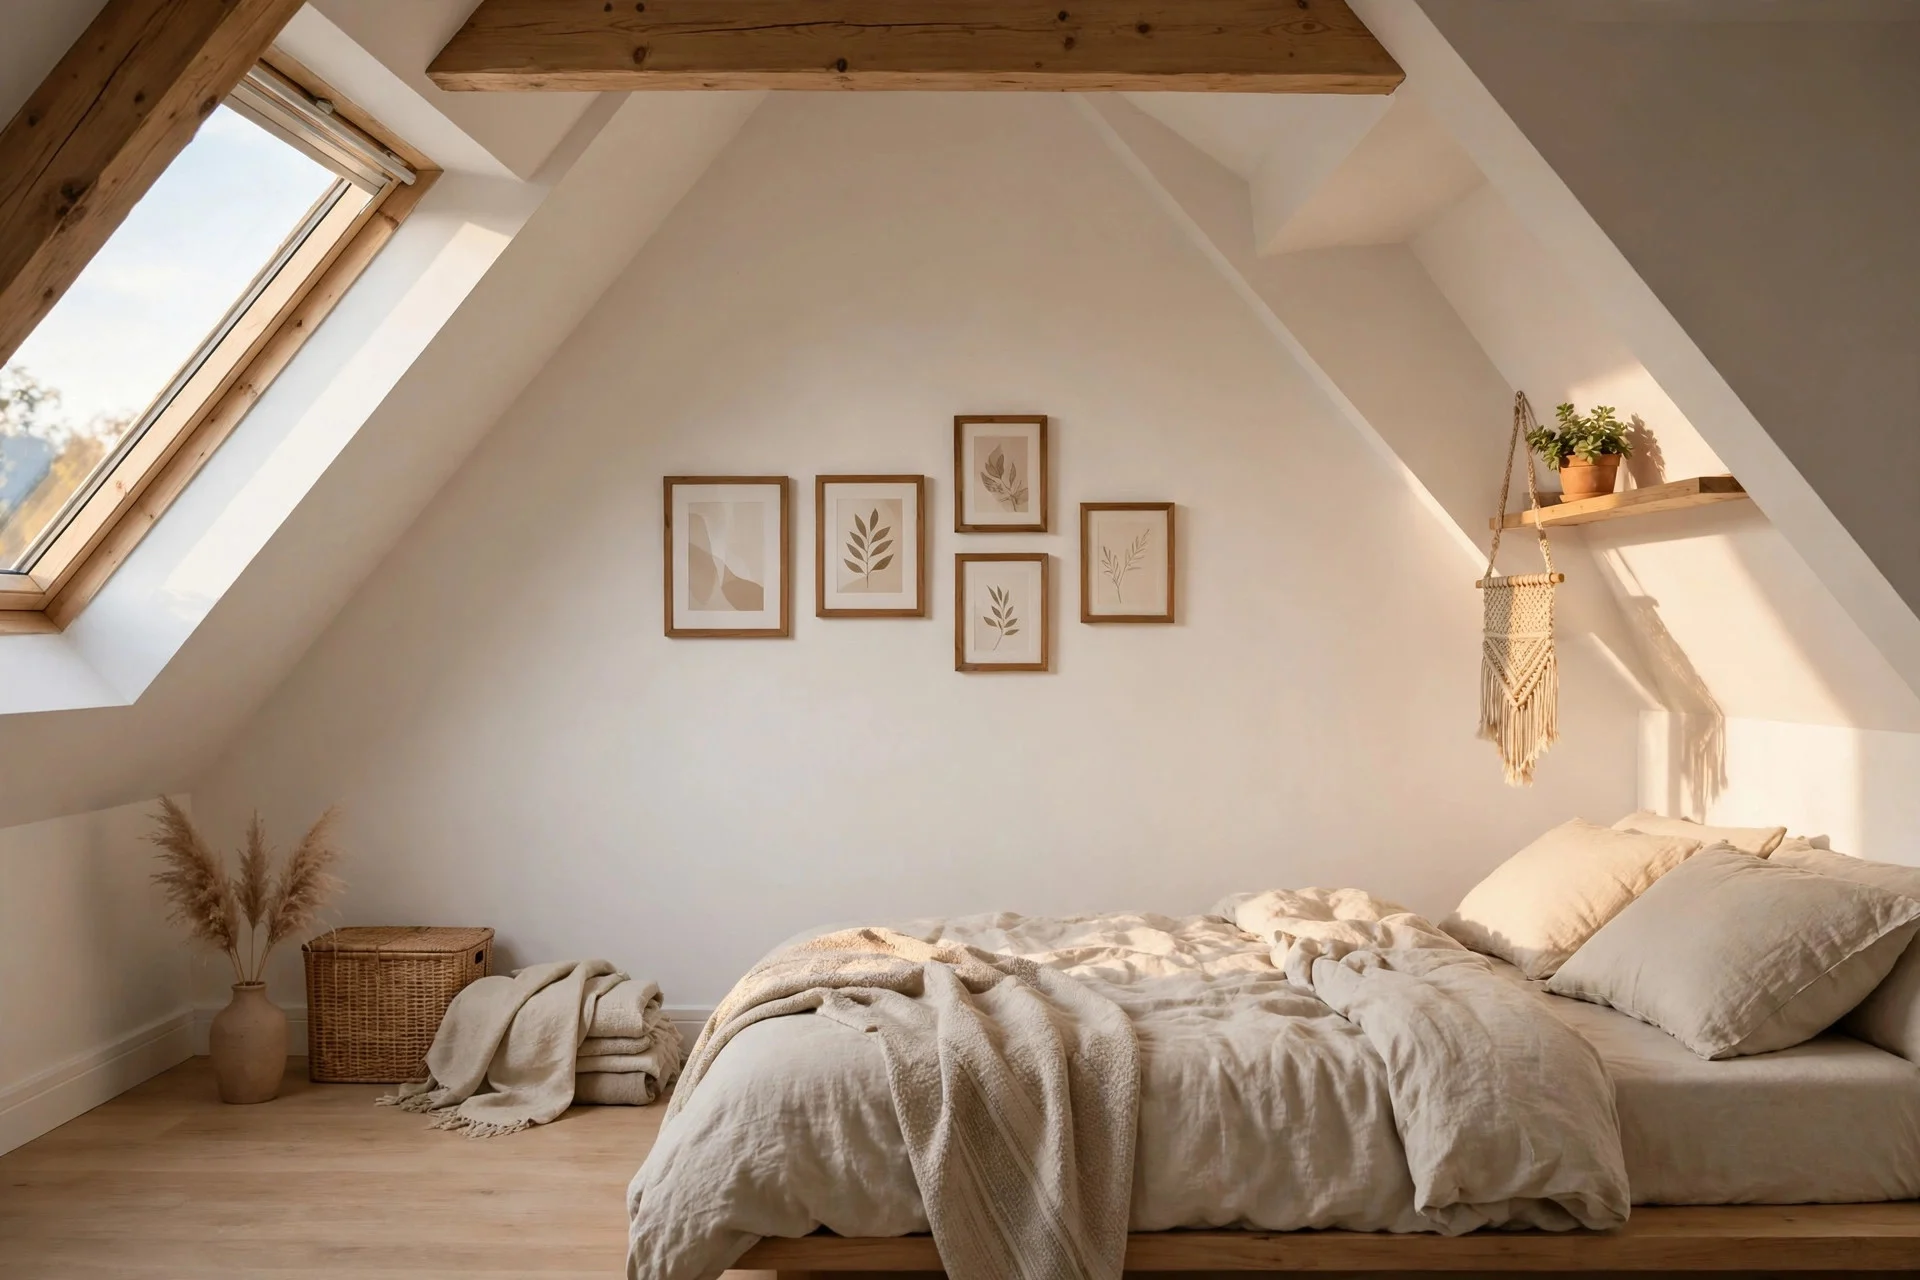
Hang art on the full-height wall and gable-end wall, where you can step back and see it properly. Keep frames small to medium, about 12 by 16 inches to 20 by 24 inches, and hang them at eye level, around 57 to 60 inches to the center of the frame. On the slope itself, use one slim shelf or a small cluster of light frames, and leave plenty of empty wall around them so the slope does not feel busy. A framed print, a woven hanging, a small mirror, and a plant on a low shelf all add warmth without bulk.
Cost: $30 to $150 for frames, prints, and a shelf. Difficulty and time: Easy, 1 to 2 hours to hang and adjust. Tip: Cut paper templates the size of each frame, tape them to the wall, and live with the layout for a day before drilling. It takes 15 minutes and prevents extra holes in plaster. Watch out: Do not hang heavy frames on sloped plaster with adhesive strips alone. Use a wall anchor rated for the frame weight.
Frequently Asked Questions
Can you put a bed under a sloped ceiling?
Yes, and it is often the best use of a low zone. Put the headboard on the low wall, check that you can sit up with at least 6 inches of clearance, and keep the walking area in the taller part of the room. A low-profile frame, 10 to 14 inches high, makes the setup far more comfortable.
What color makes a sloped ceiling look higher?
Light colors that match the walls, like white, warm off-white, or pale greige, make the slope blend in and read as taller. Keep bold colors on a flat accent wall, bedding, or art, and keep the slope itself light.
How do you add storage to an attic bedroom with low walls?
Use knee-wall space first, with bins, drawers, or built-in doors for clothes and bedding. Add low dressers along the slope and under-bed drawers for daily items, and keep tall wardrobes on the full-height wall.
Is a sloped ceiling bedroom too dark?
It can feel dark with only one ceiling light, but layered lighting fixes that fast. Combine recessed or track lights with bedside lamps, keep skylight shades light-filtering by day, and place a mirror opposite a window to bounce daylight deeper into the room.
Quick Wrap-Up Checklist
Measure first, then place the bed under the slope, storage in the knee walls, and tall furniture on the flat wall. Paint slopes light, layer warm lighting, choose low furniture that follows the ceiling line, and keep walkways clear. Finish with layered bedding and a few well-placed frames. Before you buy anything large, check this list once more: height map done, bed clearance checked, storage plan set, lighting layered, rug sized to flat floor, and art hung on flat walls.