How to Block Light and Noise in a Street-Facing Bedroom
If your bedroom faces the street, you already know the problem: headlights sweep across the ceiling, the streetlamp glows through thin curtains, and traffic noise rolls in every time a truck passes. The fix isn’t one product. It’s a set of layers — block the light at the window, seal the gaps sound slips through, then soften what’s left inside the room. Done in the right order, you can get a properly dark, noticeably quieter bedroom in a single weekend.
What you’ll need: a roll of draft tape, a door sweep, blackout curtains and a rod, a blackout roller shade, and — if noise is the bigger problem — window inserts or heavy wall panels. Expect roughly $100–$250 for a light-blocking setup, $300–$800 if you add serious noise reduction, and a weekend of work at an easy-to-moderate pace. You can stop after any step and still sleep better.
1. Find Where the Light and Noise Are Actually Getting In
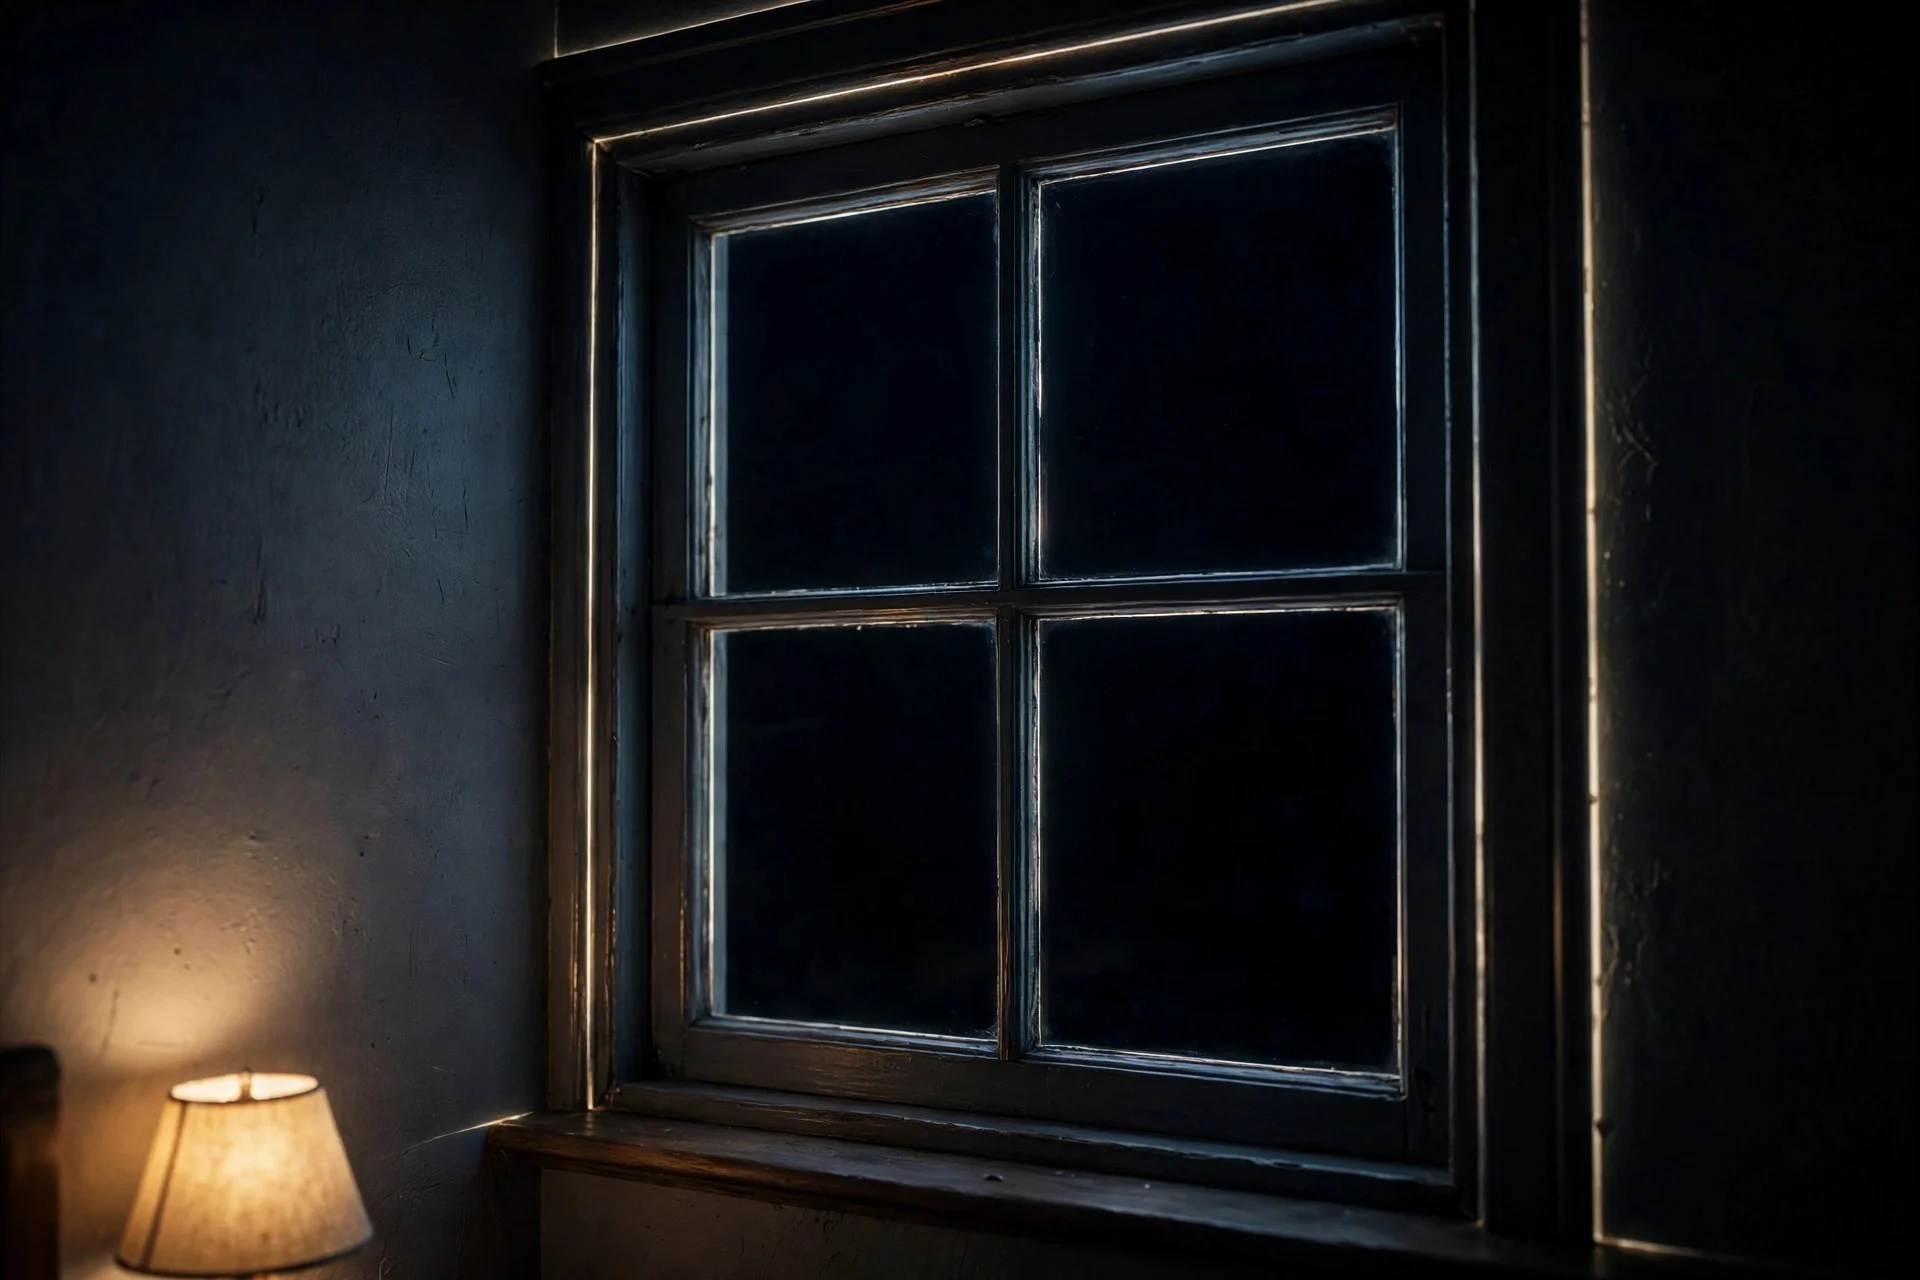
Before you buy anything, spend one evening finding the real leaks. After dark, turn off the bedroom lights and stand by the window. You’ll see thin lines of light around the frame, through gaps in old curtains, and under the door. Then close the windows and listen: traffic hum usually comes through the glass itself, rattles come from loose frames, and voices or tyre noise sneak in through gaps around the frame and the door.
This check matters because it stops you spending money on the wrong fix. Curtains won’t help if sound is pouring through a half-inch gap under your door, and a door sweep won’t fix light bleeding around a short curtain rod. A ten-minute survey tells you which steps below will pay off most.
Tip: hold a lit phone flashlight against the window frame from outside at night and watch from inside — every leak shows up as a bright line. Watch out: don’t skip this in daylight; light leaks only show up in the dark.
2. Seal the Gaps Around Your Windows and Door
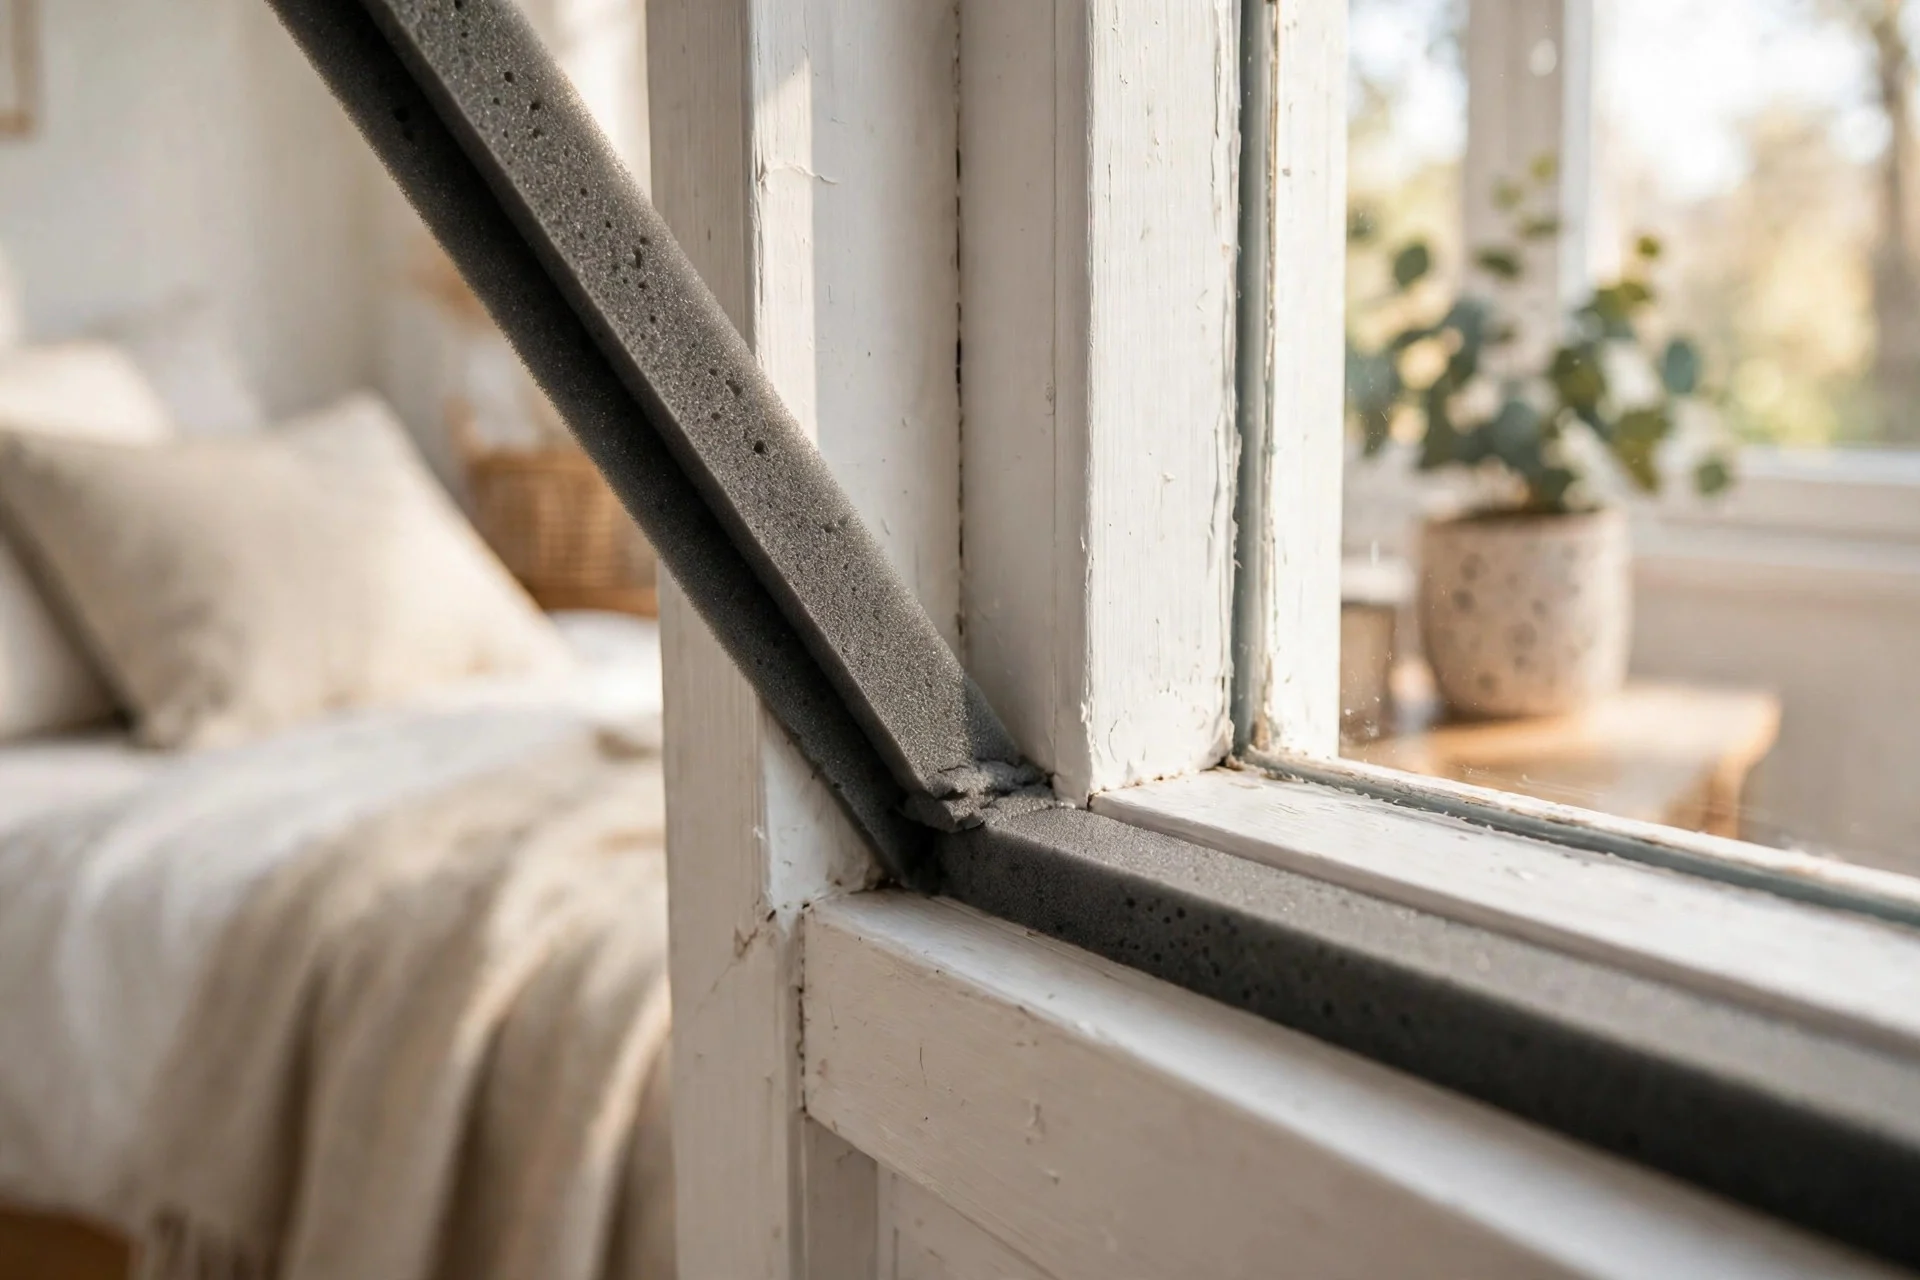
Sound and light both travel through gaps, and old windows and doors are full of them. Run self-adhesive foam draft tape around the window sashes where they meet the frame, and around the bedroom door frame. Press it in firmly and check the window still latches.
Why it works is simple: a gap as thin as a credit card lets in a surprising amount of both. Sealing it costs almost nothing and makes every later step perform far better.
Cost: $5–$15 per window, $8–$15 for a door. Difficulty: easy, about 30 minutes per window. Tip: clean the frame with a damp cloth first, or the tape will peel off within a week. Watch out: foam tape comes in different thicknesses — too thick and the window won’t close, too thin and it won’t seal. Measure the gap before you buy.
3. Hang Blackout Curtains Wide, High, and to the Floor
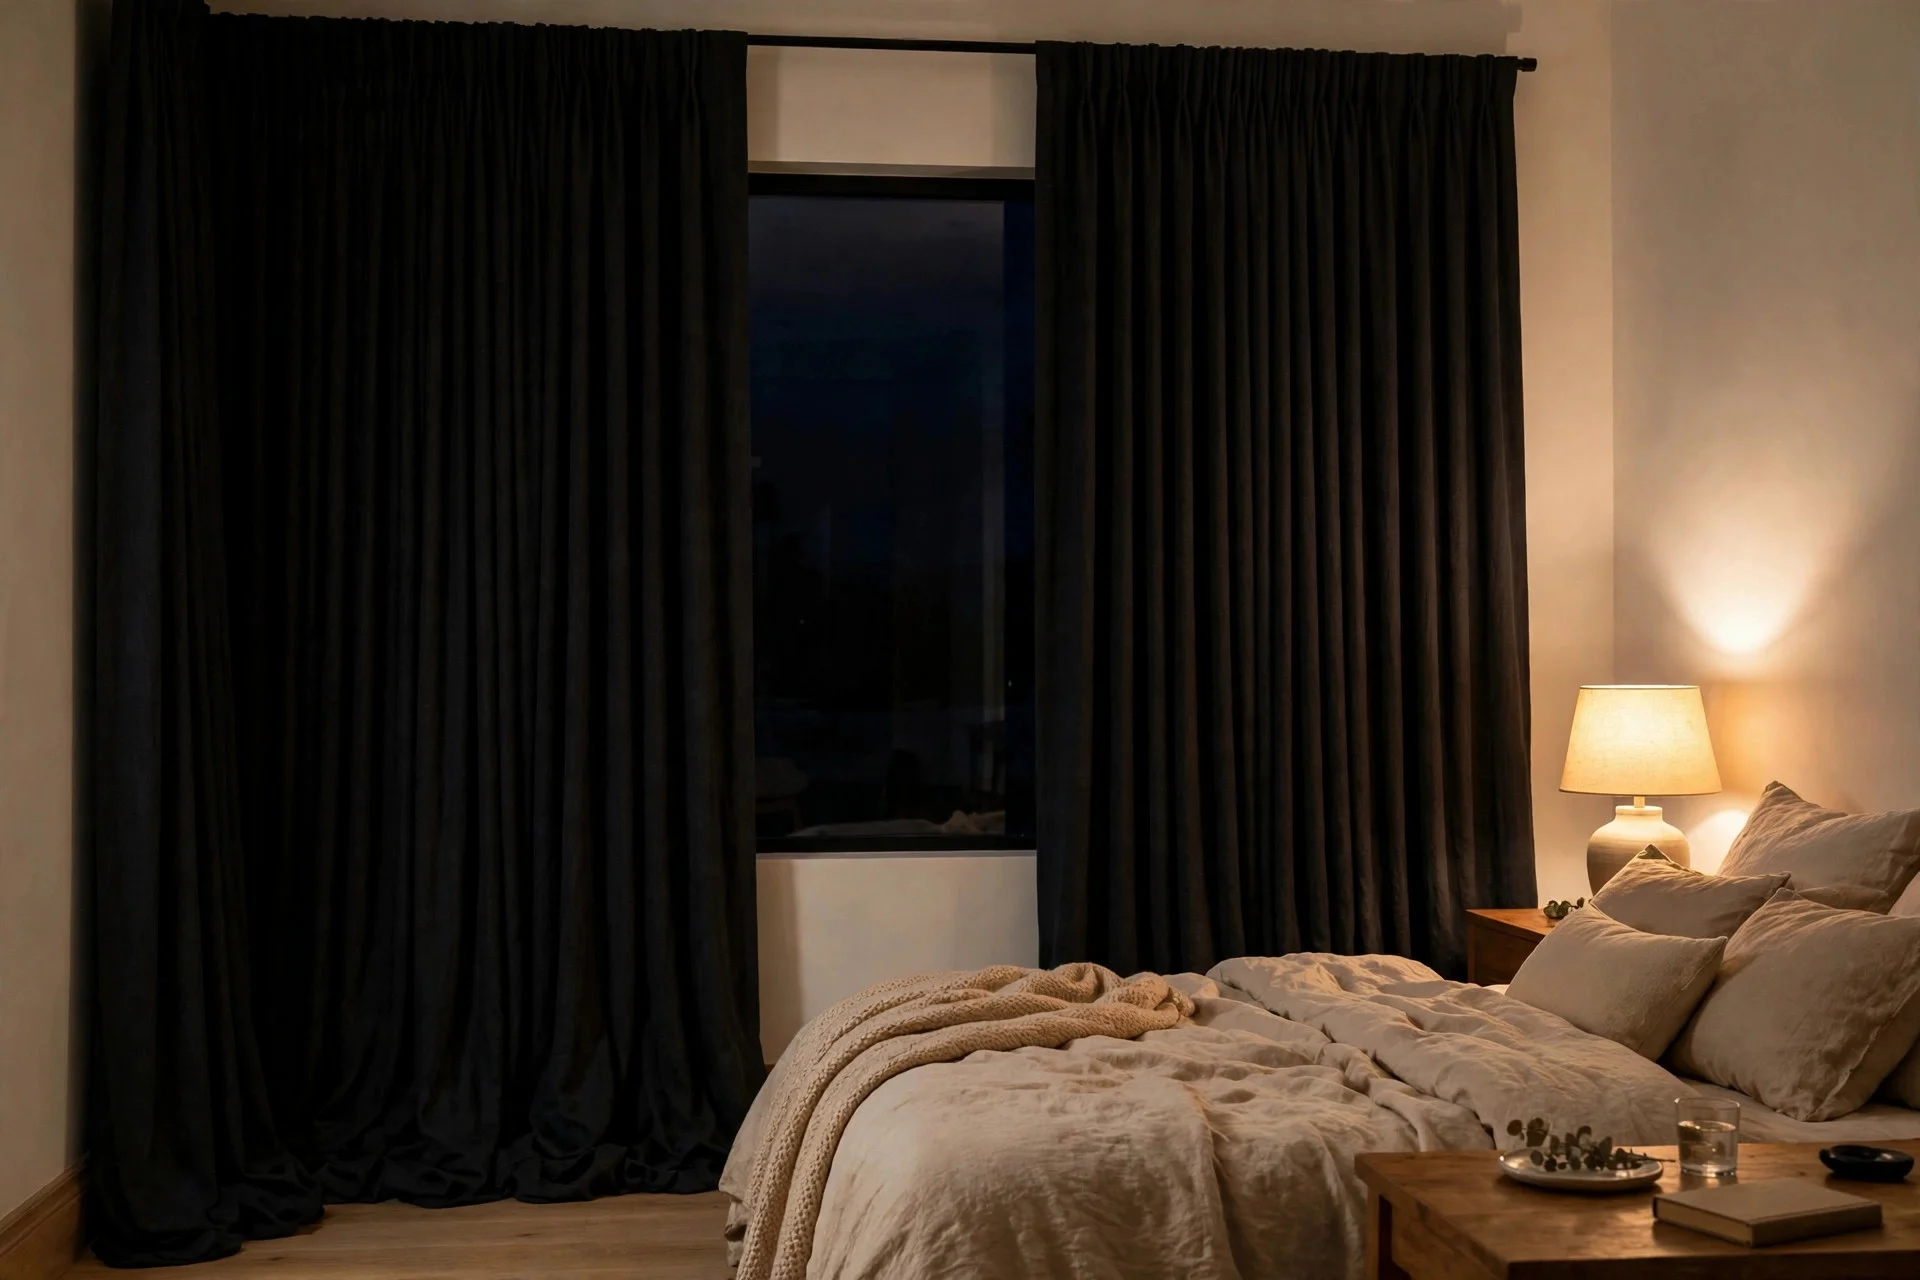
Most blackout curtains fail because they’re hung too small. Mount the rod 4–6 inches above the window frame and 8–12 inches wider than the frame on each side, and choose curtains long enough to puddle slightly on the floor or at least brush it. When drawn, the fabric should overlap the wall on both sides, not just cover the glass.
This works because light leaks around edges, not through decent blackout fabric. A curtain that extends past the frame on all sides blocks those edge leaks and creates a small pocket of still air between fabric and glass. Heavy, lined curtains do this better than thin unlined ones.
Cost: $40–$150 per window, including rod. Difficulty: easy, about an hour per window. Tip: use a wraparound rod or bend the rod ends back to the wall — it closes the side gap where light sneaks in. Watch out: if your rod is only as wide as the window, you’ll get two bright vertical stripes every night. Widen it before you blame the curtains.
4. Add a Blackout Roller Shade Behind the Curtains
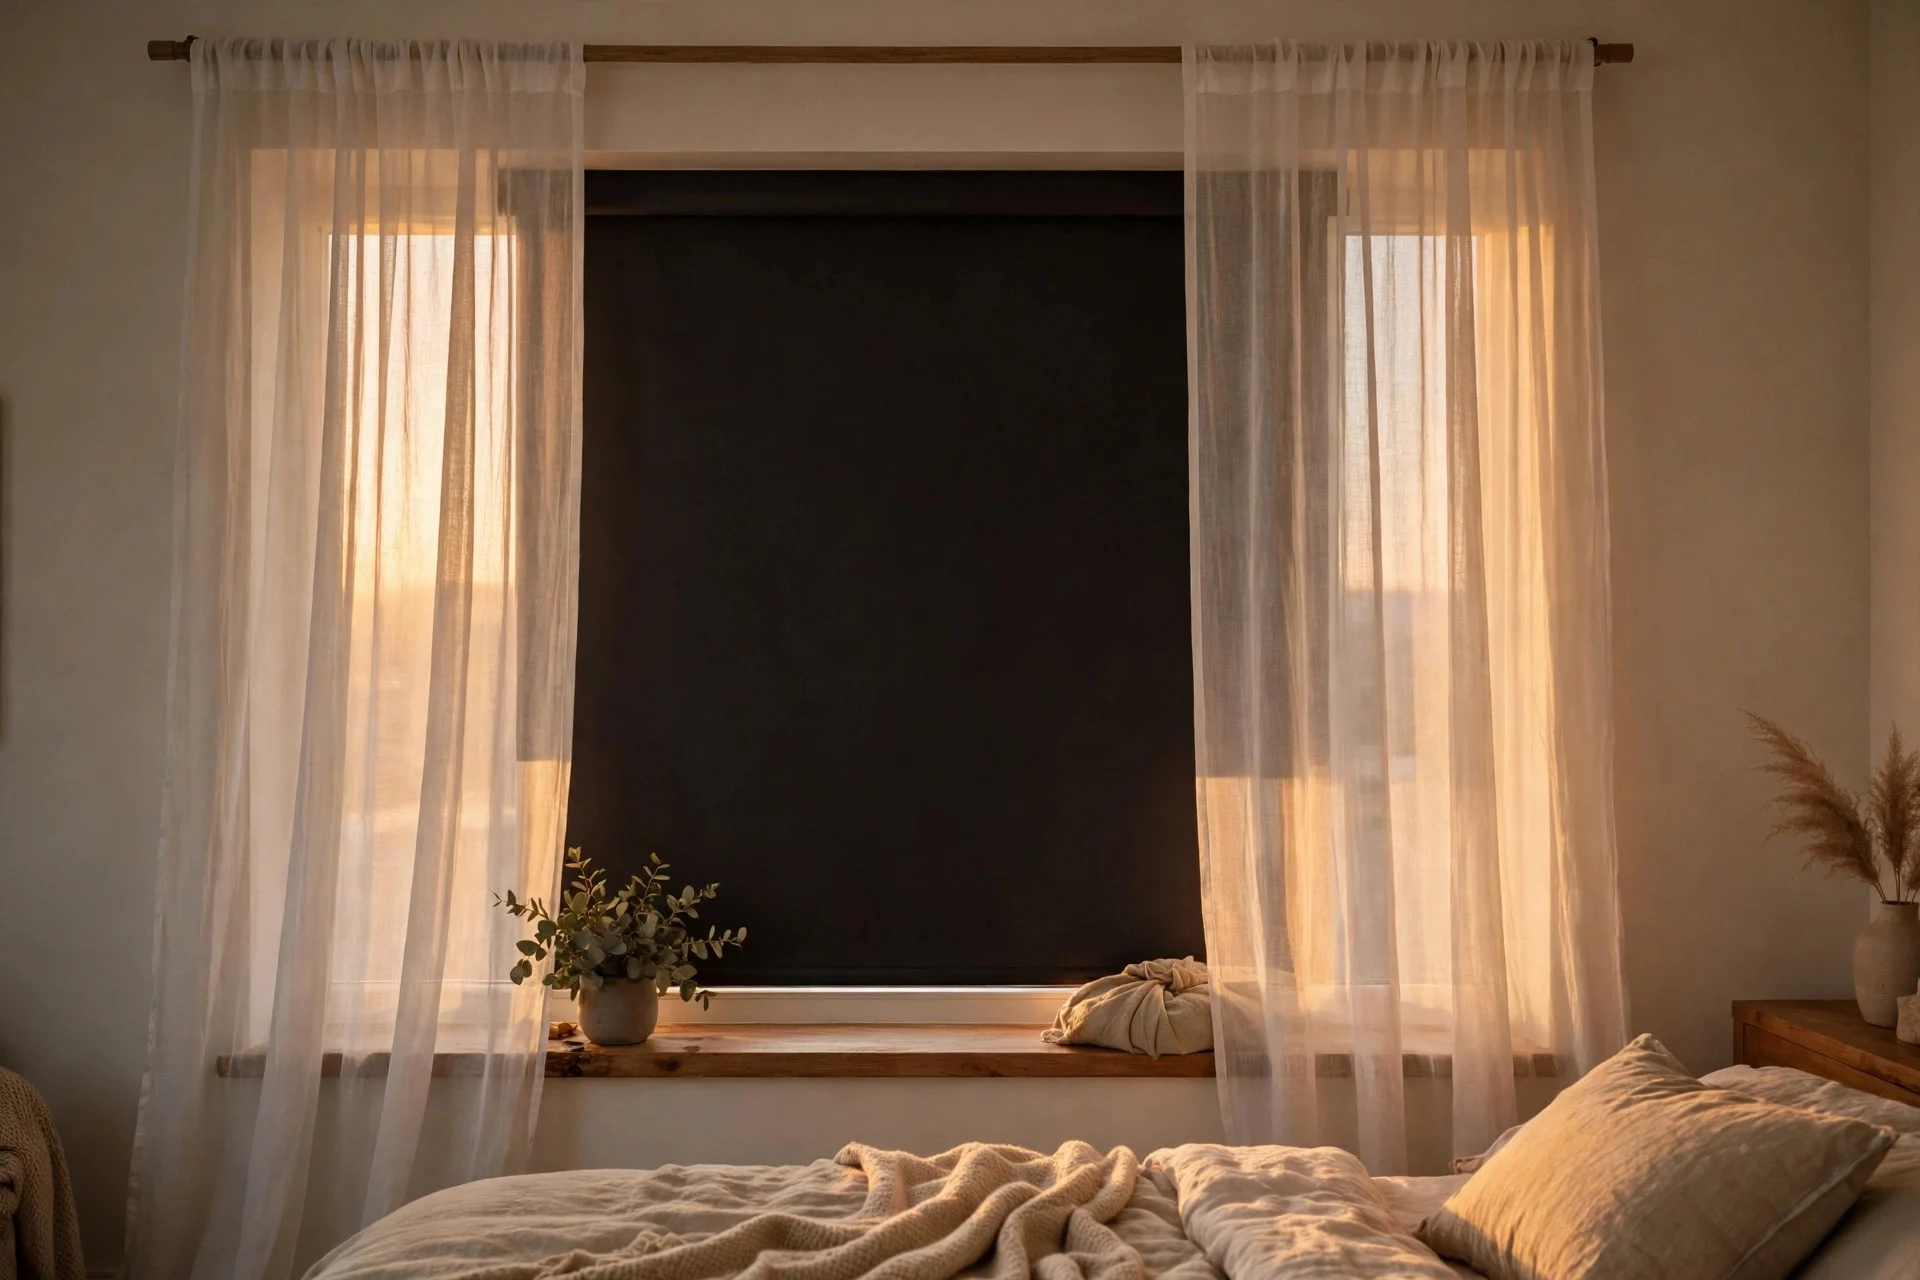
With the curtains up, fit a blackout roller shade inside the window recess, as close to the glass as you can get it. Pull it down at night, then draw the curtains over it. Two layers beat one thick layer because the shade seals the glass itself while the curtain handles the edges.
This is the single biggest jump in darkness most bedrooms get. A good blackout shade blocks nearly all light through the glass. If you only have budget for one upgrade beyond curtains, this is the one to pick.
Cost: $25–$80 per window. Difficulty: easy, about 30–45 minutes per window. Tip: measure the inside of the recess, not the frame, and order the shade a touch narrower so it rolls freely. Watch out: a shade that stops an inch short of the sill leaves a bright strip at the bottom — measure to the sill, not to where you think it should end.
5. Fit Window Inserts for the Noise That Glass Can’t Stop
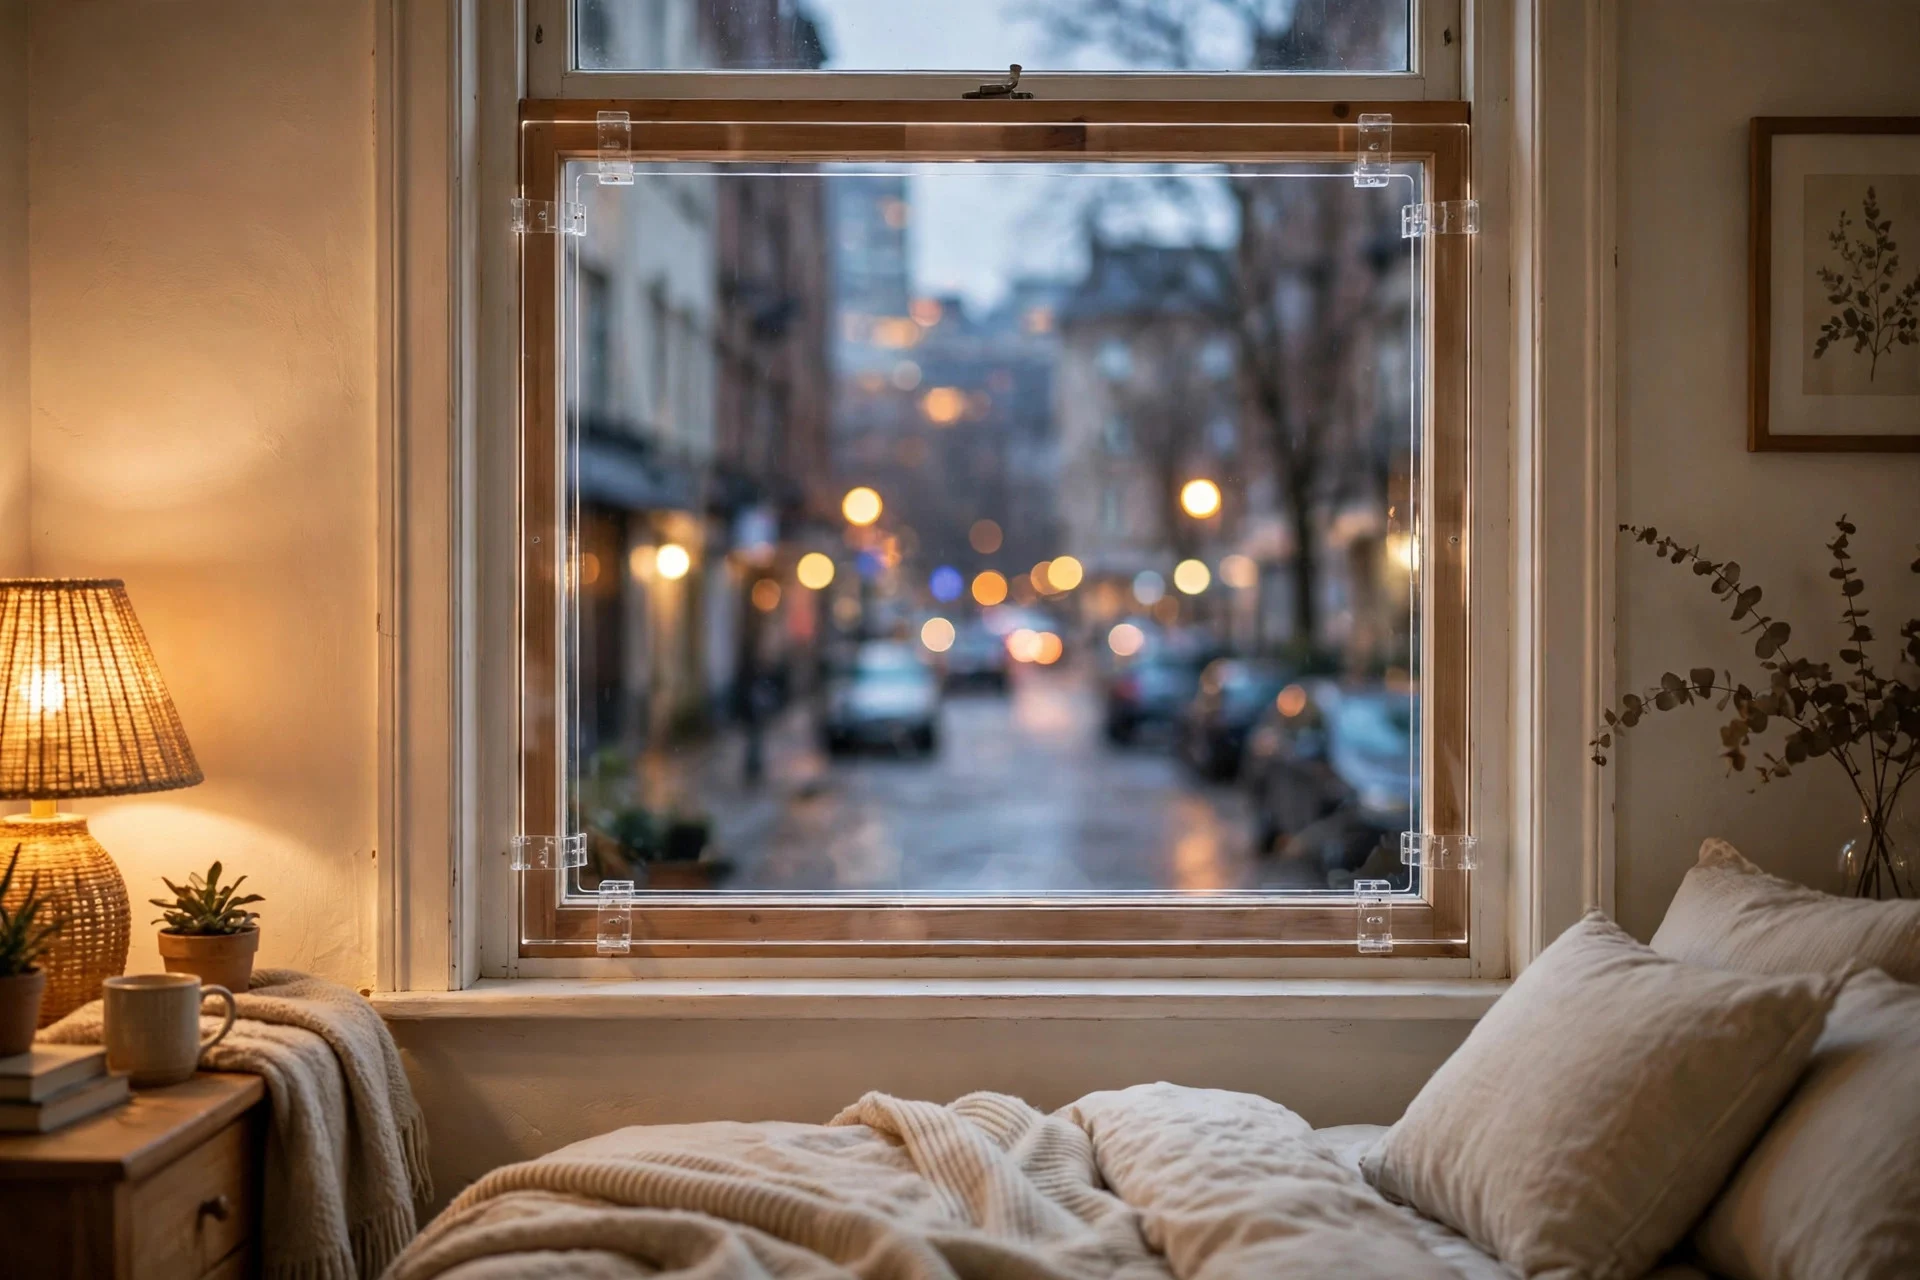
If traffic noise is still loud after steps 2–4, the glass itself is the weak point. A window insert is a clear acrylic or glass panel that presses into the inside of your window frame, leaving a 2–4 inch air gap between it and the existing window. That trapped air is what does the work — sound loses energy crossing it.
Inserts are the best noise fix short of replacing windows, and they don’t change how your home looks from the street. They’re also removable, which makes them a strong option for renters. Expect a clear drop in traffic rumble and sharp sounds like horns; very low bass from heavy trucks will soften but won’t vanish entirely.
Cost: $150–$400 per window for ready-made inserts, less for DIY acrylic. Difficulty: moderate, about an hour per window. Tip: measure each window twice — old frames are rarely square, and a tight fit is what makes inserts work. Watch out: condensation can form between insert and window in cold weather; wipe the gap dry now and then and keep the room ventilated during the day.
6. Block the Gap Under Your Bedroom Door
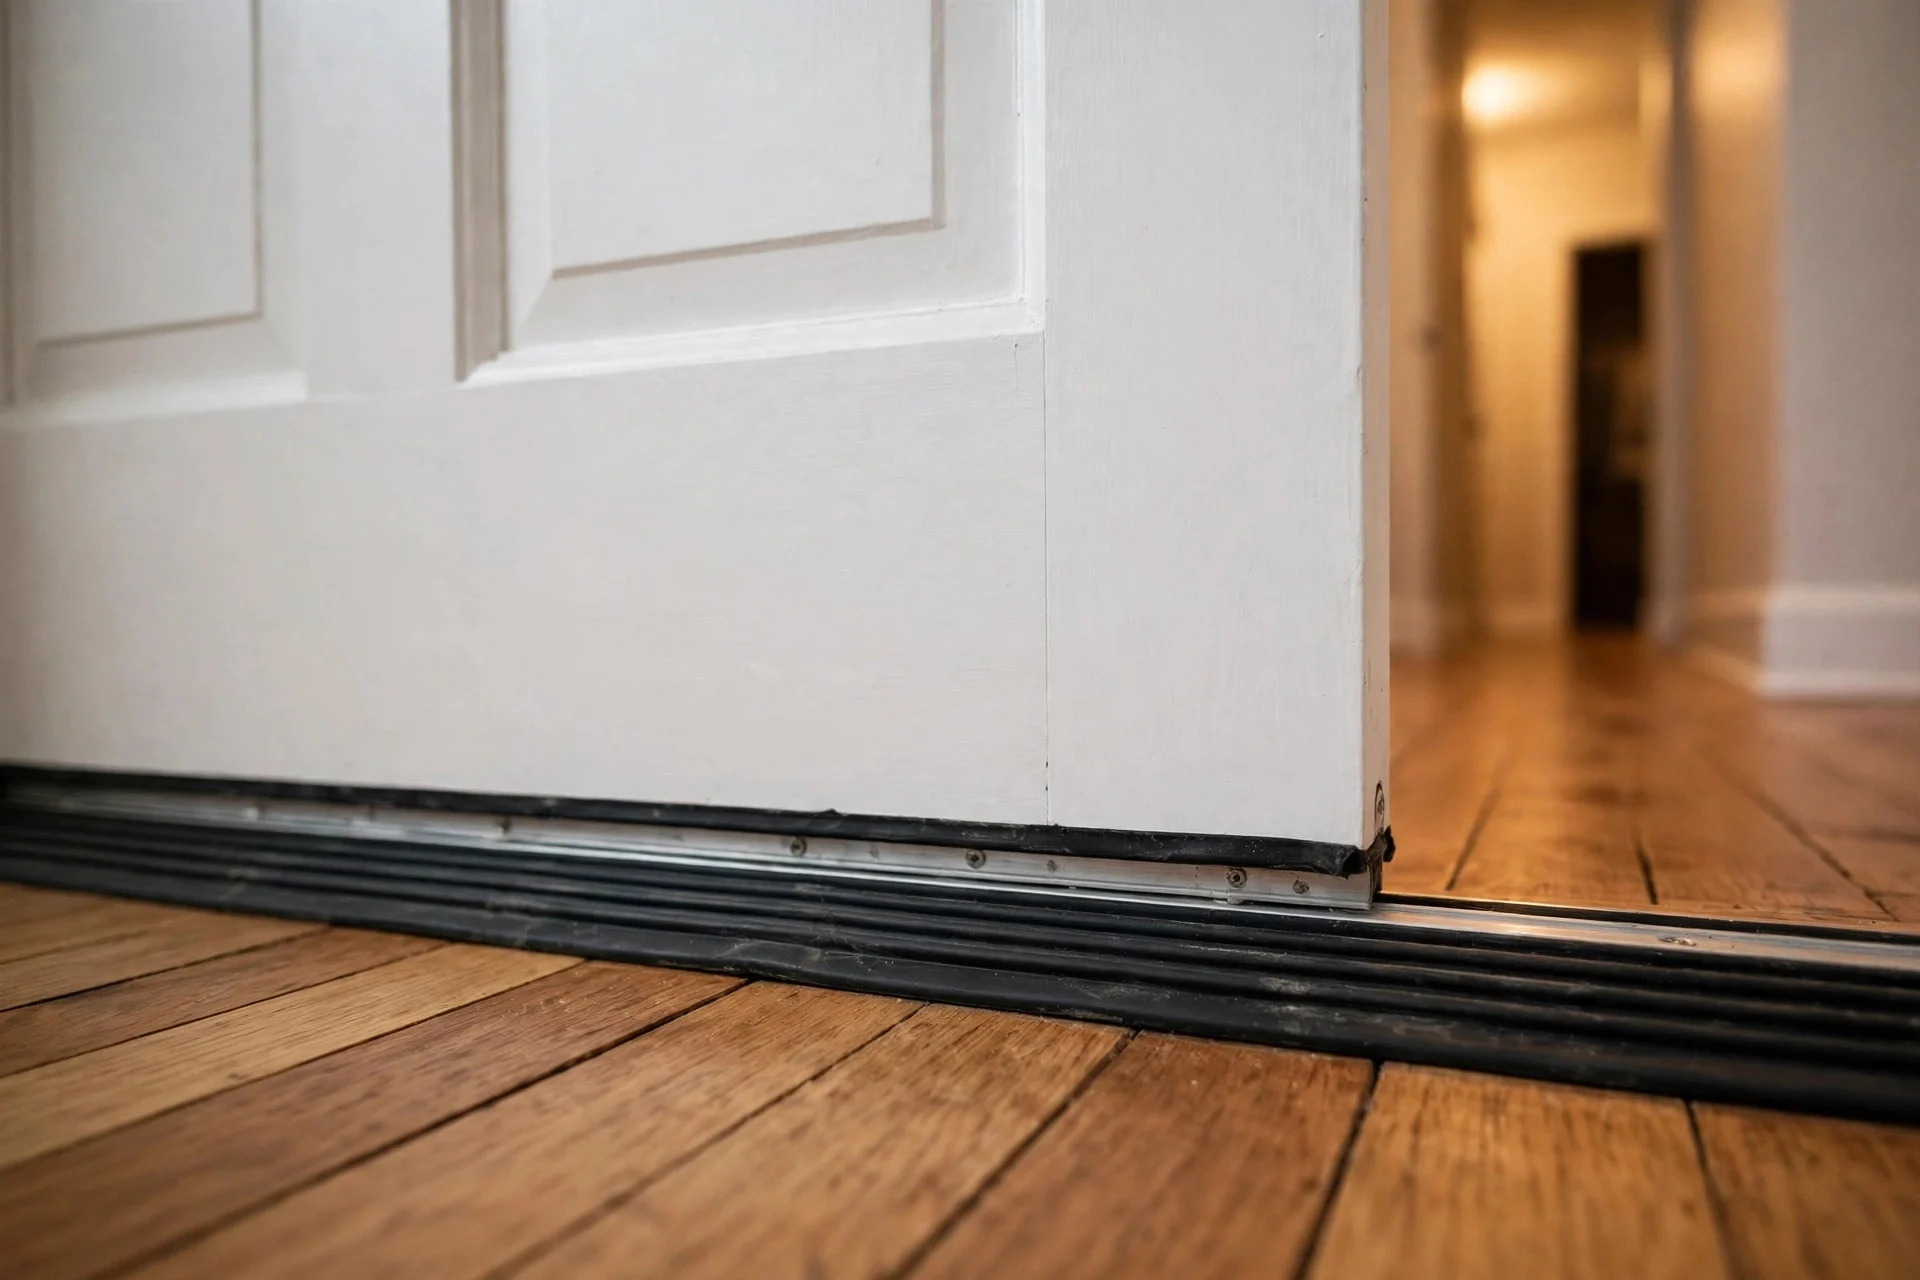
Hallway light and household noise pour under bedroom doors, and street noise that enters the rest of the house travels the same way. Fit a door sweep or a draft stopper along the bottom of the door. A screw-on sweep with a rubber fin lasts longest; a fabric draft snake works as a no-tools stopgap.
This step is cheap and fast, yet people skip it. A half-inch gap under the door is a wide-open channel for light and sound.
Cost: $10–$25 for a sweep, $8–$15 for a draft snake. Difficulty: easy, about 20 minutes. Tip: if the door sticks after fitting the sweep, trim the sweep, not the door — most sweeps cut to length with a hacksaw. Watch out: on thick carpet, a rigid sweep can drag; use a brush-style sweep or a flexible fin instead.
7. Seal the Frame Edges and Any Old Openings
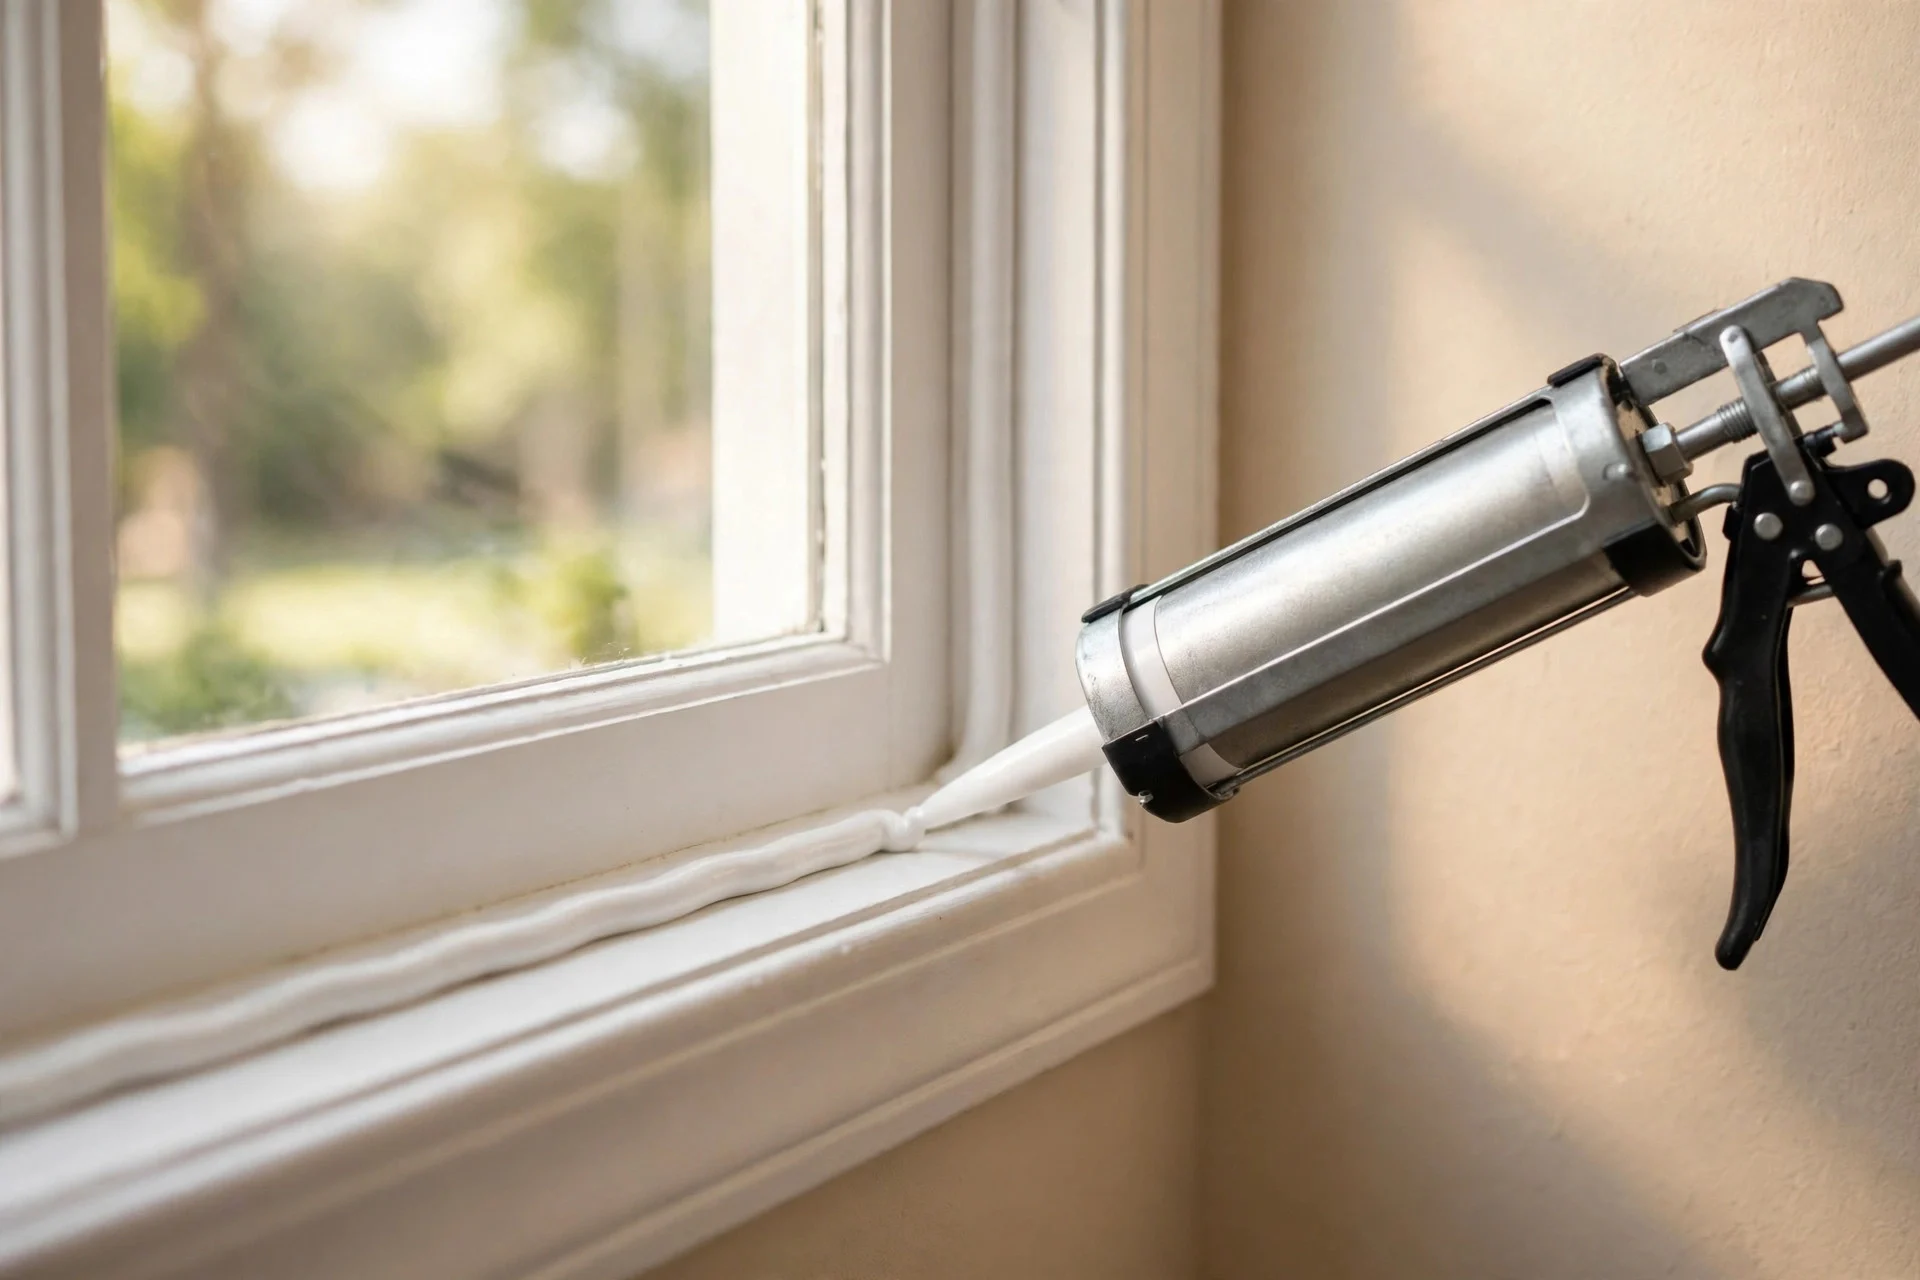
Now deal with the leaks you can’t see from inside the room. Run a bead of paintable caulk around the outside edge of the window frame where it meets the wall, and check for old holes — disused cable entries, gaps around pipes, or cracked plaster near the frame. Fill small gaps with caulk, larger ones with expanding foam trimmed flush.
Sound behaves like water: it finds the smallest opening. Sealing the frame edges finishes the job that draft tape started. It’s unglamorous work, but it’s the difference between “quieter” and “actually quiet.”
Cost: $5–$12 for a tube of caulk. Difficulty: easy to moderate, about an hour for a room. Tip: cut the caulk nozzle small and run one steady bead — a fat bead looks messy and is hard to smooth. Watch out: don’t caulk a window shut that you need for ventilation or as a fire escape; seal the frame-to-wall joint, not the moving sash.
8. Lay a Thick Rug to Soak Up Sound Inside the Room
Hard floors bounce sound around, so a room with bare boards or laminate sounds louder than it is. Lay a thick rug — ideally with a dense pad underneath — covering as much of the floor as you can, especially between the bed and the street-facing wall. Wool or high-pile rugs absorb more than flat-weave ones.
A rug doesn’t block street noise coming in, but it cuts the echo that makes that noise feel sharper and harder to ignore. It also softens footsteps and general household sound, which matters when you’re trying to fall asleep.
Cost: $80–$300 for a large rug with pad. Difficulty: easy, about 20 minutes. Tip: a rug pad matters as much as the rug — a dense felt pad adds absorption and stops the rug sliding. Watch out: measure door clearance first; a thick rug plus pad can stop a door swinging, which brings you back to the gap problem in step 6. bedroom rug size guide

9. Add Mass to the Street-Facing Wall
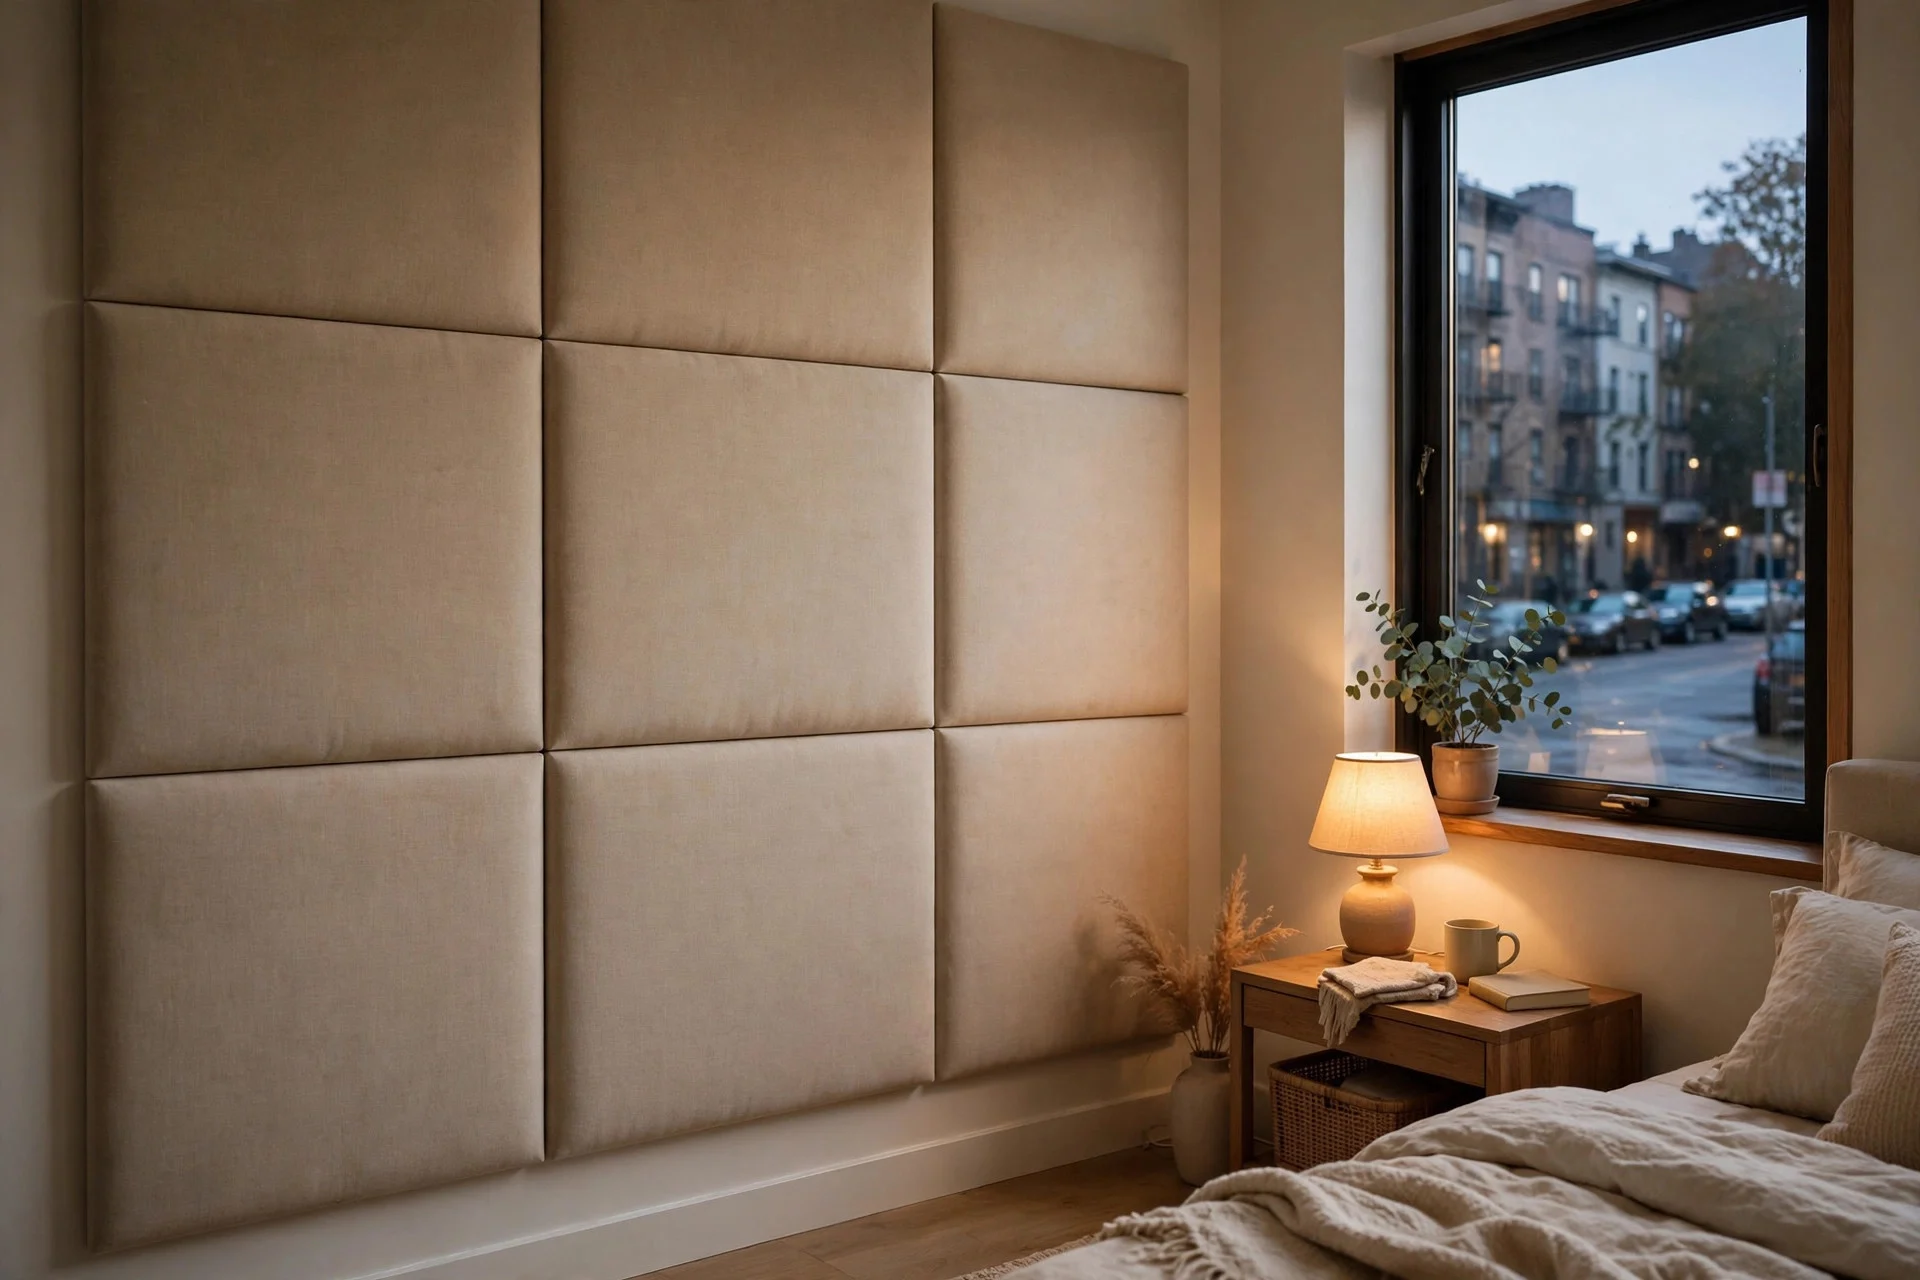
Sound travels through walls, and the wall facing the street is the one taking the hit. Adding mass and softness to it helps: hang heavy acoustic panels or thick fabric wall hangings, or push a tall, full bookcase against it. Books are dense, and a loaded bookcase is one of the cheapest sound barriers you can put on a wall.
Mass slows sound down; soft surfaces stop it bouncing back into the room. A bare plaster wall does neither. You don’t need to cover the whole wall — focus on the section around the window, where sound enters most easily.
Cost: $30–$80 per acoustic panel, or the price of a bookcase you may already have. Difficulty: easy to moderate, about an hour. Tip: leave a small air gap behind panels rather than gluing them flat — the gap improves absorption. Watch out: adhesive strips on painted walls can peel paint when removed; use picture hooks or rails in a rental.
10. Quiet the Vents, Ceiling, and Other Sneaky Paths
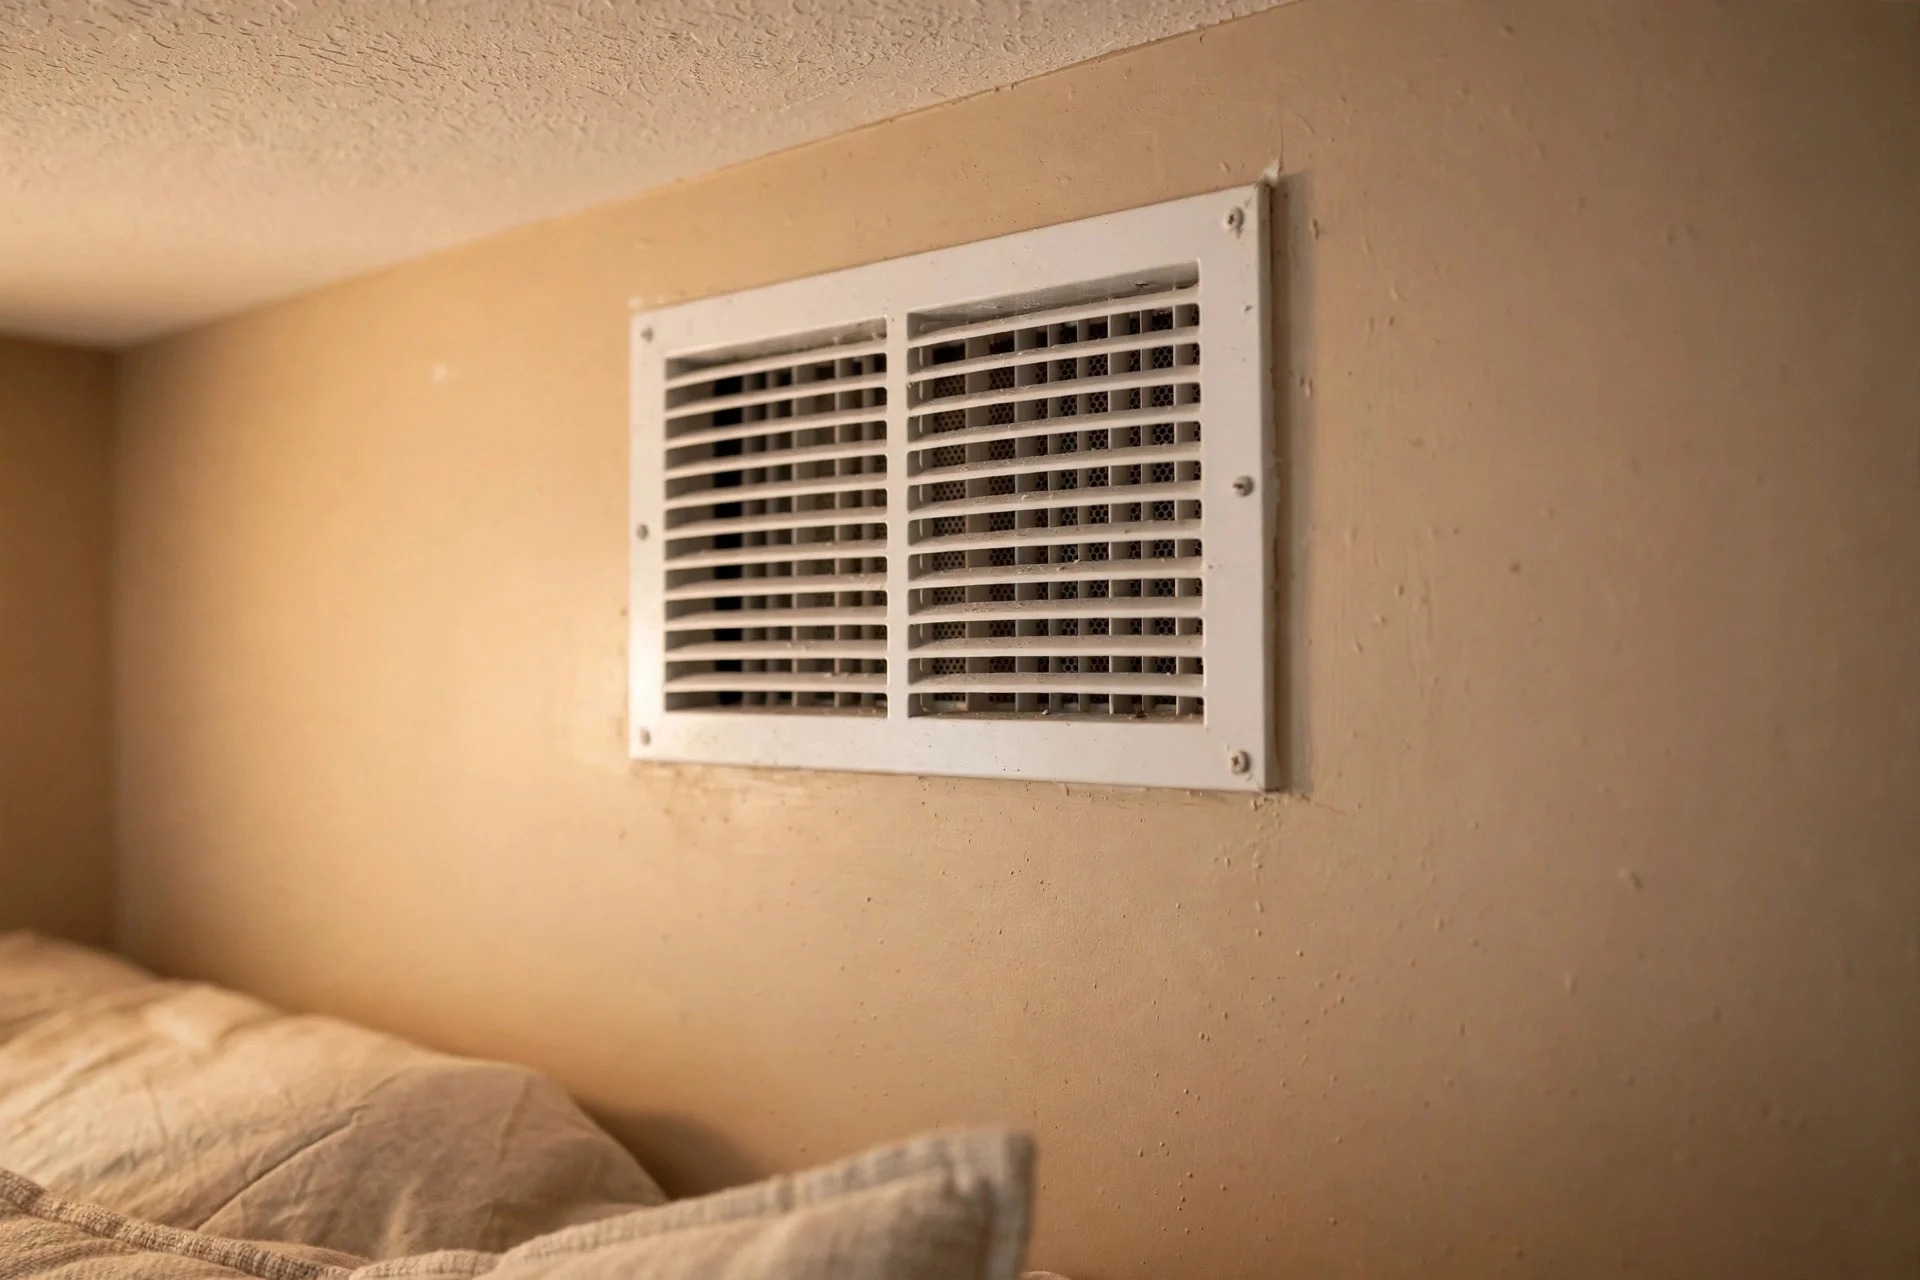
By now the windows, door, and walls are handled — so check the paths people forget. A vent that opens straight to the outside, a thin hollow-core door, or a ceiling that carries sound from upstairs can undo good work elsewhere. Fit a vent cover you can close at night, add a draft seal to a hollow door.
The point of this step is to stop chasing the last bit of noise through the wrong place. Once the big paths are sealed, the remaining sound usually comes from one small opening you’ve overlooked.
Cost: $10–$40 for vent covers and seals. Difficulty: easy, about 30 minutes. Tip: close the vent at night but reopen it in the morning — a bedroom needs fresh air during the day. Watch out: never block a vent that serves a gas appliance or a bathroom extractor; only close vents that feed the bedroom itself.
11. Set Up the Bed for Darkness and Quiet
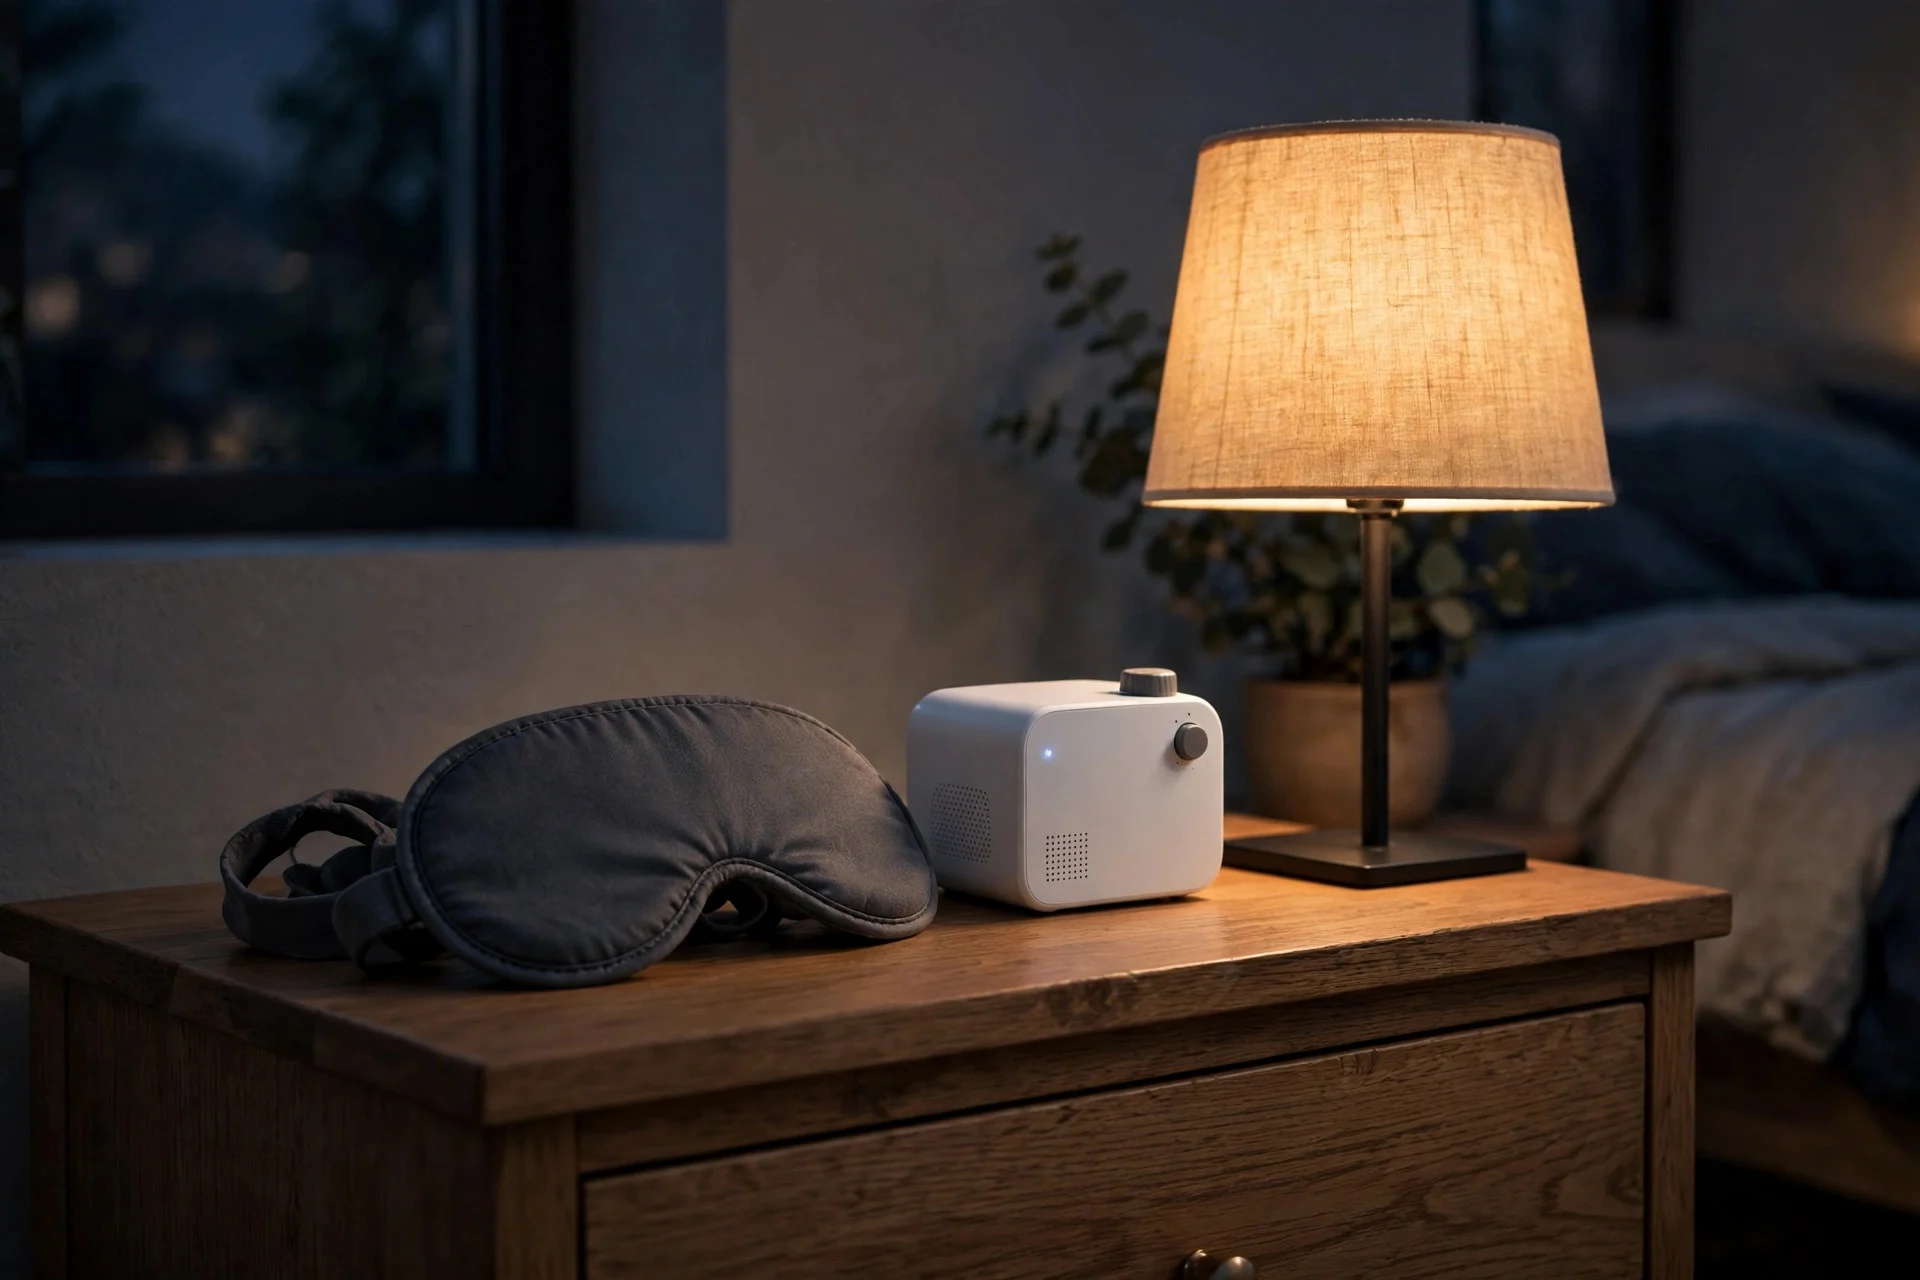
The room is dark and quiet now — make the bed work with it. A sleep mask covers the last slivers of light around curtain edges, and a white-noise machine or a fan masks the low traffic hum that no home fix fully removes. Keep the mask and machine on the nightstand so using them becomes automatic, not a nightly chore.
This step sounds small, but it’s what turns a good room into reliable sleep. Masks and steady background sound don’t depend on the house at all, so they cover nights when a truck idles outside.
Cost: $10–$25 for a contoured mask, $20–$50 for a white-noise machine. Difficulty: easy, five minutes. Tip: pick a contoured mask that doesn’t press on your eyelids — flat masks slip and let light in when you turn over. Watch out: keep white noise at a low, steady volume; loud enough to mask traffic, not so loud it becomes the thing keeping you awake.
12. Do a Night-Time Test and Fix What’s Left
Finish with the same test you started with. After dark, turn off the lights, close the shades and curtains, and lie in bed for a few minutes. Look for light lines around the curtains, shade, and door, and listen for where sound still comes through. Fix what you find — a curtain clip to close a side gap, an extra strip of tape, a repositioned panel — before you call the job done.
Most rooms need one or two small corrections after the first night. That’s normal, not a sign the project failed. A single evening of testing usually gets you from “much better” to “quiet,”
Cost: usually free, or a few dollars for extra tape or clips. Difficulty: easy, about 30 minutes. Tip: test on a weeknight with normal traffic, not a quiet Sunday — you want real conditions. Watch out: don’t judge the result from the doorway; lie in bed where you’ll actually sleep, since light angles change with position.
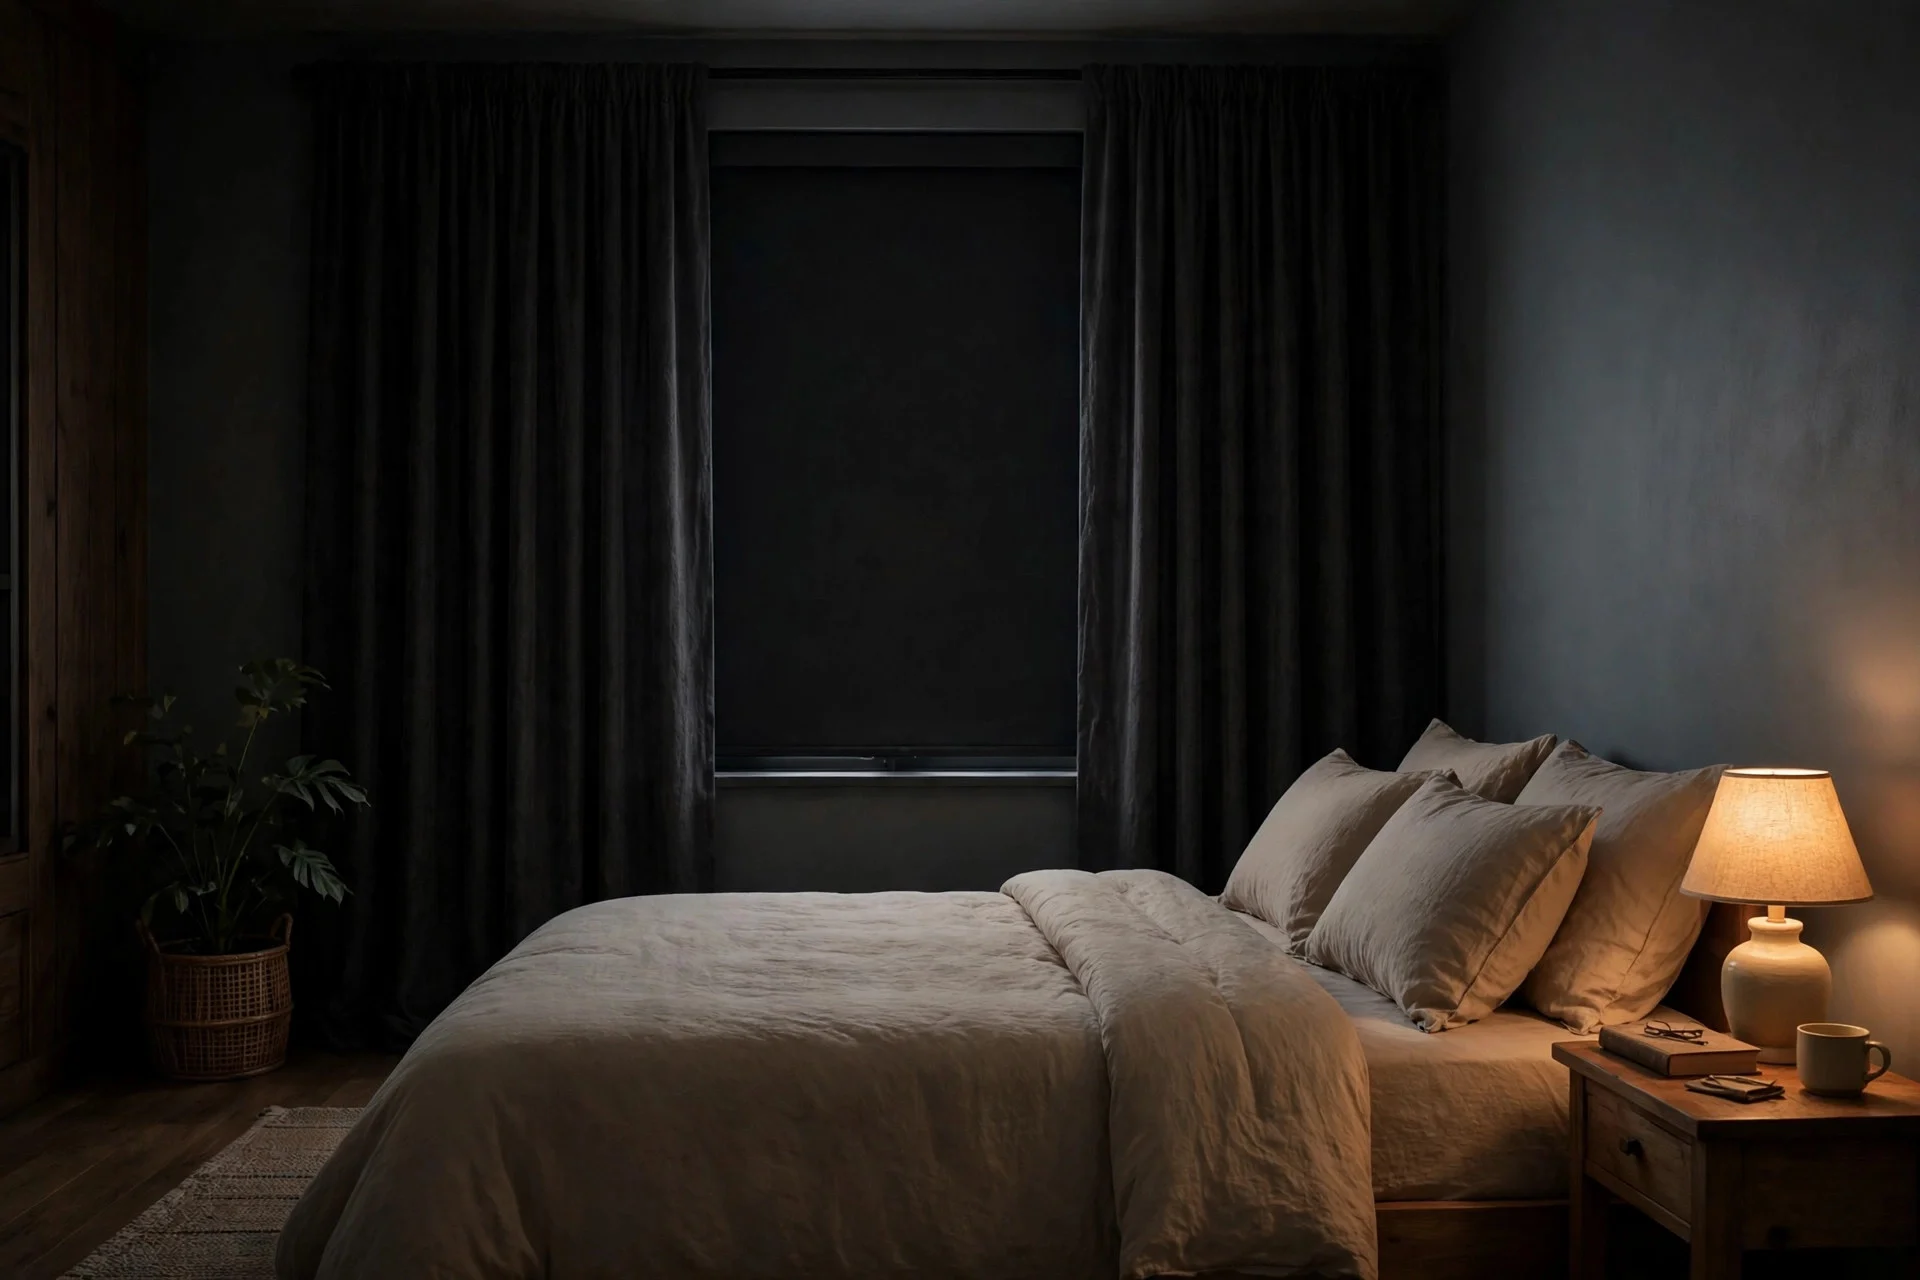
If the room is dark and quiet but sleep still will not come, the colour on the walls can help — see the best bedroom colours for sleep before you repaint.
Frequently Asked Questions
Do blackout curtains alone block street noise?
Only a little. Heavy curtains soften high-frequency sounds and cut echo in the room, but they don’t have the mass to stop traffic noise coming through glass. For real noise reduction, pair them with sealed gaps and, if needed, window inserts — curtains handle the light, inserts handle the sound.
How much does it cost to blackout and quiet a bedroom?
A light-blocking setup — draft tape, a door sweep, blackout curtains, and a roller shade — runs roughly $100–$250 per room. Adding window inserts and wall panels for serious noise reduction takes it to $300–$800.
Can I do all of this in a rental?
Most of it, yes. Curtains, roller shades, draft tape, door sweeps, rugs, bookcases, and removable window inserts all come out cleanly when you move. The only steps to check with your landlord are caulking and anything screwed into the wall.
Will blackout curtains make the room too dark or stuffy?
At night, that’s the goal — darkness helps you fall asleep faster. During the day, just open the shades and curtains; nothing here is permanent. If the room feels stuffy, reopen the vent and crack a window on the quiet side of the house for fresh air in the morning.
What’s the single best upgrade if I can only do one?
For light, a blackout roller shade fitted tight inside the window recess. For noise, a window insert. If both bother you equally, start with the shade plus draft tape — it’s the cheapest combination that makes a real difference on the first night.
Your Night-Time Checklist
Run through this each evening until it becomes habit: shades down, curtains drawn and overlapping the frame, door sweep in place, vent closed, mask on the pillow, white noise on low. That’s it. The work you did this weekend handles the rest.