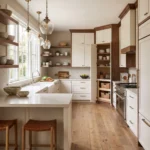
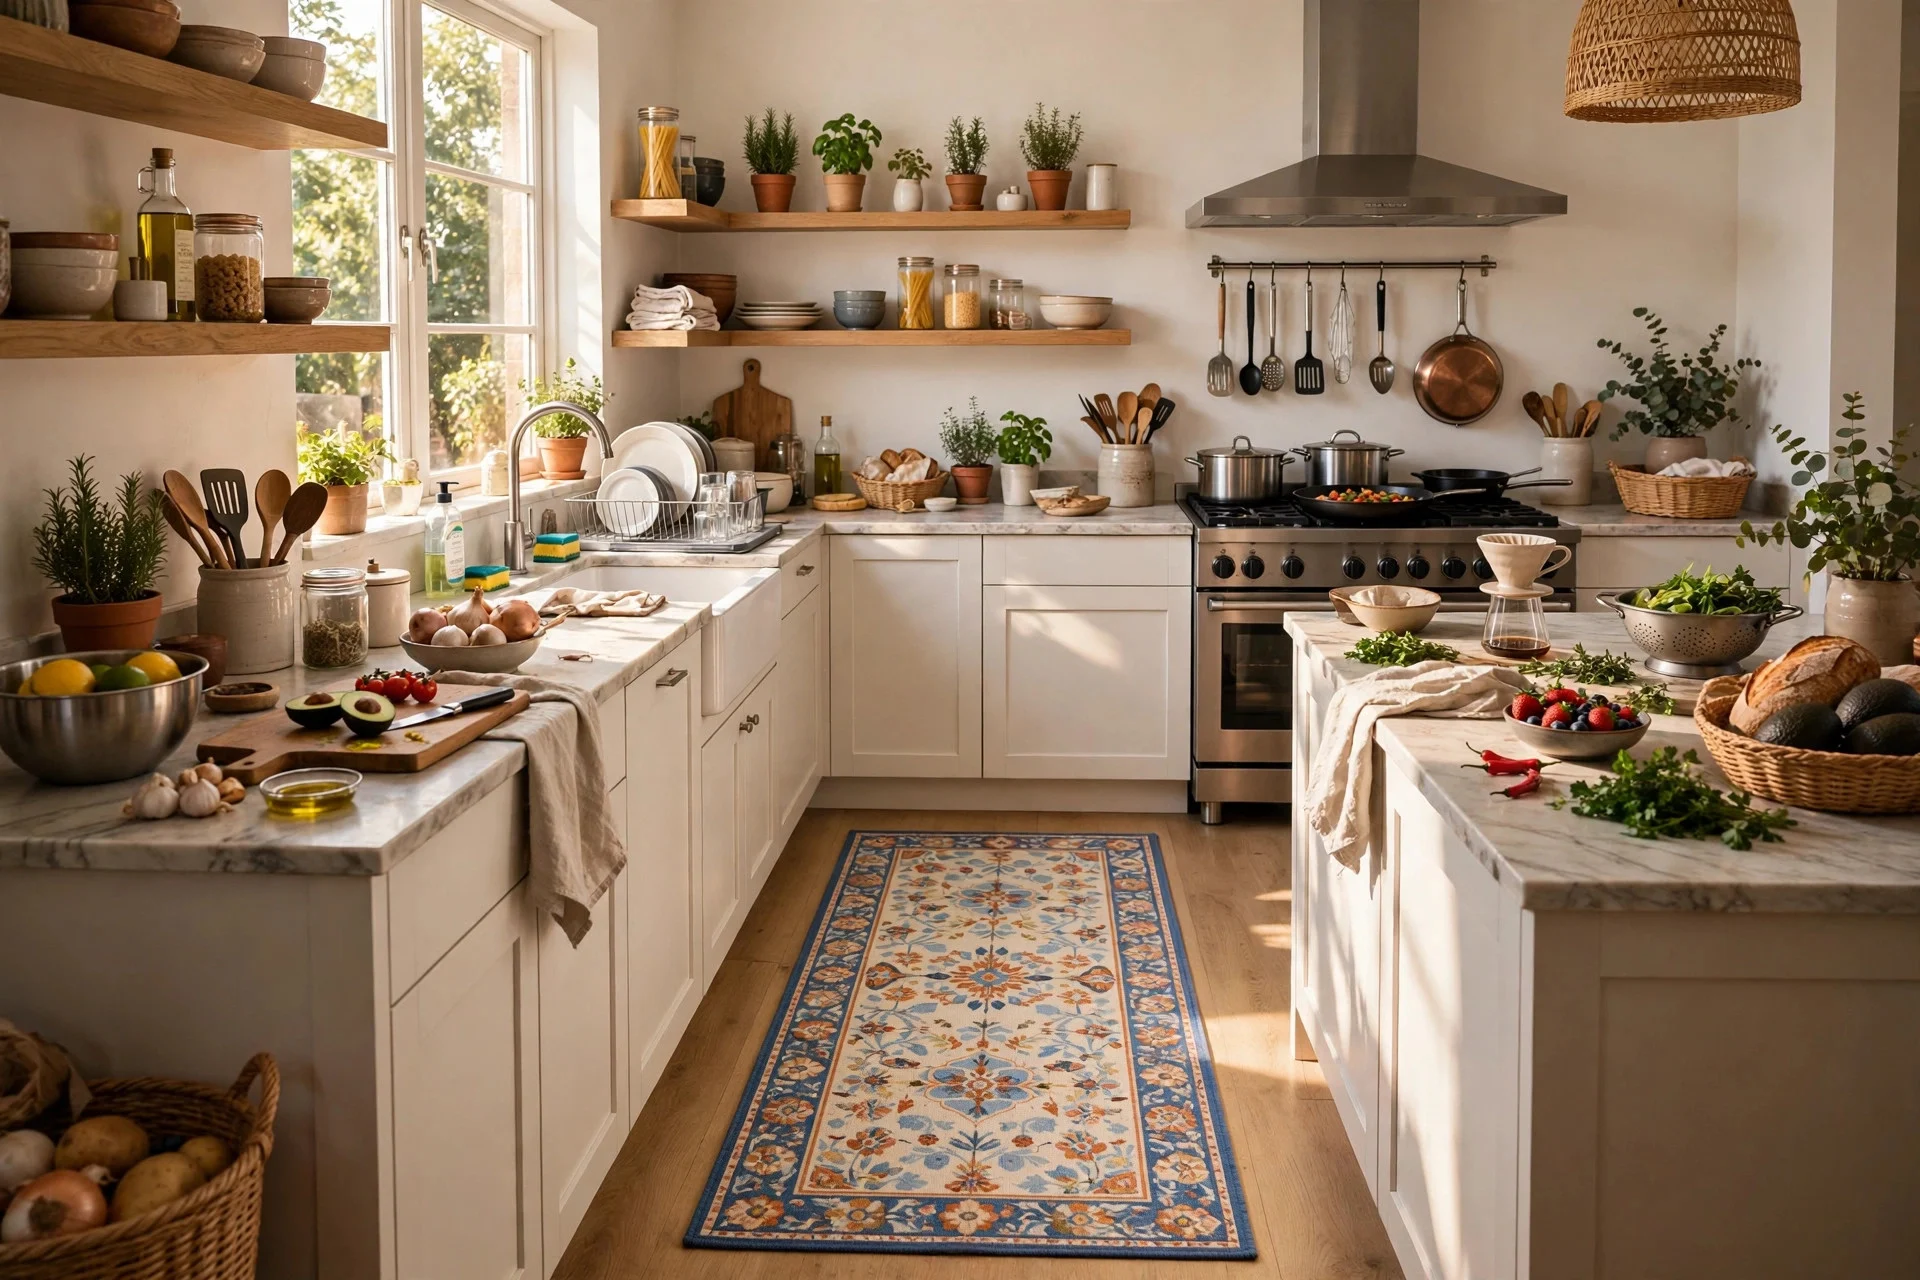
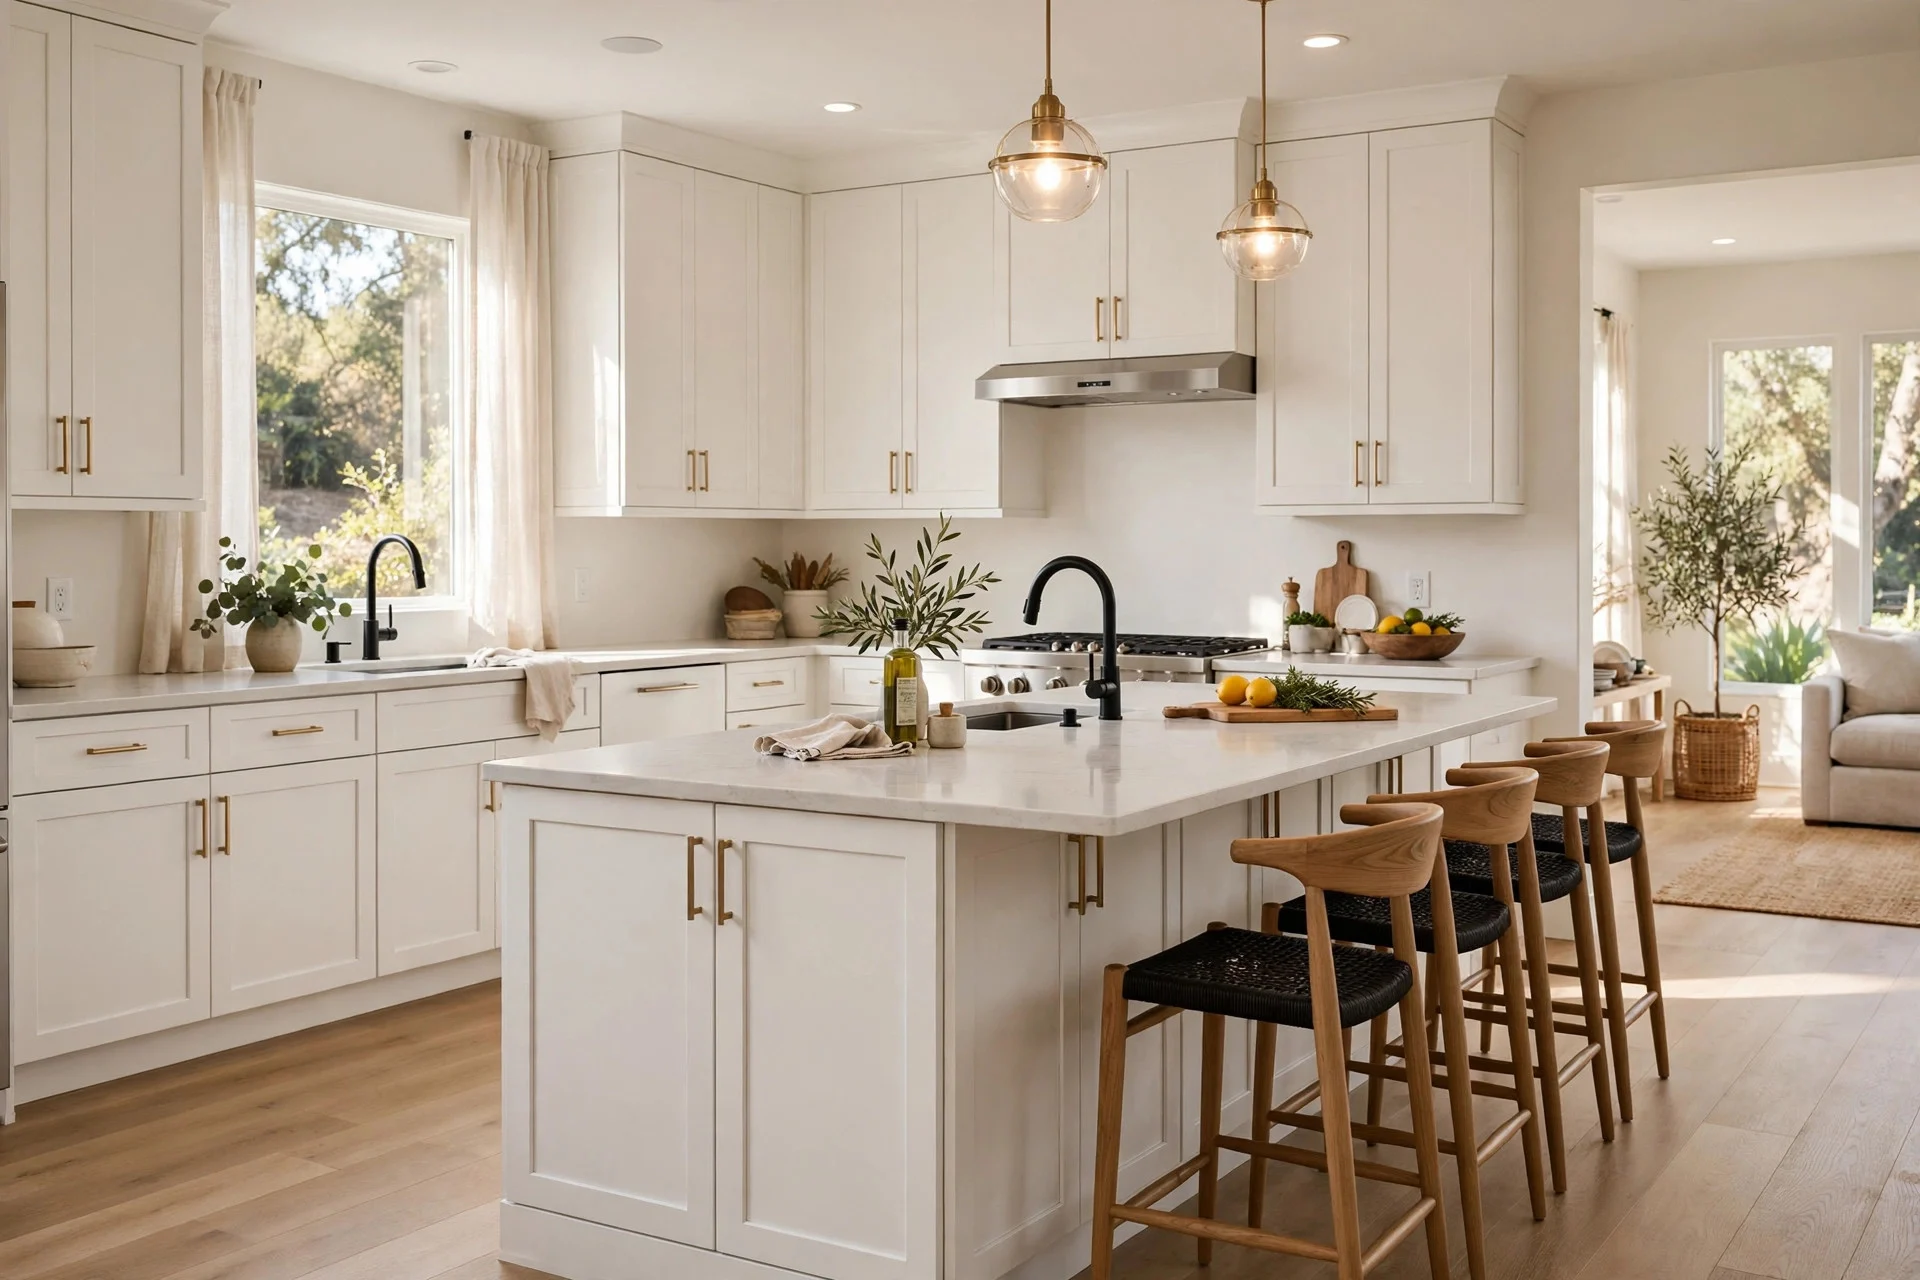
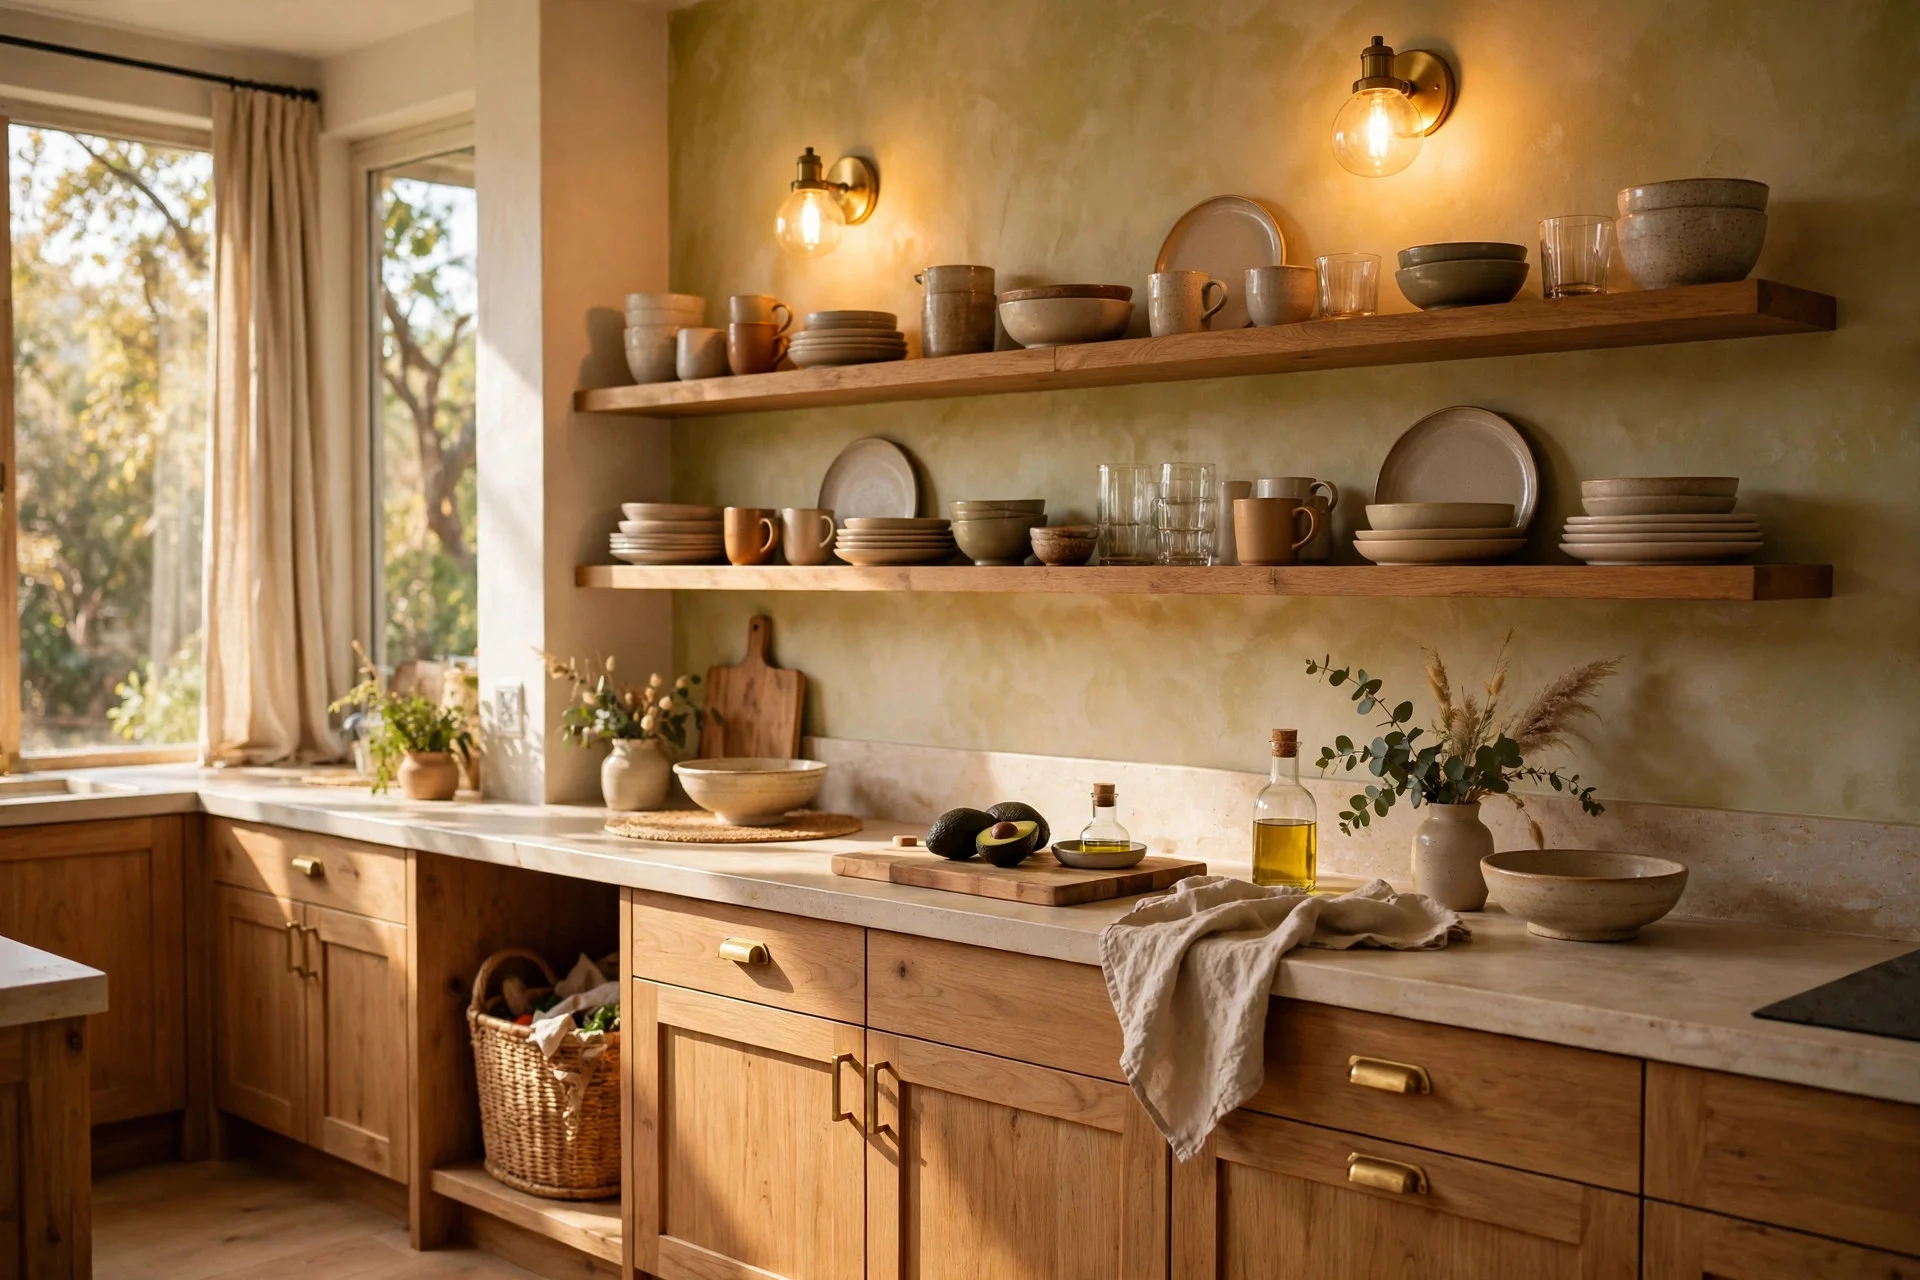
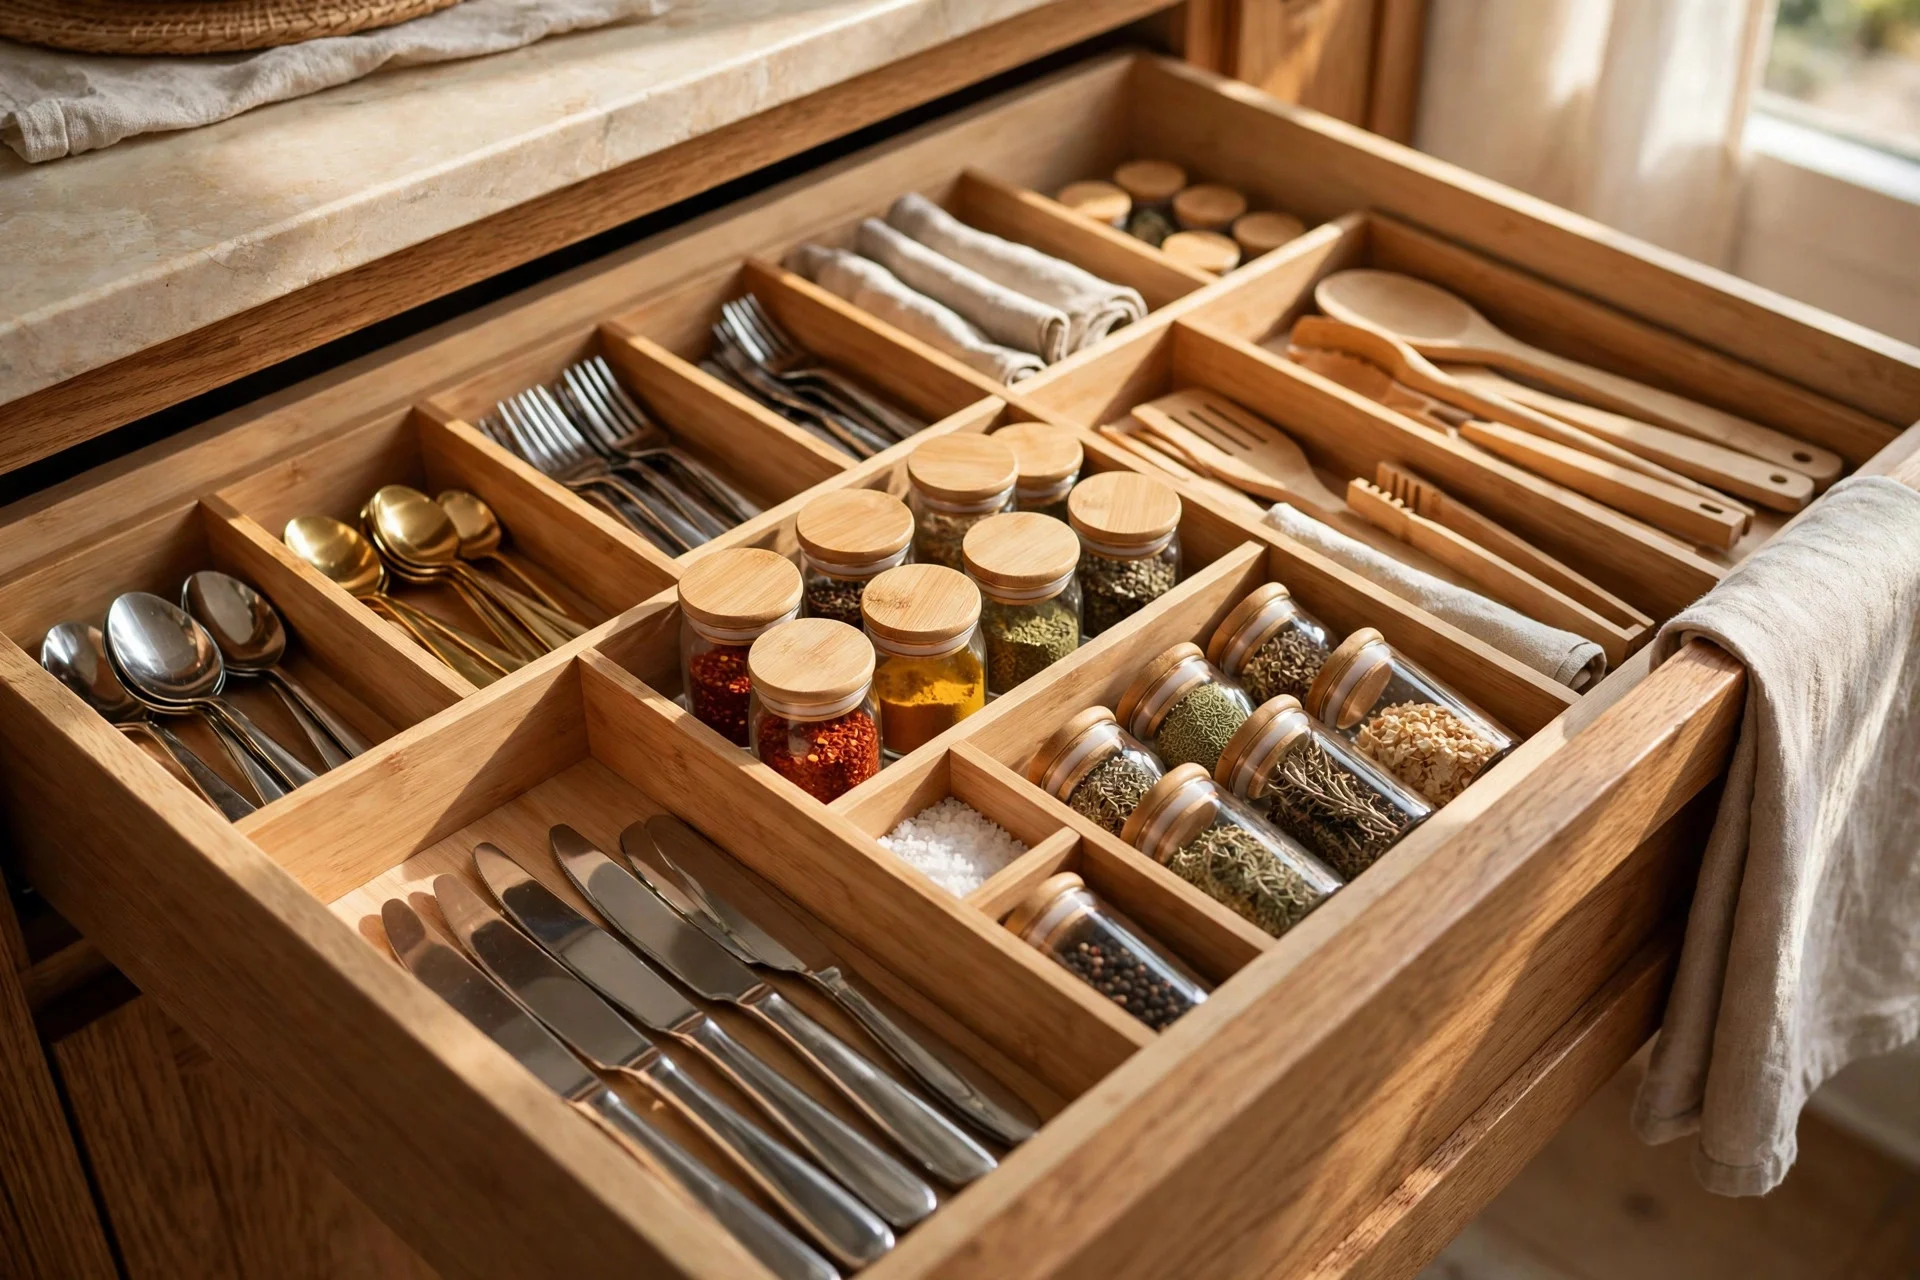
Here’s the myth: an L-shaped kitchen wastes its corner. You’ve probably heard it from someone who stood in an awkward kitchen once, opened a dark corner cabinet, and decided the whole layout was the problem. It isn’t. The corner is only wasted when nobody plans for it, and that’s a design mistake, not a flaw in the shape itself.
An L-shape gives you two runs of counter and cabinets meeting at a right angle, which means you can split your kitchen into clear zones without building walls. One leg handles cooking, the other handles prep or storage, and the open side stays free for walking, eating, or a table. Done well, it’s one of the most practical layouts for family cooking because several people can work at once without bumping elbows.
This guide walks you through 10 L-shaped kitchen layouts, zone by zone, in the order you’d move through the room. Each one covers what it is, why it works, what it tends to cost, how hard it is to pull off, and one tip you can actually use. Pick the zones that fit your room and your routine, and you’ll end up with a kitchen that works harder than it looks.
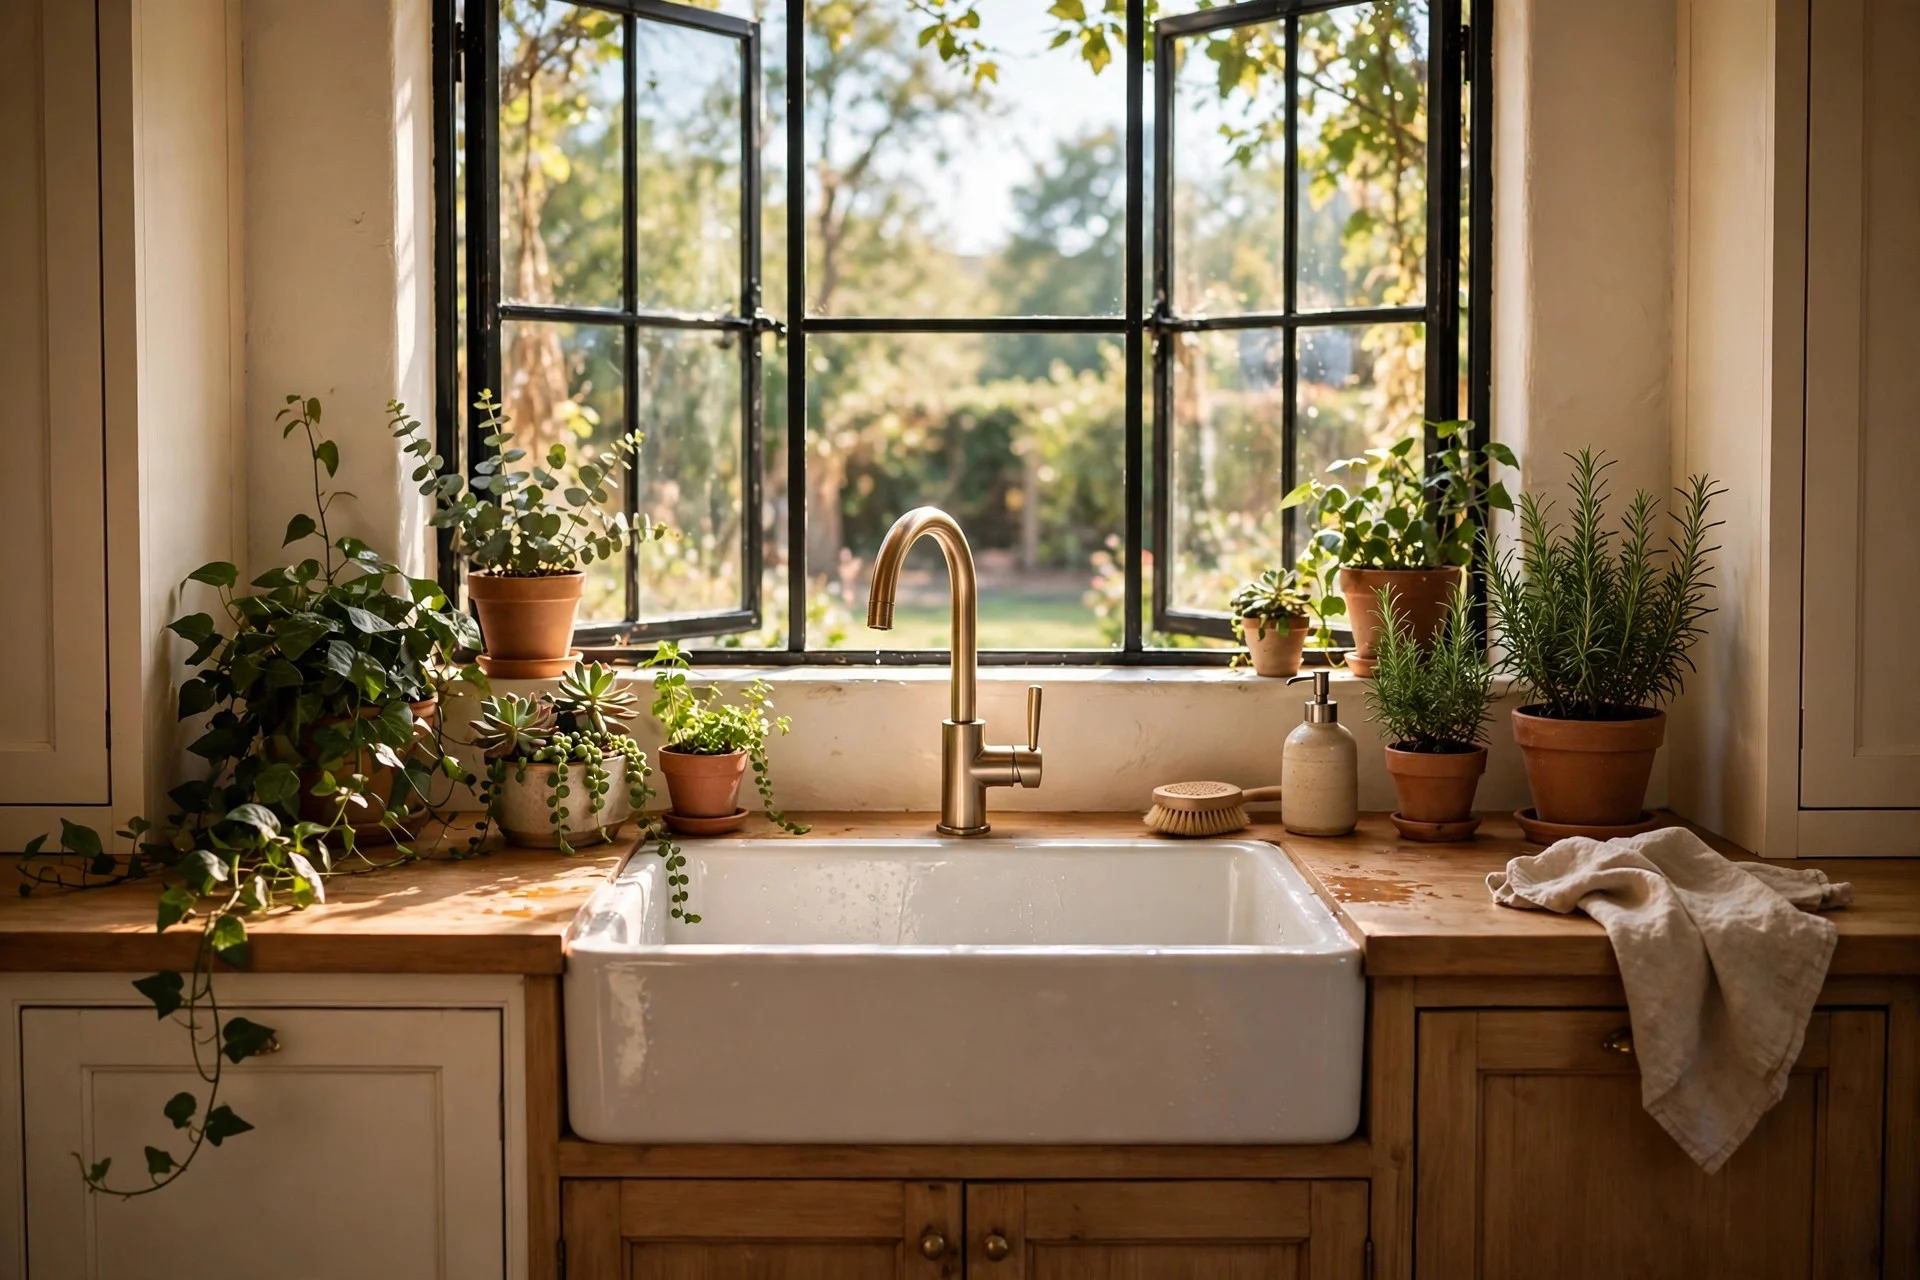
1. Sink Run Under the Window
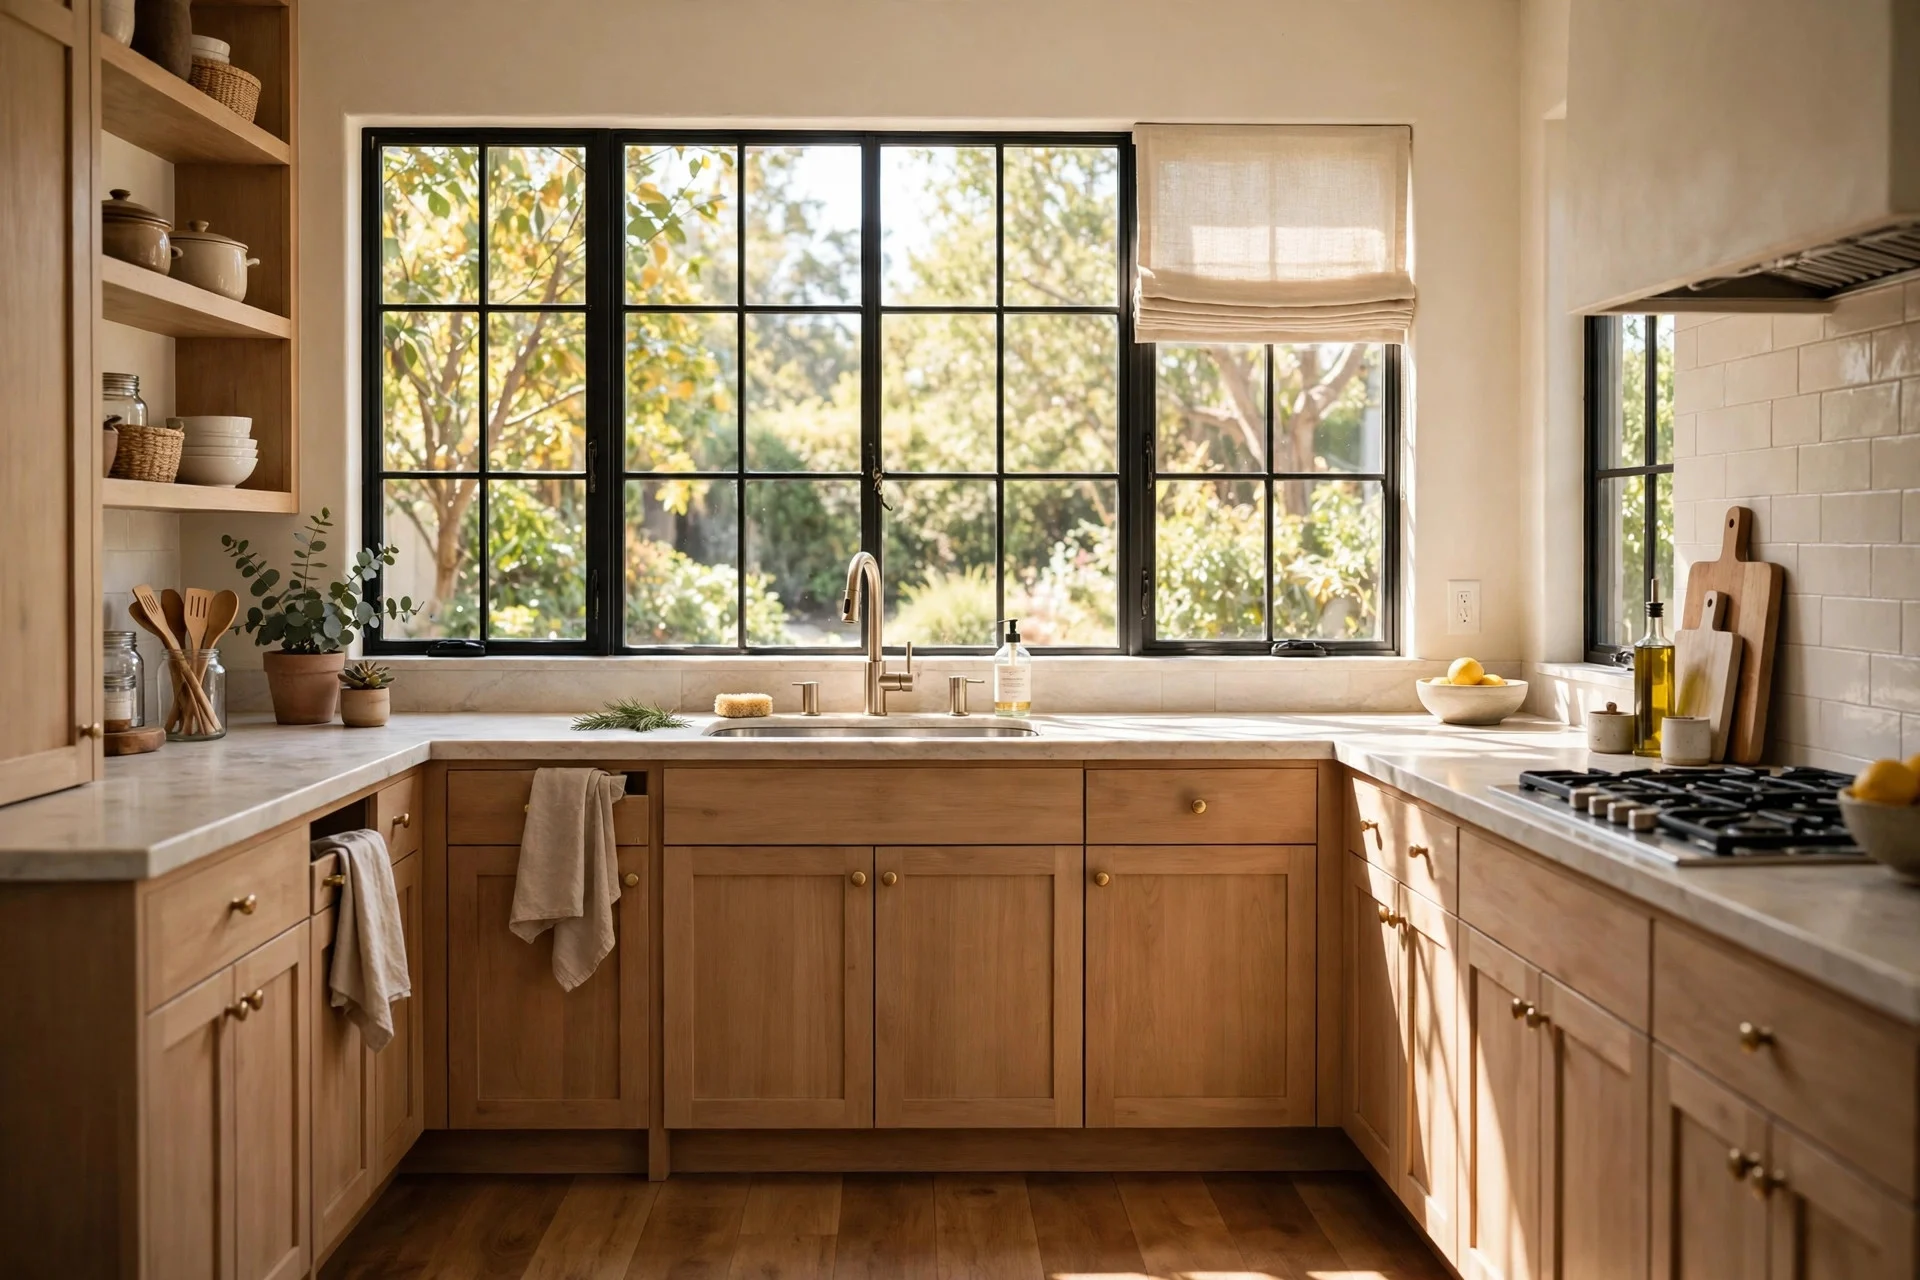
This is the classic move for a reason: the sink sits on the longer leg, ideally under a window, with the dishwasher beside it and the bin nearby. You get natural light over the messiest job in the kitchen, and dirty dishes have a short trip from table to sink. The window also makes the whole run feel wider than it is, which matters in a narrow room.
It works because washing, rinsing, and loading the dishwasher all happen in one tight zone, so nobody crosses the cook’s path to scrape a plate. Keep at least 45 cm of counter on each side of the sink if you can, one side for dirty dishes and one for drying or stacking.
Realistic cost: $600–$1,800 for a sink, faucet, and countertop change in this run, or $1,500+ if you’re moving plumbing to a new wall. Difficulty: moderate if the plumbing stays put, a bigger job if it moves, so budget 3–7 days for a rework. Tip: choose a single deep bowl over a double if your sink base is under 90 cm wide — you’ll fit large pots without a fight. Watch out: a window directly behind the faucet can limit how tall your faucet can be, so measure before you buy.
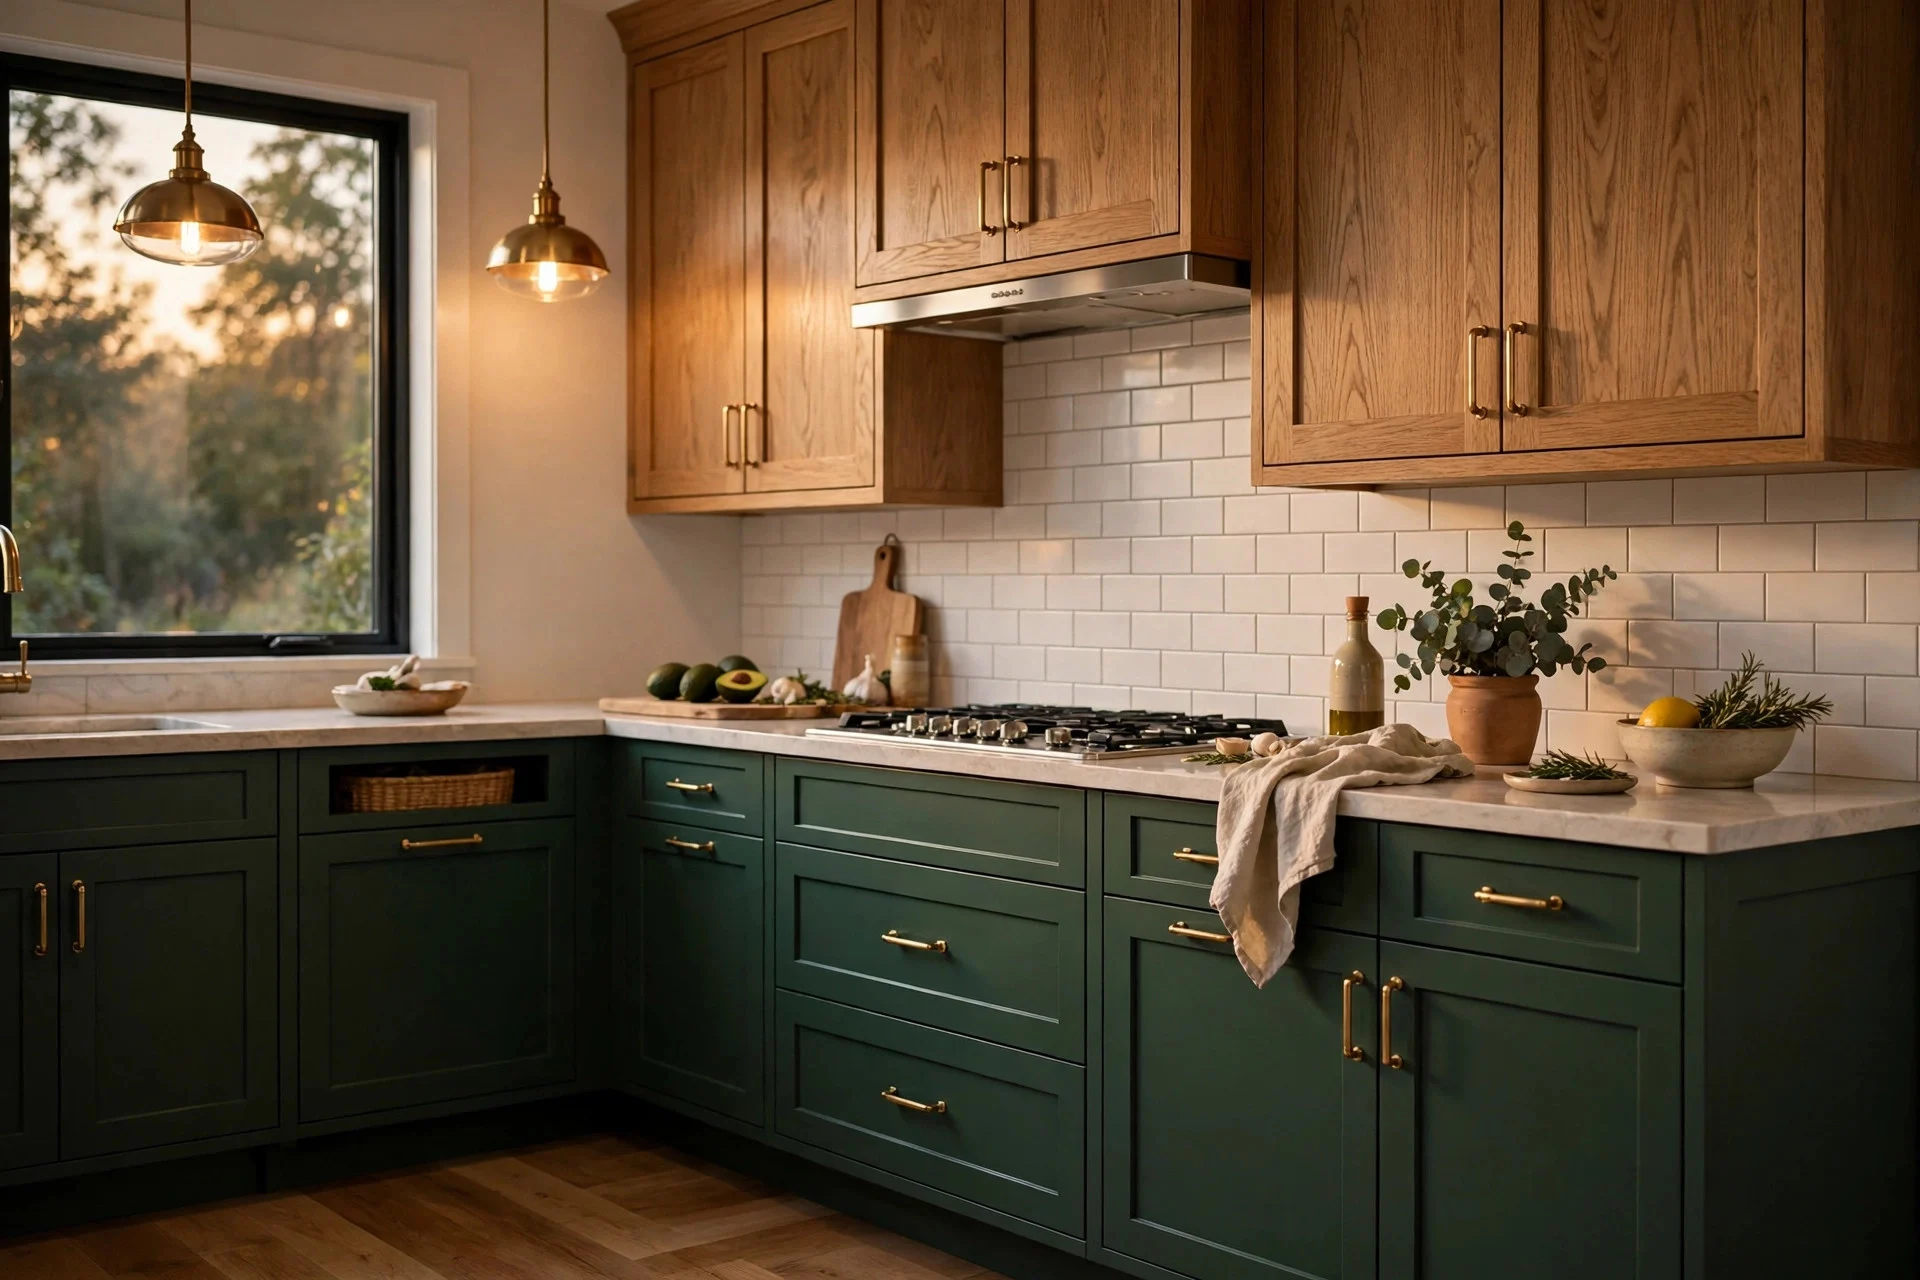
2. Cooking Run Built Around the Range
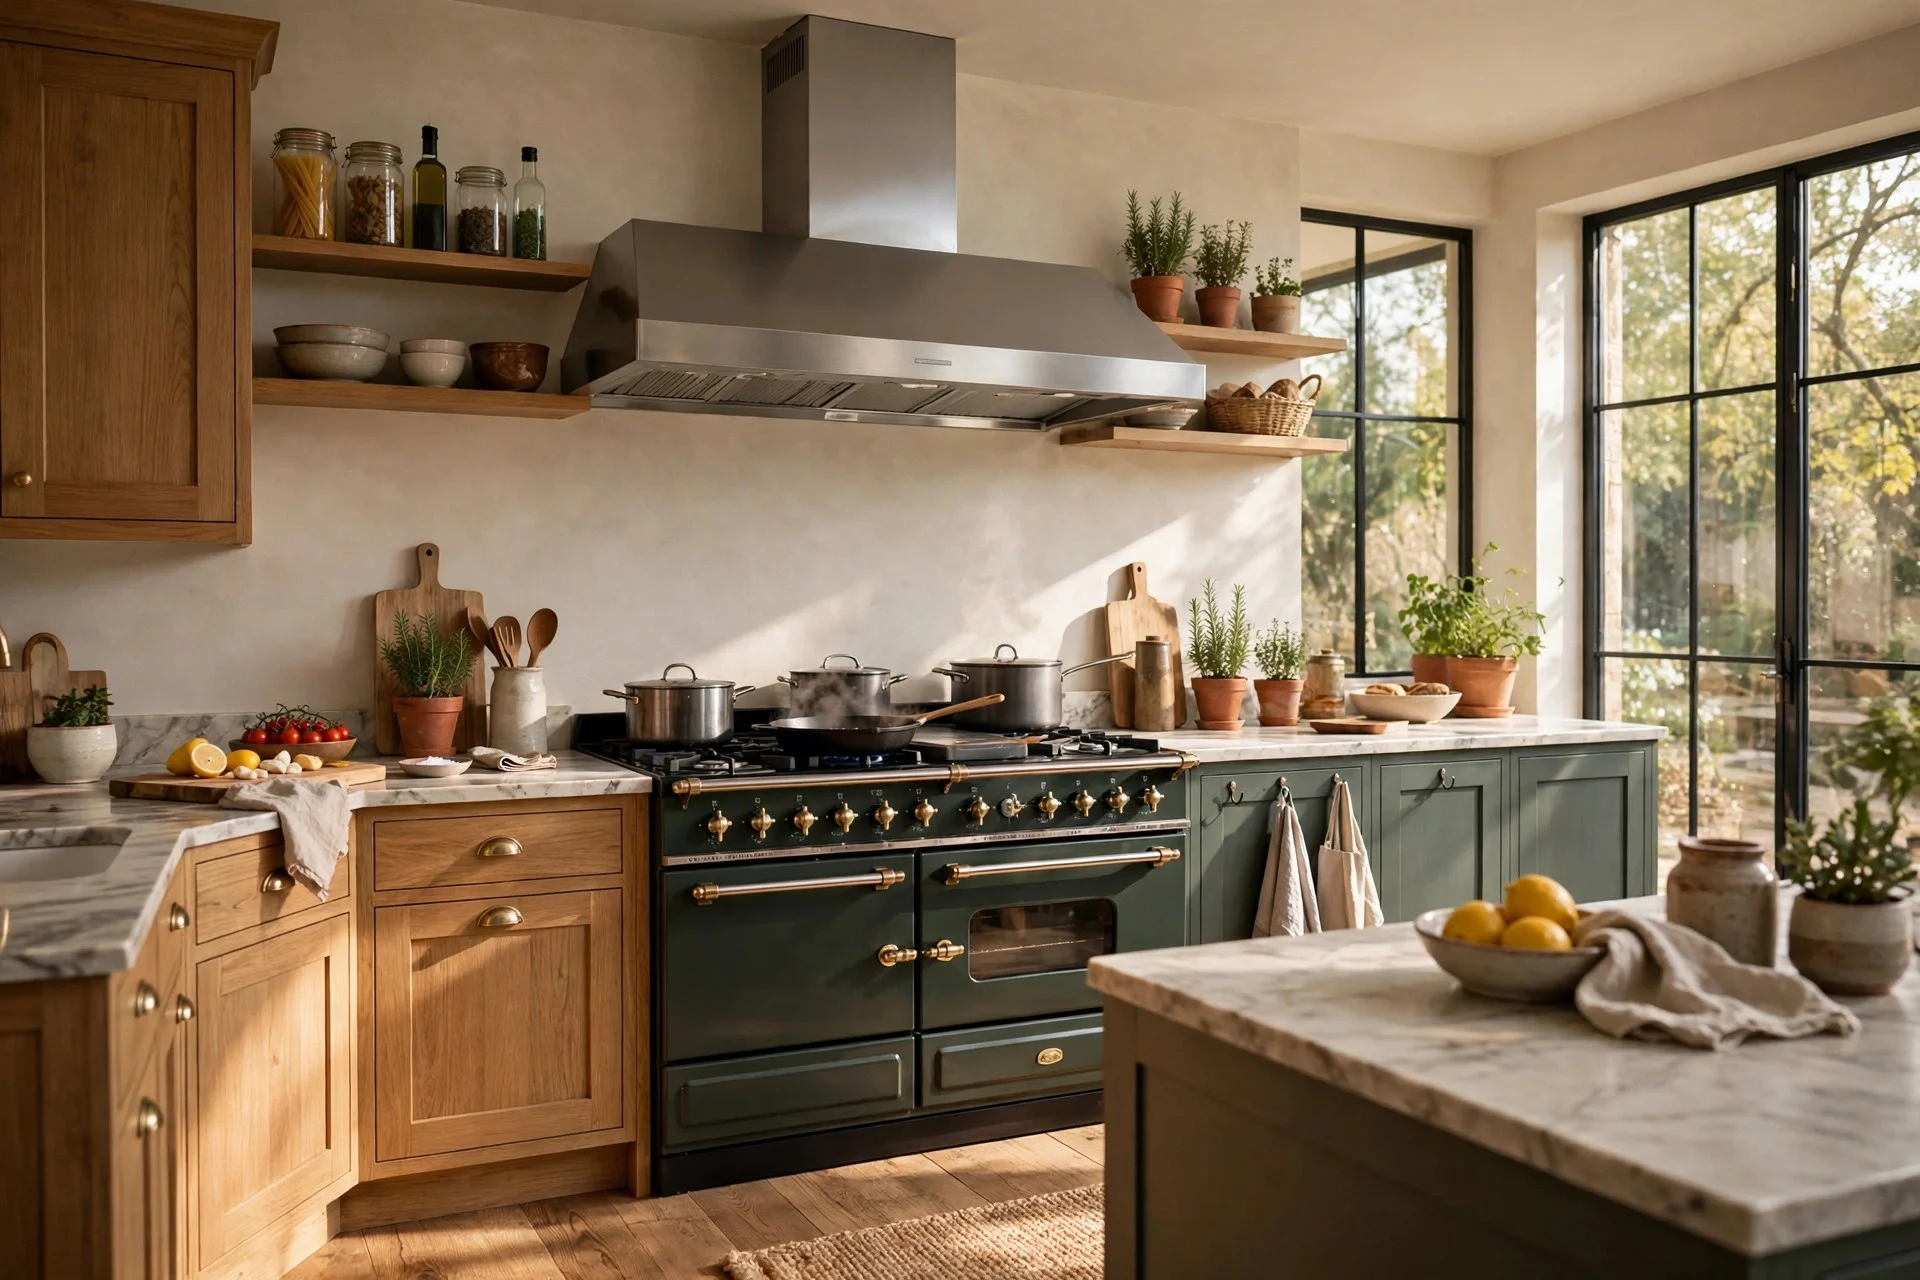
Put the range or hob on the shorter leg, with a proper hood above it, and you get a cooking zone that stays out of the main walkway. Pots, pans, spices, and oils live within arm’s reach, and the cook faces into the room instead of a wall. Add a heat-proof landing spot on at least one side of the hob for hot trays.
This layout works because cooking is the one job that needs focus and heat, and giving it its own leg keeps steam, splatter, and hot pans away from the sink and the dining end. A 60 cm landing zone on the side you naturally set things down on makes a real difference on busy evenings.
Realistic cost: $800–$2,500 depending on whether you need a new gas line, a ducted hood, or just a hob swap. Difficulty: moderate to high, mostly because of ventilation and gas or electrical work — allow 5–10 days. Tip: store your most-used spices in a pull-out rack right beside the hob, not in a high cabinet across the room. Watch out: a hob too close to the corner can leave you short of elbow room, so keep at least 30 cm between the hob edge and the corner.
3. Island That Turns the L Into a Gathering Spot
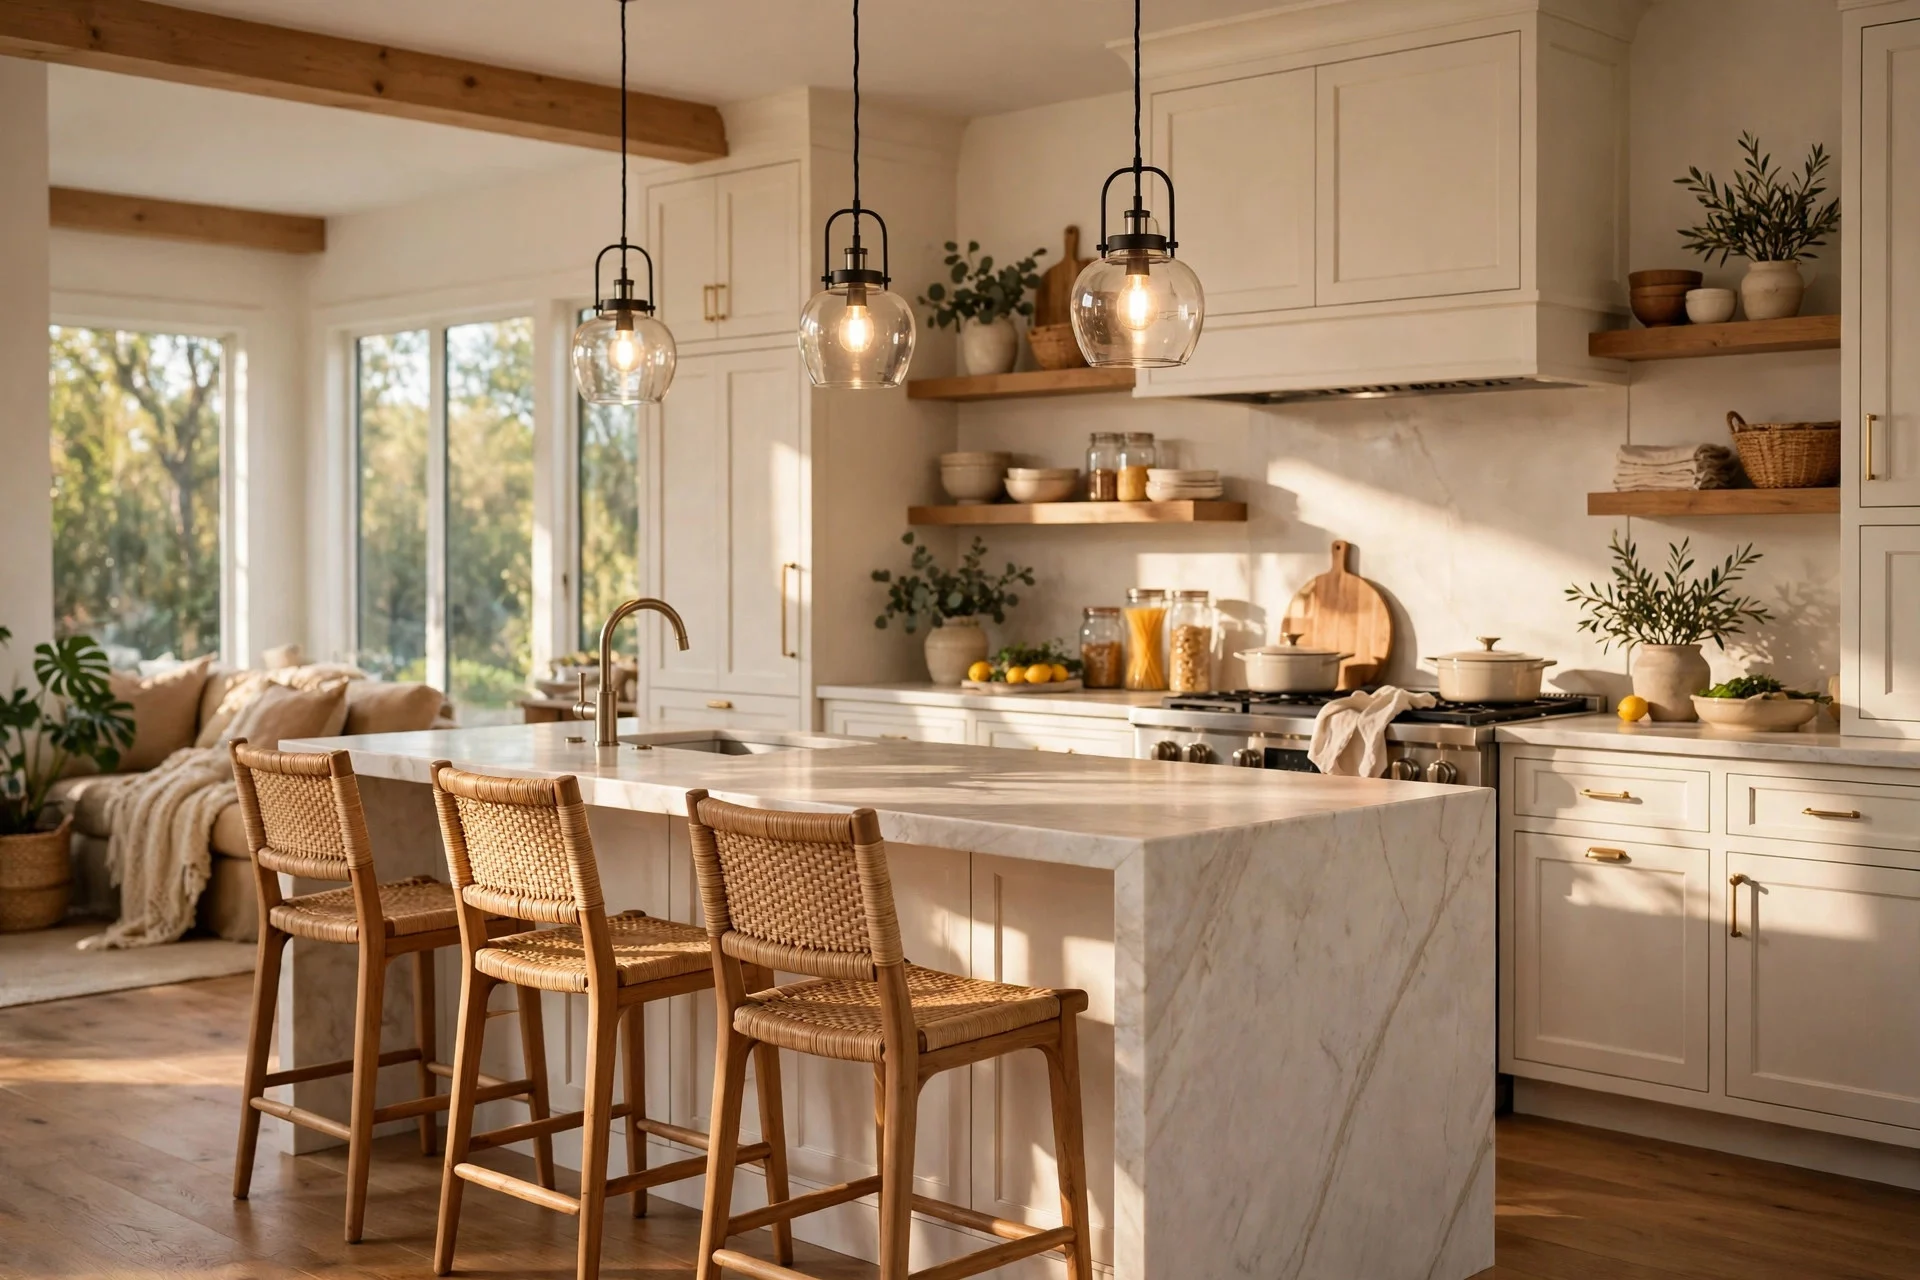
If your room is wide enough, an island in the open side of the L turns a two-wall kitchen into a social one. The island adds prep space, a spot for kids to sit while you cook, and a natural place for serving food at family meals. Seating on one side and worktop on the other keeps guests out of the cooking lanes.
It works because the island closes the loop without closing the room — you get a triangle of sink, hob, and fridge with the island as the middle ground. Aim for at least 90 cm of walkway around the island, or 105 cm if two people pass each other there often.
Realistic cost: $1,000–$4,000 for a built island with cabinets and a stone or solid-surface top; a simple freestanding table-style island costs far less. Difficulty: easy to moderate if there’s no plumbing or power in it, higher if you add a sink or sockets — allow 1–2 weeks. Tip: put a drawer for placemats, napkins, and serving spoons in the island so setting the table takes two minutes. Watch out: an island that’s too big will choke the walkways, so tape the outline on the floor and live with it for a few days before you build.
4. Peninsula for a Breakfast Bar
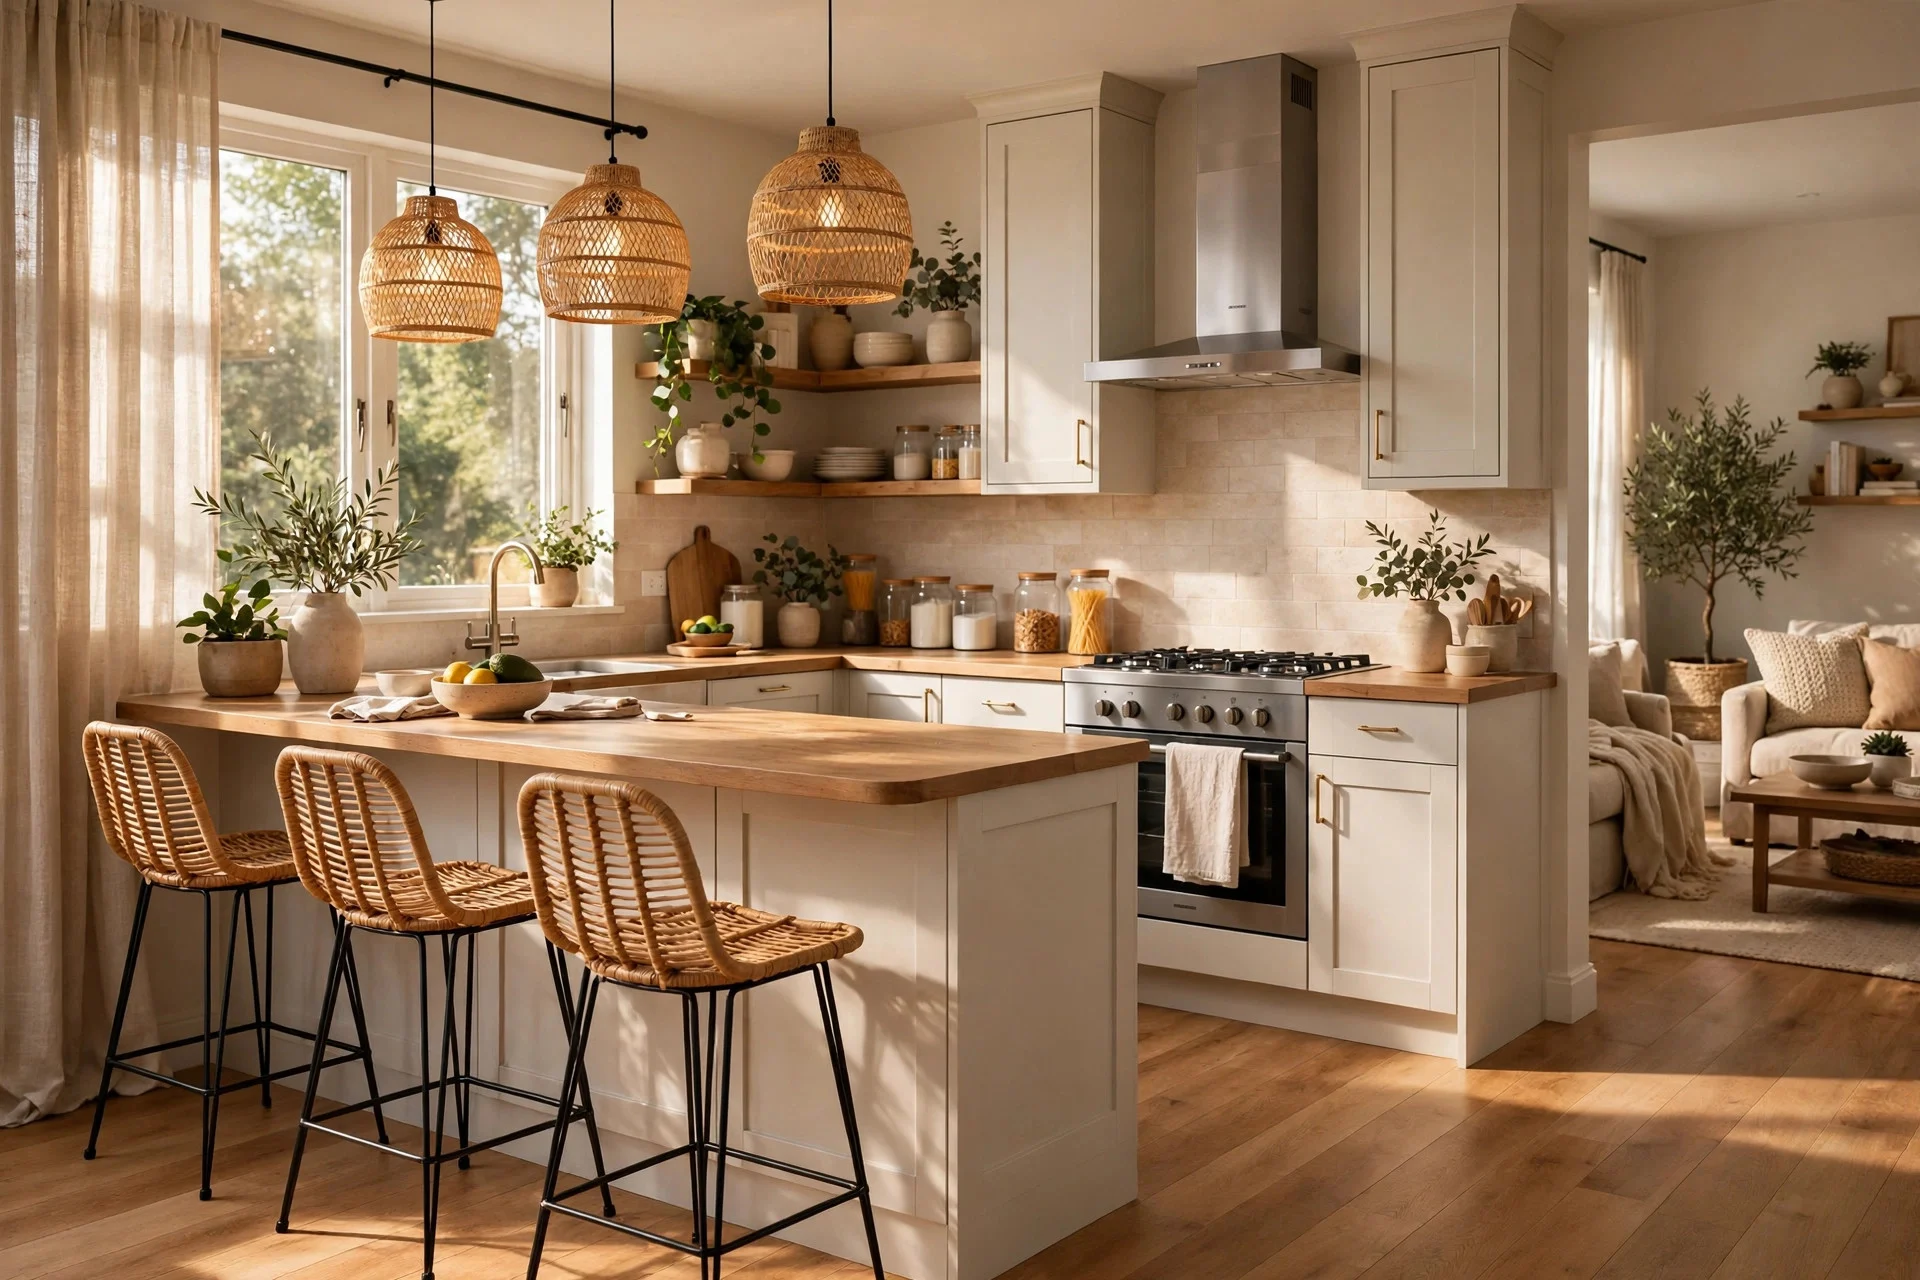
A peninsula is an island attached at one end, jutting out from the L into the room. It’s the fix for kitchens that are too small for a freestanding island but still need a casual eating spot. Two or three stools, a 30 cm overhang for knees, and you’ve got breakfast, homework, and coffee covered without a separate table.
This works because the peninsula marks the edge of the kitchen without a wall, so the cook stays part of the conversation. It also adds base cabinets on the kitchen side, which is storage you wouldn’t have had otherwise.
Realistic cost: $600–$2,200 for matching cabinets and a countertop extension. Difficulty: easy to moderate, usually 3–7 days, since it ties into existing cabinetry. Tip: pick stools with backs for kids and older family members — backless stools look neat but get uncomfortable fast. Watch out: the peninsula end becomes a pinch point if it’s near a doorway, so keep the traffic path at least 90 cm wide.
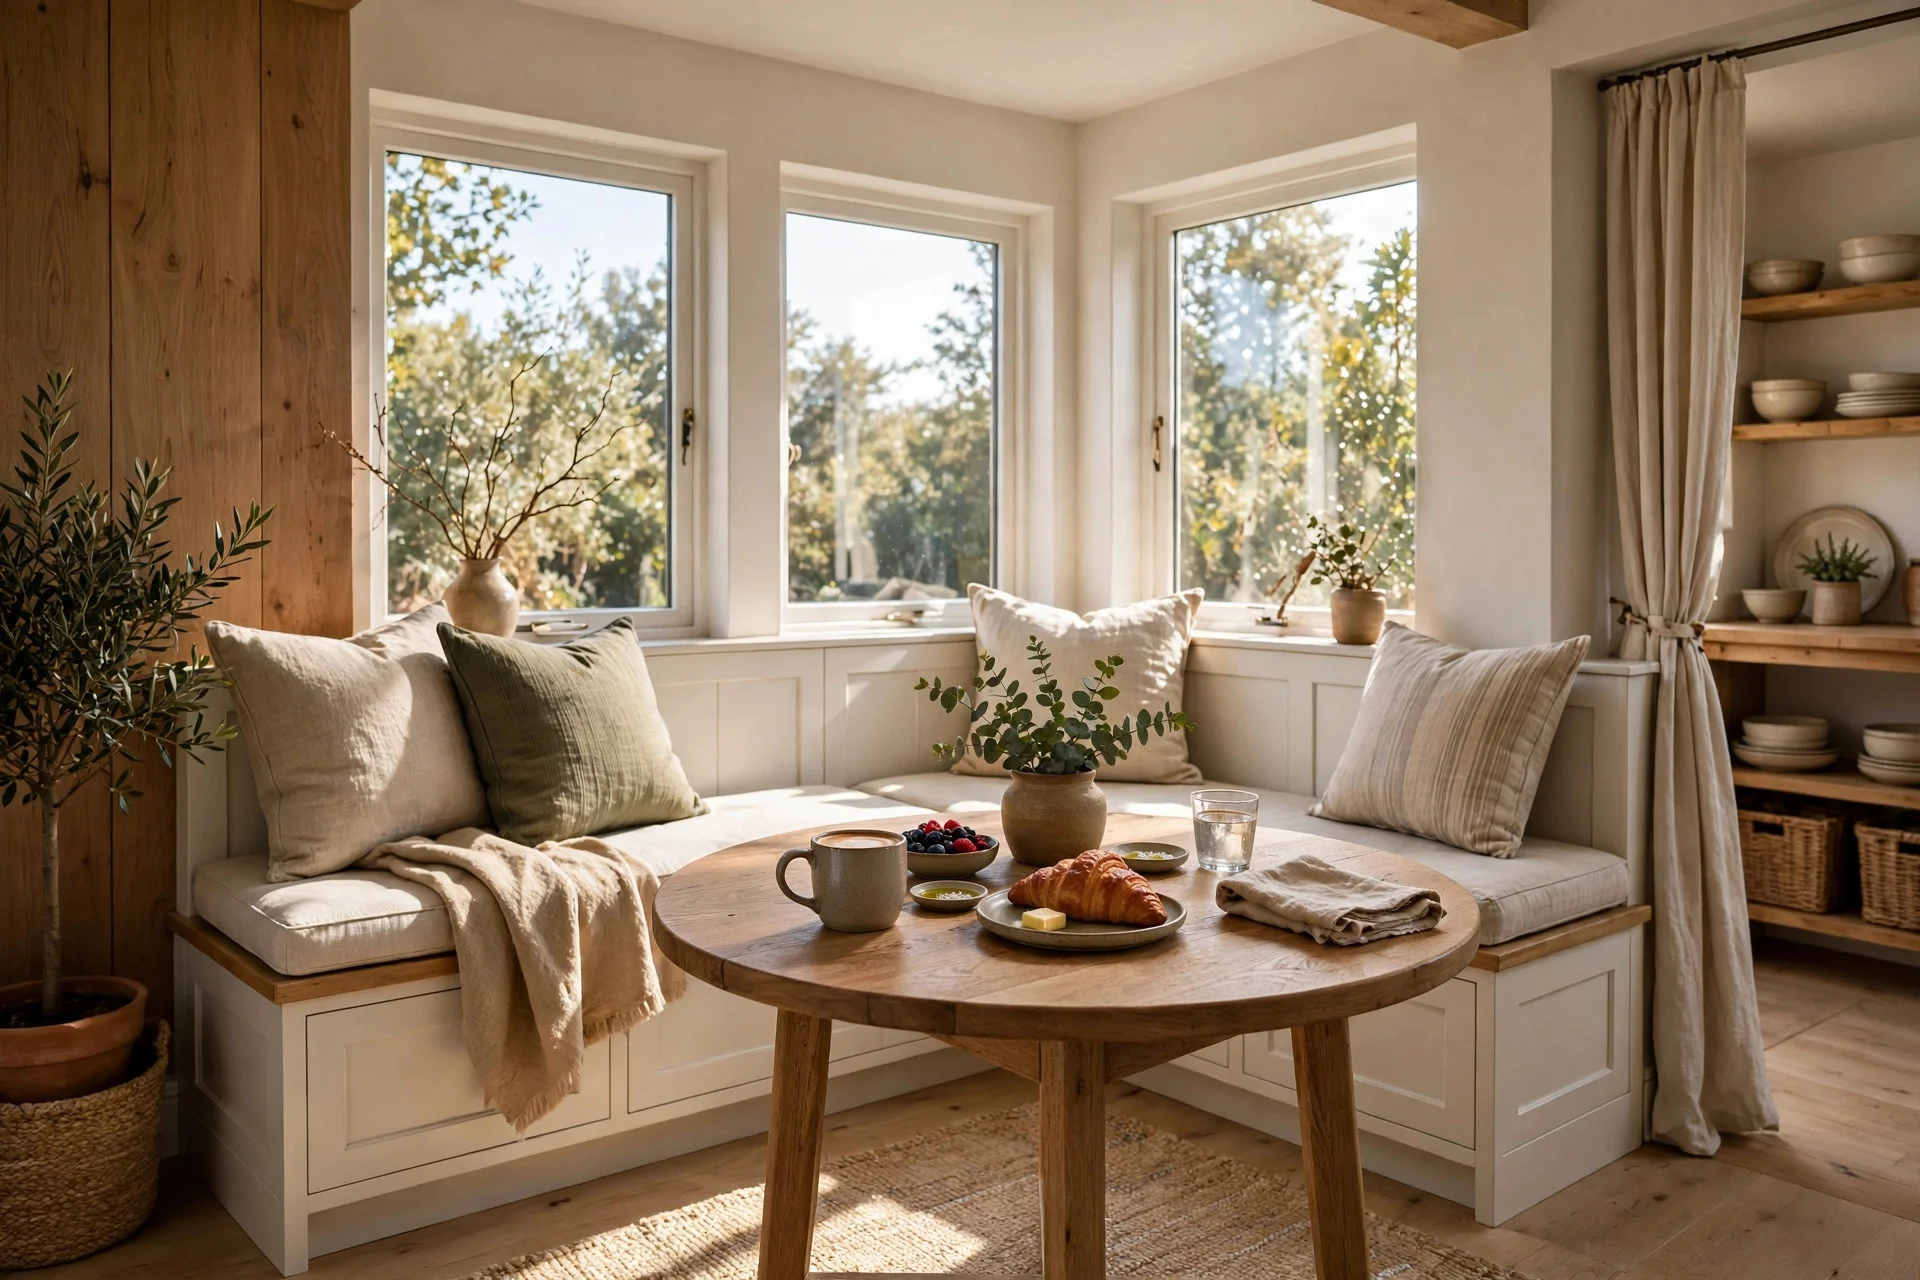
5. Dining End With a Built-In Banquette
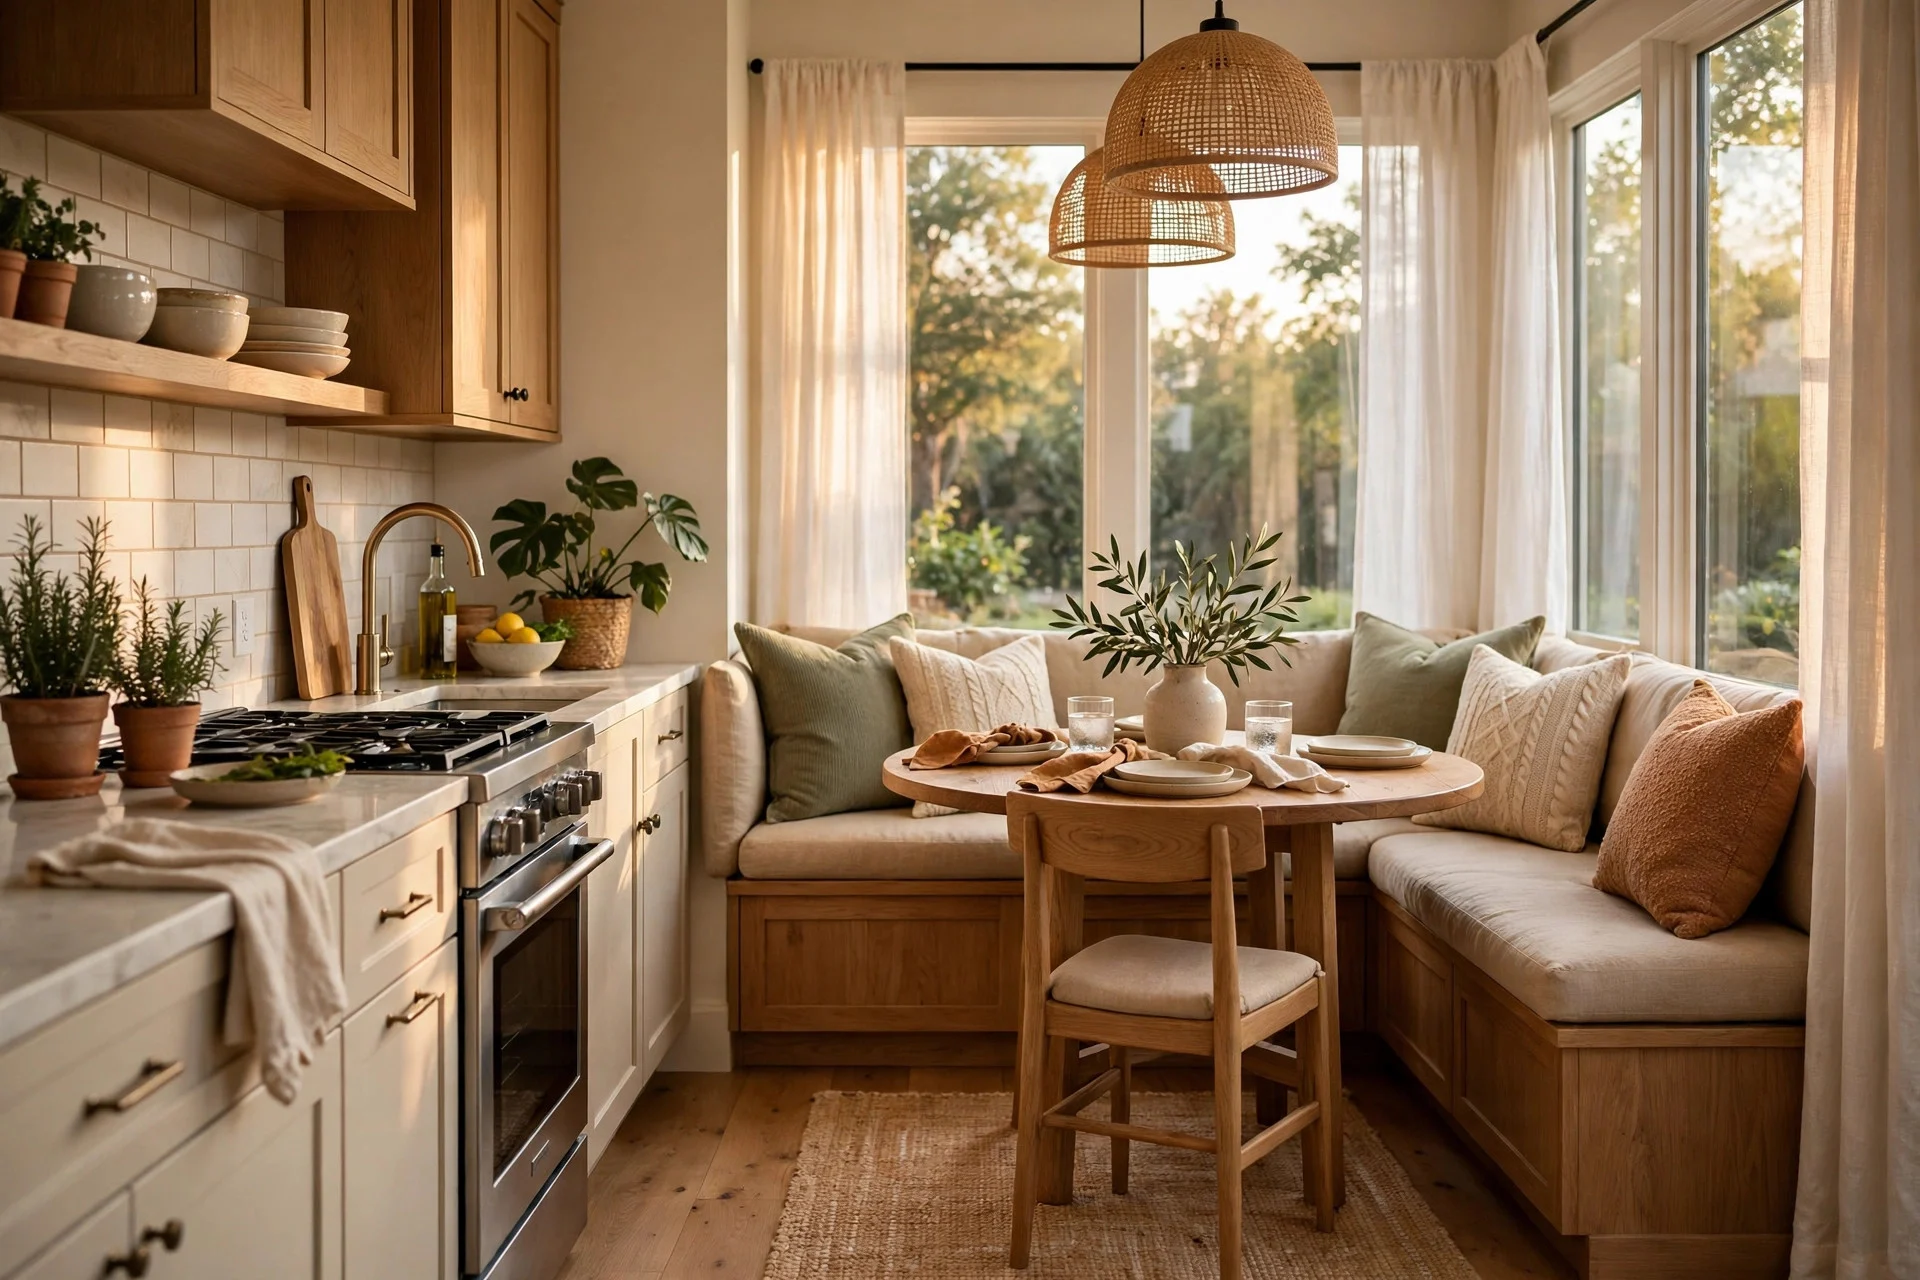
At the open end of the L, a banquette bench against the wall plus a small table seats a family in far less floor space than a freestanding table and chairs. The bench can hide storage underneath for tablecloths, board games, or rarely used appliances, and kids tend to love sliding into a corner seat.
It works because the dining end finally has a job of its own instead of being leftover floor. Meals happen close to the kitchen, so serving and clearing are quick, and the table doubles as a homework or craft spot between meals.
Realistic cost: $400–$1,500 for a built bench with cushions, plus the table. Difficulty: moderate, mostly carpentry and upholstery, allow 1–2 weeks. Tip: make the bench seat 45 cm deep and add a washable cushion cover — family seating needs to survive spills. Watch out: a fixed bench can make cleaning under the table awkward, so leave a gap or choose a bench that lifts up for access.
6. Tall Storage Wall on the Short Leg
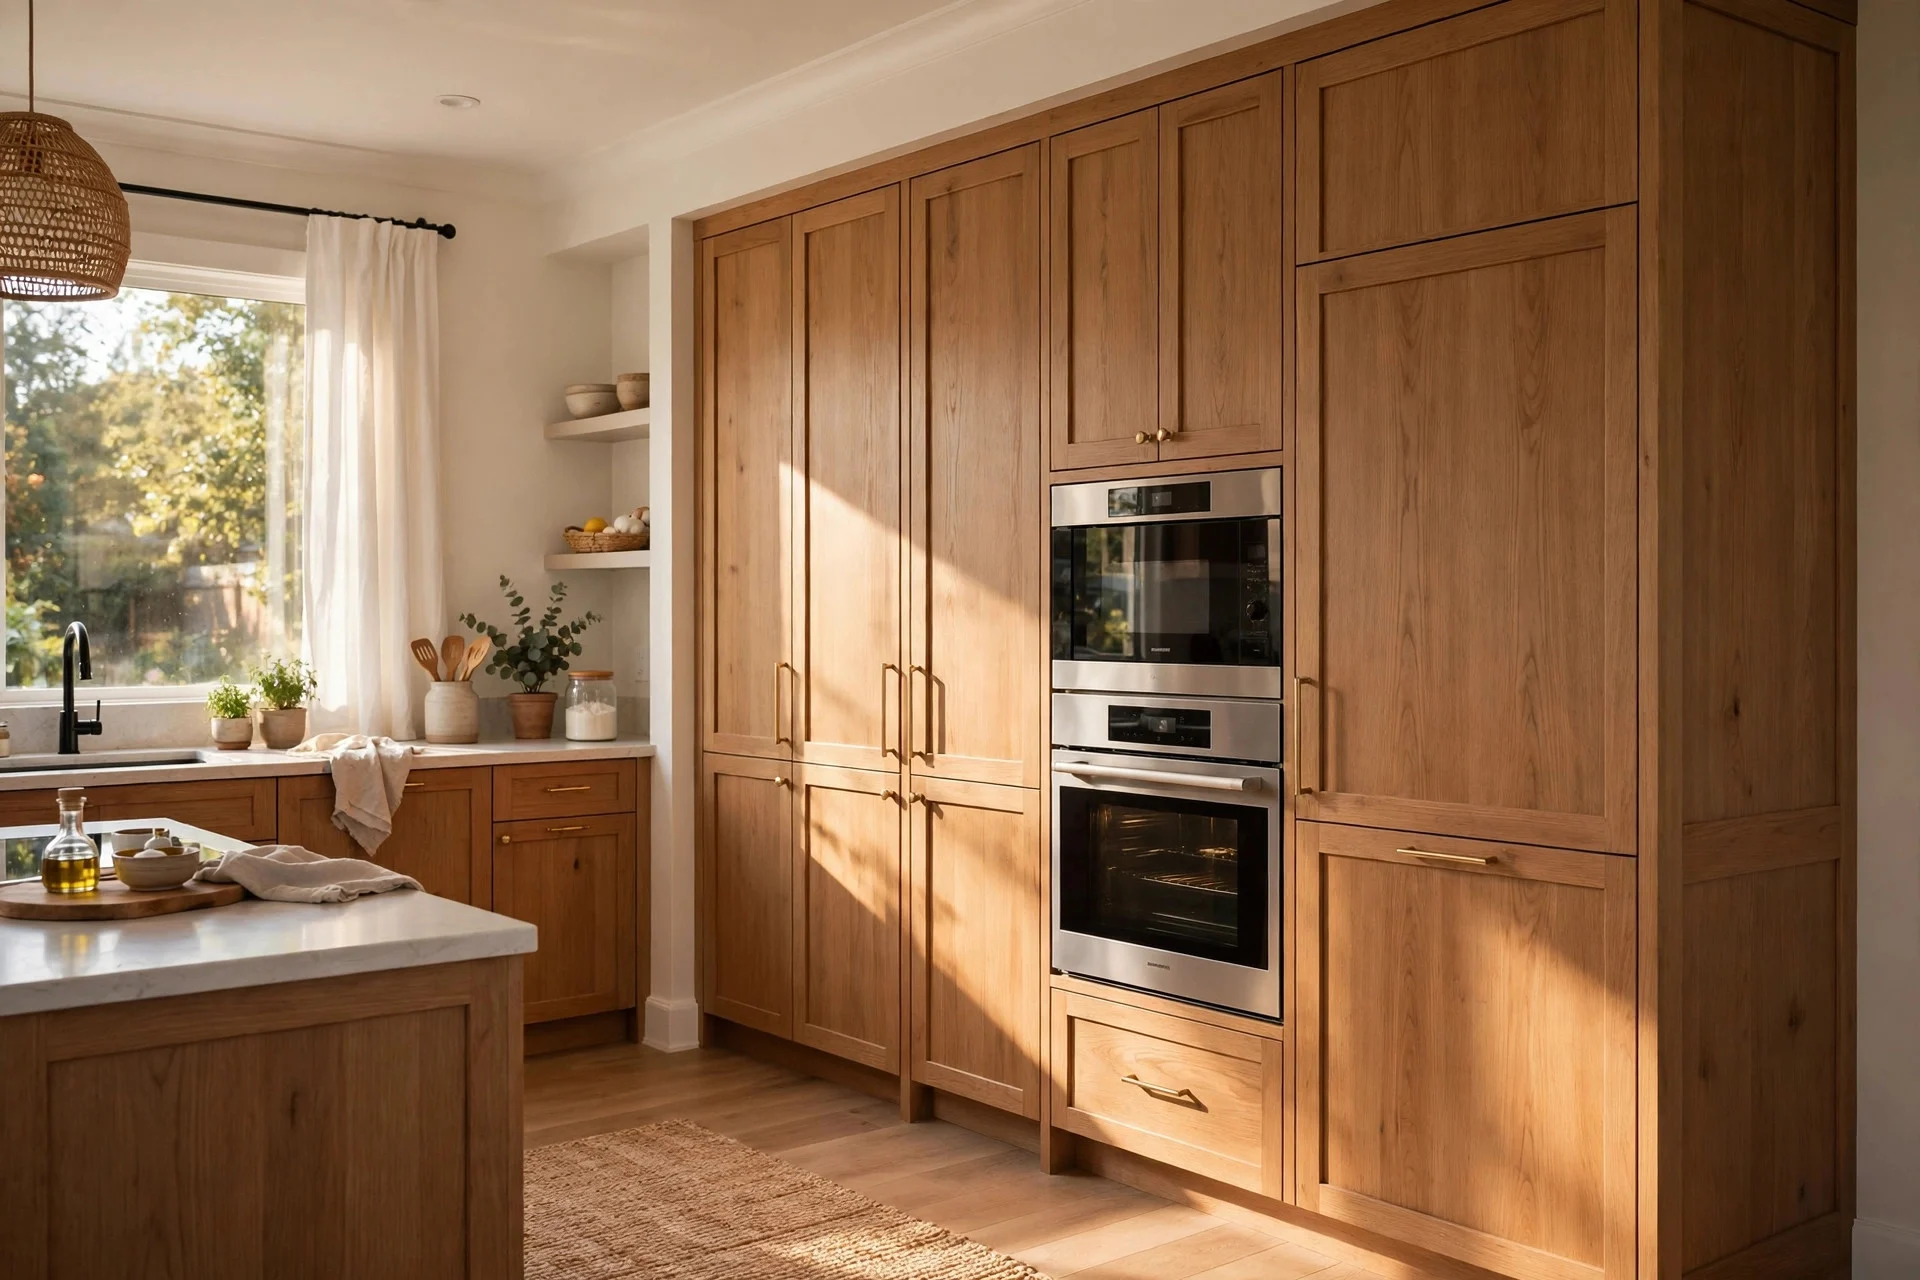
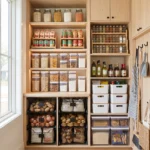
Run tall cabinets along the short leg of the L — pantry, oven tower, fridge housing — and the long leg stays open for counter work. This layout pulls bulky storage and appliances into one wall, which keeps the rest of the kitchen feeling calm and uncluttered. It’s a smart fix for kitchens with no separate pantry room.
It works because tall units hide the visual bulk that usually clutters counters: cereal boxes, small appliances, and baking trays all get a door. A pull-out larder inside one tall unit can hold a week’s groceries in a space barely wider than a standard cabinet.
Realistic cost: $900–$3,000 for tall units, oven housing, and internal pull-outs. Difficulty: moderate, allow 1–2 weeks, and check that tall units don’t block a window or door swing. Tip: put the most-used pantry items between waist and eye height, and save the top shelves for holiday dishes and bulk buys. Watch out: a full wall of tall cabinets can feel heavy in a small room, so break it up with one open shelf or a lighter-coloured finish.
7. Corner Pantry With Pull-Outs That Actually Get Used
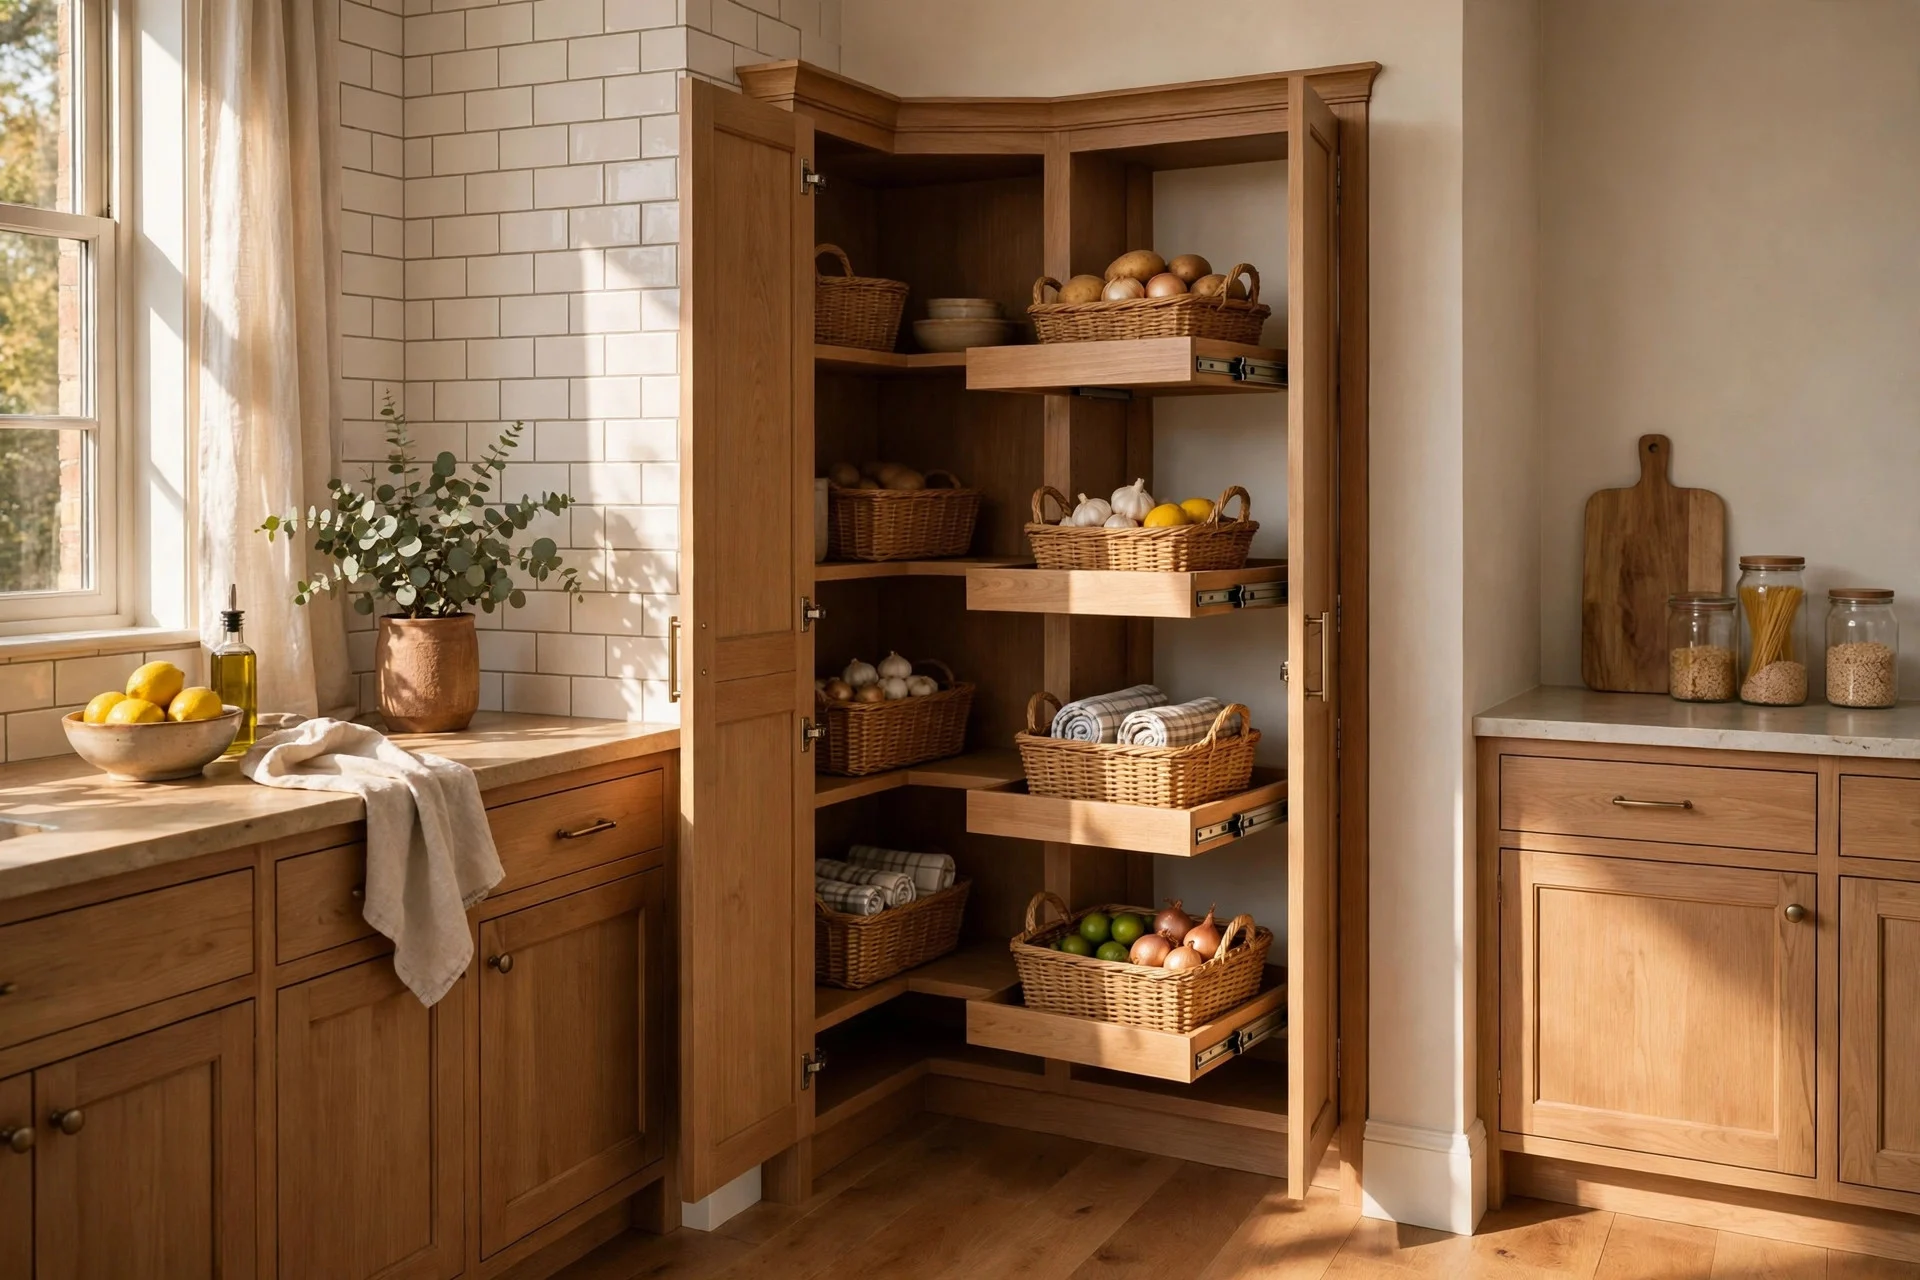
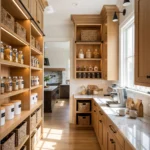
Here’s where the myth dies. The corner itself becomes a proper pantry with a carousel, a pull-out corner unit, or a blind-corner system that brings the contents out to you. No more kneeling on the floor and reaching into the dark for a tin you bought two years ago.
It works because the hardware does the reaching for you. A good corner pull-out can hold pots, small appliances, or dry goods, and it turns the most awkward spot in the kitchen into the most useful one. Measure your corner cabinet carefully — the mechanism has to match the cabinet size.
Realistic cost: $200–$750 for corner hardware plus fitting, on top of the cabinet itself. Difficulty: easy to moderate for a retrofit, a day or two of work. Tip: load heavy items like pots on the lower pull-out and lighter dry goods up top, so the mechanism runs smoothly. Watch out: cheap corner carousels wobble and jam, so spend on the mechanism itself rather than the prettiest finish.
8. Prep Zone Between Sink and Range
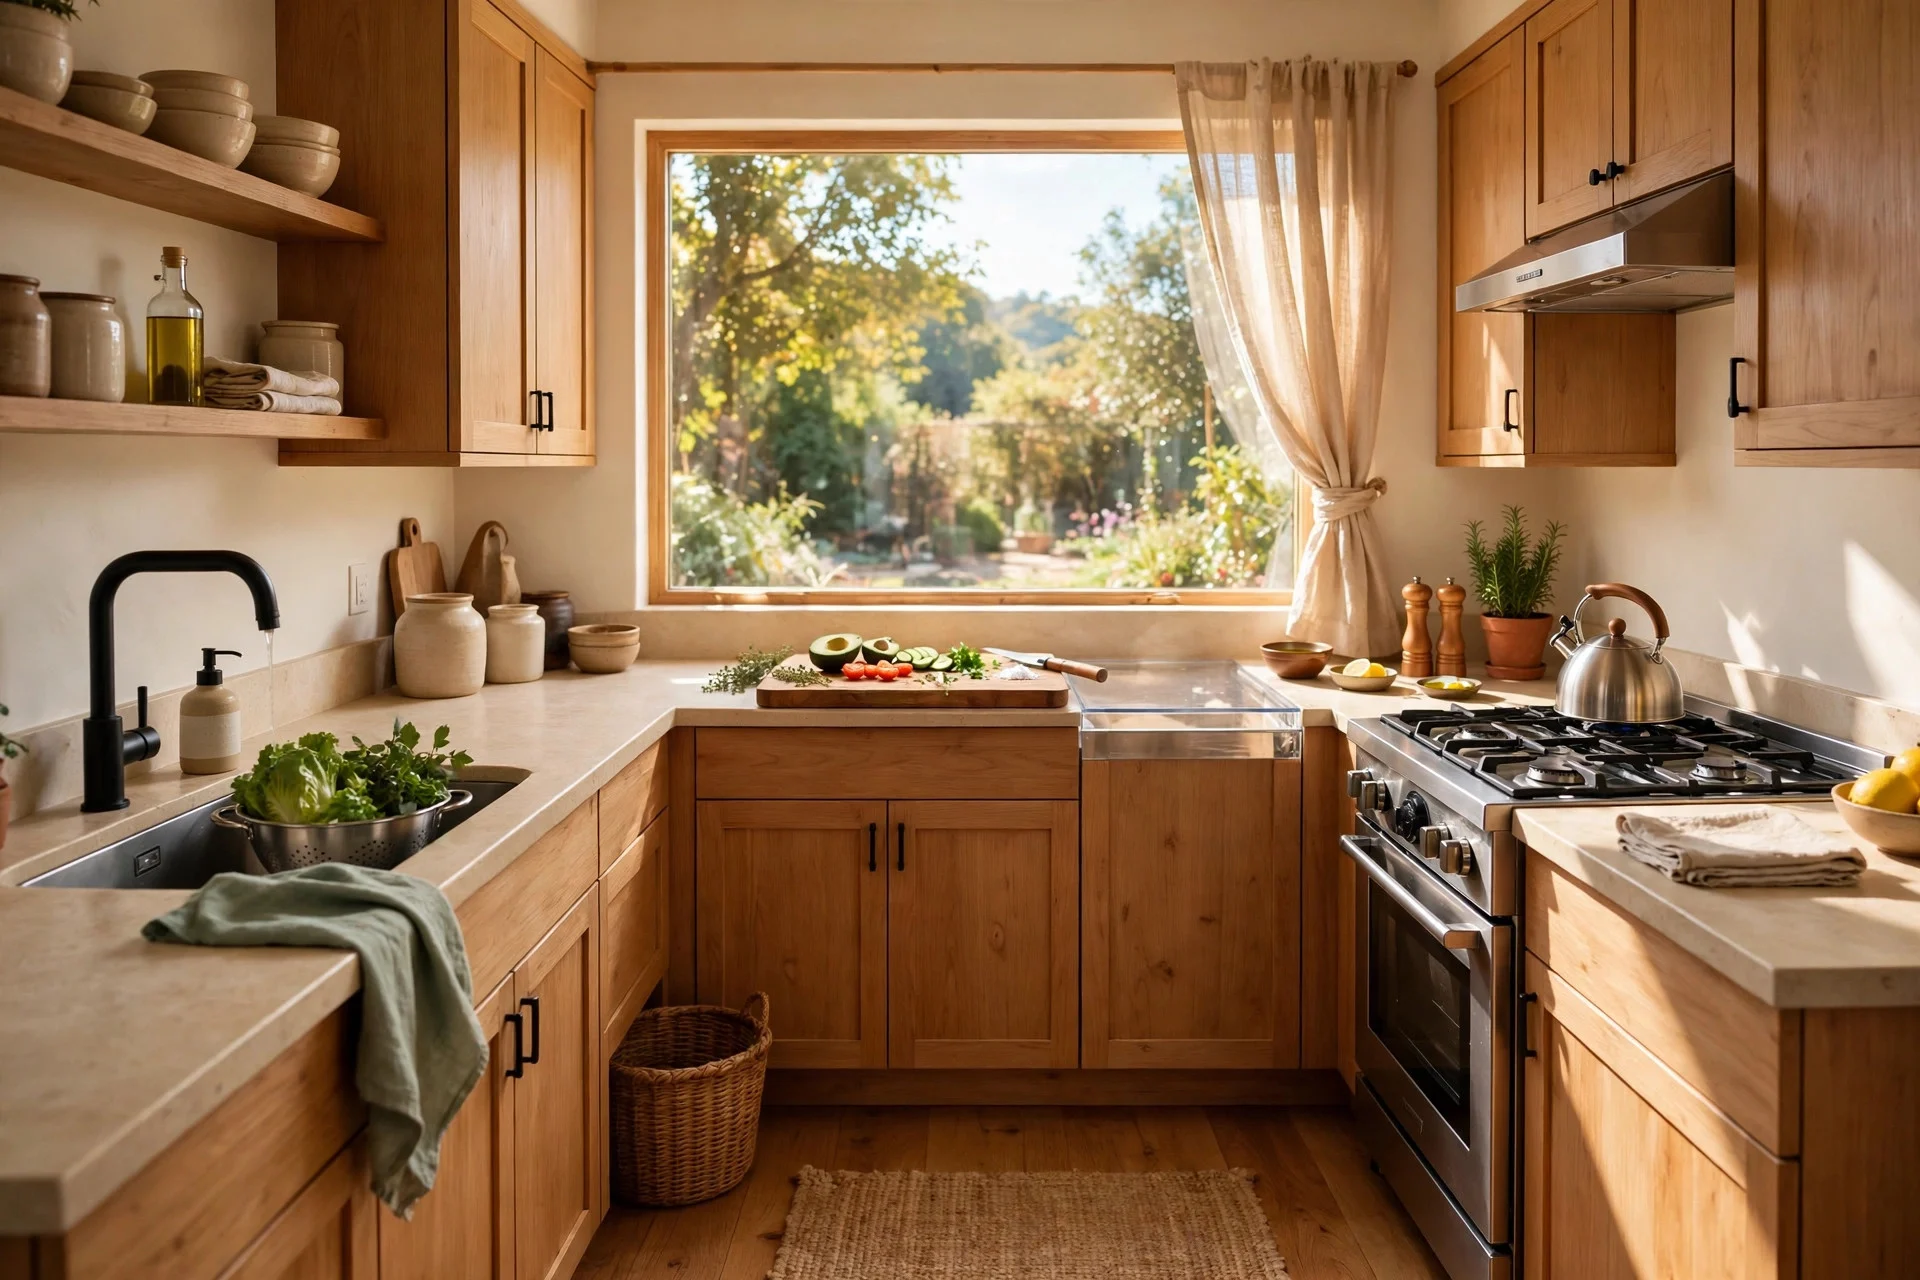
The stretch of counter between the sink and the hob is the hardest-working part of any kitchen, and in an L-shape it usually falls right near the corner. Treat it as a dedicated prep zone: chopping board, knives, mixing bowls, and a bin within reach, with nothing else parked there.
It works because prep follows a natural order — wash at the sink, chop in the middle, cook at the hob — with no backtracking. Families cook faster here because two people can split jobs: one chops while the other minds the stove, each in their own lane.
Realistic cost: minimal if the counters already exist — $50–$250 for a knife block, board, and a pull-out bin. Difficulty: easy, mostly organisation rather than building, done in an afternoon. Tip: keep a small compost or waste bin right under the prep counter so peelings never pile up on the worktop. Watch out: if this stretch is under 75 cm wide, prep will feel cramped — in that case, steal space from a rarely used gadget corner instead.
9. Baking Station on the Short Leg
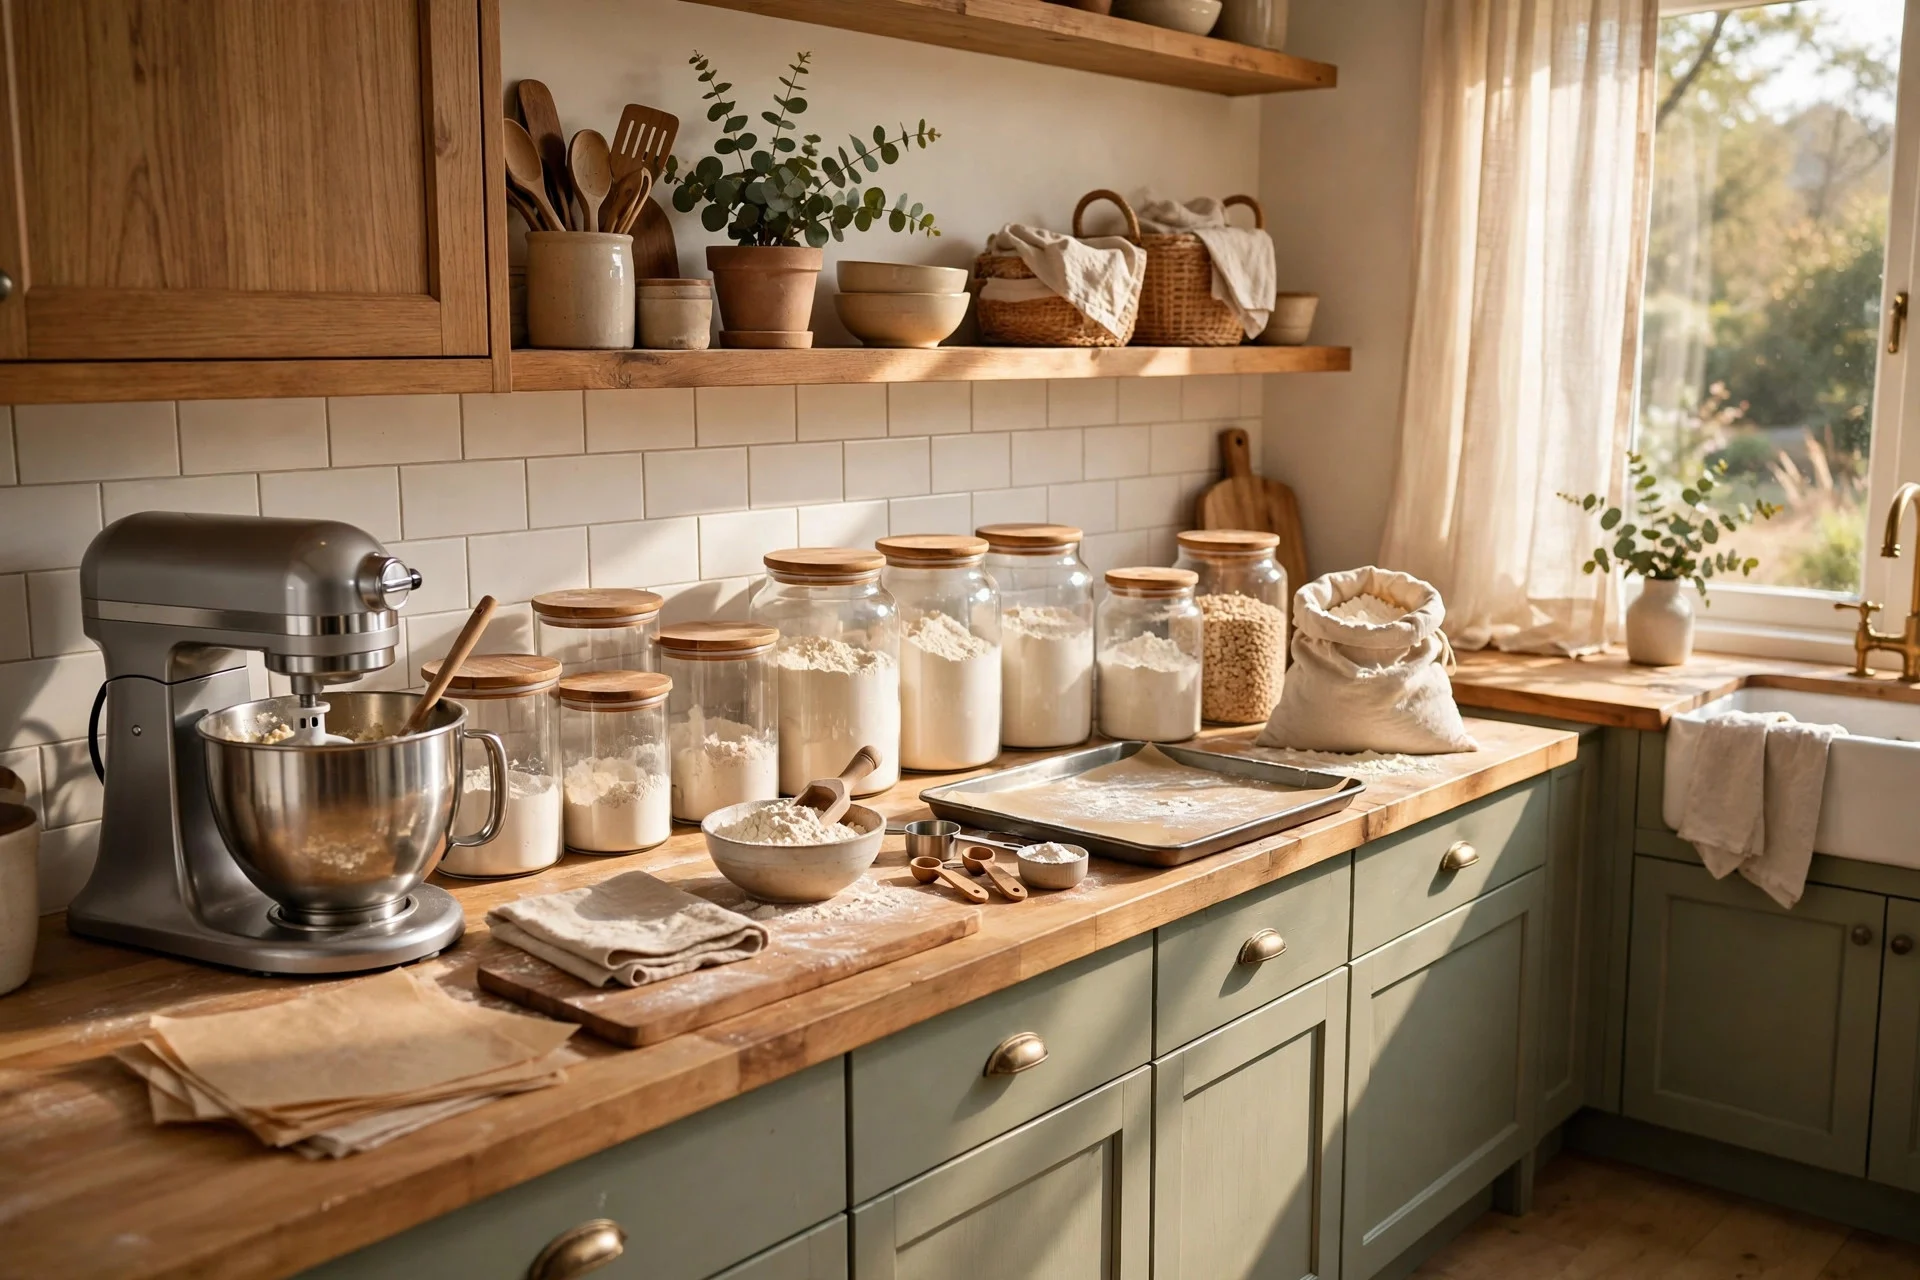
Give the short leg of the L to baking: a stand mixer on a lift shelf or a dedicated counter spot, flour and sugar in sealed containers, baking trays in a vertical divider, and the oven nearby. Even a 120 cm stretch is enough if it’s planned as one station rather than random counter.
It works because baking has its own tools and mess, and containing it in one zone keeps flour off the everyday cooking counters. Kids who bake with you get a defined spot to work, and cleanup stays in one place.
Realistic cost: $150–$750 for containers, dividers, a mixer lift, and extra sockets if needed. Difficulty: easy to moderate, a weekend project in most cases. Tip: store measuring cups, scales, and baking sheets together in one drawer or tray so you never hunt for them mid-recipe. Watch out: a mixer lift needs a sturdy cabinet and enough clearance above it, so check the mechanism’s height before you commit.
10. Coffee and Appliance Corner by the Dining End
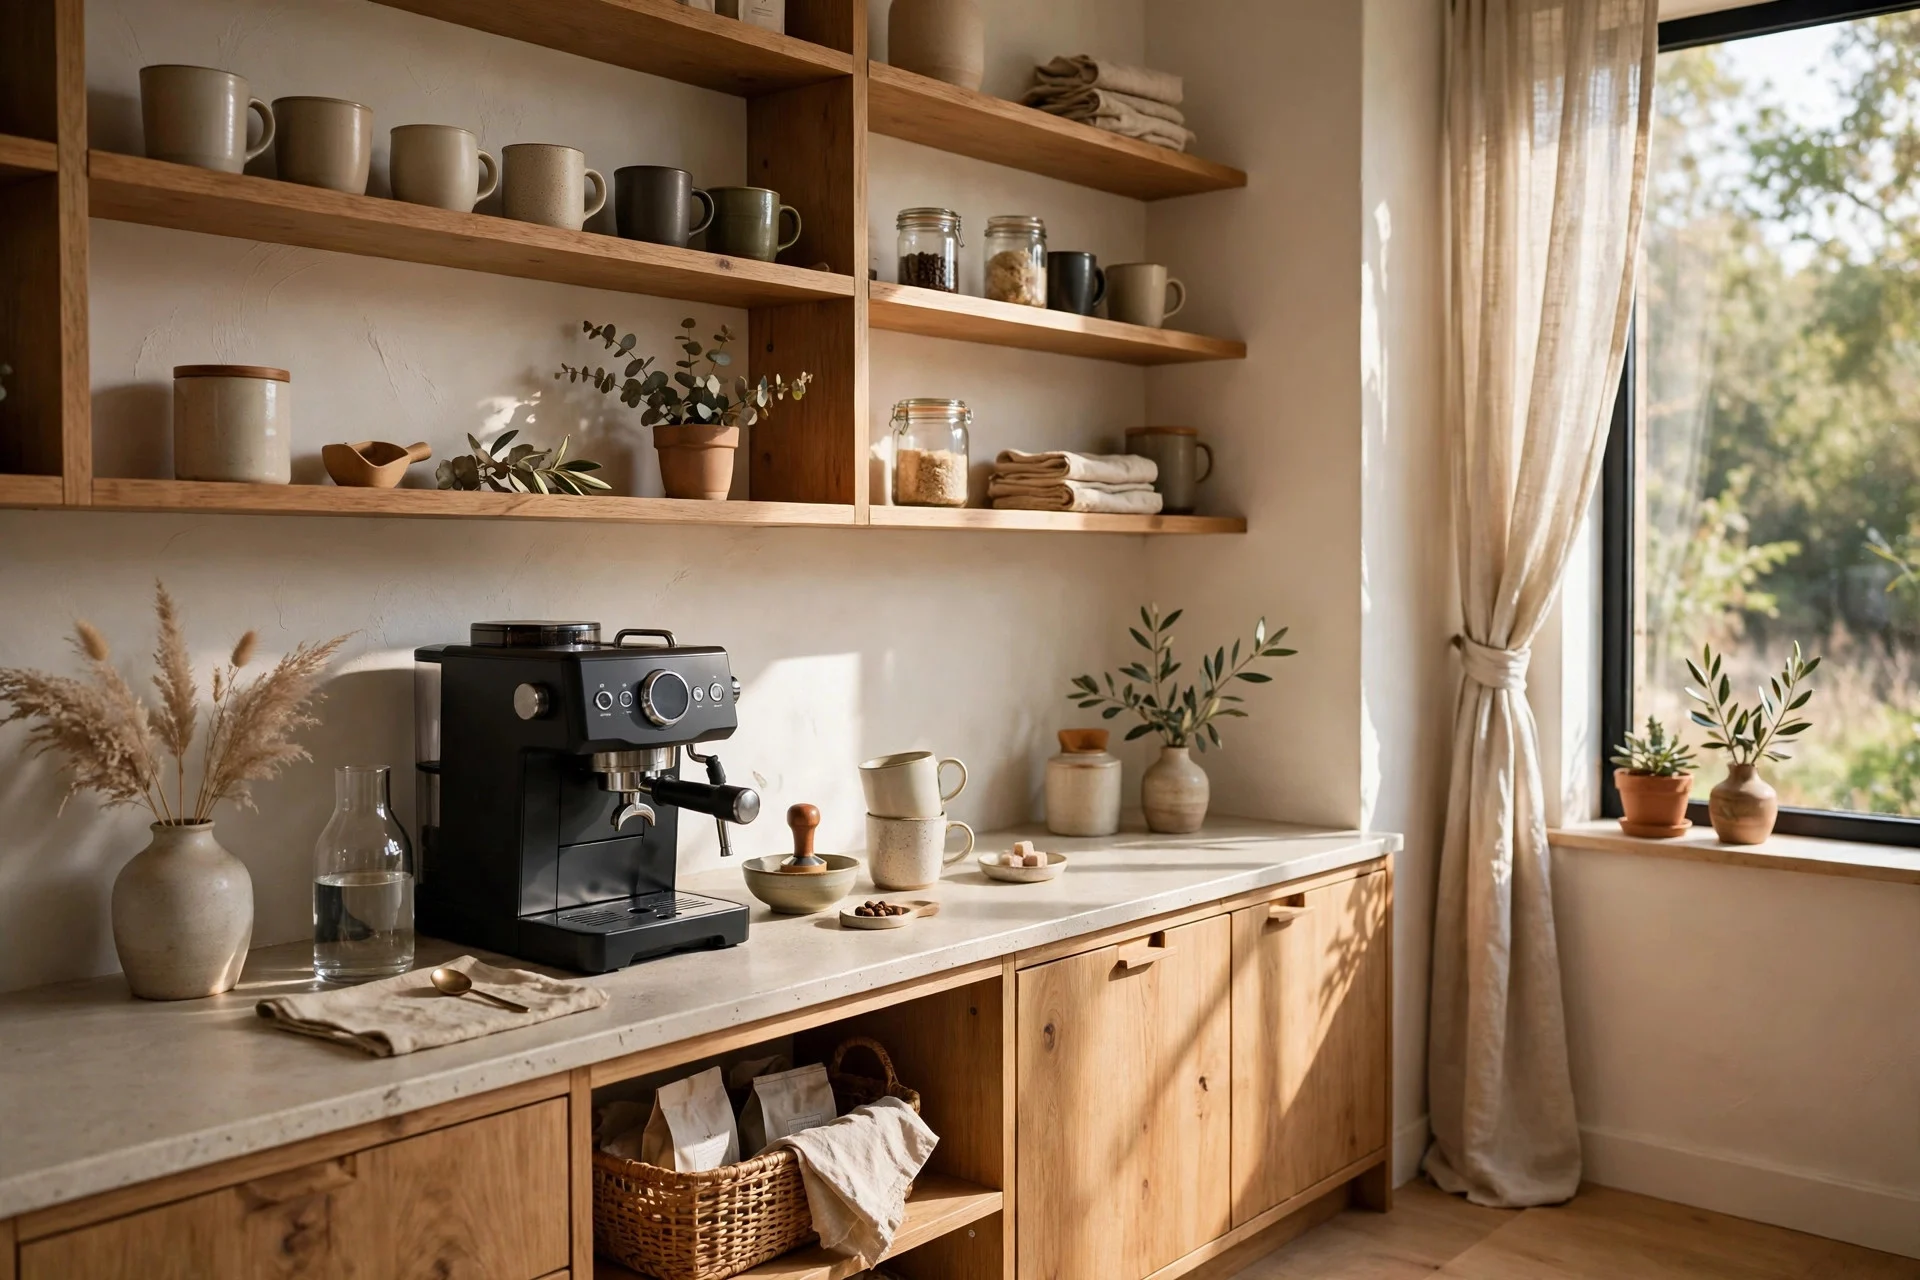
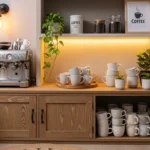
End the L near the dining side with a coffee and appliance corner: kettle, coffee machine, toaster, and mugs on one stretch, with a socket strip and a small shelf above. Breakfast runs itself here without anyone crossing the cook’s zone, and the toaster crumbs stay far from the main prep area.
It works because mornings are the busiest kitchen hour, and giving breakfast its own corner spreads the family out. One person makes coffee while another cooks eggs, and neither blocks the other. Open shelving for mugs keeps the routine quick and visible.
Realistic cost: $100–$500 for shelving, sockets, and organisation, plus the appliances you already own. Difficulty: easy, usually a day’s work. Tip: add a small tray under the coffee machine to catch drips — it protects the counter and makes wiping up a ten-second job. Watch out: too many appliances on one circuit can trip a breaker, so spread heavy items like kettles and toasters across two sockets if you can.
Frequently Asked Questions
Is an L-shaped kitchen good for a family?
Yes, for most families it’s one of the better shapes. Two people can work at once without crossing paths, the open side leaves room for a table or island, and zones for cooking, prep, and dining stay separate. It suits open-plan living well because the open side connects to the rest of the house.
How do you fix a wasted L-shaped corner?
Use corner hardware — a carousel, a pull-out unit, or a blind-corner system — so the contents come out to you instead of you reaching in. If the corner is big enough, a walk-in pantry door in the corner works too. The fix is rarely a rebuild; it’s usually one piece of hardware and better organisation inside.
What is the minimum size for an L-shaped kitchen?
A workable L-shape needs two legs of at least 180 cm each, though longer is better. Below that, storage and counter space get tight, and you may be better off with a single-wall layout plus a small table. If your room is small, a peninsula rather than an island keeps the eating spot without eating the floor space.
Where should the fridge go in an L-shaped kitchen?
Put the fridge at one end of the L, ideally near the entrance to the kitchen, so anyone grabbing a drink doesn’t walk through the cooking zone. The tall storage wall or the end of the long leg are both good spots. Keep it close enough to the prep zone that unloading groceries is a short trip.
Your L-Shape Checklist
Before you change anything, walk your kitchen and check these five things: is the corner actually working or just holding forgotten items? Do you have a clear landing spot beside the hob and the sink? Can two people cook without blocking each other? Is there a seat for a quick breakfast? And does breakfast traffic cross the cooking zone? Fix the worst answer first — that’s where your money will make the most difference.
An L-shaped kitchen doesn’t need a bigger room to work well. It needs each zone to have a clear job, a corner that pulls its weight, and enough clear counter that cooking feels easy rather than crowded. Start with the zone you use most, get that right, and build outward from there. For more ideas on planning the rest of the room, see kitchen storage ideas and small kitchen layout ideas.