12 Ways to Decorate Around a TV Above the Fireplace
Yes, a TV above the fireplace can look genuinely good — but only if you treat the whole wall as one composition instead of two things fighting for attention. Most awkward setups trace back to three fixable mistakes: the TV mounted too high, a mantel that’s either bare or cluttered, and cables dangling like an afterthought. Follow these 12 steps in order and you’ll fix all three, one decision at a time.
Start with the measurements and the mount, then build the styling outward from there. Each step tells you what to do, why it works, what it costs, how long it takes, one practical tip, and the mistake to avoid.
Step 1: Is Your TV the Right Size for the Wall?
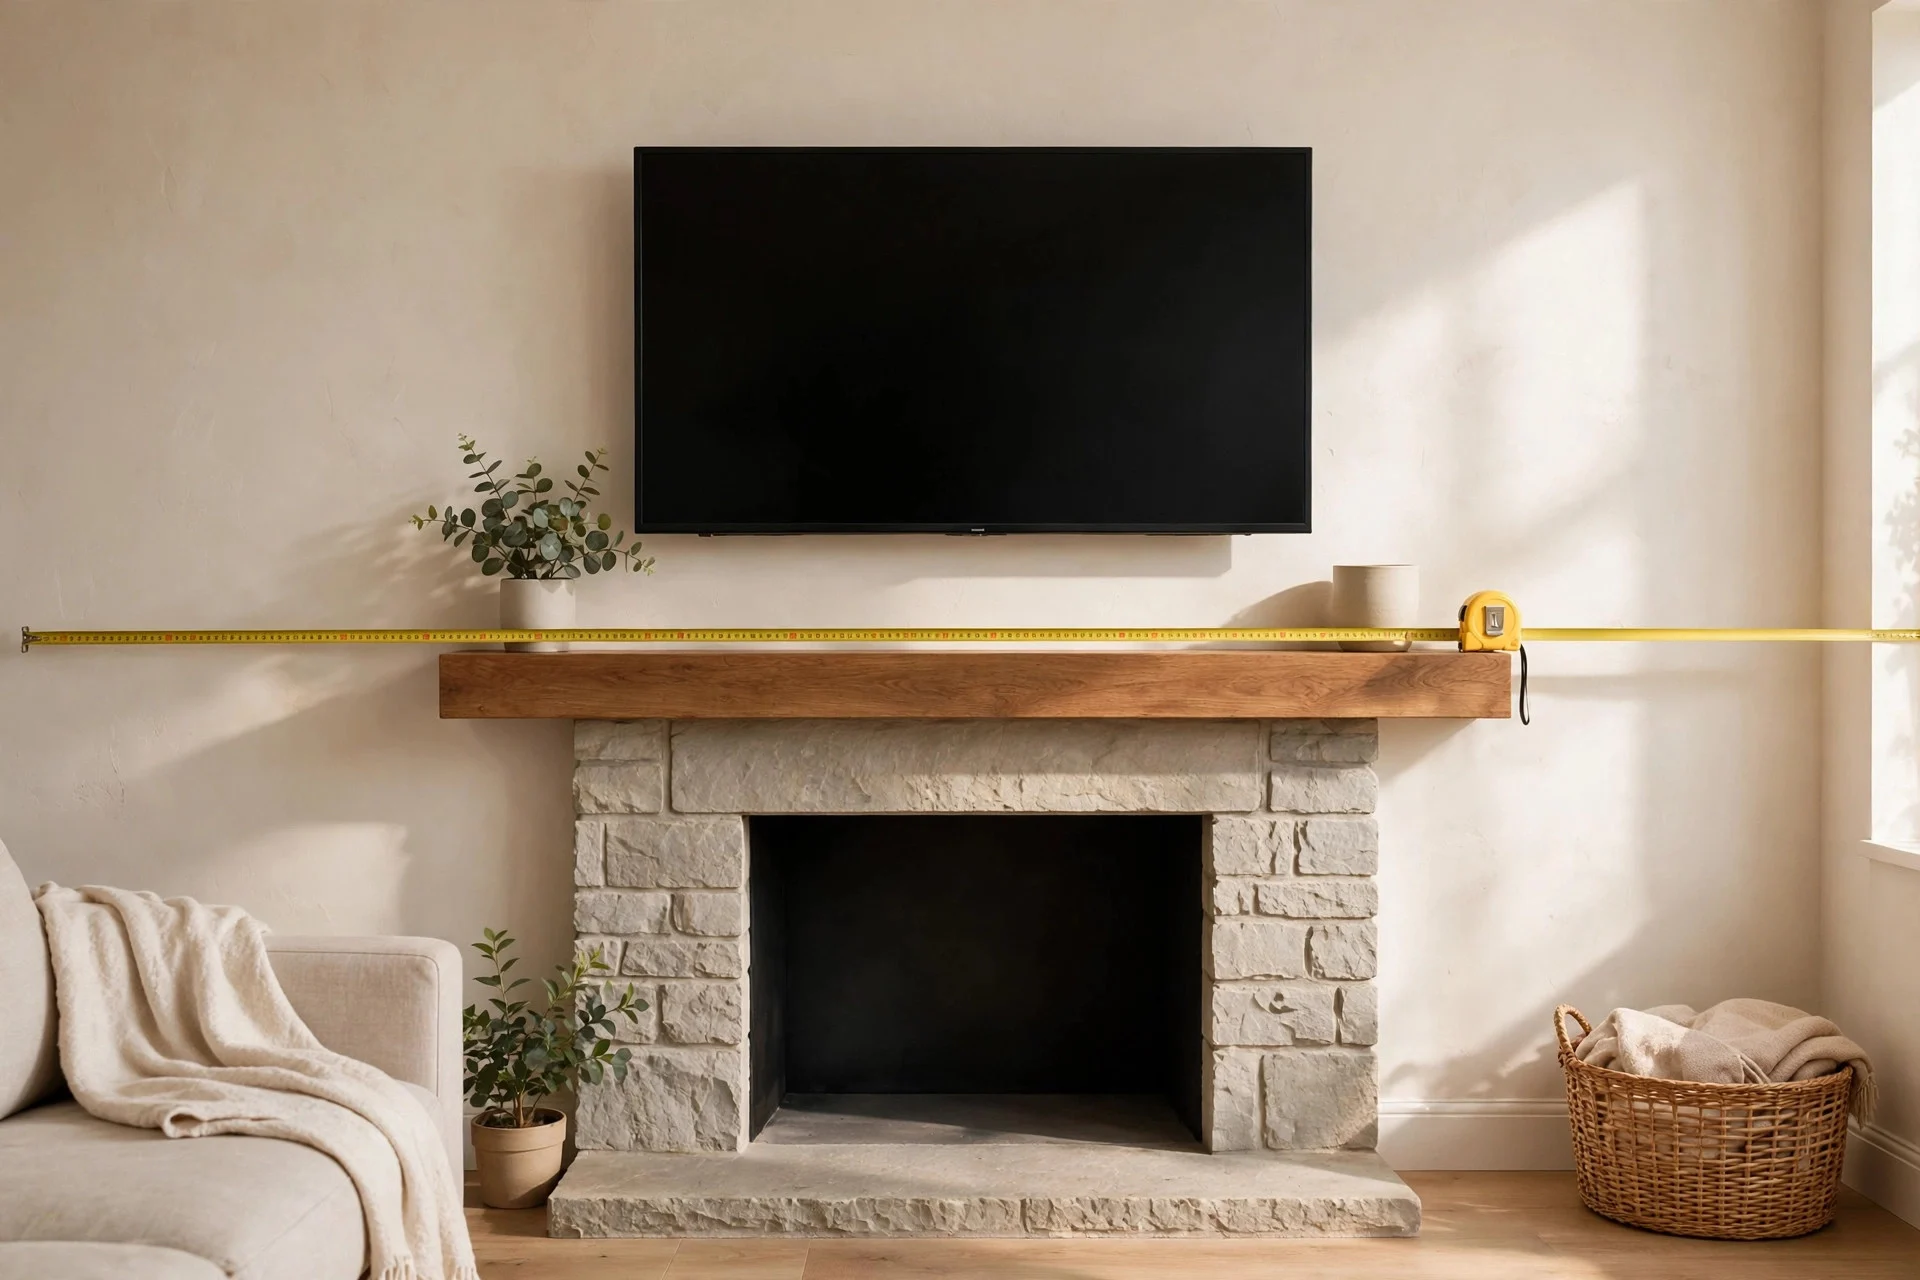
Before you touch a single decor item, check the ratio: the TV should be roughly two-thirds the width of the mantel or the fireplace wall it’s mounted on. A 75-inch screen on a narrow chimney breast will always look top-heavy, while a small 43-inch TV floating above a wide hearth leaves a lot of dead wall screaming for attention.
Stand back about 10 feet. If the TV fills the space comfortably with room on both sides for styling, you’re in good shape. If you’re still shopping, run the numbers through a TV size calculator to match the screen to your actual viewing distance.
Materials & cost: Free if you already own the TV; a tape measure costs under $10. Difficulty: 10 minutes. Tip: tape a bedsheet cut to your TV’s dimensions onto the wall and live with it for a day before committing to a mount. Watch out: include the bezel and any soundbar in your mental picture, not just the screen.
Step 2: Lower the Mount — Your Neck Will Thank You
This is the most common complaint with fireplace TVs: the screen sits so high that watching a movie feels like a dentist appointment. Most mantels force the TV center a few inches above ideal eye level, but a tilt or pull-down mount claws back a lot of that height.
Aim for the center of the screen no more than about 10 to 15 inches above seated eye level. It’s the difference between your living room feeling like a waiting room and feeling like a cinema.
Materials & cost: $30–$60 for a tilt mount, $100–$250 for a pull-down mount. Difficulty: 45–90 minutes with a drill and a stud finder. Tip: mark the mount holes with painter’s tape first and sit in your usual seat to confirm the angle before you drill. Watch out: stone or brick mantels need masonry anchors — check with the mount manufacturer.
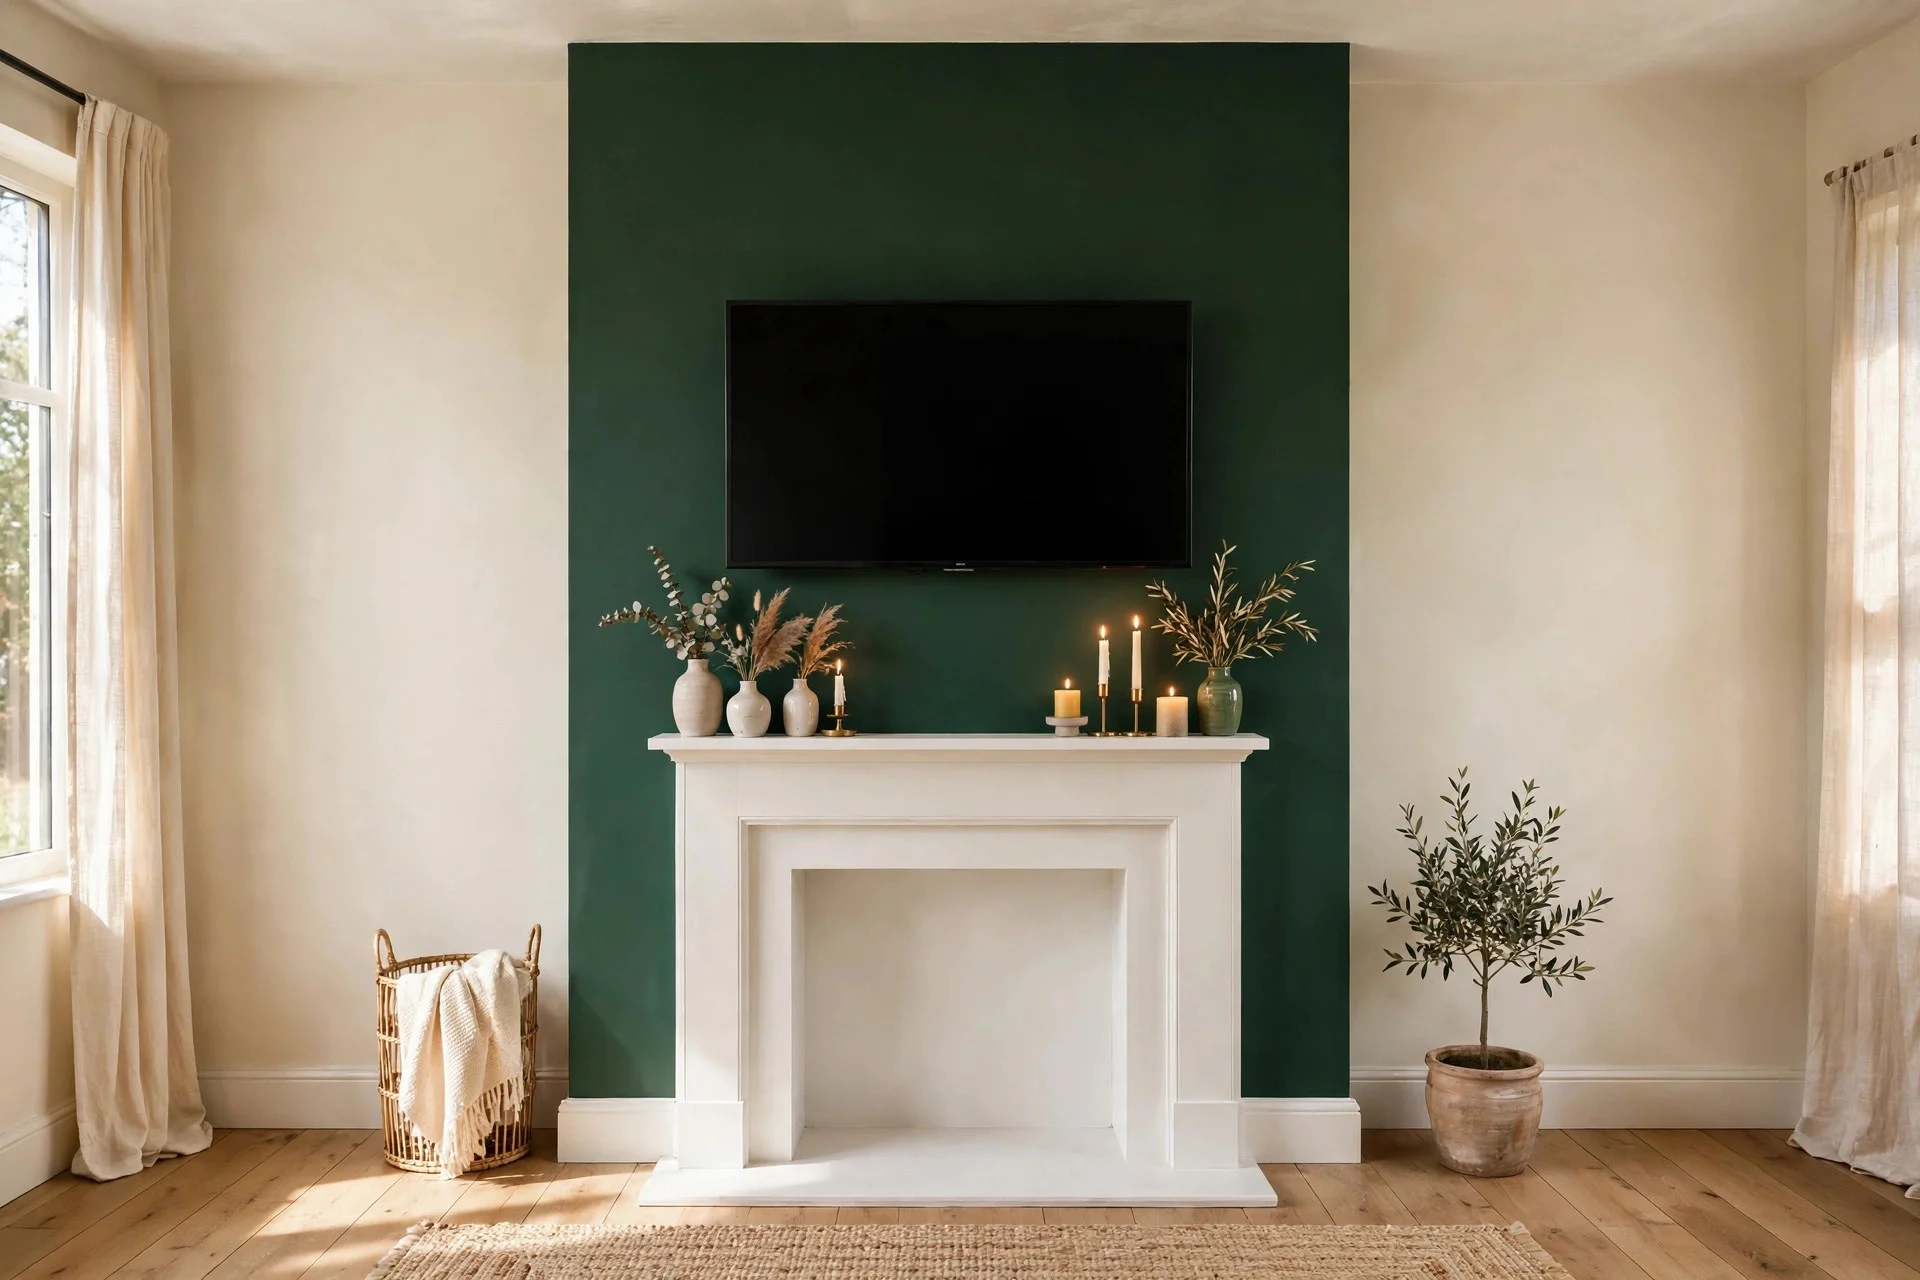
Step 3: Paint the Chimney Breast So the Wall Reads as One
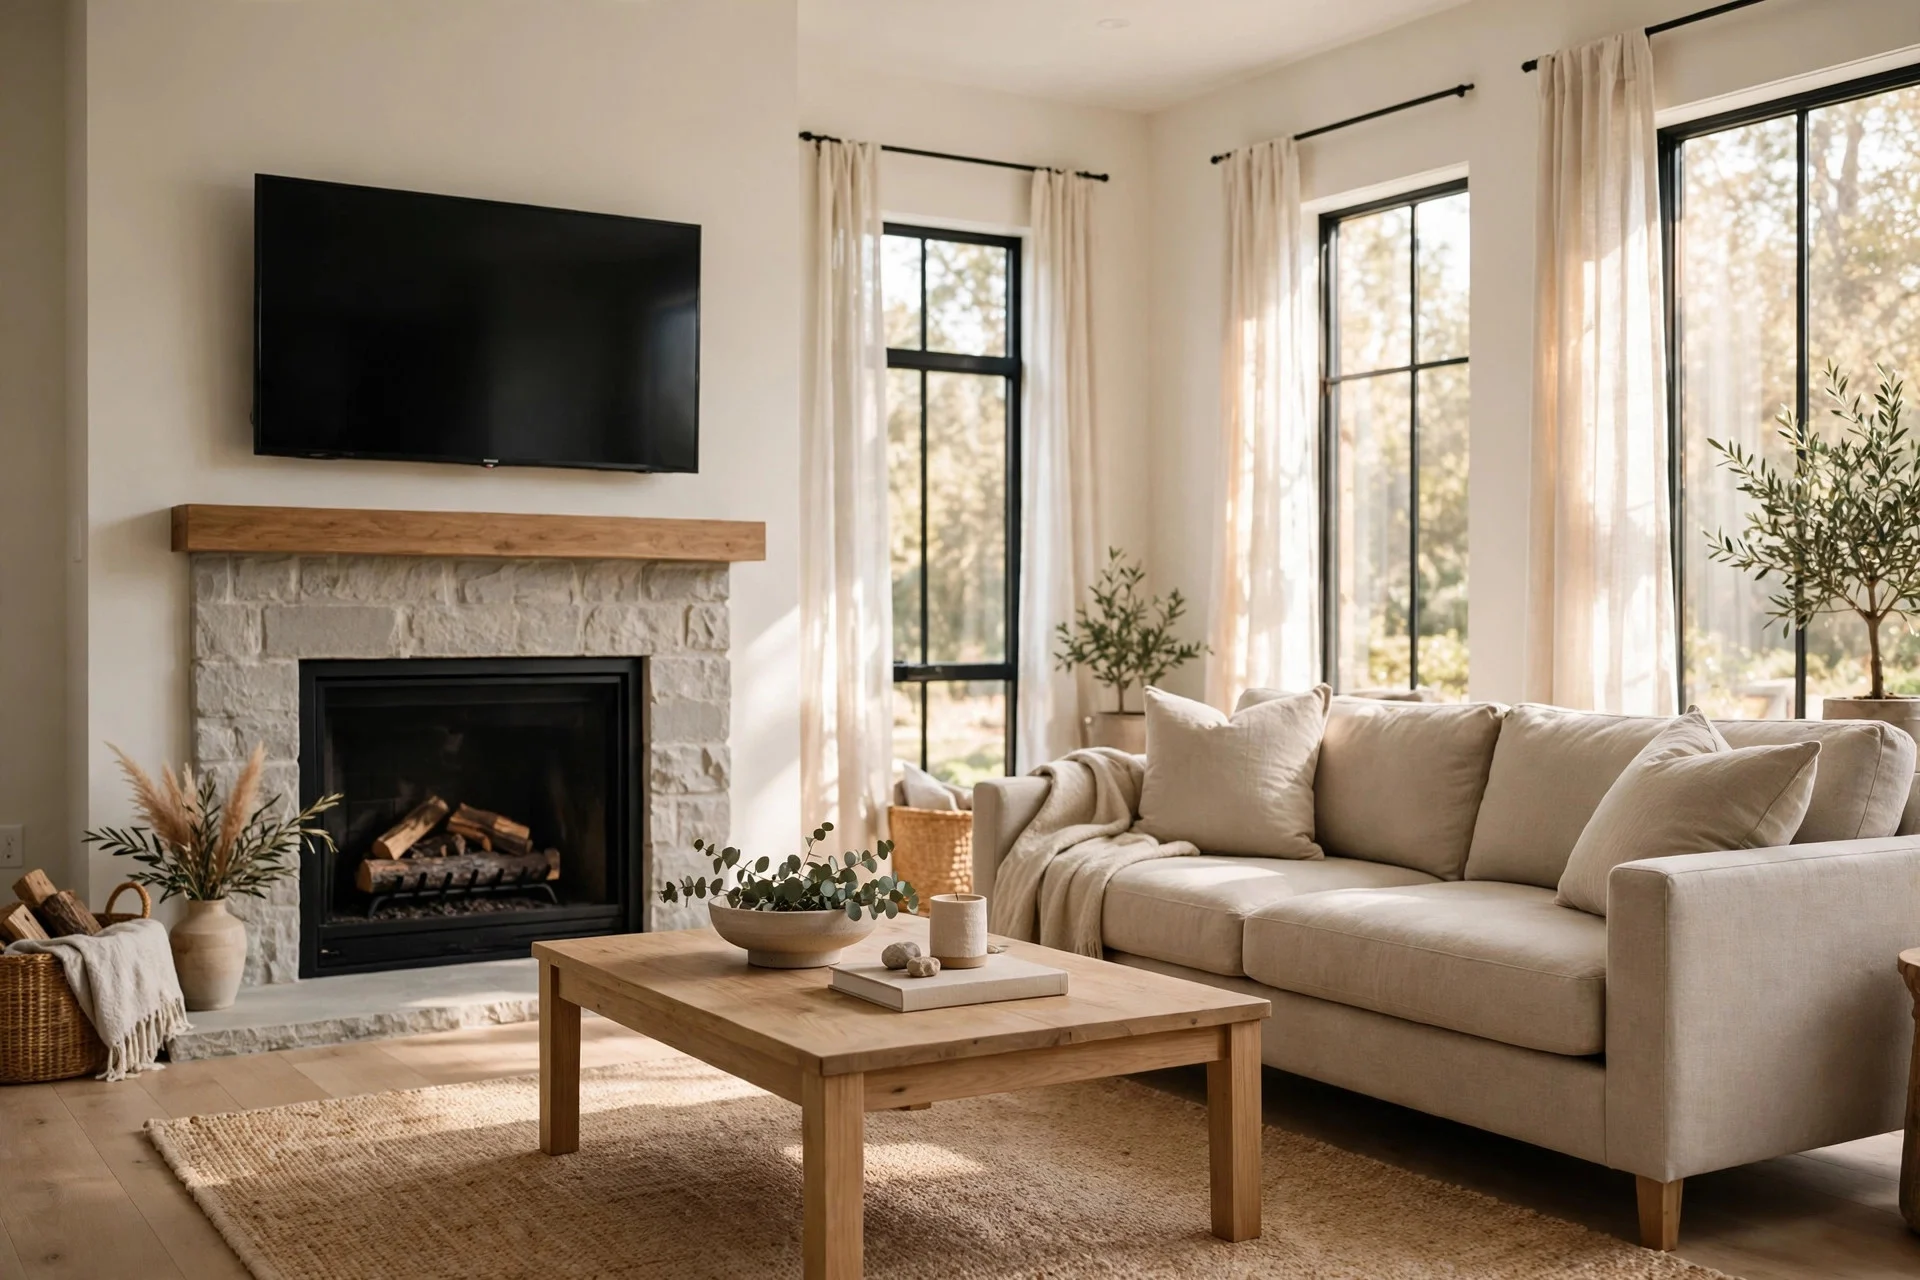
Painting the chimney breast (the part of the wall that juts out around the fireplace) in a different color from the rest of the room is the fastest way to turn “TV stuck on a wall” into “designed focal point.” The contrast swallows the TV’s black rectangle, so the screen stops shouting and starts belonging.
Dark greens, inky blues, and warm charcoals all work because they recede visually. One gallon of good interior paint covers the bump-out twice over. Prefer something less permanent? Peel-and-stick wallpaper panels do the same job in an afternoon and come off clean when you change your mind.
Materials & cost: $40–$80 for paint and supplies; $60–$150 for peel-and-stick wallpaper. Difficulty: a Saturday afternoon. Tip: paint a large swatch board and lean it against the wall for two days — the color next to a black screen reads darker than the sample card suggests. Watch out: skip glossy finishes; eggshell or matte hides the unevenness of older plaster.
Step 4: How Should the Mantel Be Styled Around a TV?
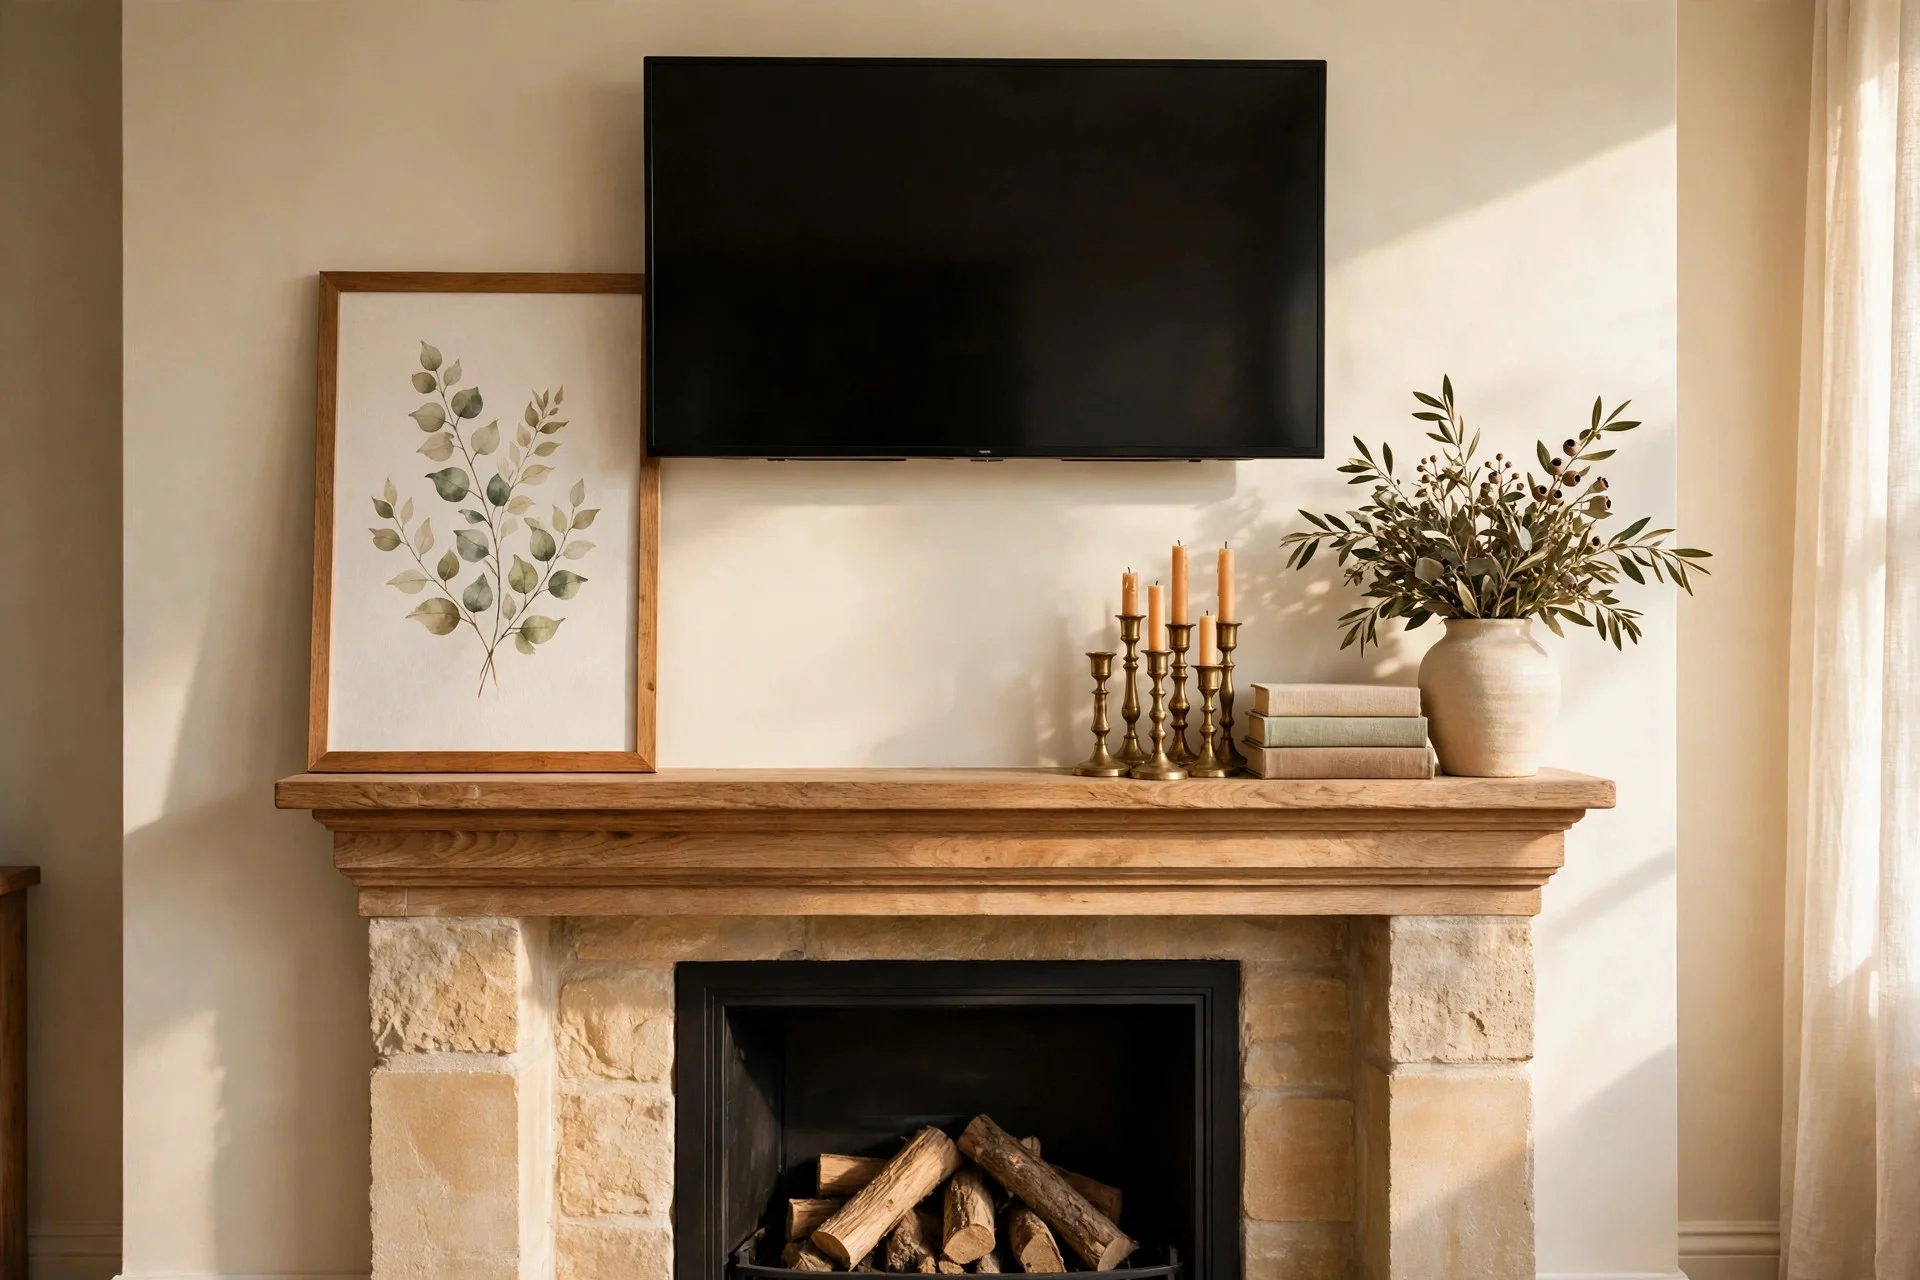
The mantel is where most people either freeze or go overboard. The sweet spot is layered and asymmetric: one tall piece on one side (a leaning framed print, a tall vase), a cluster of two or three smaller objects on the other, and breathing room in the middle where the TV sits above. Think of it as framing the screen, not competing with it.
Keep your tallest mantel pieces at least 6 inches below the bottom edge of the TV. Candlesticks in odd numbers, a small stack of books, a ceramic bowl — these read “styled” without stealing focus.
Materials & cost: $30–$120 using what you own plus a few new vases or candlesticks. Difficulty: 30 minutes of arranging and stepping back. Tip: photograph each attempt on your phone — the camera flattens the scene and shows clutter your eyes gloss over. Watch out: live candles directly under a TV send heat and soot upward; use flameless candles there or keep real flames to the sides.
Step 5: Make the Cables Disappear for Good
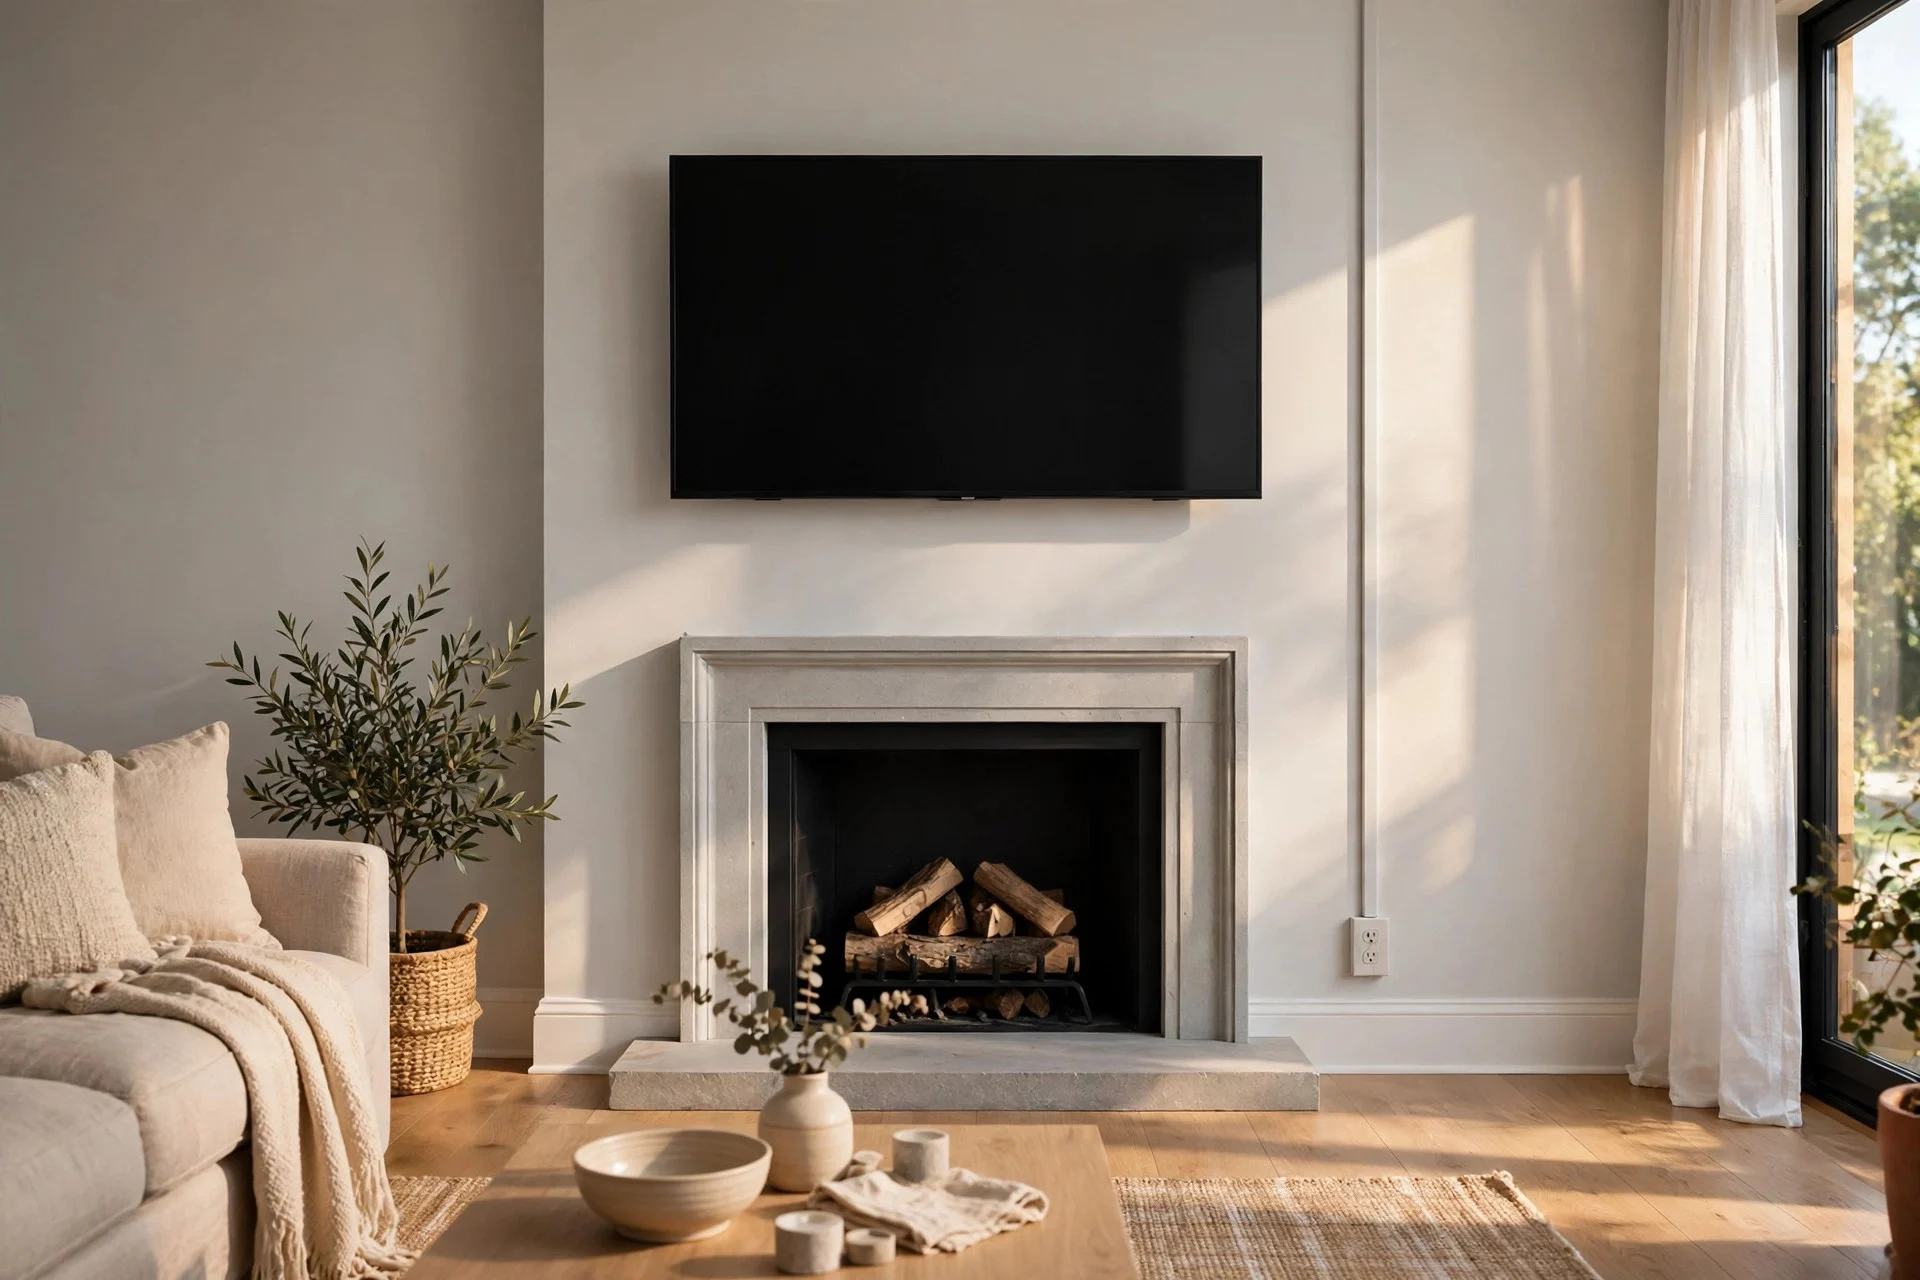
Nothing ruins a styled fireplace wall faster than a black power cord zigzagging down the chimney breast. The quick fix: a paintable cord cover channel running from behind the TV to an outlet, painted to match the wall so it all but vanishes. The clean fix: an in-wall power kit that routes cables behind the drywall, so the TV looks like it floats.
Renters should stick with the cord channel — it peels off with no damage, and once painted you’ll stop noticing it within a week.
Materials & cost: $20–$40 for a paintable cord cover; $60–$100 for an in-wall kit. Difficulty: 20 minutes for the cover, 1–2 hours for the in-wall kit. Tip: bundle HDMI and power separately inside the channel so you can pull and replace a cable later without redoing the run. Watch out: never run a standard power strip cord inside a wall — it has to be the proper in-wall-rated kit or it’s a fire code problem.
Step 6: Frame the Screen Like Artwork
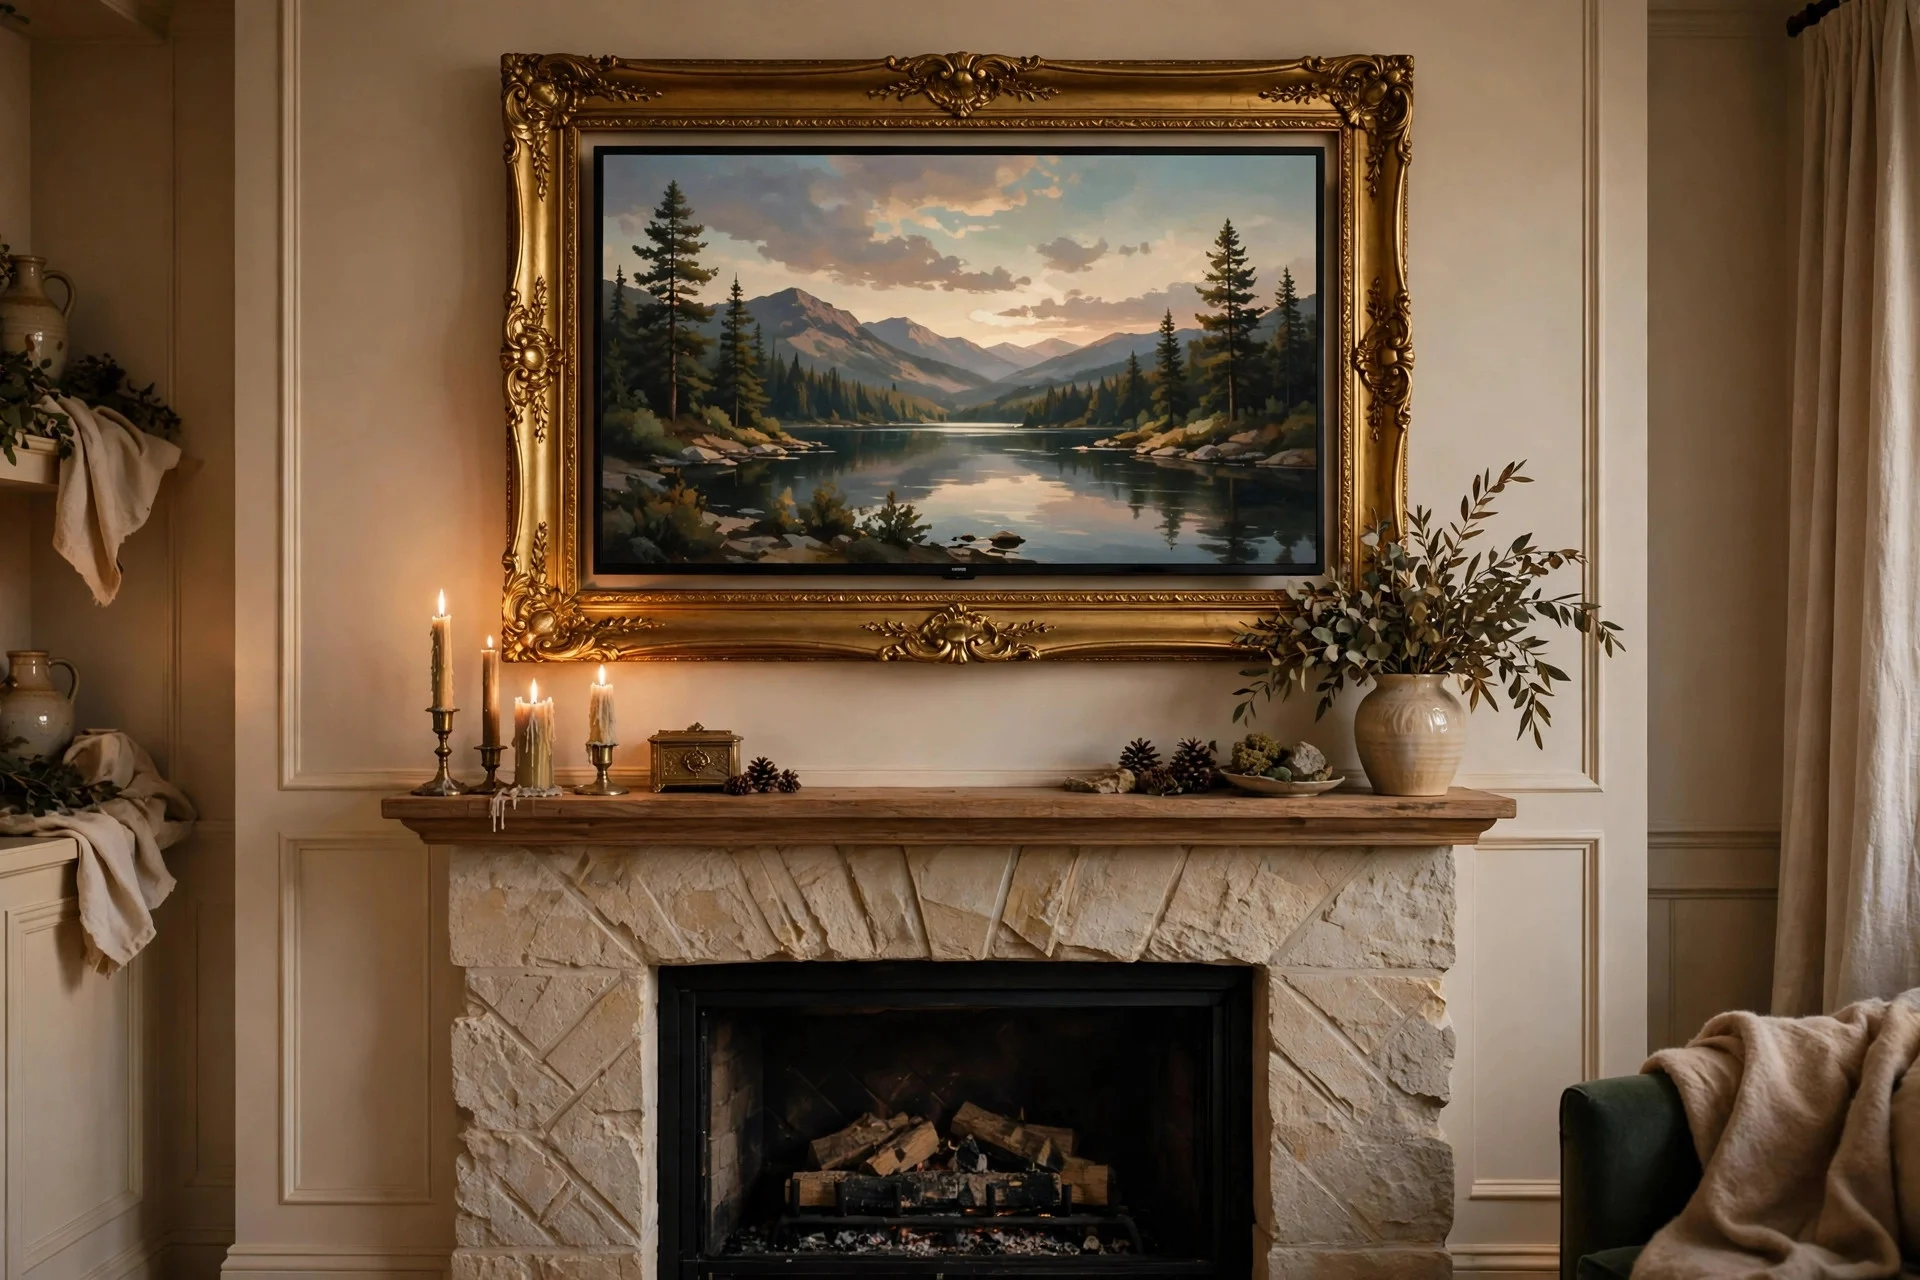
A bare black rectangle reads “electronics.” A framed one reads “intention.” Thin frame bezels made for popular TV sizes snap around the screen — gold, walnut, matte black — and turn it into something closer to a picture on the wall. This trick pays off double in rooms where the TV faces the entryway, because guests see a framed piece instead of a gadget.
Pair it with a landscape art screensaver and from across the room the wall genuinely looks like a gallery.
Materials & cost: $80–$200 for a snap-on decorative TV frame. Difficulty: 10 minutes, no tools. Tip: measure your TV’s actual outer width and height before ordering — a frame built for one brand’s “55-inch” TV won’t fit another’s. Watch out: leave the ventilation slots on the back unobstructed; don’t seal the frame against the wall.
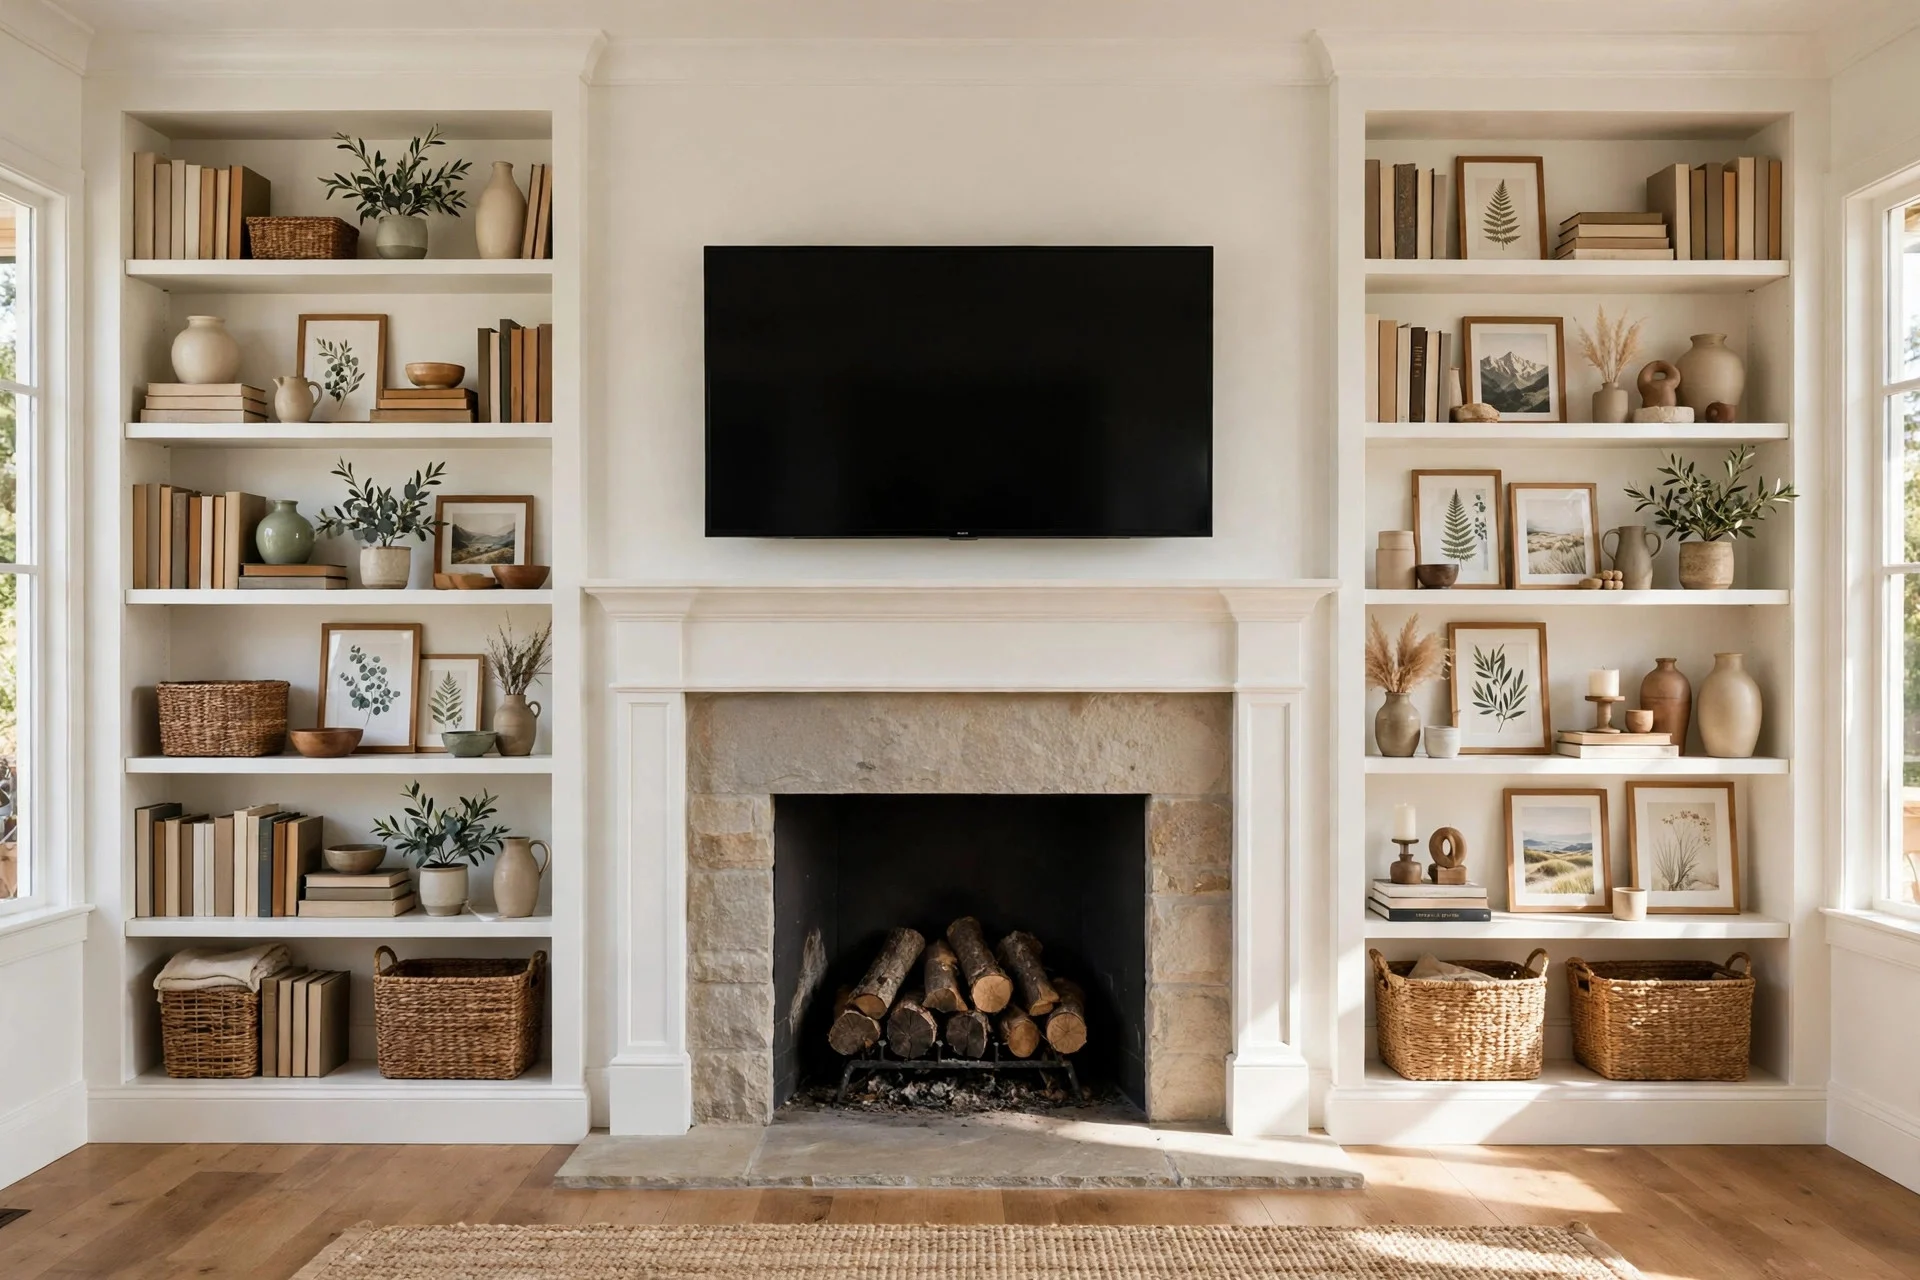
Step 7: Add Shelves or Cabinets on Both Sides
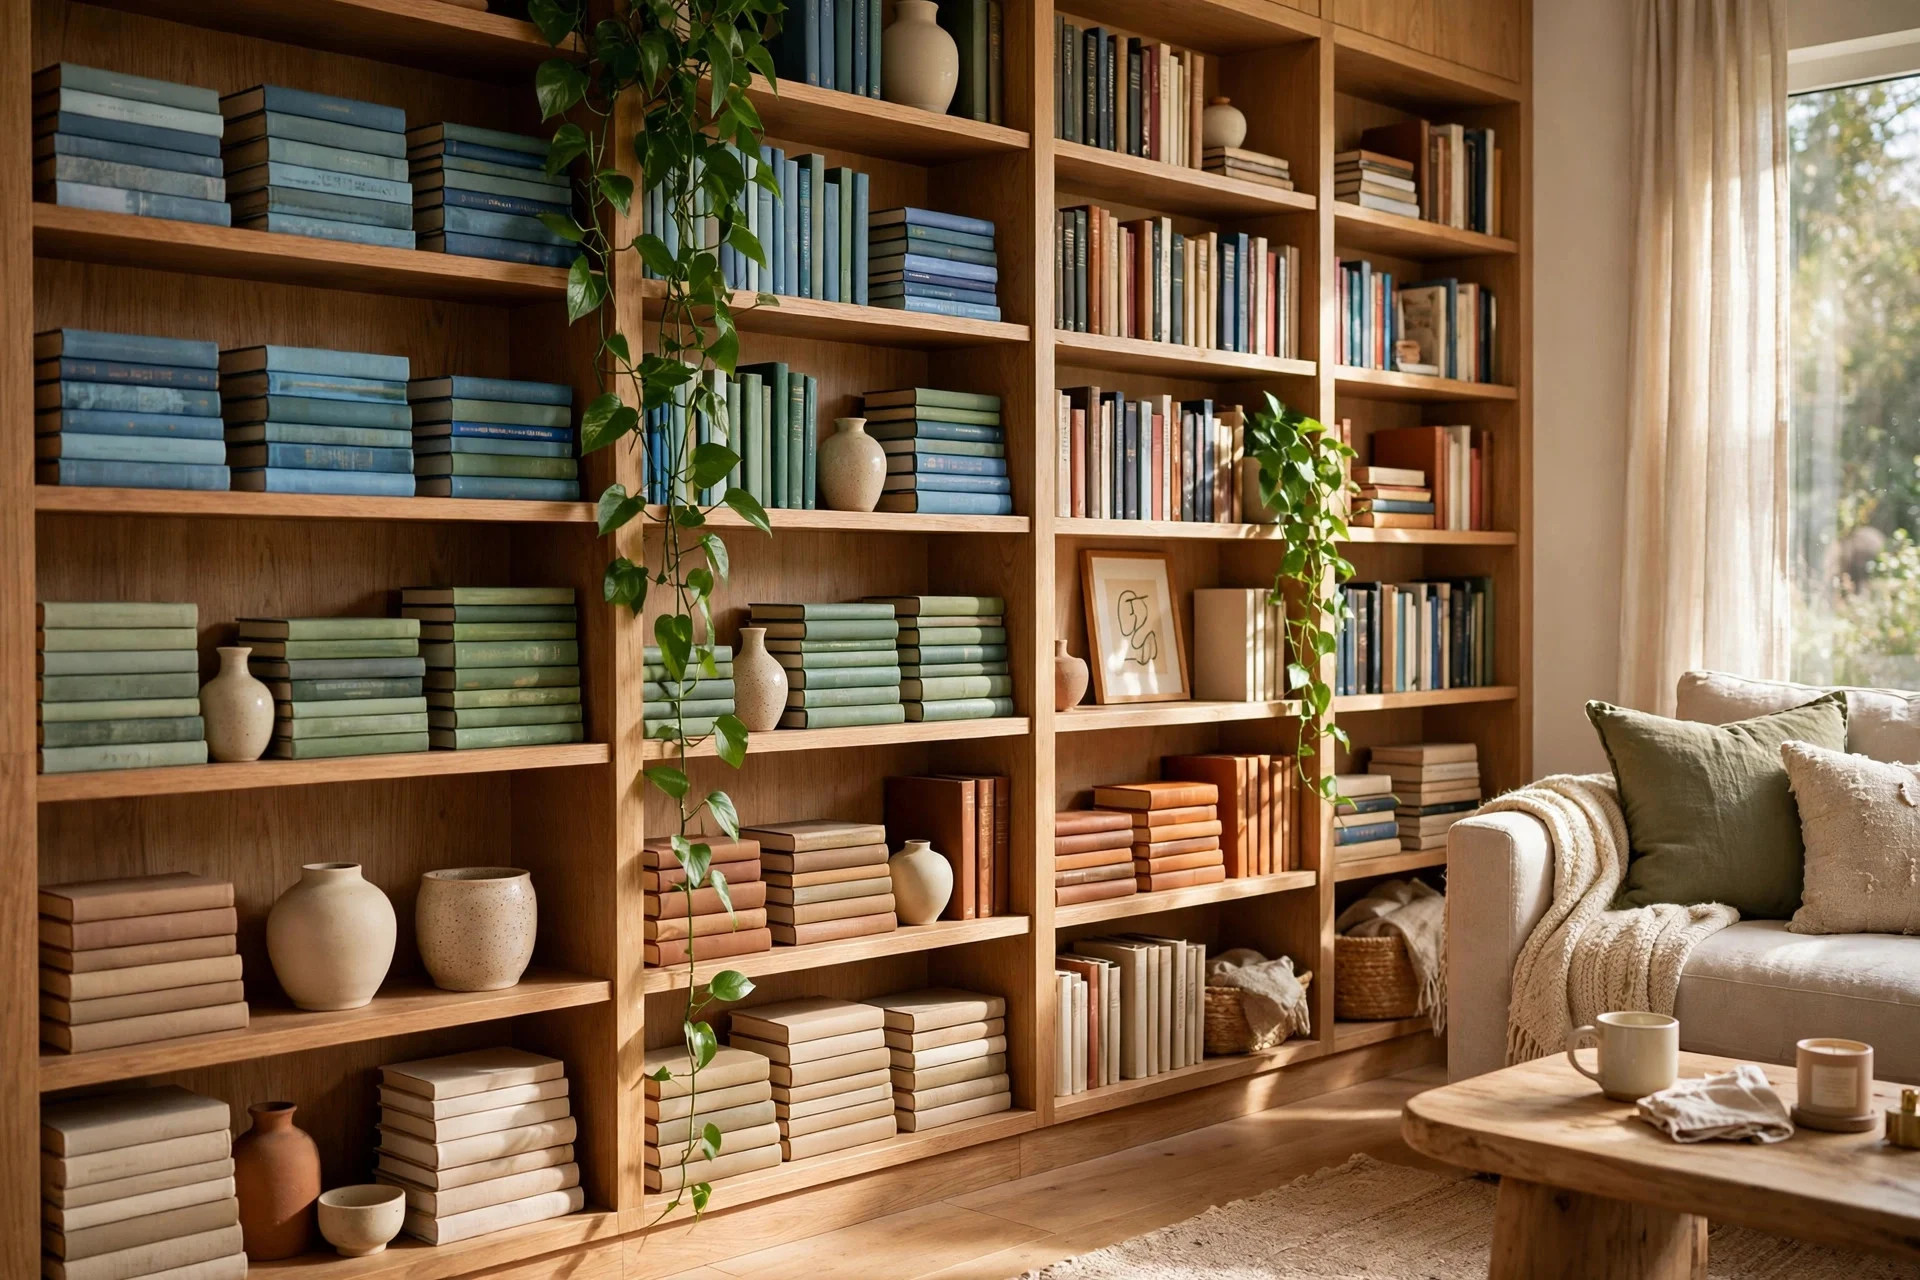
A TV above the fireplace can feel like a floating island when the surrounding wall is bare. Two narrow bookcases, a pair of tall cabinets, or simple floating shelves on either side of the chimney breast give the eye something to travel along and solve the dead-space problem in one move.
Style them loosely — books, framed photos, baskets on the lower shelves — and keep the top shelves quieter so they don’t fight the screen. If your fireplace sits in a corner, the layout needs to follow the room’s geometry; a good corner fireplace living room layout keeps the TV, seating, and storage all pointing the right way.
Materials & cost: $60–$200 for a pair of basic bookcases; $100–$400 for installed floating shelves. Difficulty: an afternoon including anchoring and styling. Tip: anchor tall shelving to wall studs — bookcases loaded with books are genuinely heavy. Watch out: keep shelves at least a foot from a working firebox opening; heat plus paper is a bad combination.
Step 8: Put Something Purposeful Below the Screen
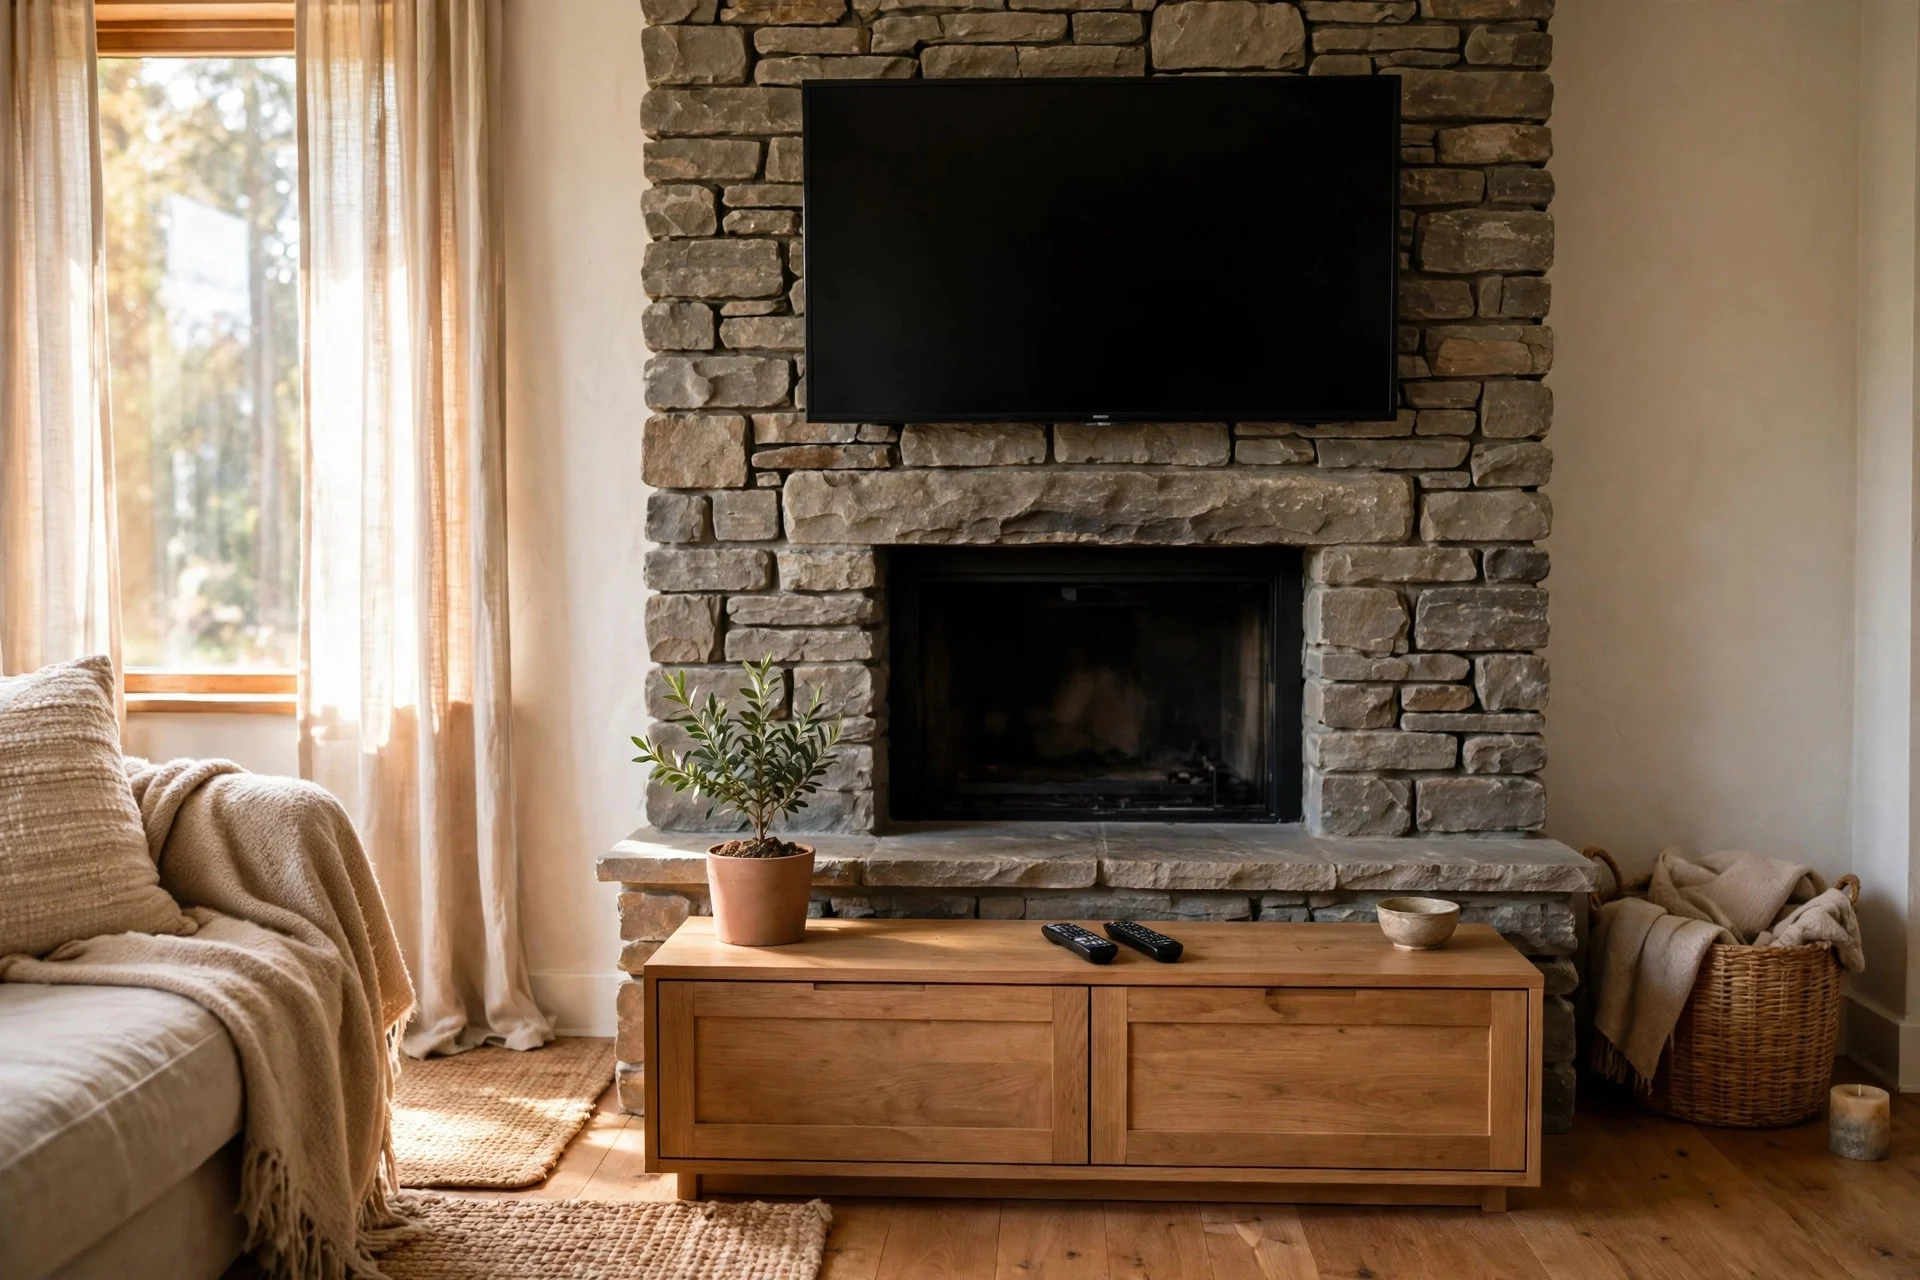
Below the mantel there’s usually a stretch of hearth or empty wall between the firebox and the floor. Leaving it bare makes the TV look suspended; a low media console, a long bench, or a row of storage baskets turns that gap into the visual anchor of the whole wall.
A console with closed storage hides game controllers and remotes; an open bench suits a minimalist room. Keep the piece narrower than the mantel and centered under the screen so the arrangement reads as one vertical line.
Materials & cost: $80–$300 for a console or bench, new or secondhand. Difficulty: delivery and assembly, usually under an hour. Tip: slip adhesive felt pads under the feet — hearthstone scratches are nearly impossible to buff out. Watch out: if the fireplace is wood-burning and in use, keep flammable storage well clear of the firebox.
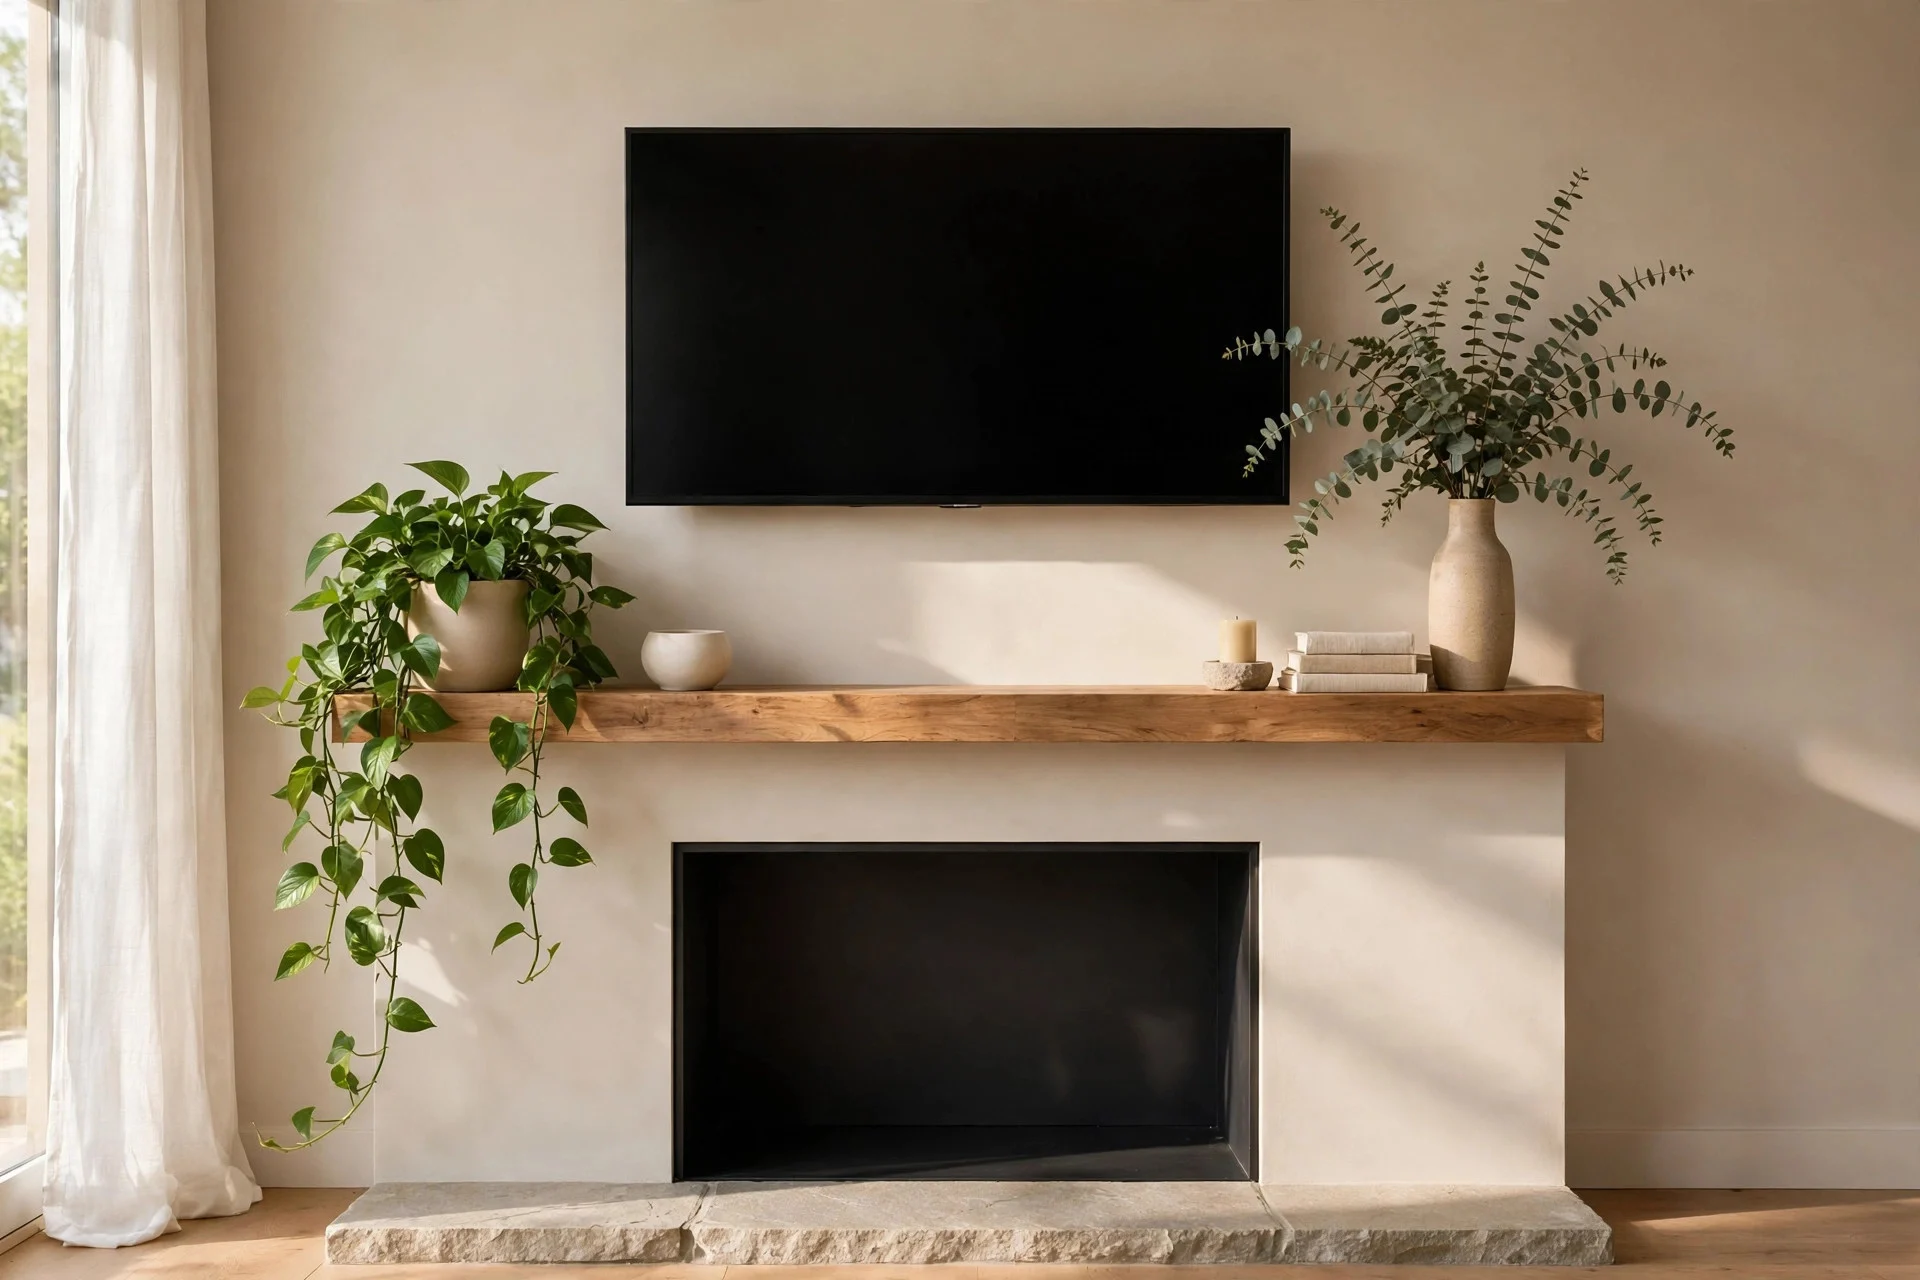
Step 9: Let Greenery Soften All the Rectangles
Screens, mantels, and fireplace surrounds are all hard edges and right angles. A trailing pothos spilling off one end of the mantel, a sprig of eucalyptus in a tall vase, or a leafy floor plant beside the hearth breaks up the geometry and makes the wall feel lived-in rather than staged.
Match the plant to the light the mantel actually gets — most mantels sit far from windows, so low-light plants like pothos, snake plants, or ZZ plants earn their keep here. On the hearth itself, stick with sturdy plants in heavy pots that won’t tip if someone bumps them.
Materials & cost: $15–$60 for a few plants and pots. Difficulty: 20 minutes to pot and place. Tip: trailing plants draw the eye from the screen down to the decor below, tying the two levels together. Watch out: water plants away from the mantel and wipe the saucers; mineral stains on wood or stone tops are a real pain to remove.
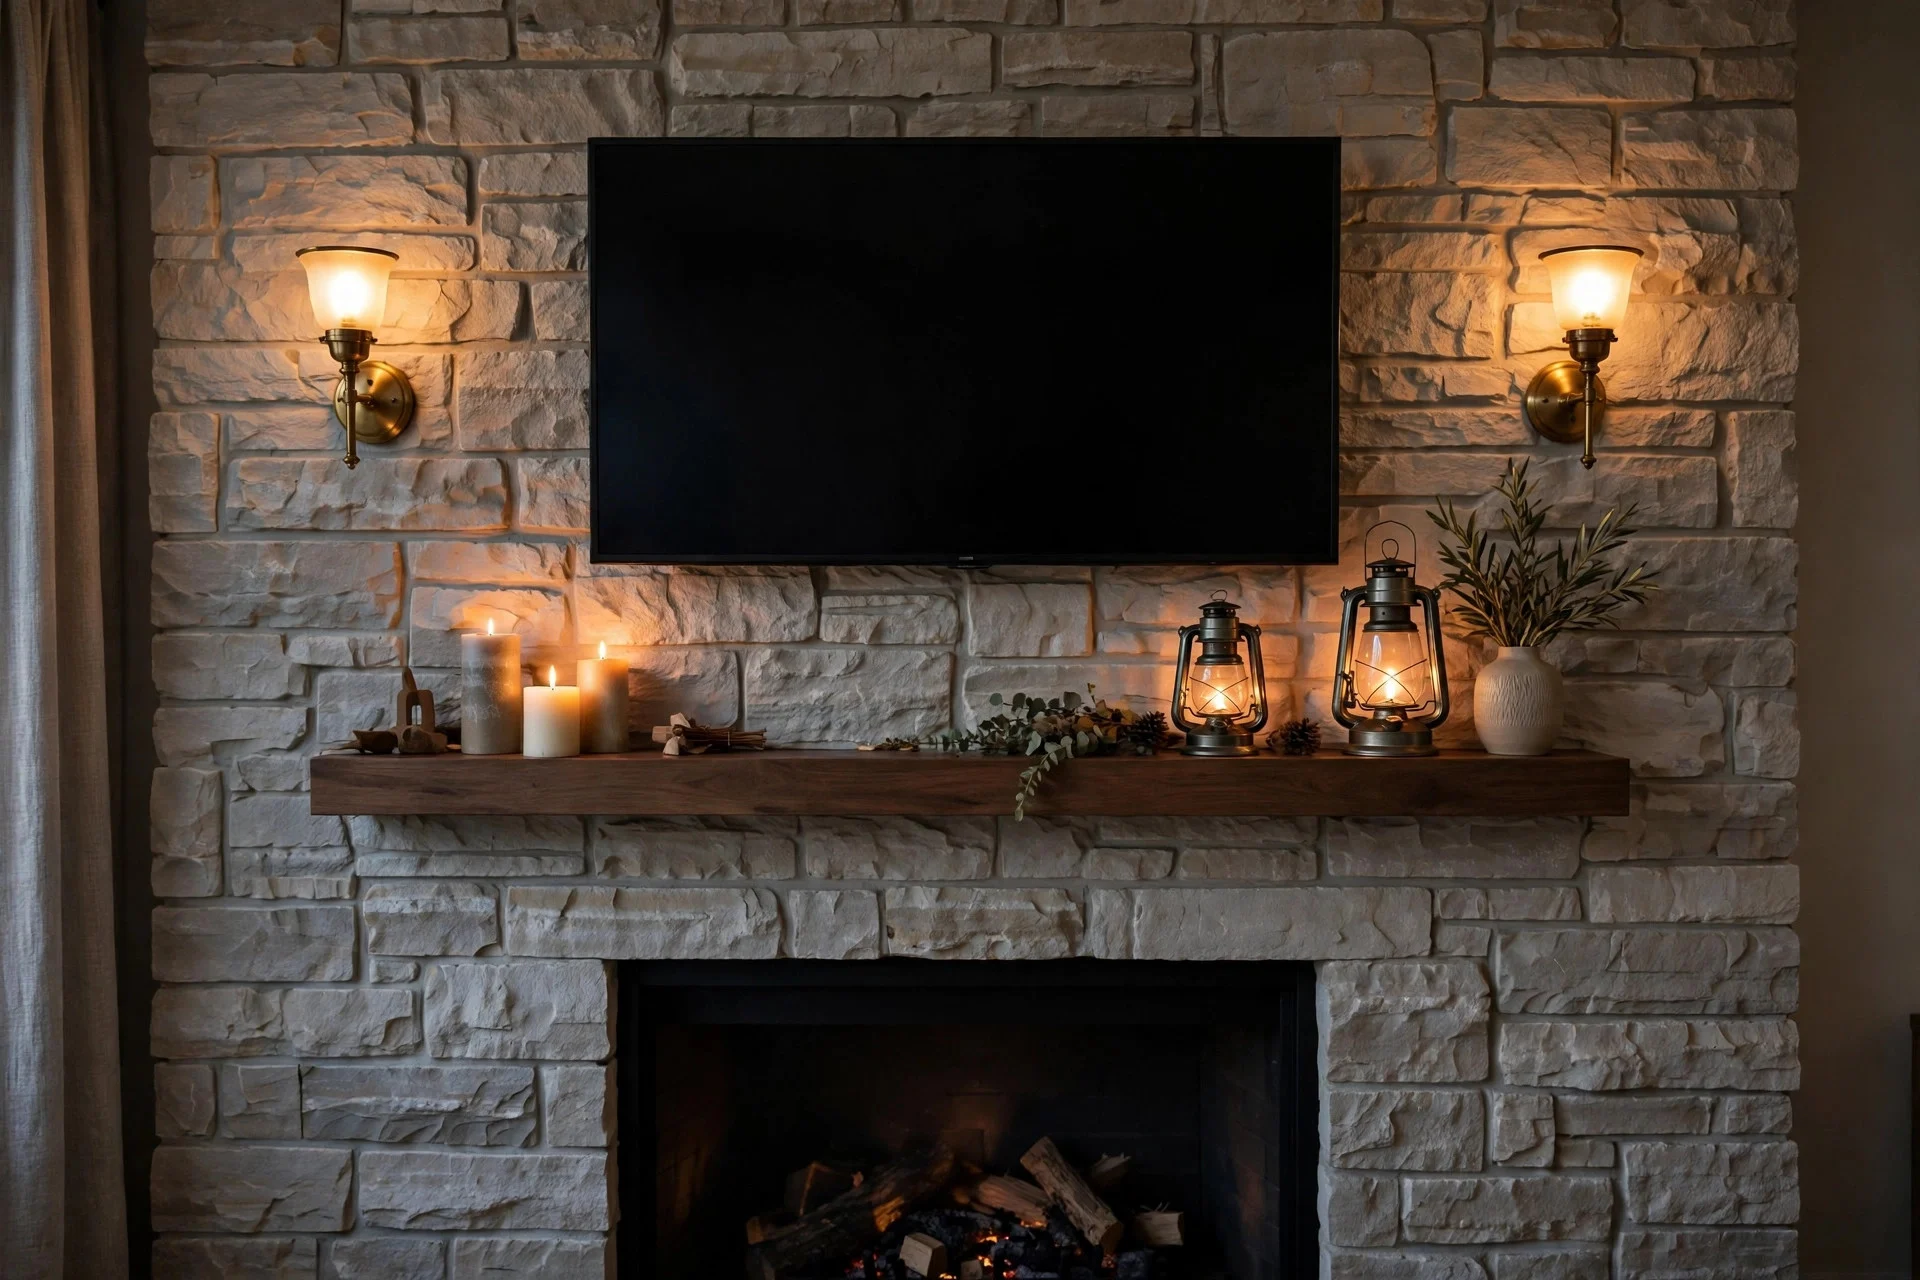
Step 10: Light the Wall, Not Just the Room
A TV wall that goes dark when the screen’s off feels like a dead zone. Picture-light sconces on either side of the TV, a pair of lanterns on the mantel, or a soft LED bias light behind the screen all keep the wall alive — and bias lighting even reduces eye strain during movie nights.
Warm light (2700K or thereabouts) flatters wood, stone, and skin tones and keeps the wall feeling cozy rather than showroom-bright. If you can’t hardwire sconces, plug-in picture lights with cord covers do the job with zero electrician bills.
Materials & cost: $25–$80 for a bias light or flameless candles; $80–$250 for a pair of plug-in sconces. Difficulty: minutes for candles and bias lights, an hour or two for sconces. Tip: put the mantel lighting on a smart plug so the wall glows on a schedule. Watch out: avoid cool-white bulbs; they make stone and wood look flat and clinical.
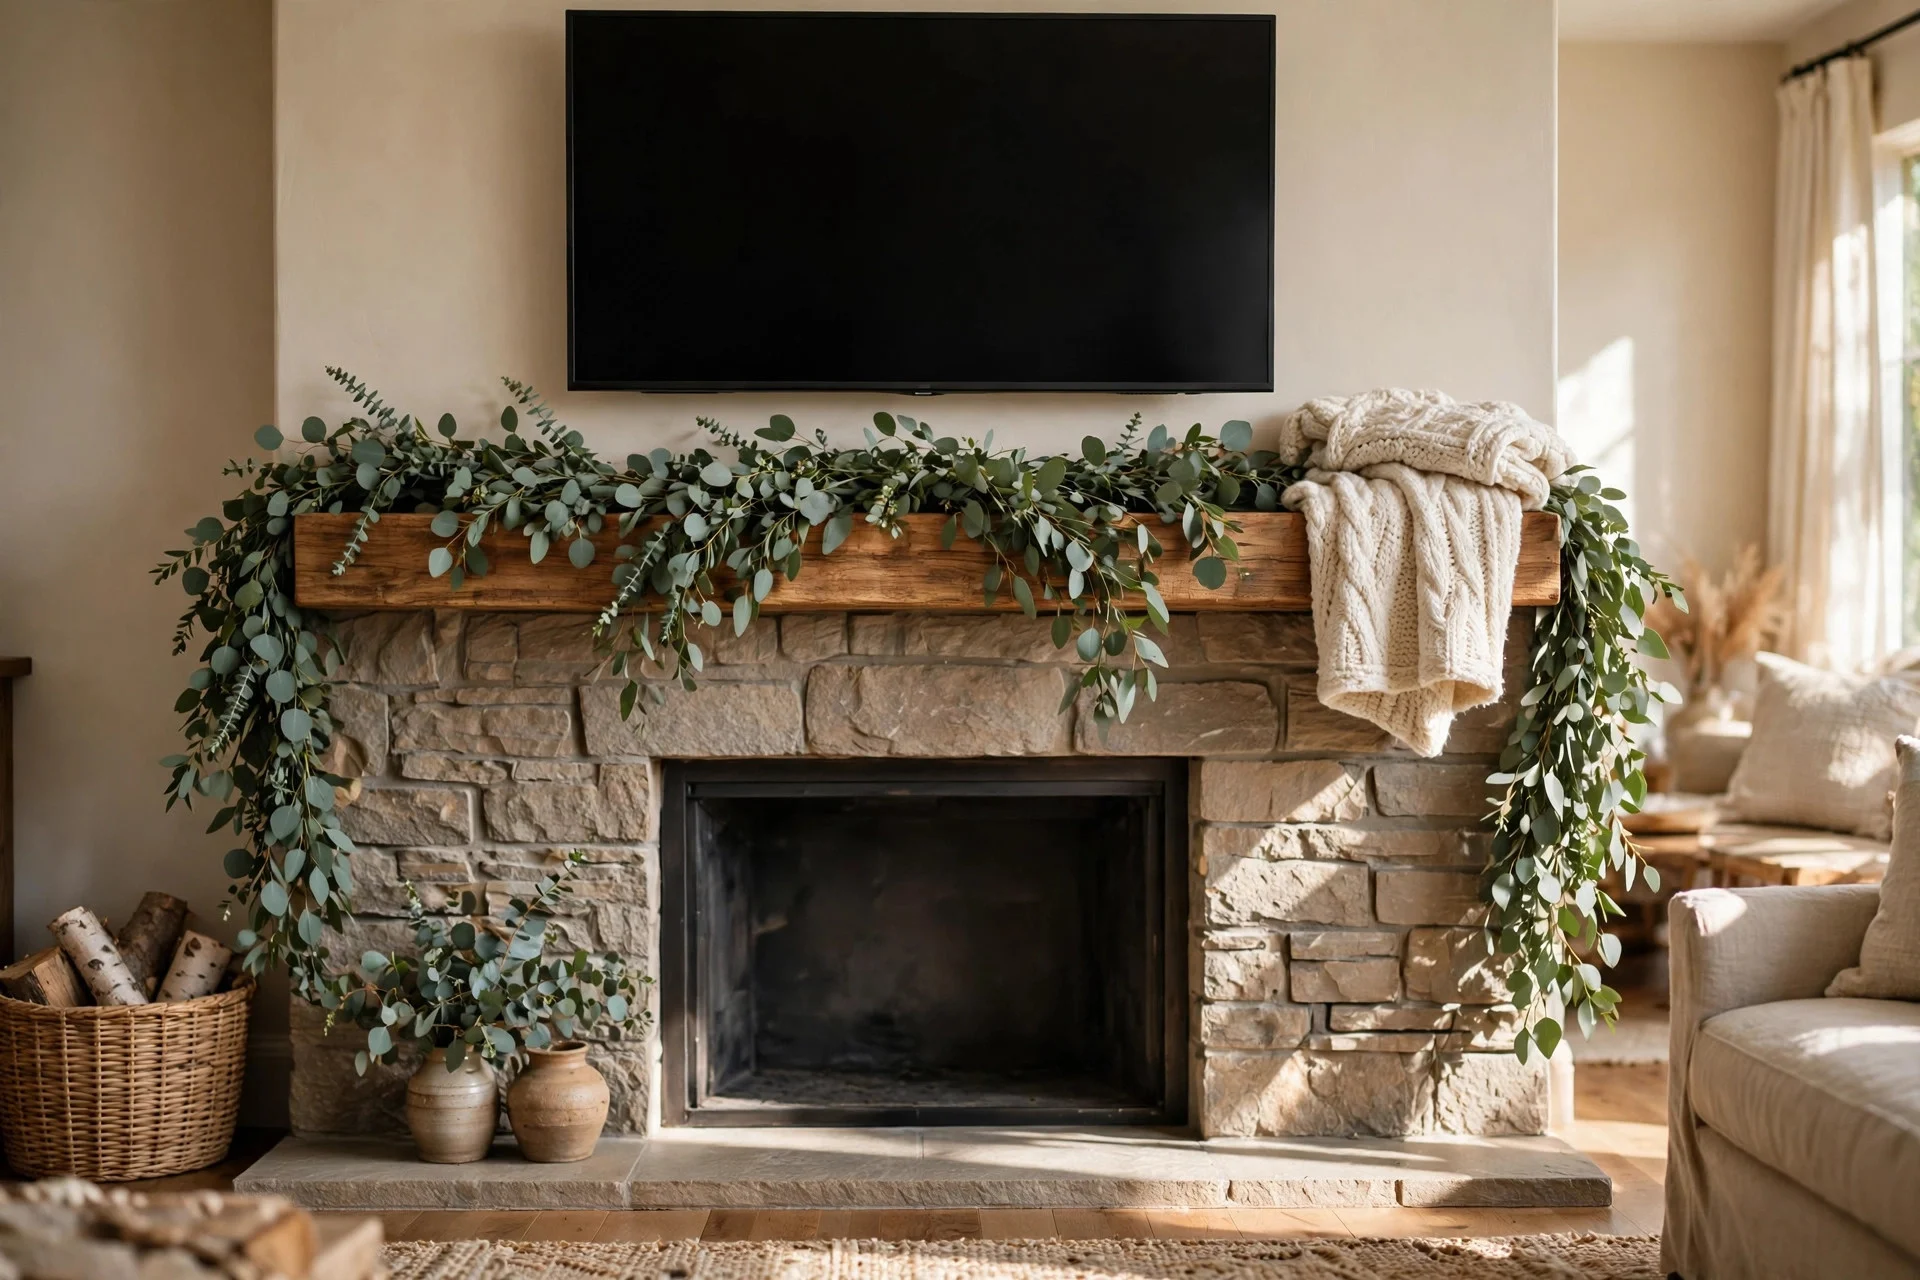
Step 11: Add One Textural Layer — Throws, Garland, or Both
By now the wall is structured and lit; this step is pure warmth. A textured throw draped over one end of the mantel, a eucalyptus or olive-branch garland along its length, or a chunky knit blanket in a basket on the hearth — fabric and foliage are the materials the screen can’t provide, and they’re what make the difference between a showroom wall and a home.
This is your seasonal dial. Autumn branches in October, evergreen garland in December, fresh tulips in spring — keep two or three garlands in a storage bin and the mantel never goes stale.
Materials & cost: $20–$70 for garlands and throws. Difficulty: 10 minutes of draping. Tip: buy garlands longer than your mantel so they puddle at the ends — one that stops dead at the edge looks stiff. Watch out: keep fabric away from a working firebox and never hang dried garlands near real flames.
Step 12: Check the Seating — Does the Room Actually Work Now?
The final step isn’t about the wall at all. Sit in your main seat and check three things: the screen center is roughly at eye level, you’re not craning your neck, and the seating distance feels right — roughly 1.5 to 2.5 times the screen’s diagonal for comfortable viewing. If something feels off, shift the seating before rearranging the decor.
This is also the moment to confirm sofa scale against the room. If you’re furnishing from scratch, a guide on how to choose the right sofa size for your living room keeps the proportions honest.
Materials & cost: Free — just rearranging. Difficulty: 30 minutes with a friend to help slide furniture. Tip: mark the sofa’s new footprint with painter’s tape on the rug before lifting anything heavy. Watch out: don’t block the fireplace’s heat vents or firebox with the new furniture position.
Quick Answers to the Questions Everyone Asks
How high should a TV be above a fireplace, really?
Lower than most mounts ship with by default. Aim for the screen’s center no more than 10–15 inches above your seated eye level, and use a tilt or pull-down mount to close the gap your mantel height creates. If you catch yourself tilting your chin up during a movie, it’s too high.
Won’t the heat from the fireplace damage the TV?
Most modern TVs are fine above a fireplace as long as heat isn’t blasting straight up the chimney breast. Mount a thermometer where the TV will hang and run the fireplace for an hour — if it stays under about 100°F (38°C), you’re in the safe zone. Electric and gas fireplaces are the most TV-friendly; open wood-burning ones deserve extra caution.
What do I put on the mantel under a TV?
Less than you think. One tall leaning piece on one side, a small cluster on the other, nothing touching the screen’s frame, and breathing room in the middle. Candles and vases beat picture frames up there — anything hung behind the TV gets swallowed by the black rectangle anyway.
Should the TV be wider than the mantel?
No — keep the TV roughly two-thirds the mantel’s width at most. A screen that overhangs the mantel on both sides looks like it landed there by accident. When the TV is smaller than the mantel, the wall looks designed; when it’s bigger, the wall looks like a compromise.
Can I make this work in a rental?
Absolutely. Peel-and-stick chimney breast color, a cord cover channel instead of in-wall wiring, leaning art on the mantel instead of drilled shelves, and a freestanding console below — every step in this guide has a no-drill version that leaves the wall exactly as you found it.
Your Finished-Wall Checklist
Walk the wall top to bottom with this list before you call it done: TV sized to roughly two-thirds of the mantel, mounted at a comfortable height with cables hidden. Chimney breast painted or papered so the screen has a backdrop. Mantel styled in layers with clearance around the screen. Flanking shelves or cabinets grounding the sides. Something purposeful sitting on or in front of the hearth. Greenery softening the edges. Warm lighting switched on. One textural layer — throw, garland, or both. And seating positioned for comfortable viewing, not just good looks.
And if the rest of the room still feels flat next to your finished wall, the seating is usually the culprit — see how a statement piece like a green velvet sofa can anchor a living room without overwhelming it. Do the steps in order, spend money only where the wall asks for it, and that black rectangle above the fireplace finally earns its place.