17 Gallery Wall Layouts for the Wall Above the Sofa
The biggest myth about gallery walls? That you need matching frames, expensive art, and an eye for design to pull one off above your sofa. You don’t. The wall above a sofa is forgiving: it’s big, centered, and anchored by furniture, so almost any grouping of frames looks deliberate if the size and spacing are right. Here’s the short version: keep the whole arrangement about two-thirds the width of your sofa, hang it 6–8 inches above the back of the sofa, and leave 2–3 inches between frames. That’s the entire “secret.” Everything below is just 17 different ways to fill that space, grouped by what you’ll actually spend, from a weekend tape project to a gallery-grade wall.
Read this before you hang a single frame
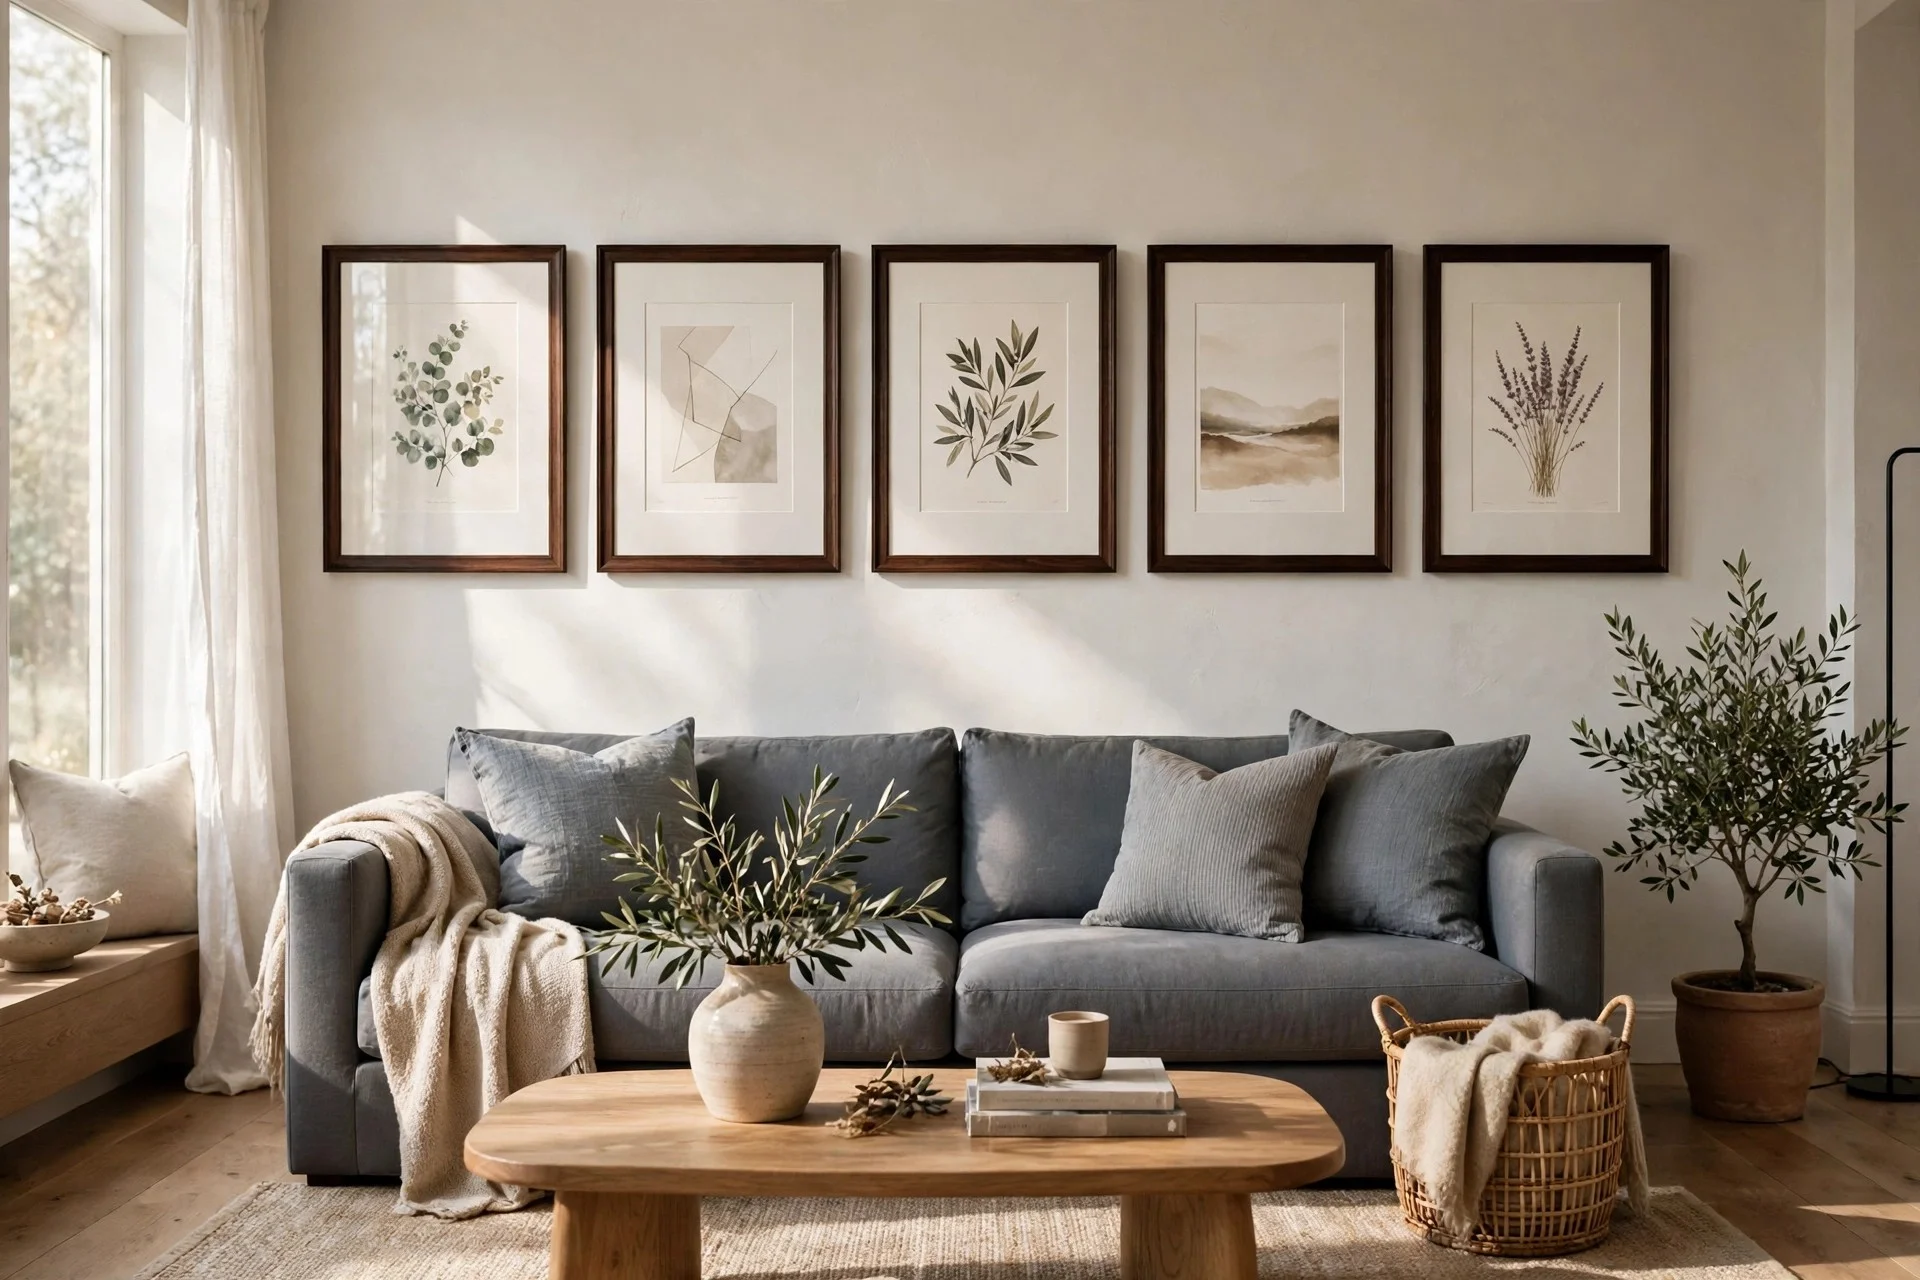
Three numbers save more gallery walls than any design trick. First, width: your arrangement should span roughly two-thirds of the sofa’s width — a 90-inch sofa wants a gallery about 60 inches wide. Too small and it looks like an afterthought; too wide and it swallows the room. Second, height: the center of the arrangement should sit around eye level (57–60 inches from the floor), which usually means the bottom frames land 6–8 inches above the sofa back. Third, spacing: keep 2–3 inches between frames and you’ll get a cohesive unit instead of scattered clutter. Lay everything on the floor first and live with it for a day before the first nail goes in.
Under $50
1. The lean-and-layer ledge
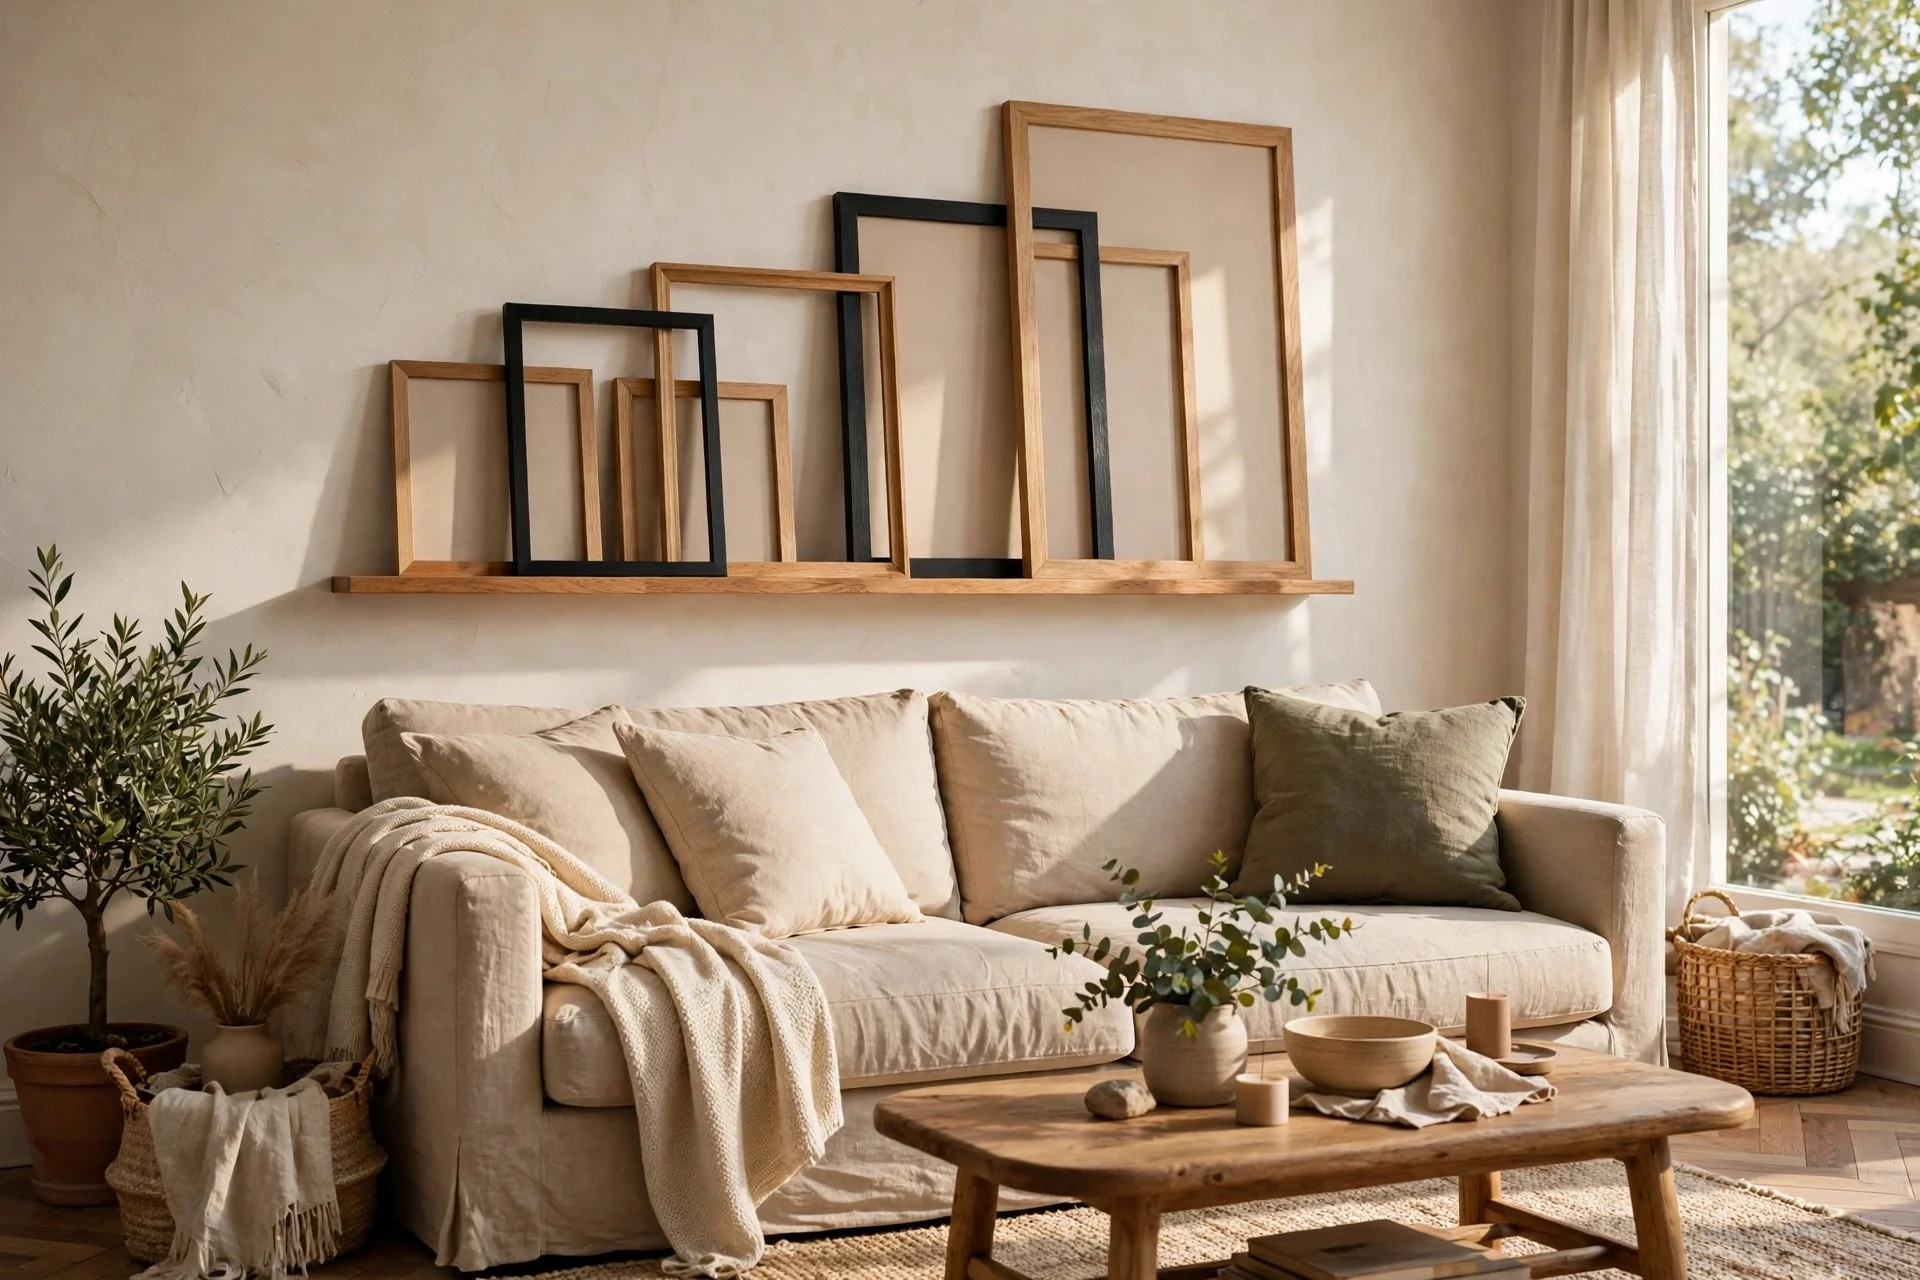
One slim picture ledge, a long floating shelf made for leaning frames, and you’ve got a gallery wall without committing to a row of holes. Layer 5–8 frames of different heights along it, tallest at the back, and overlap them slightly so it looks collected, not lined up. Fill the frames with free printable art or pages from a calendar. Cost: $25–$50. Time: an afternoon. Tip: keep a consistent color in the frames (all black, all wood) so the varied art still hangs together. Watch out: dust collects behind leaned frames fast above a sofa — a quick wipe when you vacuum keeps it clean.
2. Washi tape “frames”
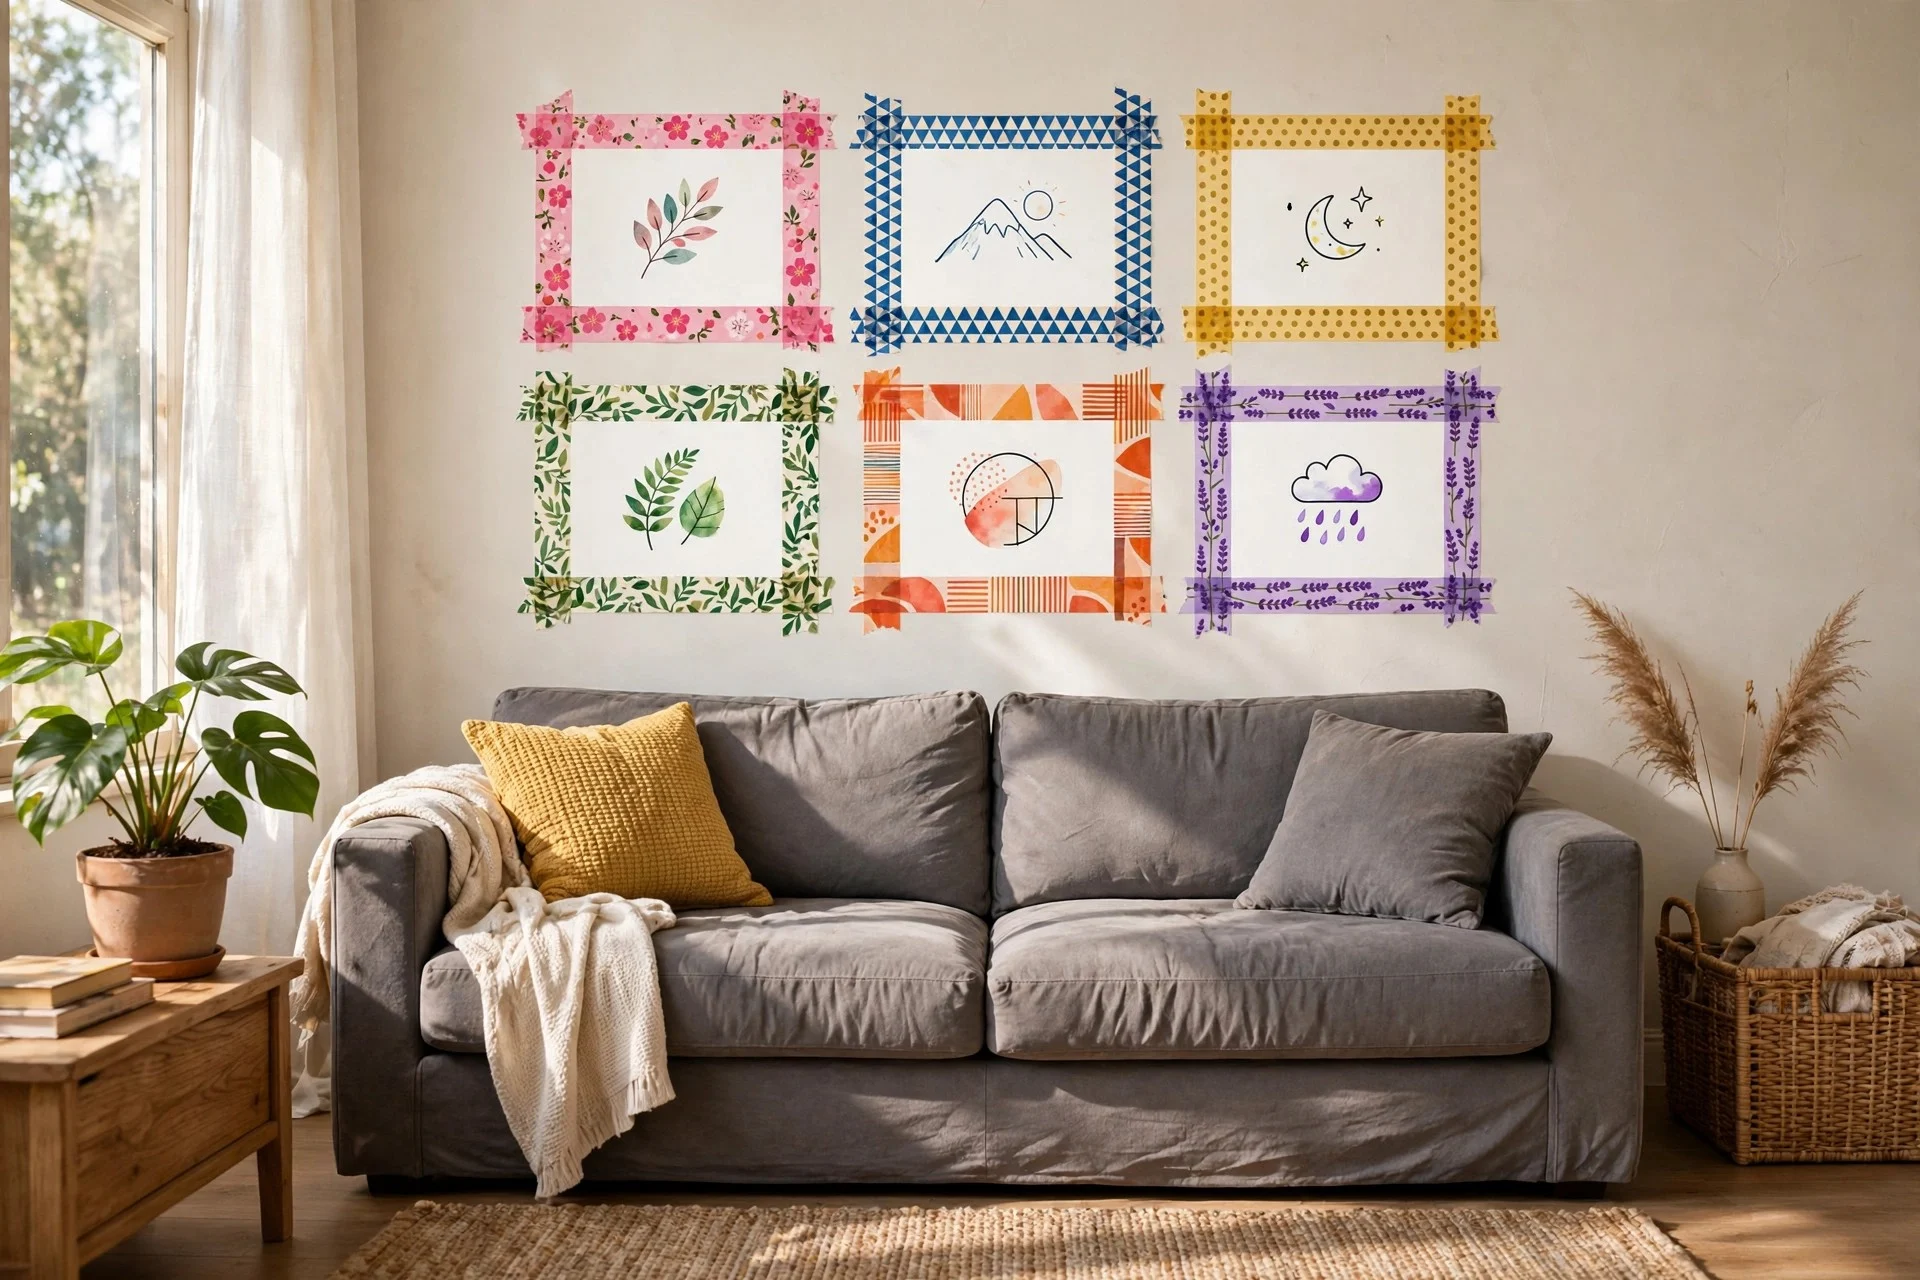
Colored washi tape laid straight onto the wall becomes the frame, the mat, and the layout all at once. A few rolls of washi tape cost $10–$20, and because tape peels off cleanly, this is the safest layout on the list if you’re renting. Cost: $10–$20. Time: a couple of hours. Tip: use a level and painter’s tape to mark the layout first; washi tape stretched over long runs tends to wander. Watch out: in a sunny room, cheap tape can bake onto the wall over months — test a hidden corner for a week first. A renter-friendly living room guide has more no-damage tricks along these lines.
3. The black-and-white photo grid
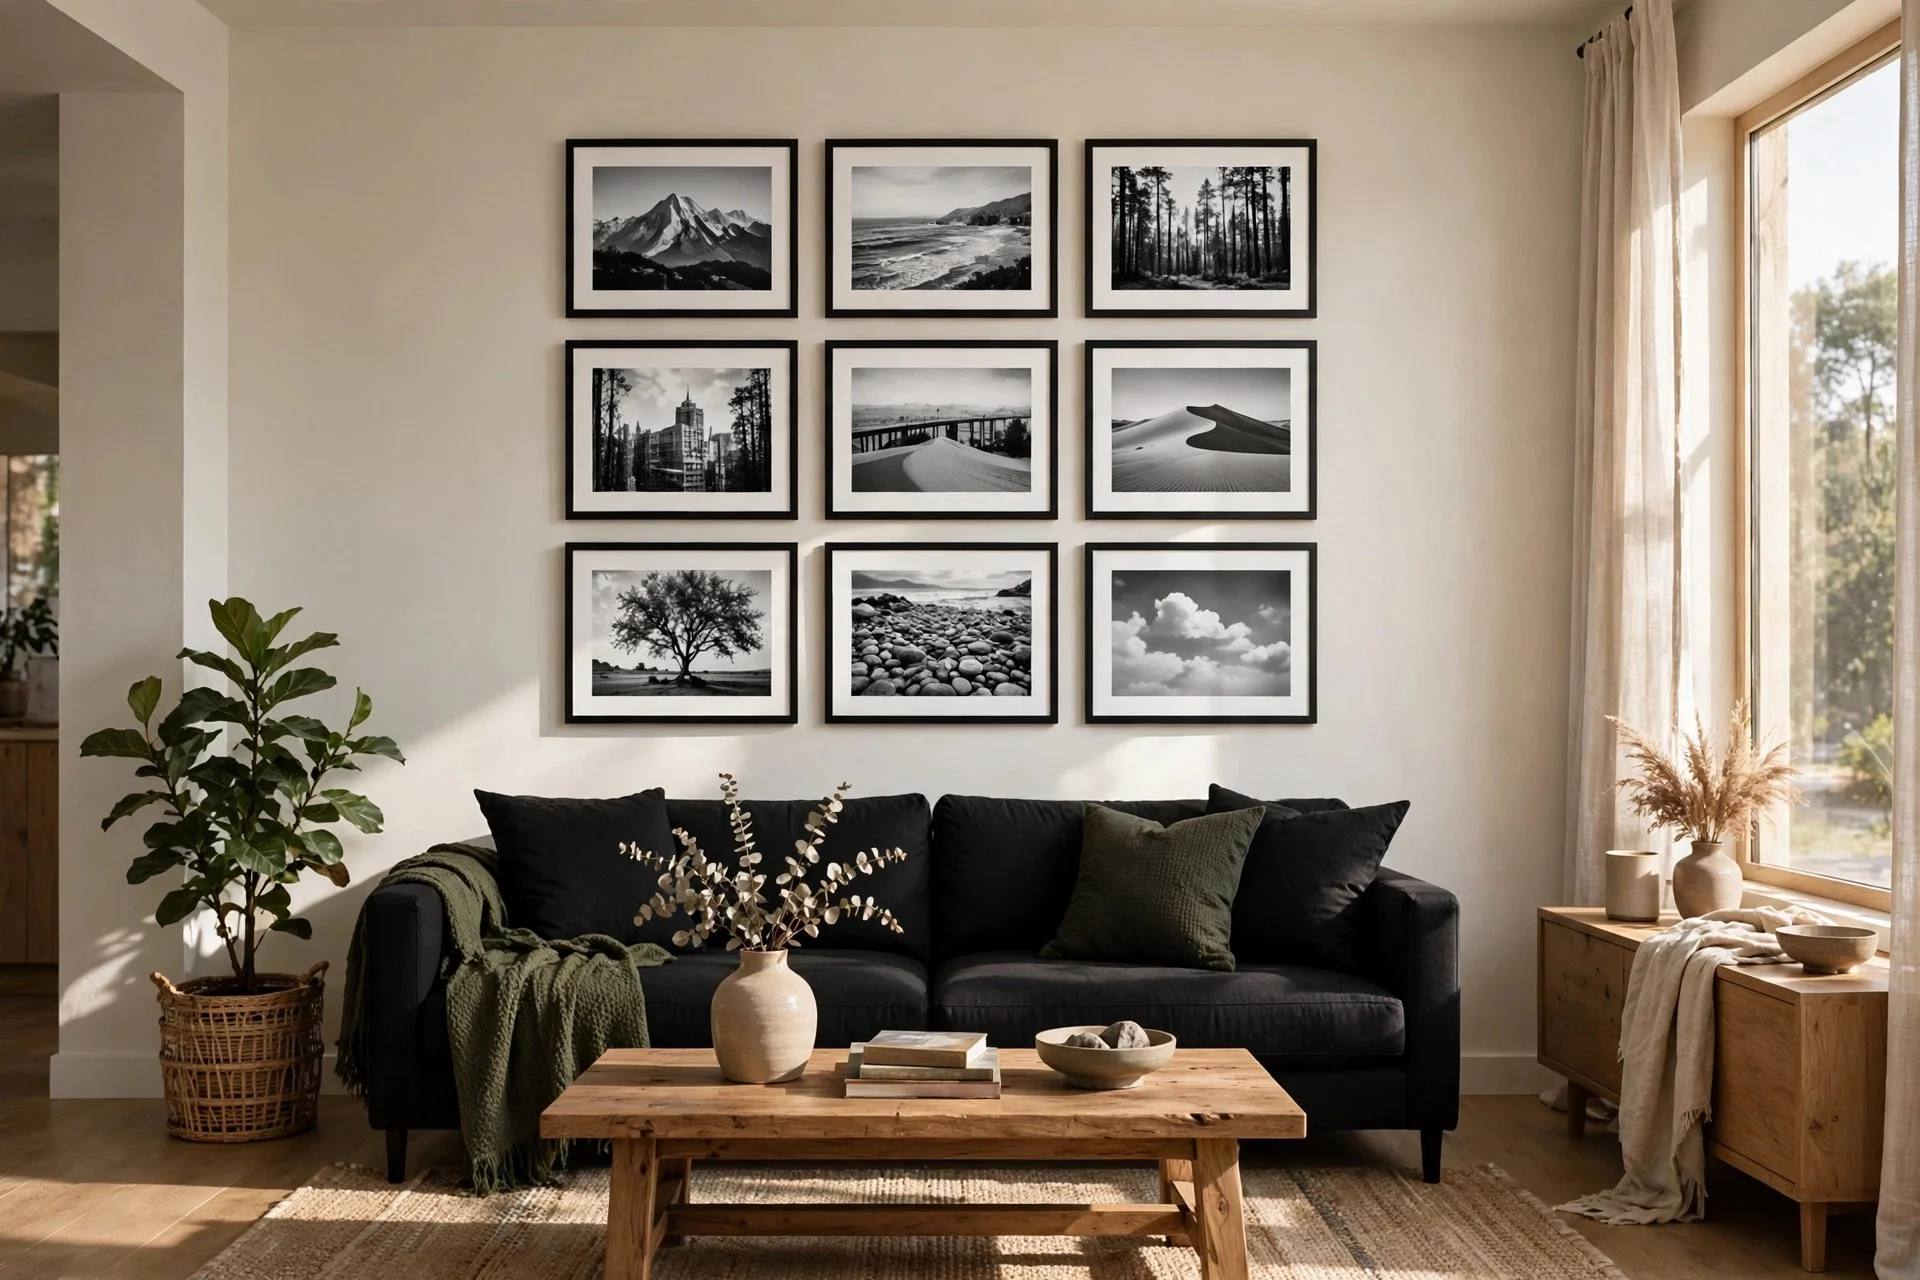
Convert your own photos to black-and-white at a drugstore or print kiosk and suddenly mismatched snapshots read as a curated series. Stick to identical thin black frames in a tight grid — 3 rows of 3 is the classic — with 1.5–2 inches between them. The uniformity of the frames does all the heavy lifting. Cost: $30–$50 for nine simple frames and prints. Time: one evening including the print run. Tip: have the prints made at a local shop rather than a home printer for even blacks — streaky home printing ruins the effect. Watch out: black-and-white fades behind unprotected glass in direct sun; hang this on the wall opposite the window, not beside it.
4. Thrifted frame flea-market mix
Ten mismatched frames from a thrift store, spray-painted one color, grouped in a loose organic cluster — this is the layout that makes people ask which boutique hotel lobby you copied. The frame mix looks intentional once the color unifies it; gold, matte black, and off-white all work over a neutral sofa. Cost: $20–$40 (frames at $1–$3 each, one can of spray paint). Time: a weekend, mostly paint drying. Tip: keep one thread of consistency besides color — all frames at least 8×10 or larger — so small frames don’t vanish against the wall. Watch out: glass in thrifted frames is often cracked or missing; swap in cheap acrylic sheets instead of hunting for matching glass.
5. Postcards and clip frames
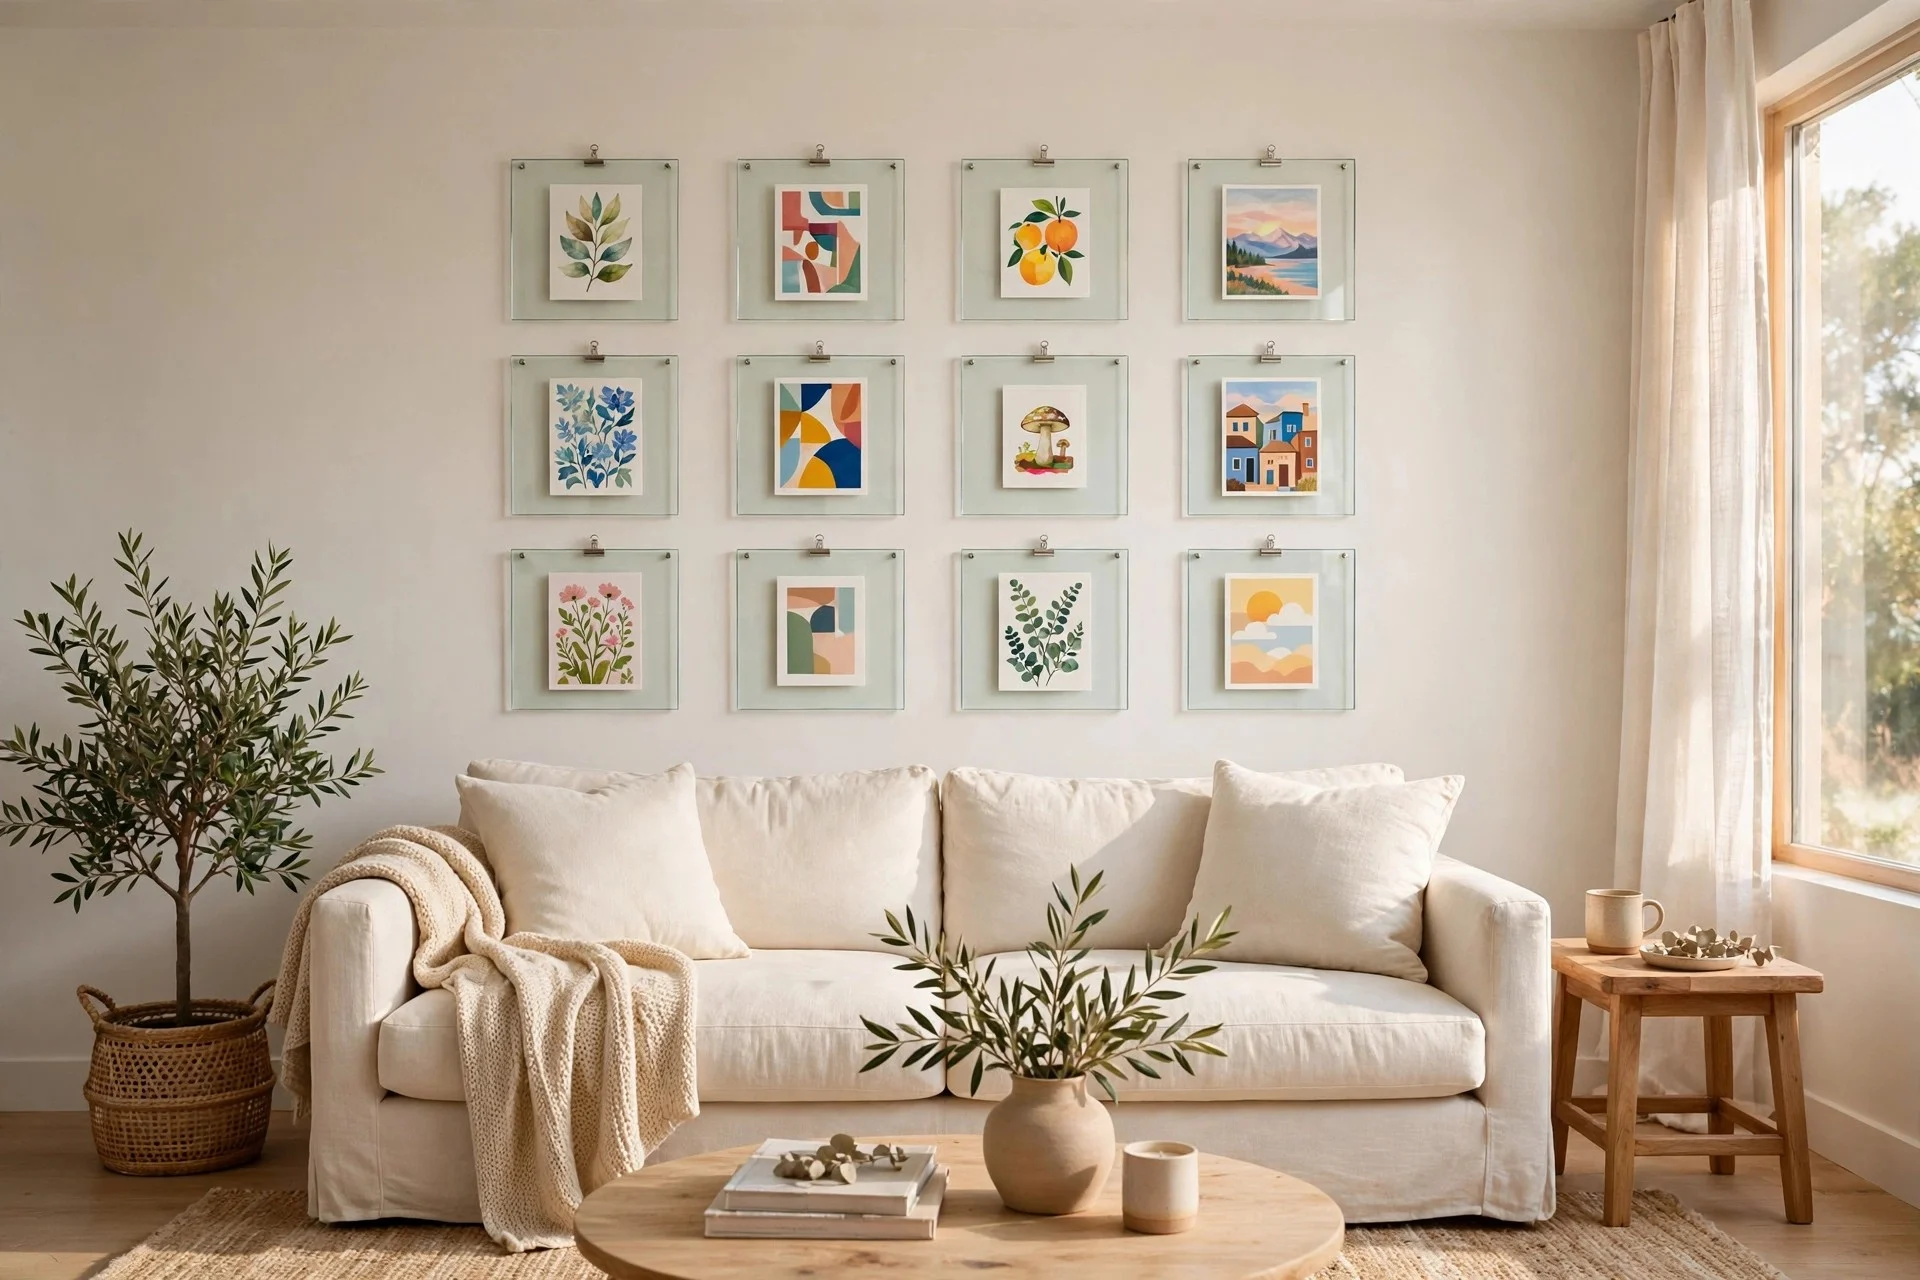
Glass clip frames — the kind that are literally two pieces of glass with a clip on top — hung in a generous grid turn postcards, greeting cards, and small prints into real art. Each frame is about $5, so twelve of them stays under budget, and the grid scales to the wall: start with eight and add more over time. Cost: $35–$50. Time: an afternoon. Tip: sandwich an acid-free backing card behind anything you want to keep — card stock yellows against plain glass. Watch out: clip frames hang from a single small clip, so they’re not for walls that get bumped or doors that slam nearby.
$50–$200
6. The classic nine-frame grid
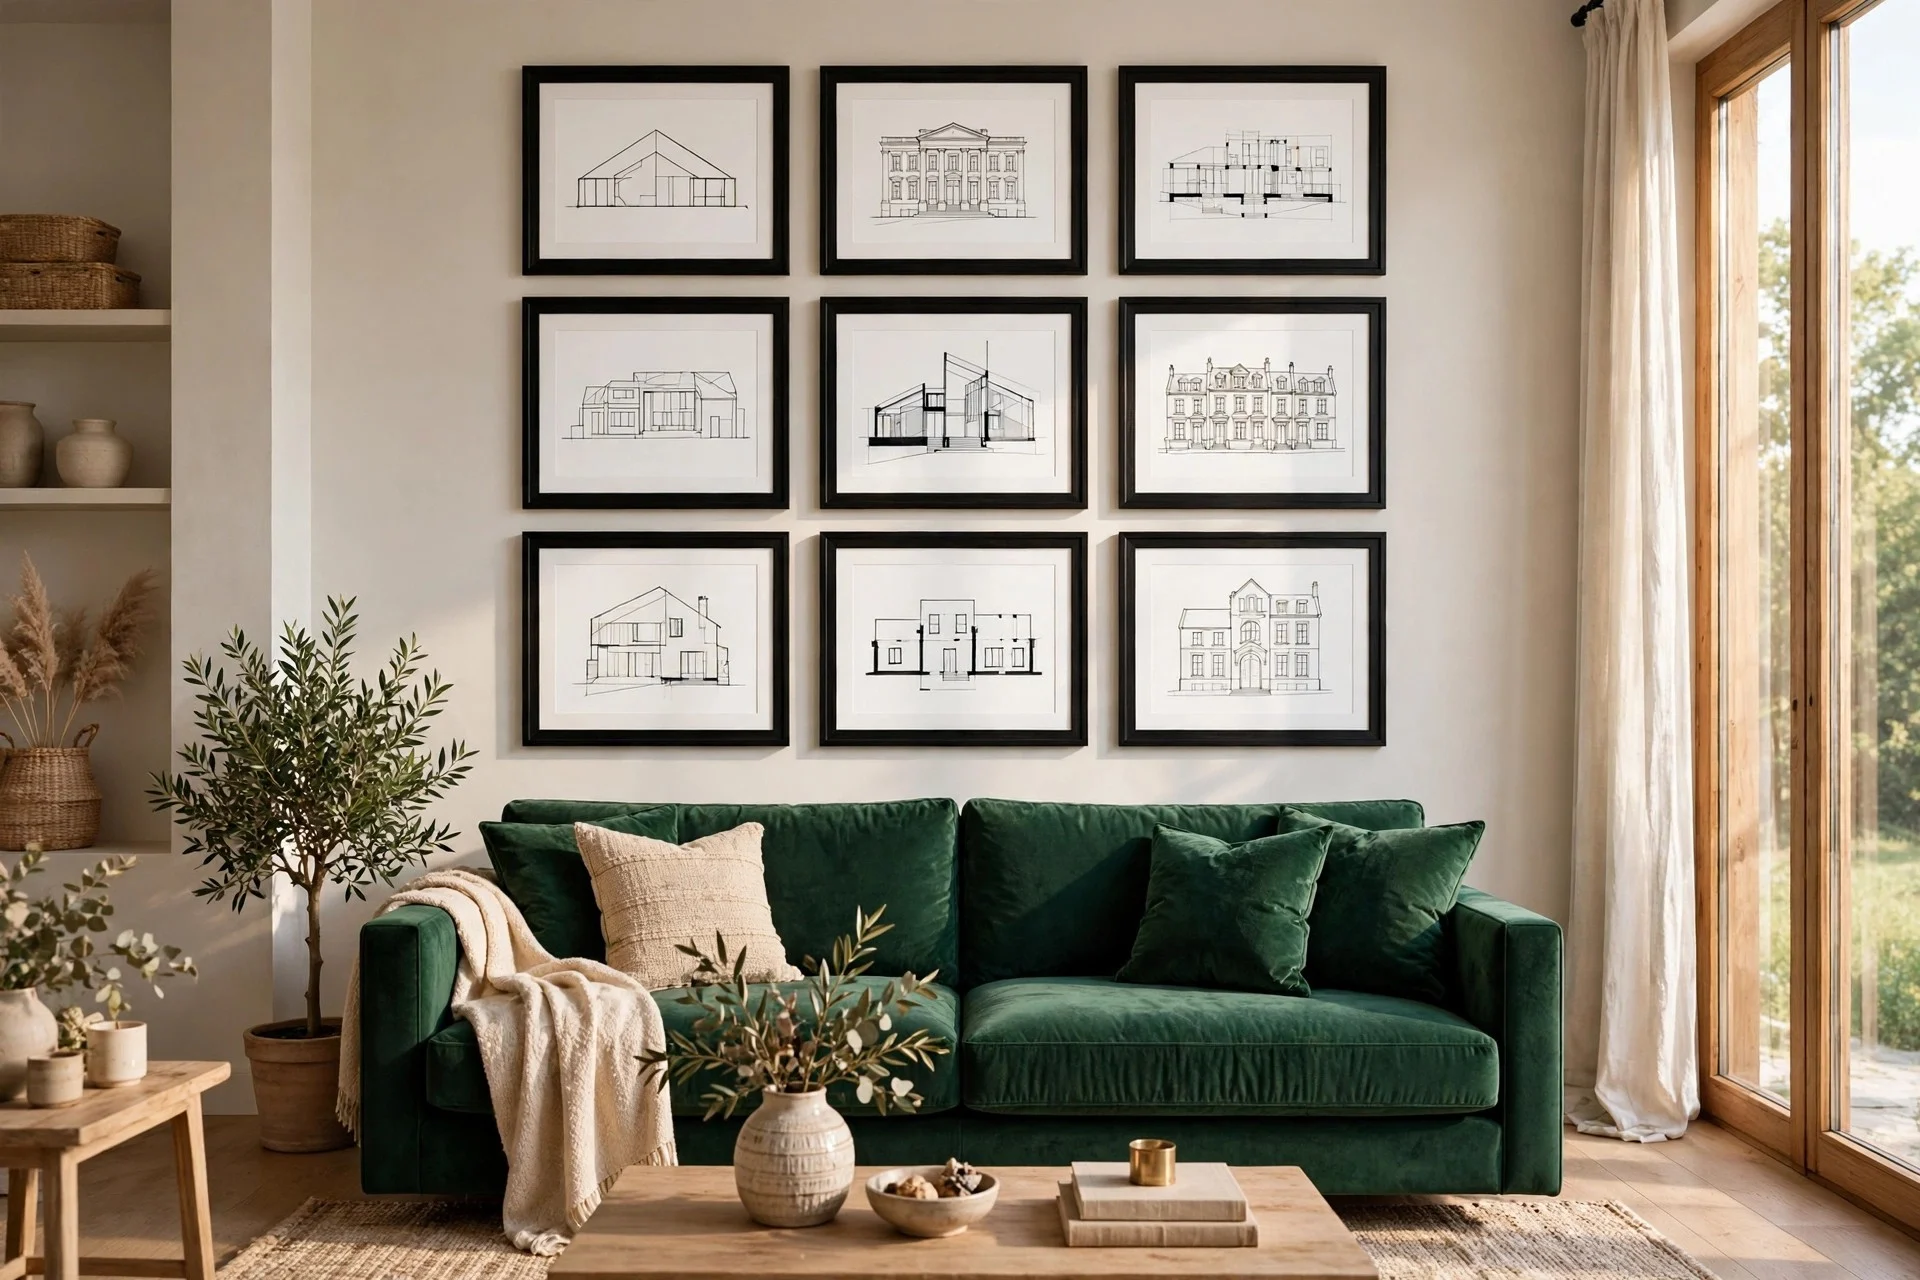
Sixteen-by-twenty frames in three rows of three, identical mats, identical spacing — this is the layout people mean when they say “gallery wall,” and it works above almost any sofa. Fill the frames with architectural prints, line drawings, or abstract pieces so the grid itself is the personality. Cost: $90–$180 for frames, mats, and printed art. Time: one full afternoon. Tip: buy frames one size larger than you think — 16×20 frames read confidently over a three-seater, while 11×14s tend to look timid. It pairs beautifully with a green velvet sofa, where the grid’s structure balances the sofa’s softness. Watch out: measure twice — a grid amplifies every crooked frame, so a laser level is worth borrowing.
7. Salon-style cluster around a hero piece
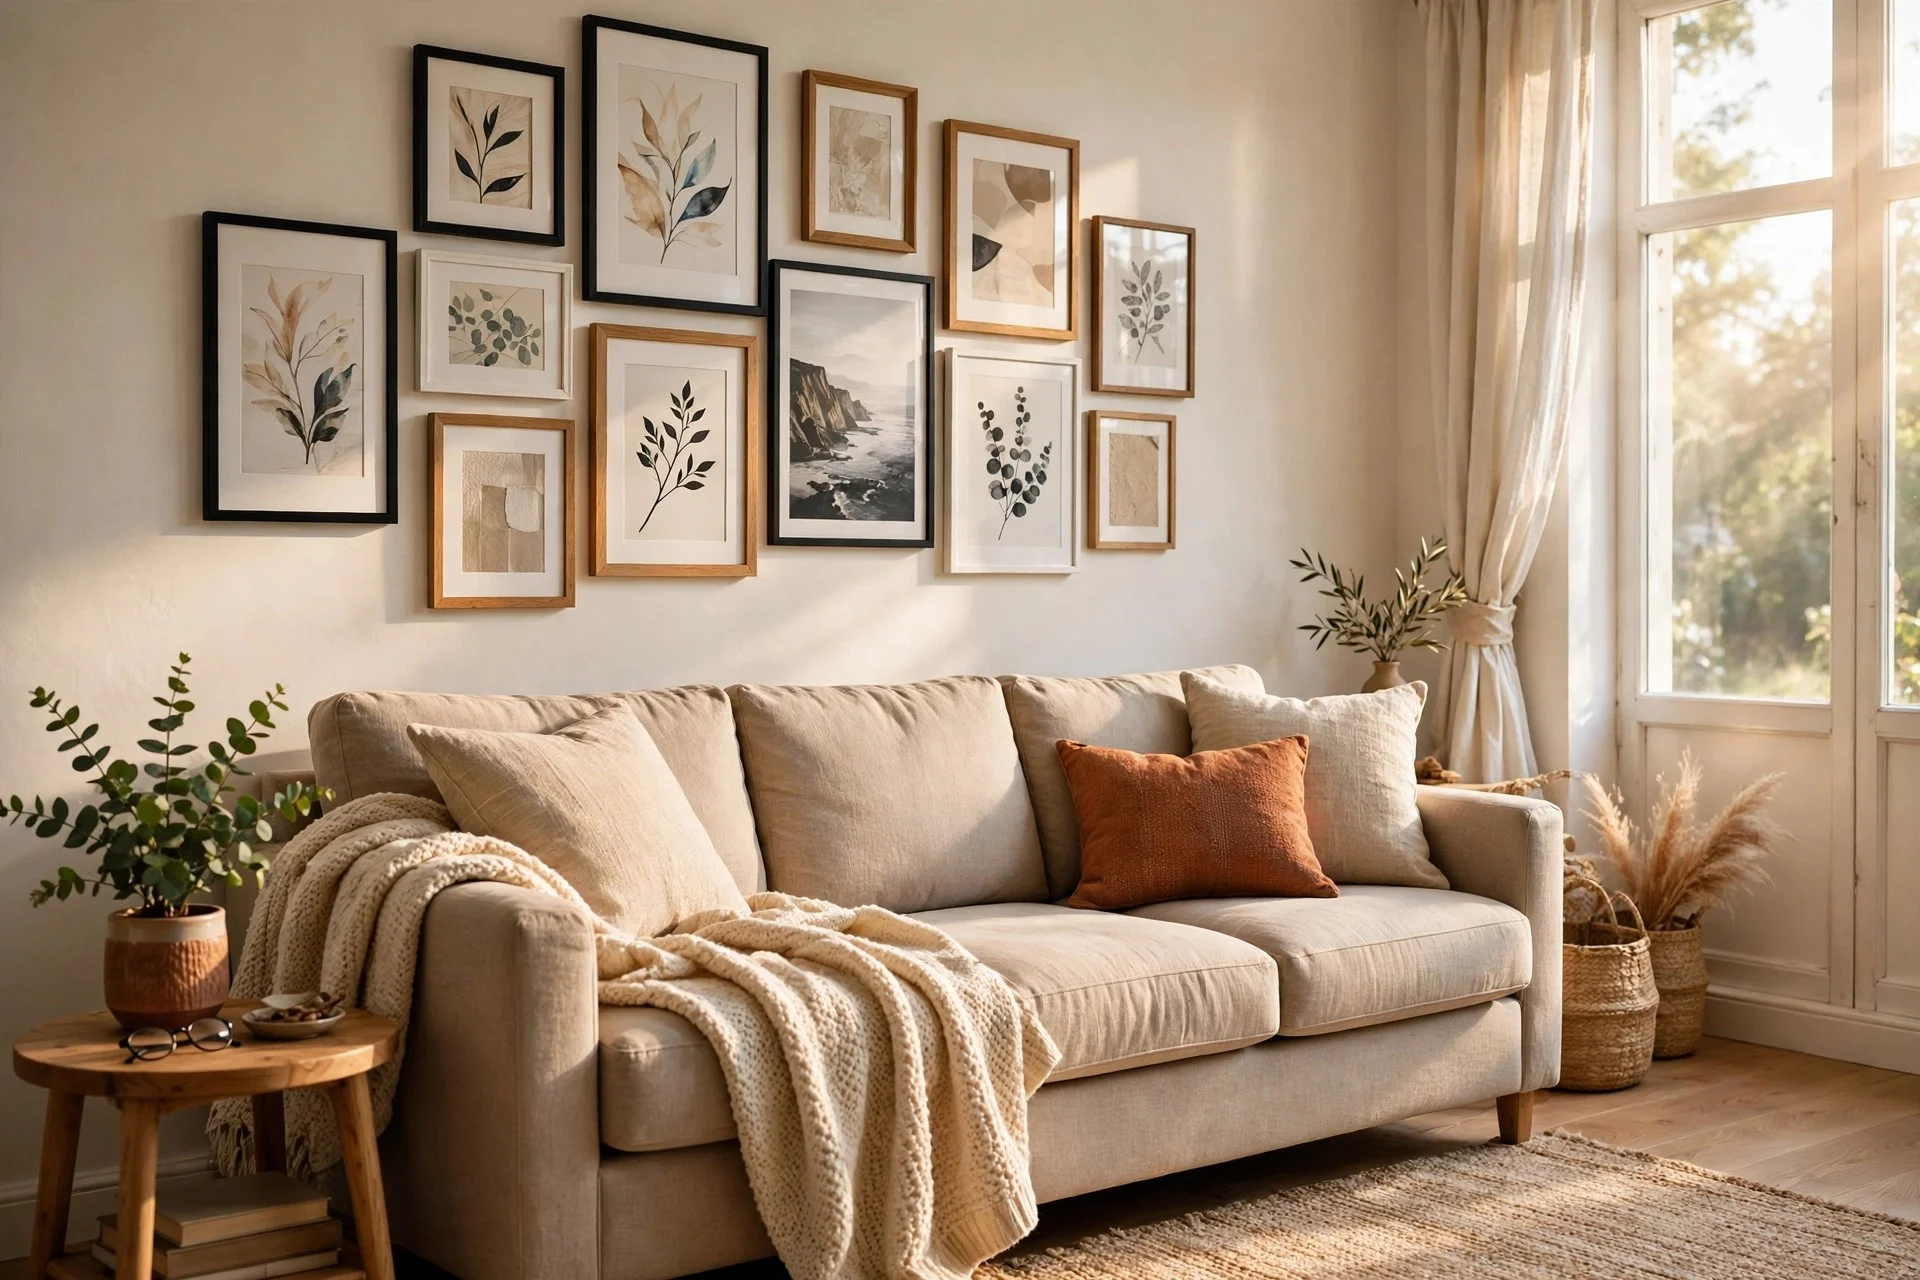
Pick one large piece — a 24×36 print, a vintage poster, a painting — and orbit smaller frames around it in a loose salon arrangement, the way old Parisian galleries hung art. The hero piece anchors the whole thing. This layout forgives imperfection better than any grid; the asymmetry is the point. Cost: $80–$180. Time: an evening of floor-planning plus an afternoon of hanging. Tip: start hanging from the hero piece outward, checking the floor mock-up between rounds — the edges can wander. Watch out: salon walls creep wider than planned; tape the intended boundary on the wall first and don’t cross it.
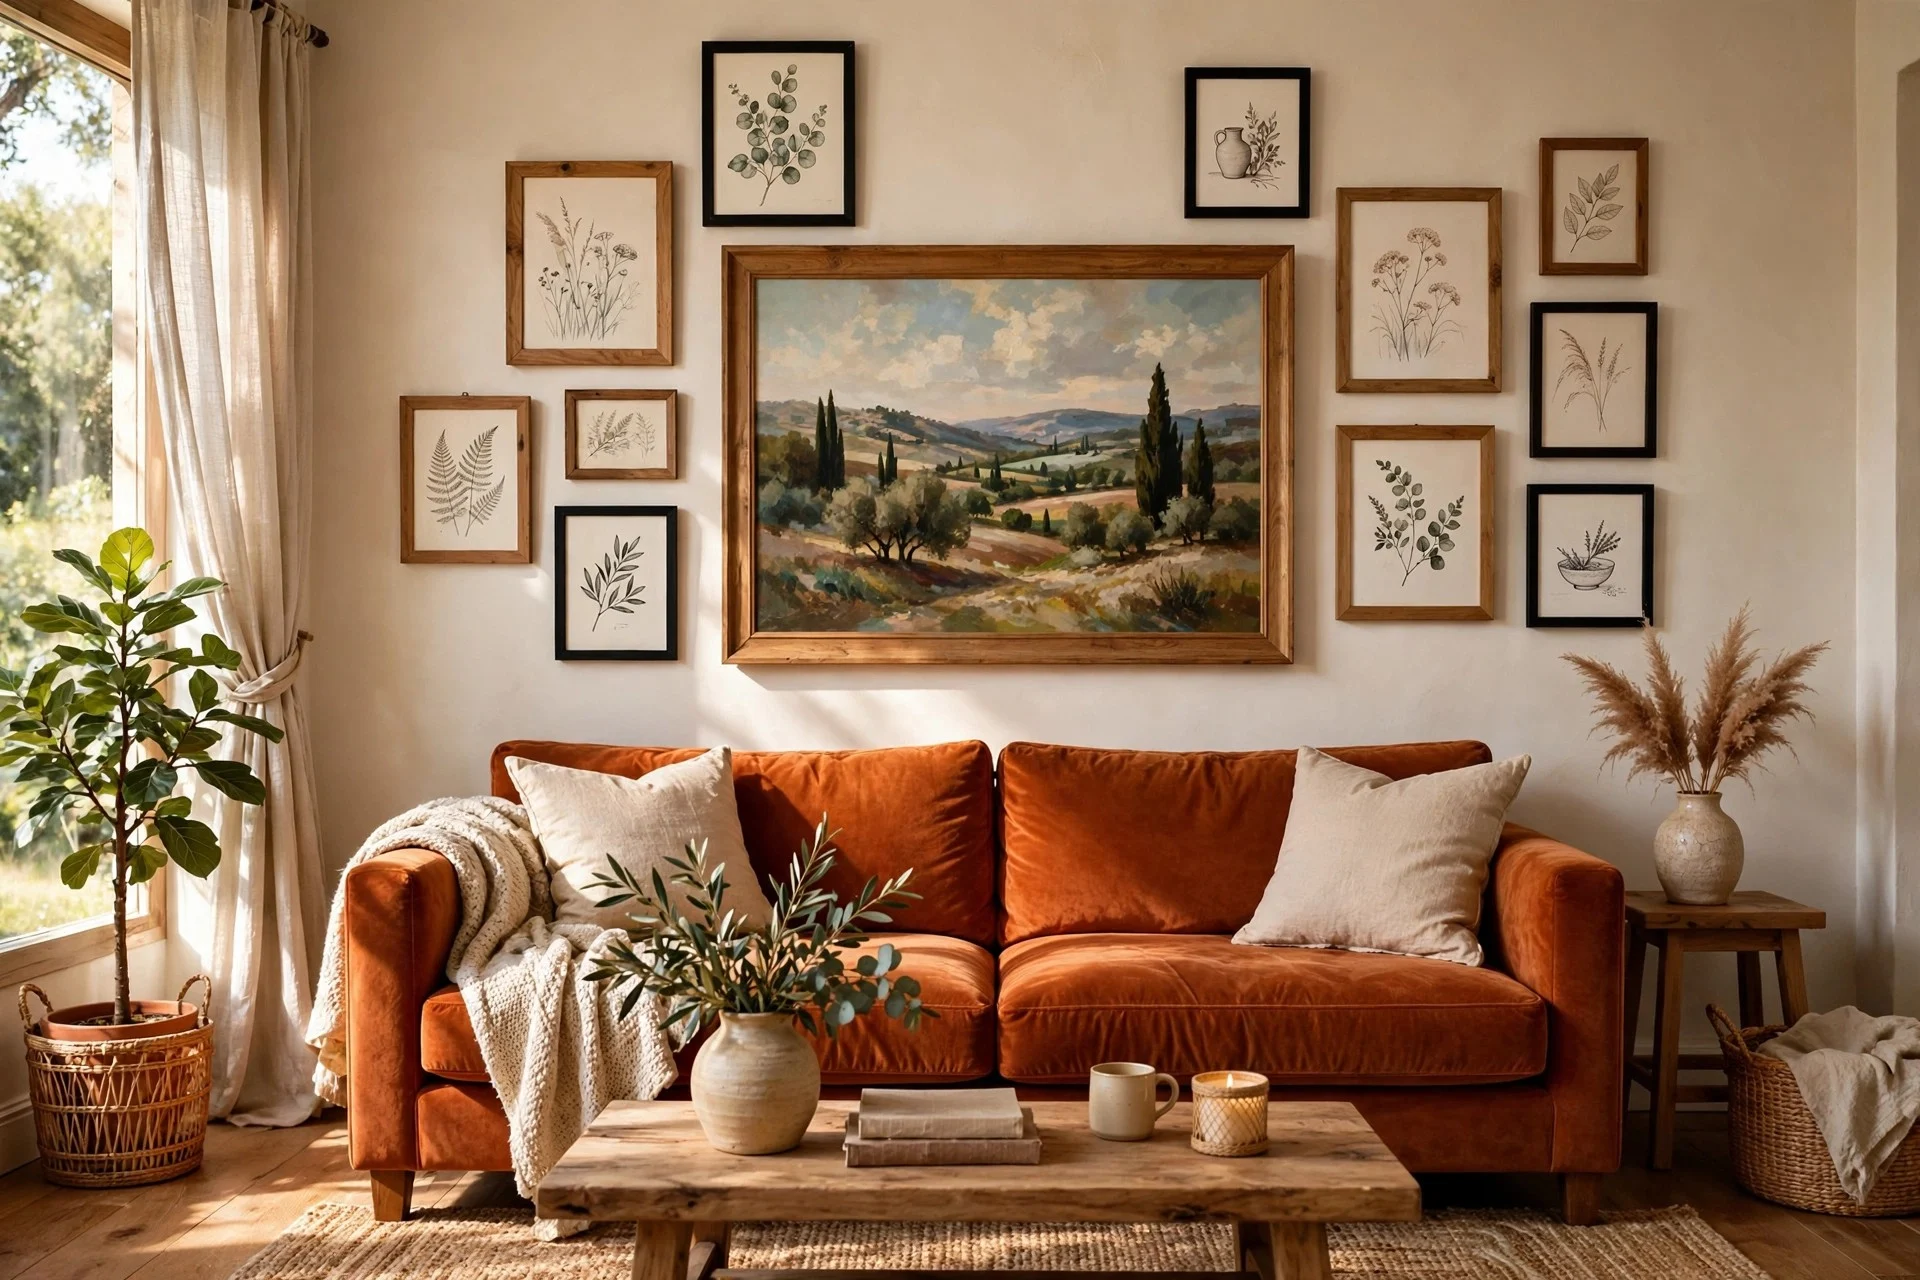
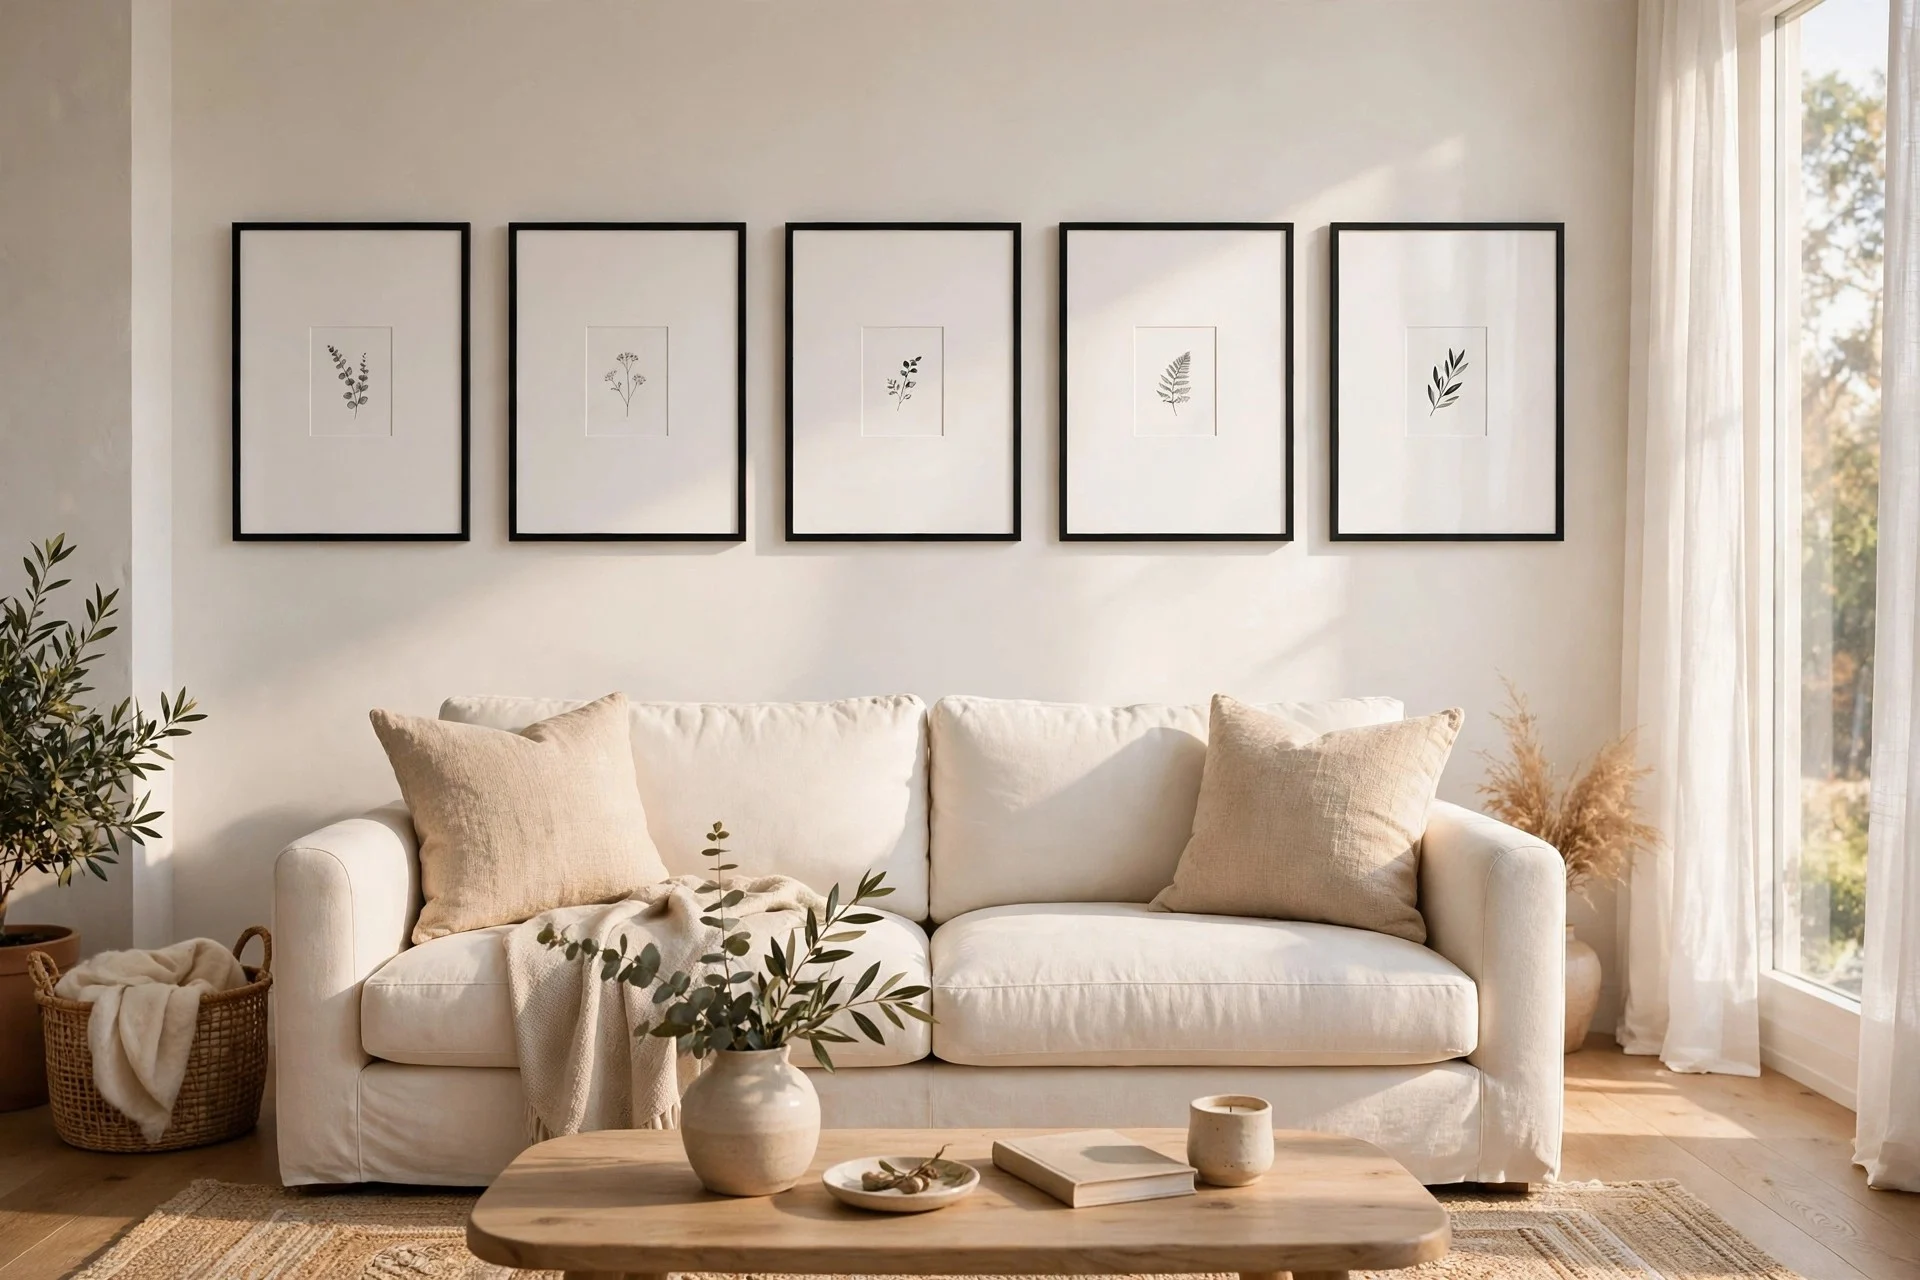
8. Wide mats in thin black frames
A small print inside an oversized mat inside a thin black frame looks like art from a real gallery — the white space is doing the work. Keep every frame and mat identical and hang them with 3-inch gaps so the mats have room to breathe. Cost: $100–$200 for 6–8 framed sets. Time: an afternoon plus a cutting session if you mat them yourself. Tip: order mats pre-cut from a craft supplier rather than cutting your own unless you own a mat cutter — hand-cut bevels wobble. Watch out: wide mats in a humid room can buckle; silica packets tucked behind each frame help.
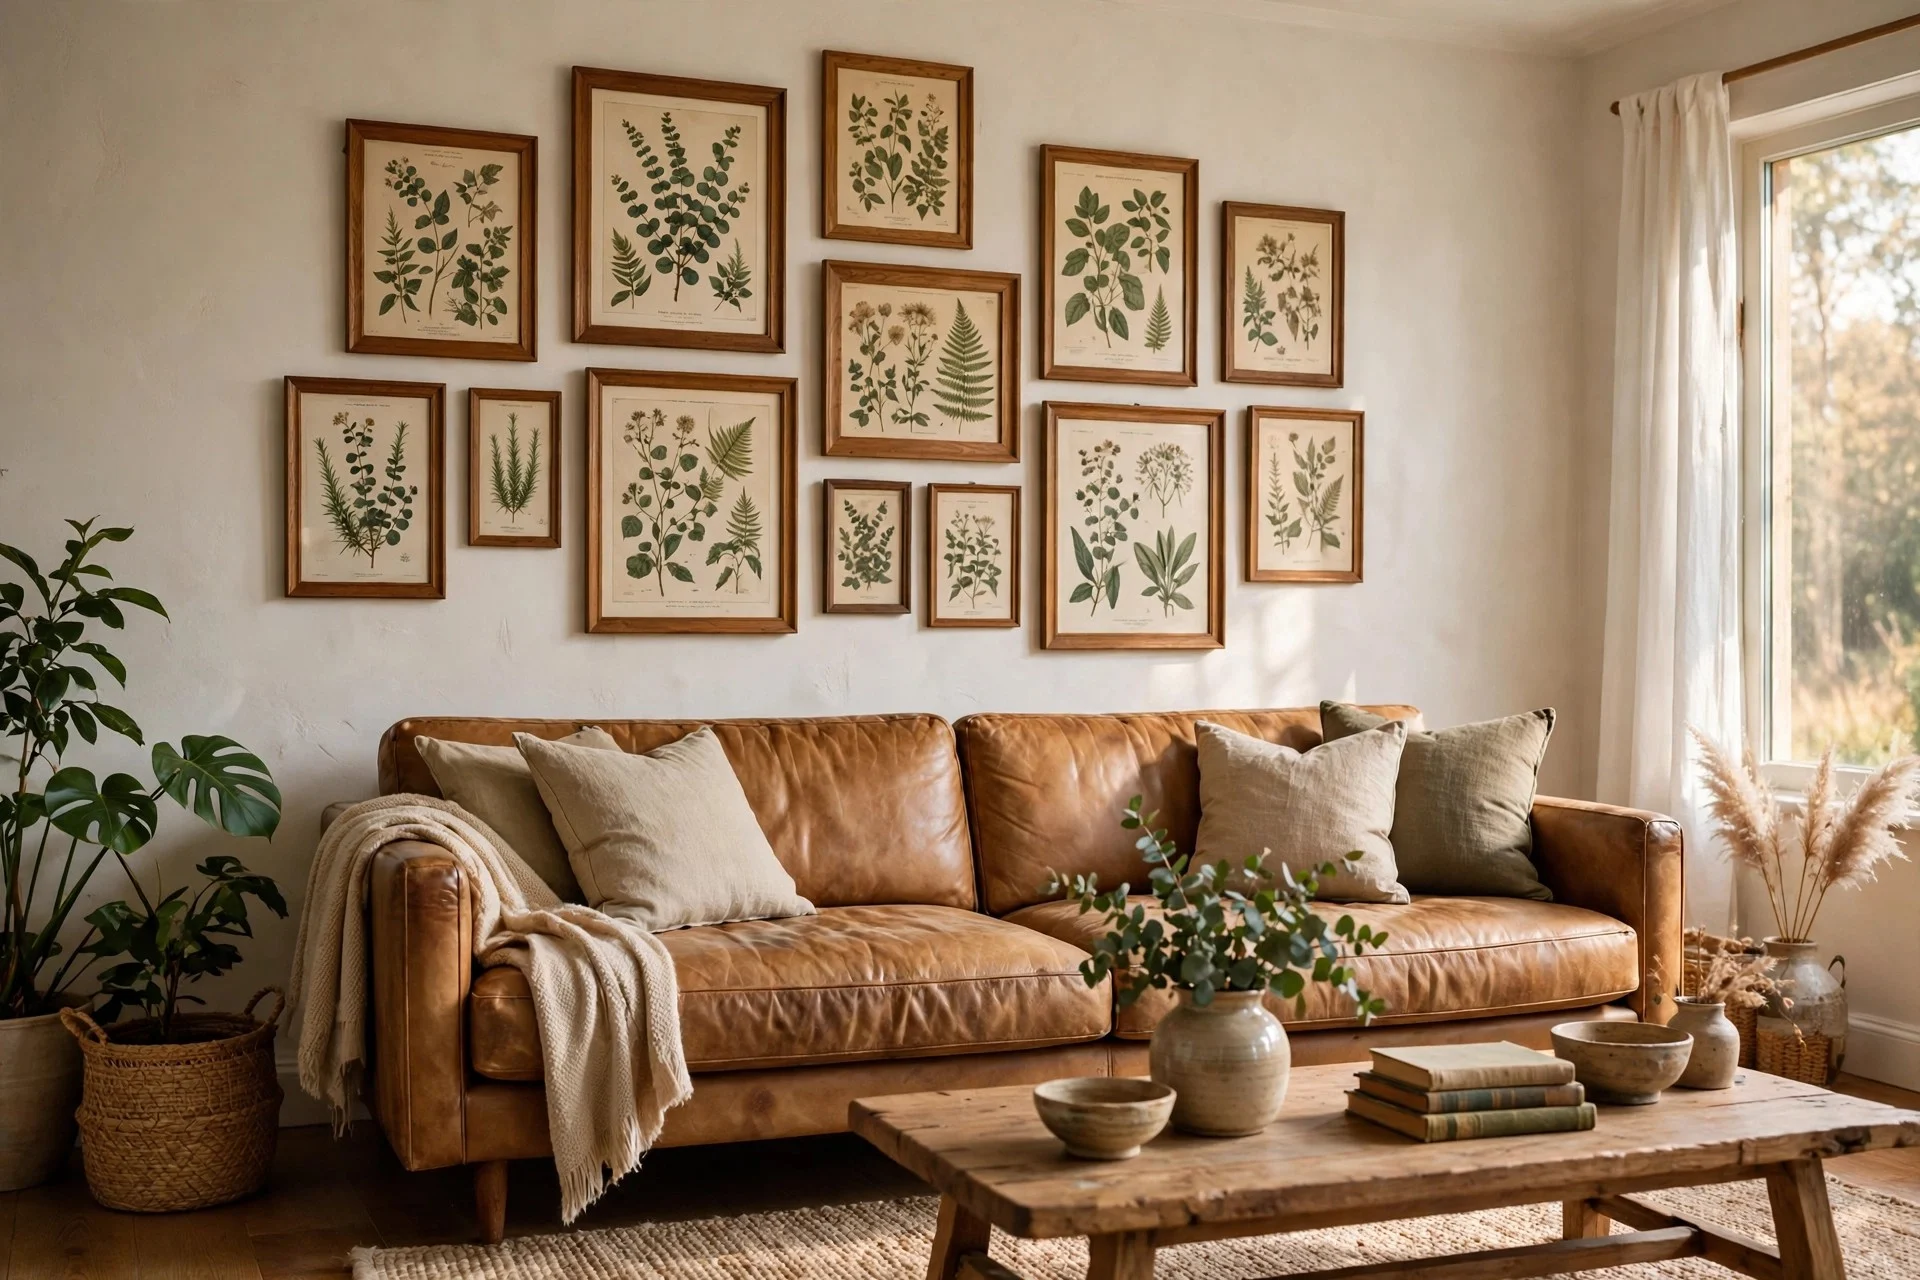
9. Two ledges, zero drilling into the wall field
Two long picture ledges stacked 14–18 inches apart give you a two-tier gallery you can rearrange whenever the mood changes — swap pieces in, rotate art seasonally, no new holes. Cost: $60–$120 for two 48-inch ledges plus frames you likely already own. Time: half a day. Tip: hang the bottom ledge 12 inches above the sofa back so leaned frames clear the cushions when people sit down. Watch out: on a wall that gets direct sun, the frames’ shadows stripe the wall between ledges — it looks fine, but plan for it.
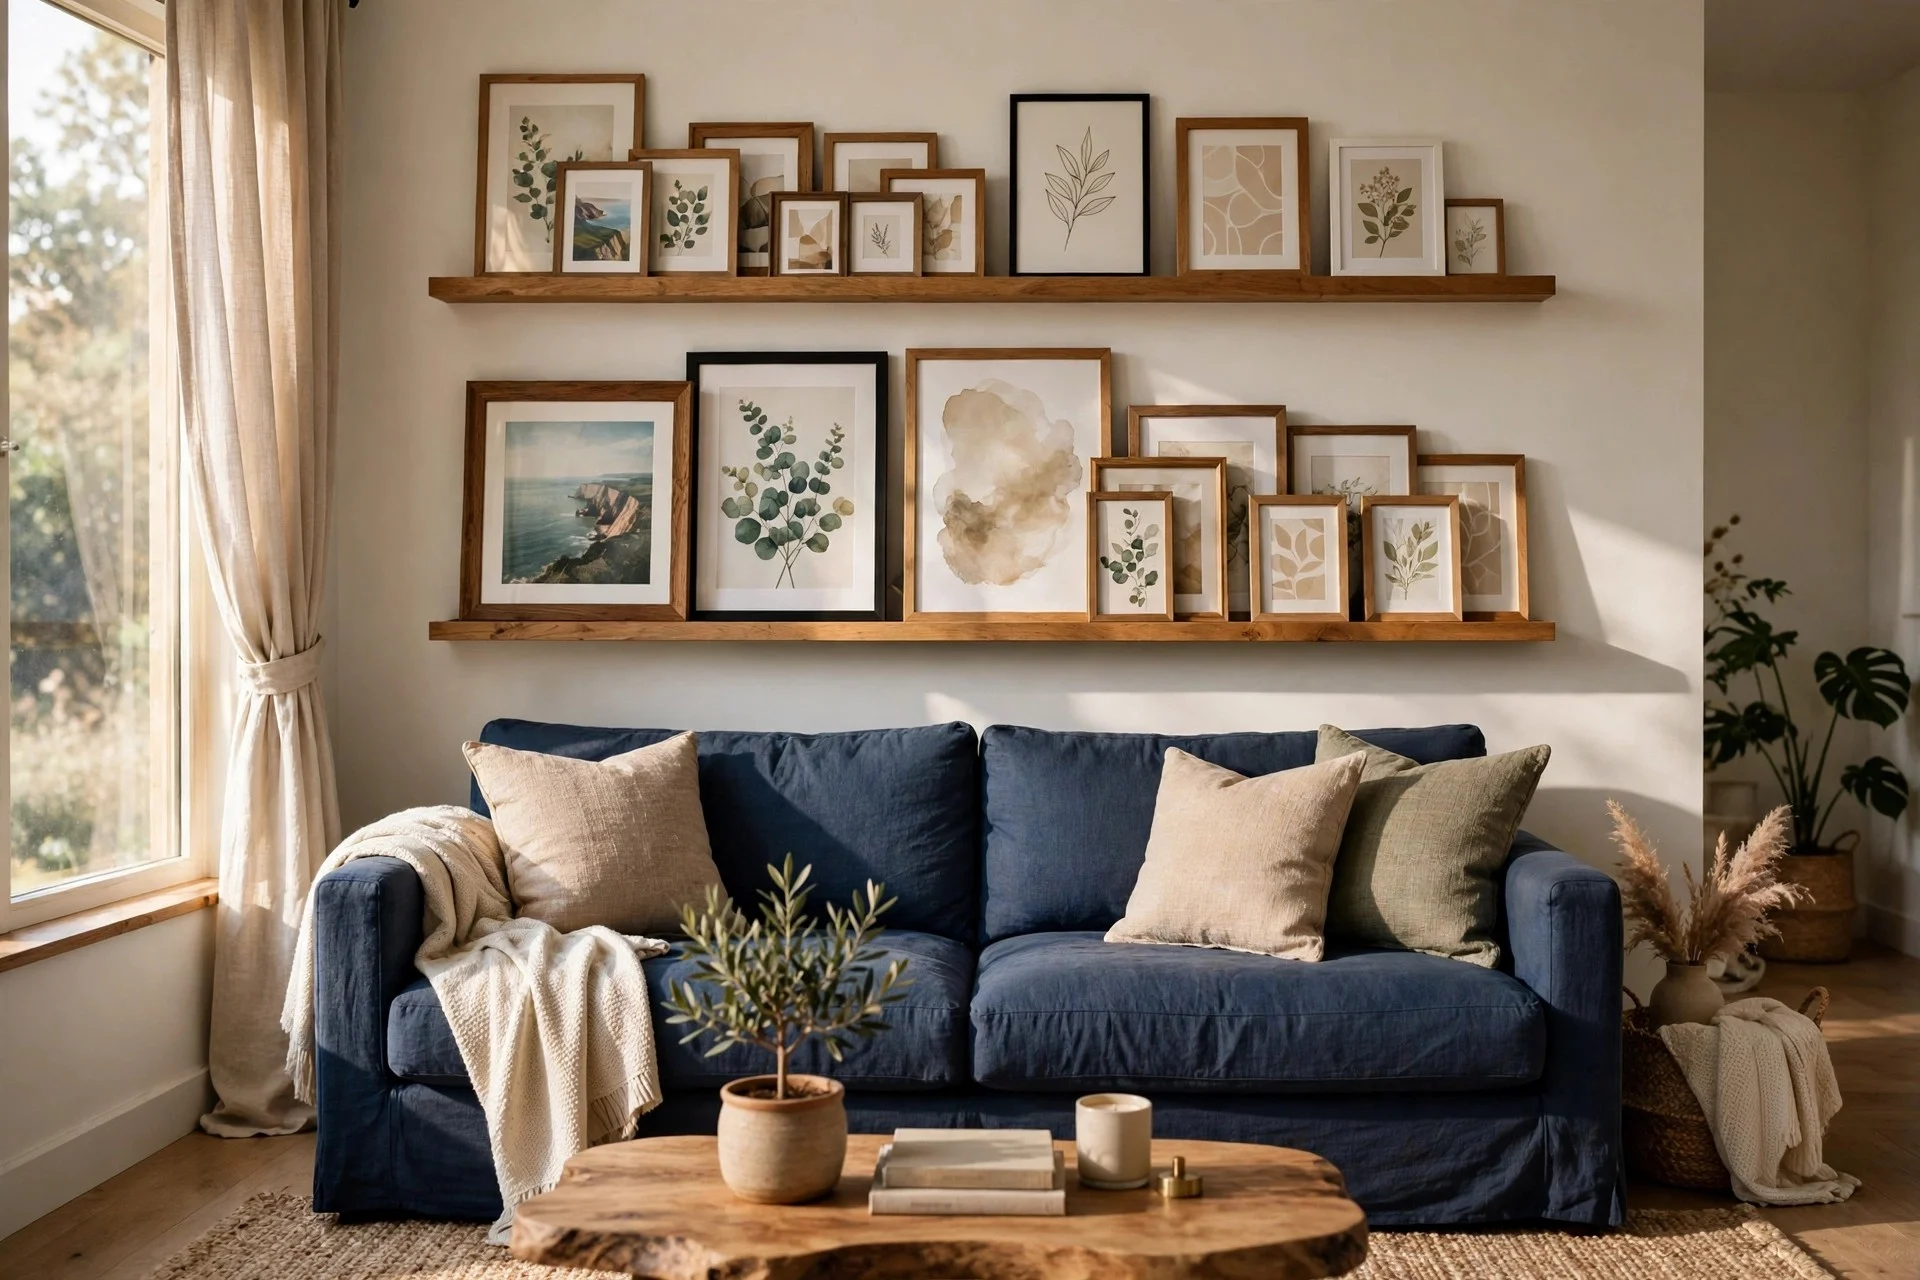
10. Vintage prints in warm wood frames
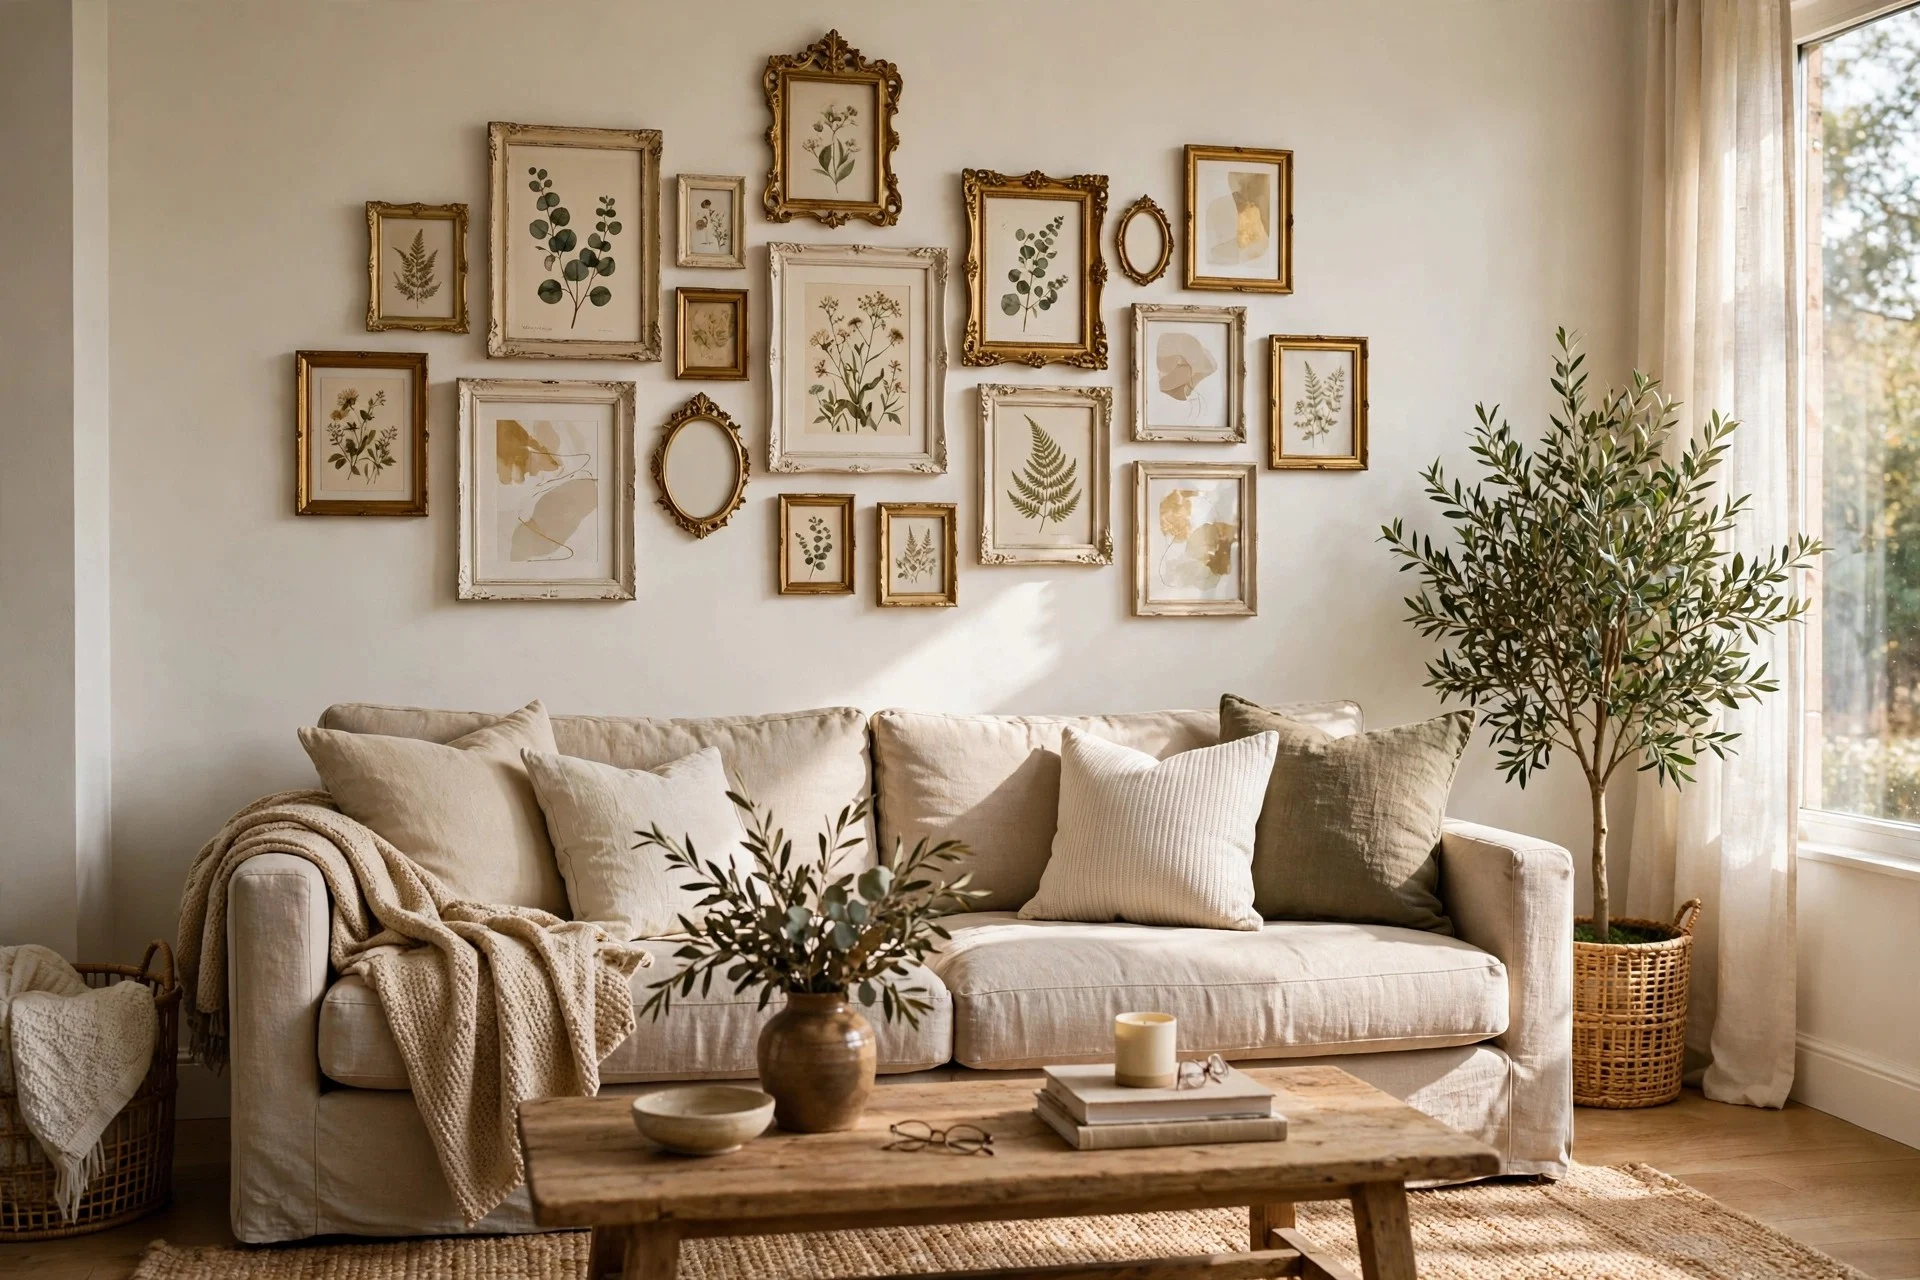
Digitized botanical plates, vintage maps, old seed catalogs — public-domain art costs nothing to download, and printing it at a copy shop runs a few dollars a sheet. House them in warm wood frames (oak, walnut, or pine with a clear finish) and the whole wall glows warmer than any black-frame gallery. Cost: $70–$150 for prints and 6–8 wood frames. Time: an afternoon of printing and framing. Tip: keep the frame wood slightly darker than your floor so the gallery reads as furniture-level, not a blend. Watch out: cheap pine frames warp in damp air; solid hardwood or metal-core frames stay straight.
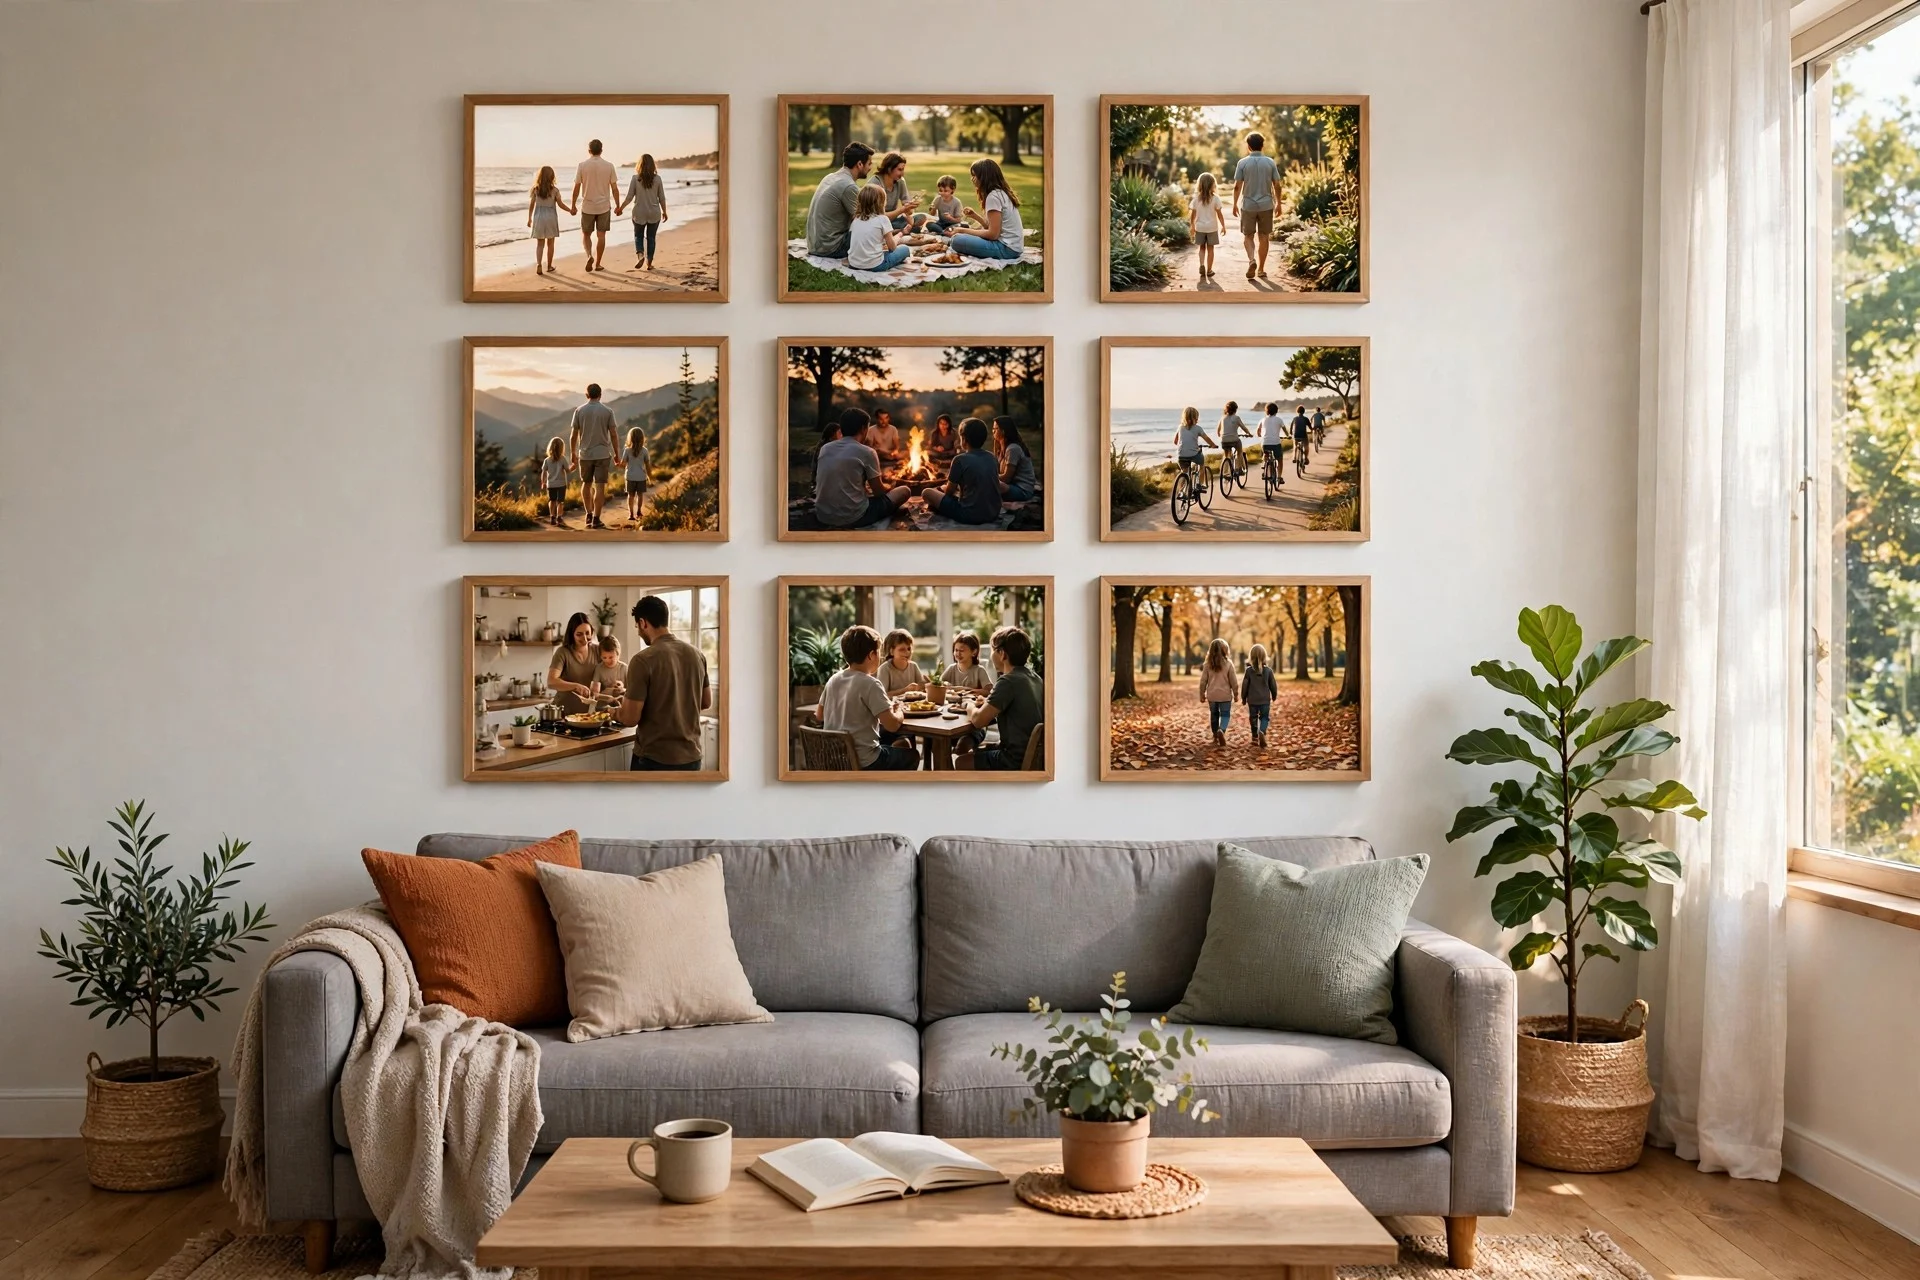
11. The family photo gallery, done right
Most family photo walls fail because the photos are all different sizes and the frames fight each other. Fix both: reprint everything to the same square format (Instagram-style crops work perfectly), use one frame style, and hang a loose grid with even spacing. Cost: $60–$140 for reprints and matching frames. Time: a weekend, mostly waiting on prints. Tip: convert everything to one filter or black-and-white for an instantly pulled-together wall. Watch out: glossy prints reflect the TV or window glare from across the room — matte finishes are safer above a sofa.
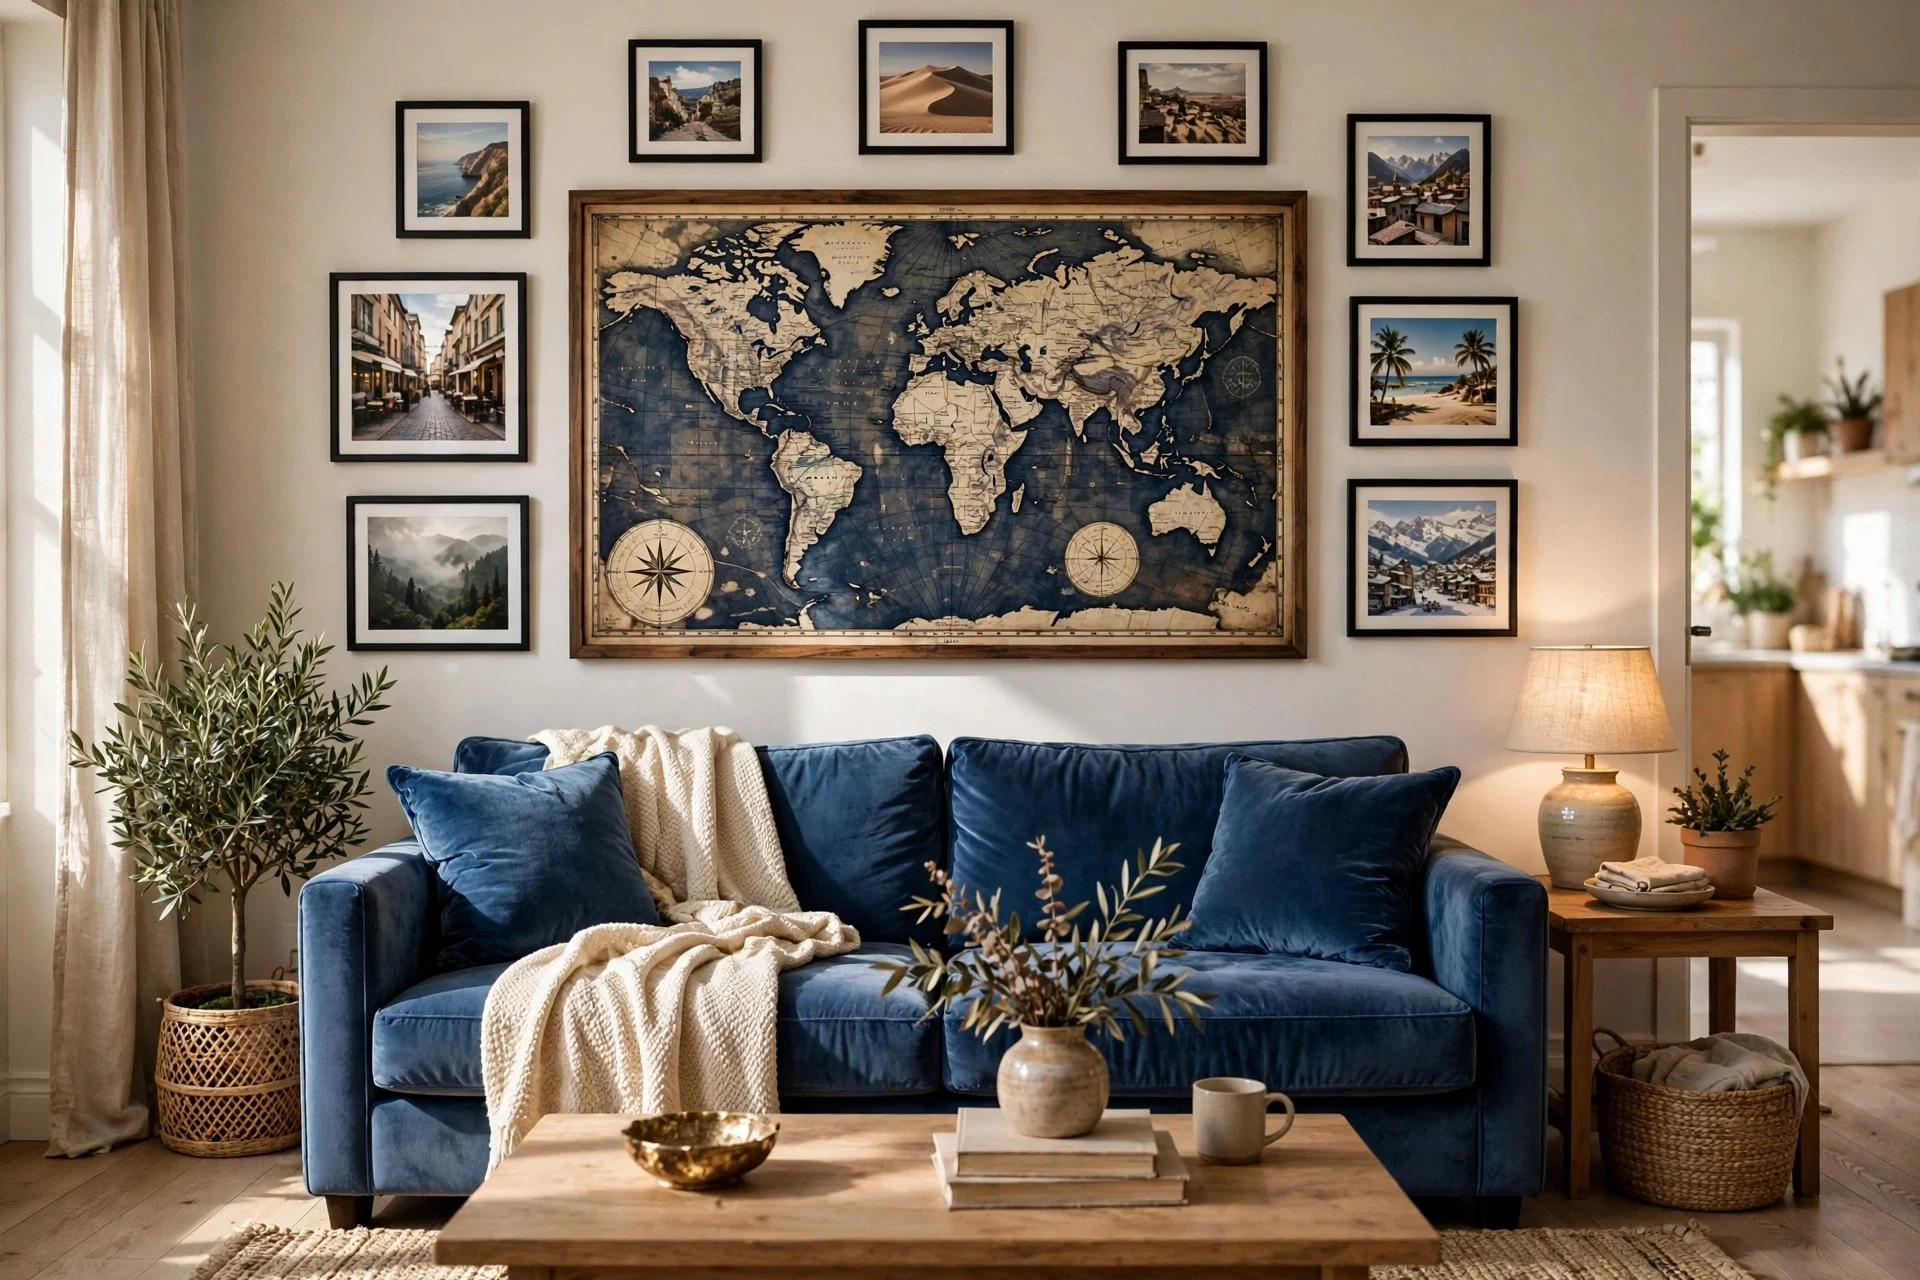
12. Travel map + photo pairing
Frame a vintage map of a region you love — or a city you’ve visited — and ring it with small photos from the trip. The map gives the wall scale and color; the photos give it your story. Cost: $70–$150. Time: an afternoon. Tip: choose a map with a color palette that flatters your sofa — sepia and navy maps flatter almost everything. Watch out: map reproductions from online scans vary wildly in resolution; order a test print at small size before committing to the large one.
$200+
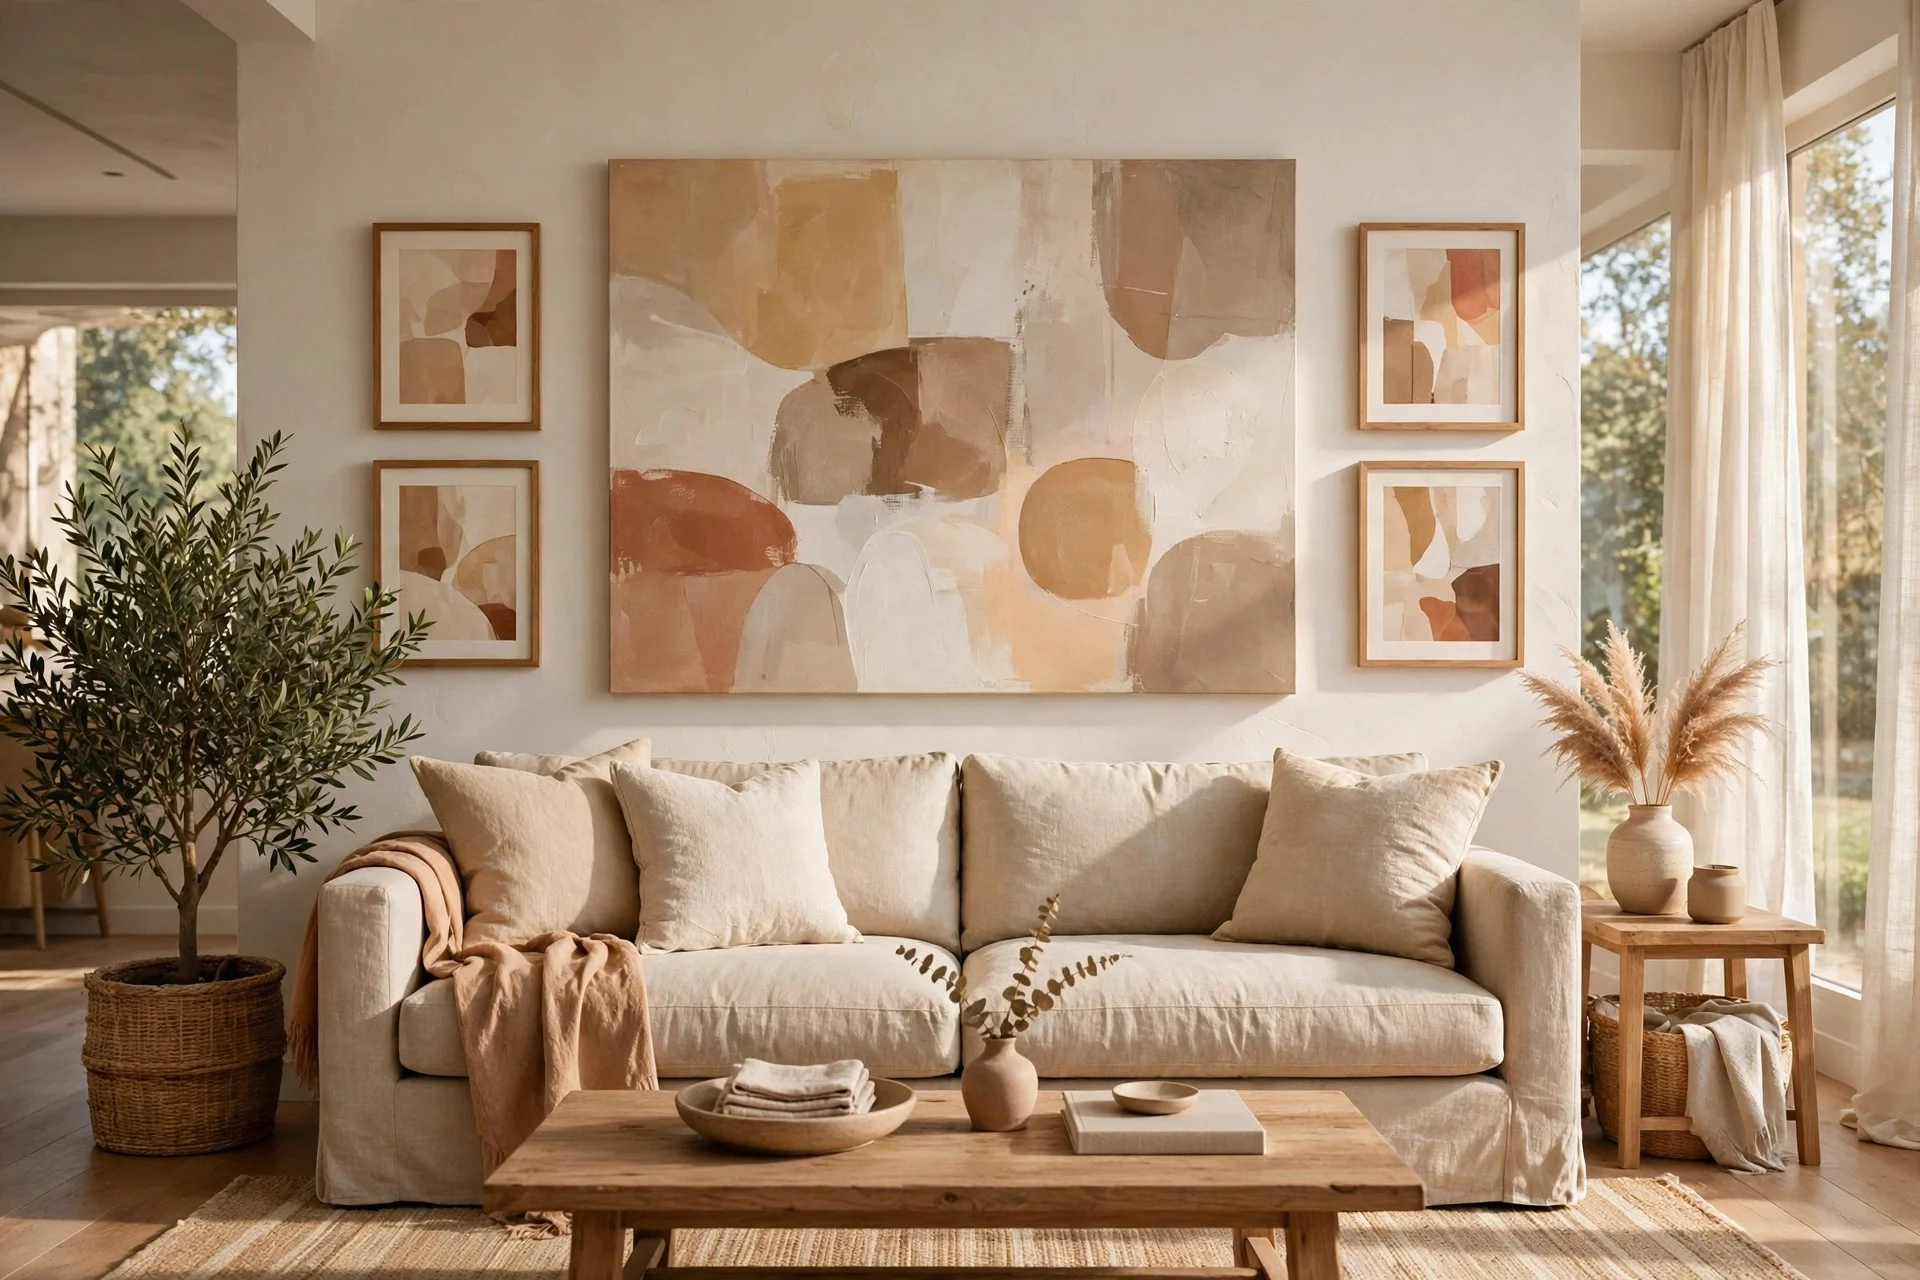
13. One oversized statement flanked by pairs
A single 40×60 canvas (or framed print) centered over the sofa, flanked by two smaller matching pieces on each side, delivers the polish of a styled room with four objects. Buy the large piece first and size the flanks at roughly one-third its height. Cost: $200–$450. Time: an afternoon, mostly leveling. Tip: oversized canvases from online print shops cost half what a gallery sells the same size for — the paper and ink quality are comparable. Watch out: pieces this large are heavy; use proper wall anchors rated for the weight, not picture hooks. A textured backdrop like limewash paint makes a single large piece look even richer.
14. Custom-framed gallery with professional prints
This is the version for art you genuinely love: archival prints in custom-cut mats with real hardwood or aluminum frames, built by a frame shop or a custom-frame website. The per-piece cost is the highest here, so most people build this wall over months, one frame at a time. Cost: $200–$600 for 5–7 pieces, depending on size. Time: ongoing — plan one piece per month if you’re budgeting. Tip: use UV-protective glazing on anything hanging near a window; it costs little more at order time and saves the art. Watch out: custom frames can’t be returned, so triple-check every opening size before ordering.
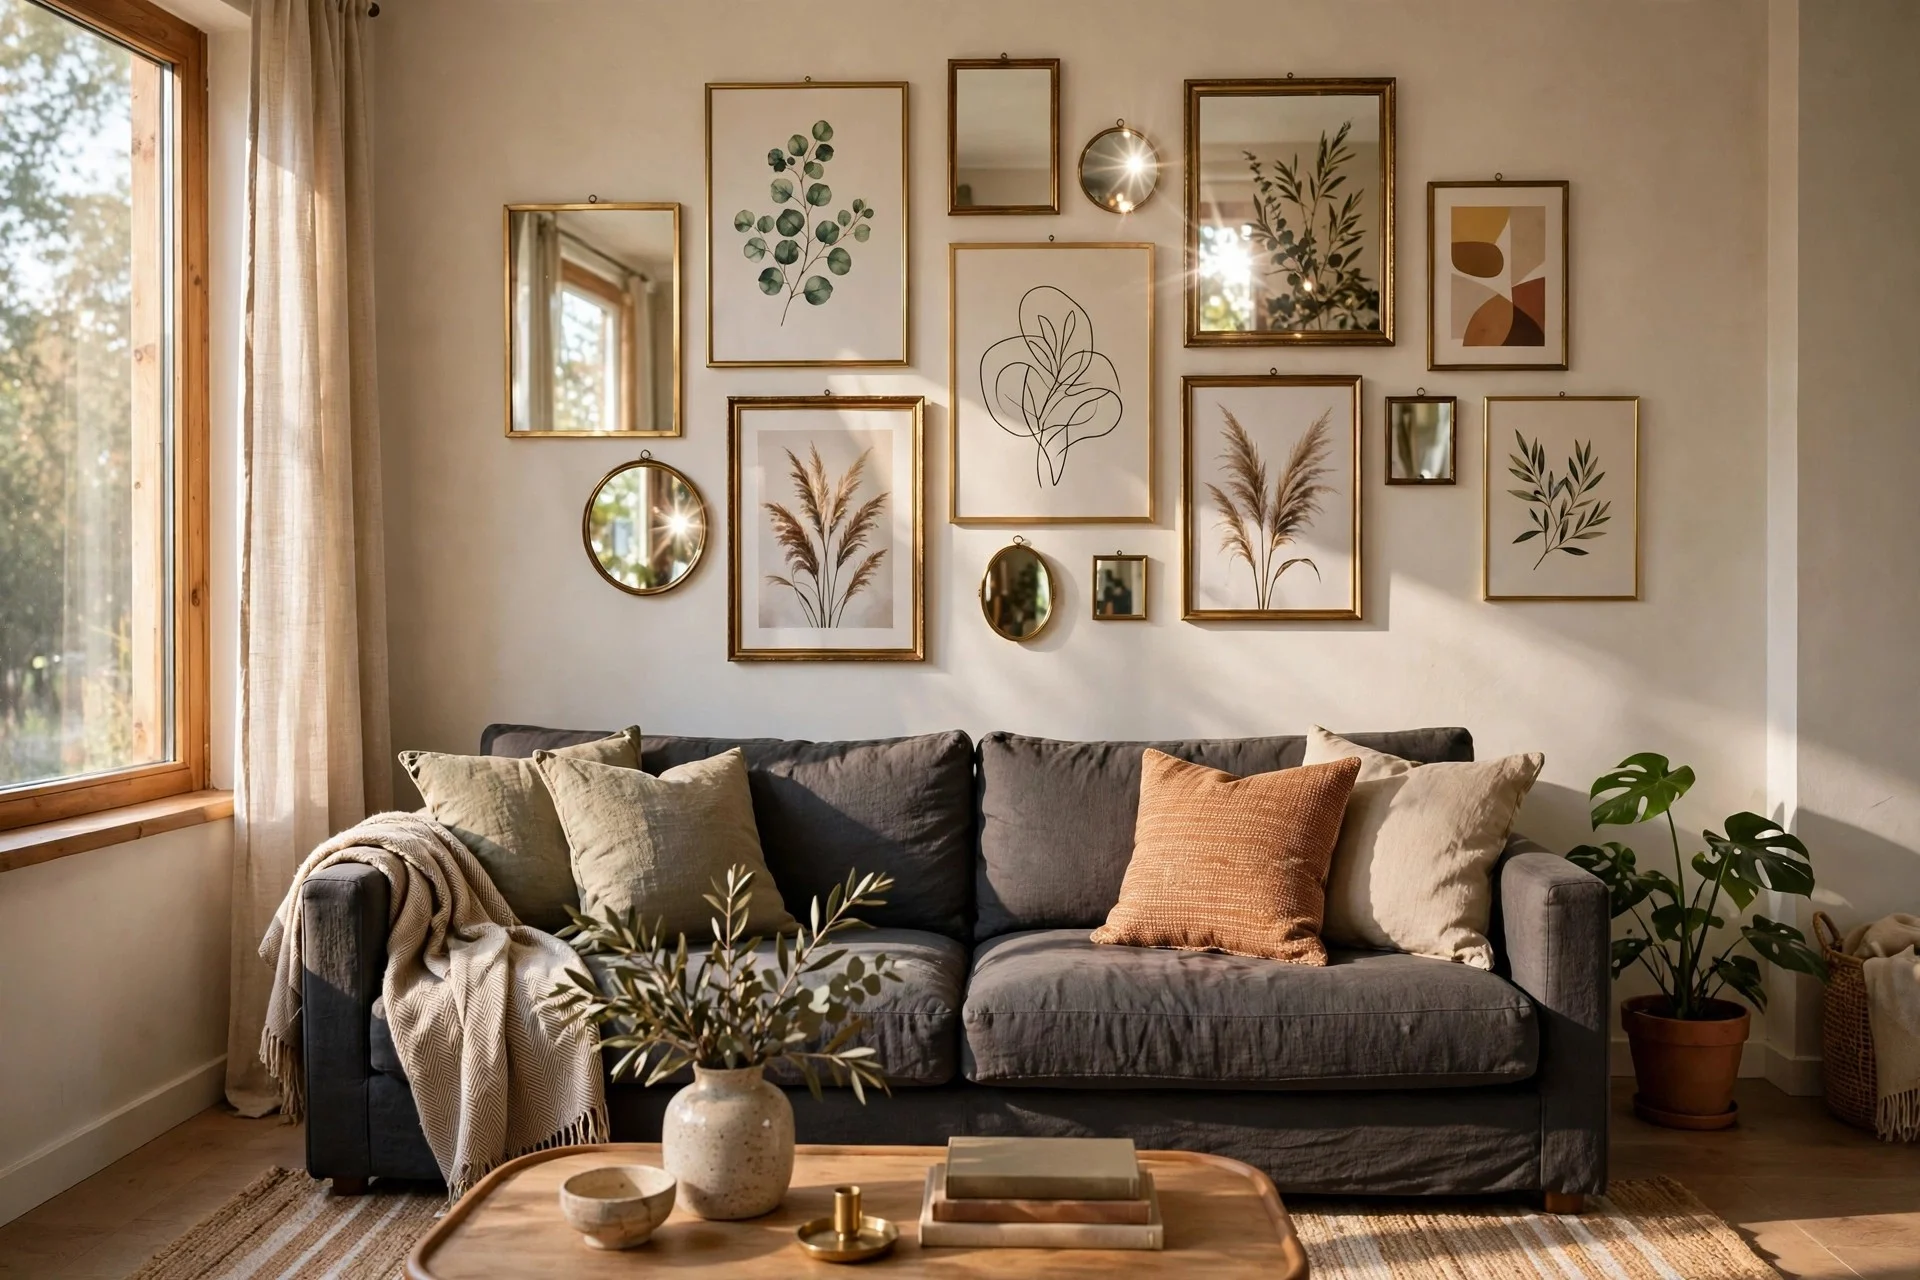
15. Brass, gold, and mirror mix
Thin gold and brass frames mixed with a few small mirrors create a wall that bounces light around the room — effectively a second window over your sofa. The trick is restraint: about a quarter mirrors, three-quarters art, and a consistent warm metal tone across the frames. Cost: $200–$400. Time: a weekend of hunting for frames and mirrors. Tip: flea-market brass frames sprayed with a metallic sealer look identical to pricey new ones at a tenth the cost. Watch out: too many mirrors read as a dressing room — keep it art-dominant and the wall stays sophisticated.
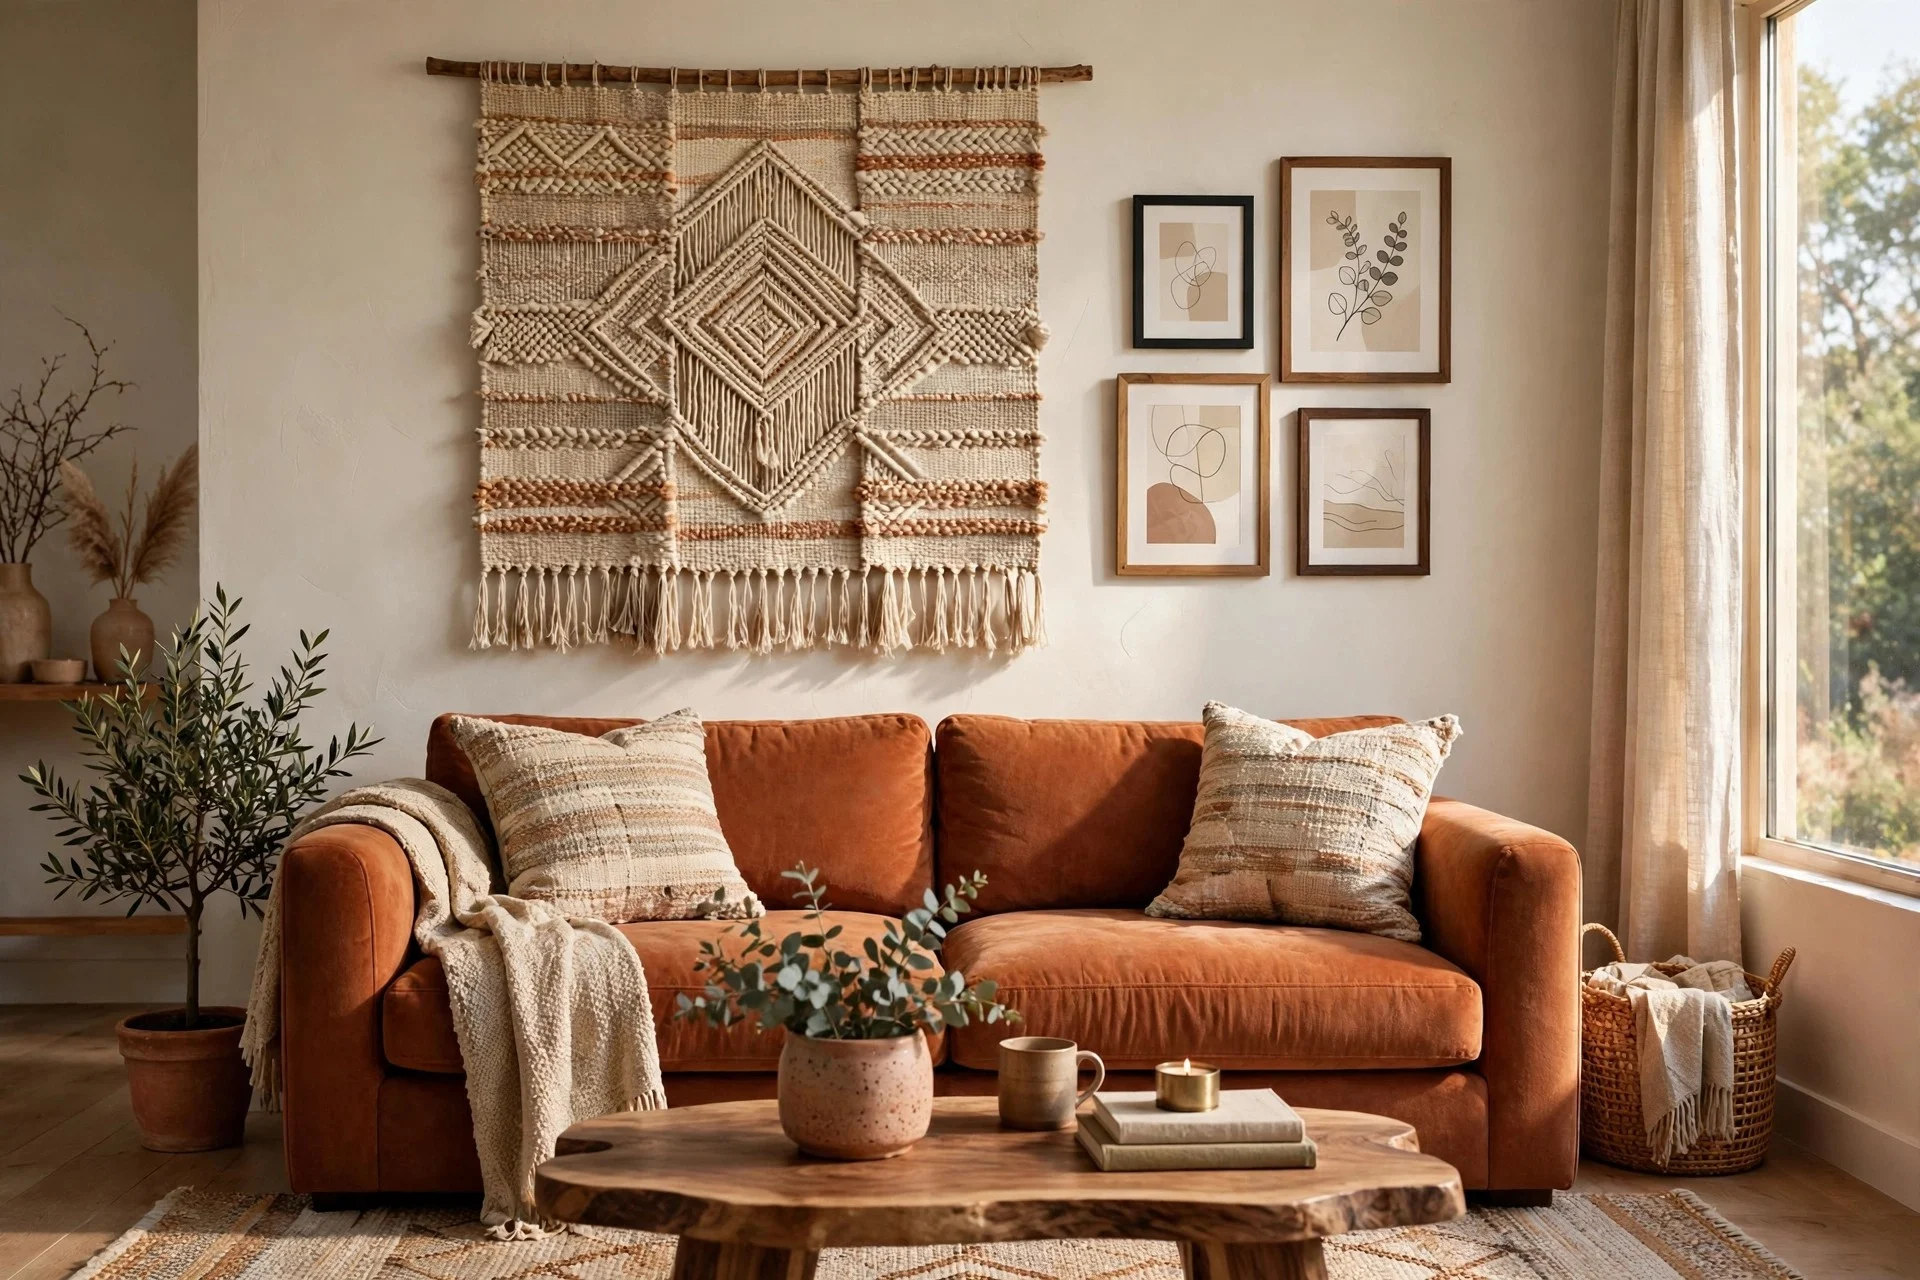
16. Textile + framed art combination
Weave a textile into the wall — a flat-weave rug, a vintage scarf, a kantha quilt panel — alongside framed art, and the gallery gains texture that frames alone can’t give. Hang the textile on a dowel or a clip rail as the centerpiece, then cluster smaller frames to one side so the composition stays asymmetric and relaxed. Cost: $200–$500 depending on the textile. Time: an afternoon. Tip: steam or press the textile before hanging; shipping folds never fall out on their own. Watch out: textiles collect dust and pet hair — choose a tight weave and vacuum it on the upholstery setting a few times a year.
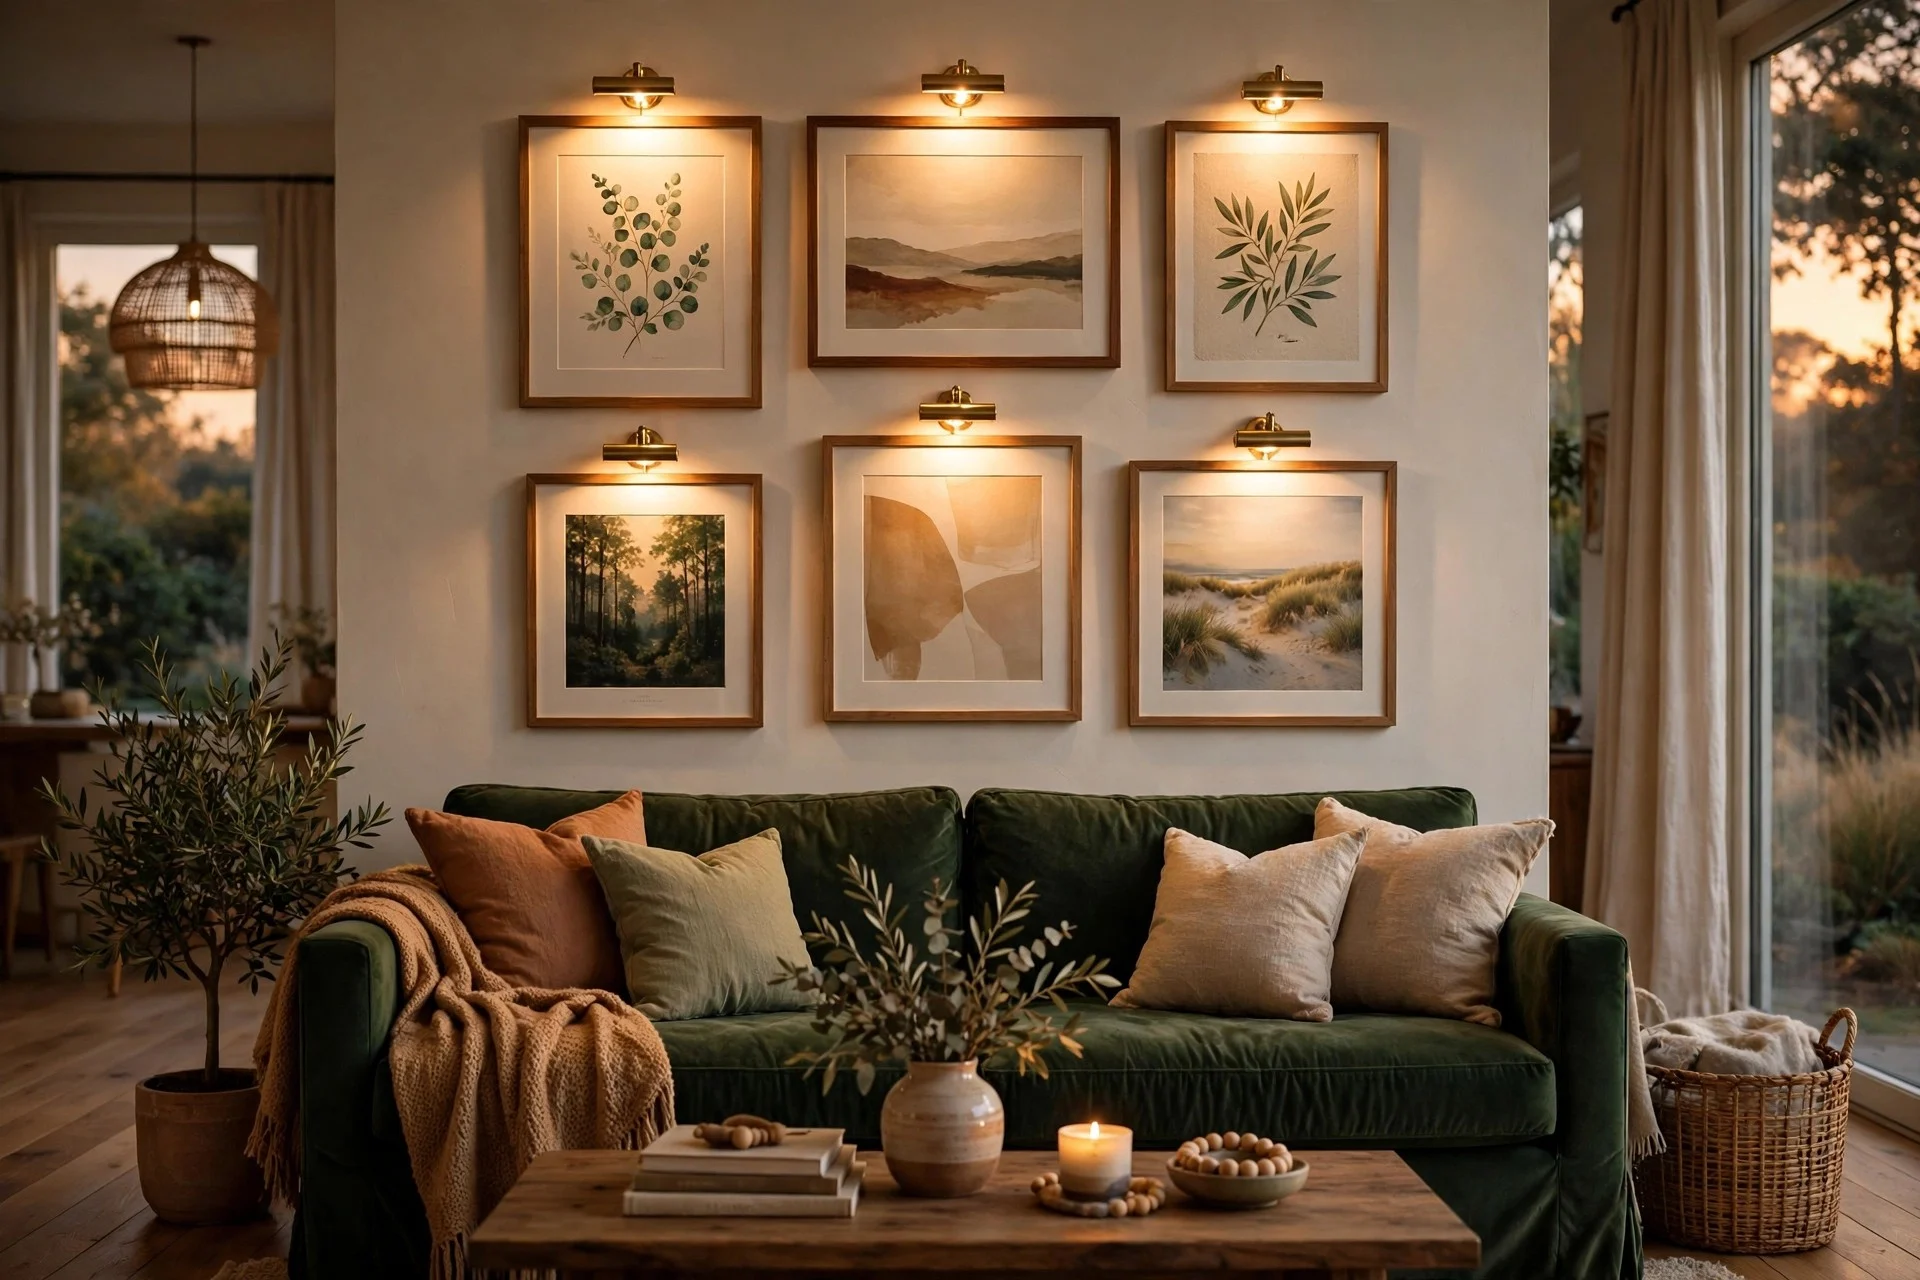
17. Gallery wall with picture lights
Battery-powered picture lights mounted on the frames turn the gallery into an evening feature — warm pools of light on each piece, the wall glowing above the sofa long after the sun goes down. Mount one light per large frame or every other small one; the light itself becomes part of the design. Cost: $200–$450 for 5–8 lights plus frames and art. Time: an afternoon of hanging plus an hour of light placement. Tip: choose lights with a warm 2700K temperature so the art looks like it’s in a gallery, not an office. Watch out: cheap picture lights throw uneven hotspots — read reviews specifically about beam spread before buying.
Questions people ask before hanging
How big should a gallery wall be above a standard sofa?
Aim for about two-thirds of the sofa’s width — roughly 55–65 inches of total arrangement on an 84–90 inch three-seater. As for height, the bottom of the lowest frame should sit 6–8 inches above the sofa back, and the center of the whole grouping near eye level at about 58 inches off the floor. Going slightly larger reads intentional; going slightly smaller reads timid.
Can I hang a gallery wall if I’m renting?
Yes — lean the heaviest toward damage-free methods. Picture ledges need only two screws (which most landlords accept), adhesive strips rated for the frame weight hold light frames securely, and washi tape or clip rails need no holes at all. Photograph the bare wall before you start so move-out repairs are painless.
Do all the frames have to match?
No, and the best gallery walls usually mix something — different frame styles, sizes, or both. What matters is one unifying thread: a consistent color, a consistent mat, or a consistent subject across the pieces. Pick one unifier and the rest of the variety reads as curated instead of chaotic.
How do I keep the wall from looking cluttered?
Clutter comes from tight, uneven spacing more than from too many pieces. Keep 2–3 inches of breathing room between frames and keep the outer boundary of the arrangement roughly rectangular.
Should the art sit centered on the wall or on the sofa?
Center on the sofa, not the wall. The sofa is what the eye reads the gallery against; a gallery centered on the wall but off from the sofa looks like a mistake. The only exception is an open-plan wall where the sofa floats — then center the art on the available wall space instead.
The quick checklist before the first nail
Run through this once and the wall hangs itself: confirm the arrangement spans two-thirds of the sofa width; tape the outline on the wall and check it from the doorway; lay everything on the floor in the final arrangement and photograph it; hang from the center piece outward; keep 2–3 inches between frames; step back after every third frame and check level.