Bedroom Wardrobe Ideas: Open Rails That Don’t Look Untidy
Yes, open rails can look tidy — but only when every item has a set place and nothing extra creeps in. The mess most people blame on the rail itself usually comes from three things: too many clothes on one bar, mixed categories hanging side by side, and nowhere for shoes, bags, and folded things to go. Fix those three, and the same rail that looks chaotic today can look calm by the weekend.
The ideas below are framed as fixes, because that is how open storage works. You do not need a bigger bedroom or a new wardrobe — just a system that makes putting things back almost as easy as pulling them out. Work through them in order and keep the ones that suit your room.
1. One Rail, One Job: Stop Mixing Everything Together

This fix means giving each rail a single job: one rail for everyday tops, another for outerwear, and a separate spot for occasion clothes if you have them. When coats, work shirts, gym tops, and dresses all share one bar, the rail fills up fast and nothing is easy to find. Splitting by job makes the setup look calmer at once, because your eye reads groups instead of clutter.
Why it works is simple. You reach for one section at a time, so you disturb less, and you can see at a glance when a section is getting too full. A basic freestanding rail costs around $25–$60, while a sturdier wooden or metal rail runs $70–$150. Difficulty is low: this is a 30-minute rearrange, not a build project. Hands-on tip: label each section in your head by its end point — everyday on the left, outerwear on the right — and keep that order every time you hang something back up. Watch out: with only one rail, do not force three jobs onto it — use a wall hook row or a second small rail for the overflow.
2. The Colour-Order Fix: Hang Light to Dark
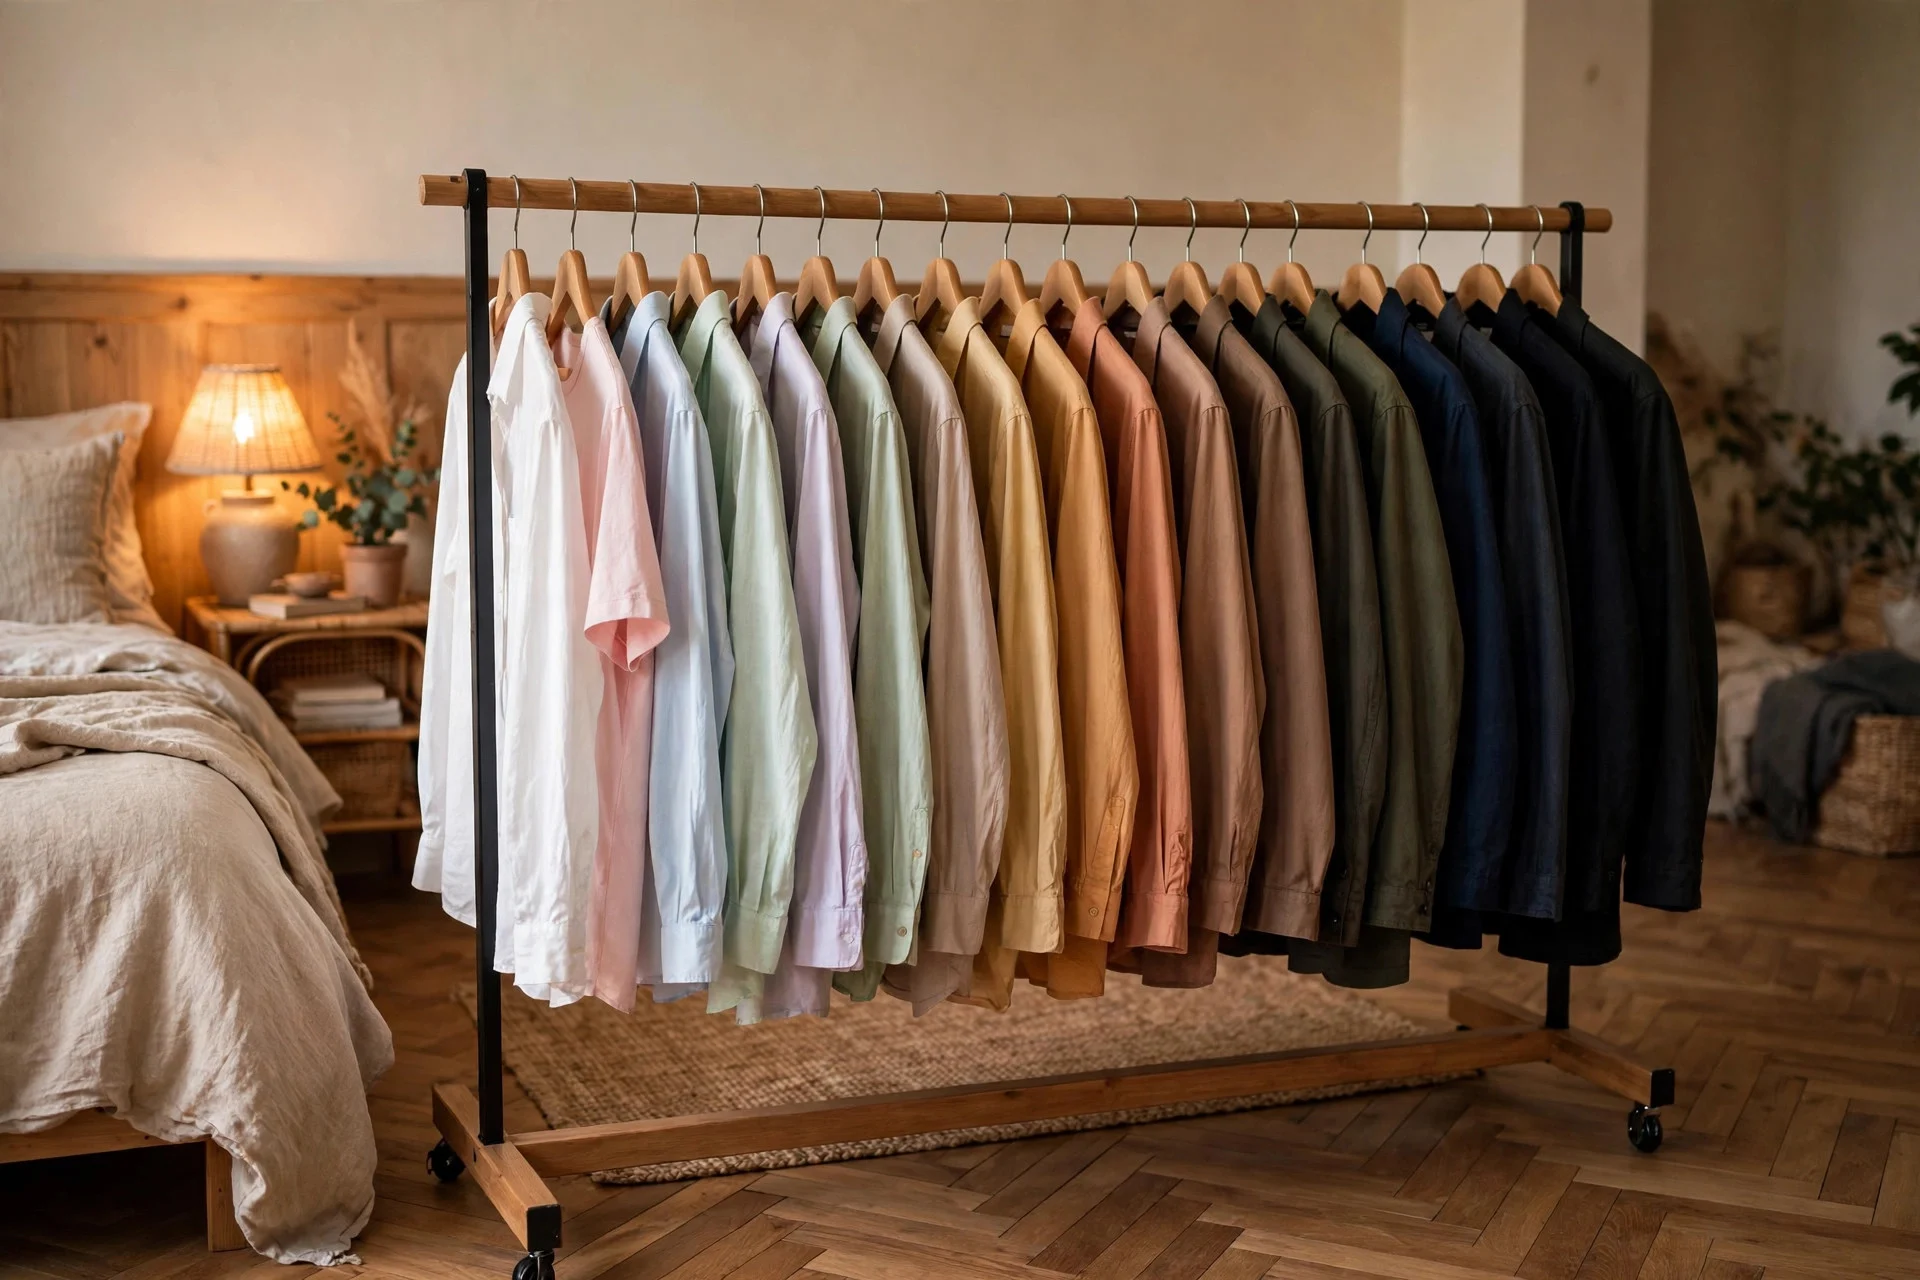
Colour-order hanging means arranging clothes from light to dark along the rail: whites and pastels first, then mid-tones, then darks at the end. It sounds cosmetic, but it changes how the rail reads from across the room: instead of competing colours, you get a smooth gradient that looks planned even on a rushed morning.
It works because your brain processes a gradient as one tidy block rather than dozens of separate items. It also speeds up getting dressed, since you head straight to the colour family you want. Cost: nothing (matching hangers, $15–$30 a pack, optional). Time: about 20 minutes. Hands-on tip: sort within each colour family by sleeve length too — sleeveless, short sleeve, long sleeve — so the hemline steps down evenly. Watch out: do not break the order for one “quick” hang. One stray item is fine; five undo the whole effect.
3. Matching Hangers That Actually Stay Put
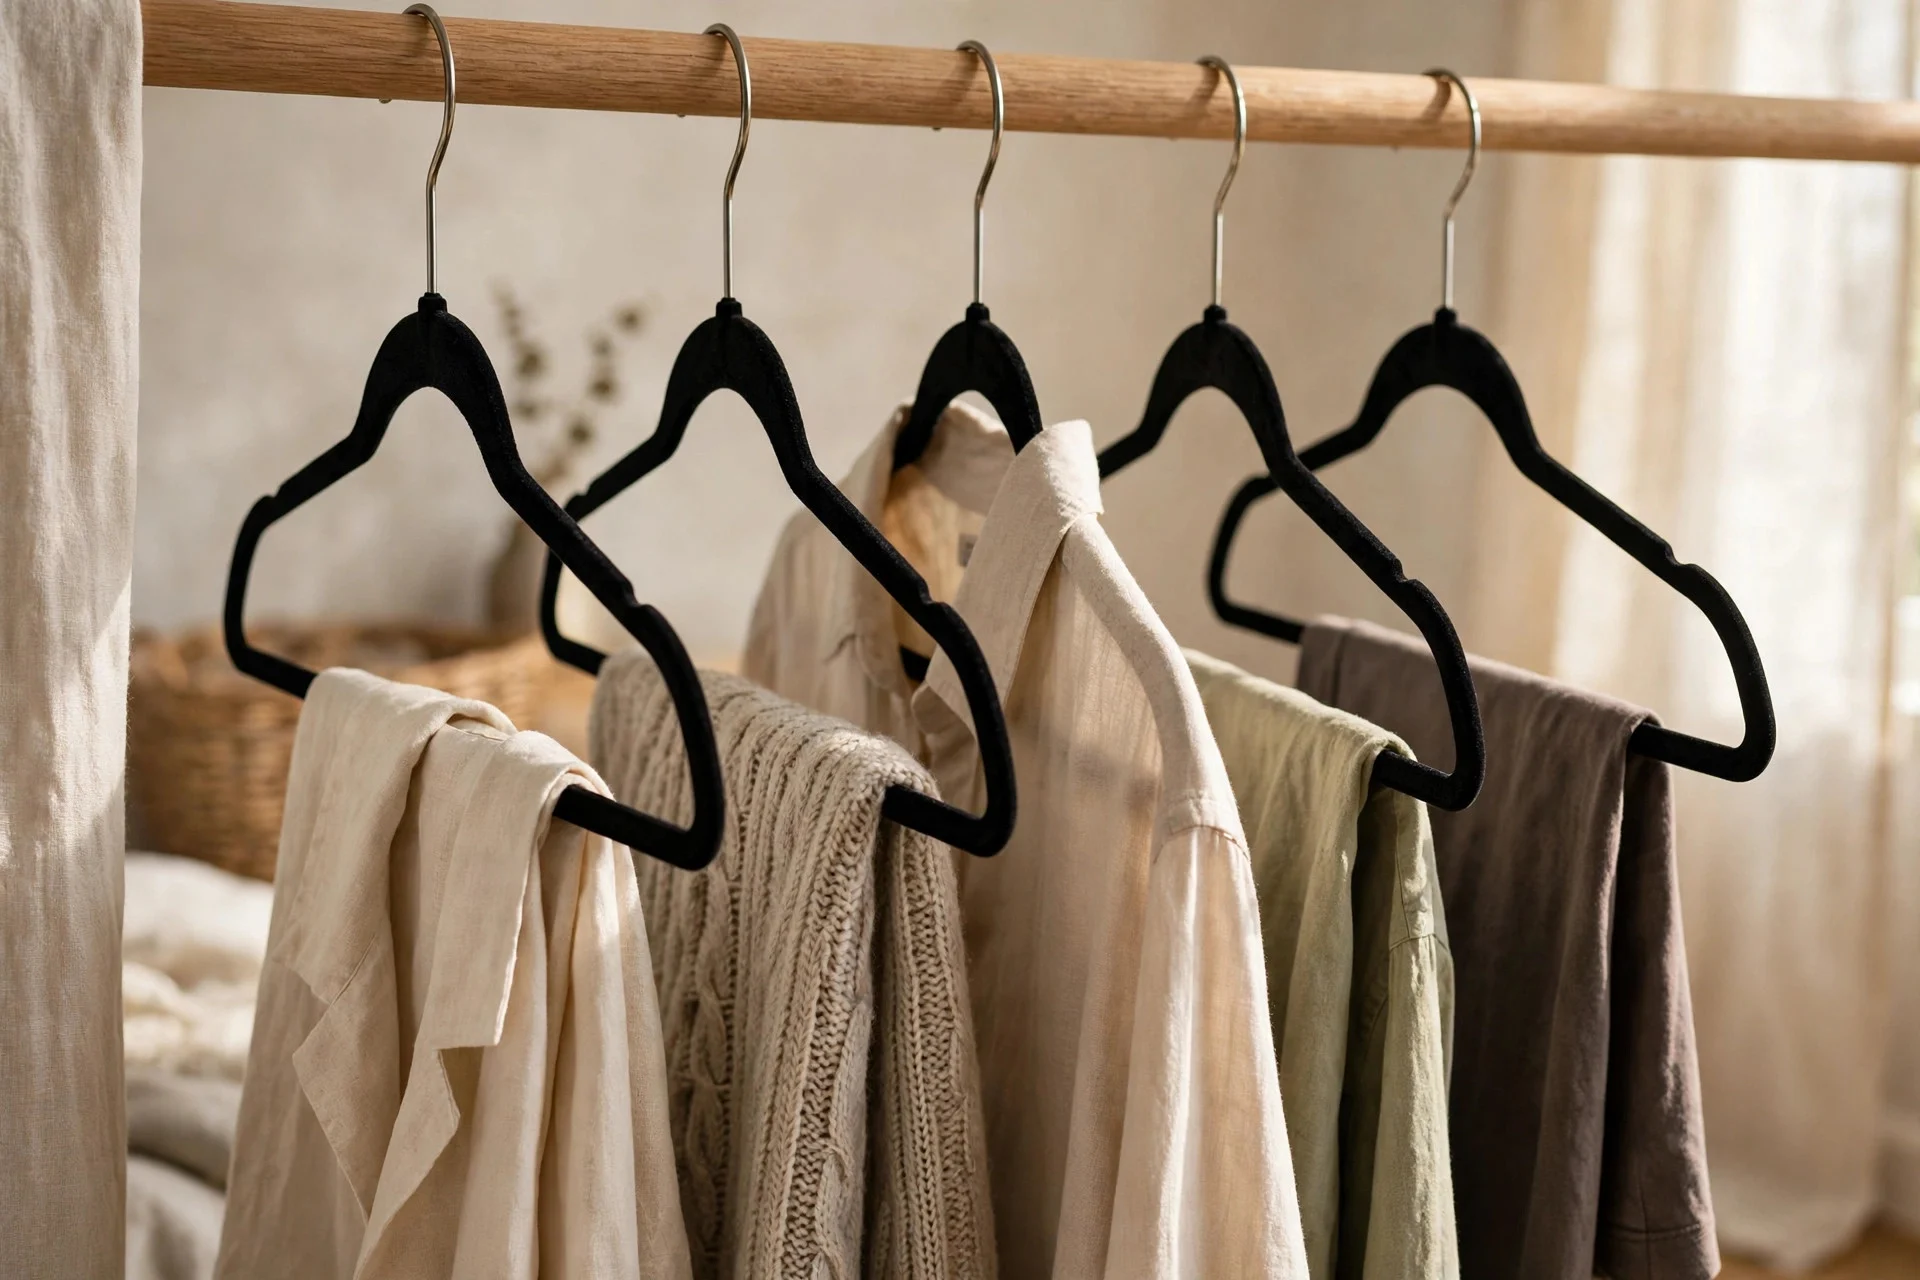
Mismatched hangers are a quiet cause of rail mess: wire ones bend, chunky wooden ones eat space, and plastic ones let silky tops slide off. One type of slim, non-slip hanger gives the rail an even silhouette and stops clothes drifting into each other.
Slim velvet hangers are the usual best buy: they grip fabric, fit more on the rail, and look uniform. A pack of 30–50 costs roughly $15–$30, and swapping everything over takes 30–45 minutes. Hands-on tip: do the swap in one go and recycle or donate the old hangers the same day, or they will creep back. Watch out: velvet can leave a faint mark on very fine knits, so keep a few smooth wooden hangers for delicate jumpers.
4. A Shelf Above the Rail for the Bulky Stuff
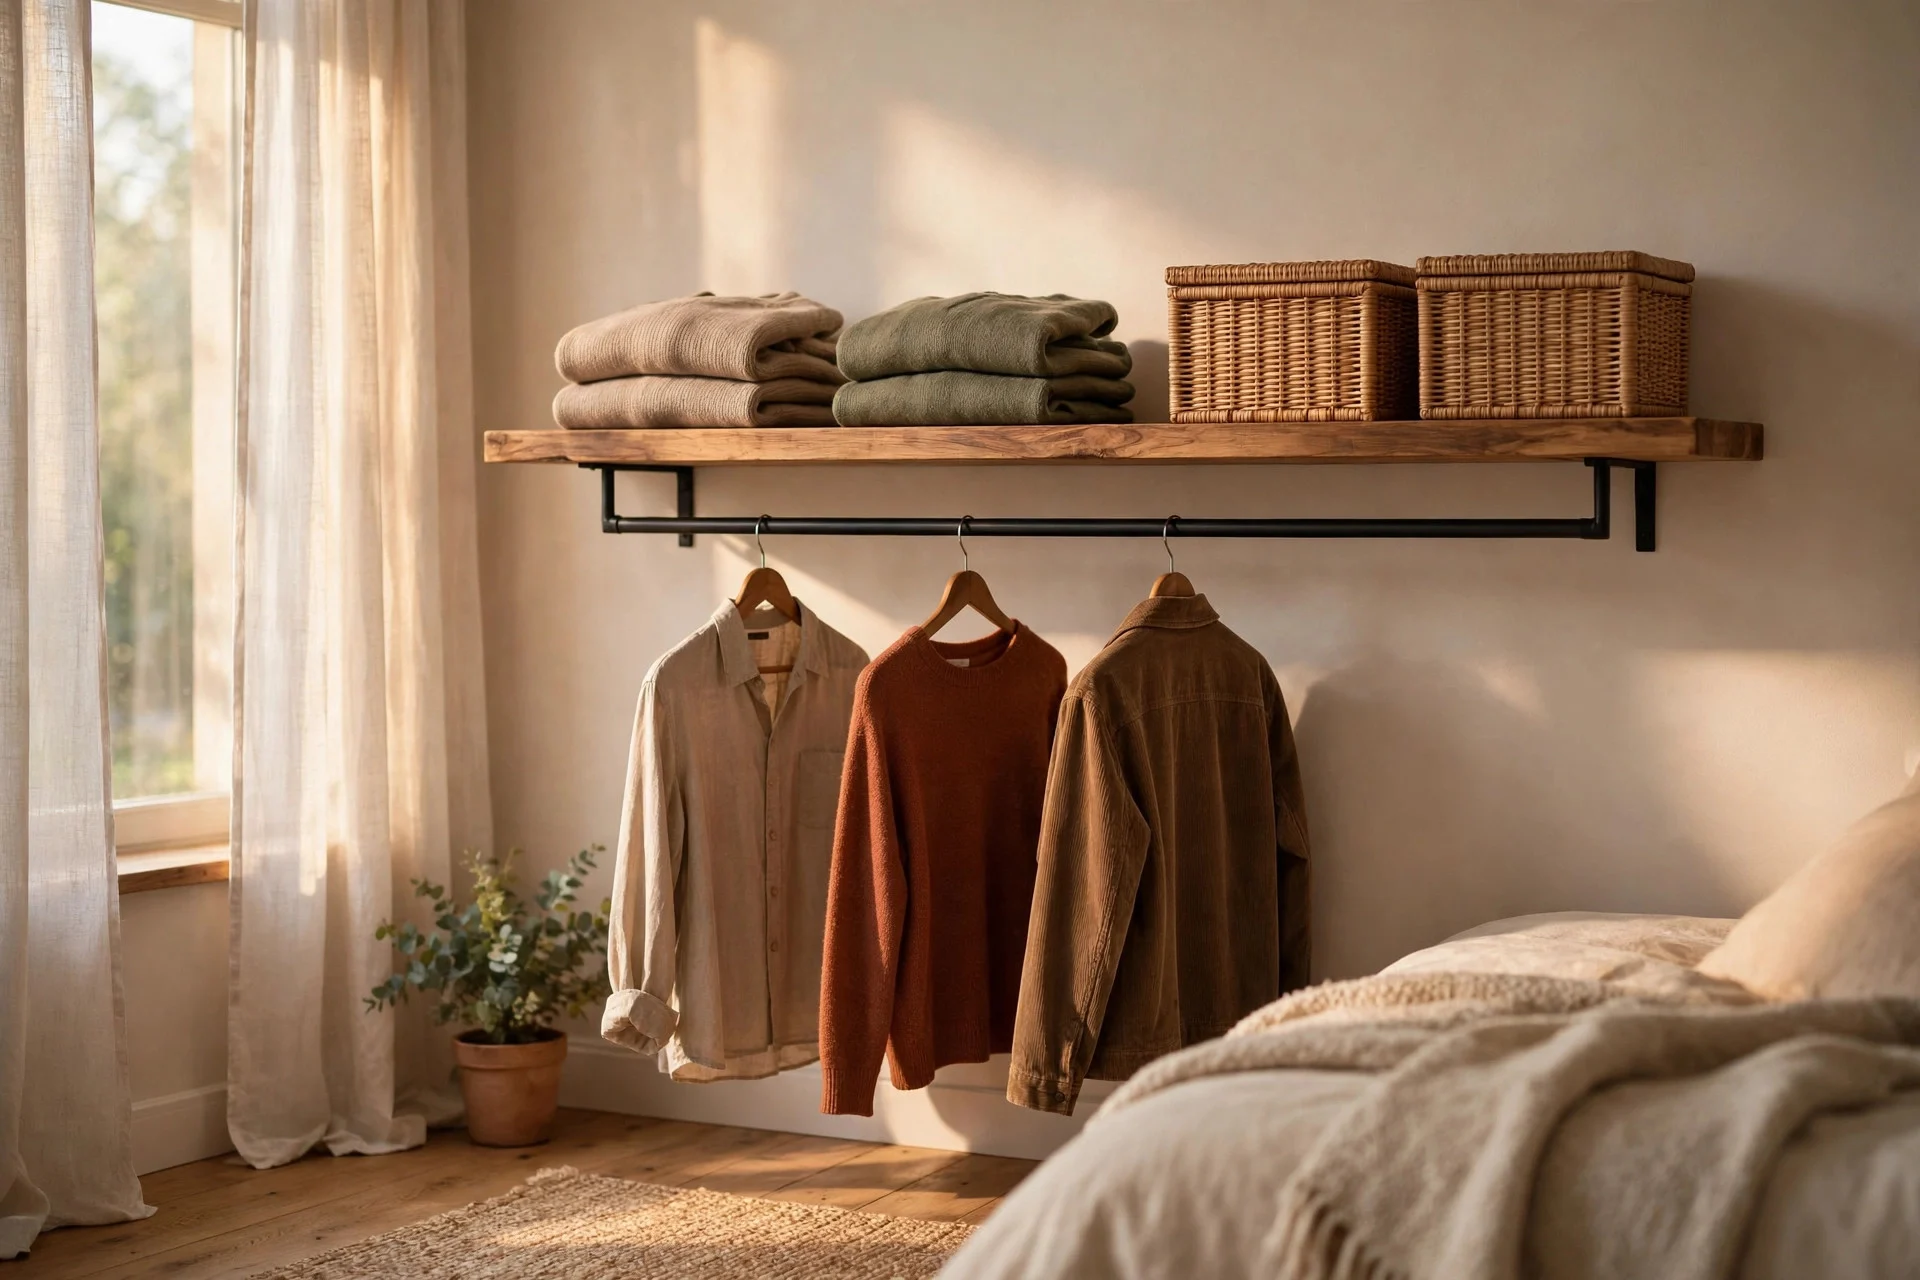
A shelf above the rail gives bulky items — folded jumpers, jeans, and bags — a home that is not the rail itself. Without it, those things end up draped over the bar or piled on the floor, and both make the rail look overloaded.
It works because hanging and folding are two different storage jobs. A wall-mounted shelf and brackets cost $20–$50; a rail unit with a built-in top shelf runs $60–$120. Fitting takes 1–2 hours including measuring and fixing to the wall. Hands-on tip: keep one layer of folded items in small piles of three or four, so you can pull one out without toppling the rest. Watch out: check the height before you drill — long coats and dresses still need to hang freely below it.
5. Baskets Below: Give the Floor a Job
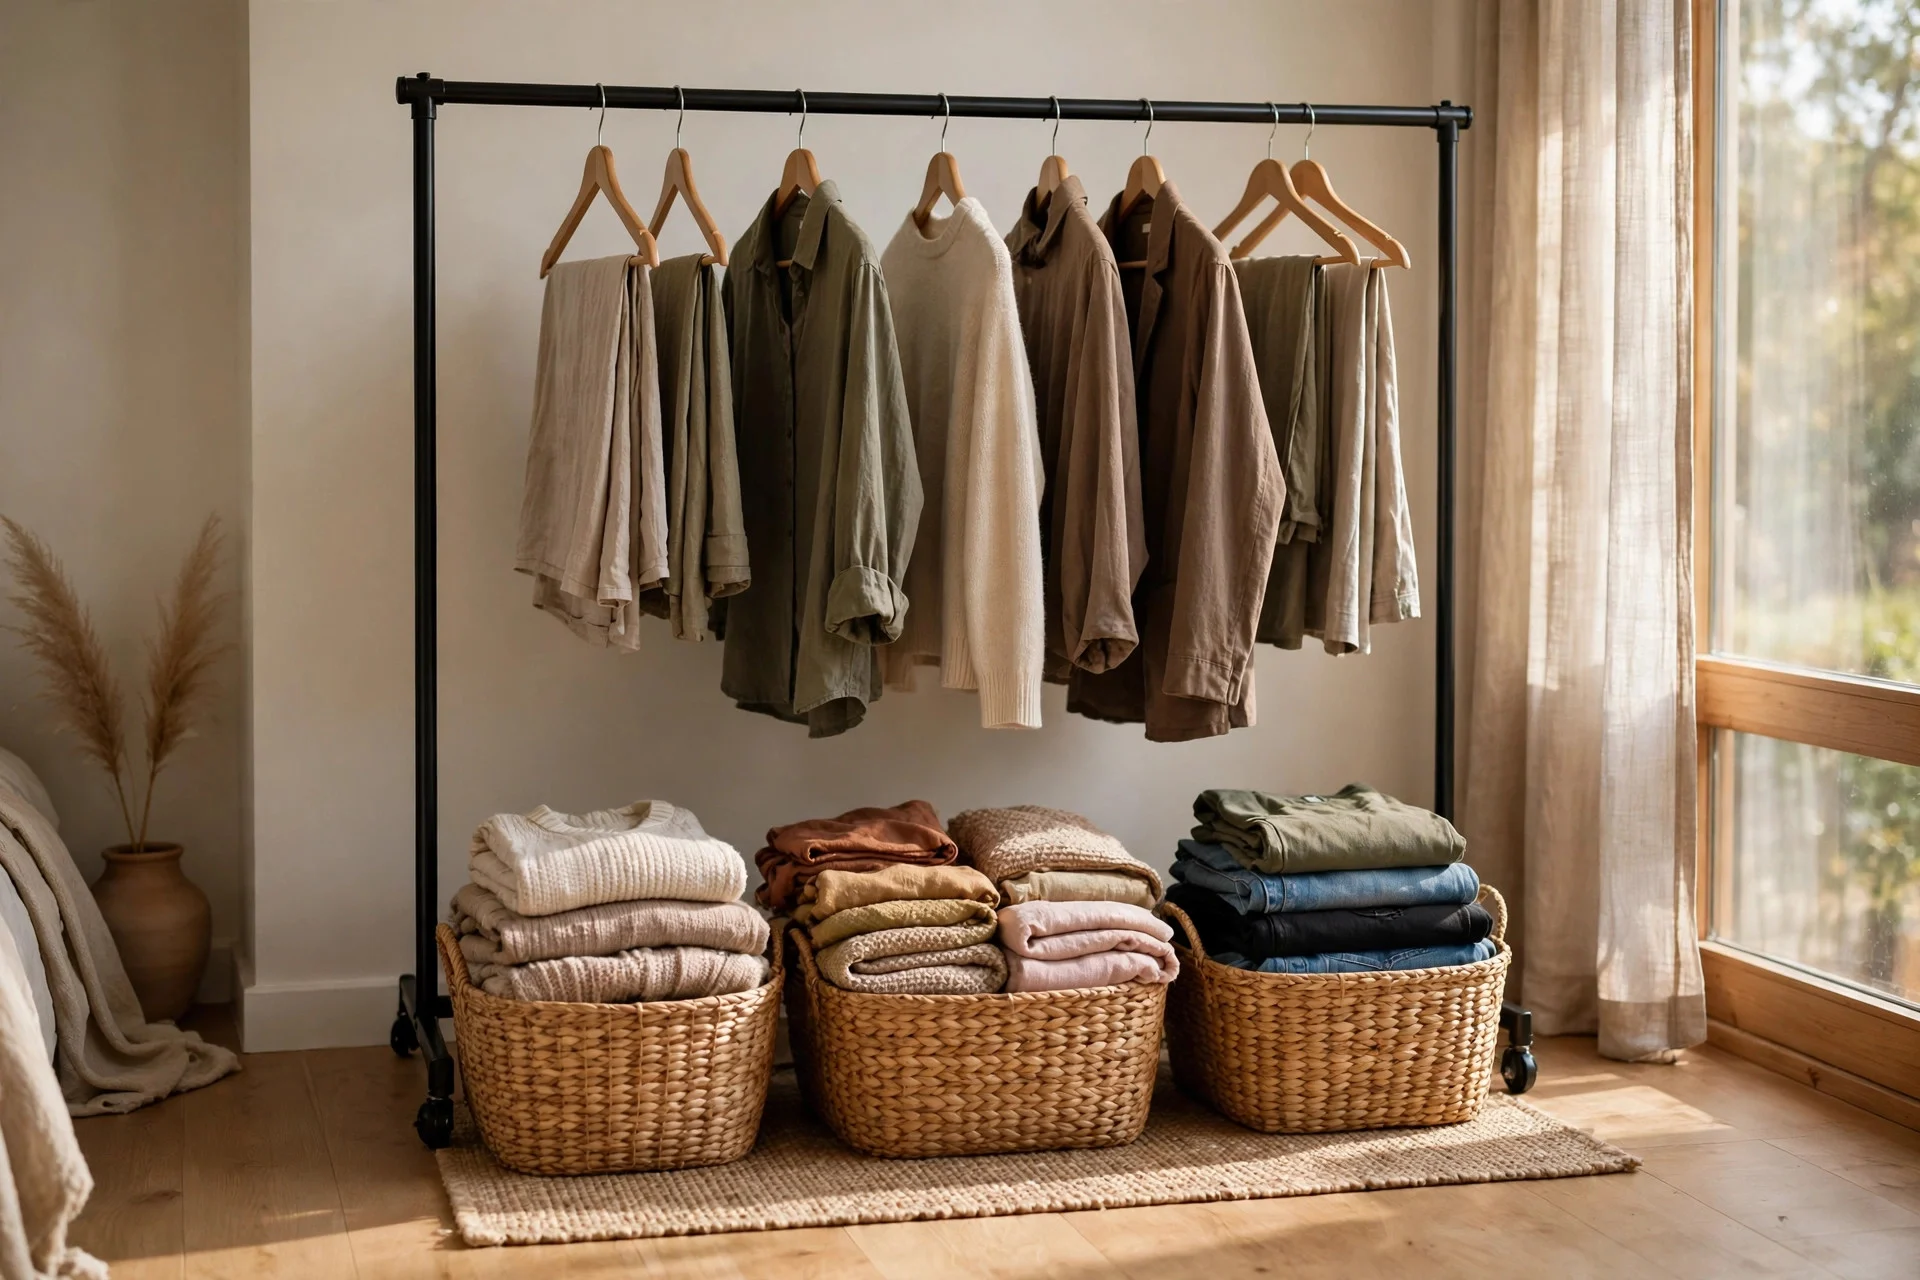
The floor under an open rail is either a dumping ground or a storage zone — and baskets decide which one. Two or three matching baskets can hold underwear, gym kit, scarves, or anything else that does not hang well.
Baskets work because they hide small, soft things that always look messy on display, while keeping them within reach. A set of two or three sturdy baskets costs $20–$45. Hands-on tip: give each basket one category and tag the front for the first month, until the habit sets. Watch out: baskets without a limit become junk boxes — if you cannot find what is inside, empty it and re-sort.
6. The 20-Minute Weekly Reset
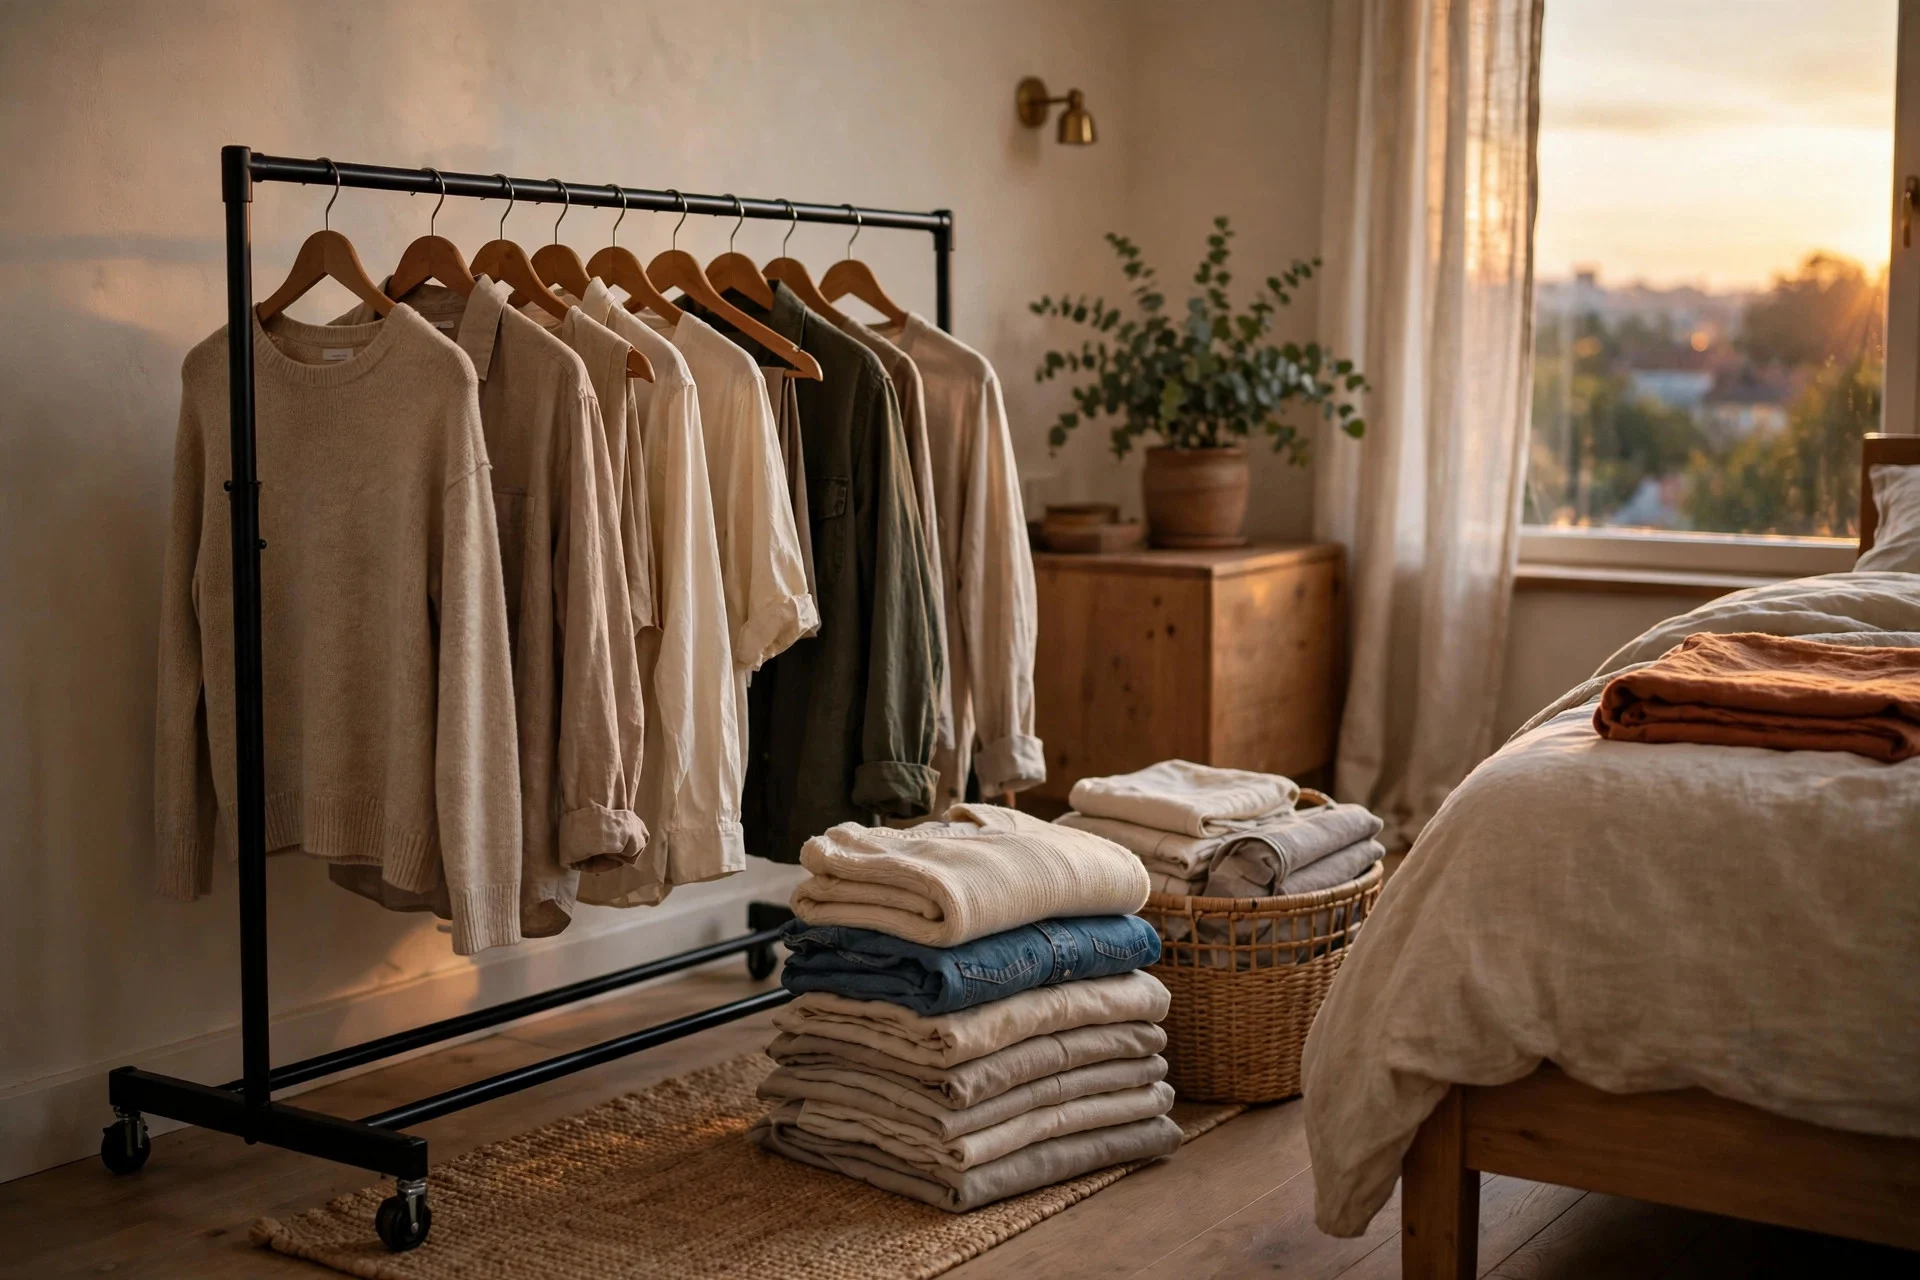
Open rails do not stay tidy on their own; they stay tidy because someone resets them regularly. A 20-minute weekly reset — rehanging strays, refolding the shelf, emptying the “wear again” hook — stops small drift from turning into full mess, like making the bed.
It works because rail mess is almost always a backlog problem, not a storage problem. Cost: zero. Time: 20 minutes, once a week, ideally the evening before your least busy morning. Hands-on tip: pair the reset with something you already do, like a Sunday laundry load, so it becomes routine rather than a separate chore. Watch out: if it takes longer than 20 minutes, you probably have too many clothes on the rail — see idea 12.
Mistakes to Avoid
Overloading the rail. If hangers are squeezed so tight you cannot slide one along the bar, the rail is over capacity. Leave breathing room and move out-of-season clothes elsewhere.
Hanging everything. T-shirts, knitwear, and jeans hold their shape better folded; hanging them stretches them and eats rail space.
No home for the in-between clothes. Worn-once clothes need a planned spot, or they end up on the chair or bed — and that pile is what makes the room look untidy.
Ignoring the bottom third. Shoes, bags, and baskets scattered under the rail ruin the look of even a perfectly hung top section. Sort the floor zone with the same care.
Buying the rail before the system. A second rail will not fix one with no categories, no colour order, and no reset habit. Fix the system first, then add storage only if you still need it.
7. A Curtain You Can Pull Across on Busy Days
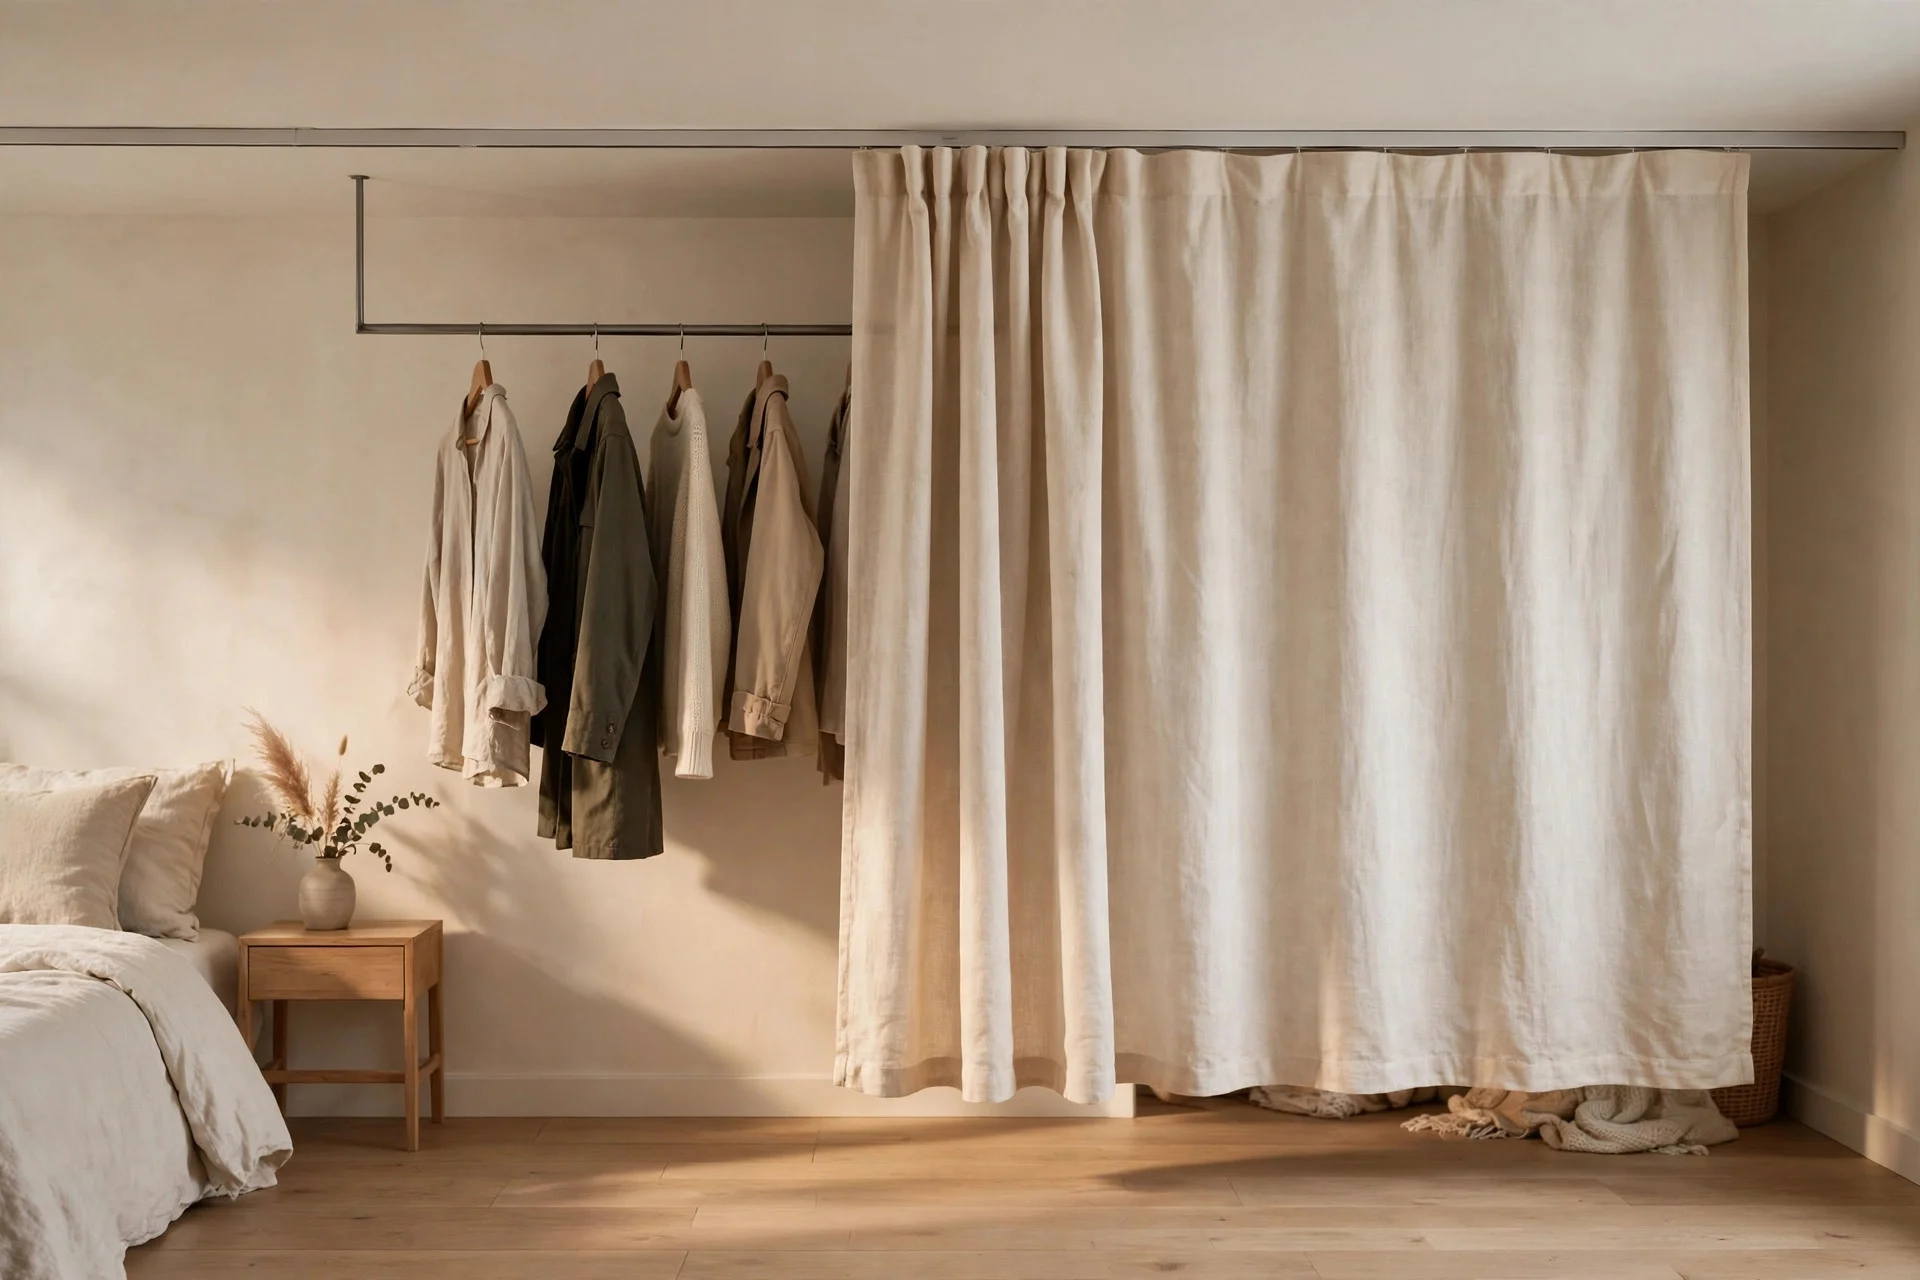
A curtain on the rail is a pressure valve, not a cheat. On hectic days — laundry day, guests coming over, a rushed morning — you pull it across and the rail disappears behind a clean line of fabric. On calm days you leave it open.
It works because it gives you a tidiness option that takes two seconds, so you will actually use it. A curtain panel and a ceiling or wall track costs $30–$80, and hanging it takes under an hour. Linen and cotton hang softly and suit most bedrooms. Hands-on tip: pick a plain colour pulled from your bedding or walls, so it reads as part of the room rather than a cover-up. Watch out: a curtain is not a licence to pile things behind it — keep the same system in place.
8. Double Rails for Short Clothes
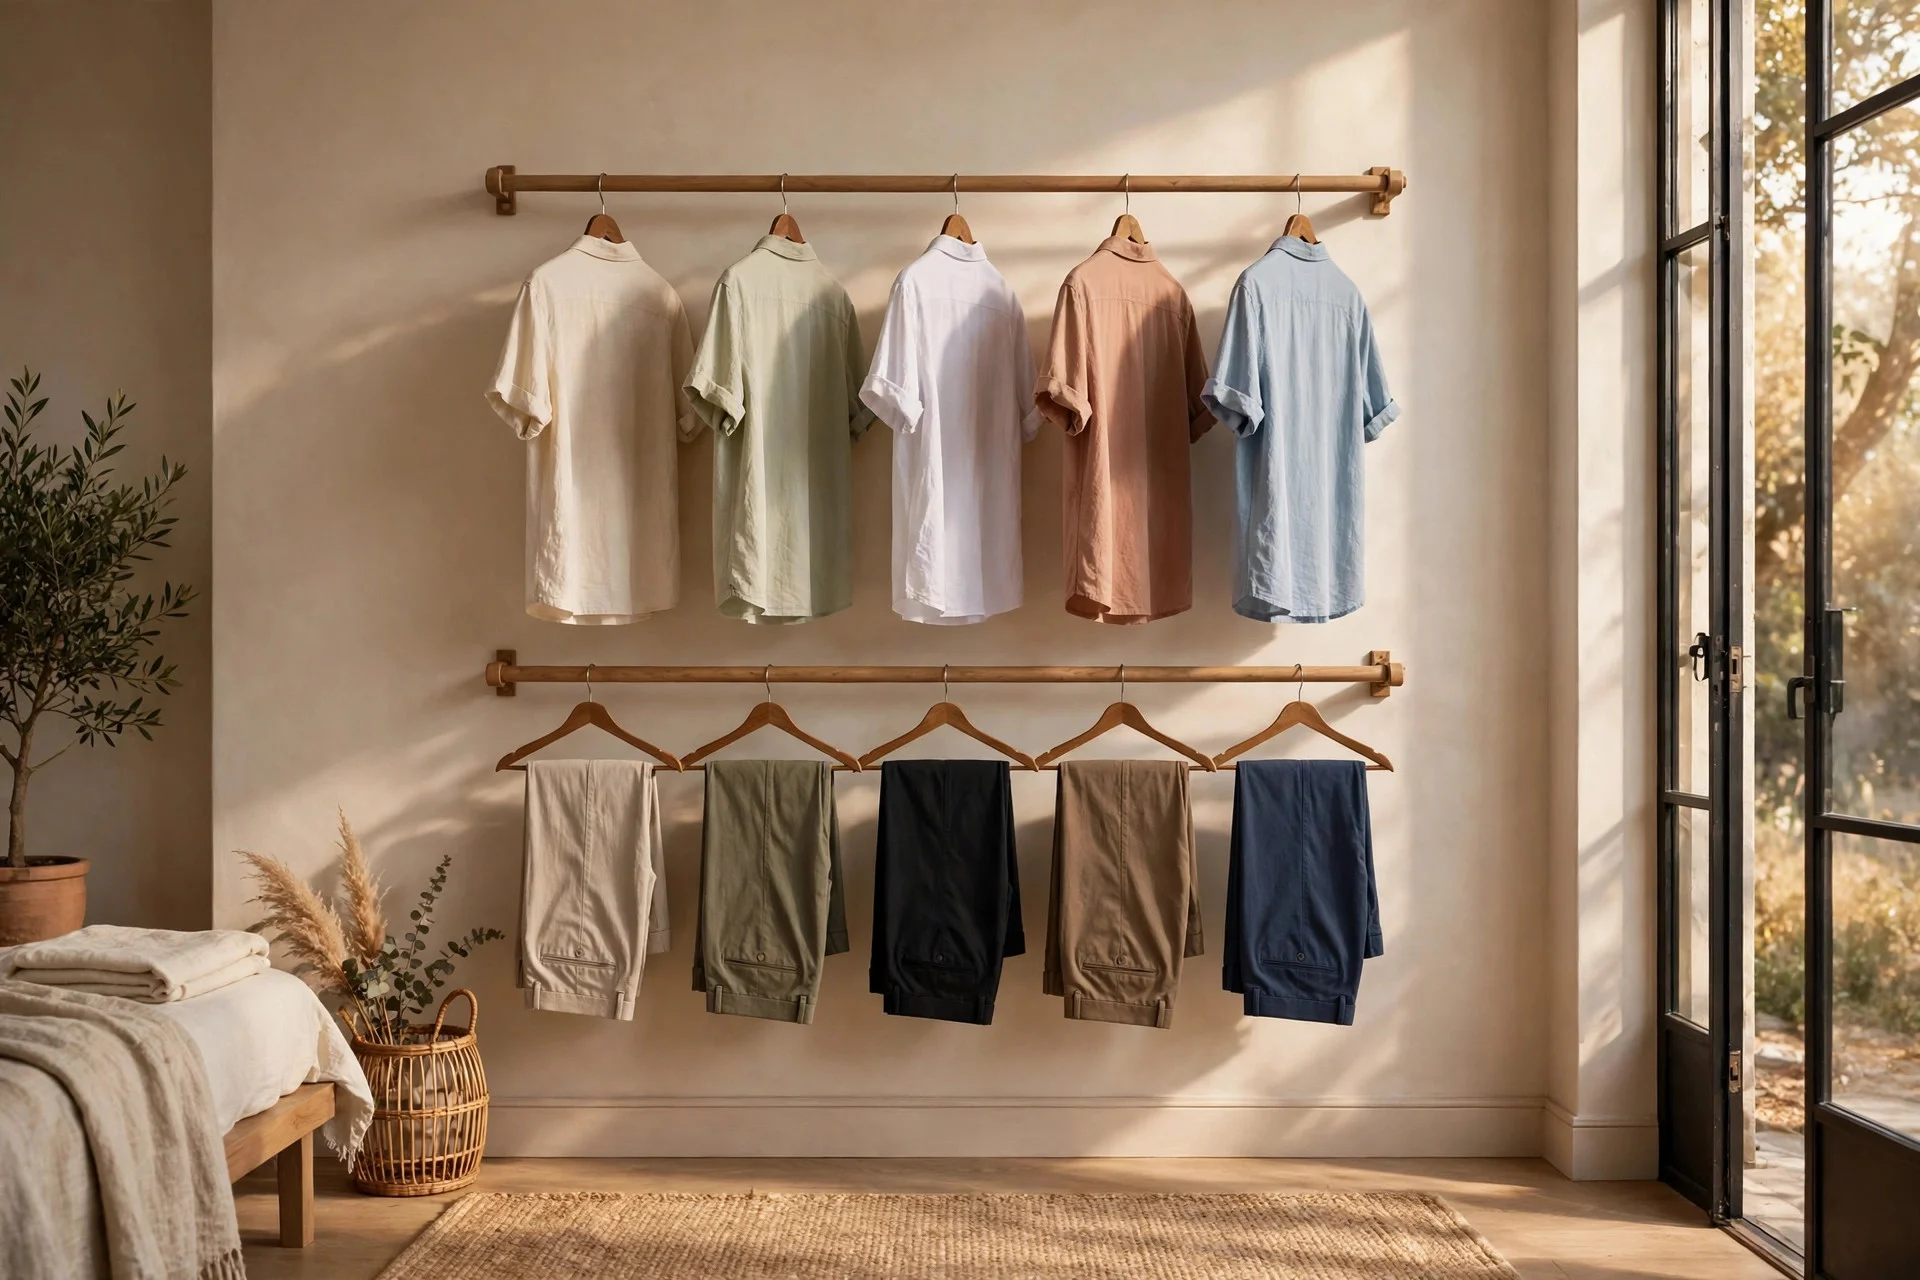
Double rails stack two hanging bars in the same width of wall: shirts and tops above, trousers and skirts below. This nearly doubles hanging space without taking extra floor area, which is exactly what small bedrooms need.
It works because most everyday clothes are short, and a single rail wastes all the space below them. A freestanding double rail costs $40–$90; a wall-mounted setup runs $60–$130. Assembly takes 30–60 minutes. Hands-on tip: measure your longest hanging item before buying — the lower rail only works if your longest top still clears it, so keep long coats and dresses on a separate single rail. Watch out: leave a gap at one end of each rail so hangers slide easily.
9. The “Wear Again” Hook, Not the Chair
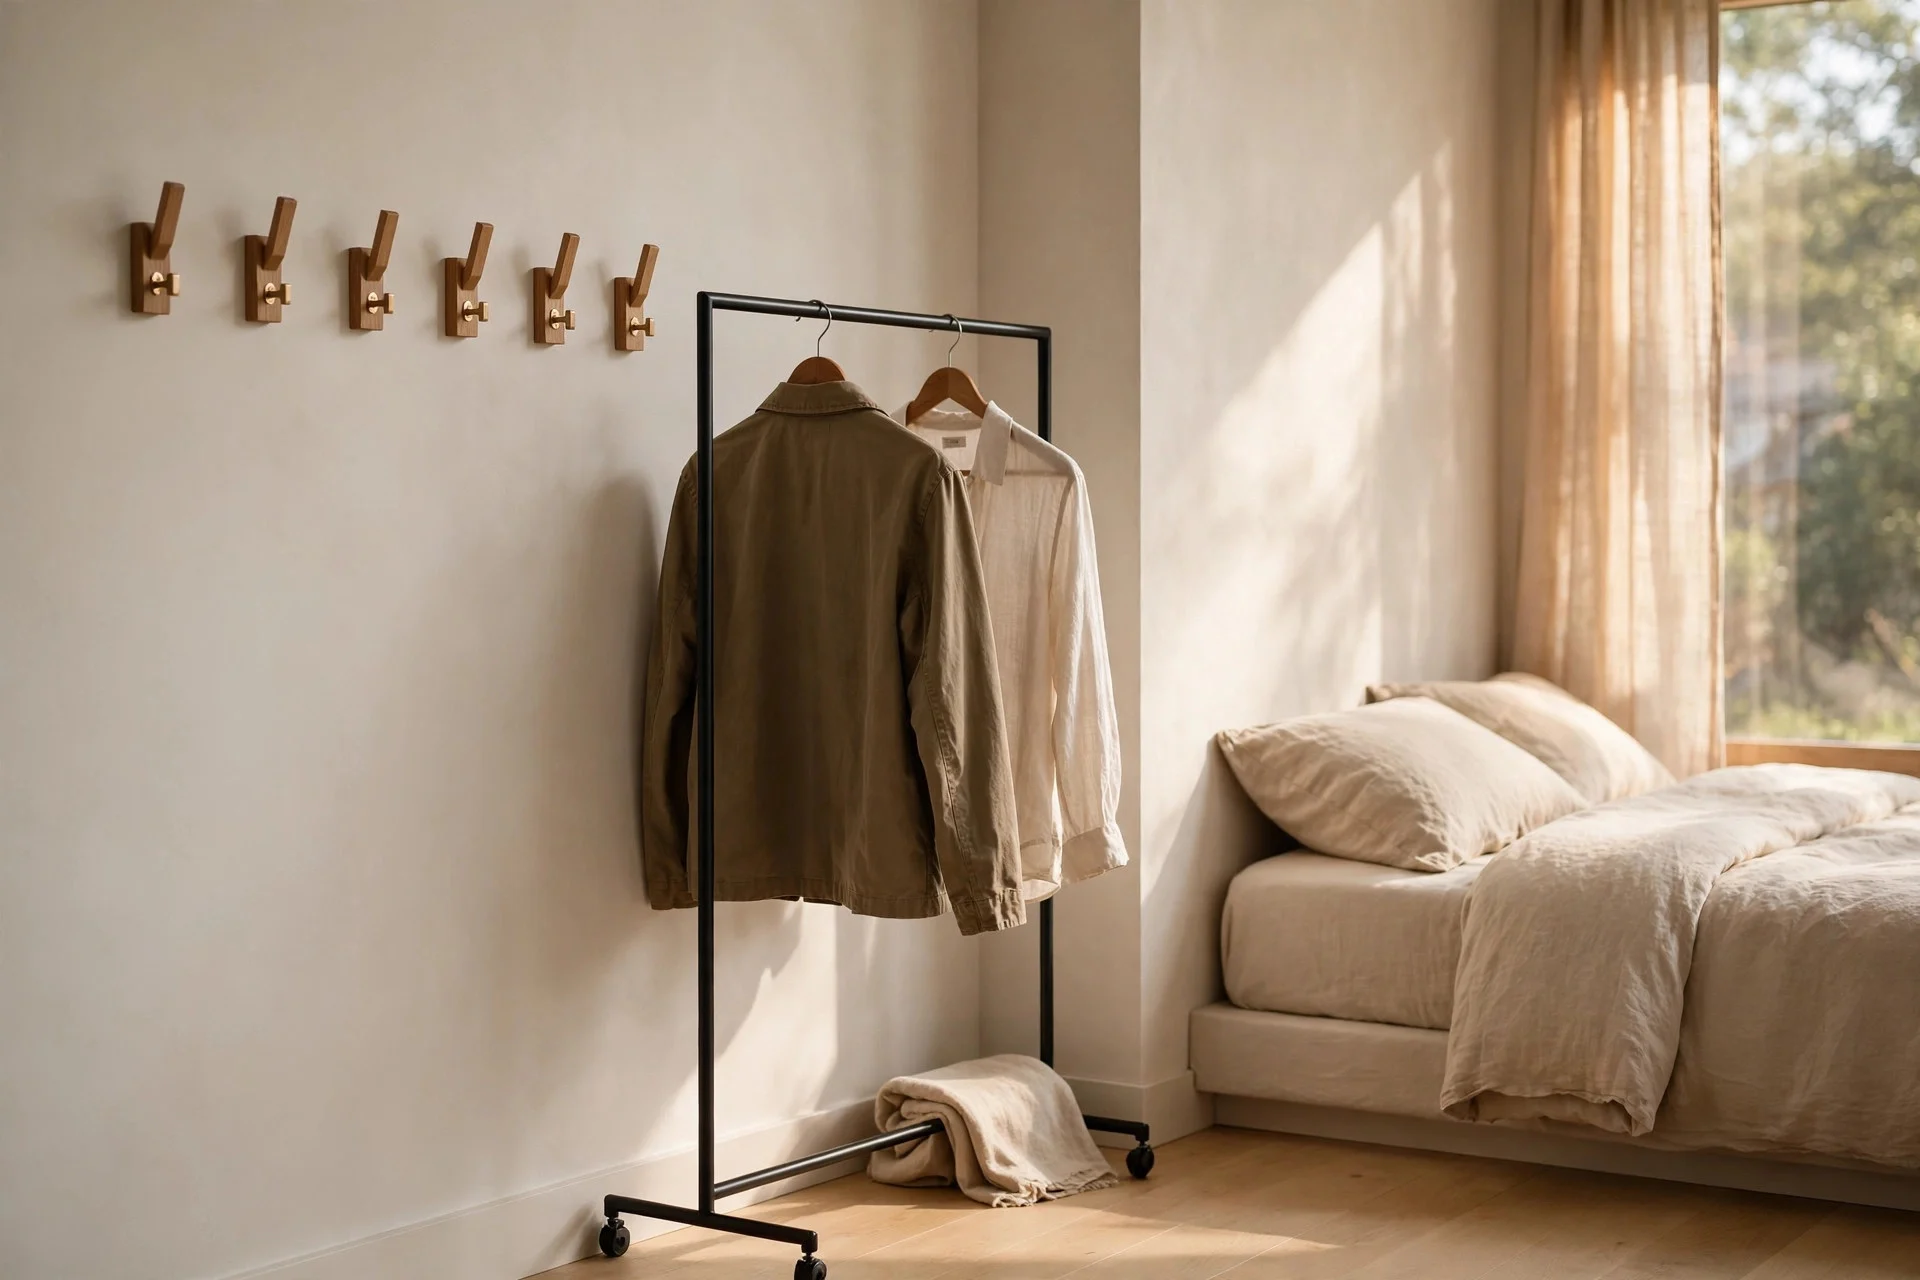
Almost every bedroom has a chair that collects worn-once clothes. A hook row replaces it with a proper home for the same items: two or three hooks near the rail for jeans, a jacket, or a shirt you will wear again before washing. The clothes stay accessible, but hung, visible, and limited.
It works because it accepts a real habit instead of fighting it: people re-wear clothes, and the chair exists for a reason. Hooks give that habit a boundary — when they are full, something has to be washed or put away. Three to five sturdy hooks cost $10–$30, fitting takes 20–30 minutes. Hands-on tip: cap it at three hooks, one item per hook; the moment a hook holds three things, it is a pile again. Watch out: keep hooks away from sunlight and radiators, or a shirt left there for days will fade.
10. Shoe Storage That Keeps the Bottom Tidy
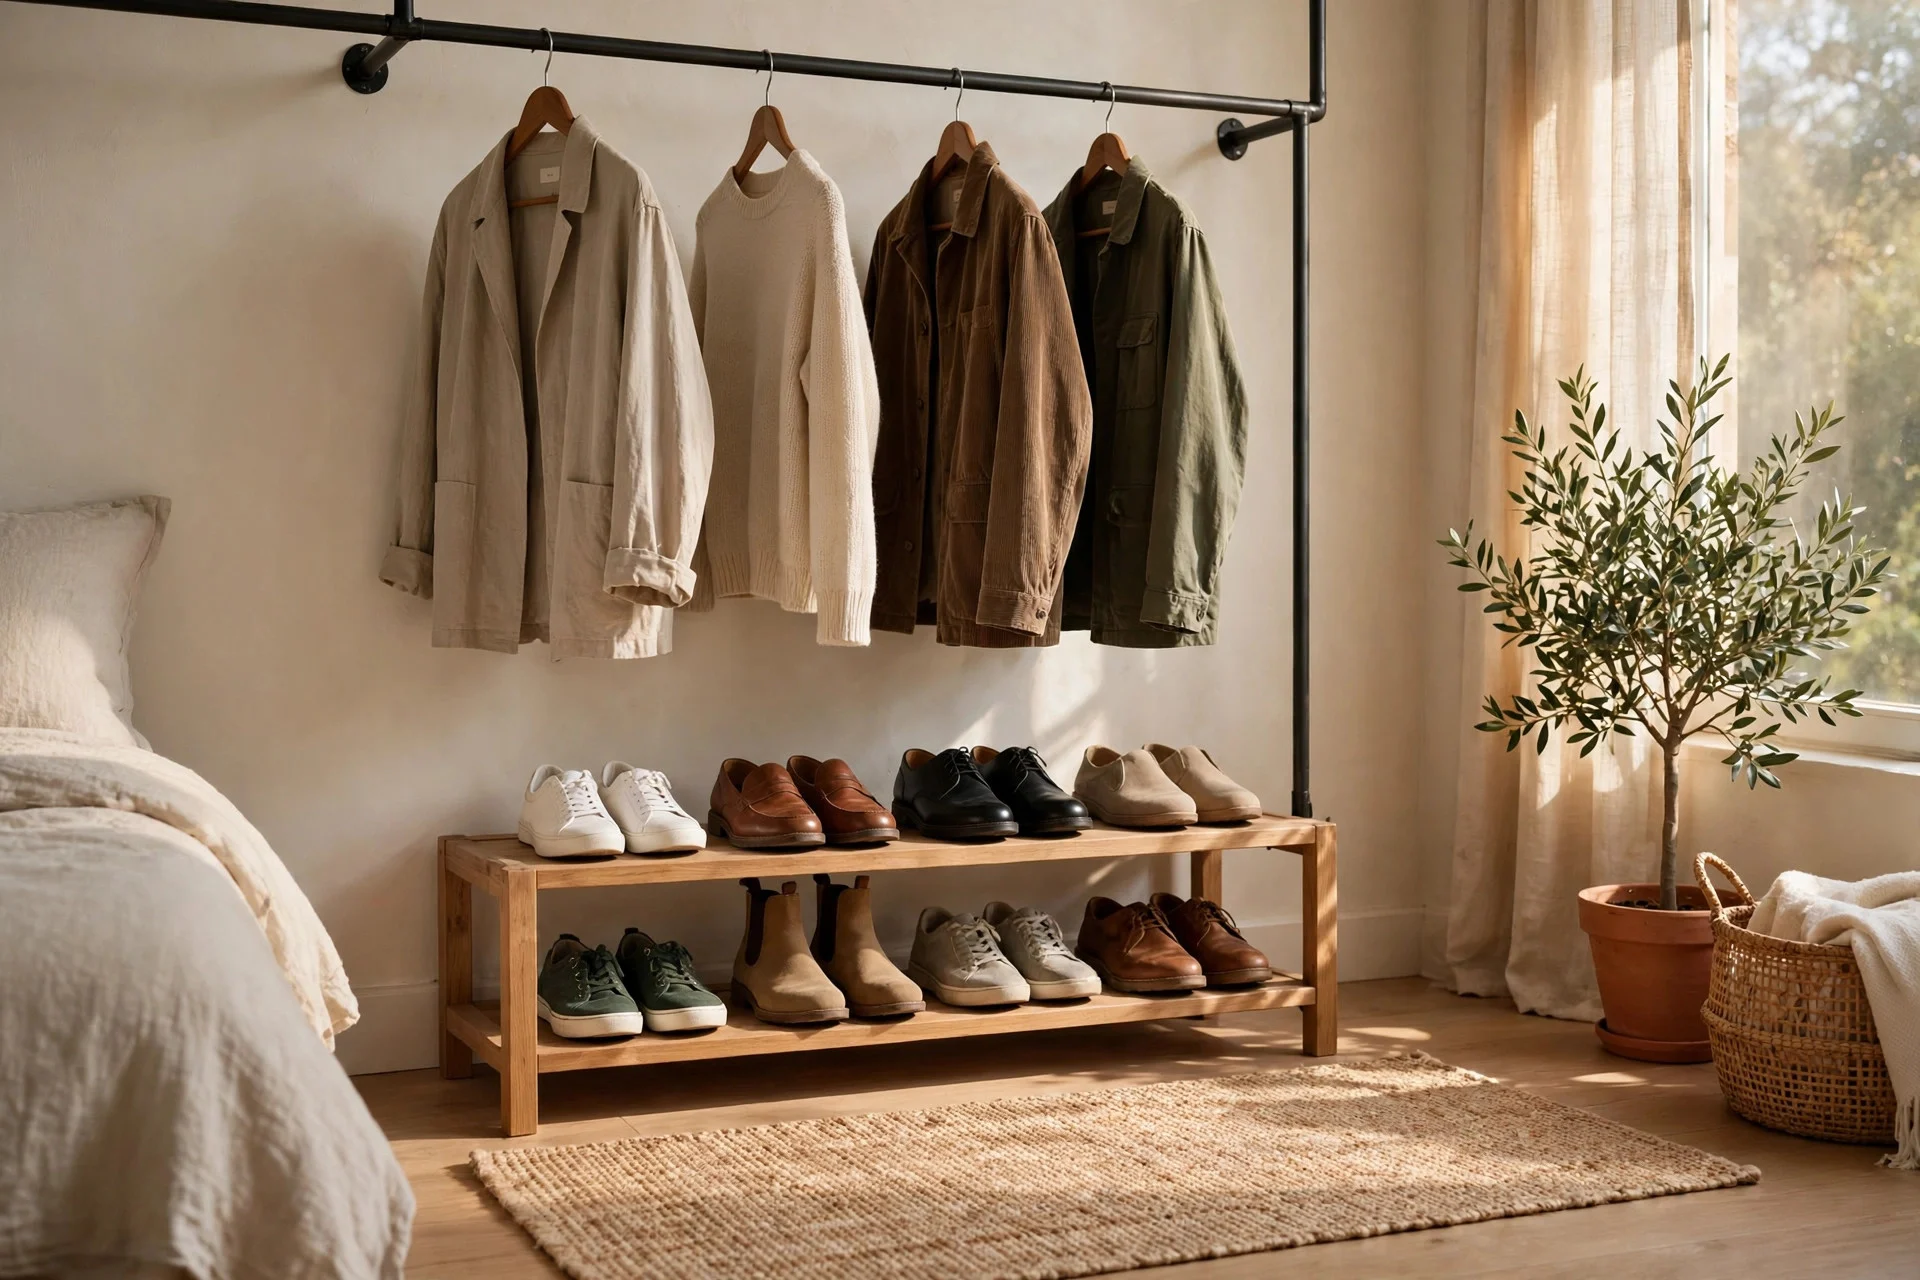
Shoes are usually the messiest part of an open rail setup, because they land wherever there is floor space. A low shoe rack or a row of shoe boxes under the rail lines them up and keeps pairs together.
It works because shoes are heavy and oddly shaped — exactly the things that look worst loose on the floor. A two-tier shoe rack costs $20–$50; clear shoe boxes run $25–$45. Setup takes 15–30 minutes. Hands-on tip: limit the rack to the shoes you wear in a normal week, and store the rest elsewhere. Six pairs lined up look tidy; fourteen spilling off the rack do not. Watch out: with baskets from idea 5, measure the total width first — rack plus baskets must fit under the rail without sticking out past the clothes.
11. One Small Rail by the Door for Tomorrow’s Outfit
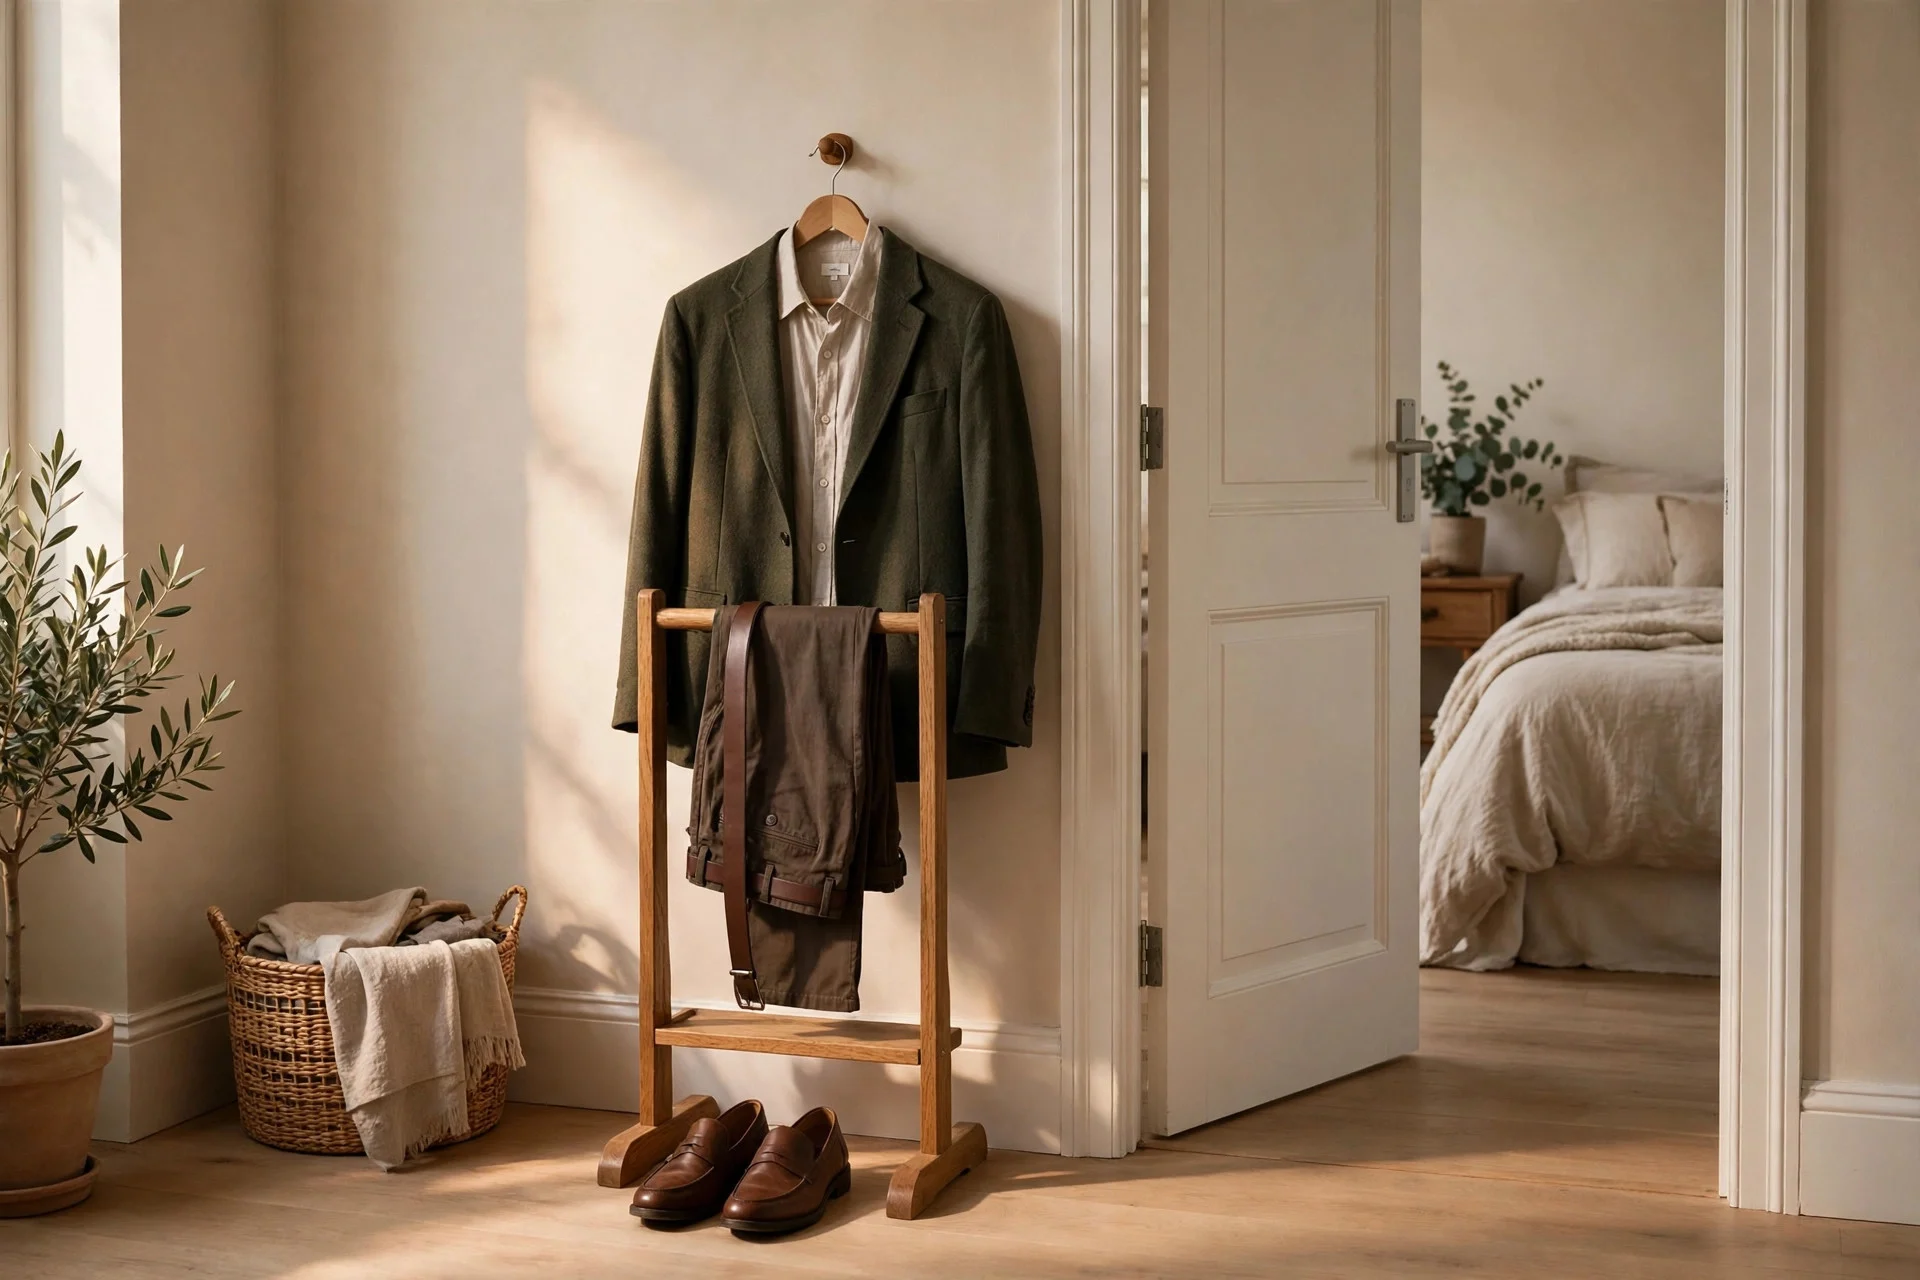
A small valet rail or standing hook by the bedroom door holds tomorrow’s outfit, ready to grab. It sounds like extra furniture, but it protects the main rail: without it, tomorrow’s outfit gets draped over the rail’s end, the chair, or the bed, and disturbs the order you built.
It works because it separates planning from storage: your main rail stays in its system, and the one outfit you need next waits in its own spot. A valet stand costs $25–$60; a wall-mounted folding hook, under $15. Hands-on tip: lay out the outfit the night before, including shoes, so the morning is grab-and-go. This pairs well with small bedroom storage ideas if floor space is tight. Watch out: clear the valet rail every morning after dressing, or the system breaks down.
12. The One-In, One-Out Rule for Open Storage
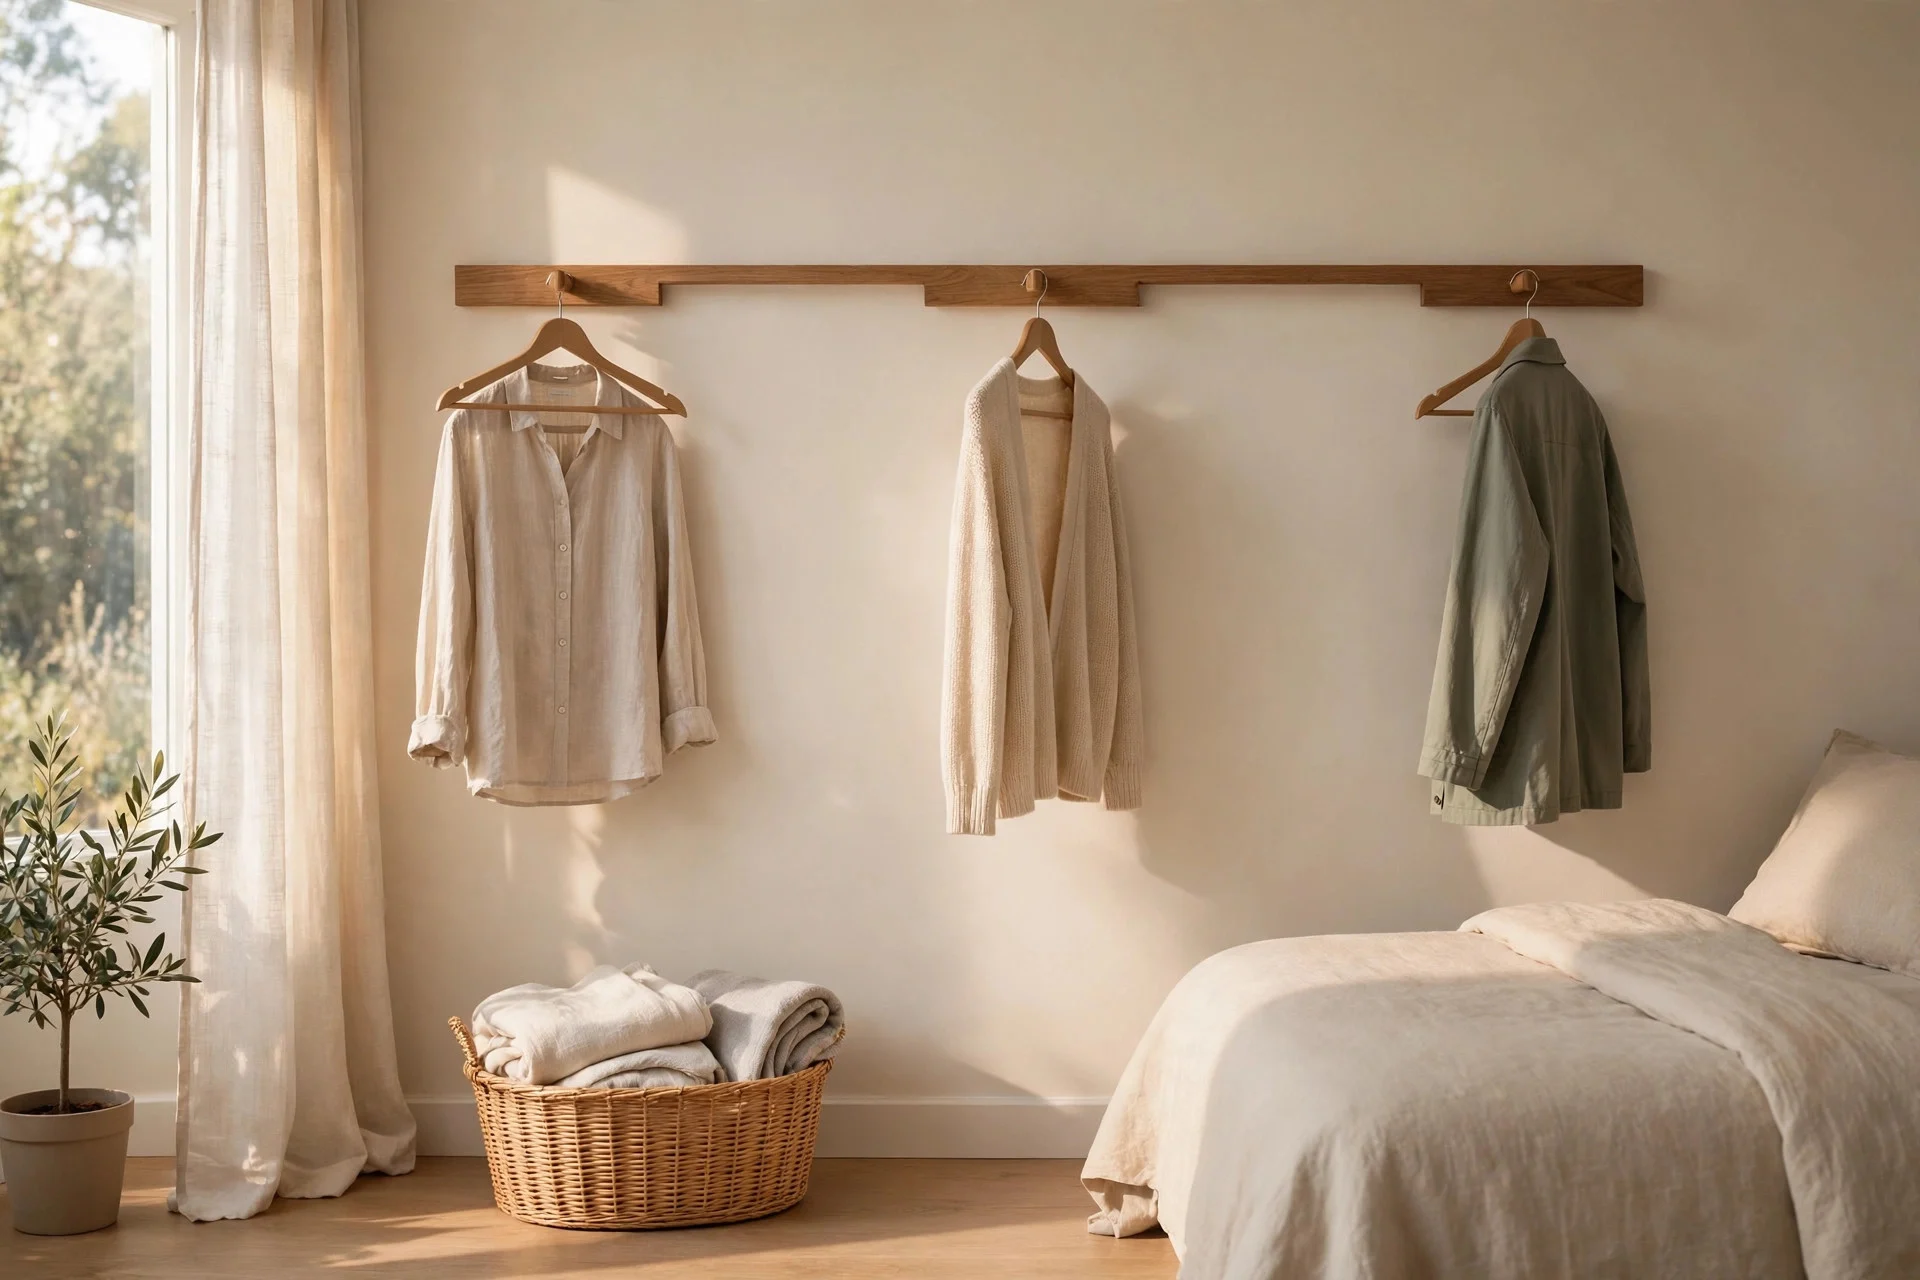
One-in, one-out is the rule that keeps every other fix working: every time a new item joins the rail, an old one leaves it. Open storage shows everything, so it has no spare capacity to hide extras — this rule stops a tidy rail slowly filling up again.
It works because it turns a vague intention (“I should declutter sometime”) into a concrete moment: the new shirt comes home, an old one goes to donation, resale, or the rag bag the same day. Cost: nothing, and resale may even earn a little back. Time: five minutes per new item. Hands-on tip: keep a small donation bag in the bedroom and drop the outgoing item straight in — if the bag lives elsewhere, the swap keeps getting postponed. This habit sits naturally alongside bedroom decluttering checklist routines. Watch out: do not apply the rule only to clothes you dislike. If a new item replaces nothing because “everything still fits”, check hanger spacing honestly once a month.
Frequently Asked Questions
Do open wardrobe rails make a bedroom look messy?
Not on their own. A rail looks messy when it is overloaded, mixed up, and missing homes for shoes and folded things. With one job per rail, colour order, and baskets below, it reads as a deliberate display rather than clutter.
How many clothes should go on one open rail?
If you cannot slide a hanger along the bar without forcing it, the rail is full. For a standard 120 cm rail that usually means around 30–40 slim-hangered items, fewer for coats. Leave a small gap at one end so hangers move freely.
What is the best way to hide an open rail quickly?
A plain curtain on a ceiling or wall track is the fastest option — two seconds to pull across. It works best as a backup for busy days, not as a replacement for the system behind it.
Are open rails a bad idea in a small bedroom?
They can actually help, because they take up less visual bulk than a closed wardrobe and keep everything visible. The trick is a tight system: double rails for short clothes, a shoe rack below, and a strict limit on what lives on the rail.
How do I stop clothes from sliding off an open rail?
Switch to slim non-slip hangers, which grip fabric instead of letting it slide. Also check the rail is level — a tilted rail sends hangers drifting to one end. Heavy coats do better on sturdy wooden hangers at the rail’s end, where they cannot push lighter items off.
A Quick Checklist Before You Start
Start with one rail and one fix, not a full overhaul in one afternoon. Split the rail by job, hang light to dark, and swap to matching hangers — those three changes alone fix most of the visual mess. Then add the shelf above and baskets below, set your weekly 20-minute reset, and agree the one-in, one-out rule before the next shopping trip. If you want more ideas for the room around the rail, bedroom organisation ideas is a good next read. Open storage rewards small, steady habits more than big spending: once it is in place, upkeep takes minutes a week.