How to Hide Small Appliances and Still Keep the Counter Clear
Small appliances eat counter space fast. A toaster, a coffee maker, a blender, a stand mixer — before you know it, there is barely room left to chop an onion. The fix is not getting rid of everything you own. It is giving each appliance a home behind a door, inside a drawer, or on a shelf that slides away when you are done.
An appliance garage is the classic answer: a cabinet with a door that hides the clutter but keeps everything plugged in and ready. These 12 ideas run from a $25 pull-out shelf to a full cabinet build — pick the ones that fit your kitchen and the appliances you actually use.
1. Audit Your Appliances and Measure the Counter First
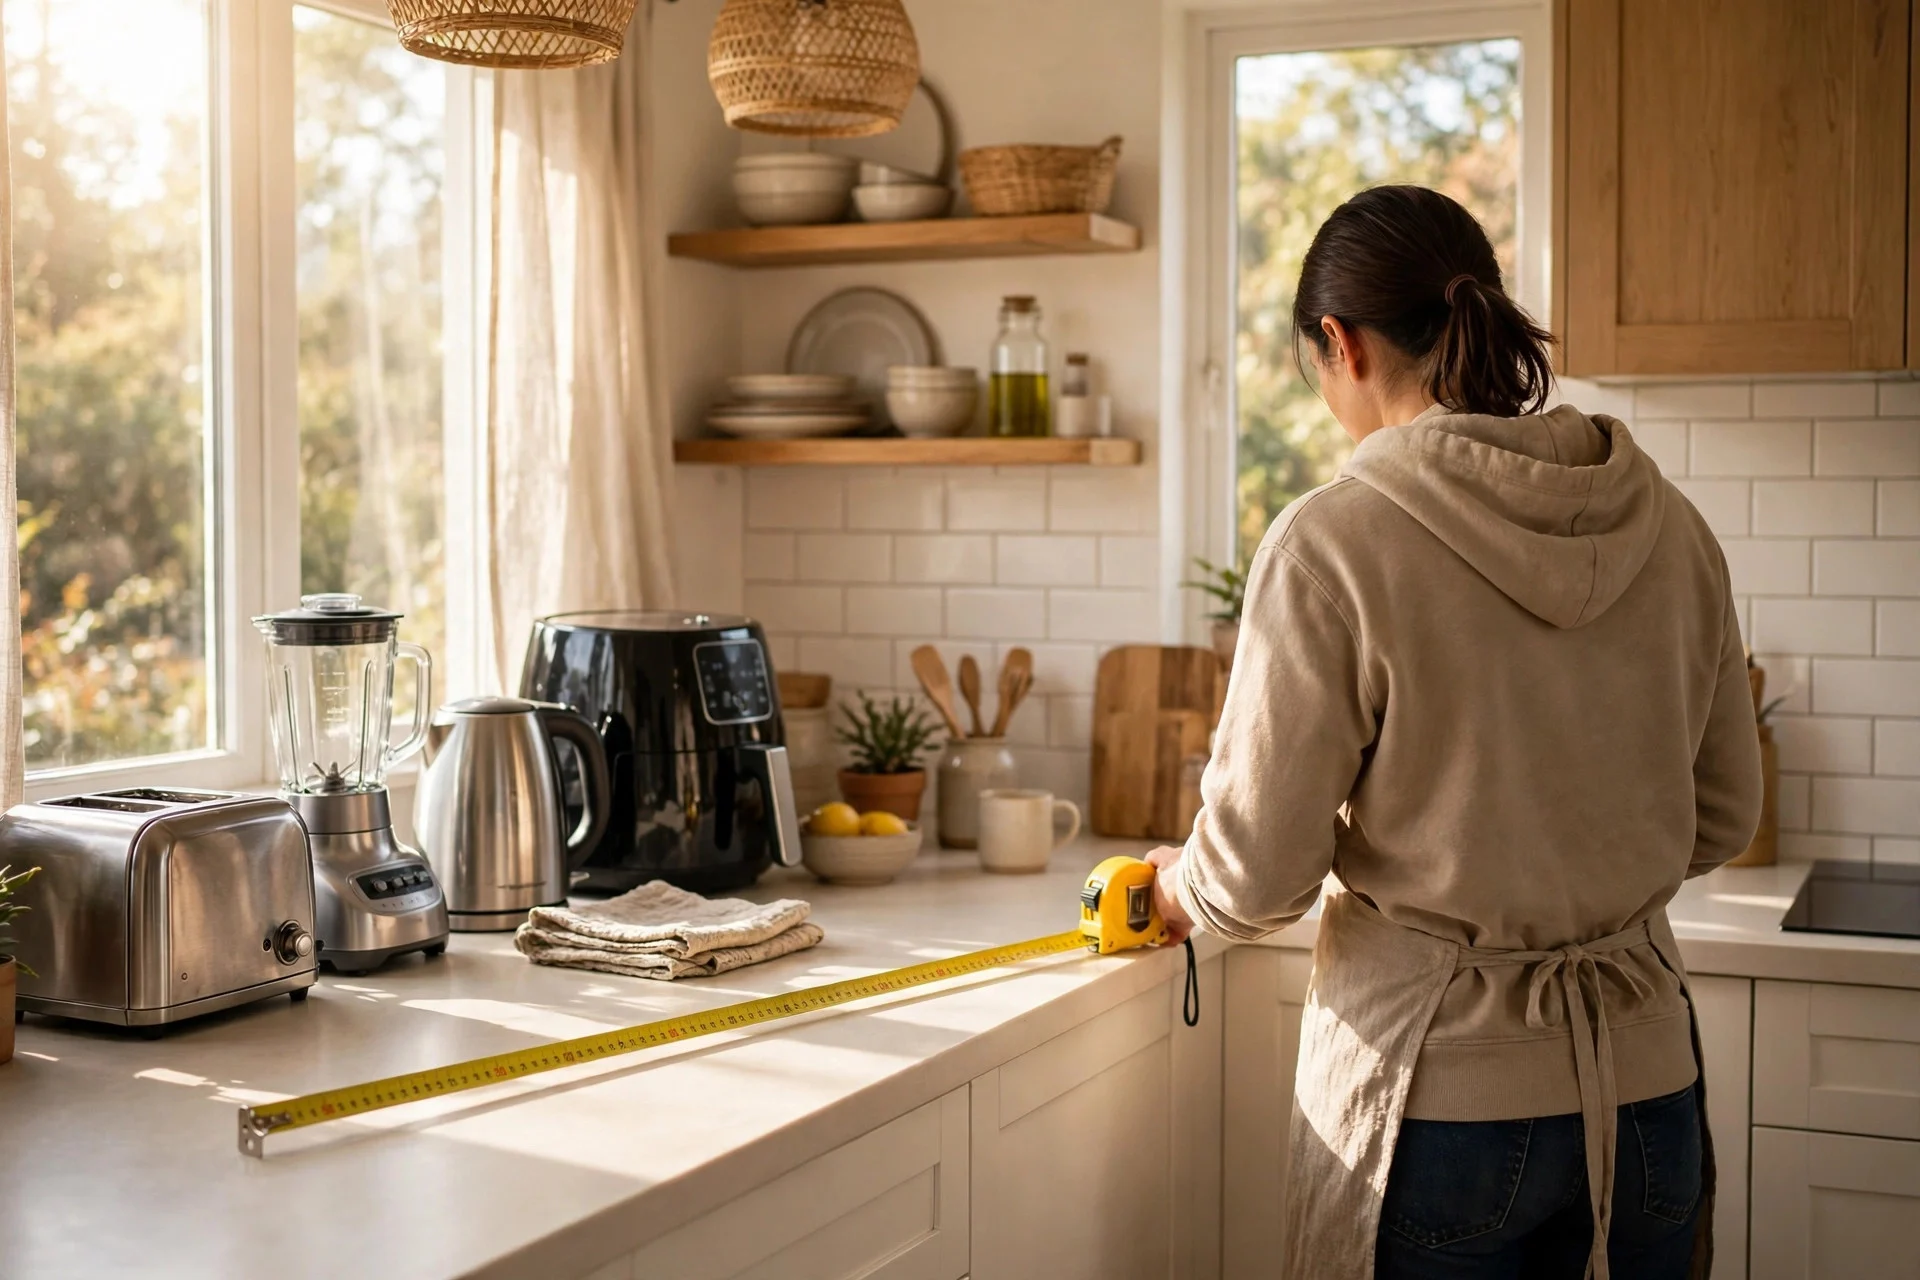
Before you buy or build anything, pull every small appliance onto the counter. Which ones do you use at least three times a week? That group earns a permanent spot near an outlet; the rest can live in a pantry or a high shelf.
Measure the counter, too. A standard run is 25 inches deep, and most appliances need 12 to 16 inches of that once you count the cord and lid clearance. Write down each appliance’s width, height, and depth, including the space a lid or door needs to swing open.
Cost: $0. Difficulty: Easy, about 30 minutes. Tip: Put a sticky note on each appliance with last week’s use count; the notes make the keep-or-store decision for you. Watch out: Do not count appliances you plan to replace — measure the new one, not the old one.
2. Build a Classic Appliance Garage With a Roll-Up Door
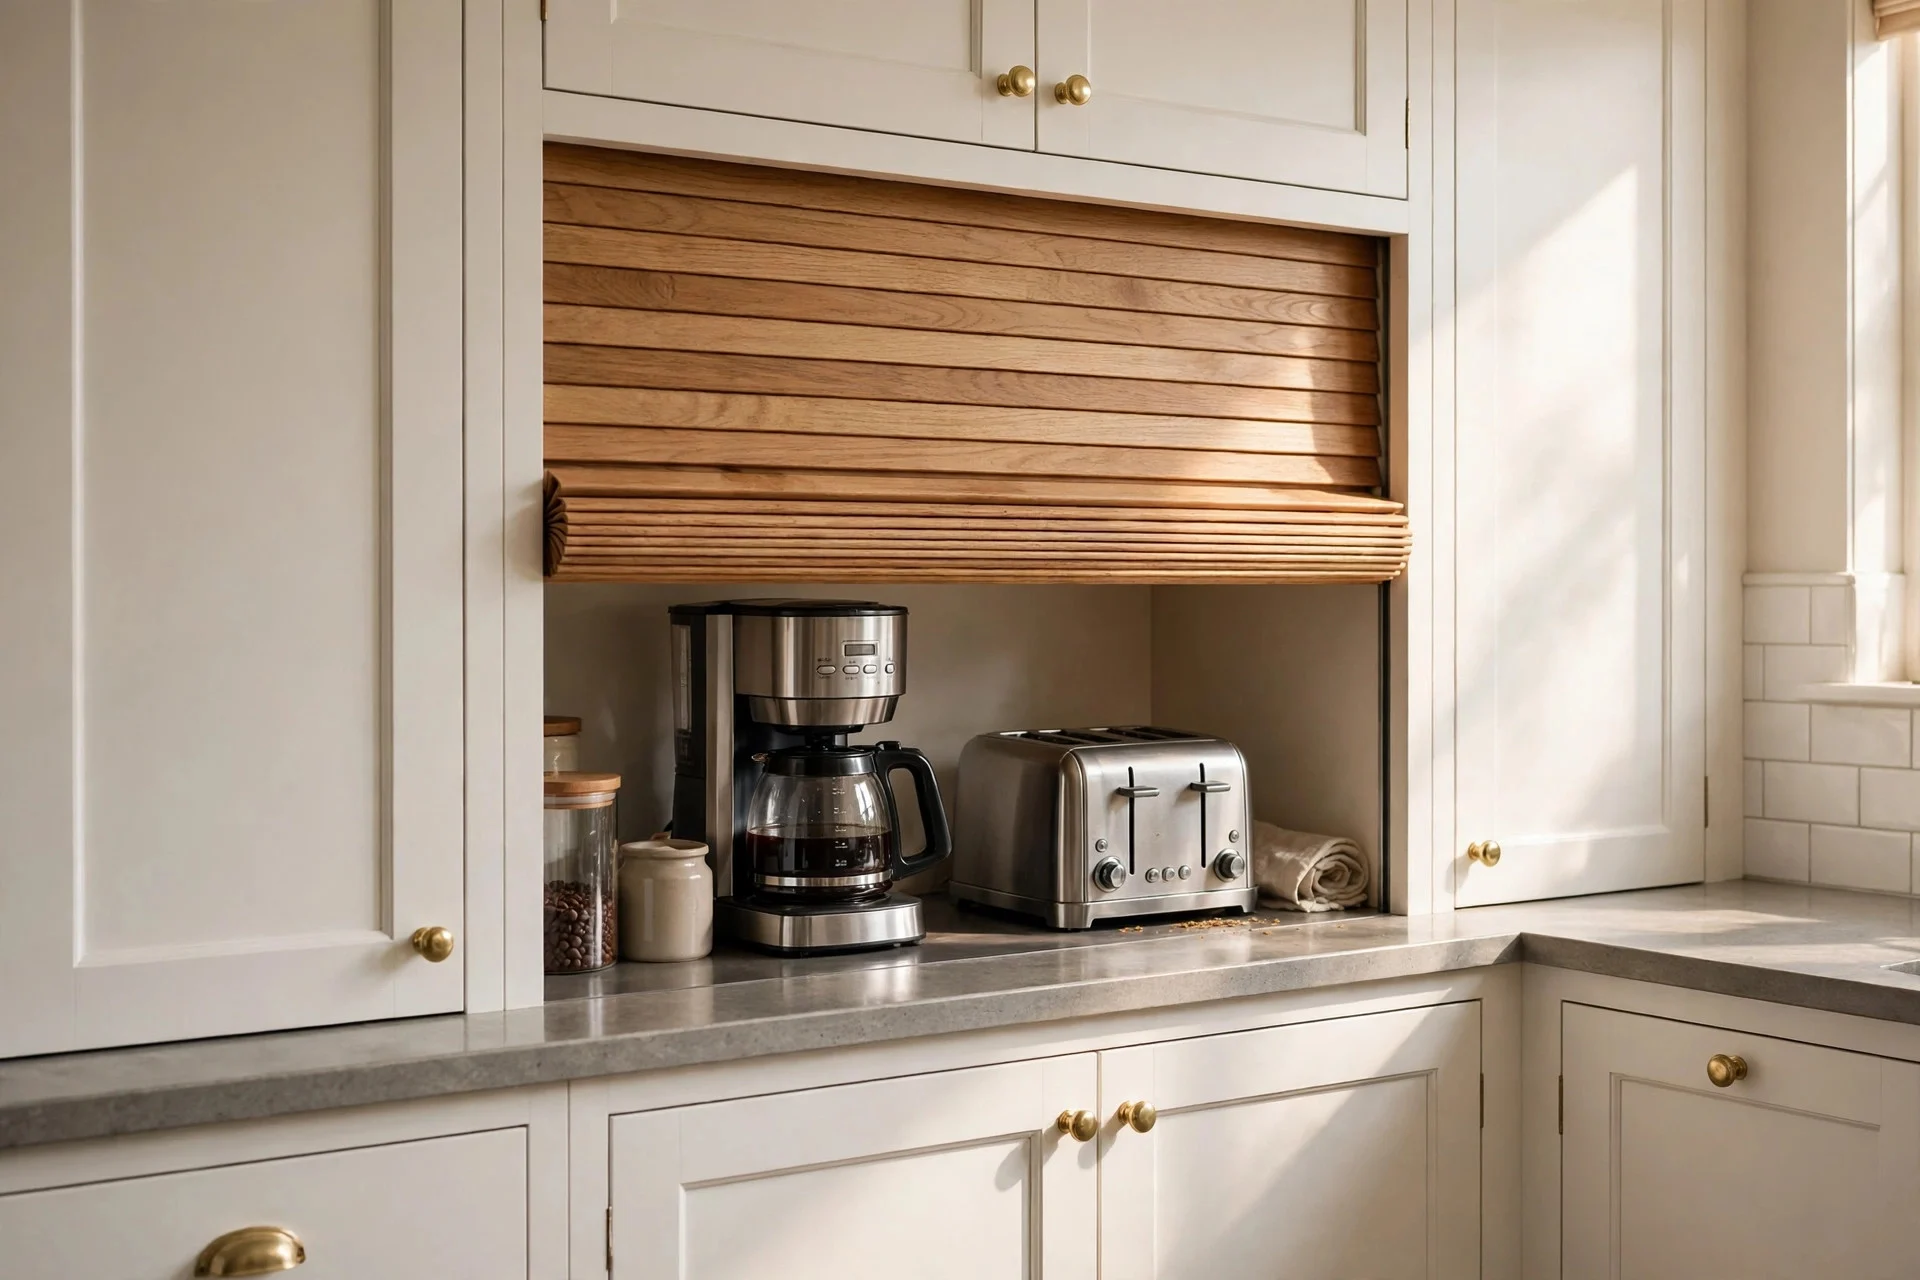
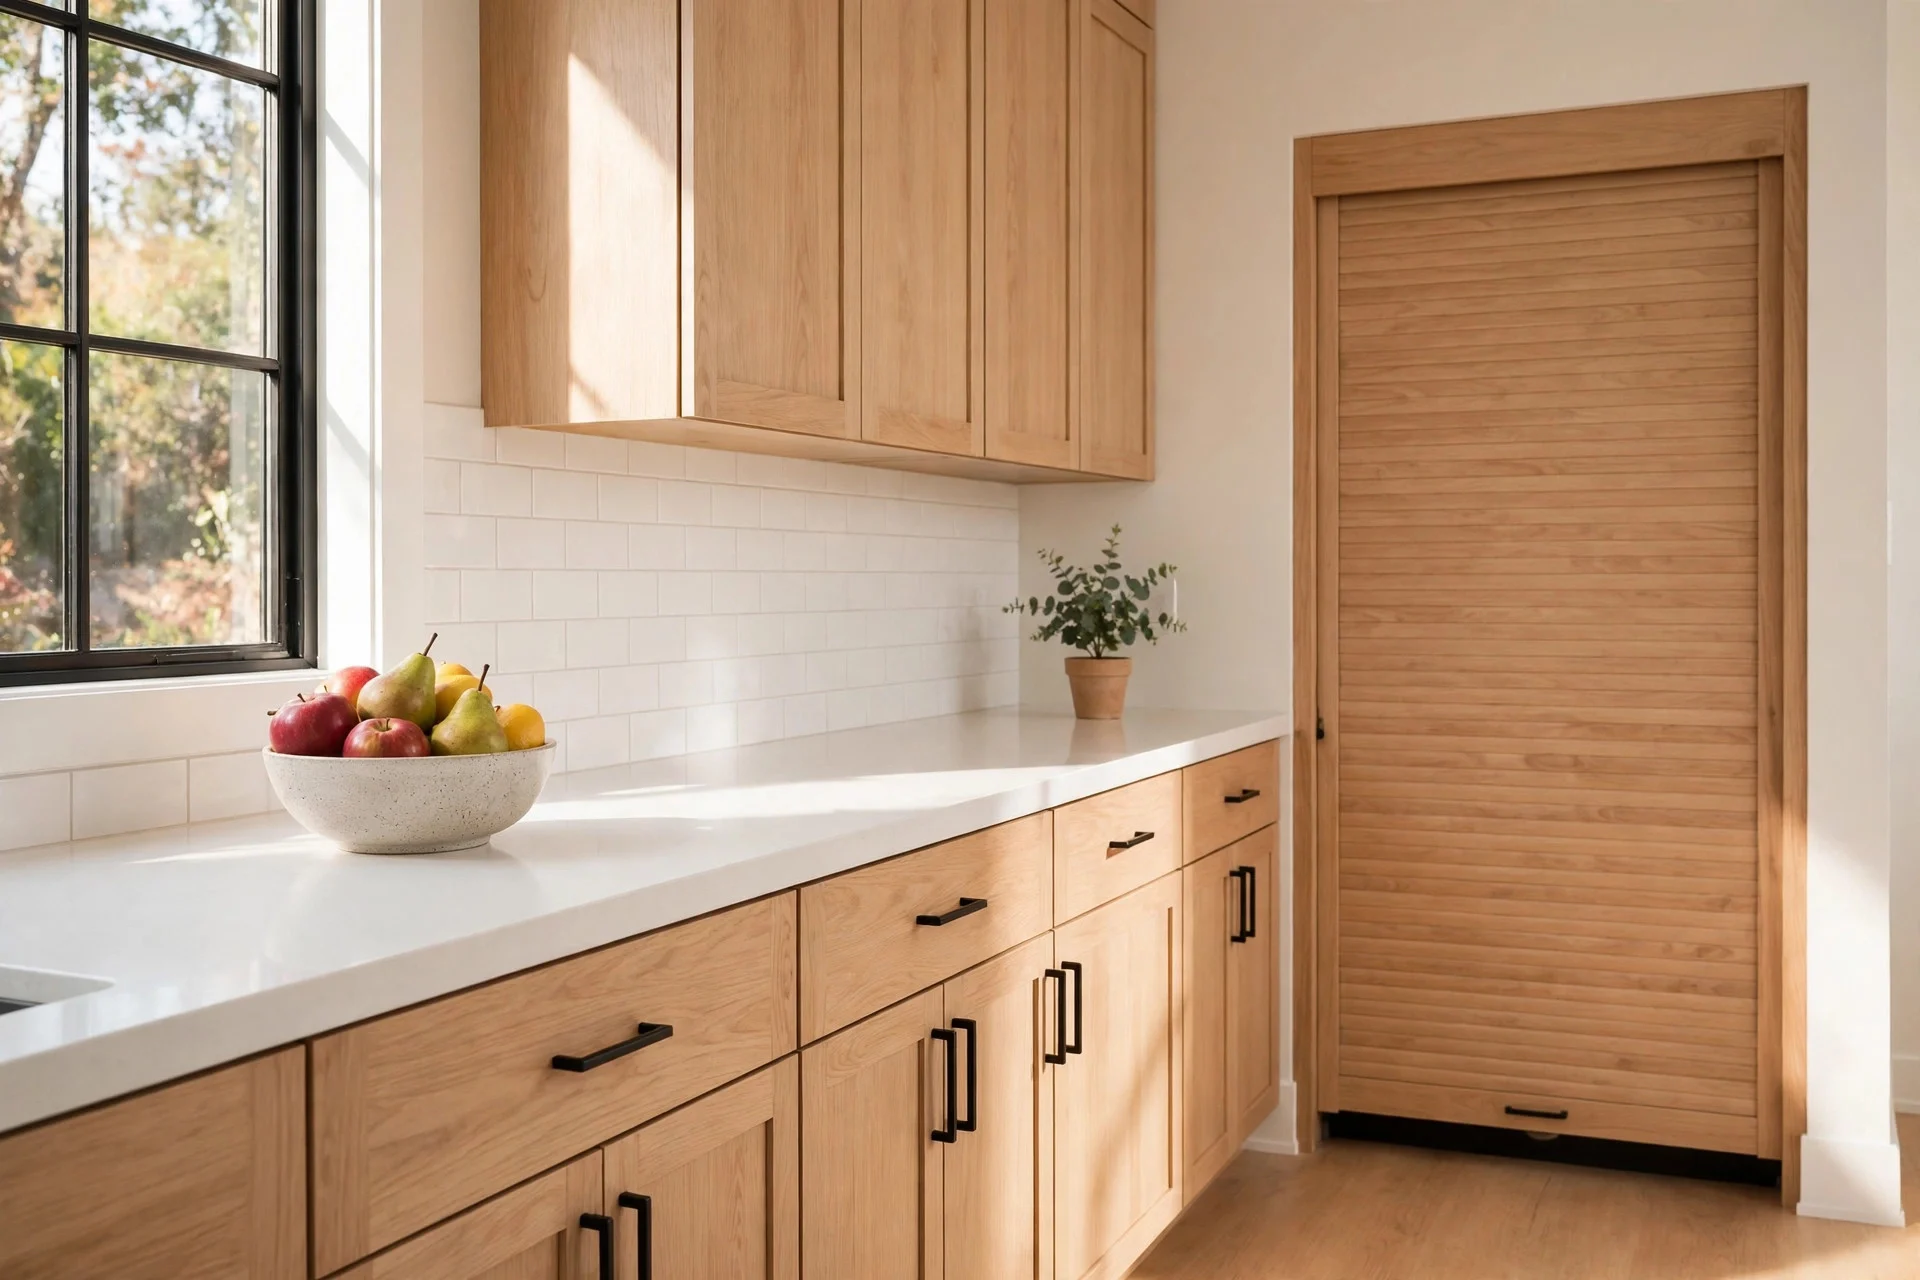
This is the original appliance garage: a countertop cabinet with a tambour door of thin horizontal slats that roll up and disappear when you open it. Inside sits the coffee maker, toaster, or blender, plugged in and ready; close the door and the counter looks clear in two seconds.
A tambour garage works best in a corner or at the end of a counter run, where it does not steal prep space. It needs about 18 to 24 inches of width and 16 to 18 inches of depth inside, plus an outlet in the back wall.
Cost: $150–$600 for a ready-made unit; $400–$1,200 custom-built. Difficulty: Moderate; a handy homeowner can install a pre-made unit in an afternoon, custom work needs a cabinet maker. Tip: Add a small power strip inside so two appliances can stay plugged in at once. Watch out: Tambour slats stick if crumbs or grease build up in the tracks — wipe the tracks every month or two.
3. Use a Lift-Up Cabinet Door for Tall Appliances
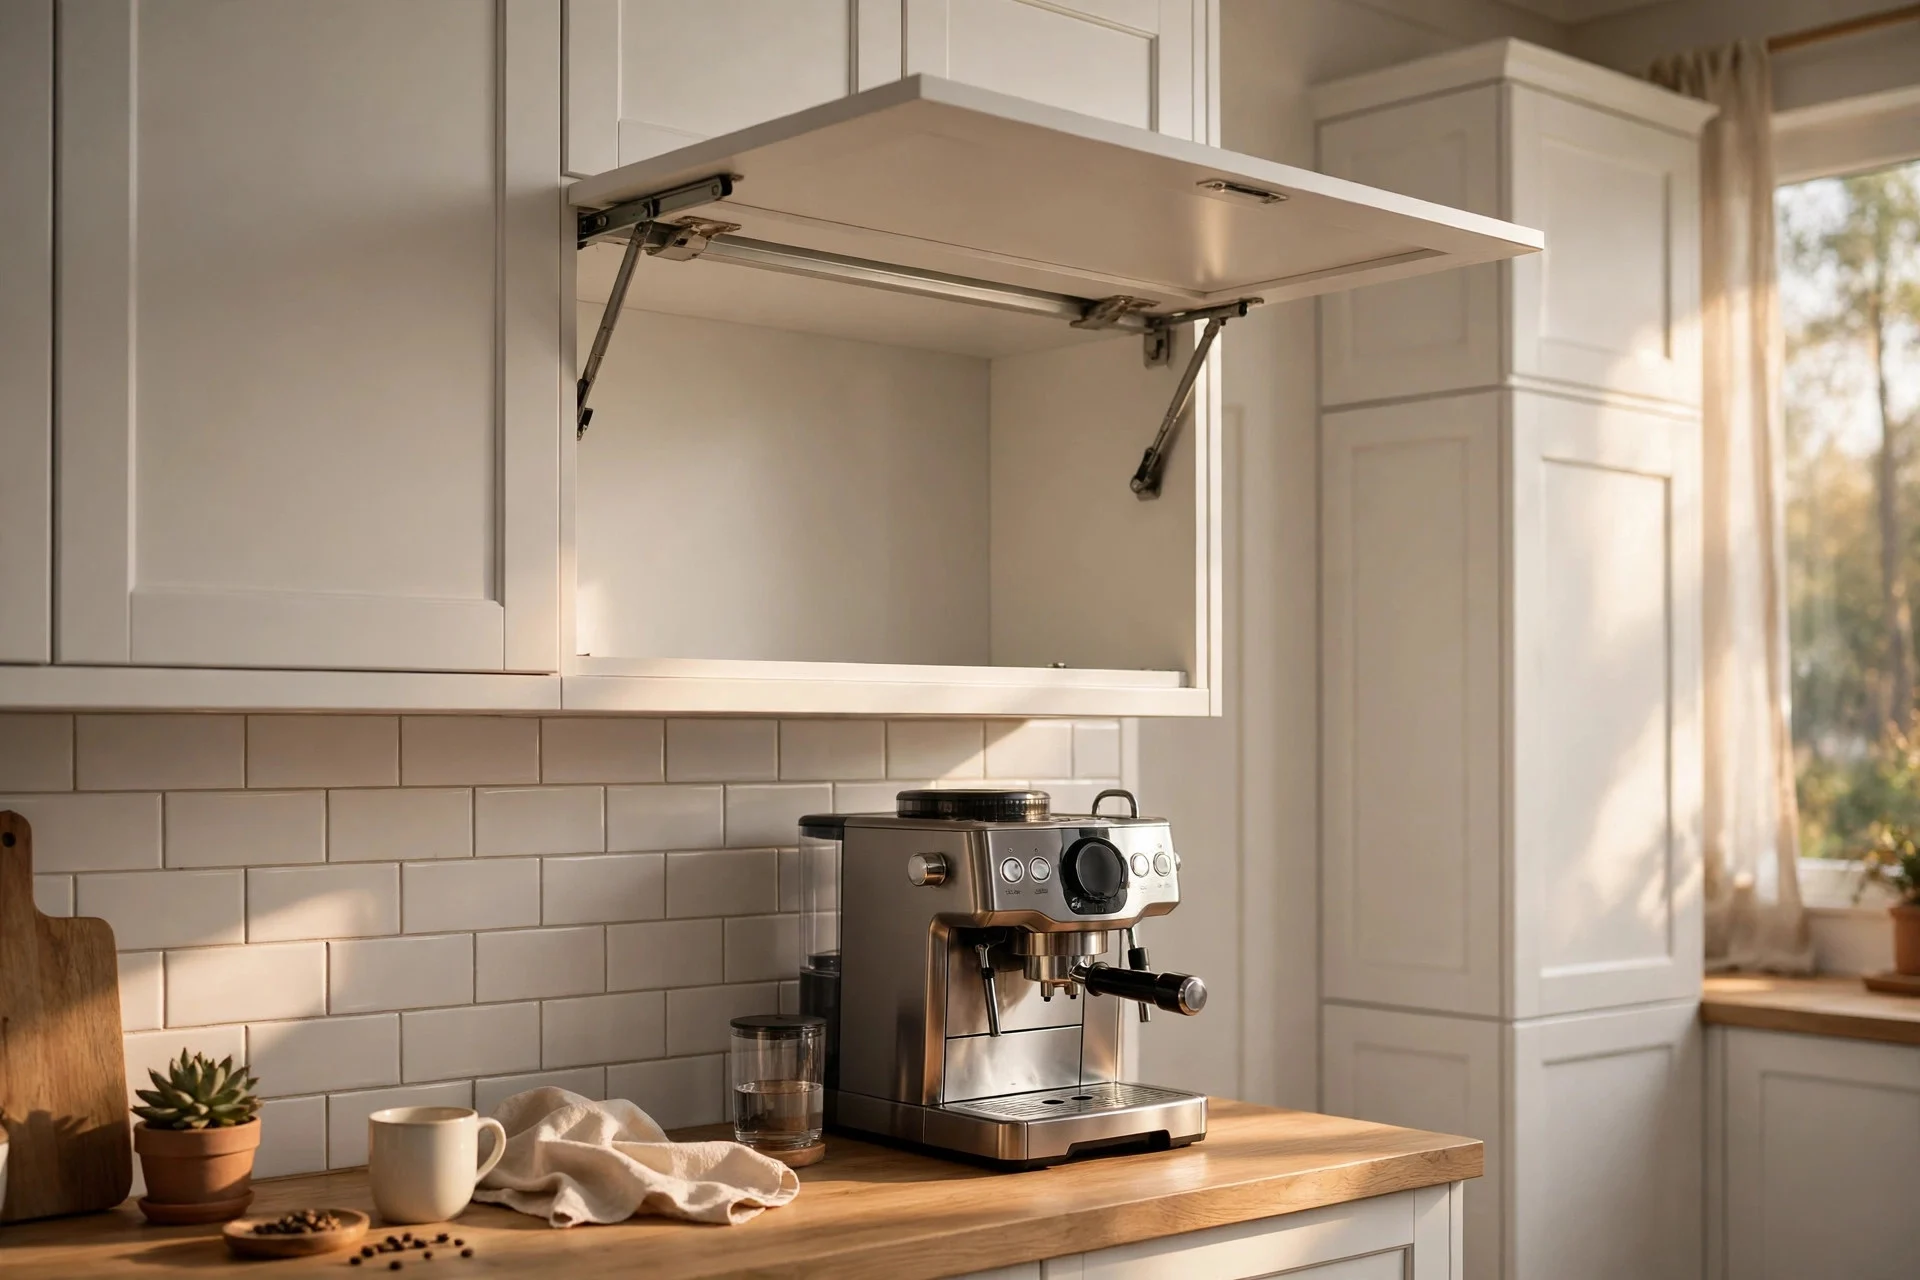
If a roll-up door feels fussy, a lift-up door does the same job with a cleaner look. It hinges at the top and lifts up on gas struts, staying open while you make coffee and closing flush with the rest of the cabinets when you are done. It suits tall appliances like a coffee machine or stand mixer that need headroom.
Cheap hinges let the door slam or sag; gas struts rated for the door’s weight hold it open at any angle. Ask for soft-close lift-up stays.
Cost: $80–$250 for hardware and a door on an existing cabinet; $300–$800 for a new cabinet. Difficulty: Moderate, about 2–3 hours for a retrofit. Tip: Mount the outlet inside the cabinet so the cord never dangles across the counter. Watch out: Measure the open door’s height — with low ceilings or a bulkhead, a lift-up door can hit the ceiling.
4. Turn a Deep Drawer Into a Coffee Station
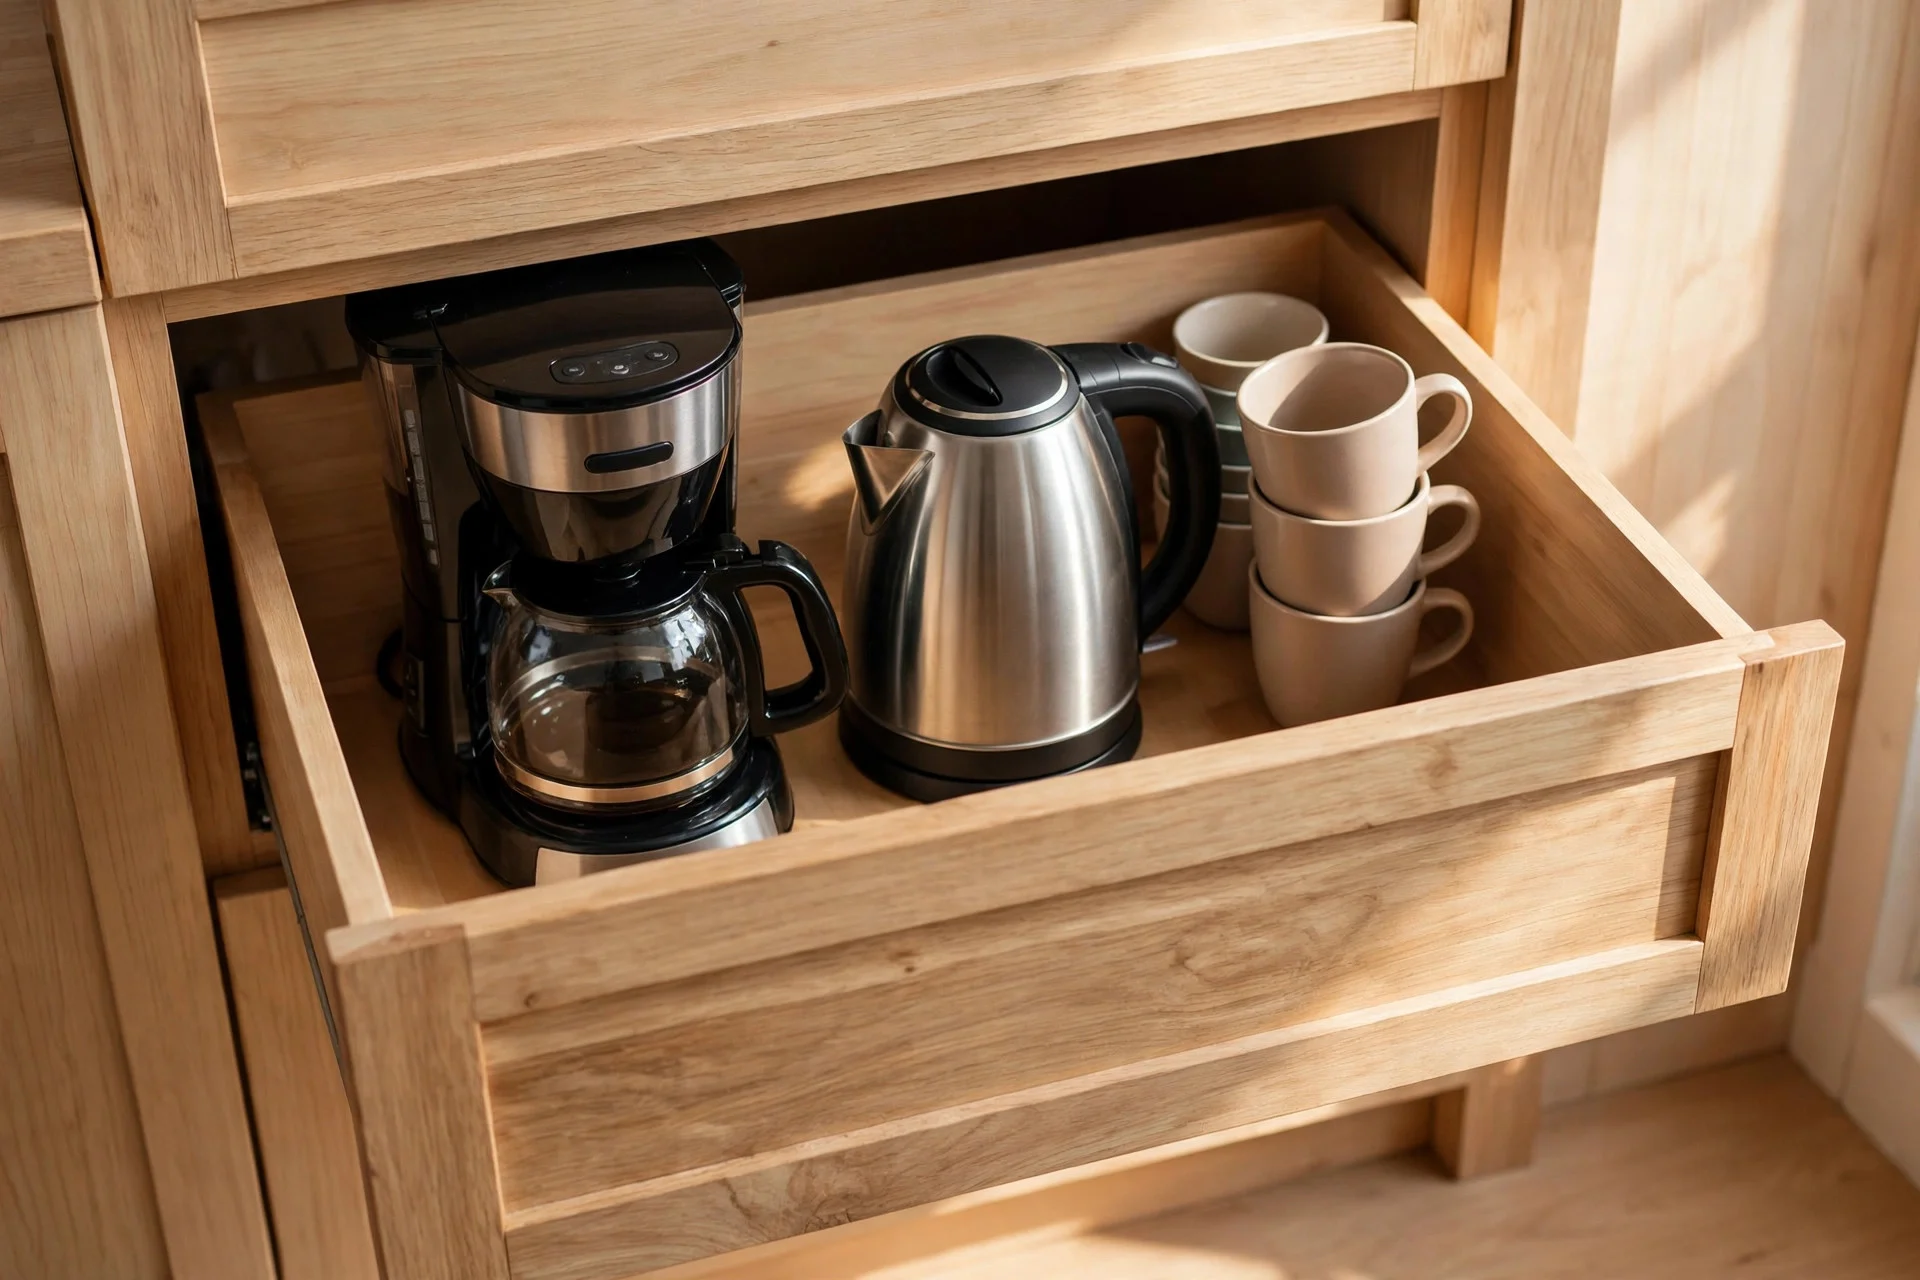
A deep drawer near the sink can hold a coffee maker, a kettle, and a stack of mugs — and close completely out of sight. It works well where wall cabinets are already full, because it uses base cabinet space that often goes to waste on baking trays and odd lids.
The drawer needs full-extension slides rated for at least 75 pounds, and an outlet in the back of the cabinet or the wall behind it. Add a heat-resistant mat under the coffee maker and a cord hole in the drawer back.
Cost: $60–$200 for heavy-duty slides and a drawer insert; $250–$600 for a new deep drawer. Difficulty: Moderate, about half a day. Tip: Keep mugs in the same drawer so the whole coffee routine happens in one spot. Watch out: Never run a coffee maker in a closed drawer — steam and heat build up fast and can warp the drawer box.
This post contains affiliate links. As an Amazon Associate I earn from qualifying purchases — at no extra cost to you.
Shop this idea
SimpleHouseware Stackable Shelf Riser
Adds a second tier inside a tall pantry shelf so the toaster and blender each get their own level.
As an Amazon Associate I earn from qualifying purchases. (paid link)
5. Give the Toaster and Blender a Tall Pantry Shelf
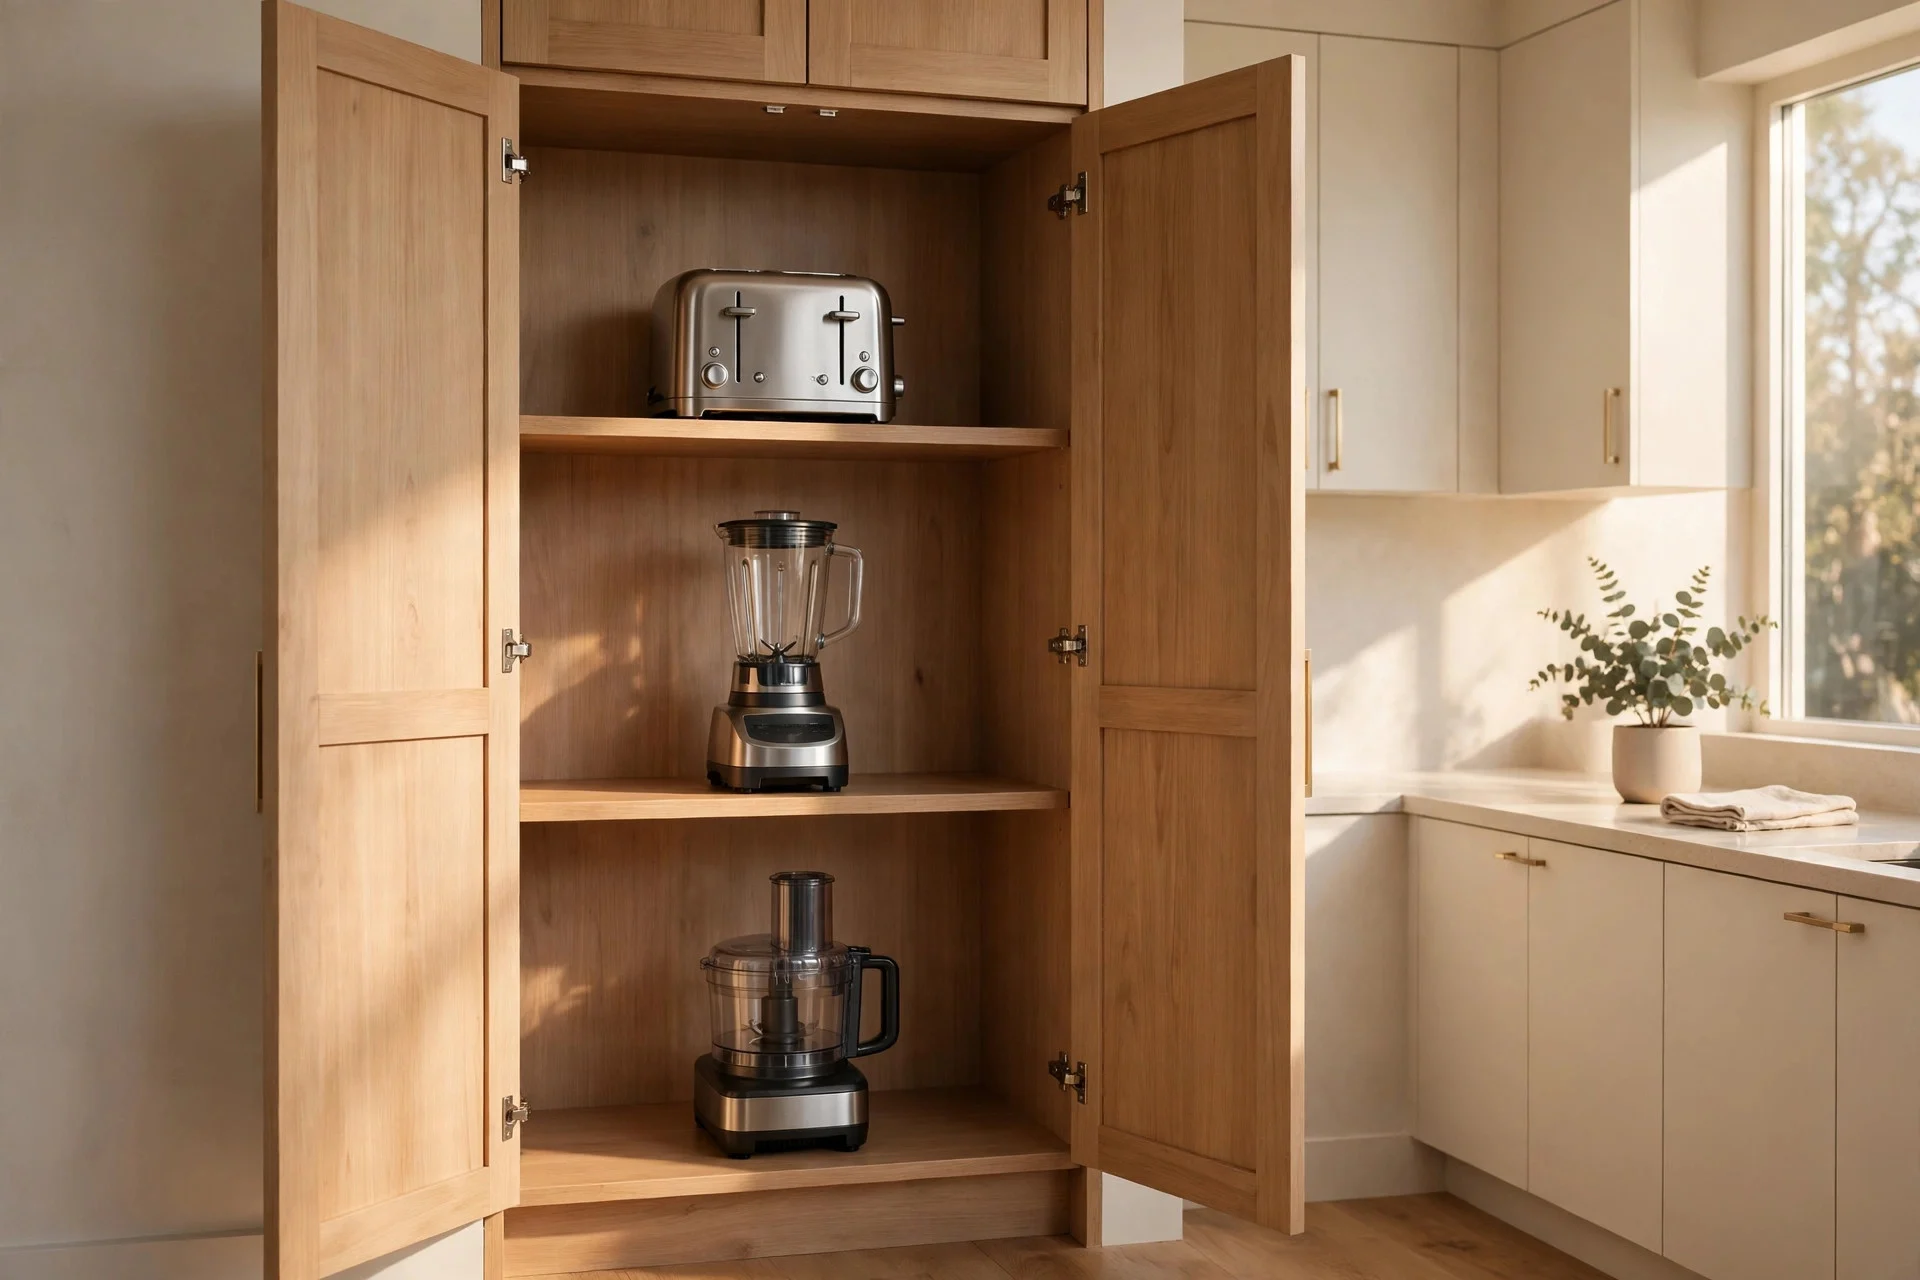
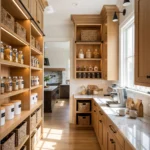
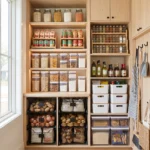
A tall pantry cabinet with full-height doors makes a natural appliance home. Give the toaster, blender, and food processor one shelf at waist or chest height, so you can lift them out without bending or reaching overhead.
The shelf needs to fit the blender base plus its jar, usually 14 to 16 inches deep, and hold a food processor’s weight. Set the appliance shelf a little taller than the rest so the blender jar fits upright.
Cost: $0–$80 if the pantry already exists; $400–$1,500 for a new tall cabinet. Difficulty: Easy to moderate, an hour to reorganize. Tip: Store each appliance with its attachments in a labelled bin on the same shelf. Watch out: Heavy appliances on a high shelf are a dropping risk — keep anything over 10 pounds at waist height or below.
Shop this idea
SimpleHouseware 2-Tier Sliding Basket Drawer Organizer
A pull-out basket drawer that turns a deep cabinet into a slide-out shelf for small appliances.
As an Amazon Associate I earn from qualifying purchases. (paid link)
6. Add a Pull-Out Shelf Under the Counter
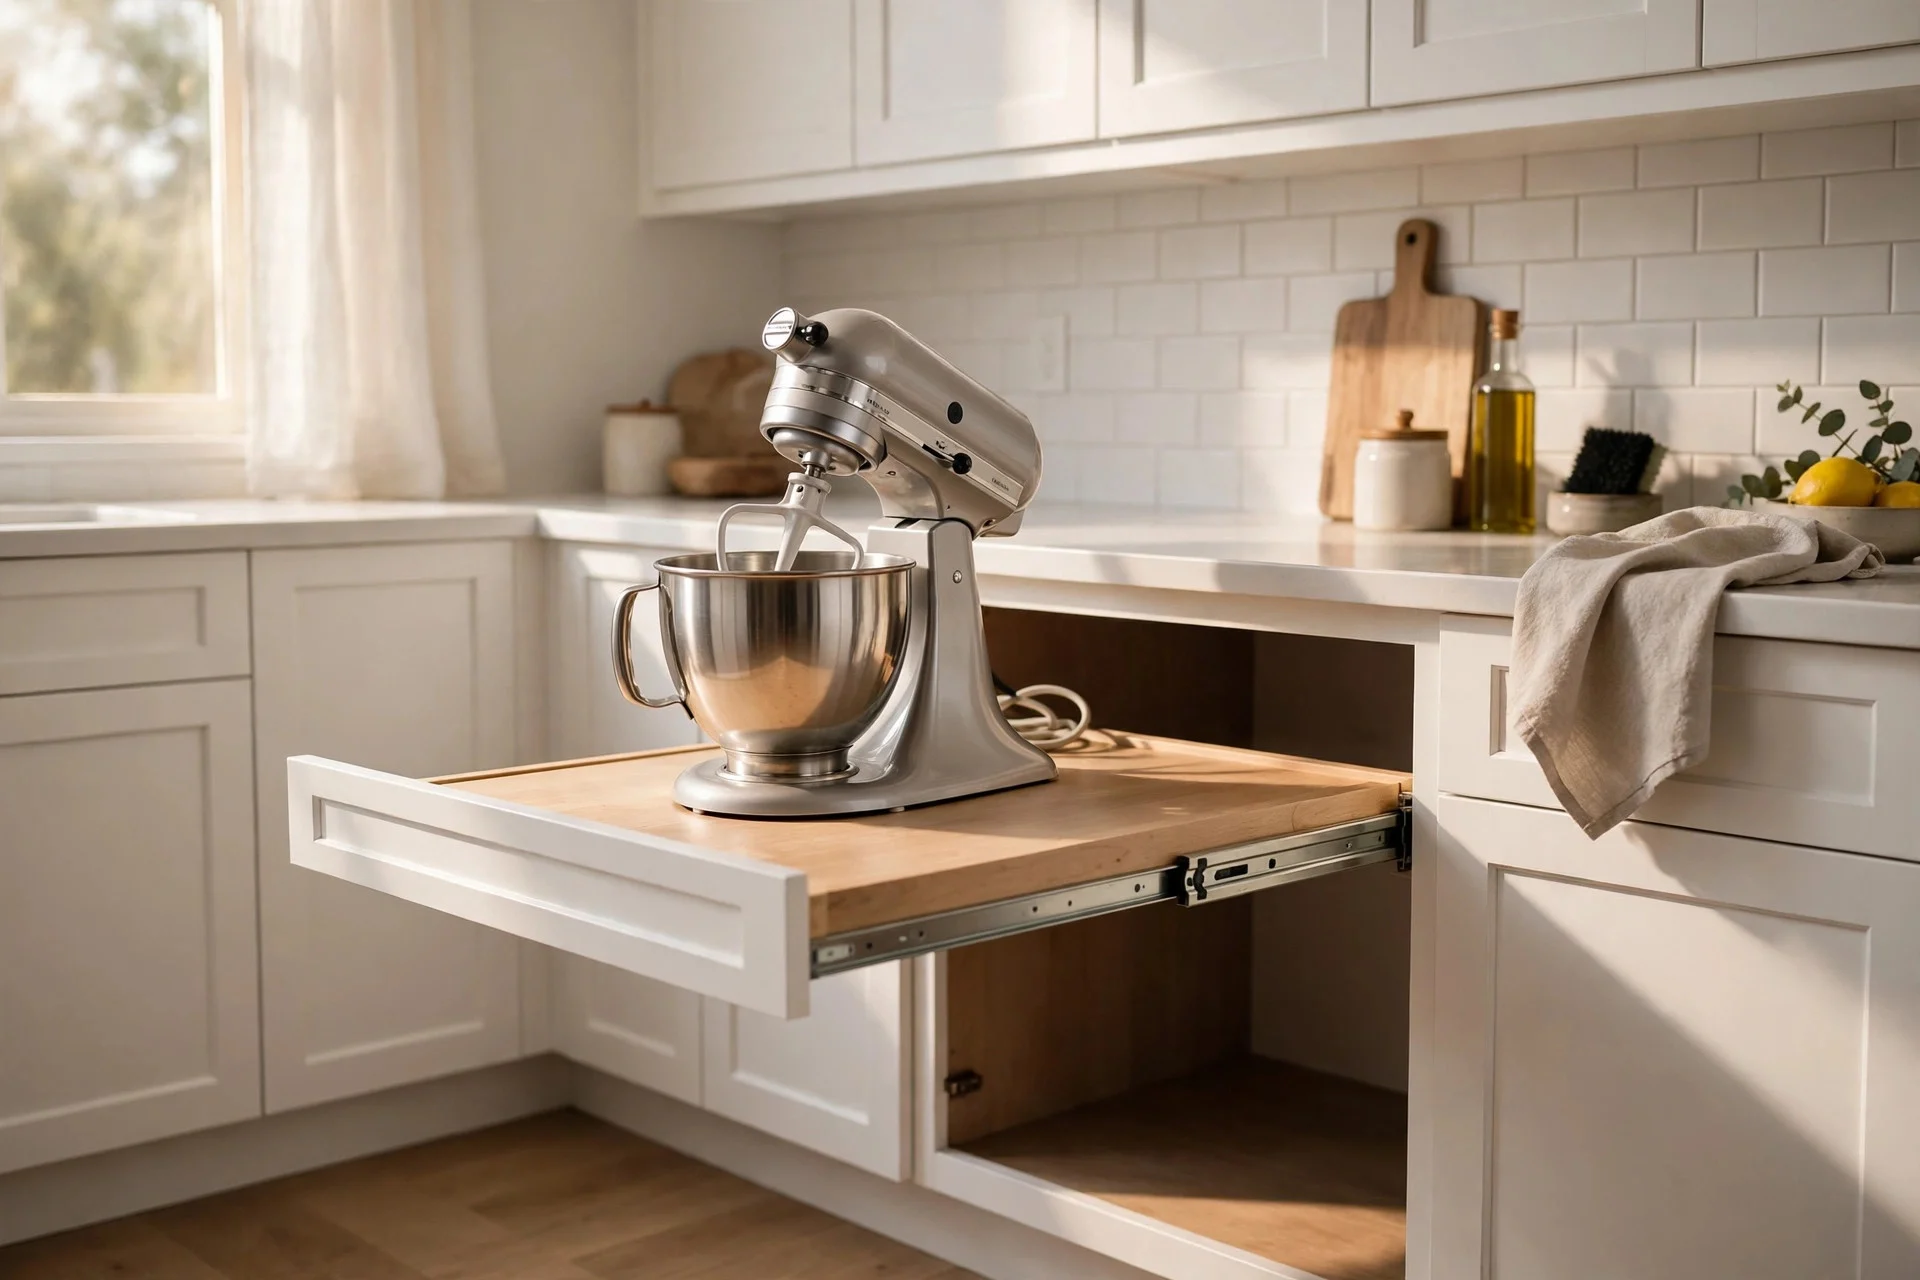
A pull-out shelf is a flat platform on full-extension slides inside a base cabinet. Slide it out, use the appliance at counter height, and slide it back when you are done. It is one of the cheapest ways to hide a stand mixer or food processor, and it beats lifting a 25-pound mixer out of a low cabinet every time you bake.
Buy slides rated for 100 pounds or more, and mount the shelf 2 to 3 inches below the countertop so the appliance clears the opening.
Cost: $25–$120 for slides and a shelf board; $150–$400 installed. Difficulty: Easy to moderate, 1–2 hours. Tip: Add a non-slip mat on the shelf so the appliance does not creep while it runs. Watch out: Check the cabinet’s interior width before ordering — filler strips and hinges can steal an inch.
Shop this idea
Litever Under Cabinet LED Lighting Kit, 6 pcs 12 Inches Light Strips, 2000 Lumen, Warm White (6 Bars)
Slim LED bars that light the inside of a breakfast-station cabinet so nothing hides in the dark.
As an Amazon Associate I earn from qualifying purchases. (paid link)
7. Create a Breakfast Station With Outlets Inside the Cabinet
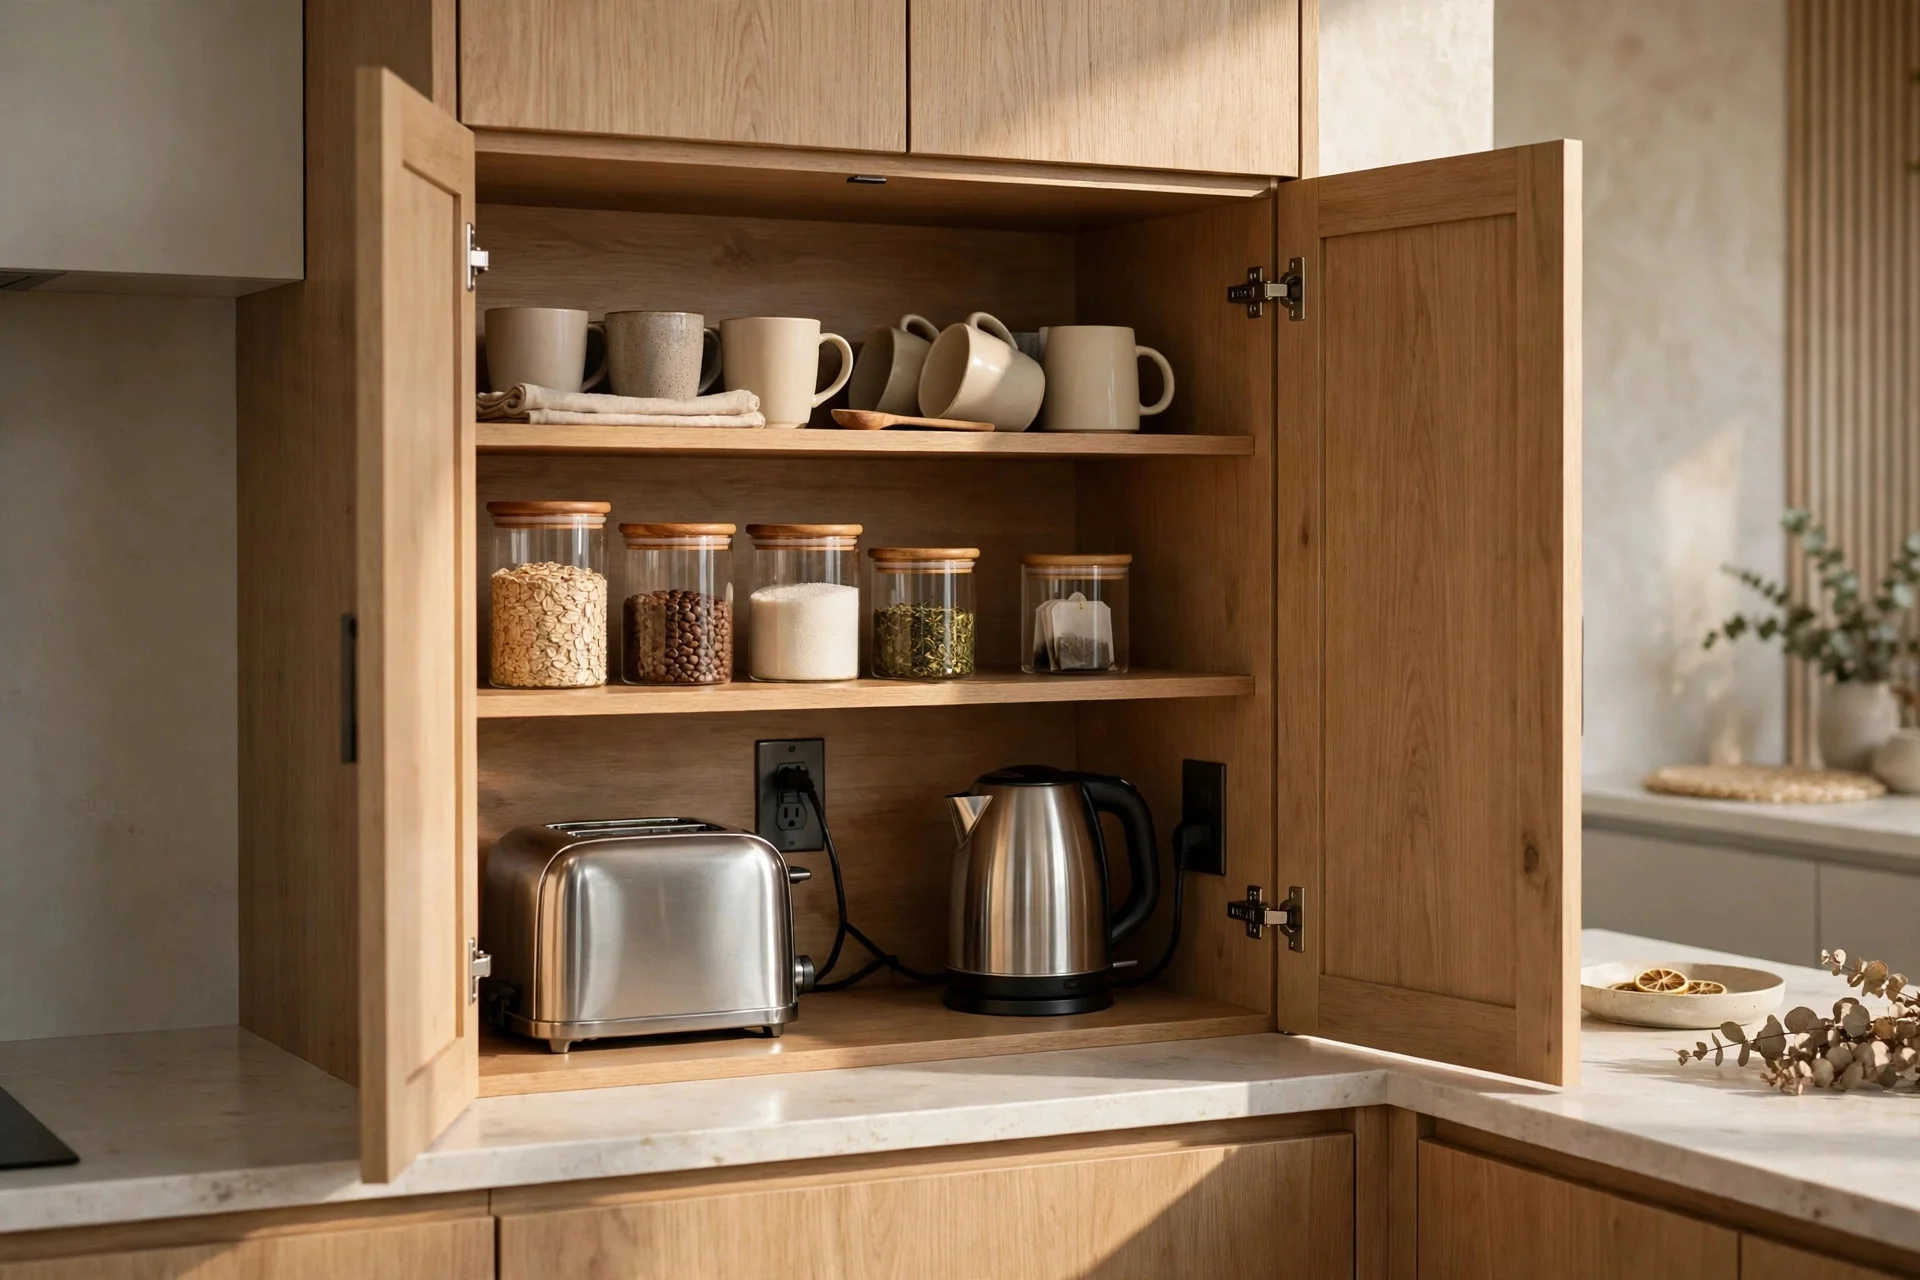
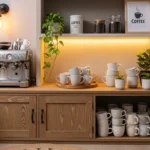
A breakfast station is a dedicated cabinet — a tall unit or a wide wall cabinet — fitted with outlets inside, so the toaster, kettle, and coffee maker live and run behind closed doors. Everything for breakfast stays in one place: bread, spreads, mugs, and the appliances.
If two people make breakfast at once, you need two outlets and room for the toaster and kettle side by side. An electrician should install the interior outlets.
Cost: $200–$700 including an electrician for the outlets; more if the cabinet is new. Difficulty: Moderate; the outlet work needs a licensed electrician. Tip: Put the station near the fridge so the milk and butter are a step away. Watch out: Heat builds up behind closed doors — leave them open while the toaster or kettle runs, and never store paper or cloth near a toaster.
8. Put Bulky Appliances in the Corner Cabinet
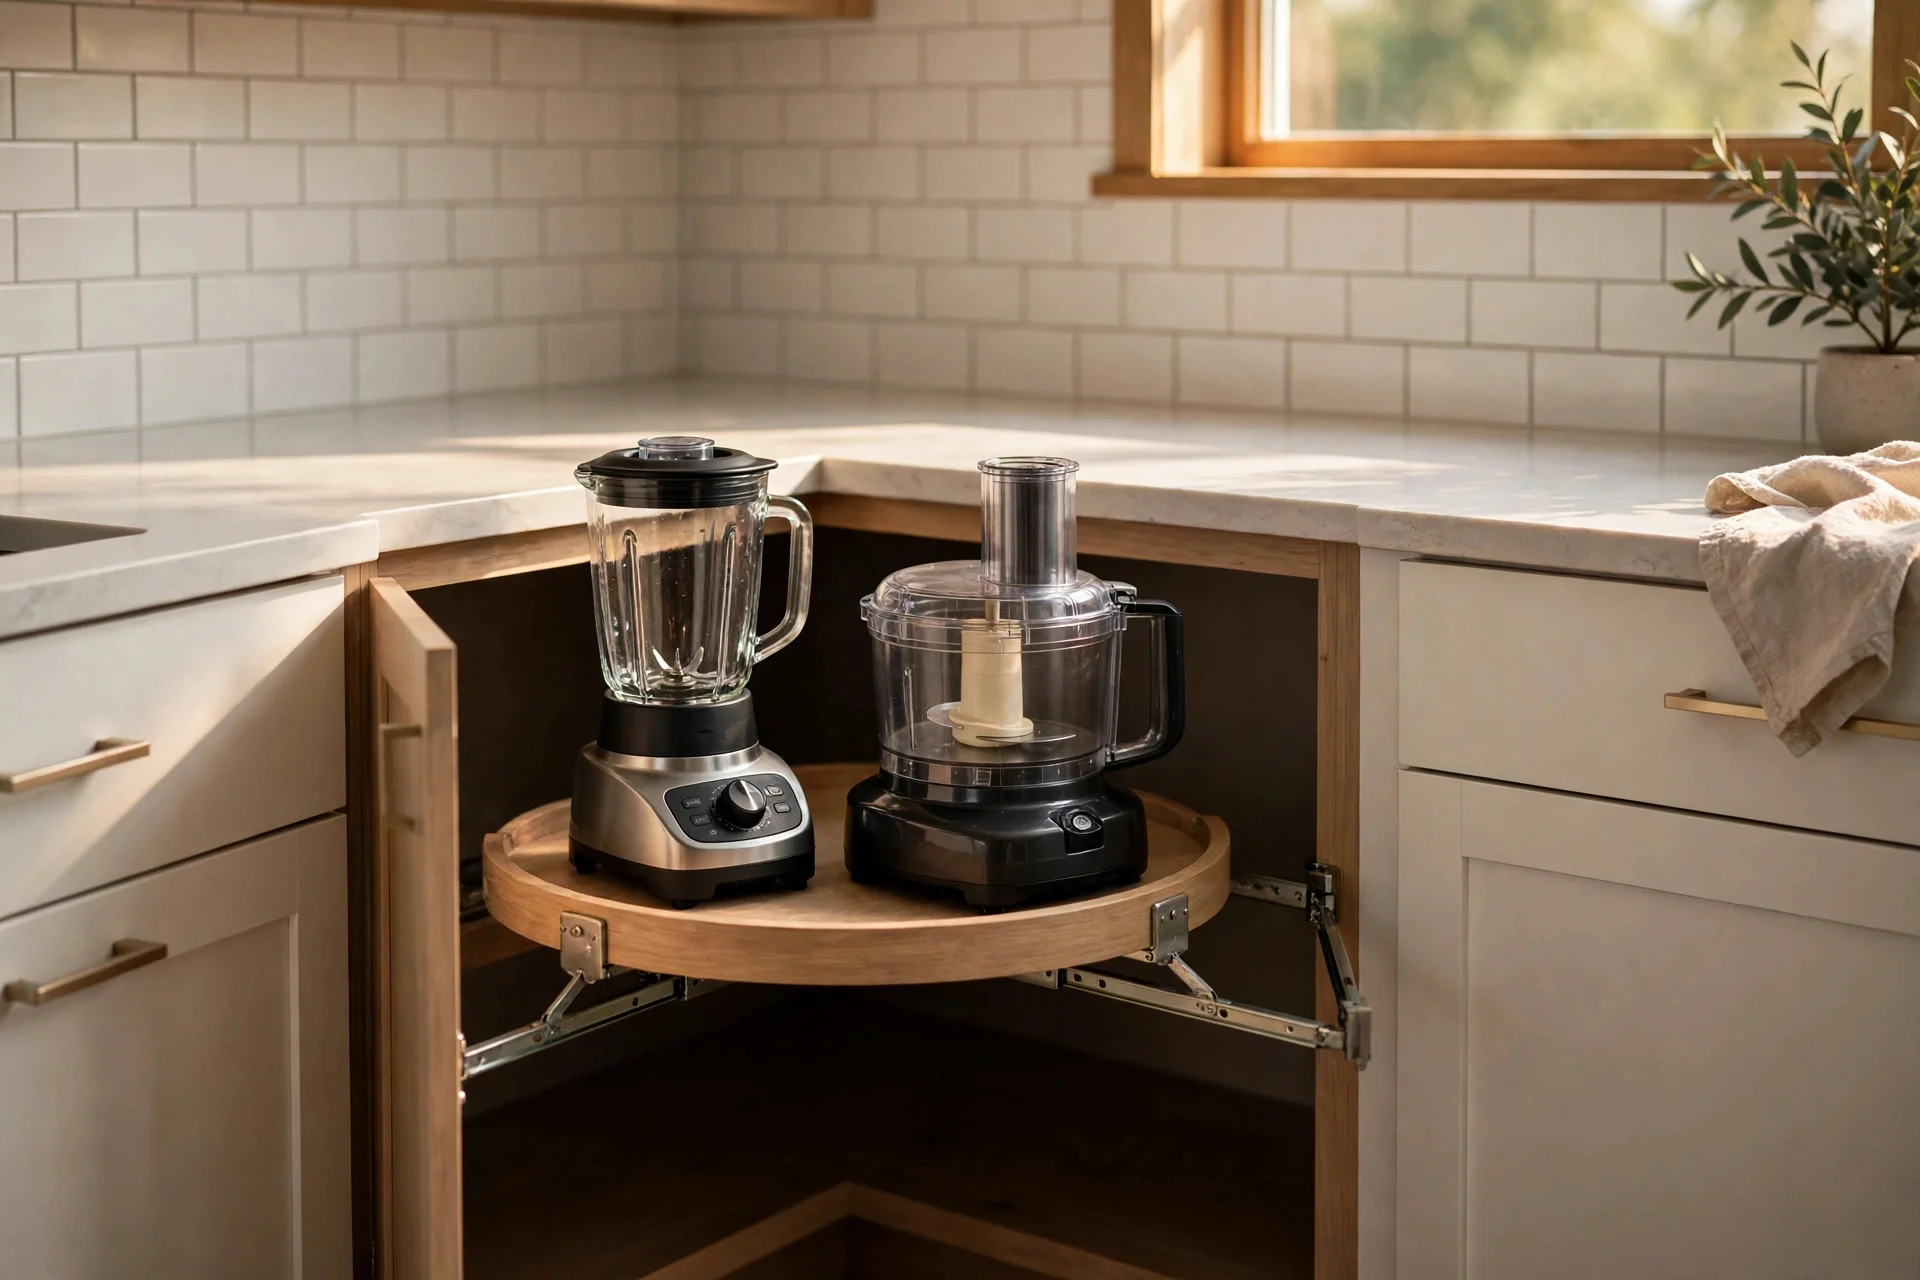
Corner cabinets are the hardest space in a kitchen to use, which makes them a good home for bulky appliances you use only sometimes — the big blender, the food processor, the bread maker. A lazy Susan or swing-out tray brings them to you instead of making you reach into the dark.
A two-tier lazy Susan handles lighter items, but a swing-out tray works better for heavy ones because it brings the whole shelf out into the open. Measure the door opening first: the appliance has to fit through it, not just sit on the shelf.
Cost: $40–$150 for a lazy Susan; $120–$350 for a swing-out or blind-corner pull-out. Difficulty: Easy to moderate, 1–3 hours. Tip: Keep the heaviest appliance on the lowest tier so the tray spins smoothly. Watch out: A loaded lazy Susan can jam if a cord hangs over the edge — tuck cords behind the appliance first.
9. Hide Appliances Behind Pocket Doors or Bifold Fronts
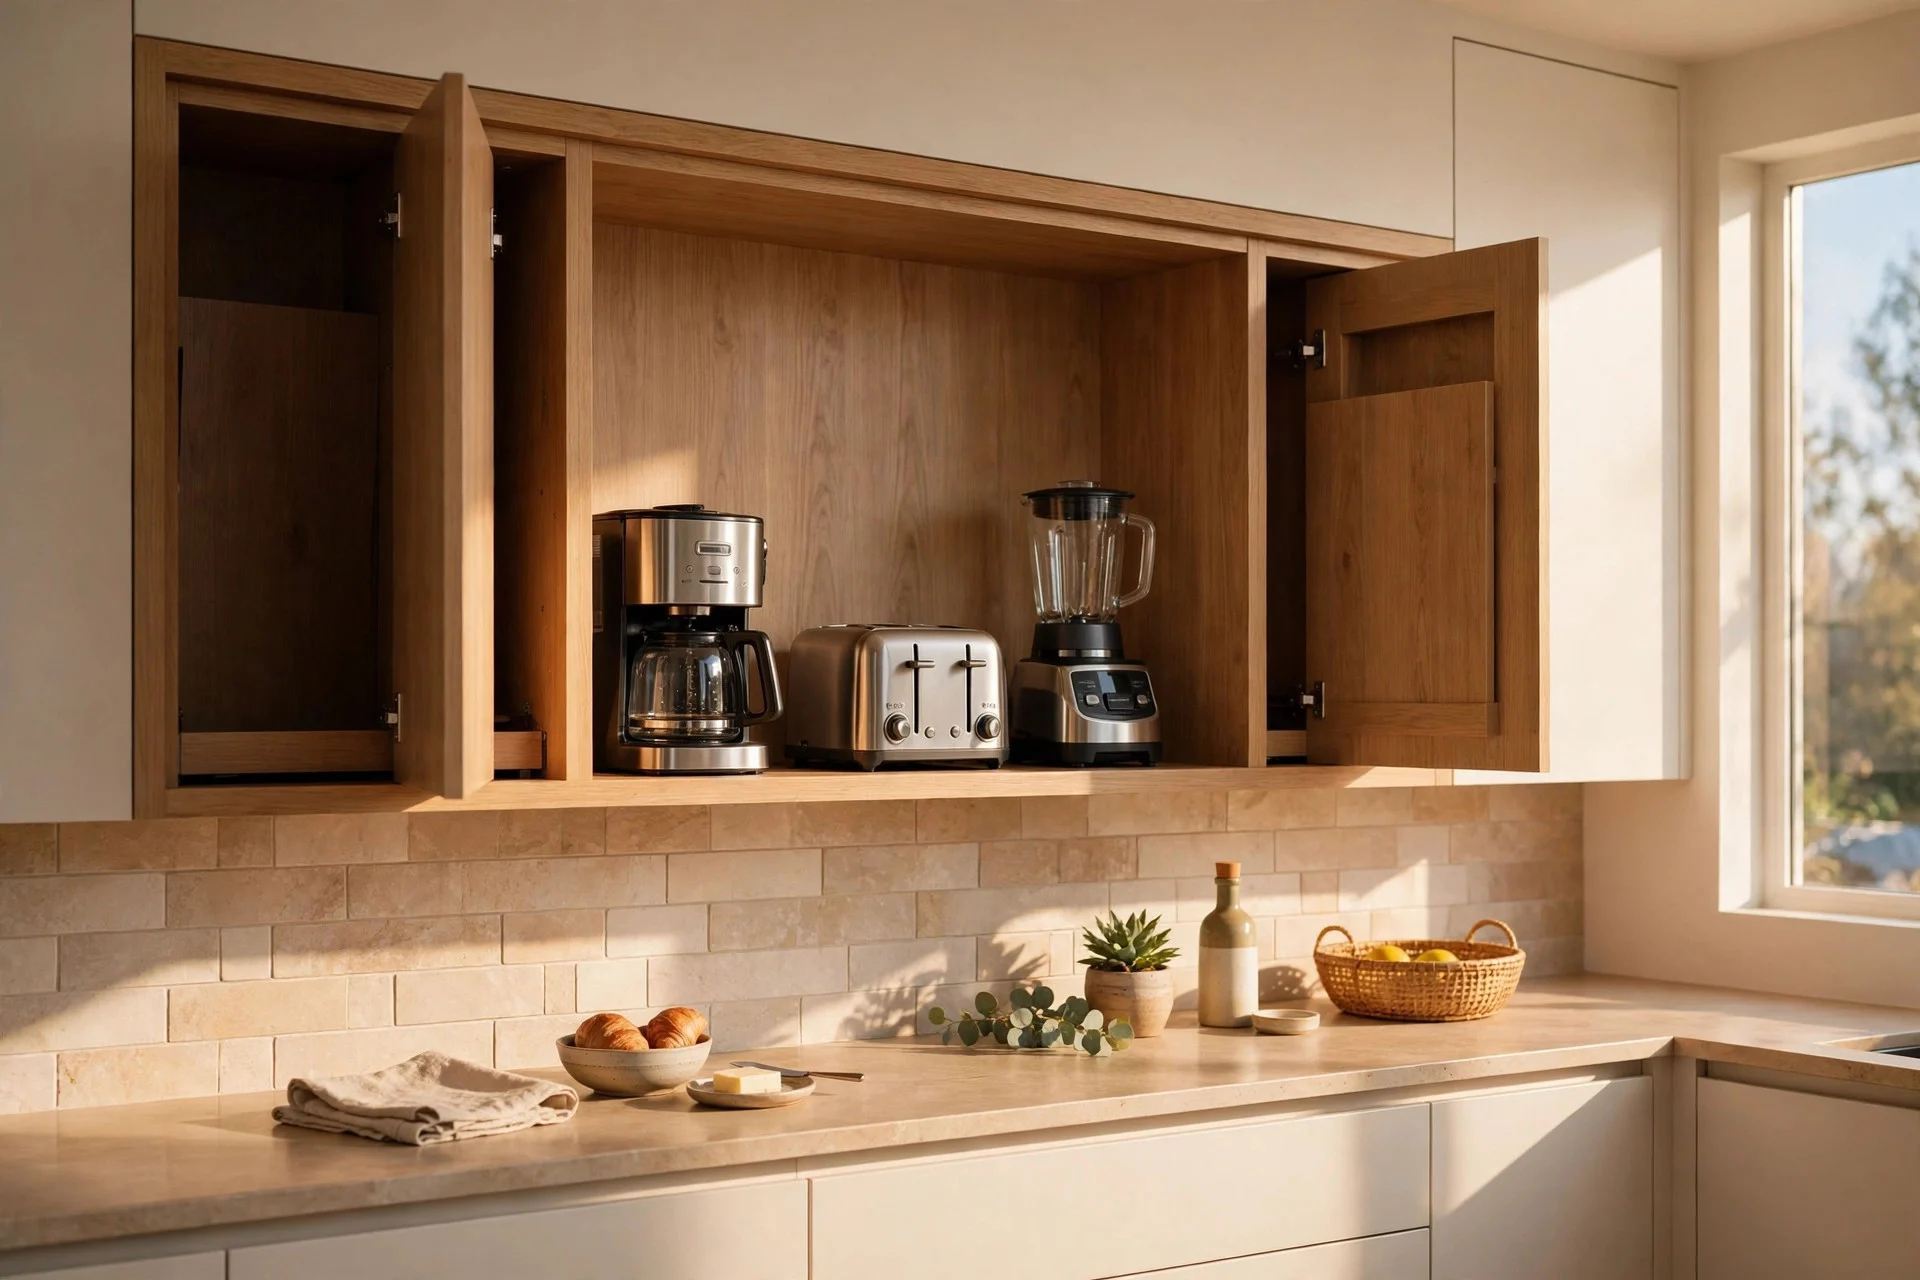
Pocket doors slide back into the sides of the cabinet and vanish while you cook, then pull closed to hide everything. Bifold fronts fold flat against the cabinet sides and do the same job for less money. Both beat a standard swinging door, which blocks the walkway when it hangs open.
The cabinet needs extra depth for the pocket mechanism — usually 2 to 3 inches more than standard — so it fits best in a new build or remodel, not a quick retrofit.
Cost: $300–$900 for bifold fronts on an existing unit; $800–$2,500 for pocket doors in a new cabinet. Difficulty: Moderate to hard; pocket doors need precise installation. Tip: Pair pocket doors with interior lighting so you can see what you are grabbing. Watch out: Pocket-door tracks collect crumbs — vacuum them out a few times a year or the doors start to drag.
10. Install a Mixer Lift Inside a Base Cabinet
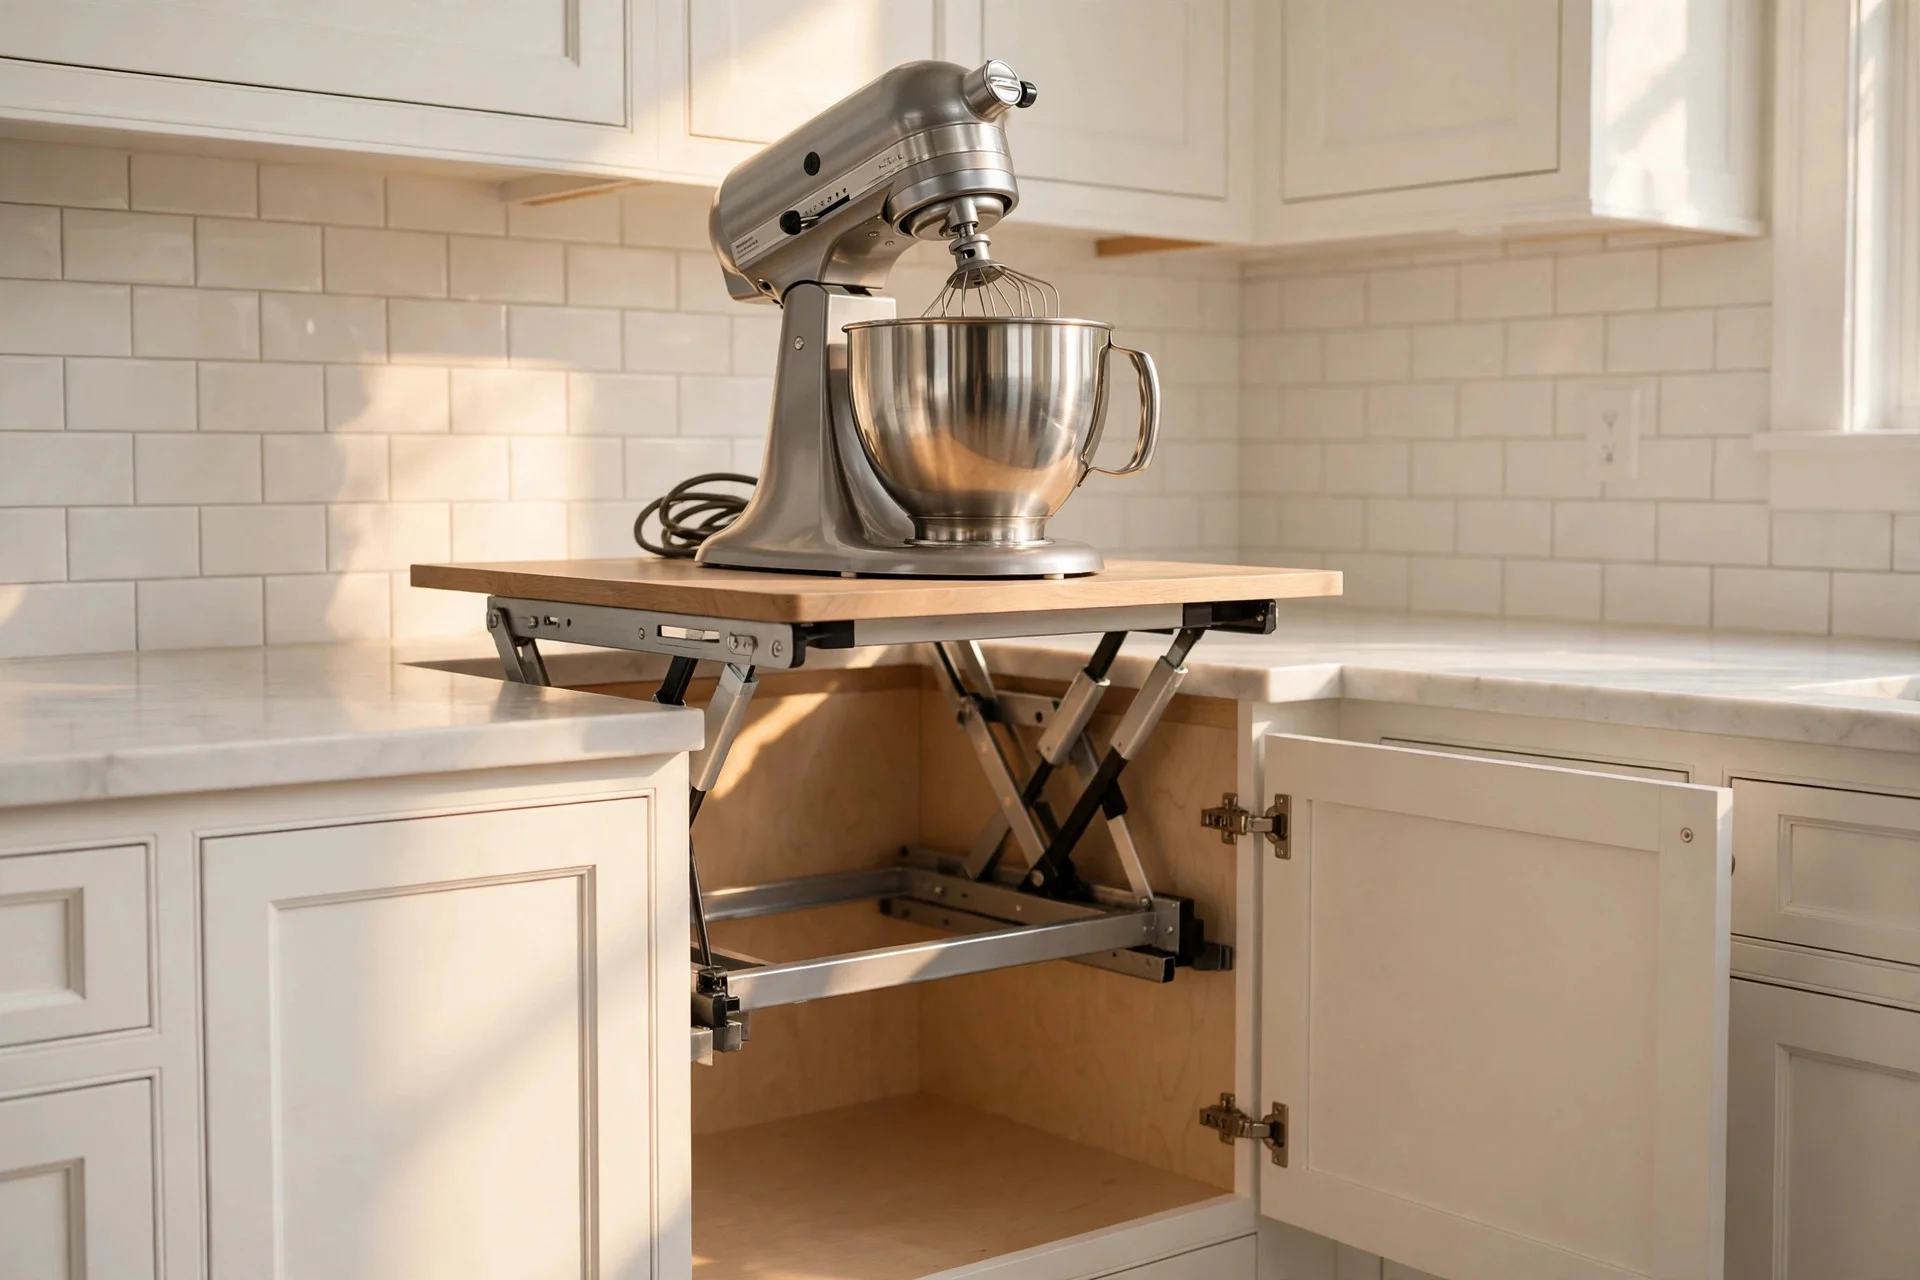
A mixer lift is a spring-loaded platform that stores a stand mixer inside a base cabinet and lifts it to counter height. You never carry the mixer, and it never sits on the counter gathering dust. When you are done, press the platform down and close the door.
The lift needs a cabinet at least 18 inches wide with no drawer above it, and the shelf must clear the door frame as it rises. Most lifts are rated for mixers up to about 30 pounds, which covers the common 4.5- and 5-quart models. If you want to explore kitchen drawer organization ideas for the baking tools that go with the mixer, the same base-cabinet thinking applies.
Cost: $120–$300 for the lift mechanism; $250–$600 installed with a shelf. Difficulty: Moderate, about 2 hours. Tip: Store the mixer bowl and attachments on the shelf above the lift. Watch out: The mixer must sit centred on the platform — an off-centre load makes the lift bind and wear out early.
11. Park Heavy Appliances on a Rolling Cart
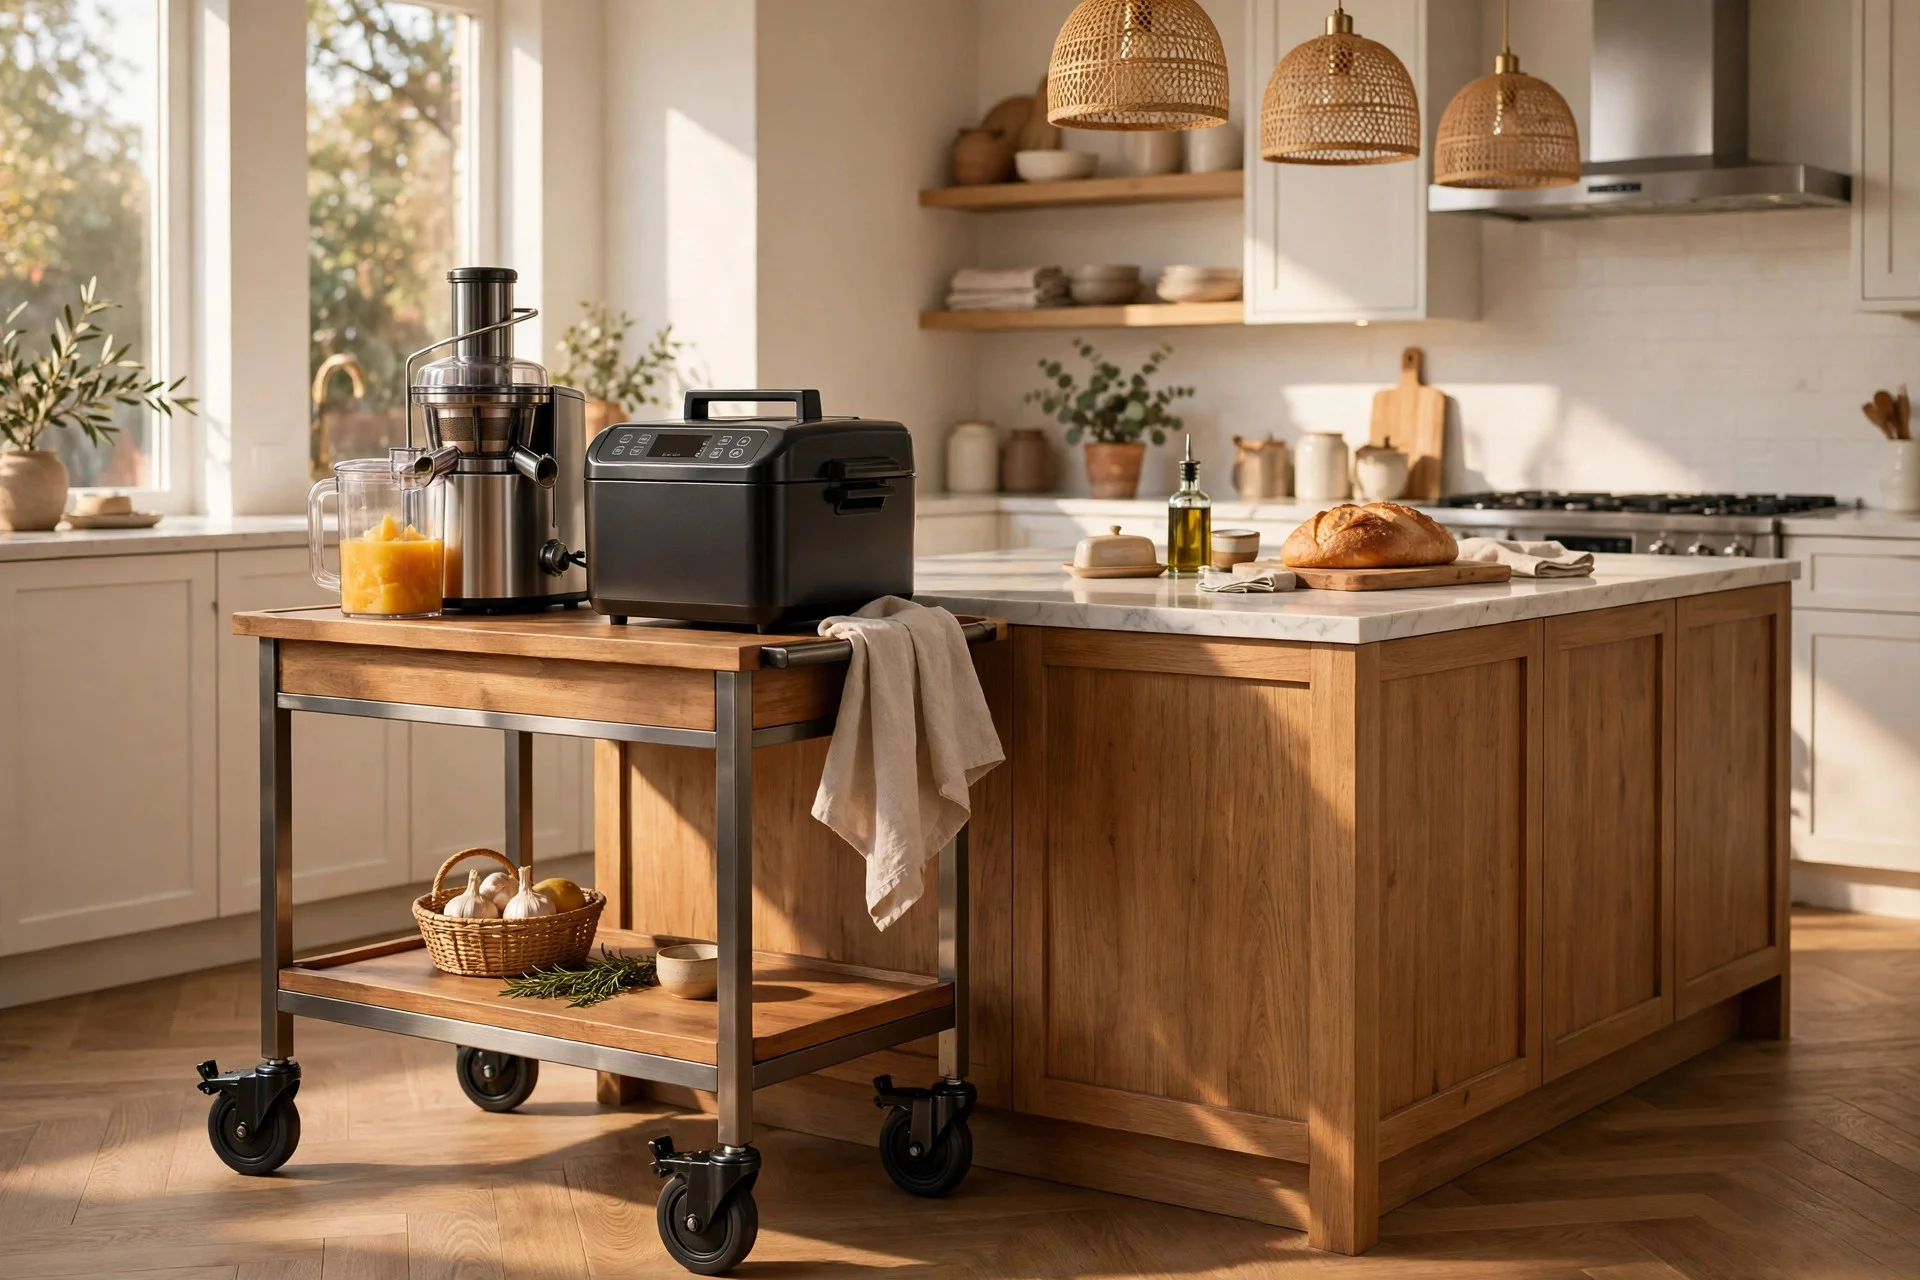
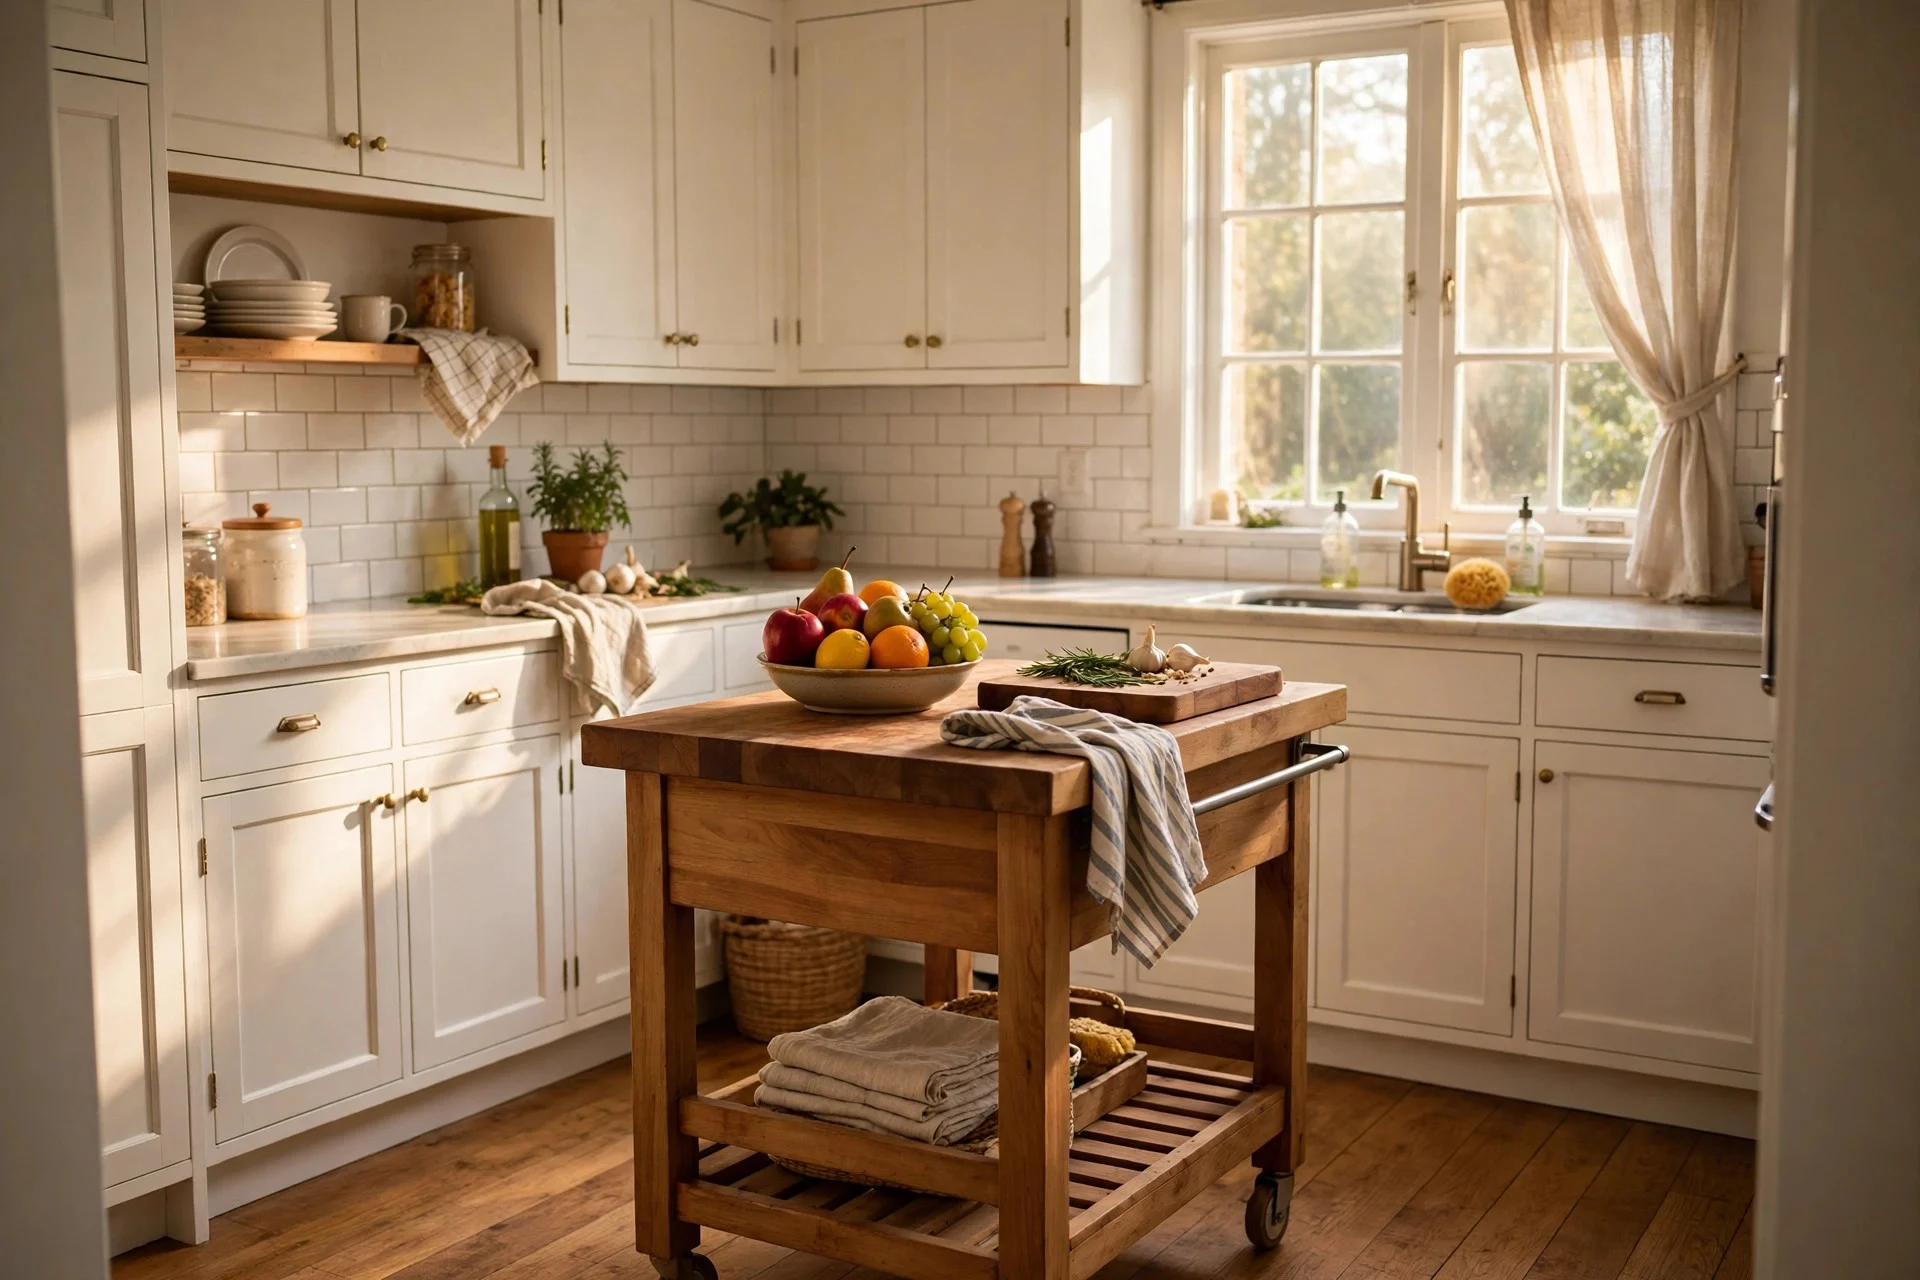
A sturdy rolling cart with locking casters gives heavy or rarely used appliances a home that moves. Roll it out when you need the bread maker or the juicer, roll it back into a pantry or the gap beside the fridge when you are done.
Look for a solid top at counter height, a lower shelf for the appliance, and casters that lock — a cart that rolls while a blender runs is a bad idea. In an L-shaped kitchen layout, a cart can also fill an awkward corner that nothing else fits.
Cost: $40–$200 for a ready-made cart; $150–$400 for a heavy-duty one. Difficulty: Easy, under an hour to assemble. Tip: Measure the parking spot before you buy — carts look smaller in the store than in a narrow kitchen. Watch out: Keep the cart’s load under the caster rating, and always lock the wheels before you switch an appliance on.
12. Tidy the Cords and Set a One-Appliance-Out Rule
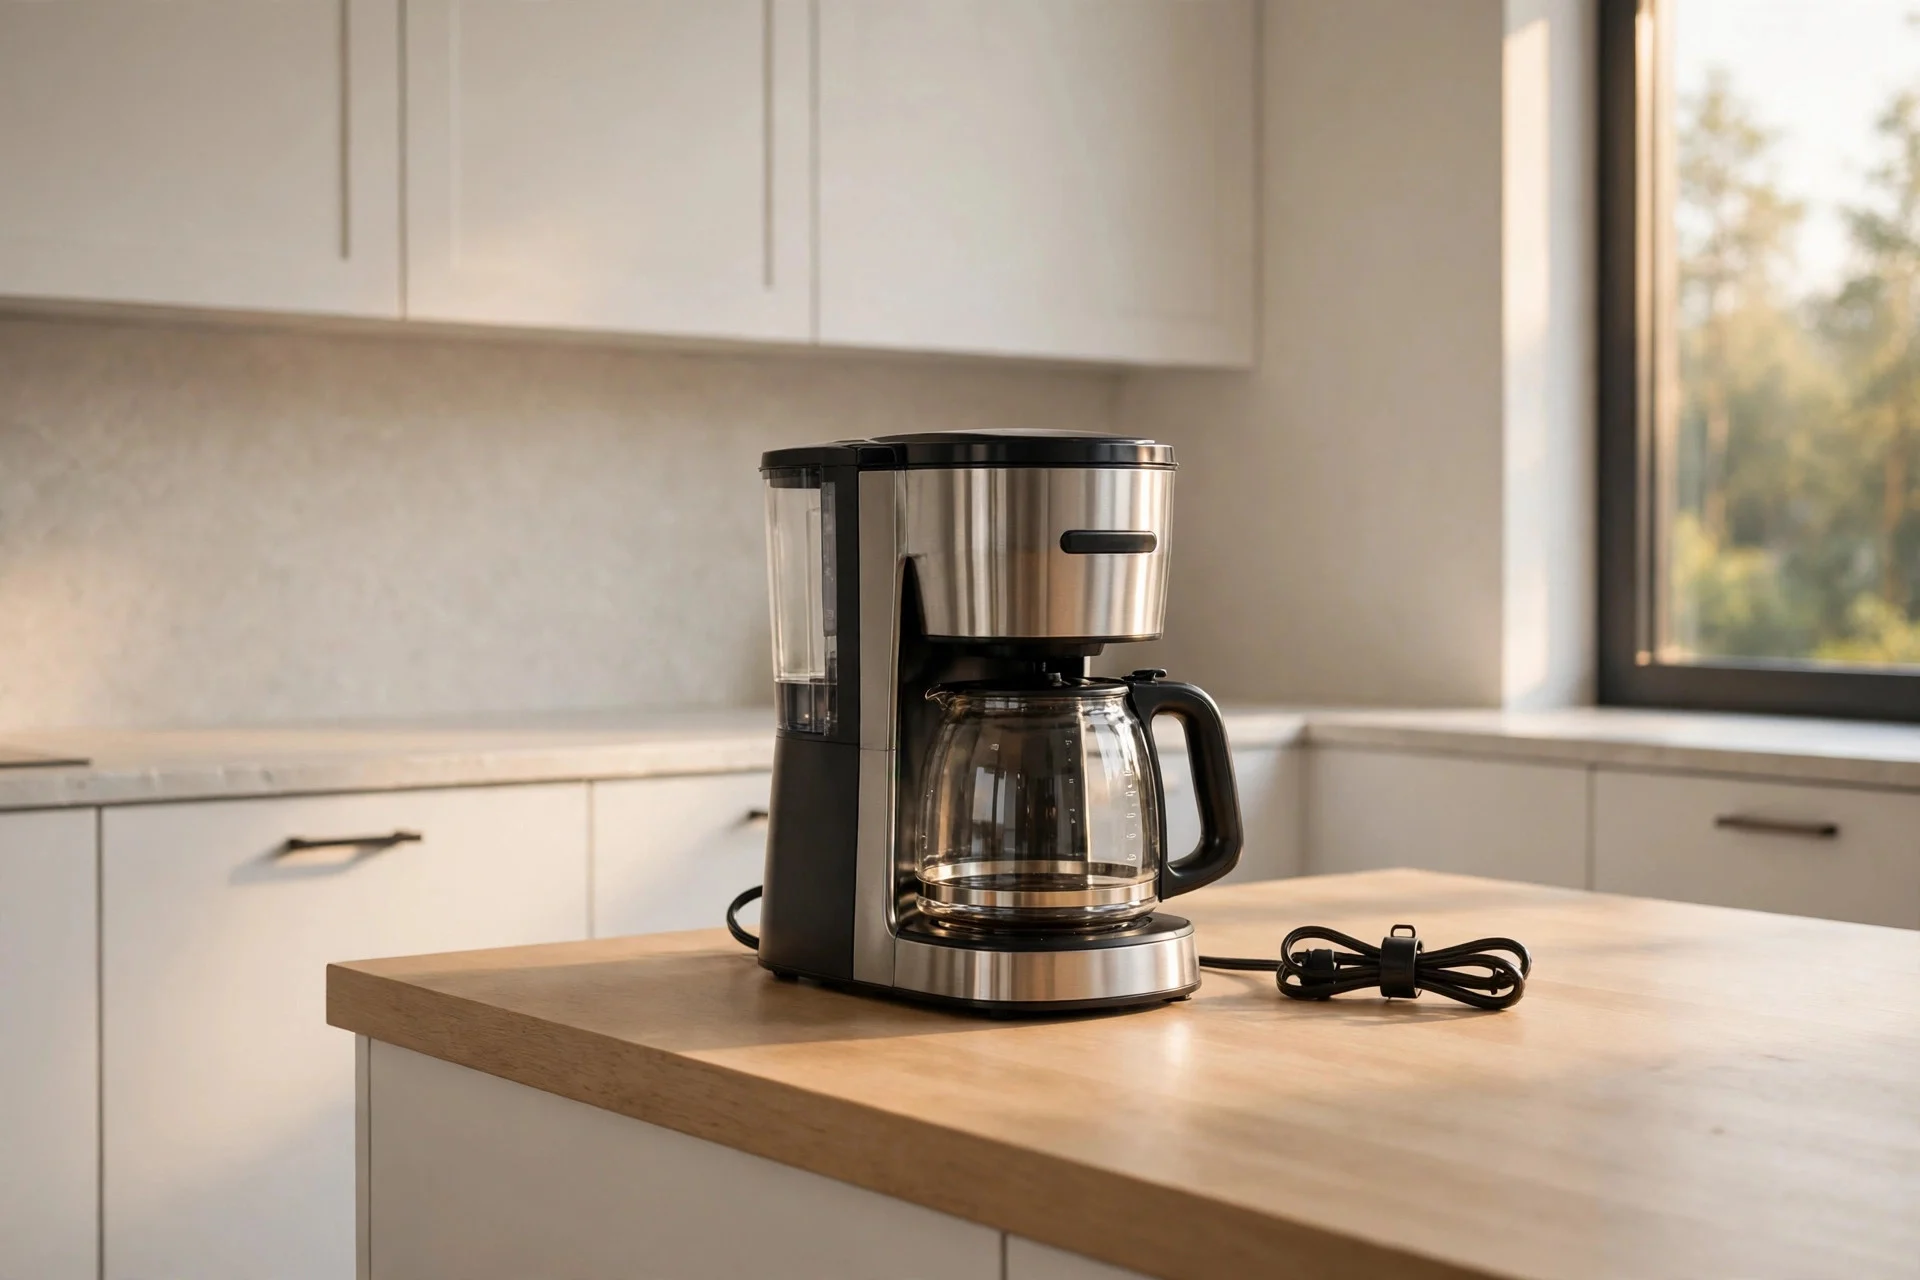
Storage only works if the habit holds. Cords are the giveaway: a tangle of plugs across the backsplash makes even a clear counter look messy. Shorten cords with a wrap or clip, and plug everything into a power strip hidden inside the cabinet or behind the appliance it serves.
Then set the household rule: only one appliance stays out at a time, and it goes back when the job is done. The coffee maker can stay out during breakfast; after that, it goes back in the garage. It takes about two weeks for the habit to stick, and a marked spot inside the cabinet helps everyone remember where things belong. It is the same thinking behind galley kitchen ideas for narrow kitchens: every item has one home.
Cost: $10–$30 for cord clips, wraps, and a power strip. Difficulty: Easy, about 20 minutes. Tip: Label the strip’s outlets so nobody unplugs the fridge by mistake. Watch out: Never run a cord under a rug or across a walkway, and never plug a toaster and a kettle into the same cheap strip at once.
Frequently Asked Questions
What is an appliance garage in a kitchen?
An appliance garage is a cabinet that hides small appliances behind a door — usually a roll-up tambour door or a lift-up door. The appliances stay plugged in inside, so you open the door, use them, and close it to hide the clutter. It works best for the coffee maker, toaster, and blender.
How much does an appliance garage cost?
A ready-made tambour unit runs about $150–$600, while a custom-built one costs $400–$1,200 depending on size and finish. Cheaper options exist: a pull-out shelf costs $25–$120, and a rolling cart runs $40–$200.
Can I put a coffee maker inside a cabinet?
Yes, if the cabinet has ventilation and an outlet inside, and you keep the door open while it brews. Steam and heat build up fast in a closed cabinet and can warp wood or damage the appliance. Open the doors fully while it runs, and let it cool before closing up.
Where should I store a stand mixer?
A stand mixer belongs on a mixer lift inside a base cabinet, or on a pull-out shelf at counter height. Both keep a heavy appliance off the counter without forcing you to lift it from a low shelf every time you bake. If neither fits, a sturdy rolling cart at counter height is a good backup.
How do I hide appliances in a small kitchen?
Start with the cheapest fixes: a pull-out shelf, a deep drawer, or a rolling cart. Use vertical space with a tall pantry shelf, and keep only the appliance you use daily on the counter. In a small kitchen, the one-appliance-out rule matters more than any cabinet — storage only helps if things actually go back.
A Clear Counter Is a Habit, Not a Purchase
You do not need all 12 ideas. Start with the audit in step 1, then pick the one fix that solves your biggest annoyance — the coffee maker that never moves, the mixer you dread lifting, the toaster that owns the corner. Get that one working, live with it for a week, then add the next fix if you still need it. A clear counter comes from giving every appliance a home and putting it back when you are done; the right cabinet just makes that easy.