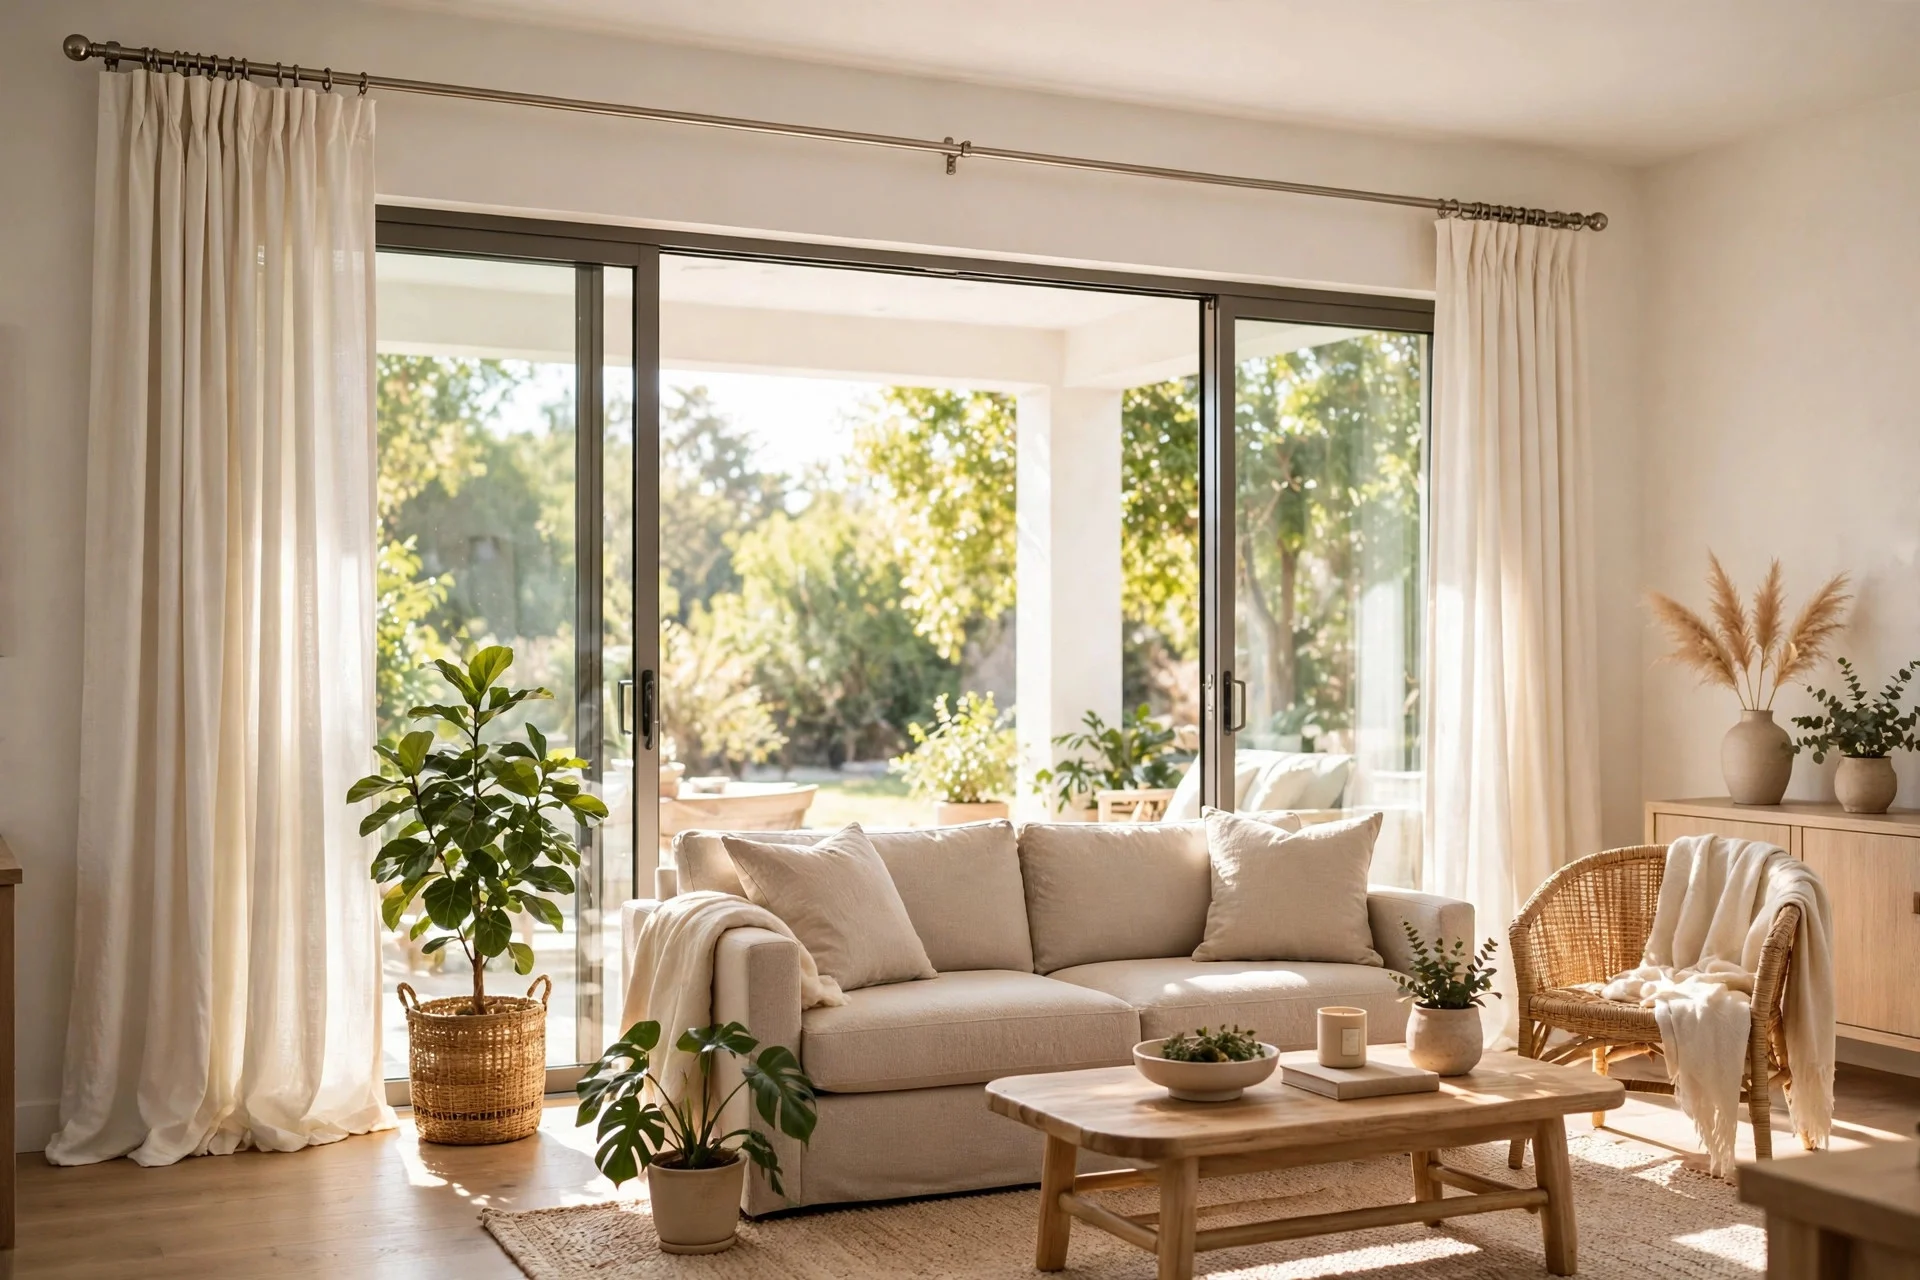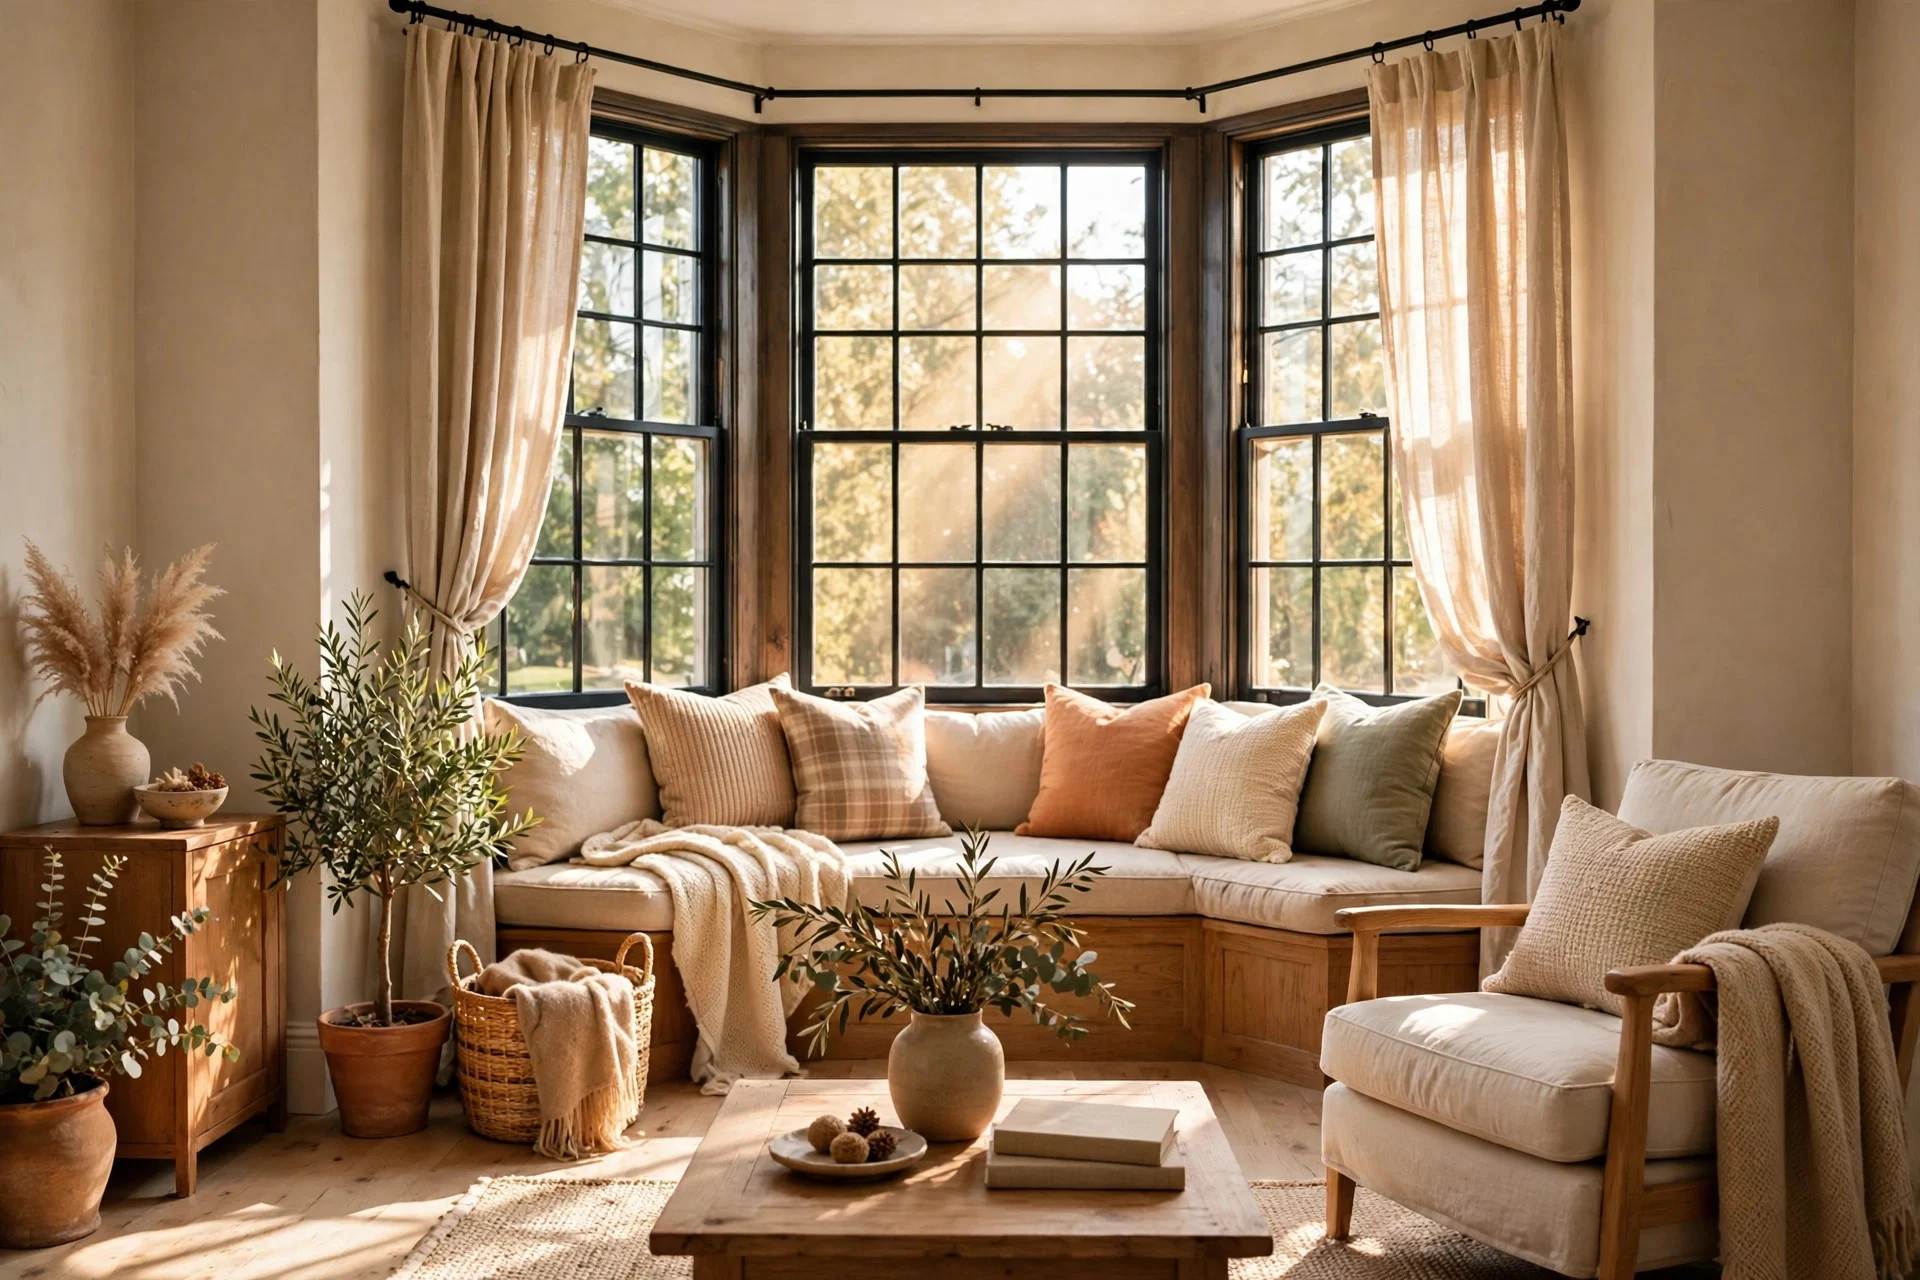
18 Earthy Living Rooms With Limewash Walls
Most people hear “limewash walls” and picture a Tuscan villa or a boutique hotel room pricier per night than their rent. The finish looks expensive, old-world — not something for a regular suburban living room.
Here’s the thing: limewash is an old finish — crushed limestone and water, brushed onto walls for centuries because it was cheap and available. A quart of the real stuff costs less than a takeaway dinner for two, and “limewash-look” acrylics cost about the same as any mid-range paint. The fancy reputation is mostly marketing.
So no, you don’t need a villa budget. Below are 18 earthy living room ideas in three honest budget tiers: under $50, $50–$200, and $200+. Tier one never touches your walls — just accents and small DIYs that buy you the texture for pocket money. By tier three, you’re limewashing the whole room. Start wherever your budget allows.
A 60-Second Limewash Primer
Two products get sold as “limewash,” and it matters which one you buy. True limewash is mineral-based: it soaks in and dries to a soft, cloudy finish no roller can fake. Limewash-effect paint is regular acrylic with a matte, mottled look — far more forgiving over painted drywall and easier to clean. For furniture and small accents, either works; for a full wall, beginners should pick the effect paint.
Use a big, soft block brush and work in loose criss-cross strokes — rollers give flat, boring coverage, the opposite of what you’re after. Still weighing limewash against a standard color? This complete guide to choosing a living room paint color covers warm vs. cool undertones, which matters once texture enters the picture.
Tier 1: Under $50 — Limewash Accents You Can DIY This Weekend
Nothing in this tier touches your walls. A sample pot or quart of limewash, a brush, and things you likely already own — that’s the whole shopping list.
1. Clay Pots Brushed With Limewash
Terracotta pots are already earthy; a dry-brushed coat of white or putty-toned limewash gives them a weathered, old-garden look — group three to five of different heights near a window.
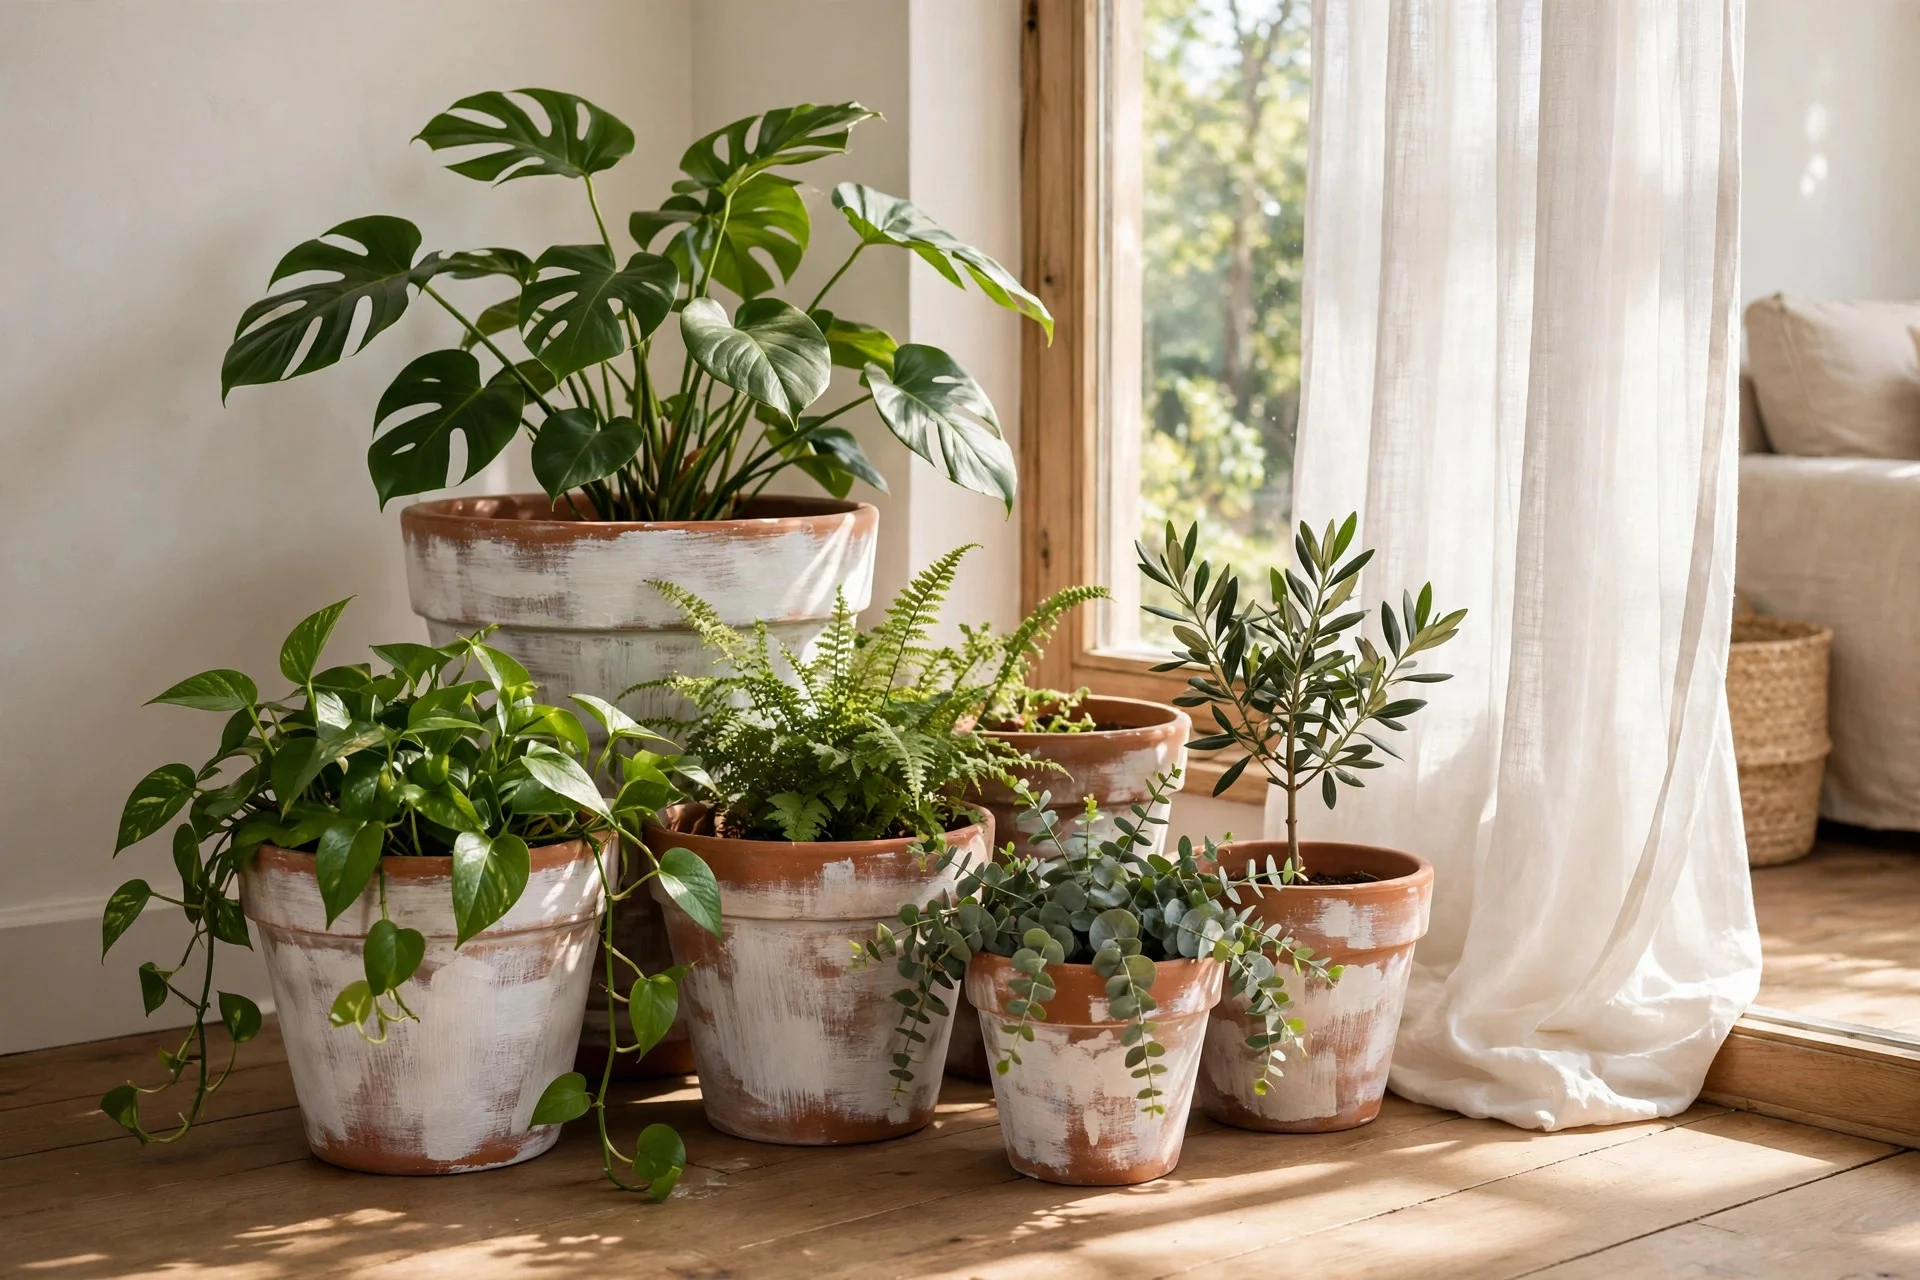
Cost: $8–$20 for a sample pot and a cheap brush (pots are $2–$5 each at garden centers). Difficulty: easy. Time: about 30 minutes plus drying.
Tip: thin the first coat with water so terracotta shows through in patches — the two-tone wear reads as aged, not painted.
Watch out: real limewash isn’t waterproof until sealed. Use saucers on wood floors — watering day will ring both the paint and the floor.
2. A Gallery Wall of Limewashed Frames
Mismatched thrift-store frames become a coherent set with one unifying coat of limewash. Wood, plastic, even cheap gold frames all take it — the chalky finish gives the arrangement a collected-over-time feel.
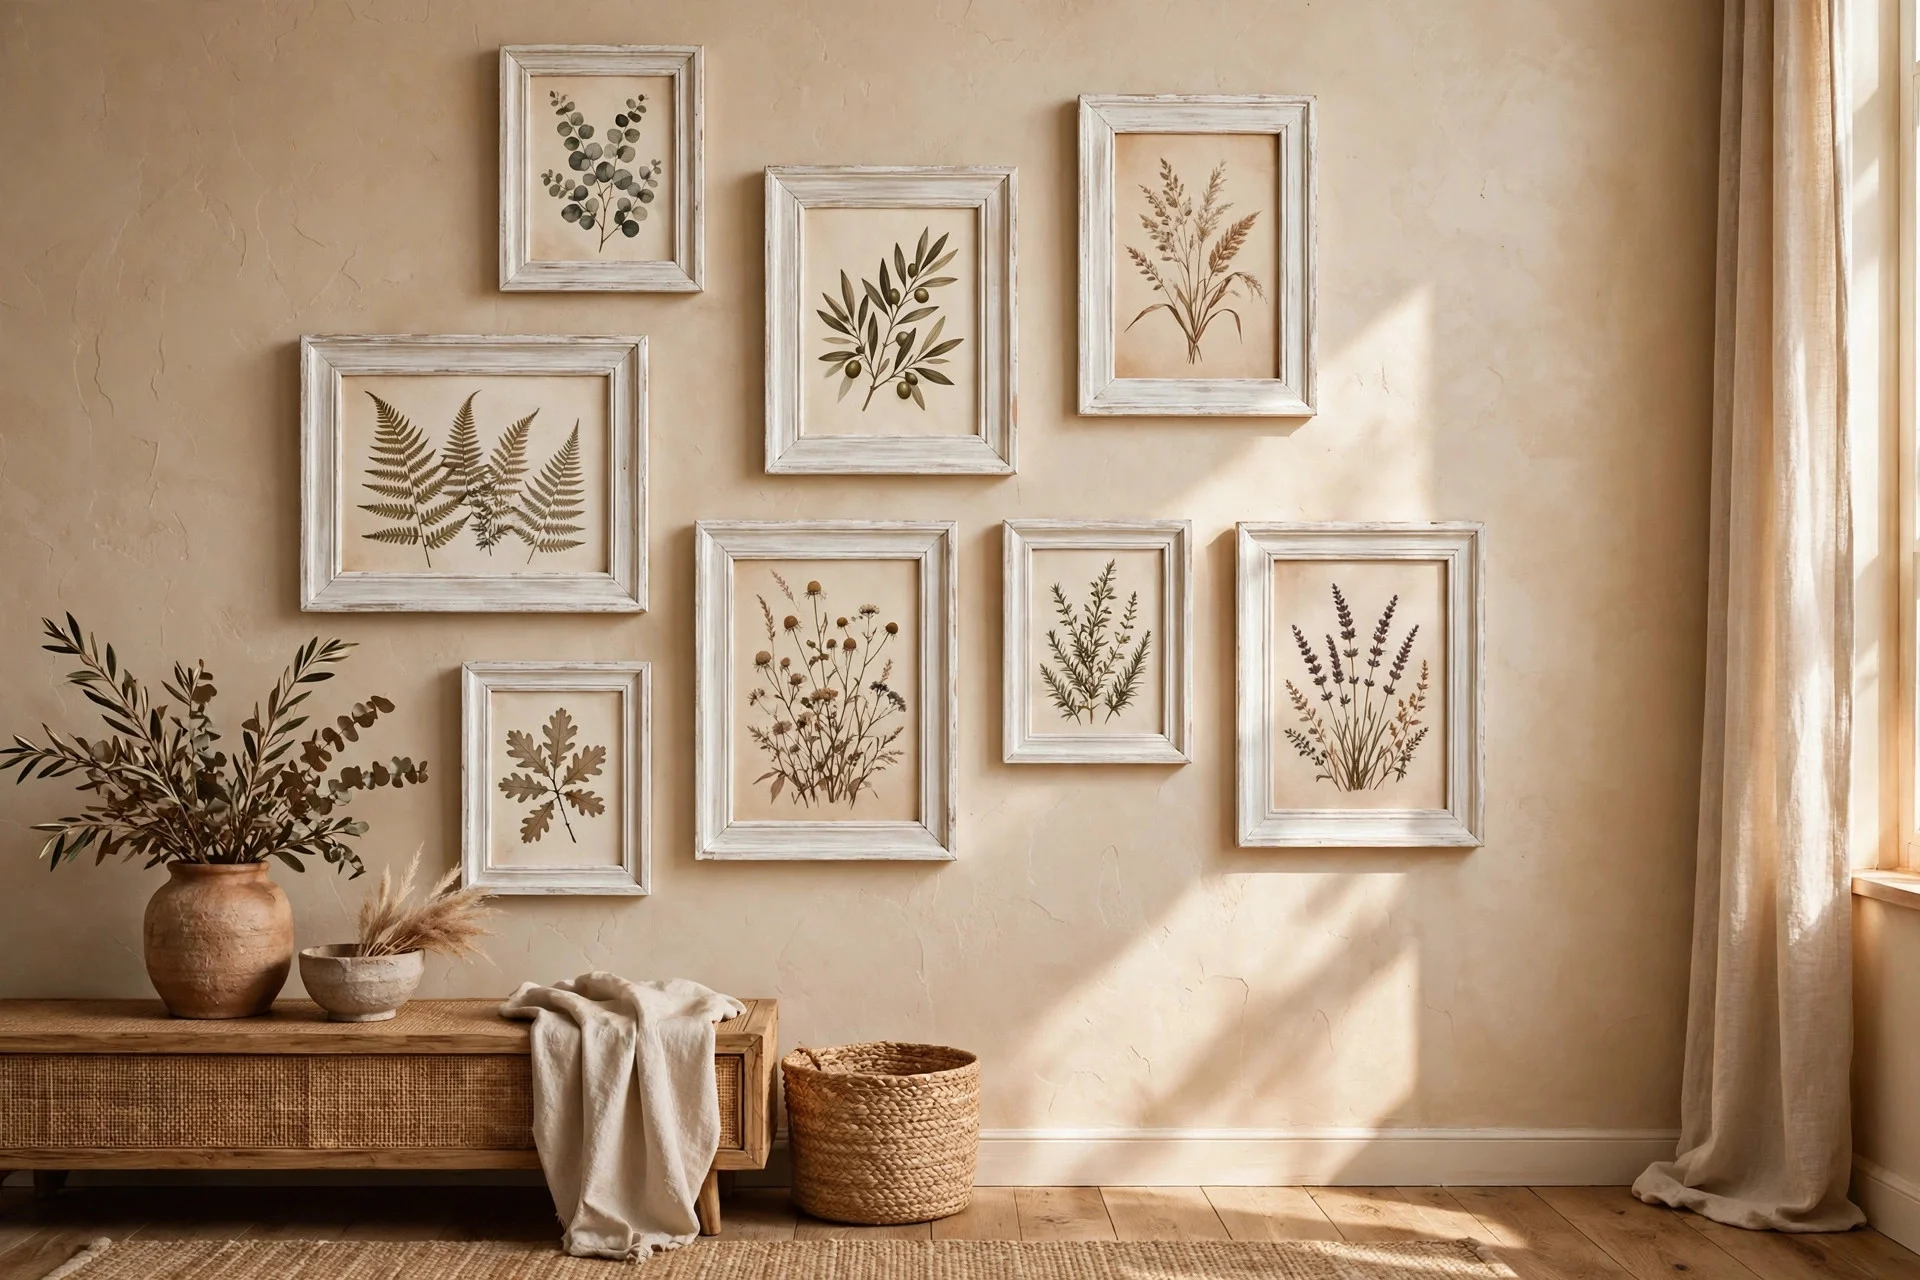
Cost: $10–$30 (frames from thrift stores at $1–$3 each, plus a sample pot). Difficulty: easy. Time: an hour to paint, overnight to dry.
Tip: leave a few corners thinly covered so the original finish peeks through.
Watch out: measure your layout on the floor first. Nine frames look abundant; fourteen look cluttered in a small living room.
3. Stenciled Linen Cushion Covers
Plain beige linen covers are cheap; the limewash-stenciled versions in home stores are not. With a simple stencil and limewash thinned to fabric-paint consistency, you can make the expensive version yourself.
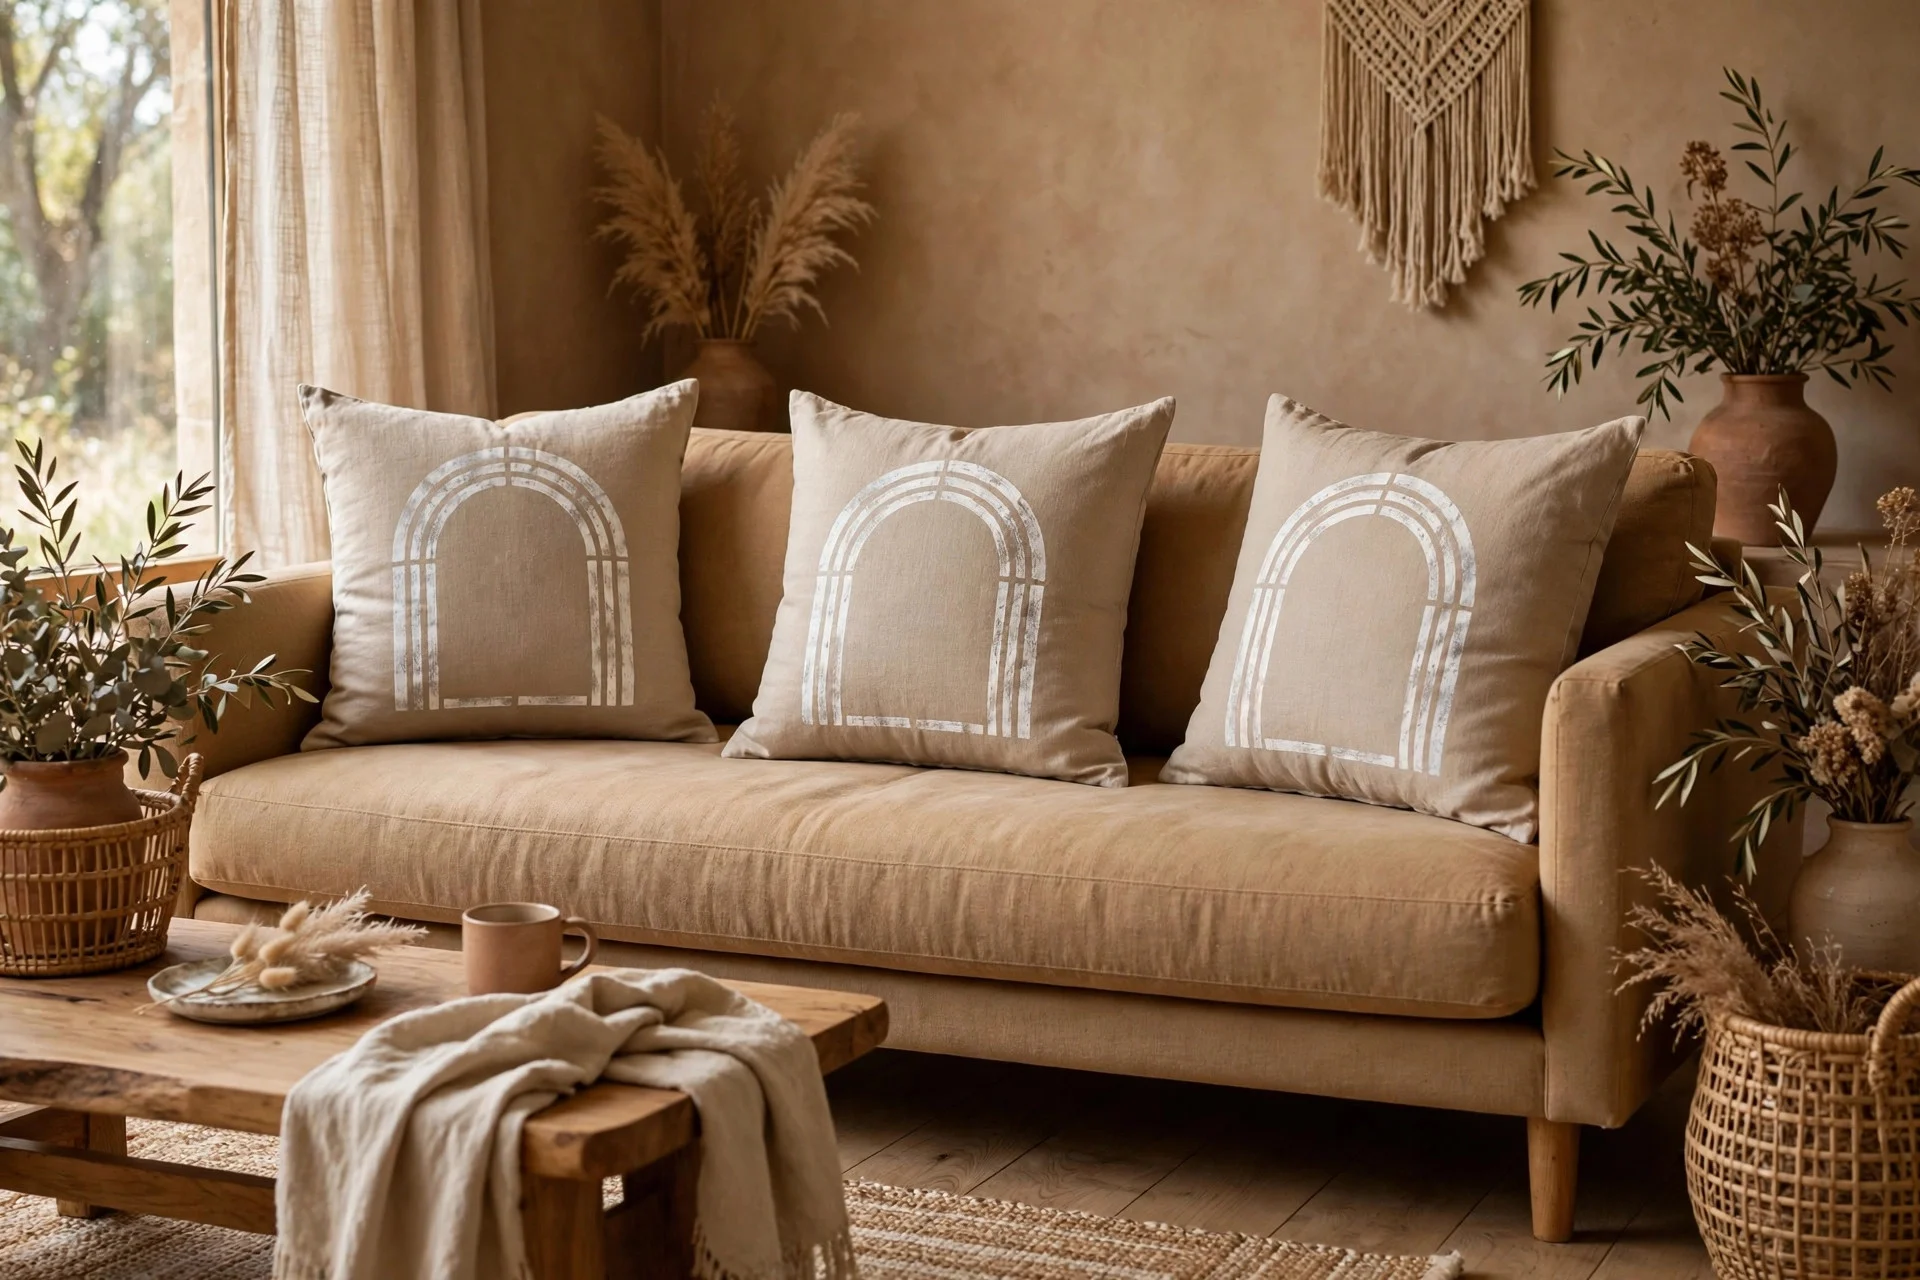
Cost: $10–$20 for two plain covers plus a sample pot. Difficulty: easy. Time: 45 minutes.
Tip: dab the stencil with a nearly dry sponge — limewash is thin and will bleed under the edges if you load it like wall paint.
Watch out: these become decorative-only — real limewash fades in the wash, so keep them from sticky hands.
4. A Limewashed Wooden Stool
Every living room has a corner that needs a small perch — for a plant, a stack of books, a cup of tea. A plain pine stool, brushed with limewash and lightly sanded at the edges, looks like a flea-market find.
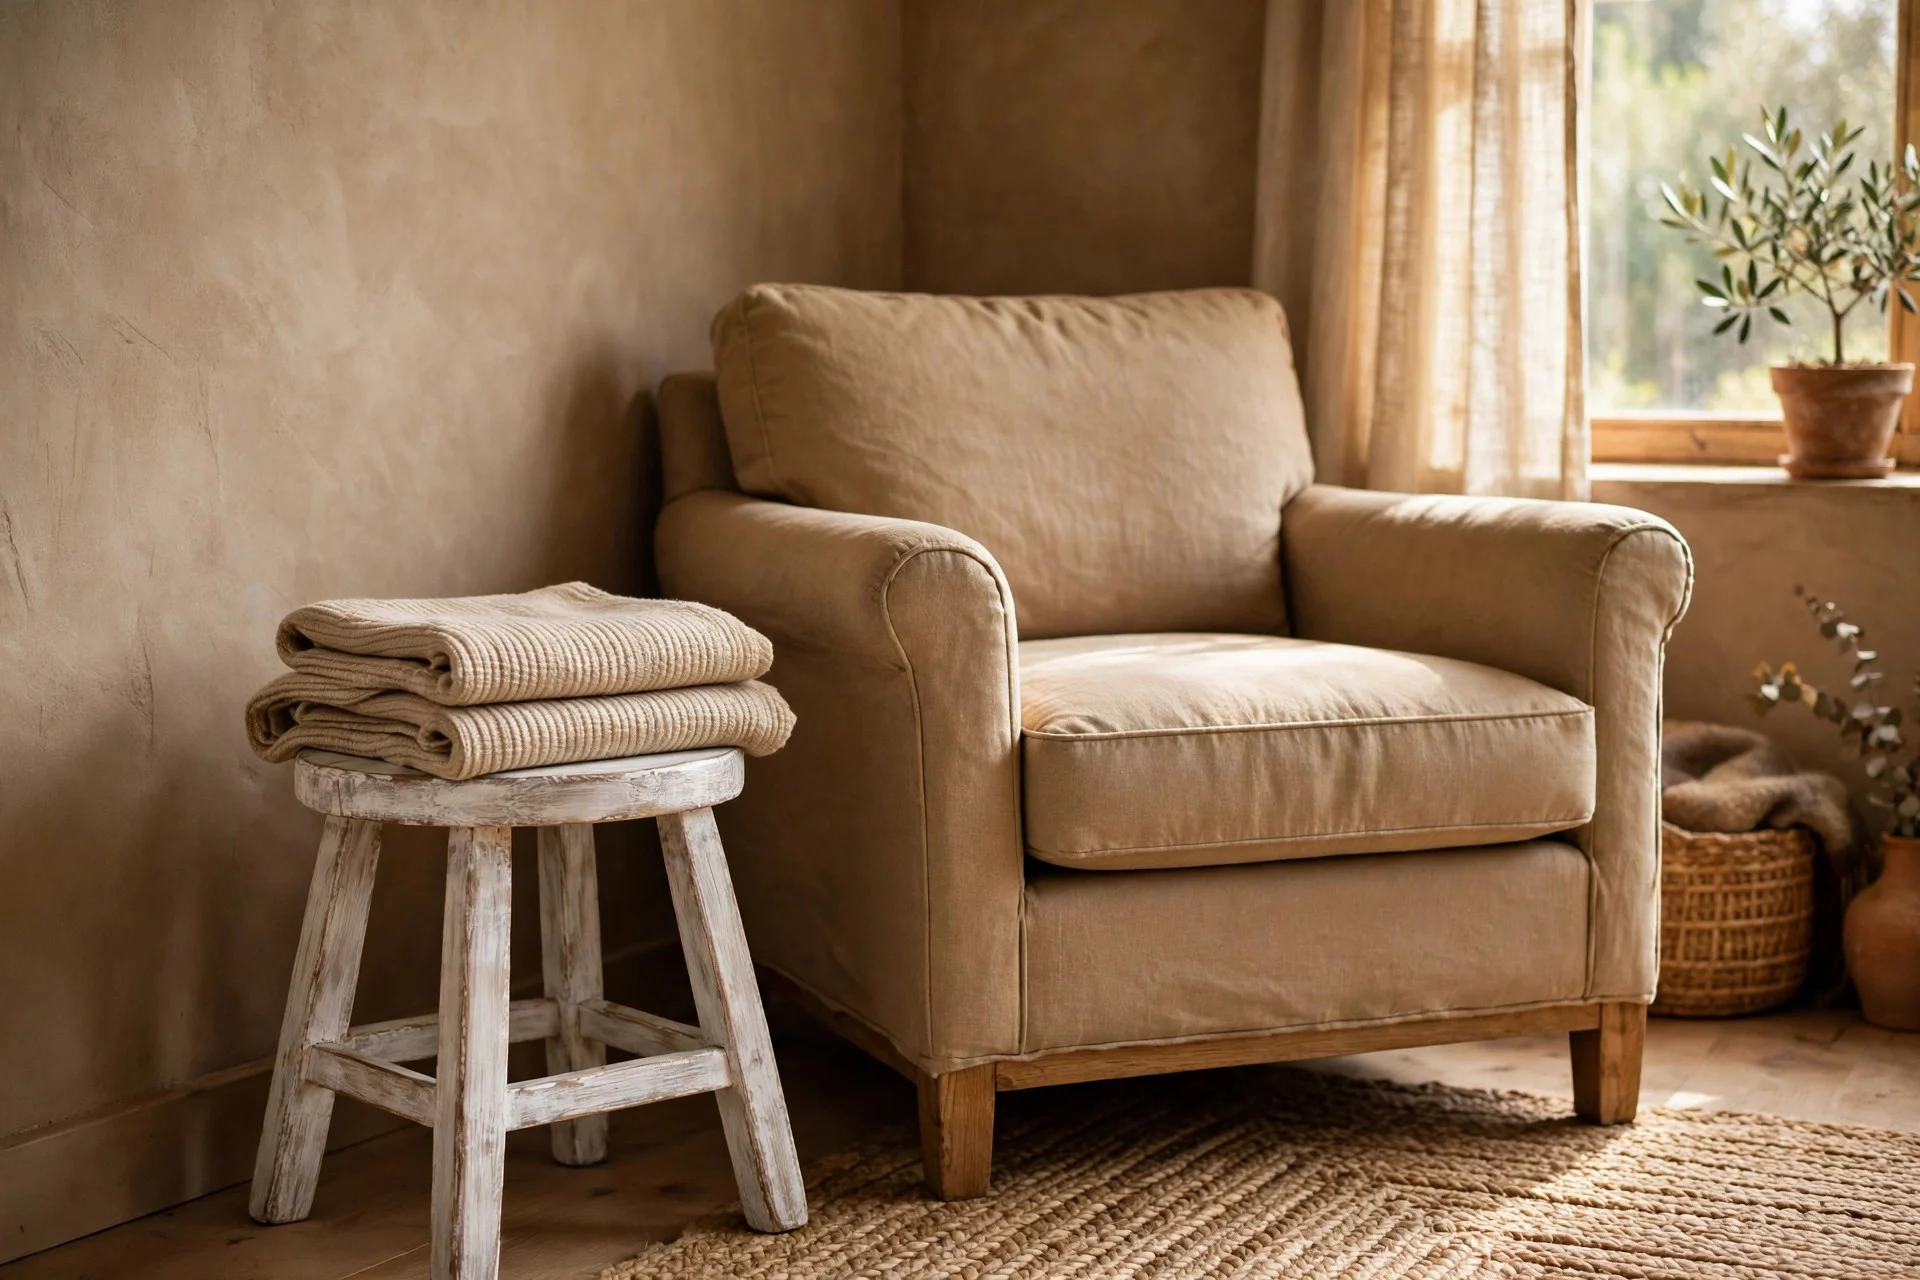
Cost: $15–$40 (a basic pine stool plus a quart of limewash). Difficulty: easy. Time: about an hour, mostly drying between coats.
Tip: two thin coats beat one thick one — thick limewash chips, while thin coats wear gracefully at the edges.
5. Stone-Look Vases From Glass Ones
Glass vases coated inside and out with limewash read as carved stone from three feet away — the cheapest route to that heavy, matte pottery look, with vases you probably own.
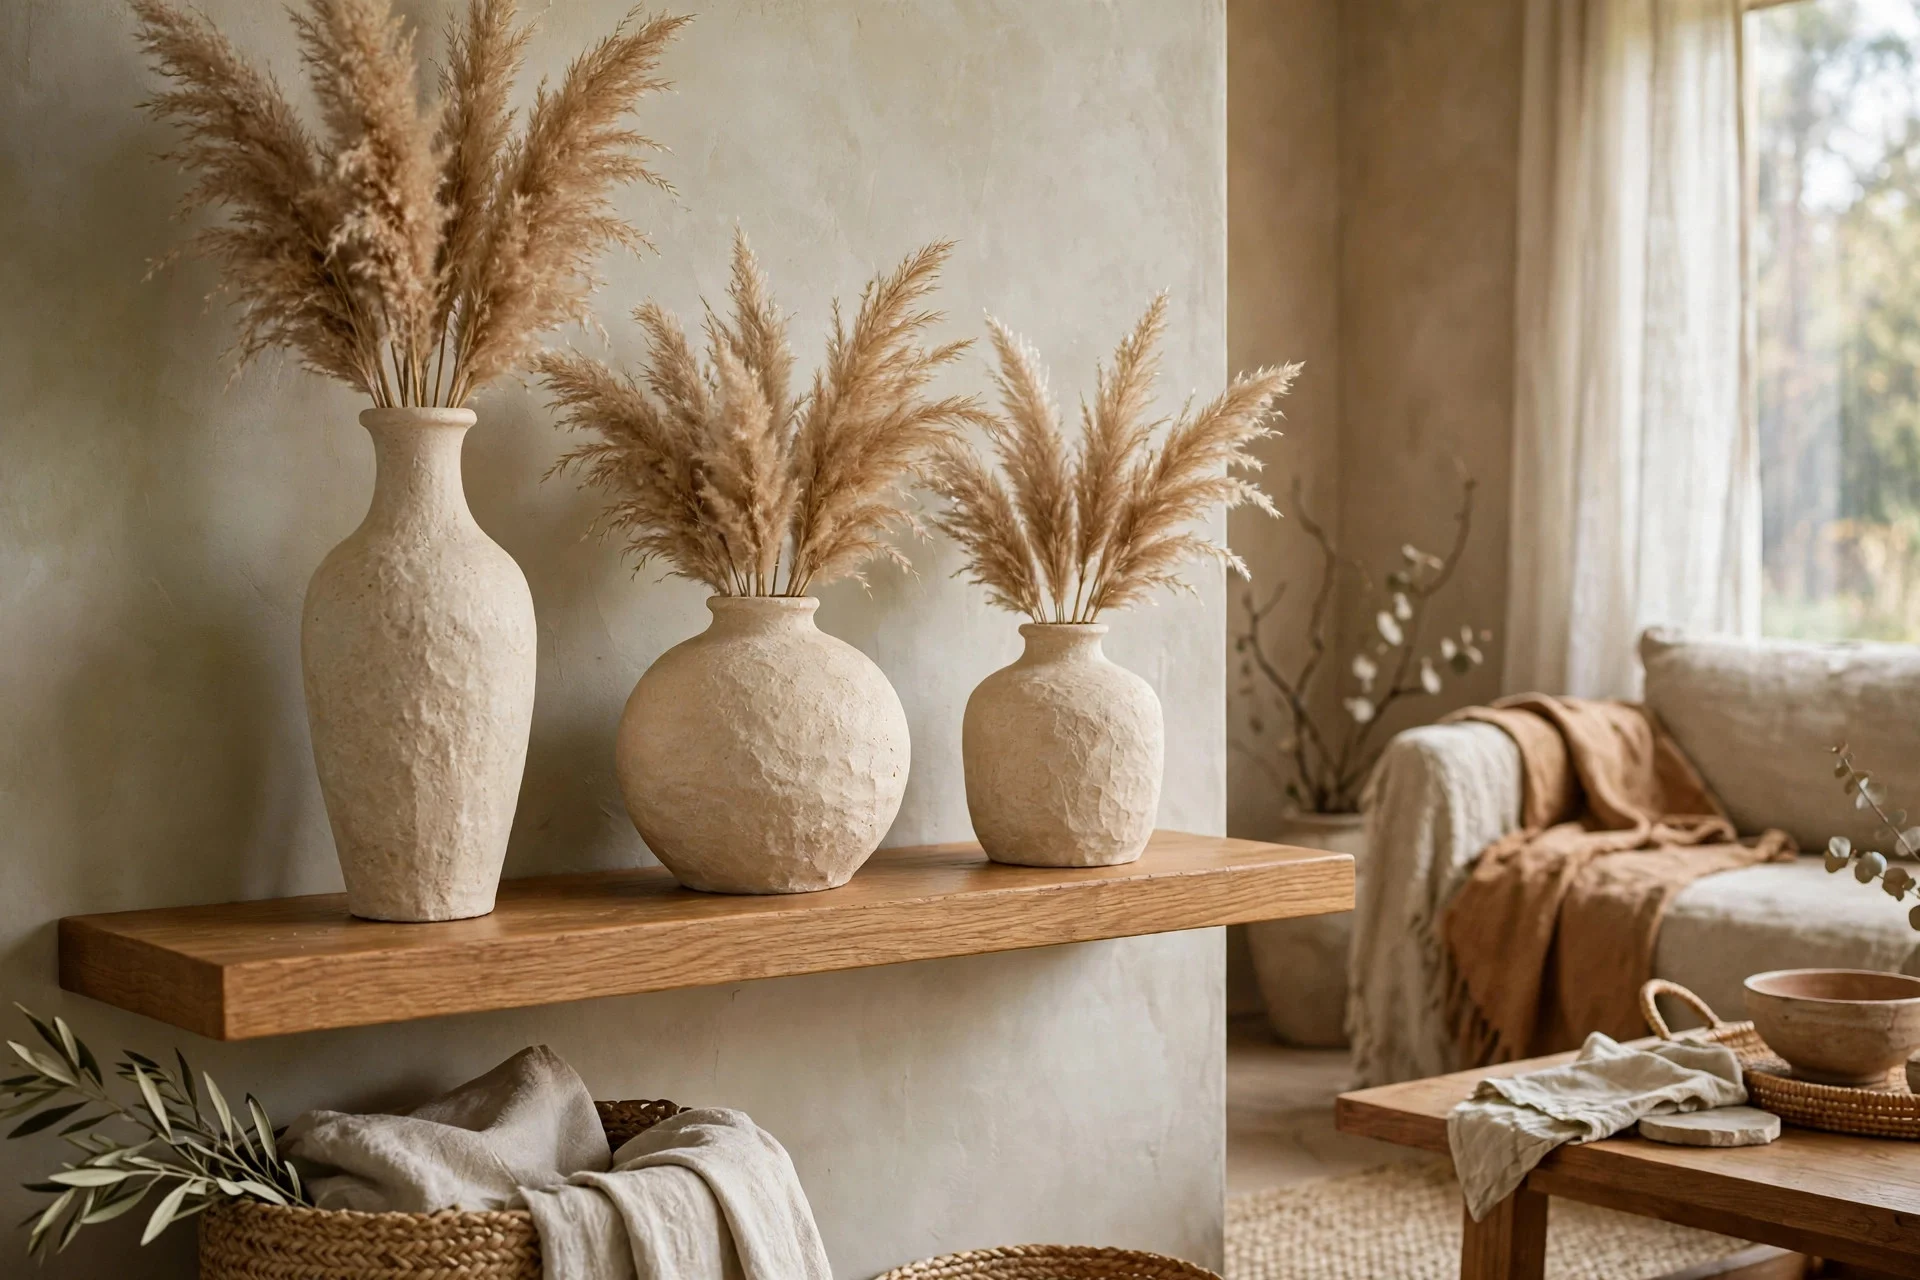
Cost: $8–$25 for a sample pot if the vases are already in your cupboard. Difficulty: easy. Time: 20 minutes of painting, a few hours of drying.
Tip: paint the inside too and seal with matte spray once dry — then they hold water safely.
6. One Painted Arch Behind a Plant
A single large arch — terracotta, clay, or warm ochre — in limewash behind a tall plant is the highest-impact $30 in this guide. It frames the plant like art and adds architecture where there is none.
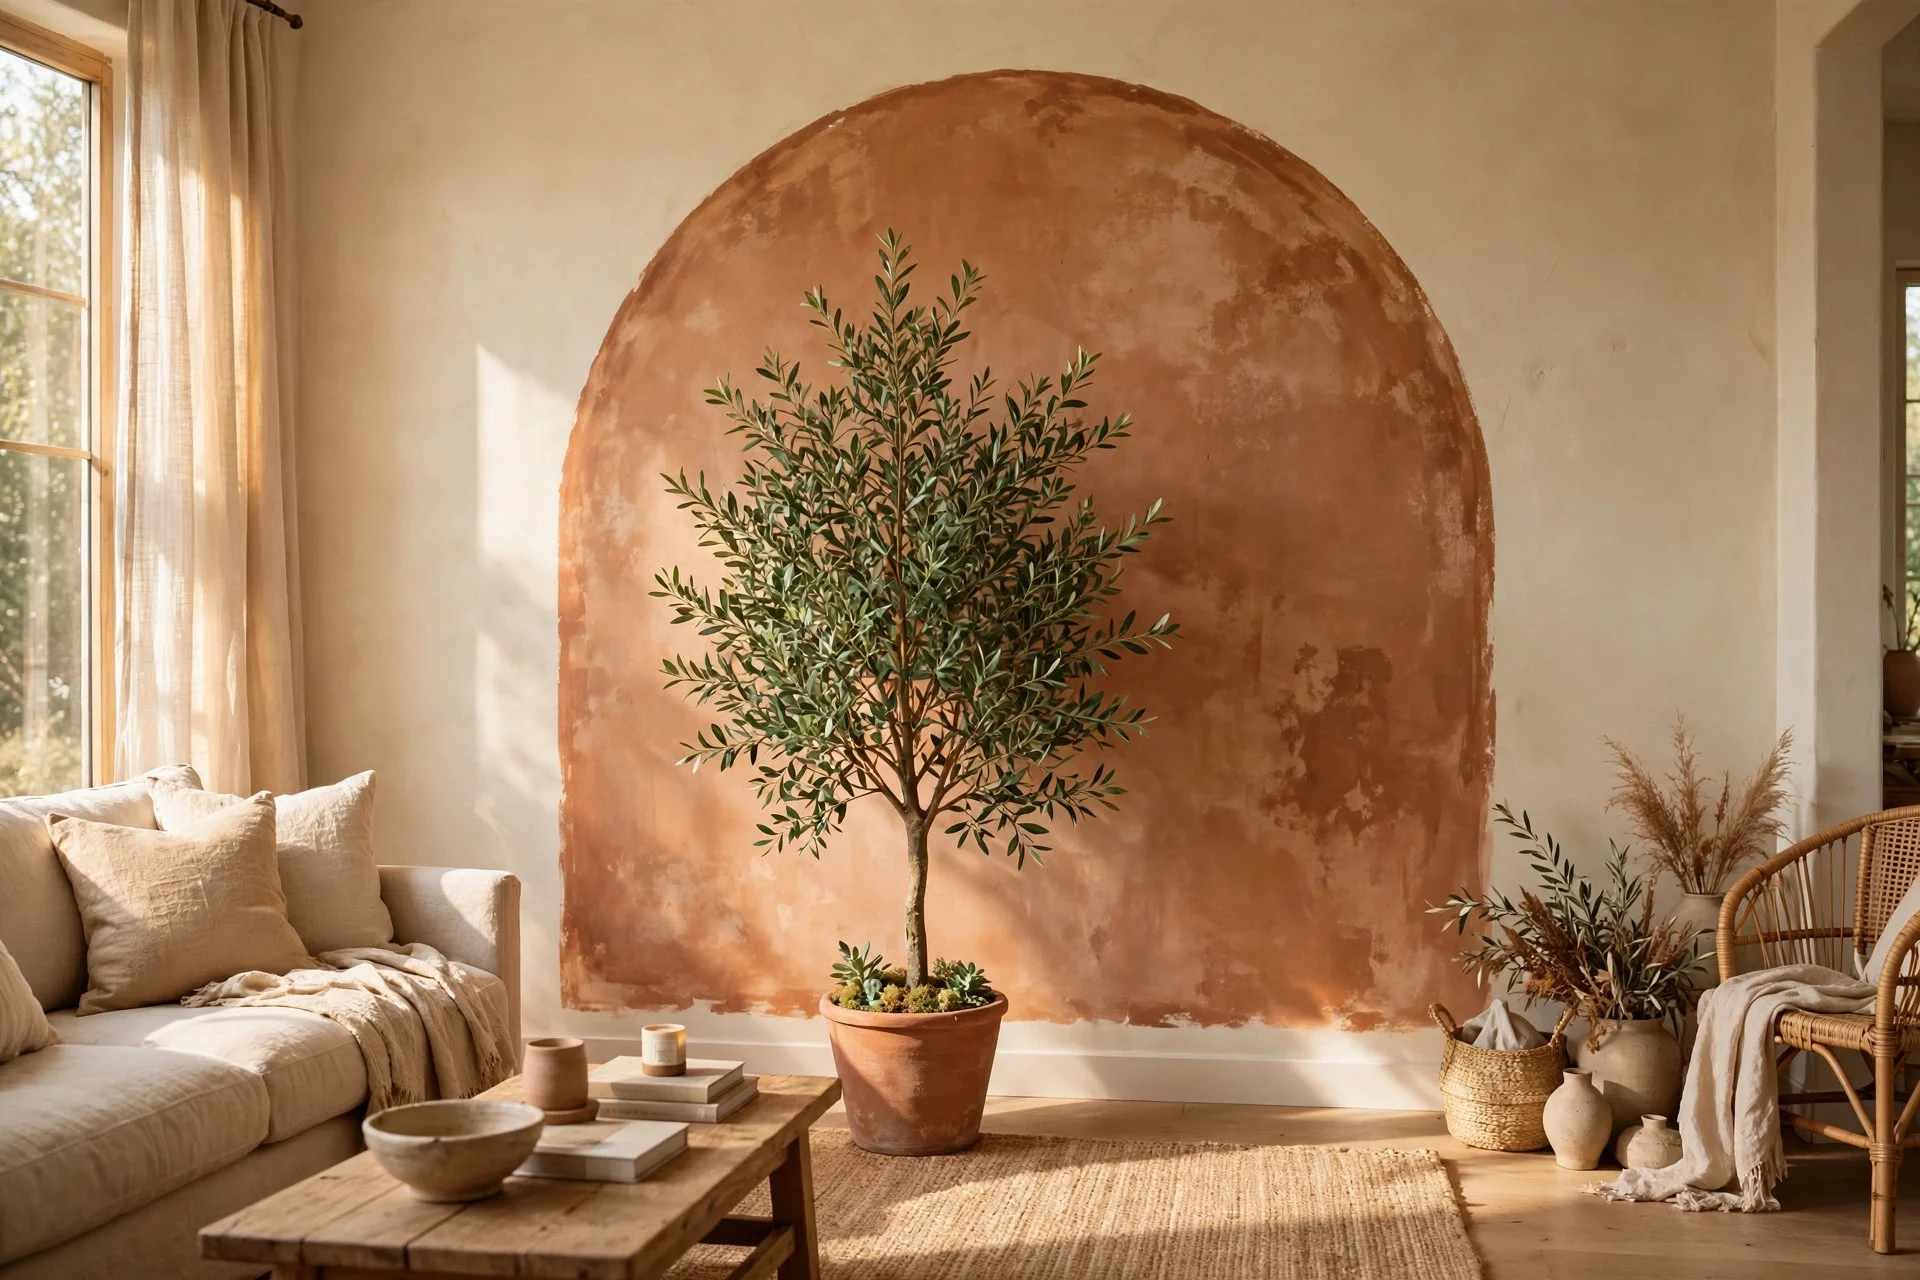
Cost: $20–$45 for a quart of limewash and painter’s tape. Difficulty: easy to moderate (drawing the arch is the hard part). Time: 2–3 hours.
Tip: draw the arch with a pencil tied to a string pinned at the center — a perfect curve in 30 seconds, no freehand wobble.
Watch out: brush existing wall color along the tape line first — thin limewash bleeds underneath.
Tier 2: $50–$200 — Bigger Swatches of Texture
This is where limewash starts touching walls and larger furniture — in contained, low-risk doses. The fix for any mistake is a weekend, not a contractor.
7. Limewash the Fireplace Surround
A dated red-brick or tired painted fireplace makes a whole living room feel stuck in 1998. A warm clay or putty-toned limewash keeps the brick’s texture visible while pulling the color into the present — and it becomes the room’s natural focal point.
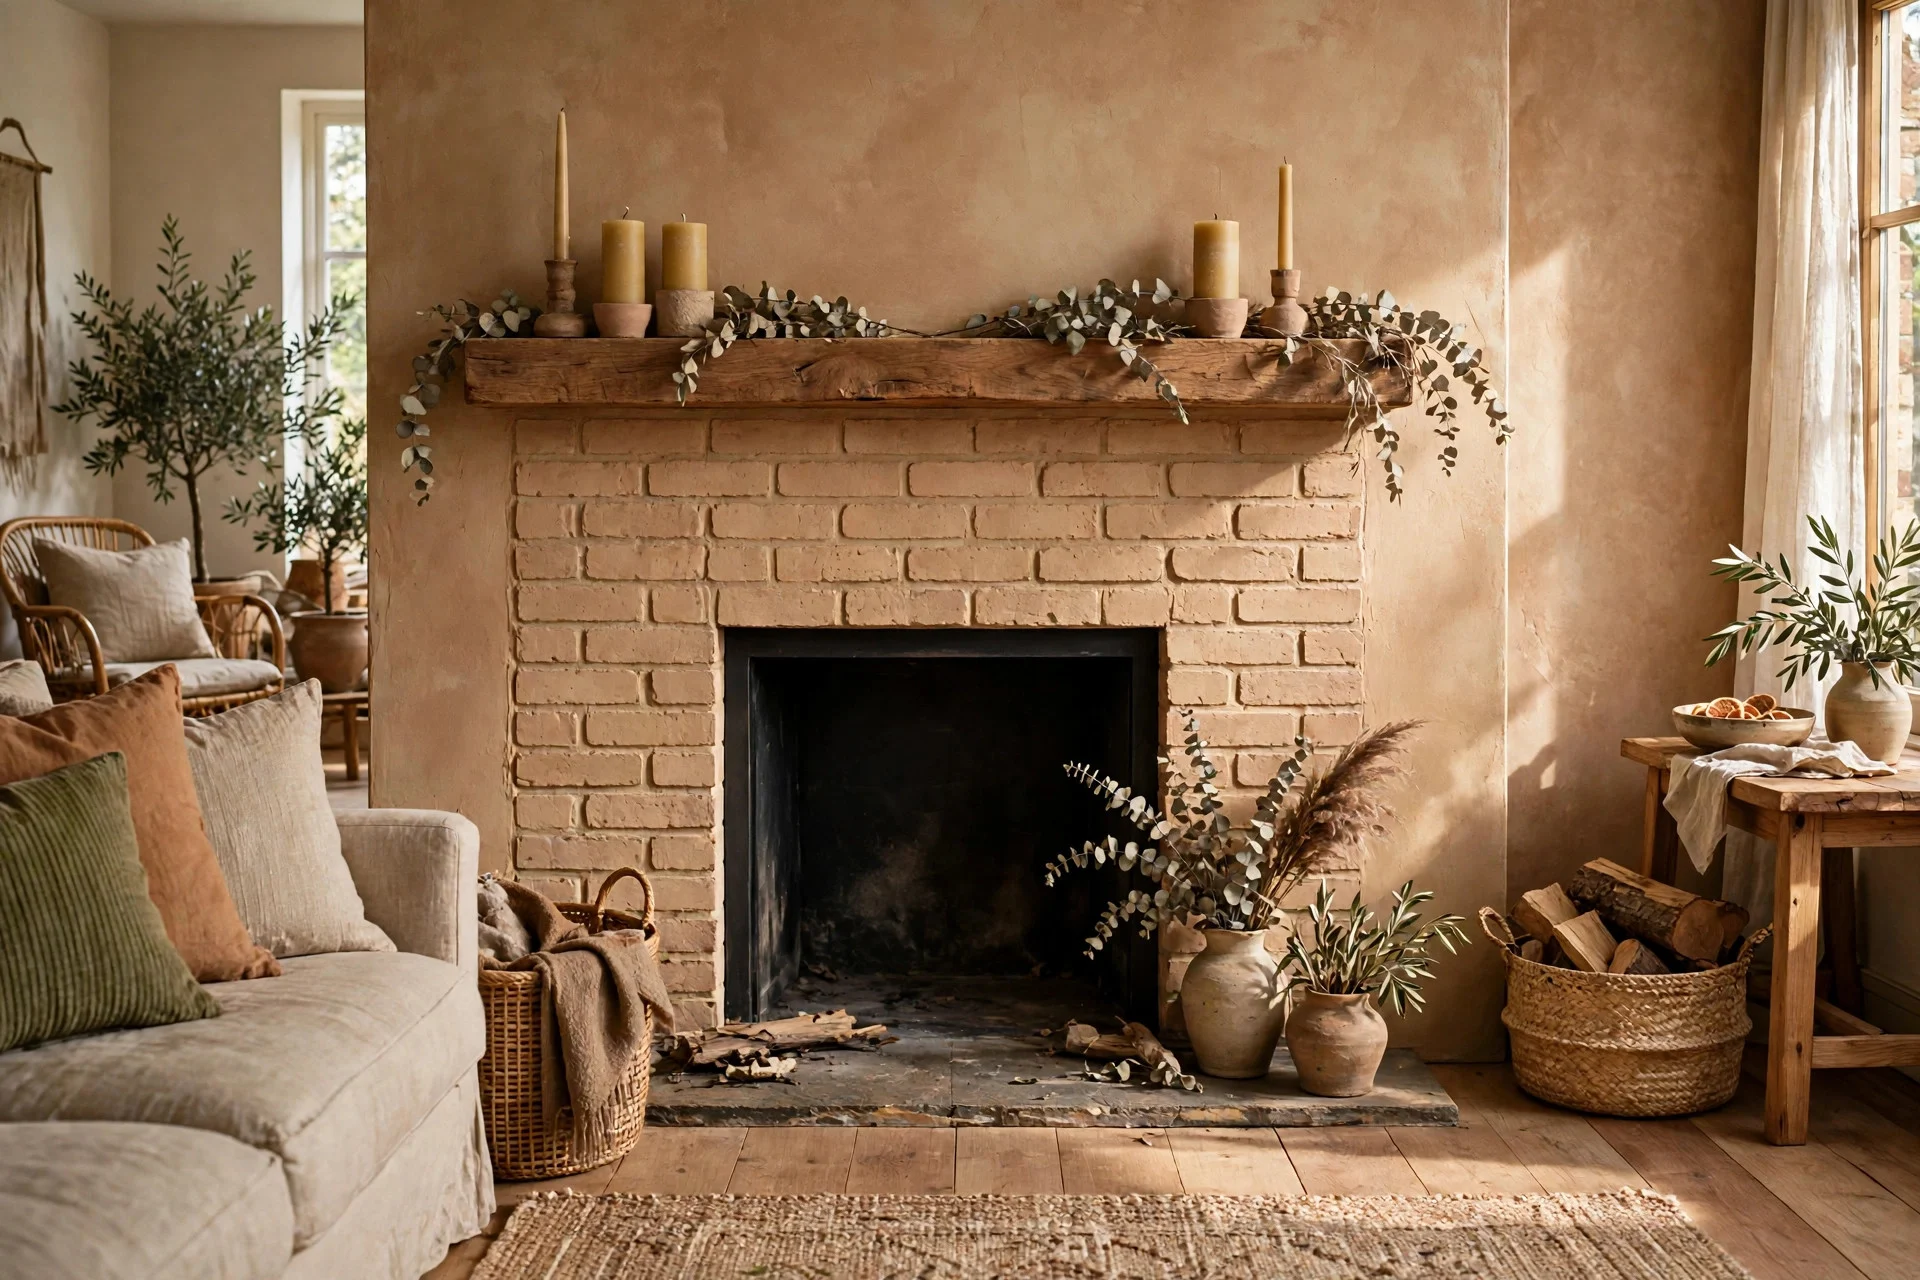
Cost: $60–$120 for paint and supplies. Difficulty: moderate — brick drinks paint. Time: a full day including drying between coats.
Tip: scrub the brick with a stiff brush and TSP substitute first — soot and dust are why limewash peels off fireplaces, and cleaning takes longer than painting.
Watch out: use a heat-rated sealer inside the firebox opening — standard limewash can discolor near direct flame heat.
8. A Limewash Half-Wall Stripe
Run a limewash band around the room at chair-rail height — or paint the lower third in a deeper earthy tone and leave the top warm white. You get the texture and color story for a fraction of the paint and time.
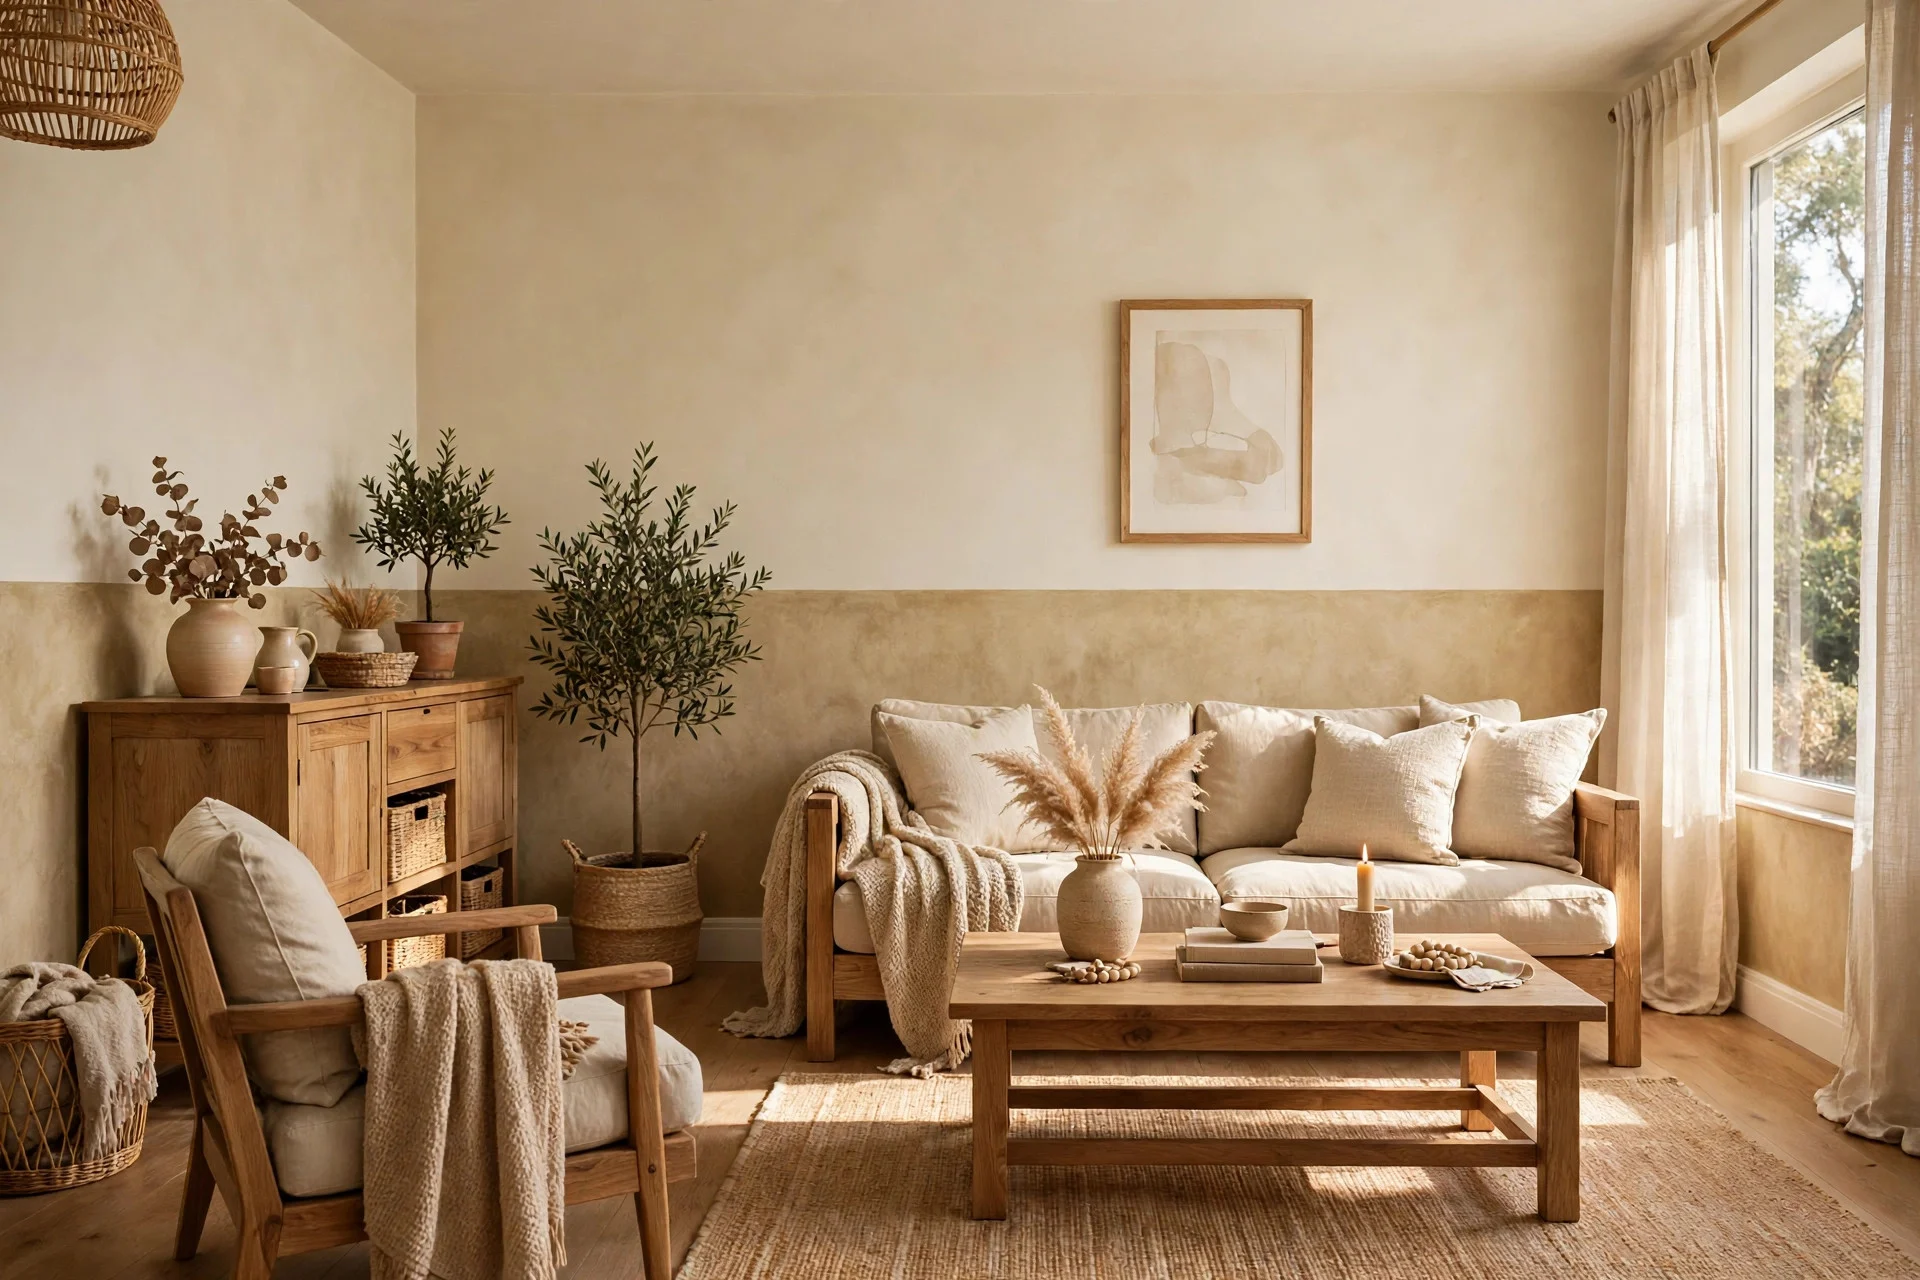
Cost: $70–$140 depending on room size. Difficulty: moderate — the line has to be level. Time: one weekend.
Tip: borrow a laser level — a wavy line ruins the effect.
Watch out: keep the deeper tone on the bottom — dark on top makes 8-foot ceilings feel lower; dark below grounds the room.
9. A Secondhand Coffee Table, Limewashed
Chunky wood coffee tables are $15 at every thrift store because nobody wants the 2000s honey-oak finish. Two coats of limewash and a light sanding turn that table into a textured centerpiece — the grain shows through just enough to avoid flatness.
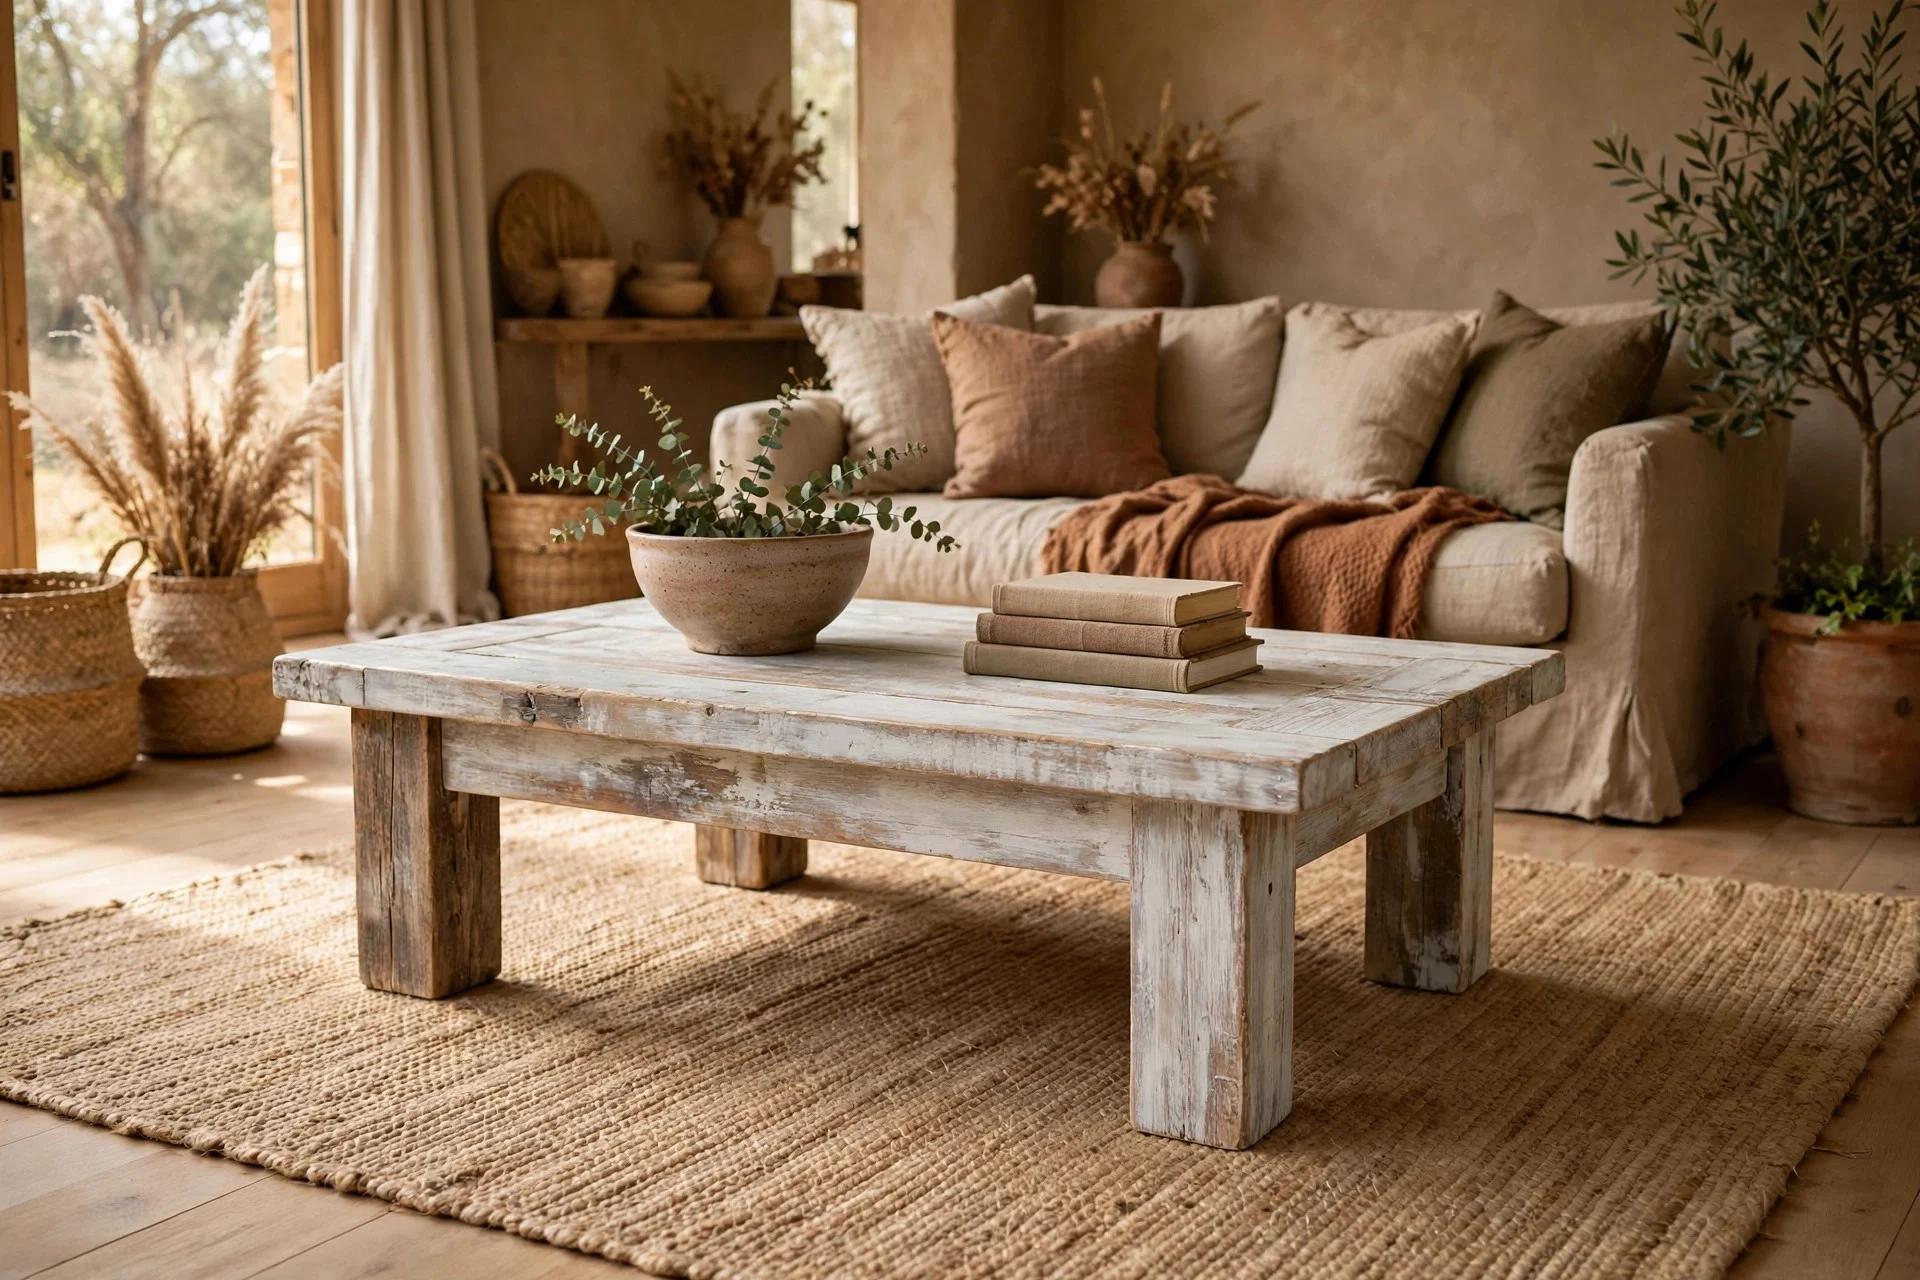
Cost: $60–$150 (table $15–$80, paint and a wax topcoat the rest). Difficulty: easy to moderate. Time: a weekend with drying time.
Tip: finish with clear furniture wax, not polyurethane — poly’s plastic sheen kills the chalky matte look you just created.
10. Clay-Toned Linen Curtains
Curtains are the largest single fabric surface in most living rooms, so changing them changes the room’s whole color temperature. Clay, rust, and warm sand linens echo limewash undertones and pull even plain white walls into the earthy story.
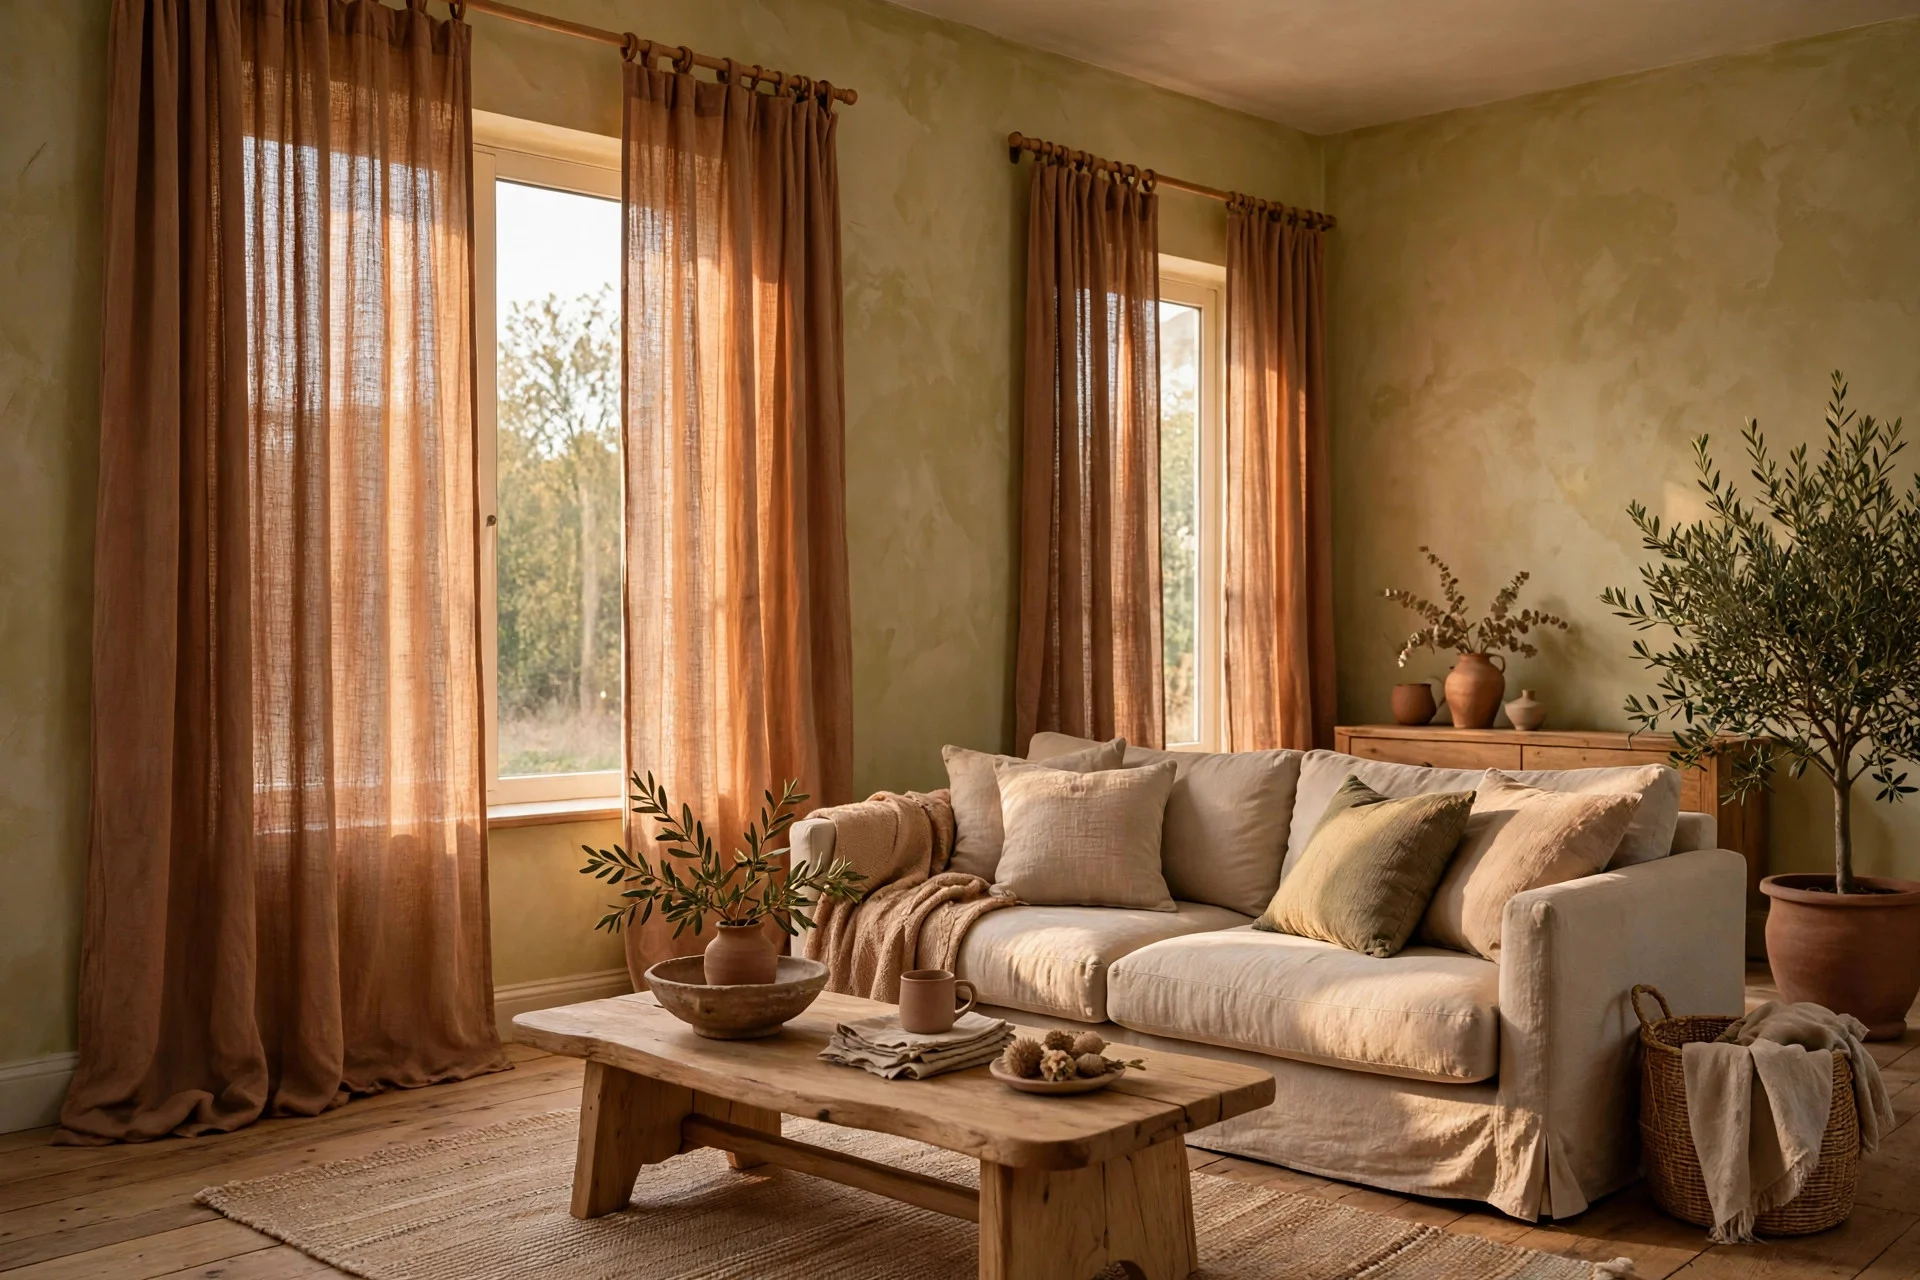
Cost: $80–$180 for two ready-made linen panels. Difficulty: easy — hanging curtains is a drill and a level. Time: under an hour.
Tip: hang the rod 4–6 inches above the frame and let panels just kiss the floor — short curtains shrink the window.
Watch out: unlined linen fades in strong sun — if the window faces south or west, get lined panels. Once they’re up, these cozy fall living room decor ideas show how to layer the look.
11. A Limewash Arch Mural Behind the Sofa
Idea 6’s arch, scaled up: a full-width arch mural in limewash behind the sofa works like a headboard and zones open-plan rooms without furniture.
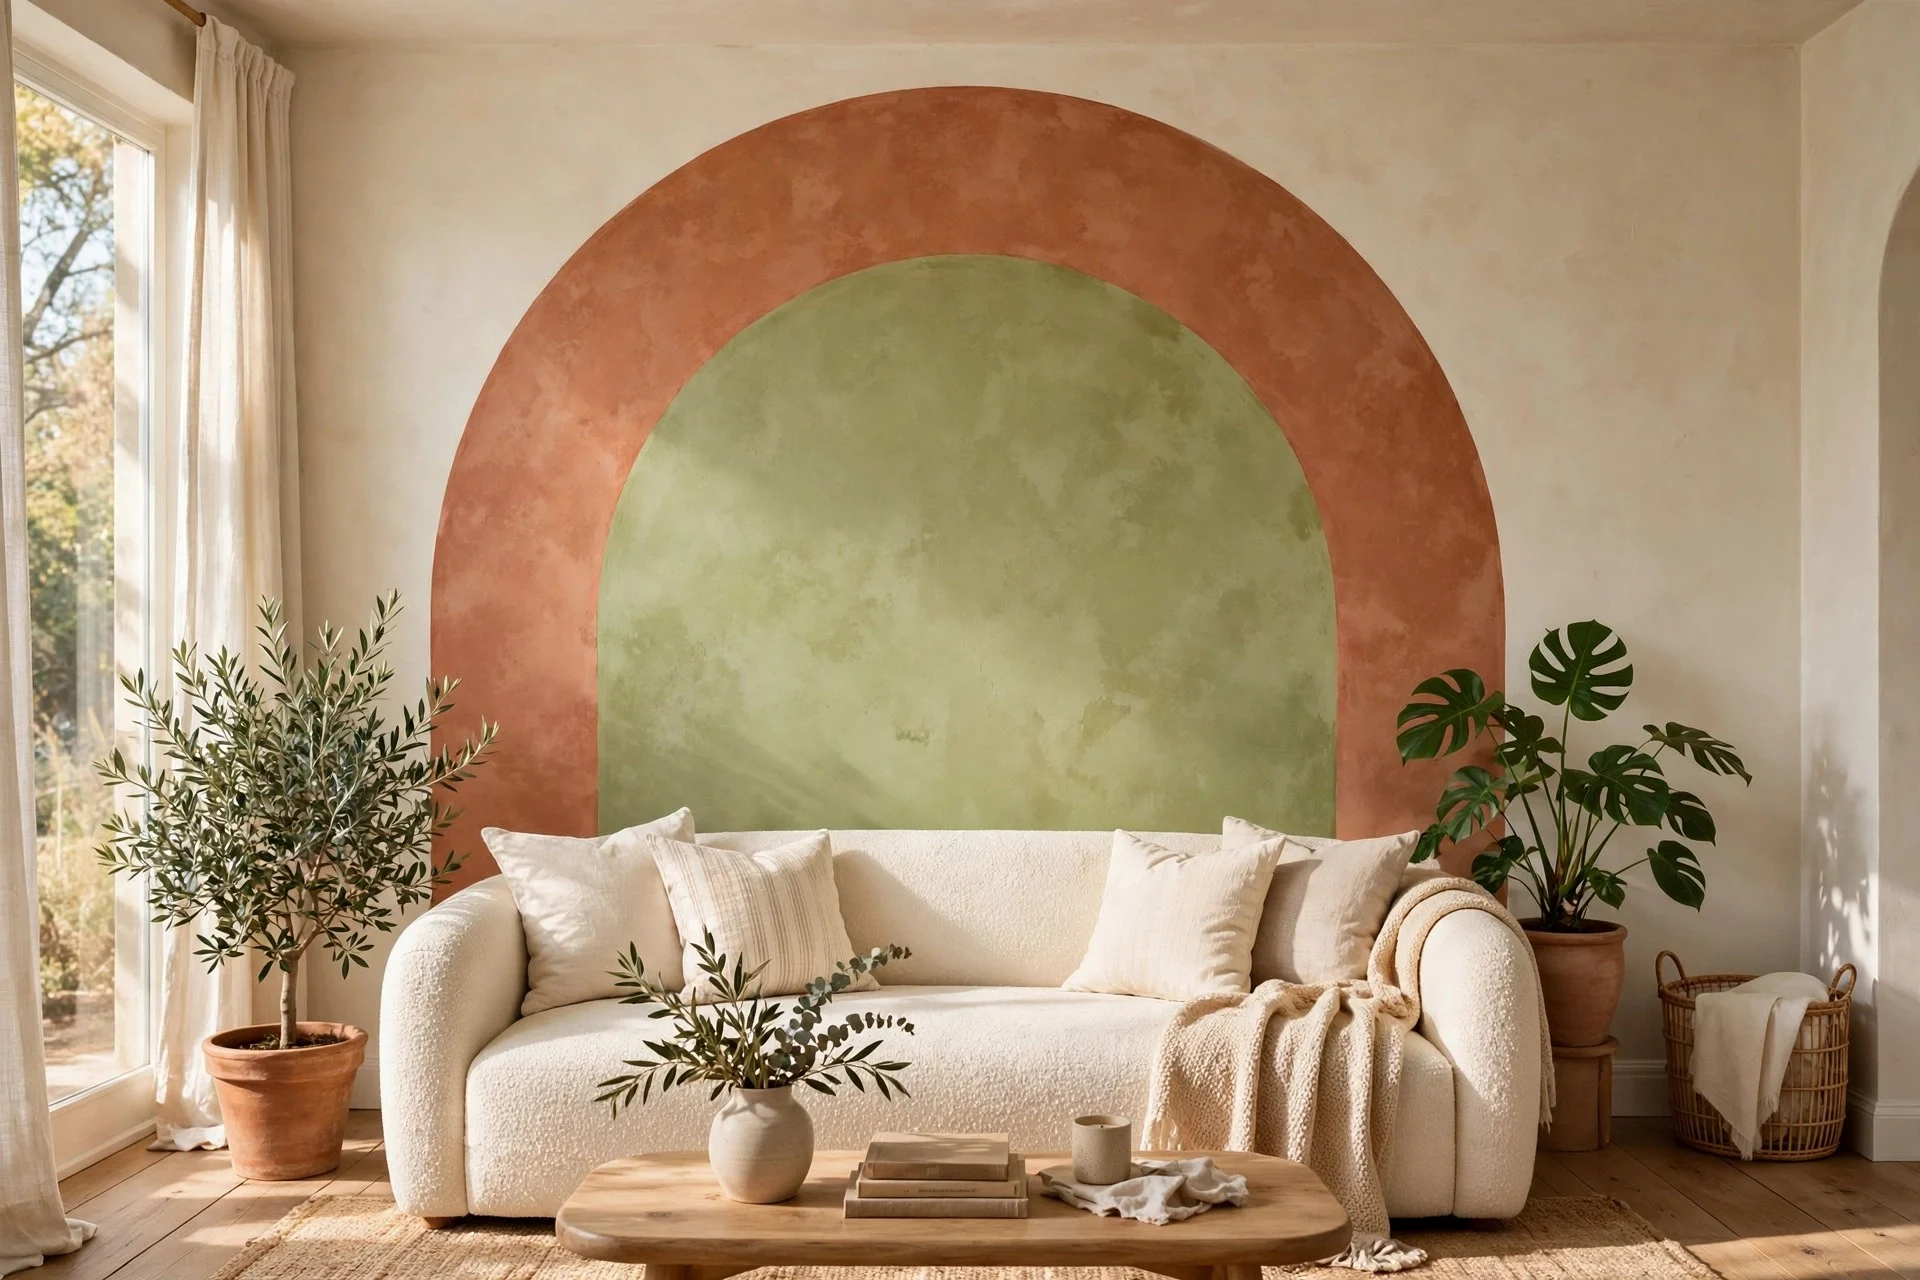
Cost: $50–$110 (a gallon covers a big mural with paint to spare). Difficulty: moderate. Time: one day.
Tip: sketch it on paper first and tape the outline before opening the paint — freehanding a 10-foot arch is how you end up repainting.
12. A Pair of Limewashed Table Lamps
Limewashing lamp bases — ceramic, wood, even dated brass — pulls them into the earthy palette for almost nothing. Pair with natural textured shades (linen, burlap, woven paper) and the whole side-table vignette looks intentional.
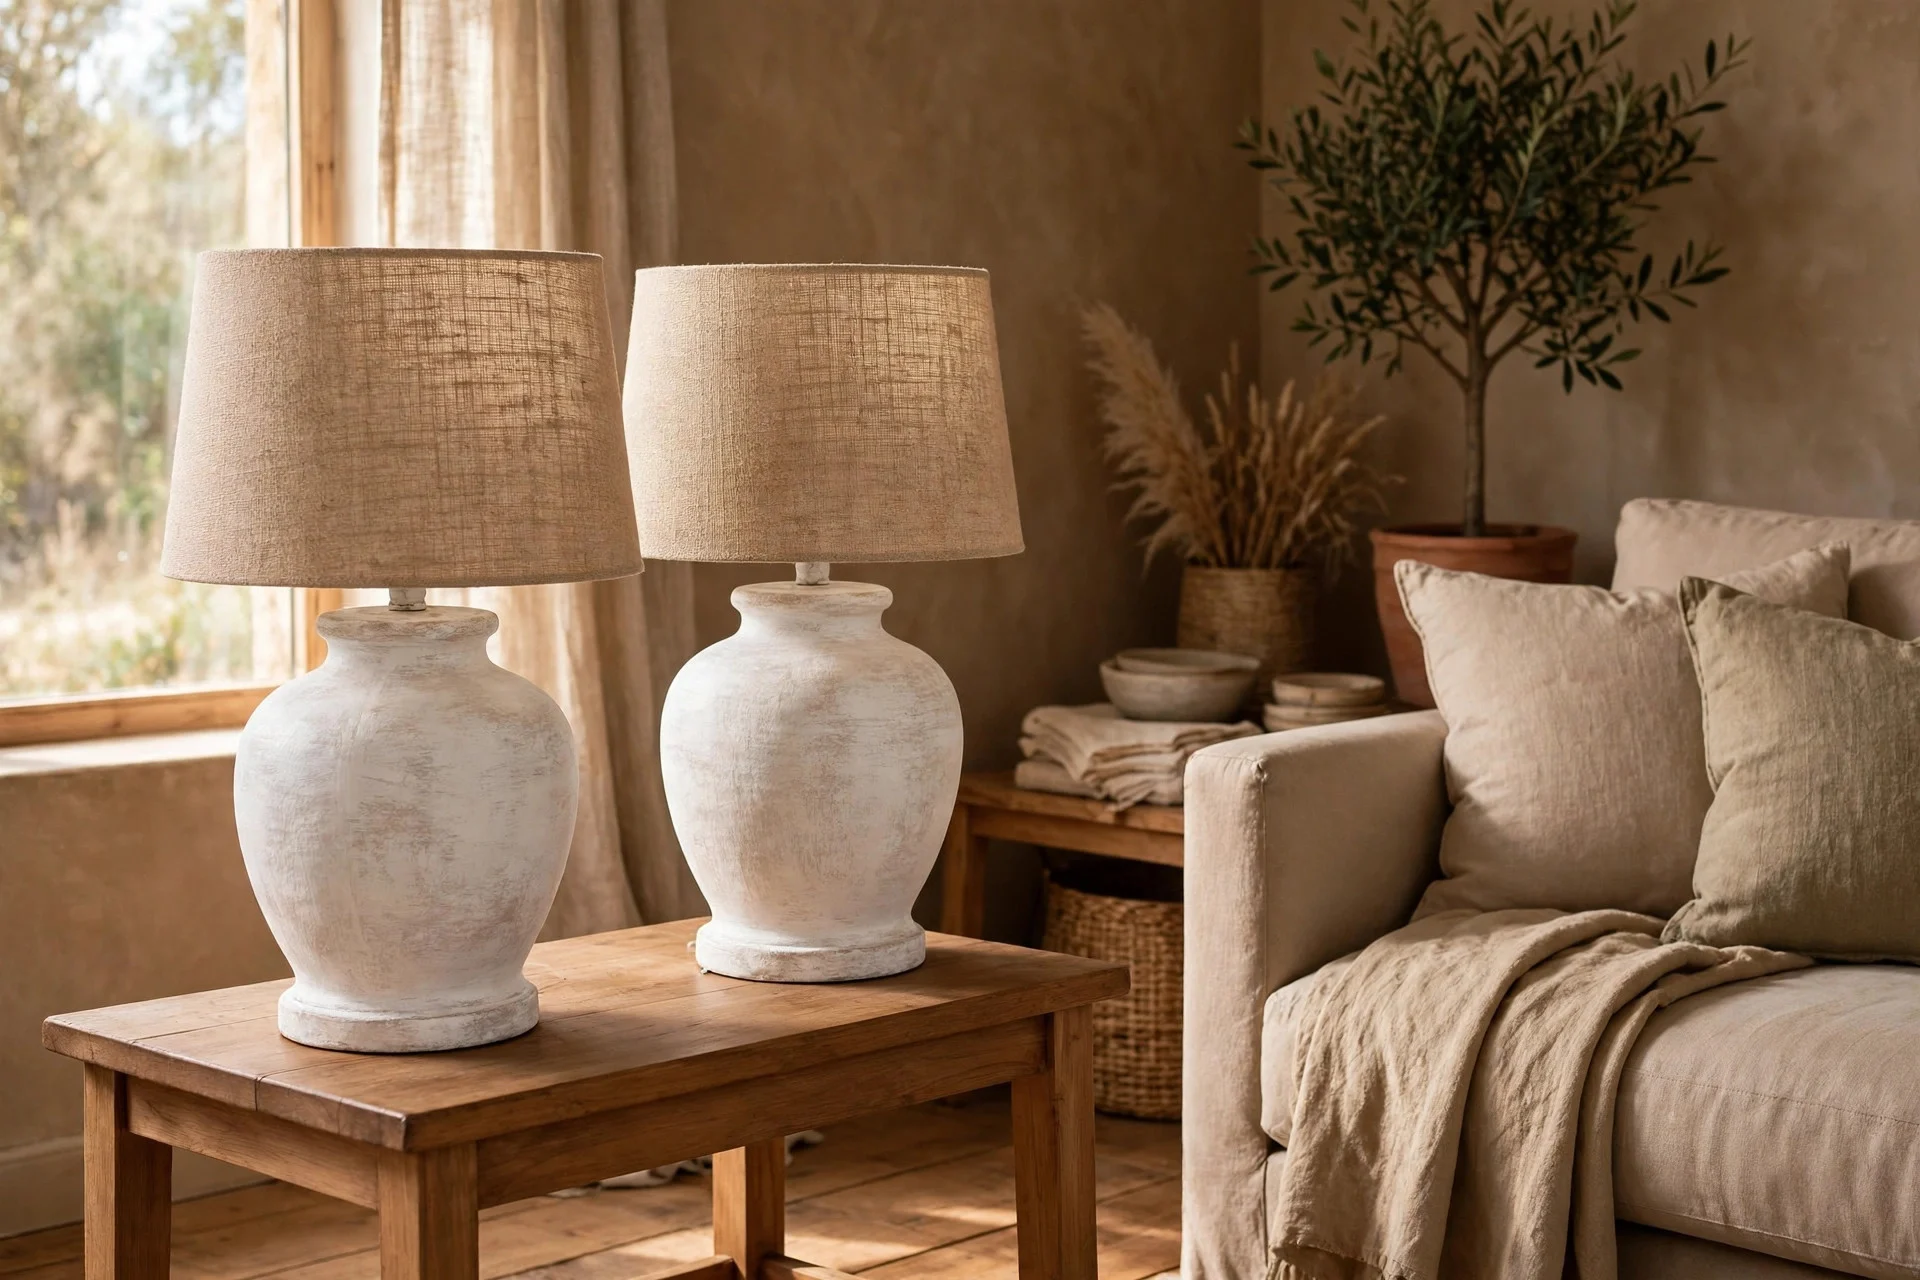
Cost: $100–$200 (two thrifted lamps $10–$30 each, new shades $25–$50 each, paint the rest). Difficulty: easy. Time: an afternoon.
Tip: rewire thrifted lamps with brittle cords — an $8 kit from the hardware store takes 15 minutes and is the difference between a bargain and a fire hazard.
Tier 3: $200+ — Commit to the Whole Look
This tier is the real thing: limewash on actual walls, plus the bigger furniture pieces that complete an earthy room. Measure twice, sample first — and before ordering, run your walls through the paint calculator instead of guessing at gallons.
13. A Full Limewash Accent Wall
One wall, floor to ceiling, in clay or warm putty limewash — usually behind the sofa. The mottled texture catches light differently through the day, and everything you own looks better against it.
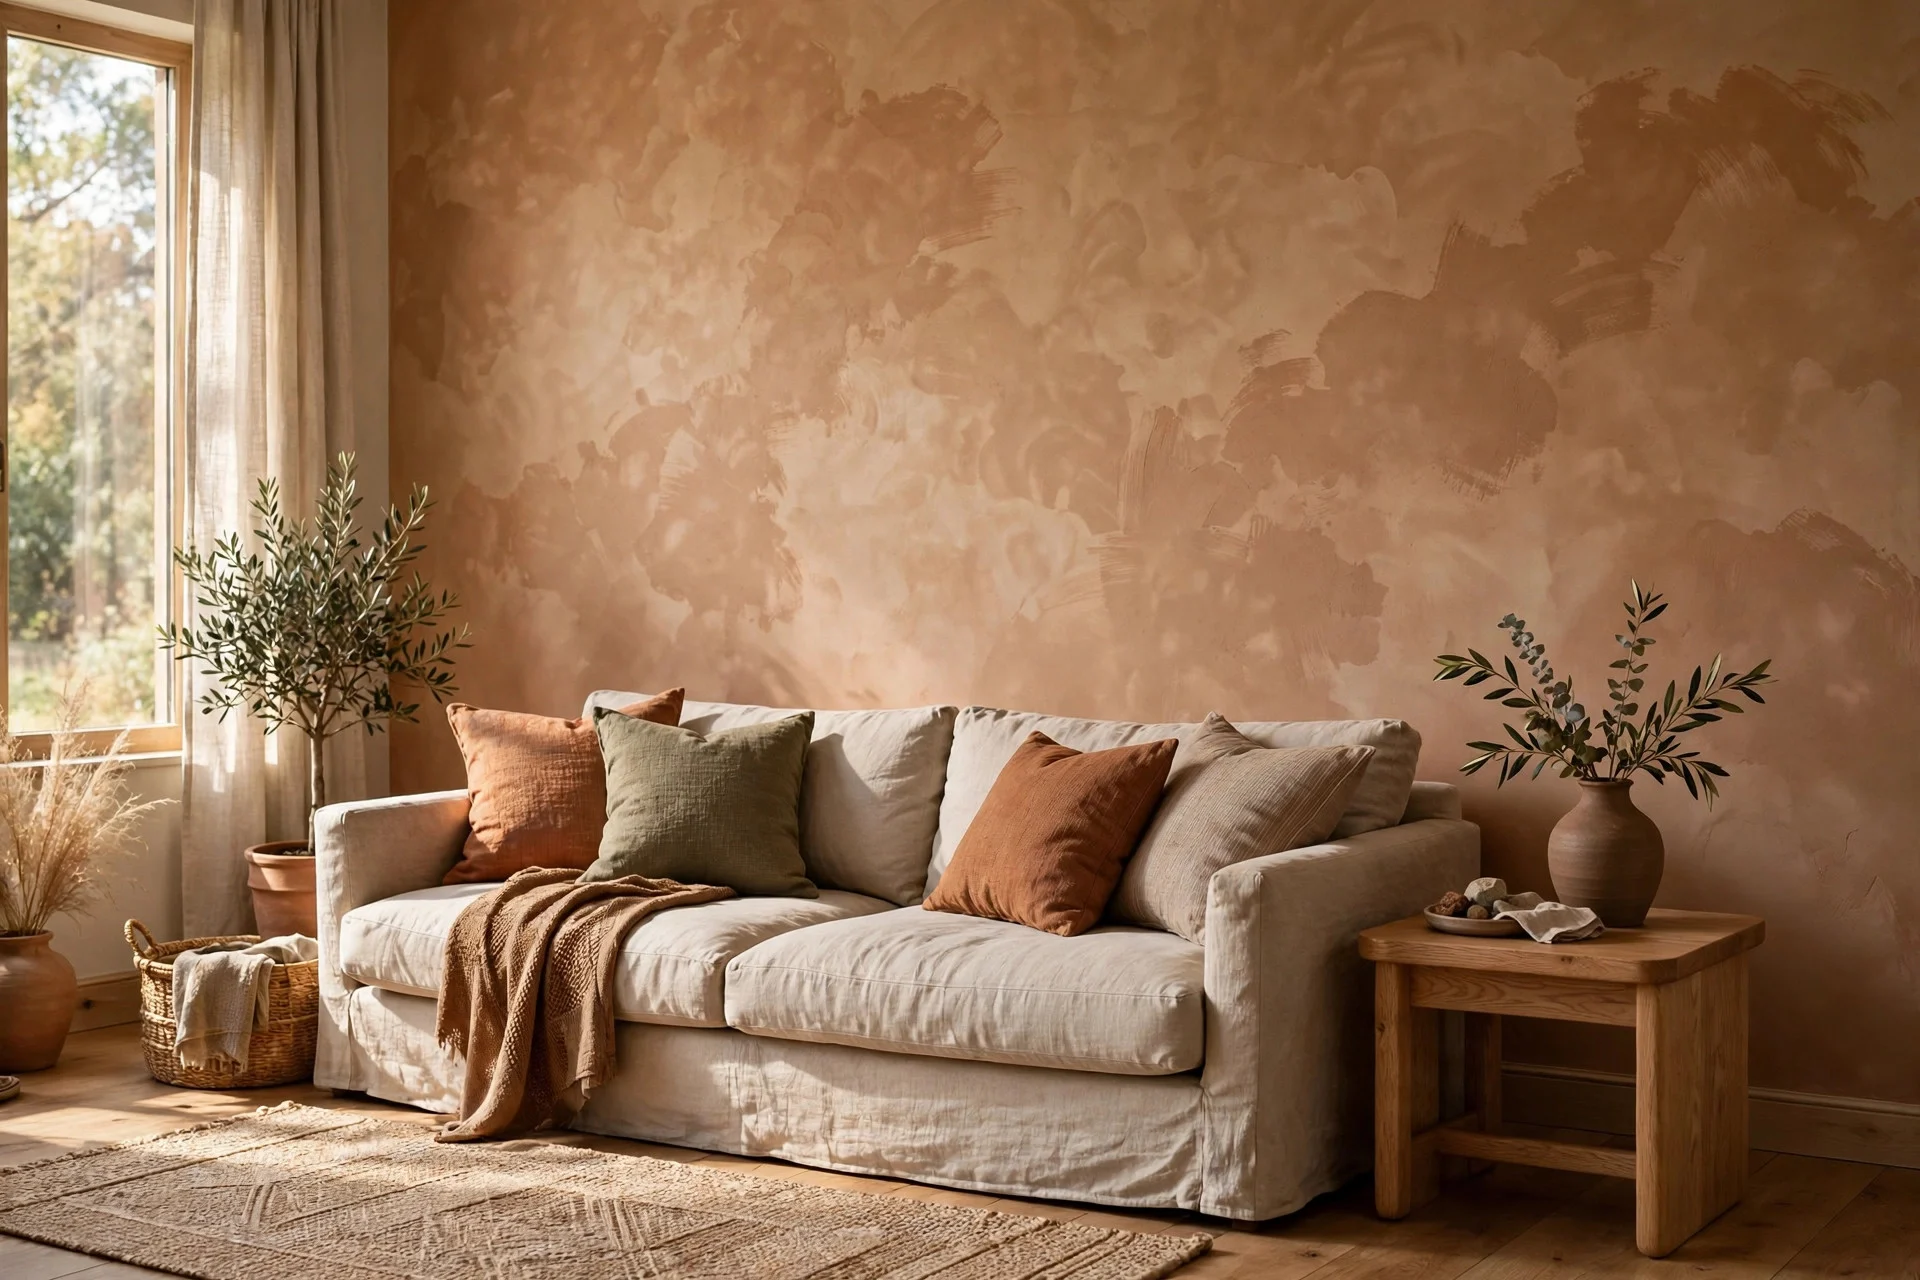
Cost: $200–$400 DIY (a painter would roughly double it). Difficulty: moderate. Time: one weekend.
Tip: paint a 3×3-foot test patch and live with it for three days — limewash dries lighter than it looks wet and shifts between morning and evening light.
Watch out: patch and prime repairs first — limewash highlights flaws instead of hiding them.
14. The Whole Room in Limewash
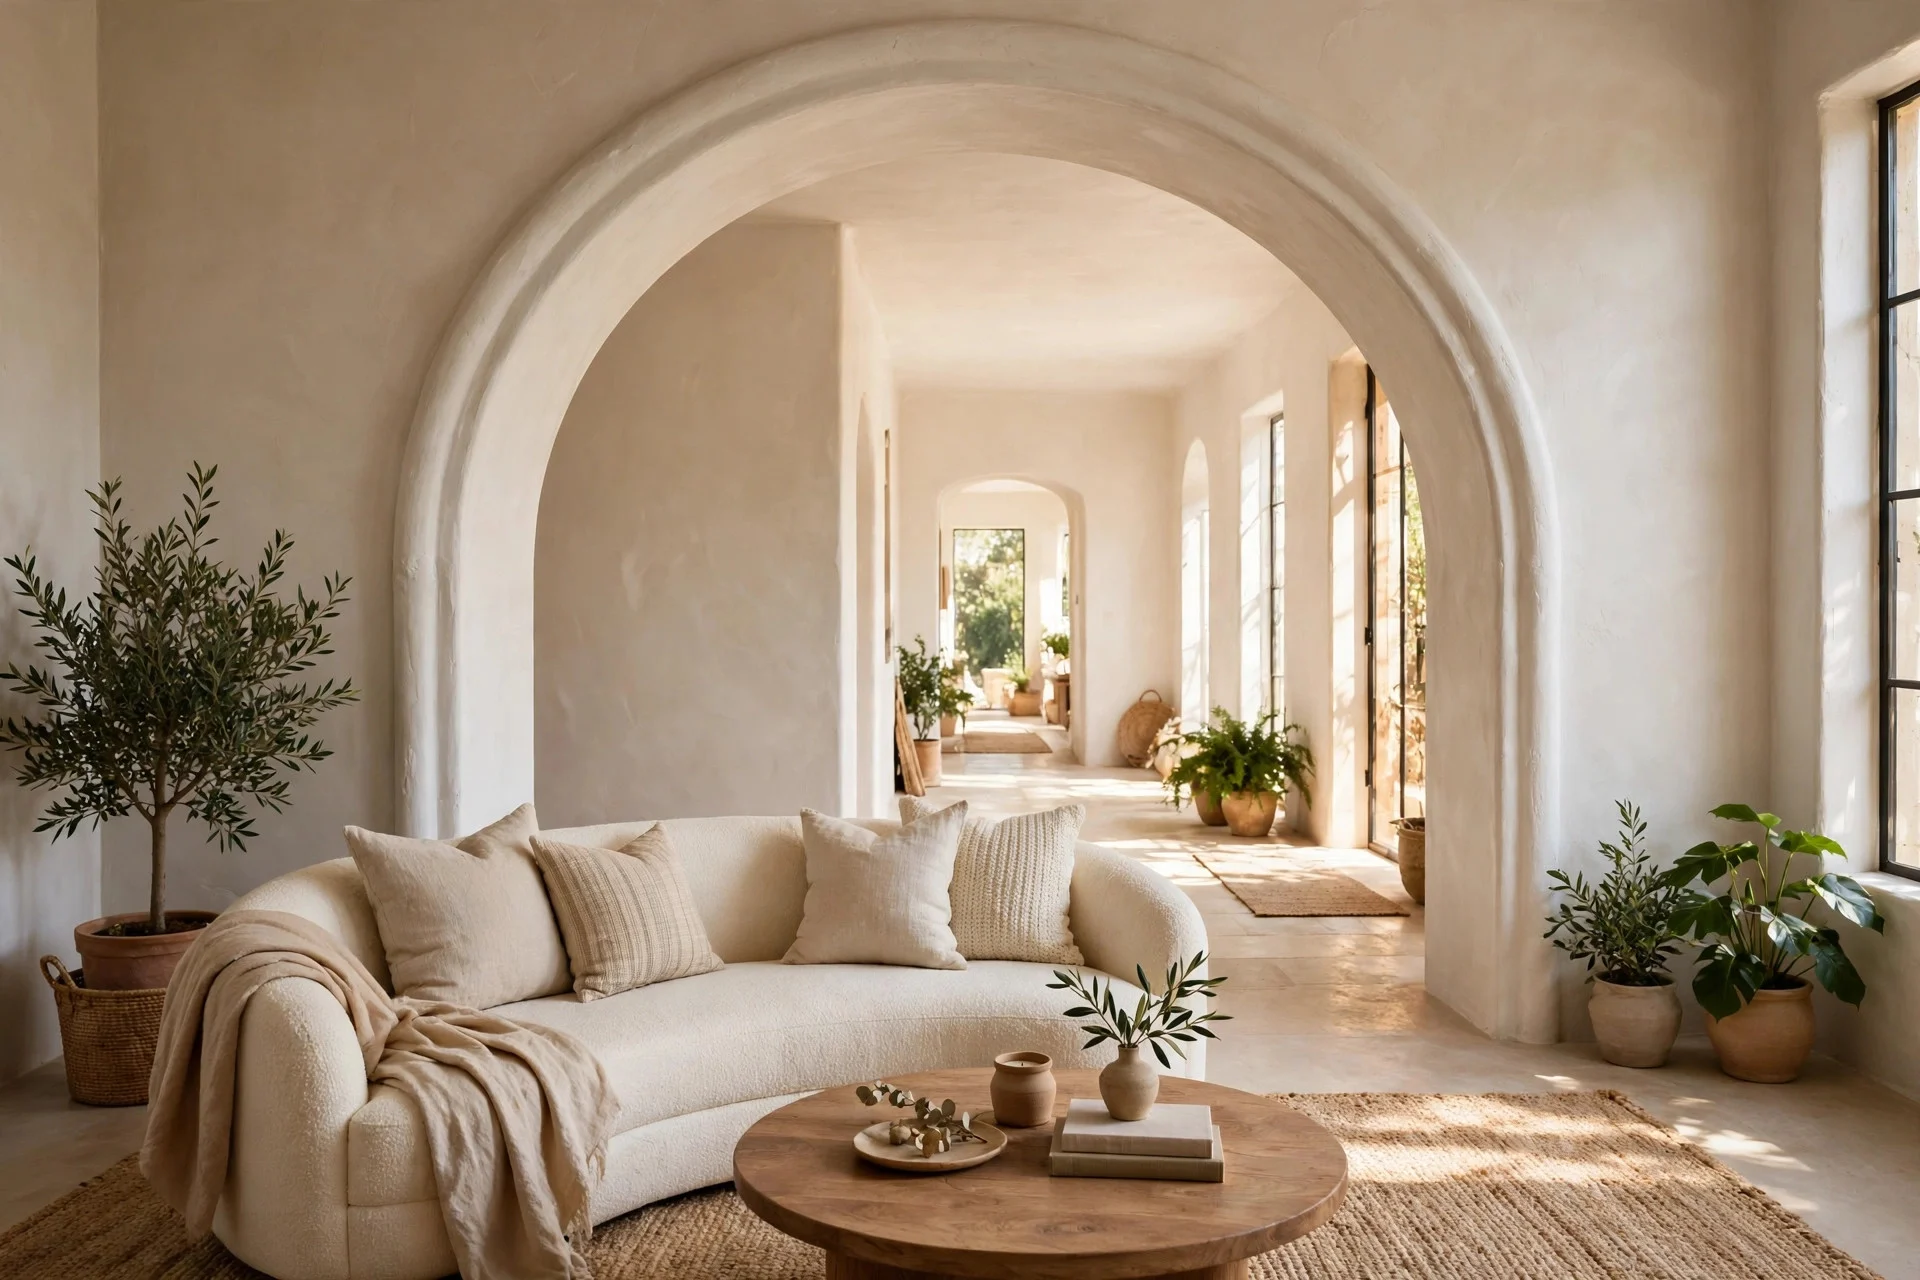
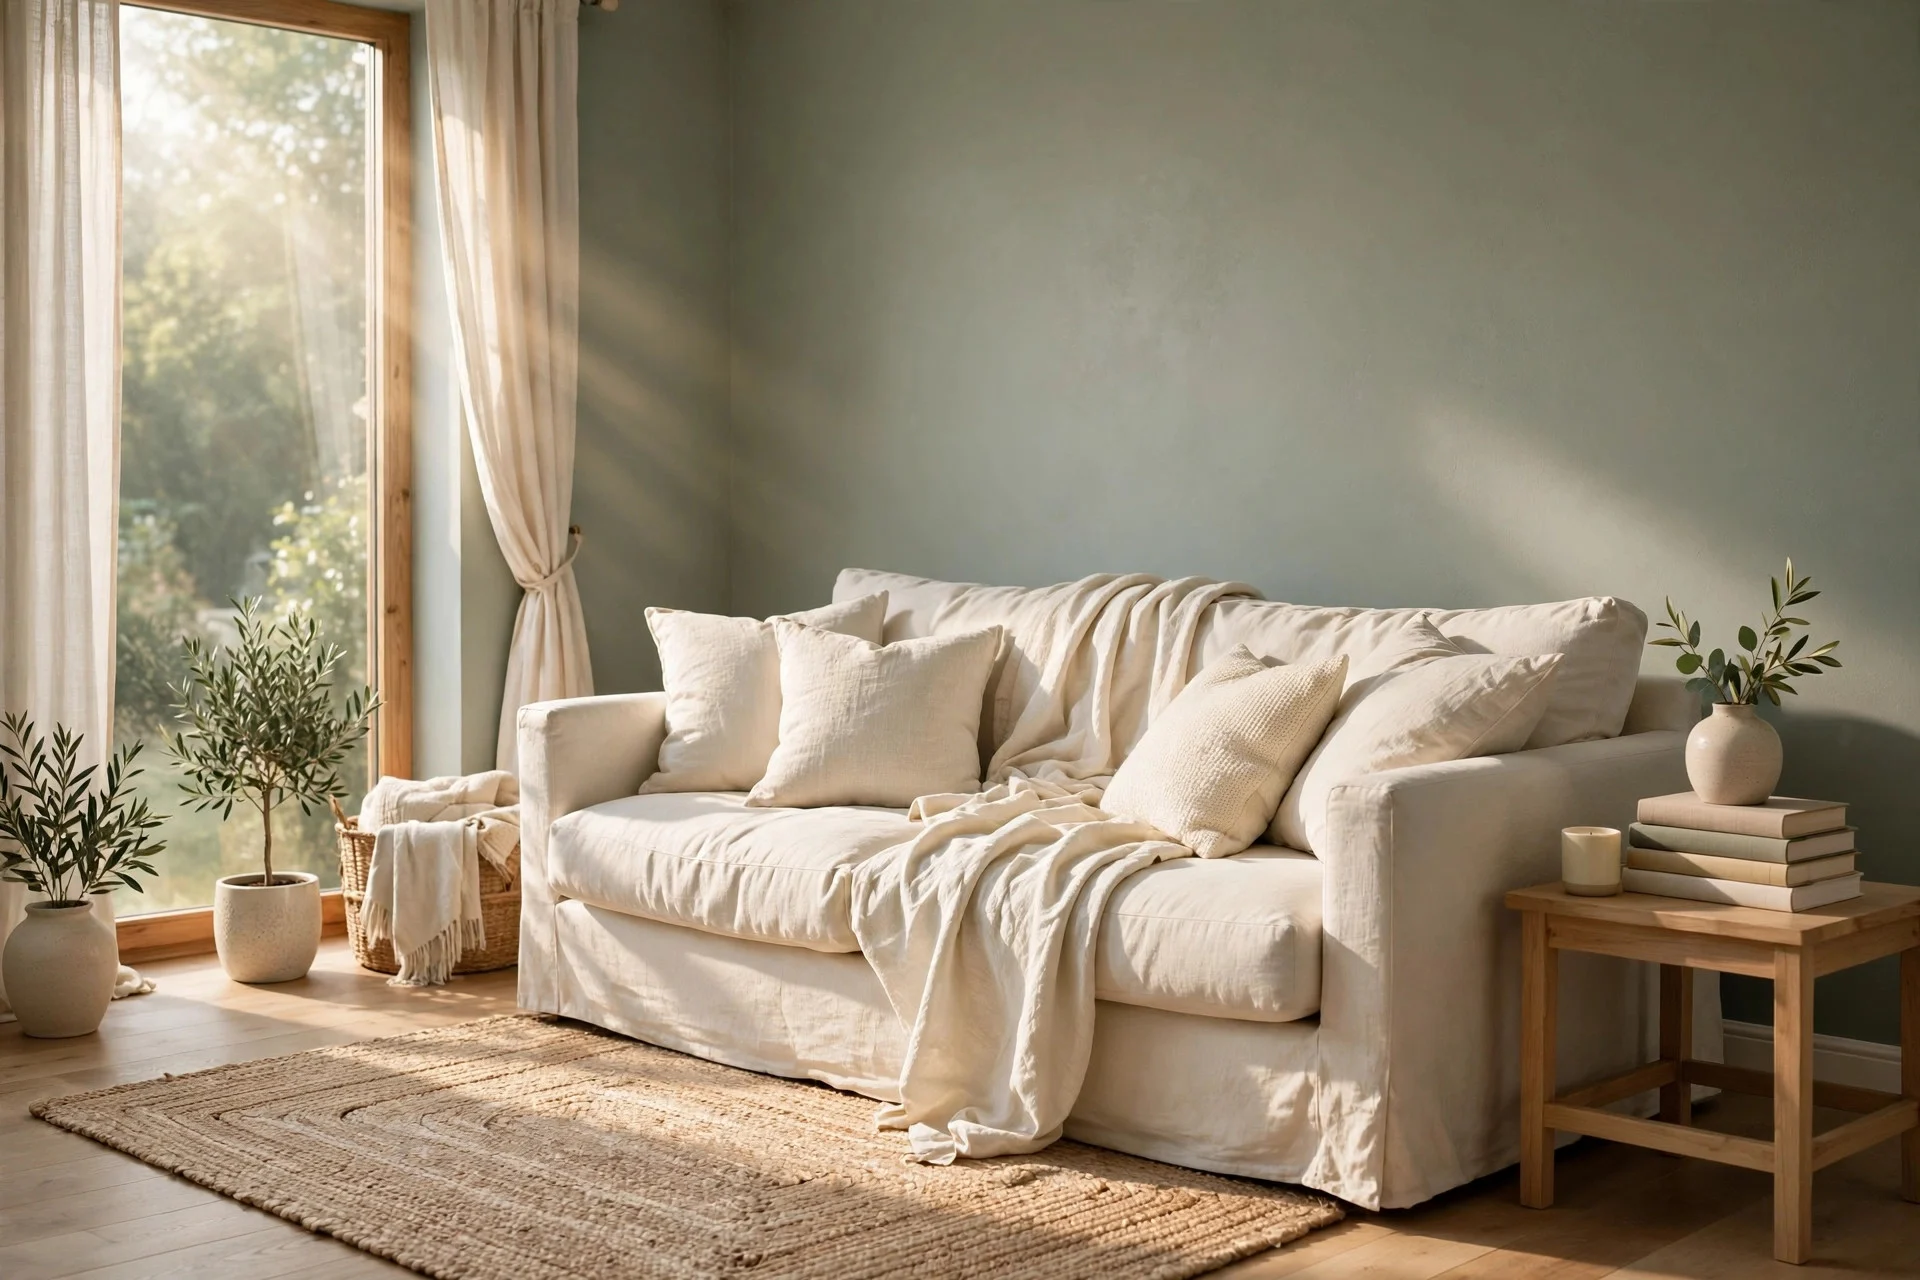
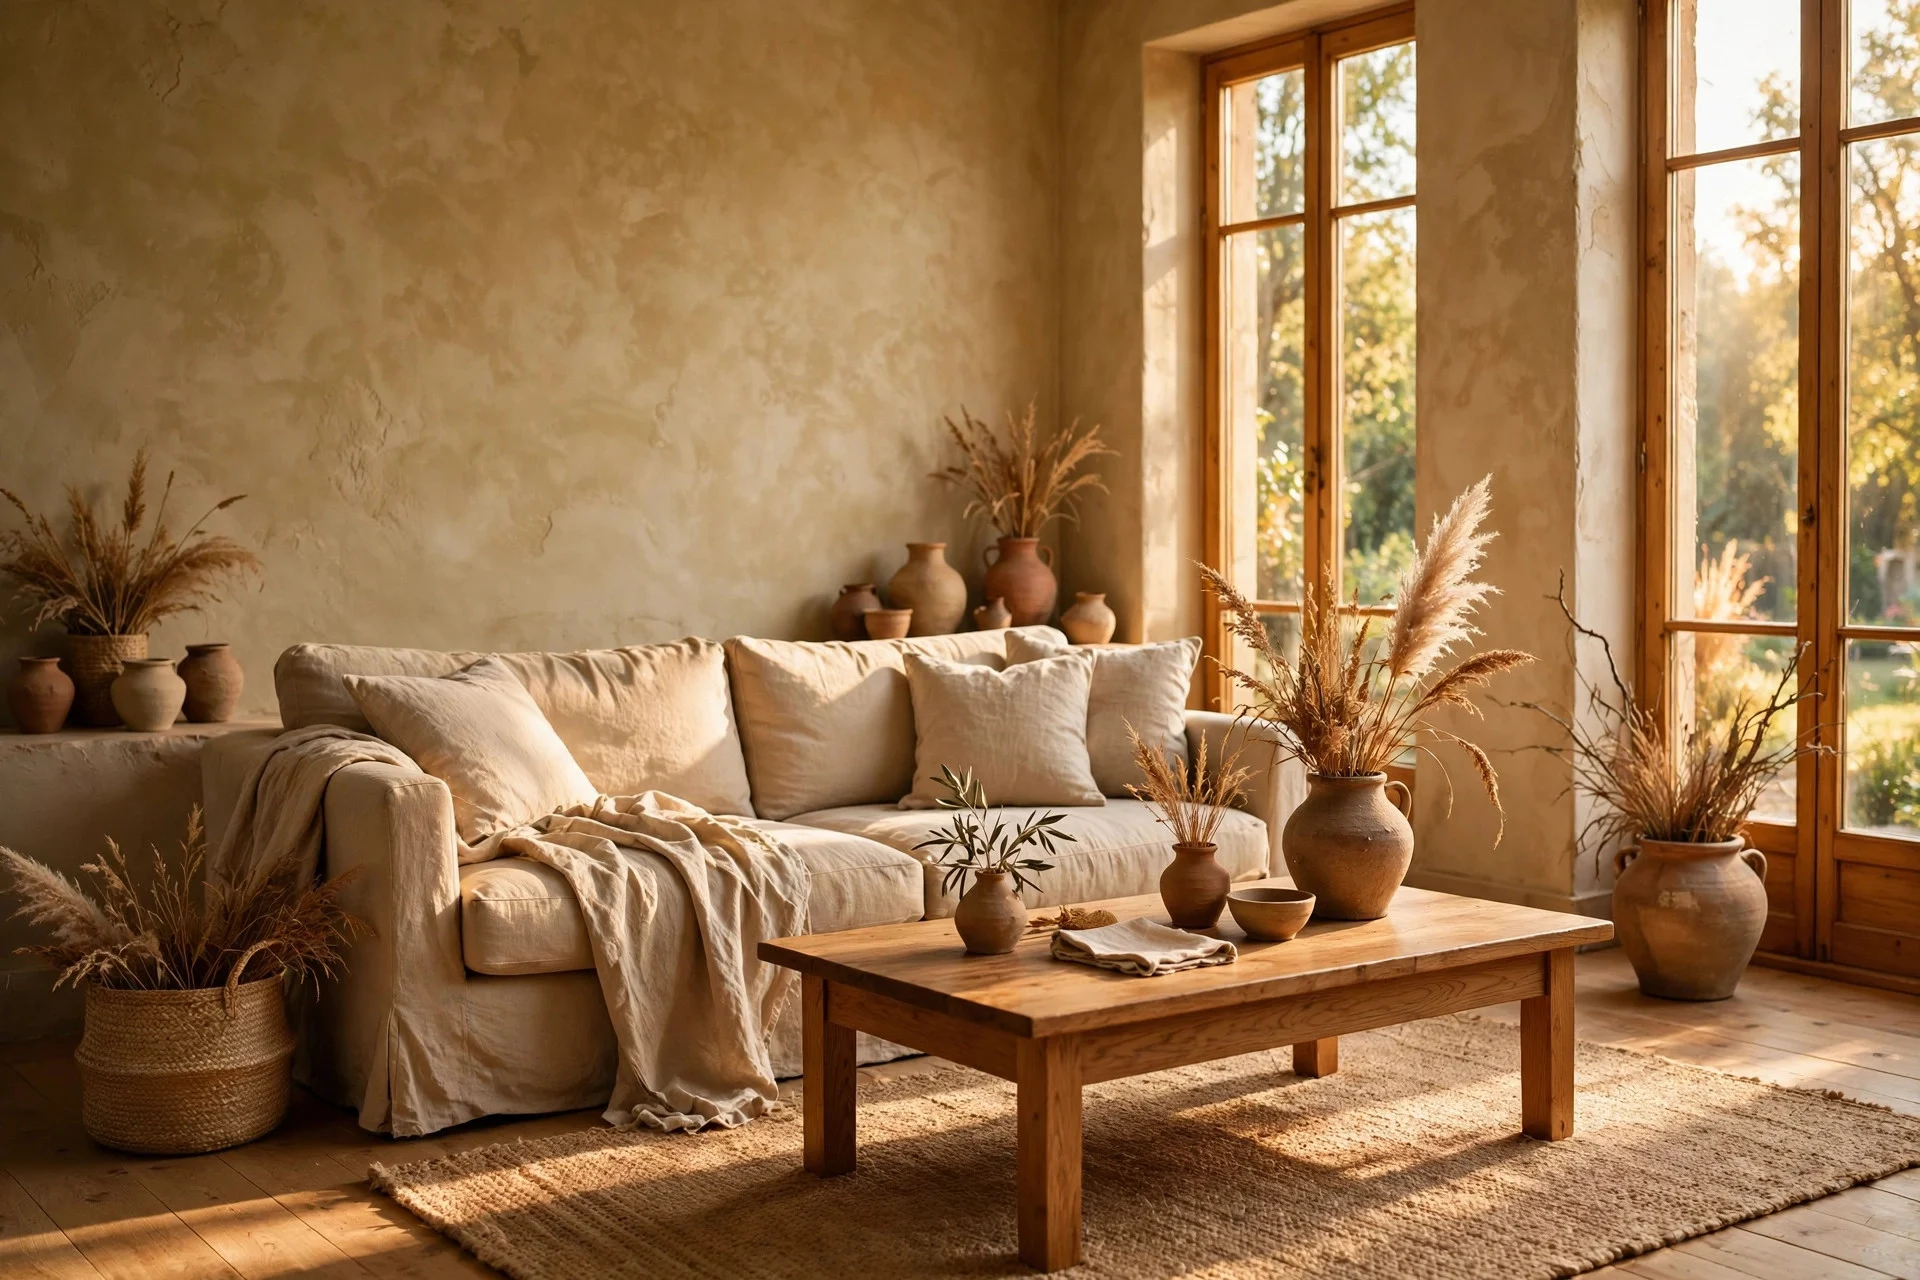
The full commitment: every wall in a soft, warm limewash — sandy beige, pale clay, or a whisper of sage. The room feels wrapped and calm, like the inside of a pottery vessel. This is the look in most of those villa photos, and there’s no shortcut to it.
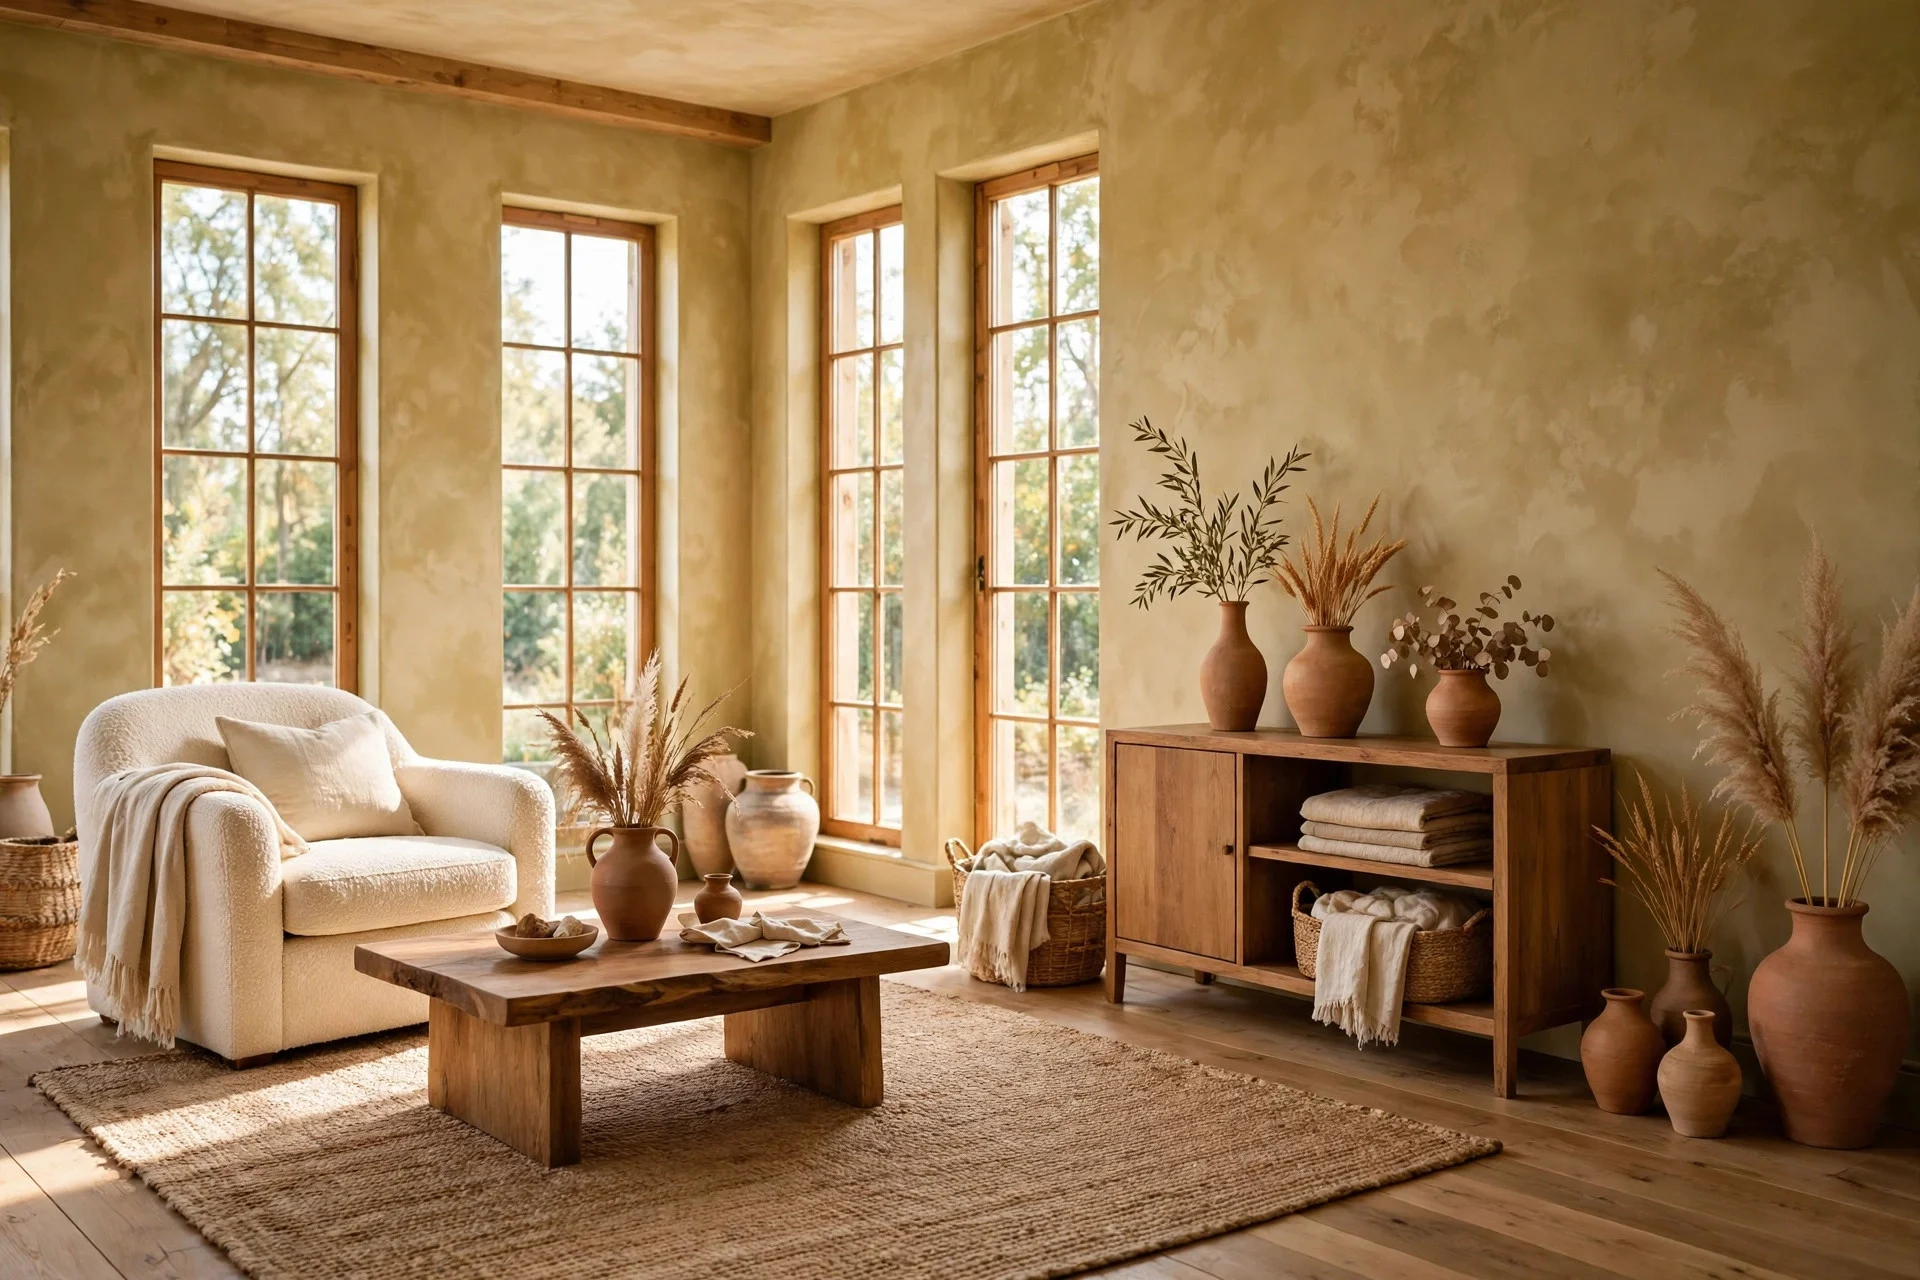
Cost: $300–$600 DIY for an average living room; hiring a painter typically runs $800–$1,500. Difficulty: moderate to hard — it’s just a lot of square footage. Time: 2–3 days.
Tip: work one wall at a time, wet edge to wet edge, without reworking drying sections — that’s what creates hard lap lines.
Watch out: empty the room as much as you can — limewash splatters like any paint but sets fast, so it’s harder to wipe off fabric.
15. Limewash Walls + a Cognac Leather Armchair
A cognac or tan leather armchair against limewash is the classic earthy pairing — the leather’s warm undertones echo the wall’s, and smooth hide contrasts beautifully with chalky texture. One good chair anchors the entire room.
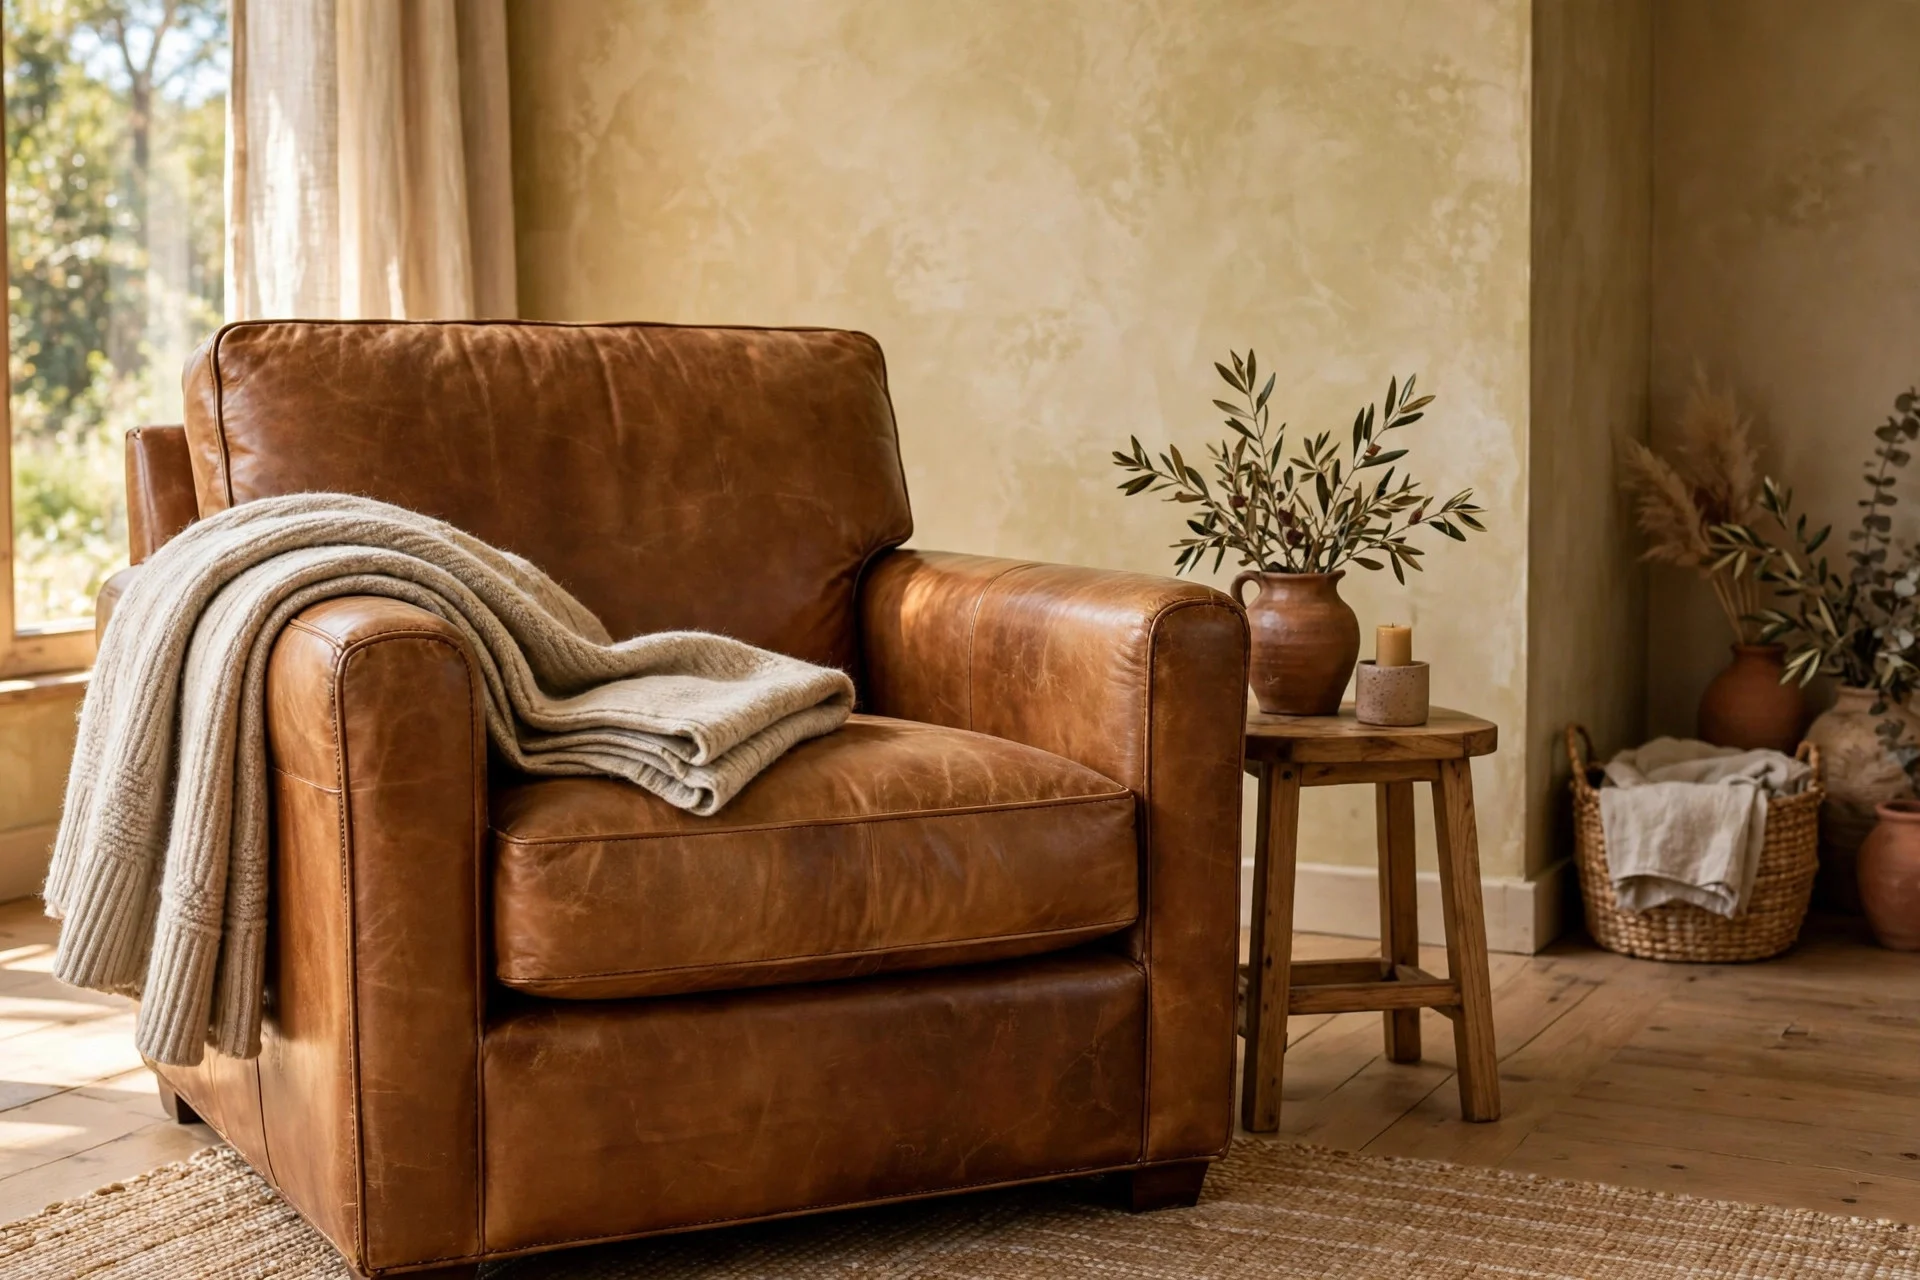
Cost: $350–$700 new; $150–$300 secondhand if you’re patient. Difficulty: easy — it’s furniture shopping. Time: however long the hunt takes.
Tip: sit in it first, and check it in natural light — showroom lighting hides how orange some “cognac” dyes are.
Watch out: keep leather a foot from radiators and direct sun — heat and UV dry it out and fade it unevenly, and reconditioning only goes so far.
16. Limewash Walls + a Warm Oak Credenza
A low oak credenza under a limewash wall is the workhorse version of the earthy look: closed storage that hides clutter, warm wood that deepens the palette, and a long surface for pottery, books, and candles. Its horizontal line also balances a tall textured wall.
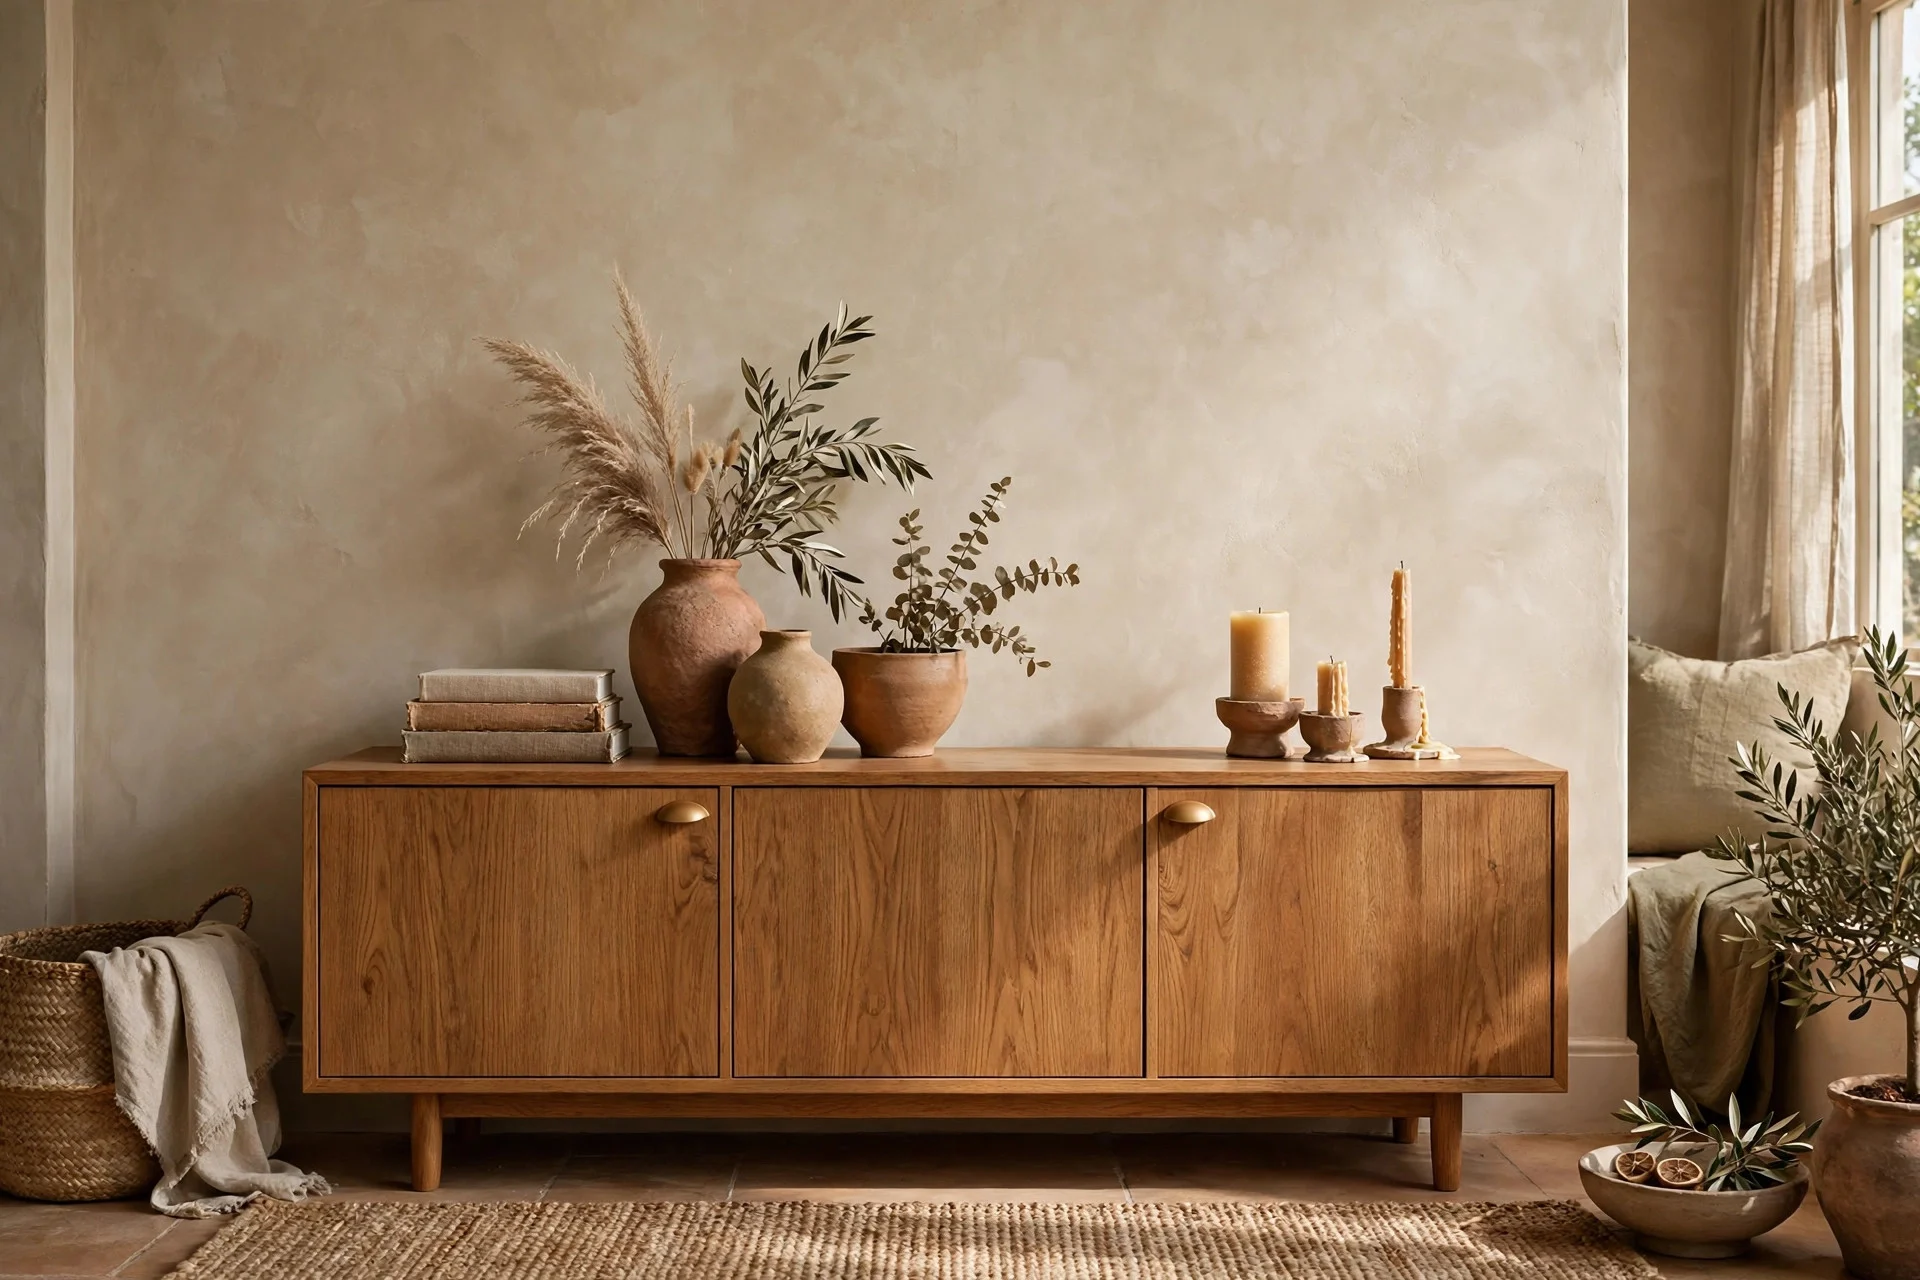
Cost: $400–$900 new; $100–$300 secondhand plus refinishing. Difficulty: easy. Time: a day of shopping or a weekend of refinishing.
Tip: leave at least 6 inches of clearance on each side — a credenza that exactly fills the wall looks built-in in a bad way.
Watch out: check secondhand drawers run smoothly before falling for the wood tone.
17. Layered Jute and Wool Rugs
Limewash walls make floors look bare by comparison — fix it with layering: a large natural jute rug as the base, a smaller softer wool rug on top. The two textures echo the walls without competing with them.
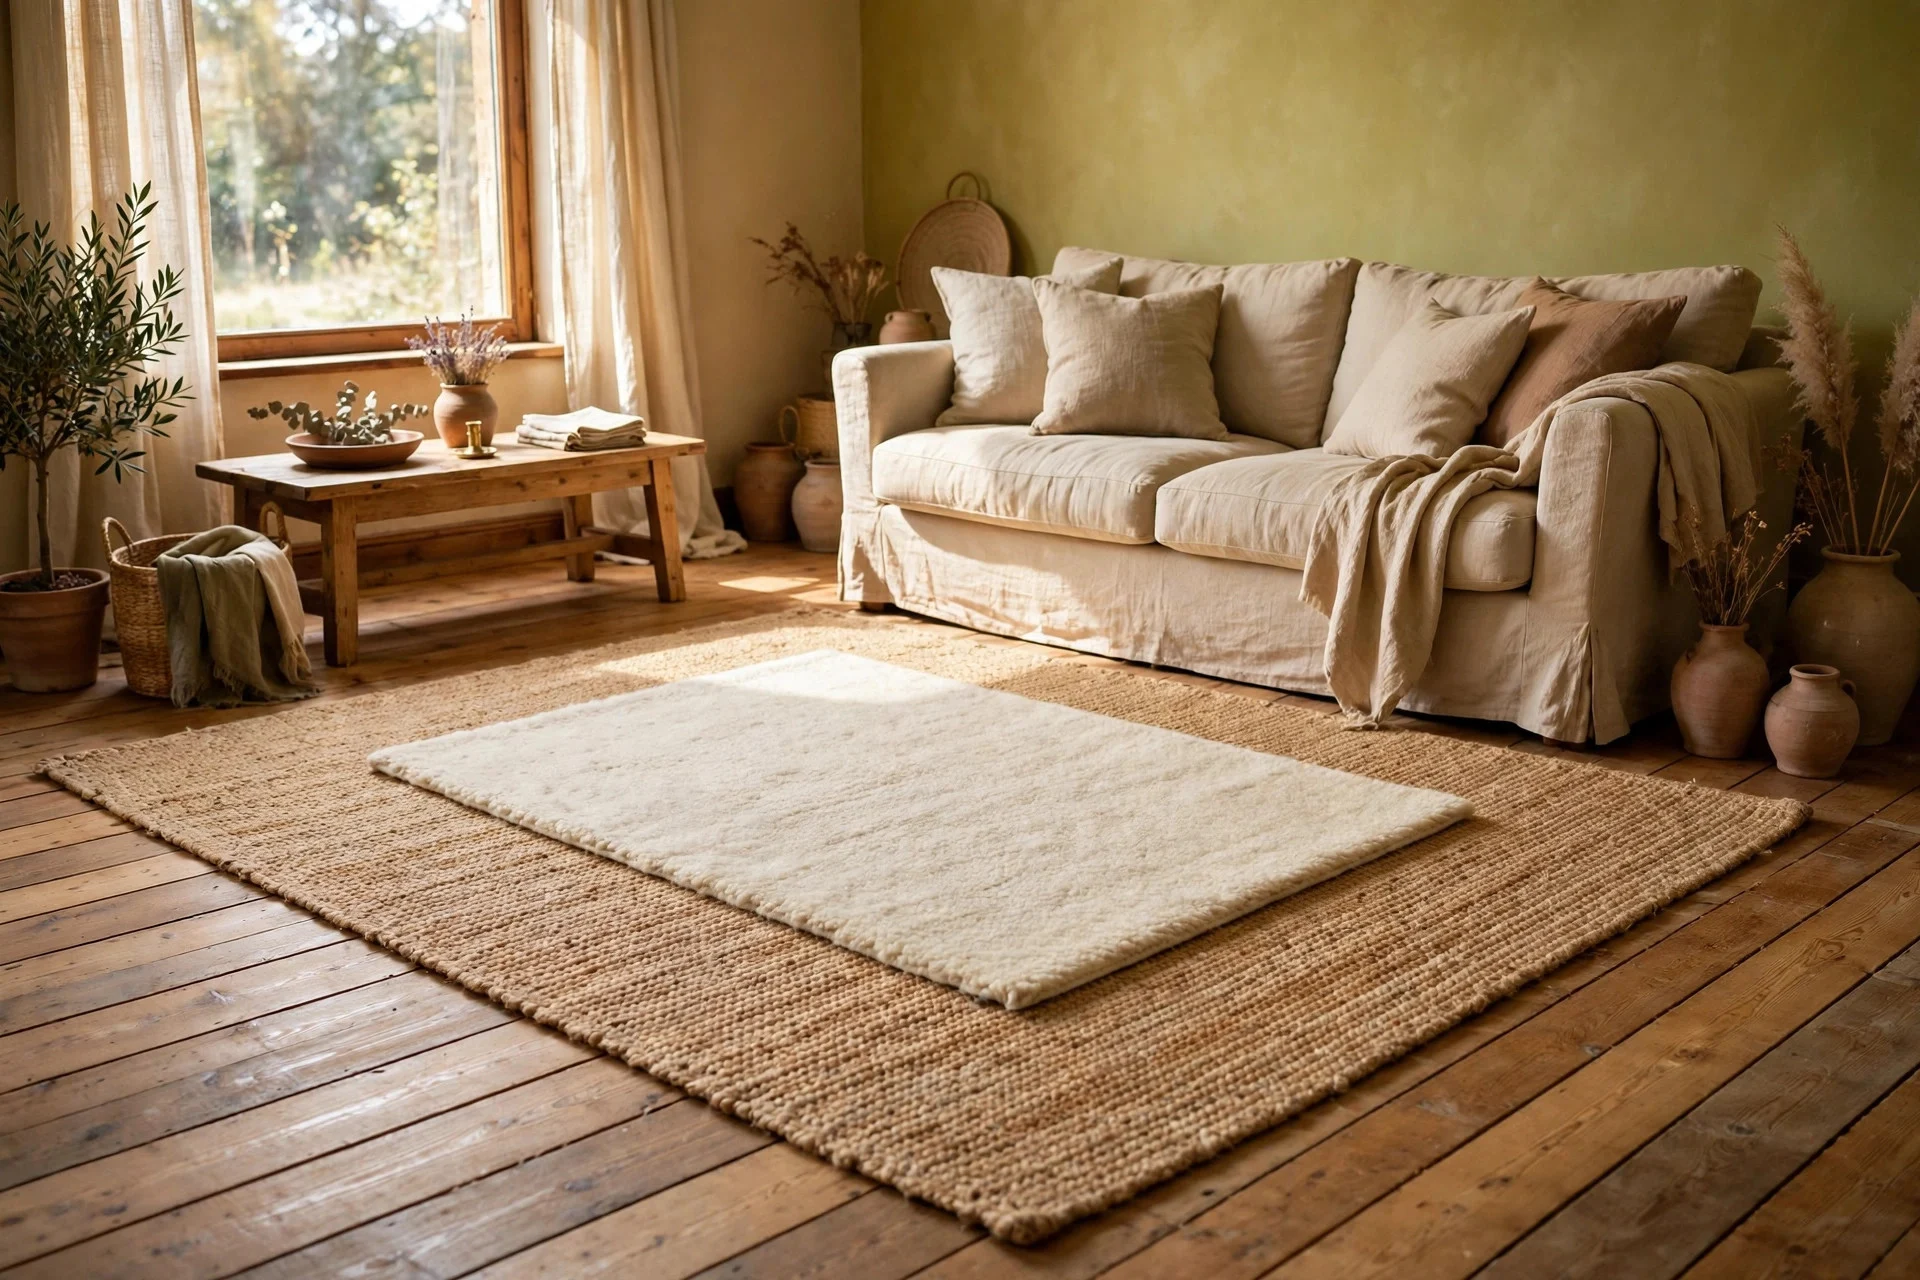
Cost: $200–$500 for both rugs in a standard 8×10 + 5×7 combination. Difficulty: easy. Time: 20 minutes of arranging and rearranging.
Tip: put a rug pad under the jute — it slides on hard floors and is rough on them.
18. A Limewash Ceiling + Statement Pendant
The move most people miss: taking limewash up onto the ceiling. A plaster-look ceiling in warm white limewash softens overhead light and unifies the room — then a single rattan or woven seagrass pendant gives the eye somewhere to land.
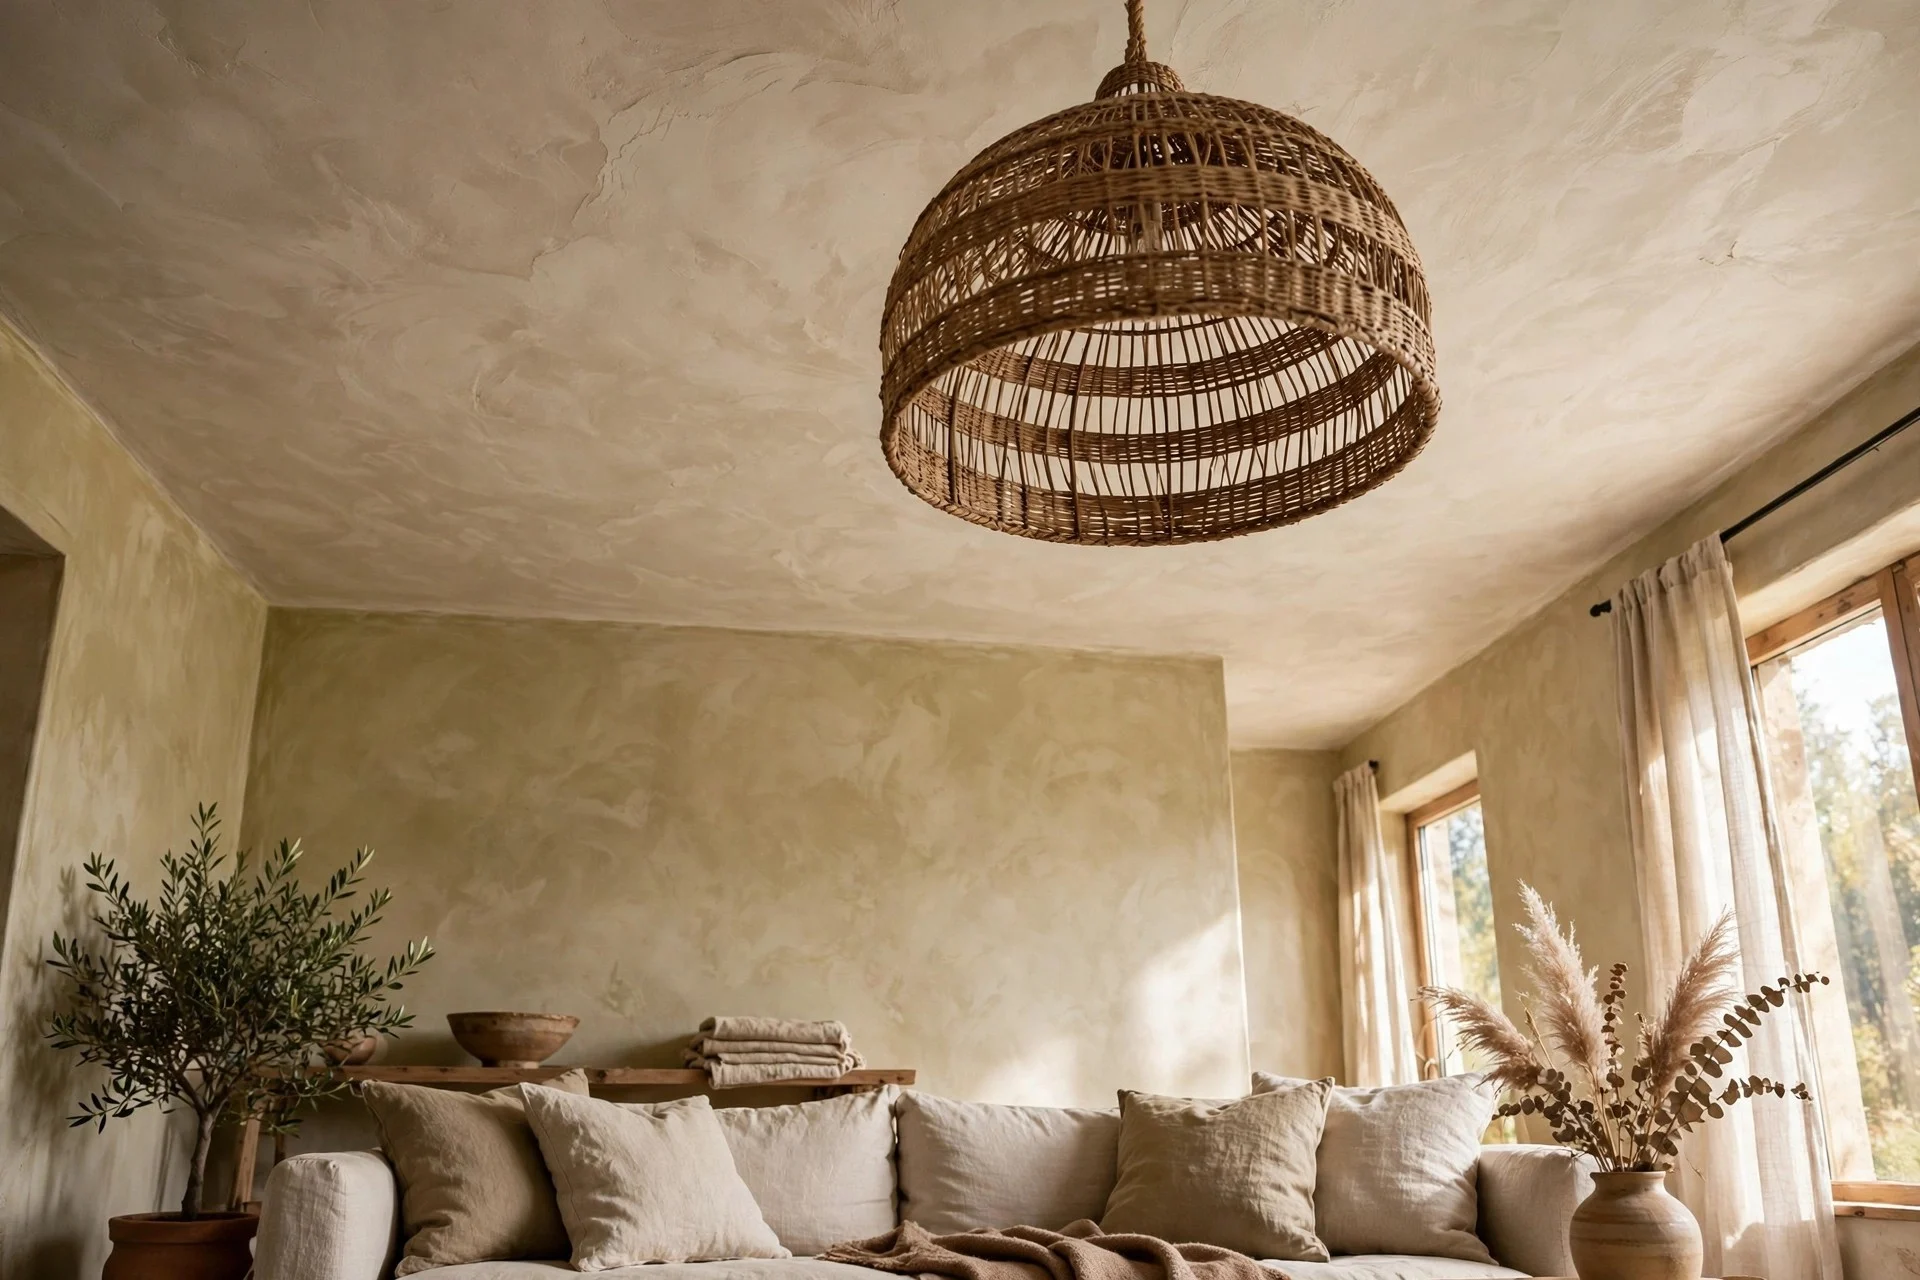
Cost: $250–$600 (paint, supplies, and an $80–$250 pendant; an electrician runs $100–$200 if you’re not comfortable with wiring). Difficulty: hard — ceilings are physically miserable to paint. Time: a long weekend.
Tip: use an extension pole and a headlamp — it’s the only way to see coverage on a white ceiling.
Watch out: turn off the breaker, not just the wall switch, before touching any fixture wiring. Switches get mislabeled; breakers don’t lie.
Limewash Living Room FAQs
Can I DIY limewash walls, or do I need a professional?
You can absolutely DIY it — limewash is one of the most beginner-friendly finishes because the mottled, imperfect look is the goal. It takes patience and even brushwork, not precision. Hire a pro only for a whole house or true mineral limewash over difficult surfaces.
How long does limewash last on living room walls?
Indoors, limewash lasts as long as regular paint — 7 to 10 years easily, often longer; true mineral limewash hardens and bonds over time. Maintain it like any wall: touch up scuffs, reseal high-traffic areas every few years.
Does limewash work over already-painted drywall?
Limewash-effect acrylic works fine over any sound, clean, previously painted wall — just clean and lightly scuff glossy spots first. True mineral limewash prefers porous surfaces and can struggle over slick latex; use a mineral primer first or stick with the effect paint.
What limewash colors work best for an earthy living room?
Warm neutrals with visible undertones: sandy beige, warm putty, pale clay, soft terracotta, muted sage. Skip anything labeled “pure white” — it reads cold against earthy furniture. Test samples on the actual wall; undertones shift through the day, and the swatch card lies.
Your Game Plan: Where to Start This Weekend
You don’t need to decide on the whole room today. Here’s the sensible order:
- This weekend ($0–$50): pick two or three Tier 1 accents — the clay pots and the painted arch deliver the most for the money. Live with the texture for a week.
- Next month ($50–$200): if you love the look, scale up to one Tier 2 project — the fireplace surround or half-wall stripe gives real wall texture without full-room commitment.
- When you’re sure ($200+): test-patch an accent wall, then commit. And a green velvet sofa plays just as beautifully against limewash as leather — the jewel tone on chalky texture is a combination designers return to again and again.
Limewash was never a luxury product. It was the cheap, honest finish ordinary houses used for centuries before latex paint took over. The villa look is just what happens when you let texture back into the room — at any budget, starting this weekend.