How to Make a Small Apartment Look Bigger With Paint Alone
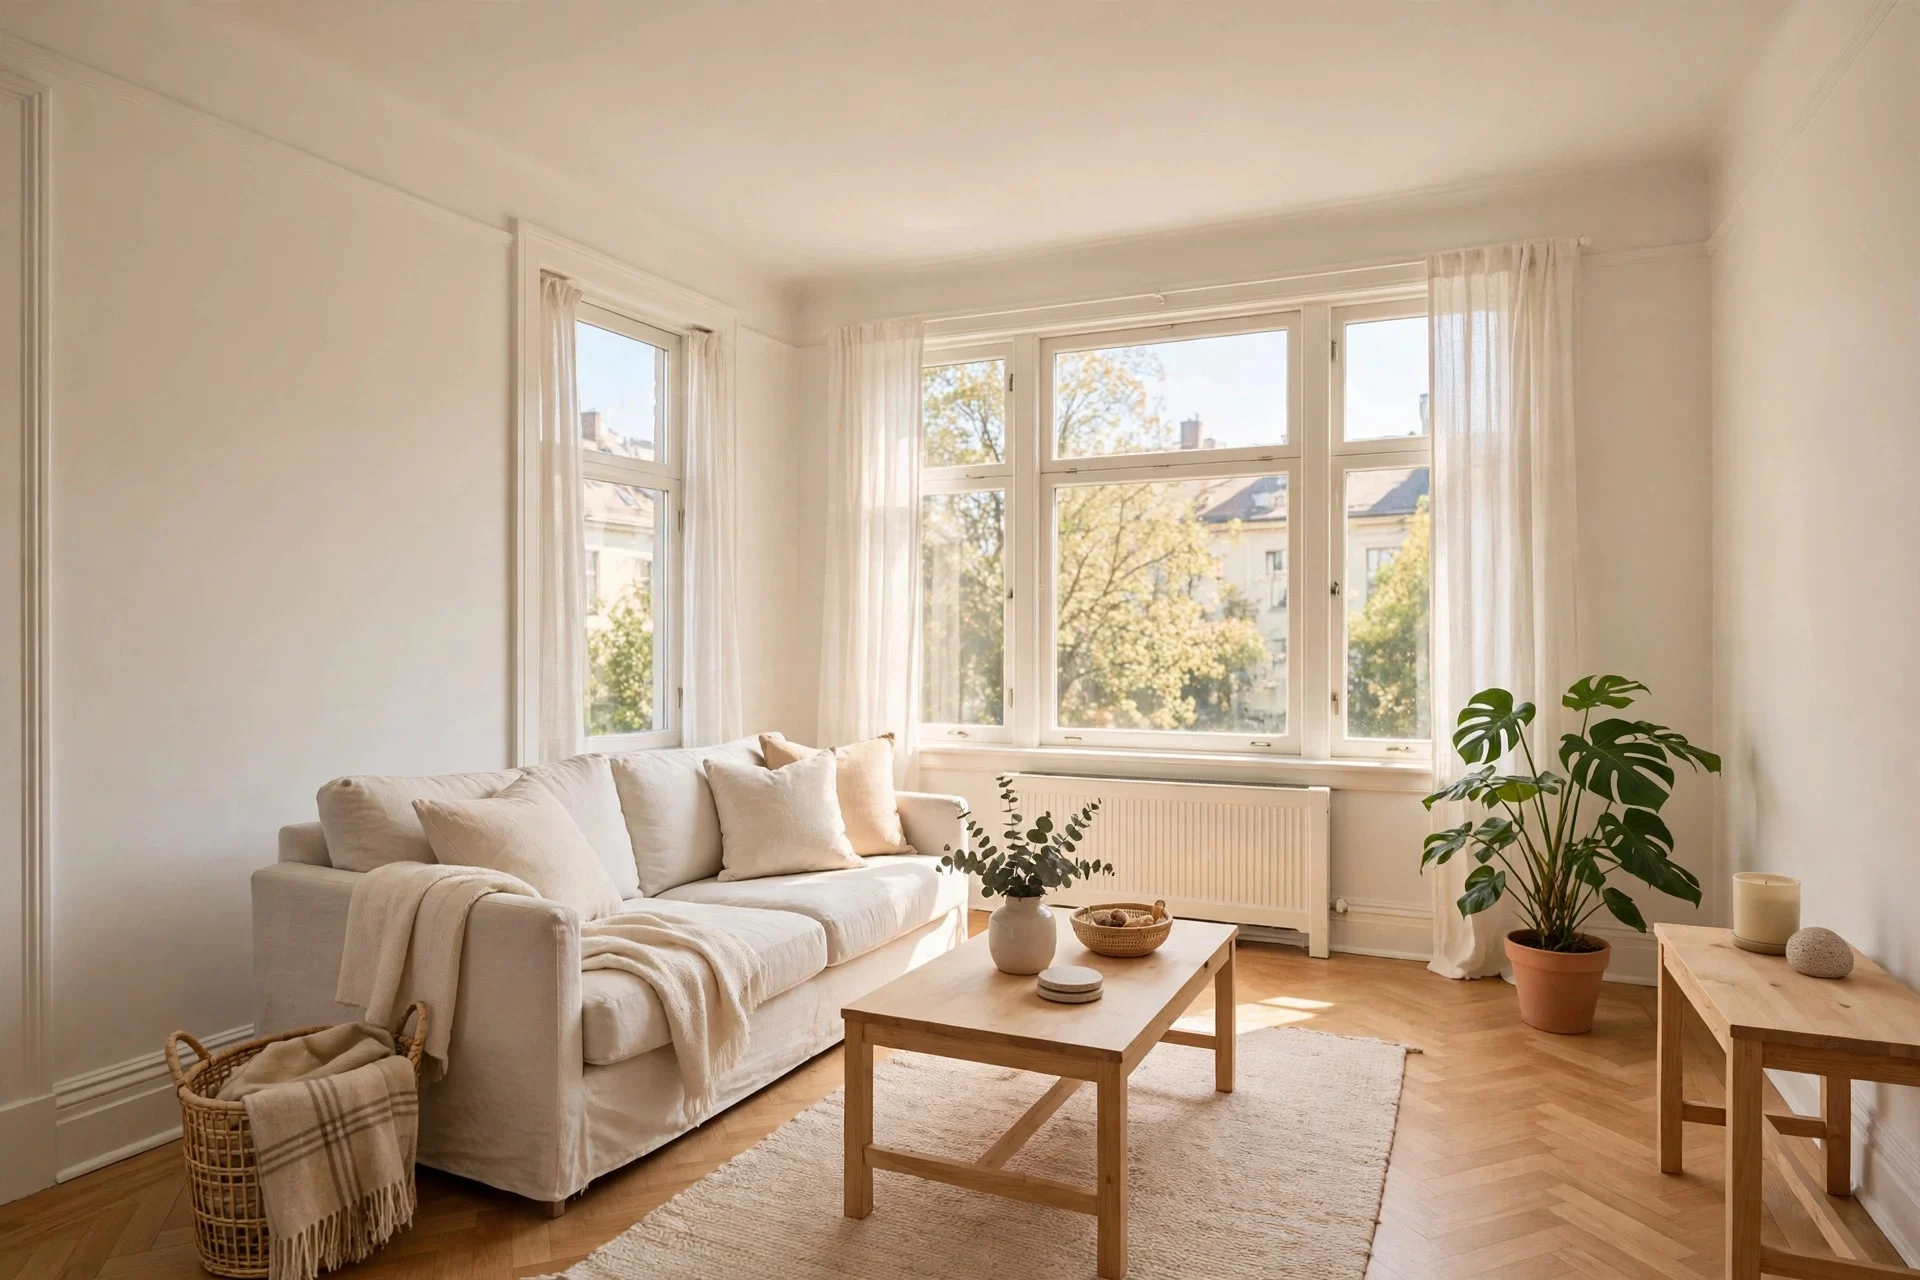
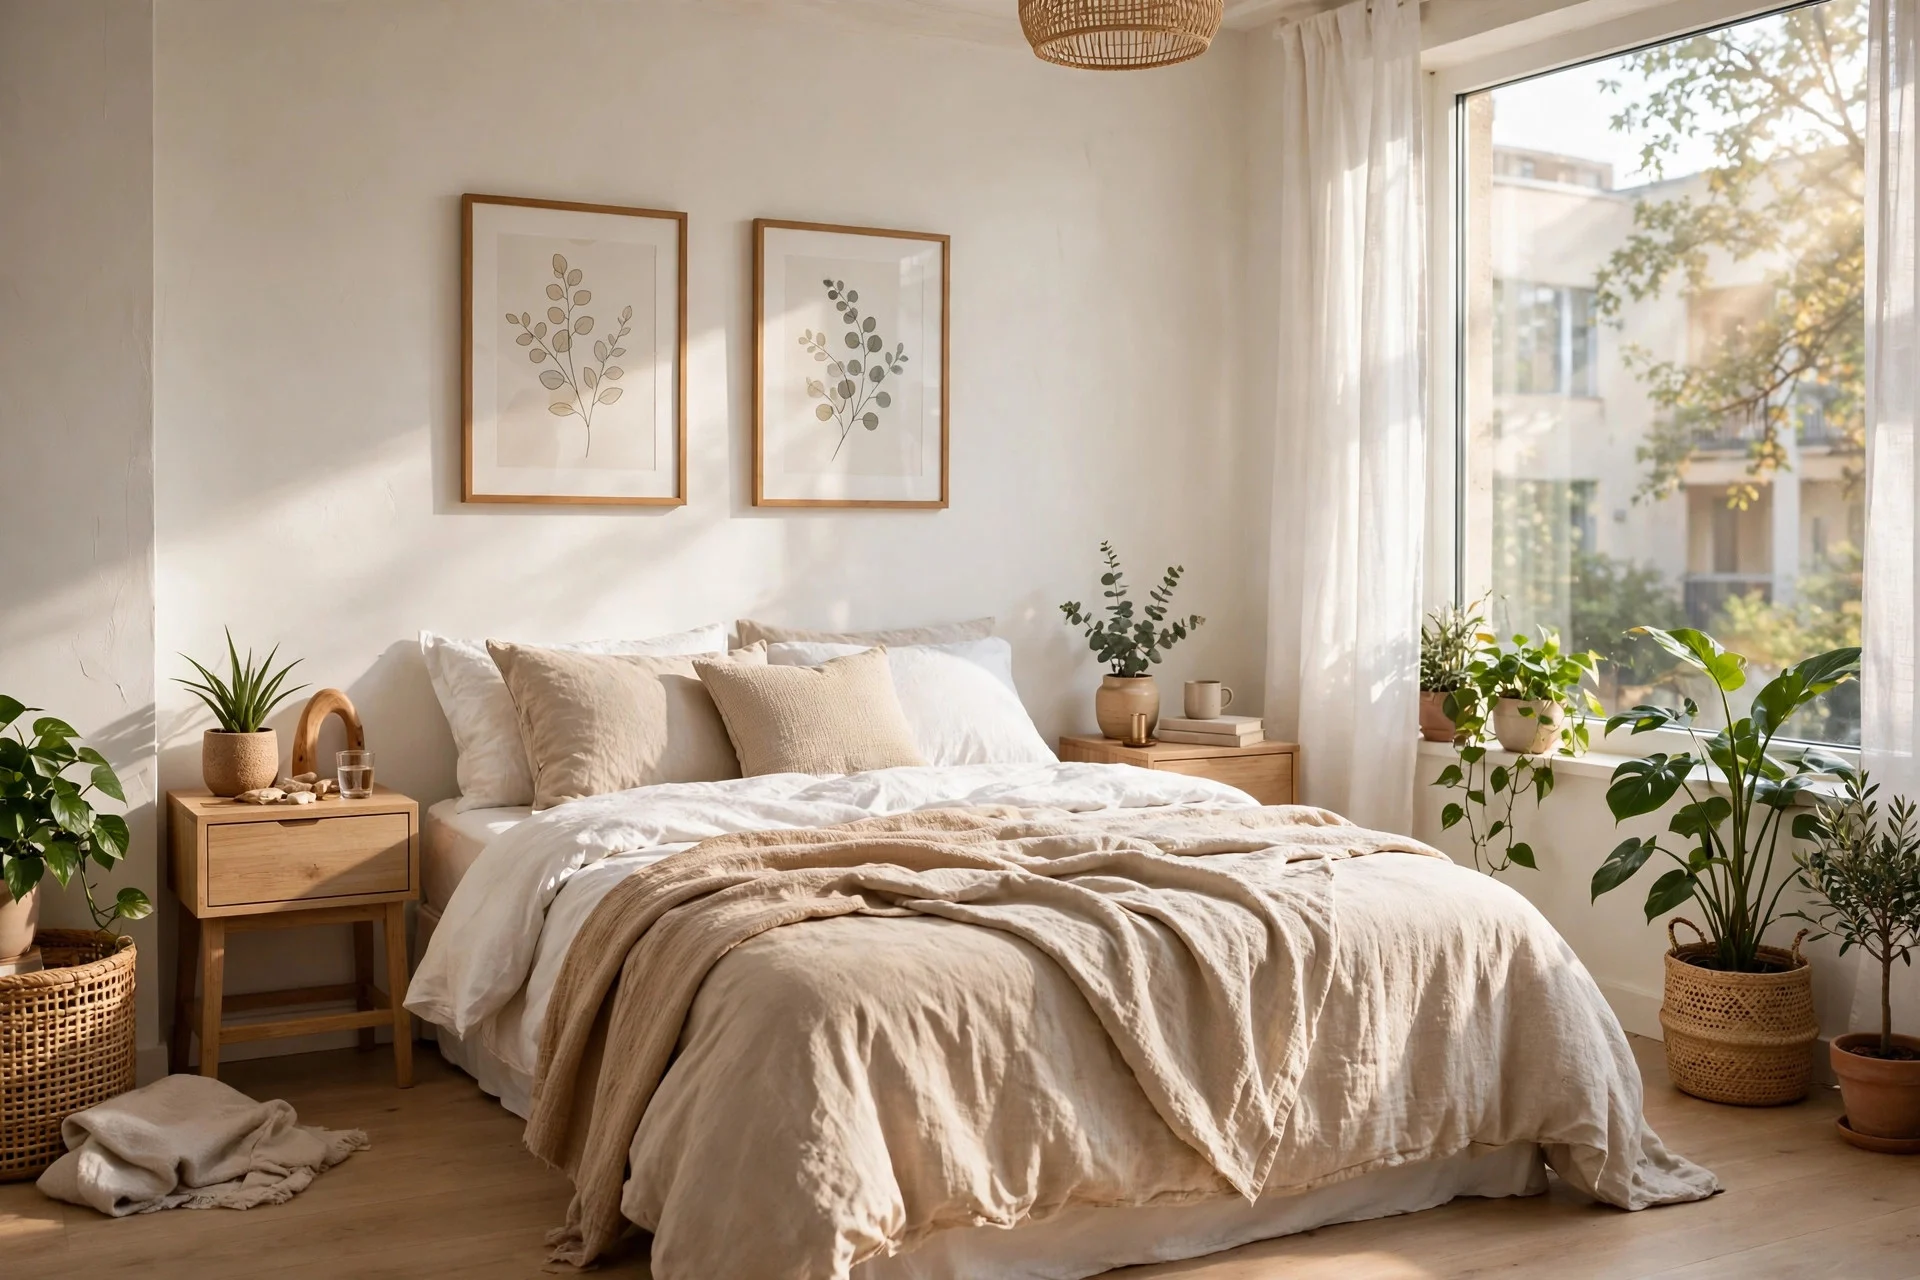
Yes, paint alone can make a small apartment look bigger. The trick is not one magic colour. It is using light colours so the eye stops at fewer boundaries: one pale shade across the walls, the same shade on the ceiling, trim that blends in instead of outlining every door, and a finish that bounces light back into the room.
What it can do is remove the visual clutter that makes small rooms feel chopped up: dark feature walls, white ceilings that cut the wall short, and woodwork that draws a hard line around every opening. The 12 steps below follow the order that makes sense for a whole-apartment repaint, but you can use just one or two in a single room and still see a difference.
Before You Start: Supplies, Costs, and Swatches
For a small one-bedroom apartment, budget roughly $250 to $600 for paint and supplies if you do the work yourself. That covers two to four gallons of wall paint at $40 to $70 per gallon, a gallon of ceiling paint, a quart or two of trim paint, plus rollers, brushes, tape, drop cloths, and primer for dark colours. Run your room measurements through the paint calculator before you buy, so you do not end up a half-gallon short on a Sunday afternoon.
Buy sample pots before you commit. Paint two coats of each candidate on a large piece of poster board, move it around the room, and look at it in morning light, evening light, and lamplight. Colours shift a lot in small rooms because you sit close to the walls, and a shade that looks clean white in the store can read pink, yellow, or grey once it is next to your floor and sofa.
Step 1: Commit to One Light Neutral Across the Whole Apartment
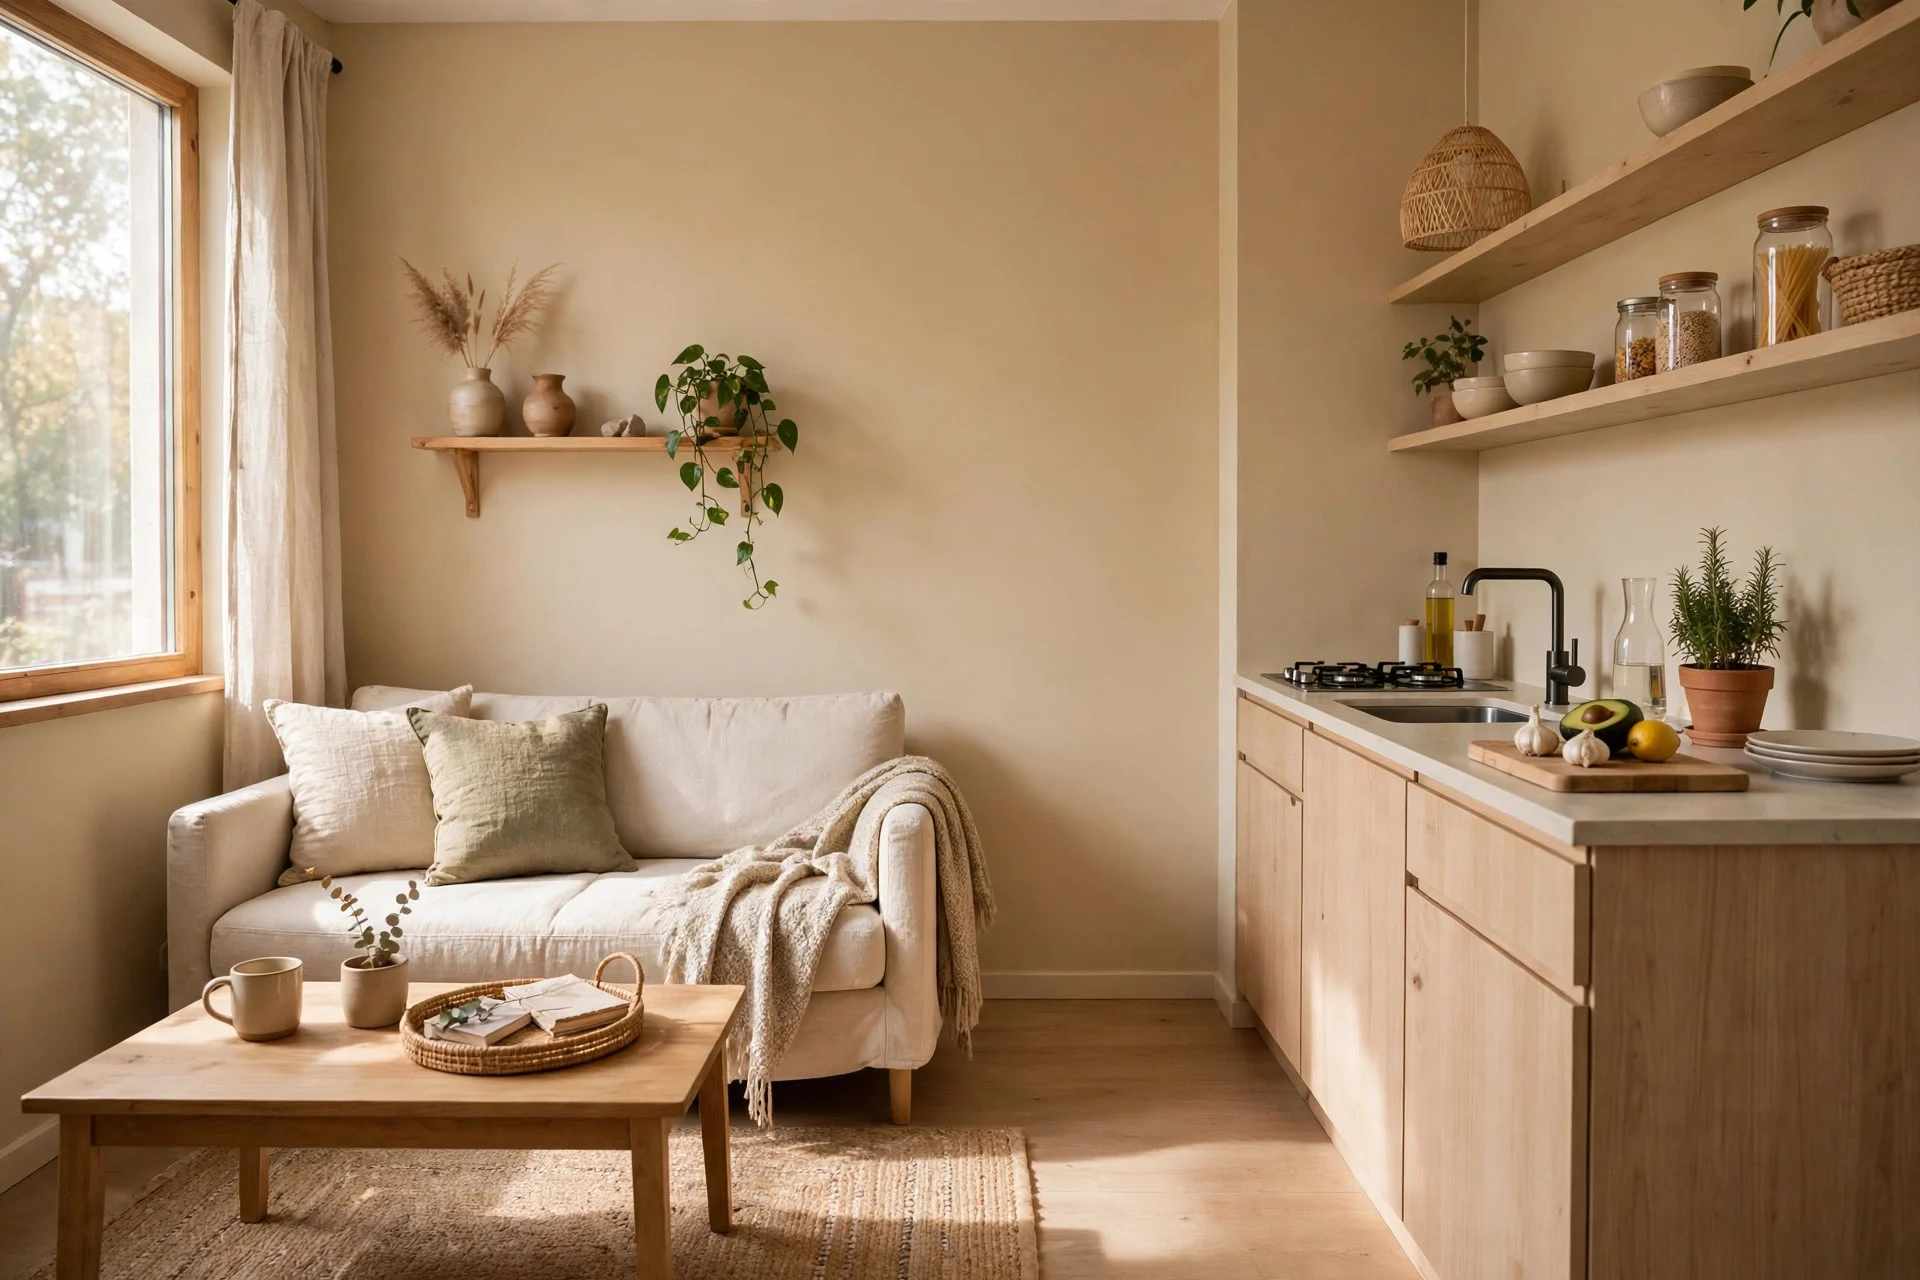
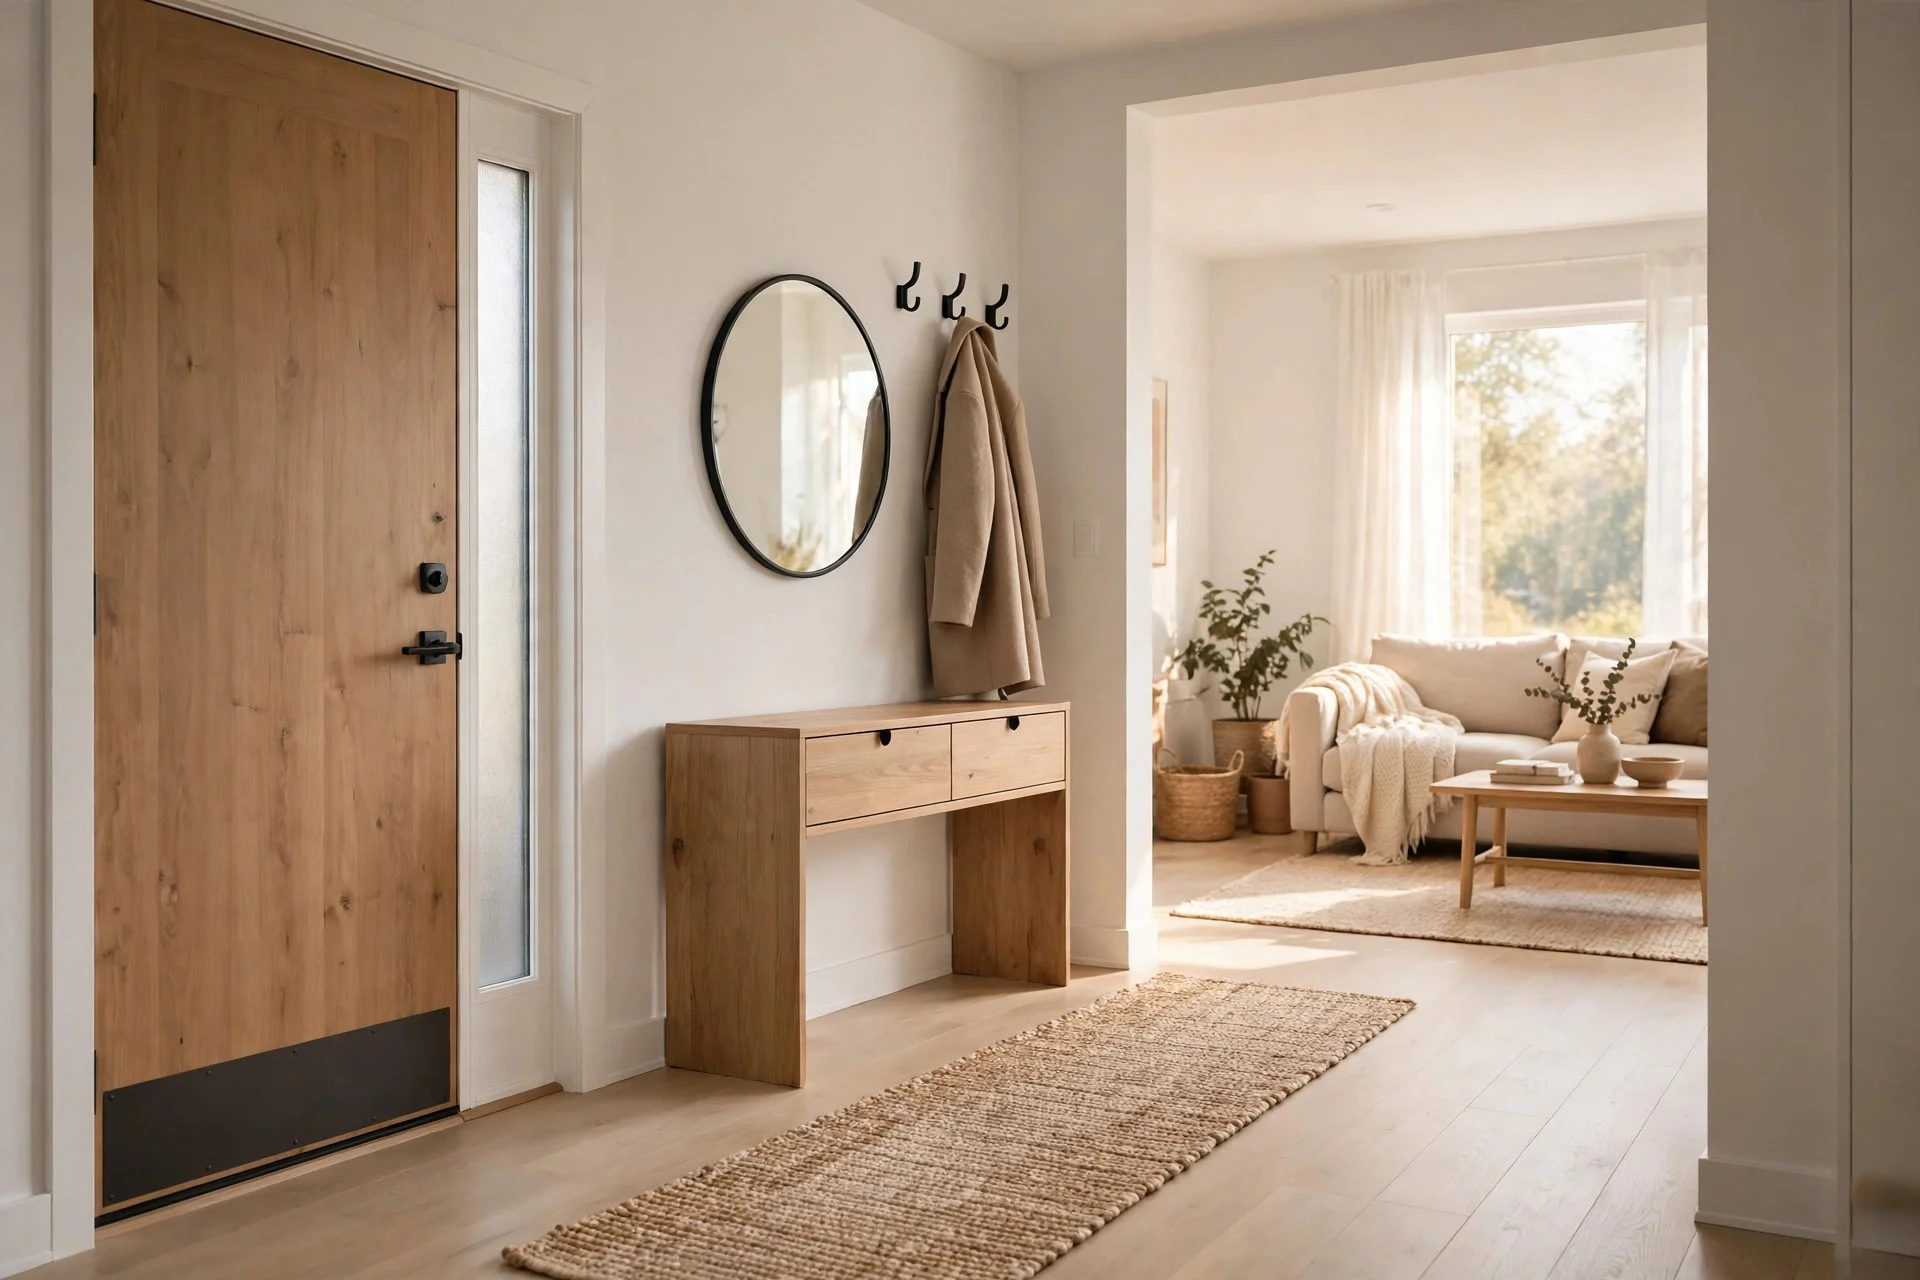
Pick one light neutral and use it in every room. When rooms share one wall colour, the eye moves through the apartment without stopping at each doorway. The whole place reads as one larger space, not a set of small boxes.
Cost: $0 extra if you were repainting anyway. Difficulty: easy. Hands-on tip: bring colour in through cushions, throws, and art you can move. Watch out: “one colour” means one family, so adjust the shade for dark rooms (Step 5) and north-facing rooms (Step 6).
Step 2: Paint the Ceiling the Same Colour as the Walls
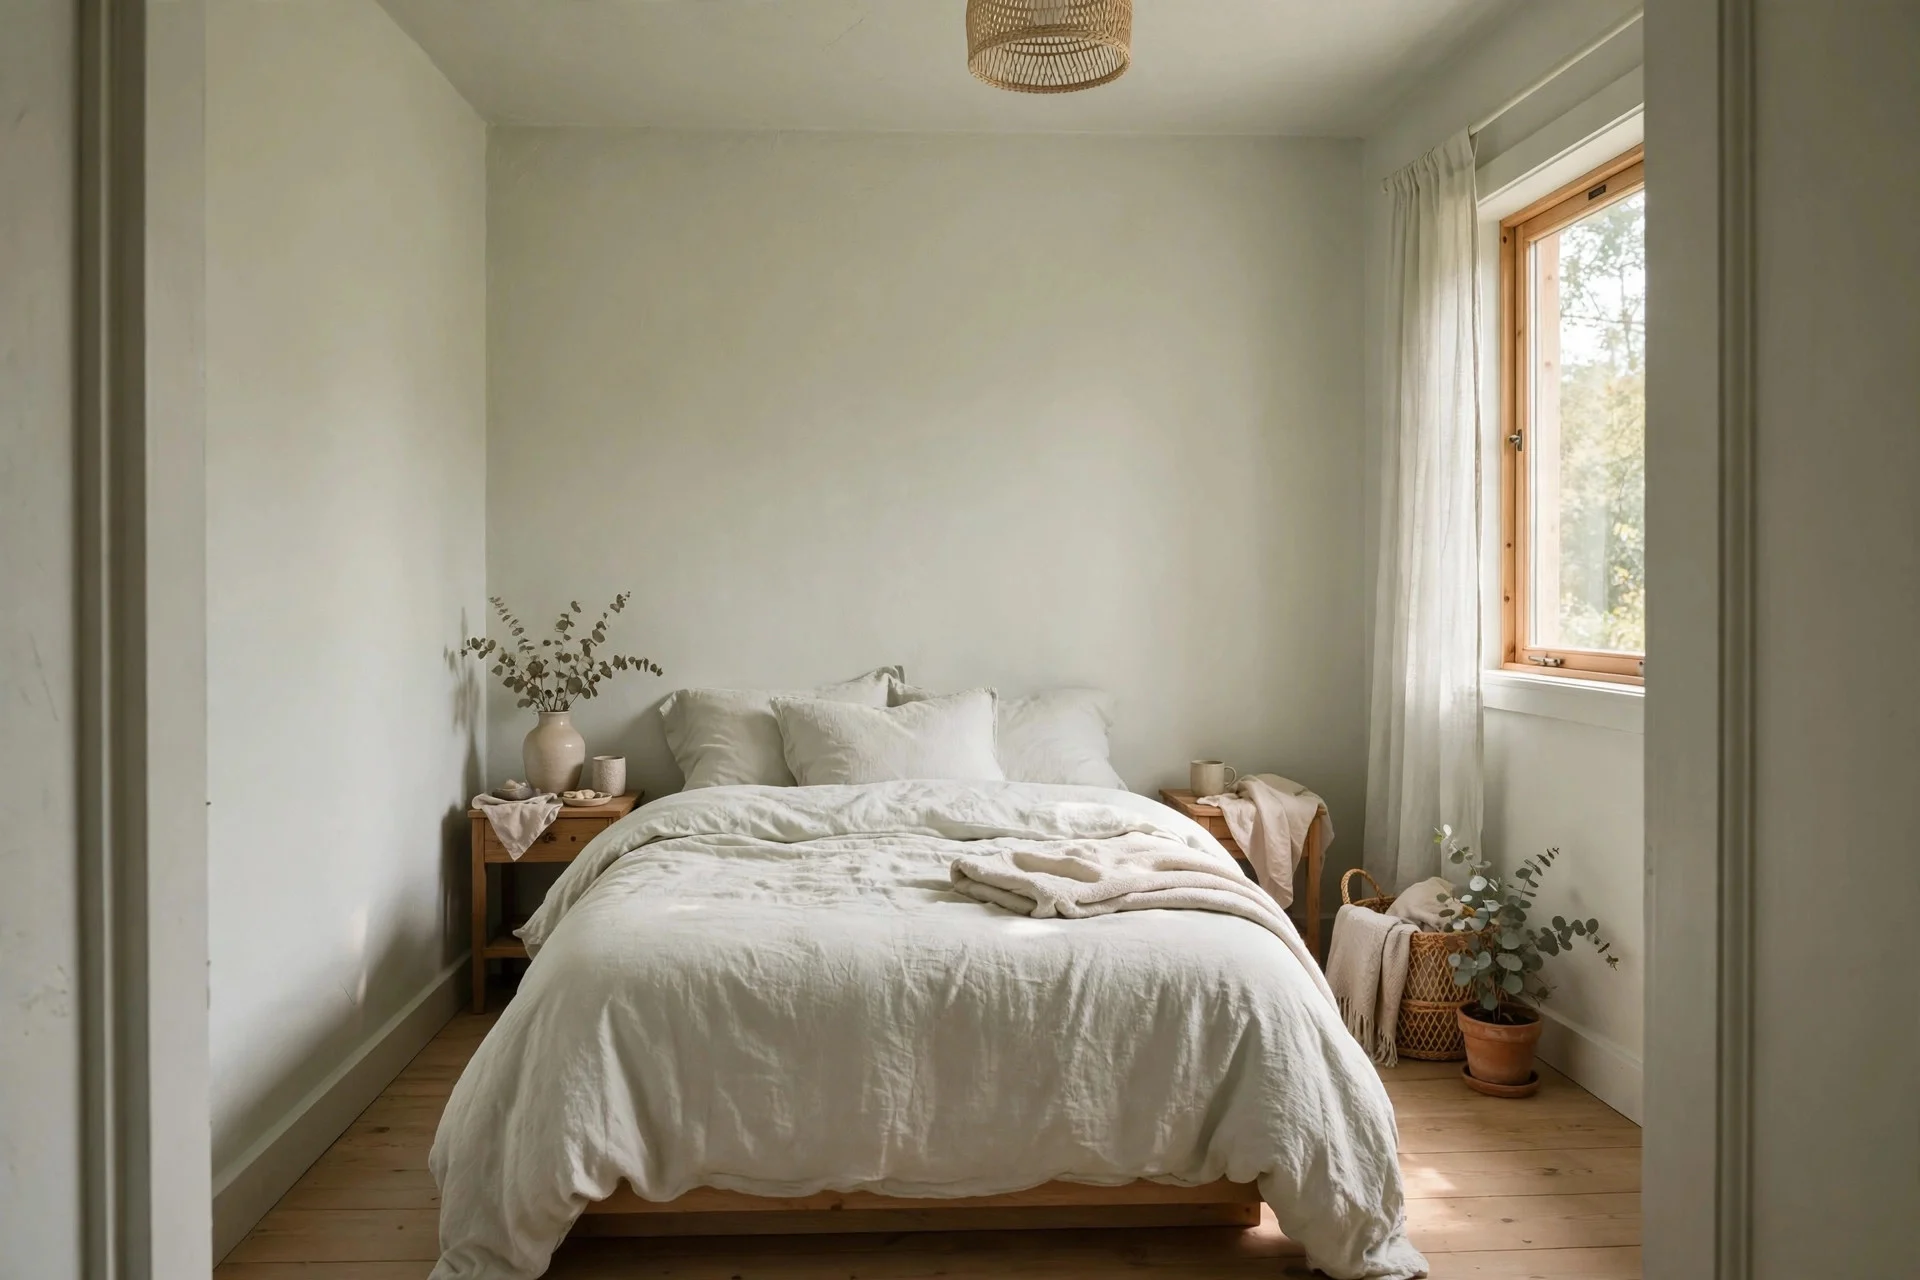
Take the wall colour straight up over the ceiling, with no white band at the top. Erasing it makes the ceiling height harder to judge, which reads as taller — a real gain in apartments with 8-foot ceilings.
Cost: no extra paint cost if you planned to paint the ceiling anyway. Difficulty: easy, though cutting in at the corner takes a steady hand. Time: about an hour per room. Hands-on tip: use a flat or matte finish on the ceiling so it does not catch glare. Watch out: prime a stained ceiling with stain-blocking primer first, or old marks will show through a pale colour.
Step 3: Blend Trim, Doors, and Skirting Into the Walls
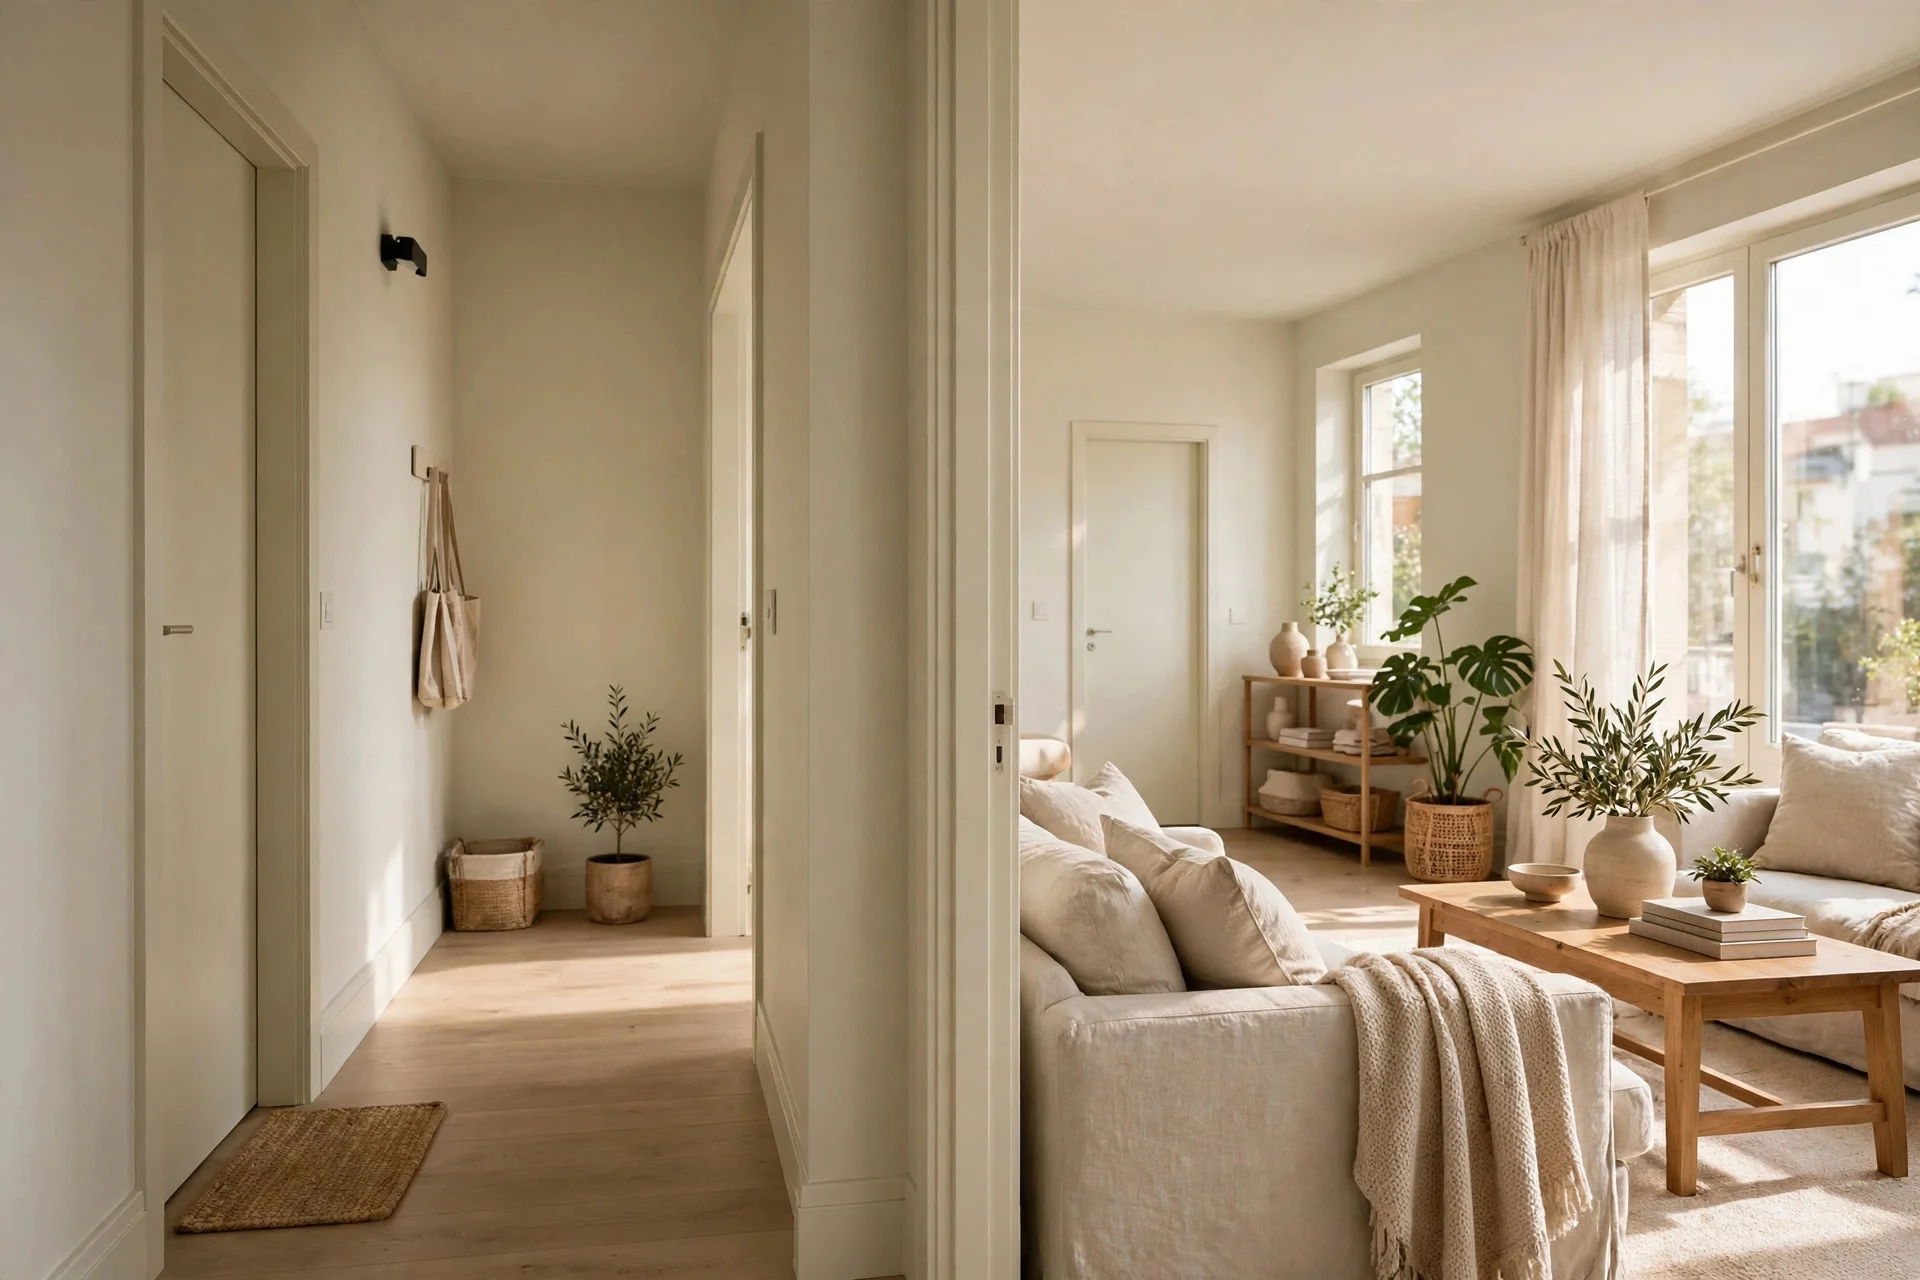
Paint skirting boards, door frames, interior doors, and window trim in the same colour as the walls. Use the same shade in a tougher finish — eggshell or satin on trim, matte on walls — so the woodwork still wipes clean.
Cost: one quart of trim paint per two to three doors, roughly $20 to $35 per quart, plus sandpaper and a small brush. Difficulty: moderate — trim needs sanding and a clean brush line. Time: a half day for a small apartment’s woodwork. Hands-on tip: remove door handles and tape over hinges rather than painting around them. Watch out: this step is hard to reverse on stained wood, so if you rent, check your lease first. For renter-safe ideas that do not touch the woodwork, see this guide to rental apartment decorating ideas.
Step 4: Carry the Colour Through Hallways and Open Doorways
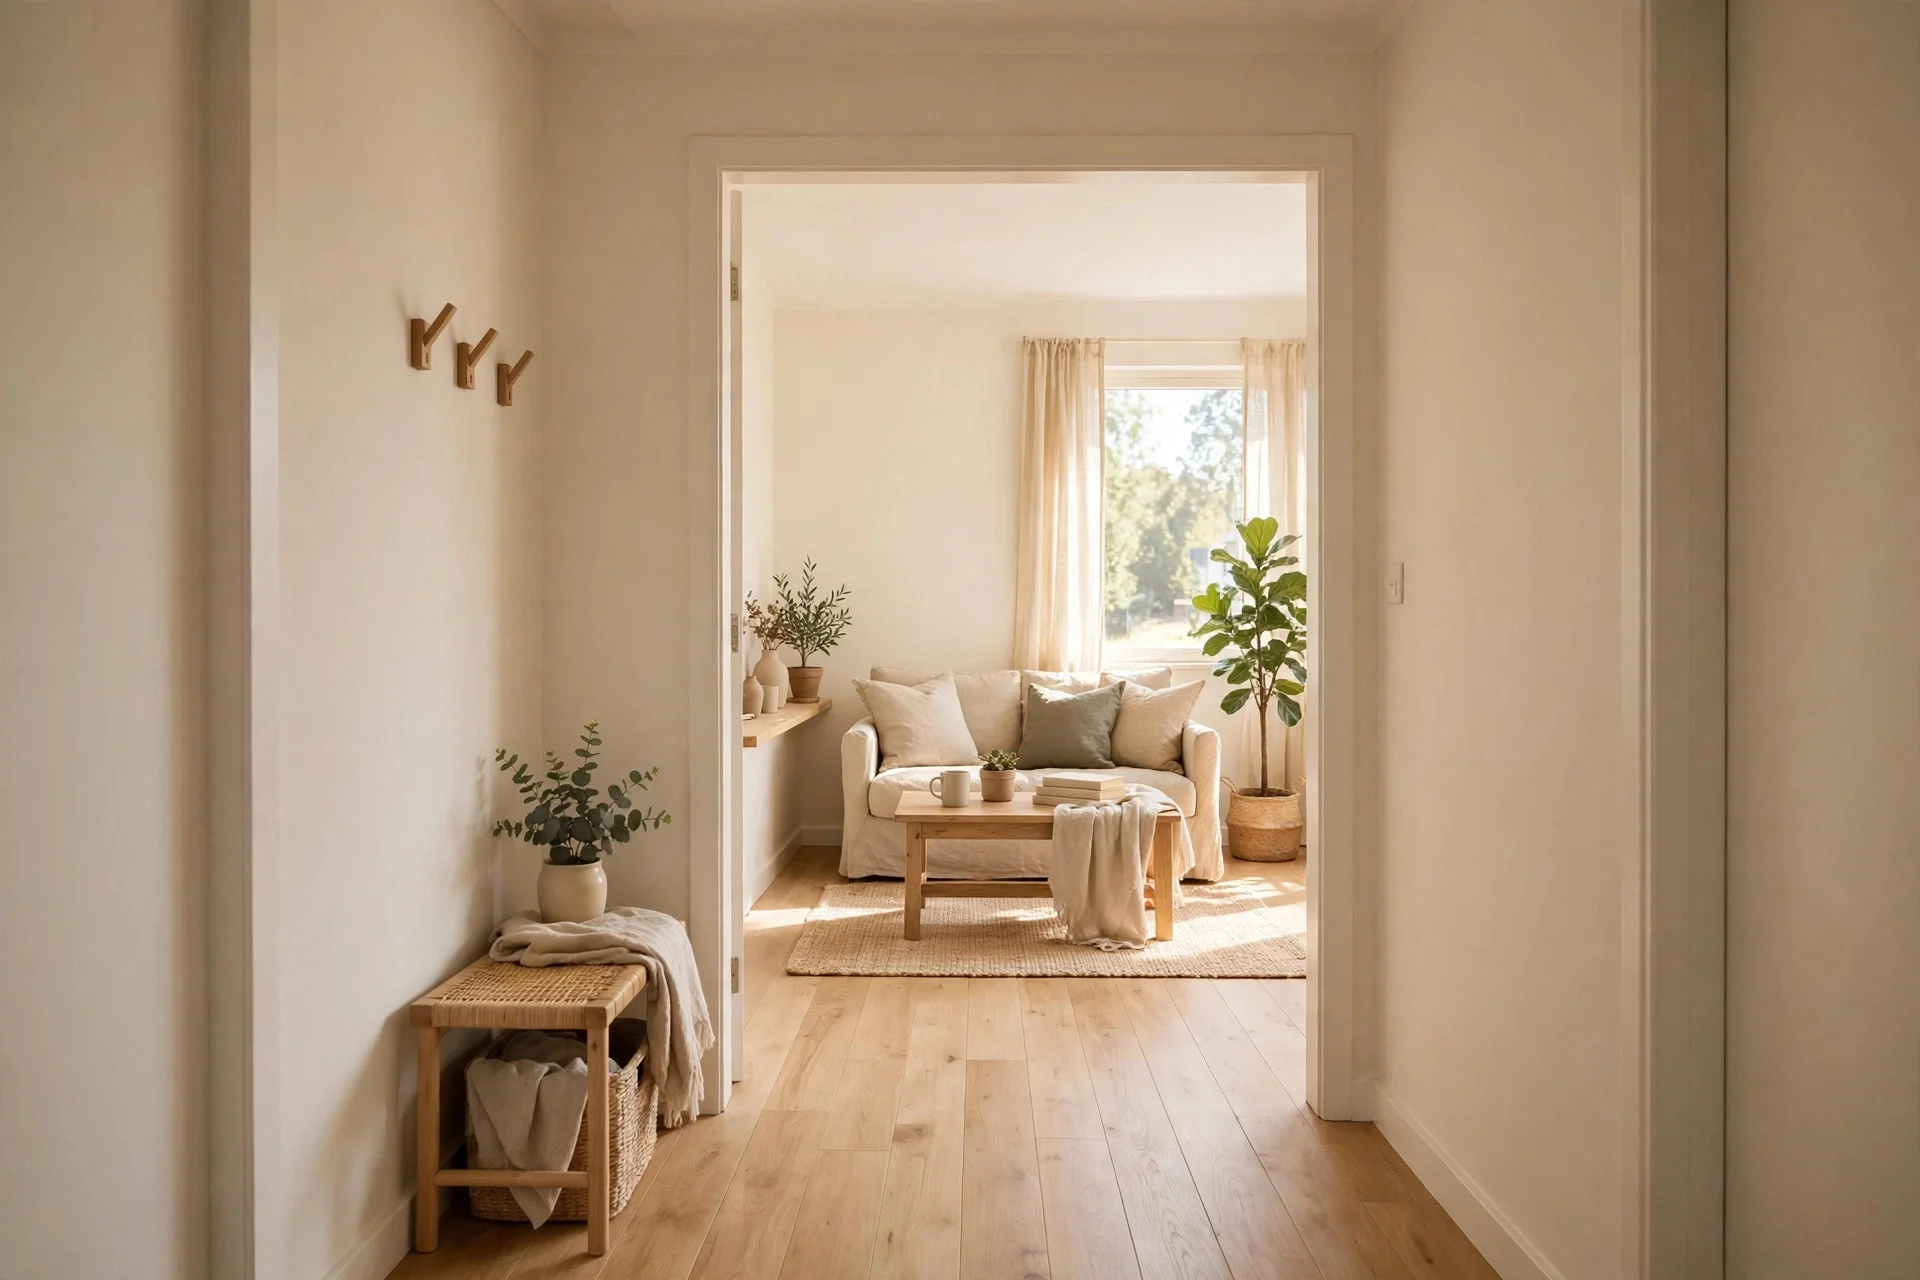
Do not stop the wall colour at each doorway. Run the same shade down the hallway, into the entry, and through any open-plan connection. You should see one unbroken colour from the front door to the farthest room. A continuous colour lets sightlines run long, and the apartment reads deeper than it is.
Cost: included in the whole-apartment paint budget; a hallway alone takes about one gallon for two coats, roughly $40 to $70. Difficulty: easy. Time: two to three hours for a short hallway. Hands-on tip: paint the inside edges of doorways in the same colour, since those are the surfaces you see from the next room. Watch out: if a hallway is very dark, use the lighter tint from Step 5 instead of forcing the main shade into a space with no light.
Step 5: Go One Shade Lighter in Dark or Windowless Rooms
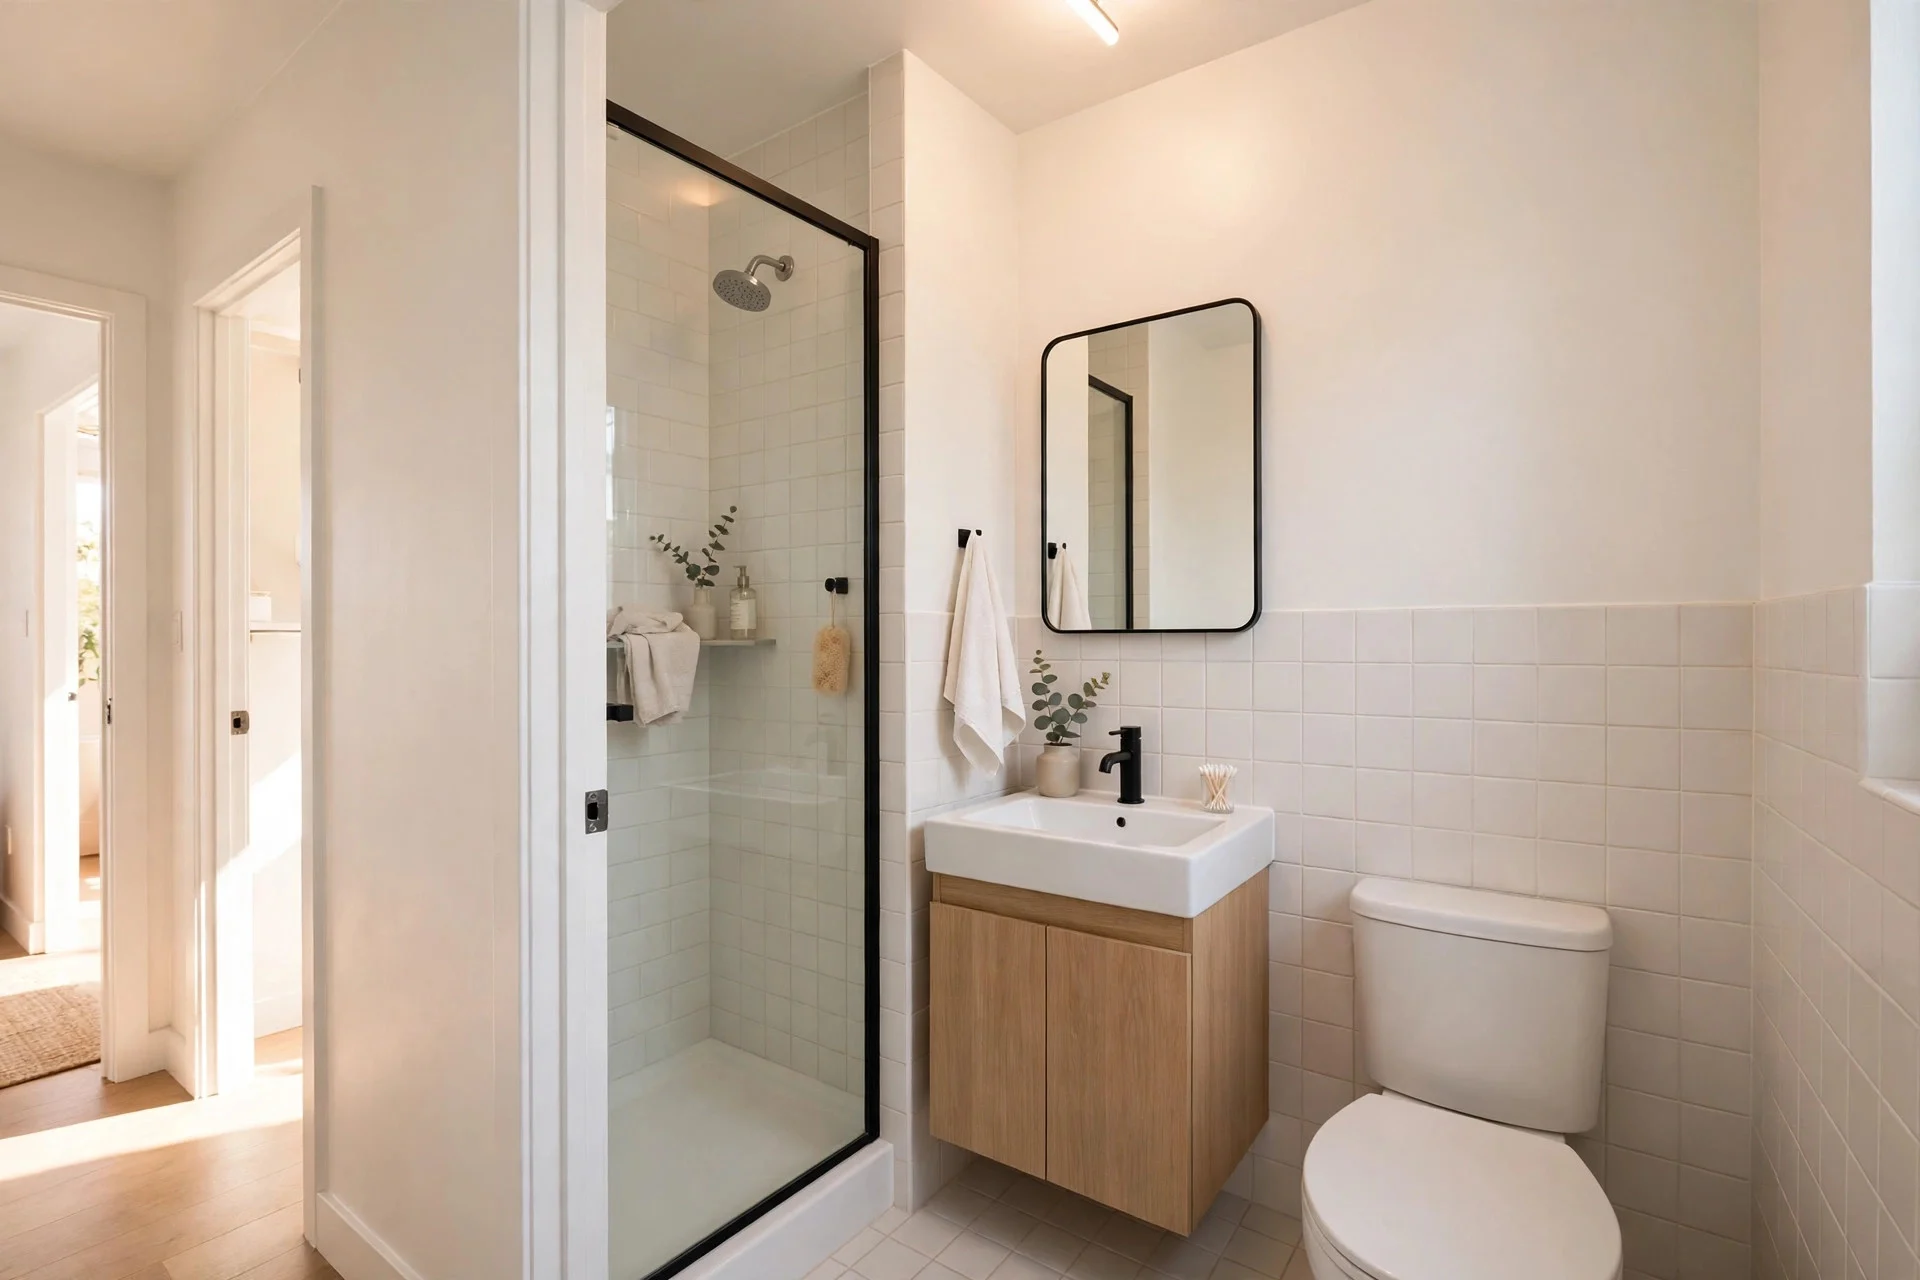
For a windowless bathroom, a dark hallway, or a box room with one tiny window, pick a tint one or two steps lighter on the same paint strip as your main colour. A mid-tone colour that looks pale in a sunny living room can read dull and grey in a room with no daylight.
Cost: one extra gallon at most, roughly $40 to $70. Difficulty: easy. Time: a couple of hours for a small bathroom. Hands-on tip: test the lighter tint on the wall of the dark room itself, not in the bright room next door. Watch out: do not jump to pure white to “brighten” a dark room. Stark white with no daylight often reads cold and flat, while a pale warm tint still feels like a colour.
Step 6: Match the Undertone to Your Light
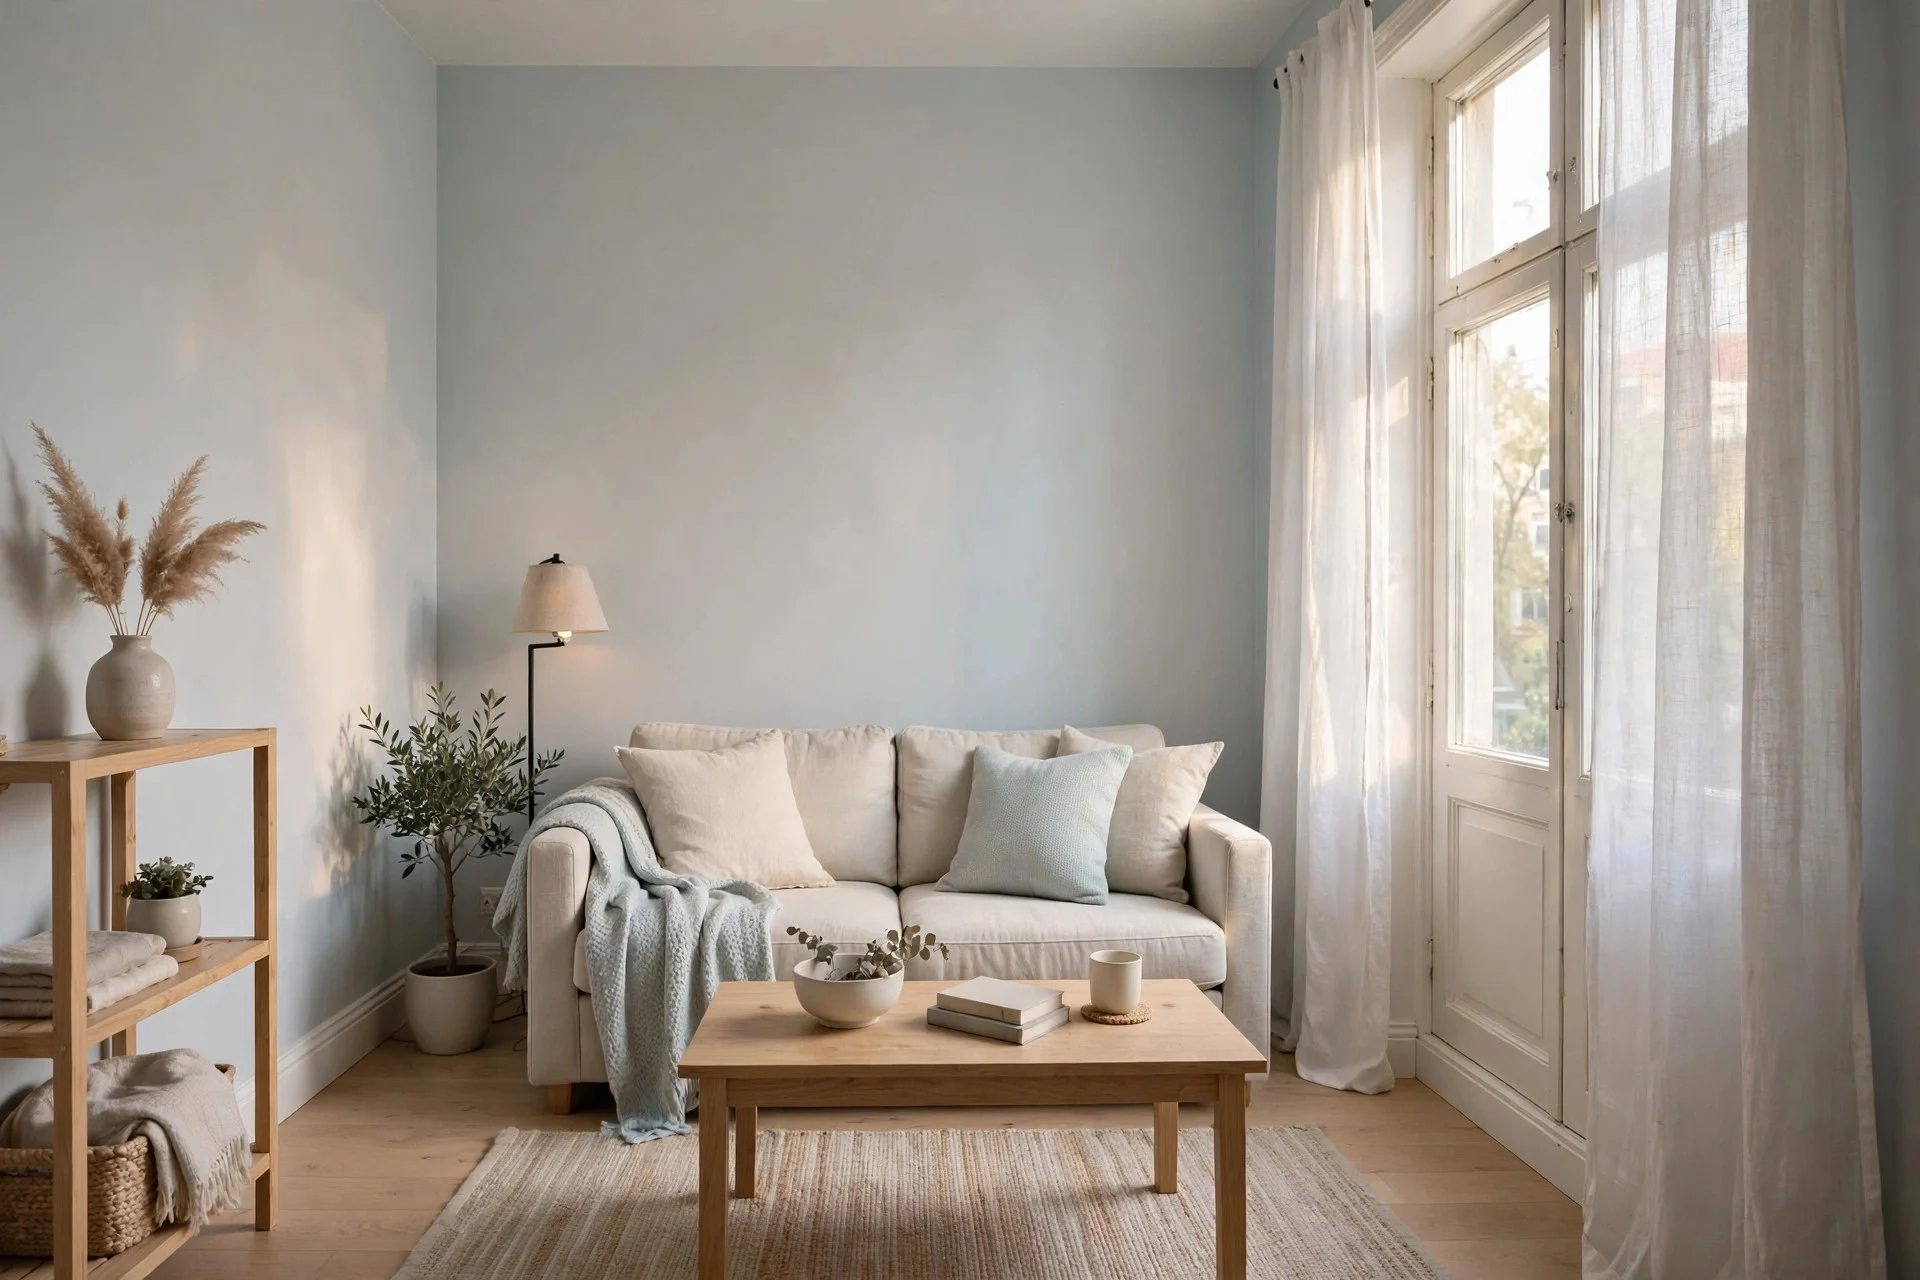
North-facing rooms get cool, blue-grey daylight. They suit pale colours with a cool or neutral undertone: a soft blue-white, a pale grey with a hint of blue, or a clean neutral white. South-facing rooms get warm, golden light, so they suit warm whites, pale creams, and warm greiges that will not turn yellow in the sun.
Cost: $0 extra — this is a choice, not an extra product. Difficulty: easy, but it takes discipline to buy two related shades instead of one tin. Time: an extra hour testing swatches in each aspect. Hands-on tip: check a paint strip’s undertone by holding the swatch next to a pure white card. Watch out: if your apartment faces east or west, light changes through the day, so test swatches in both morning and evening. For more on working with low natural light, this guide to living room low ceiling decor covers light tricks that pair well with pale paint.
Step 7: Paint Built-Ins, Alcoves, and Radiators to Disappear
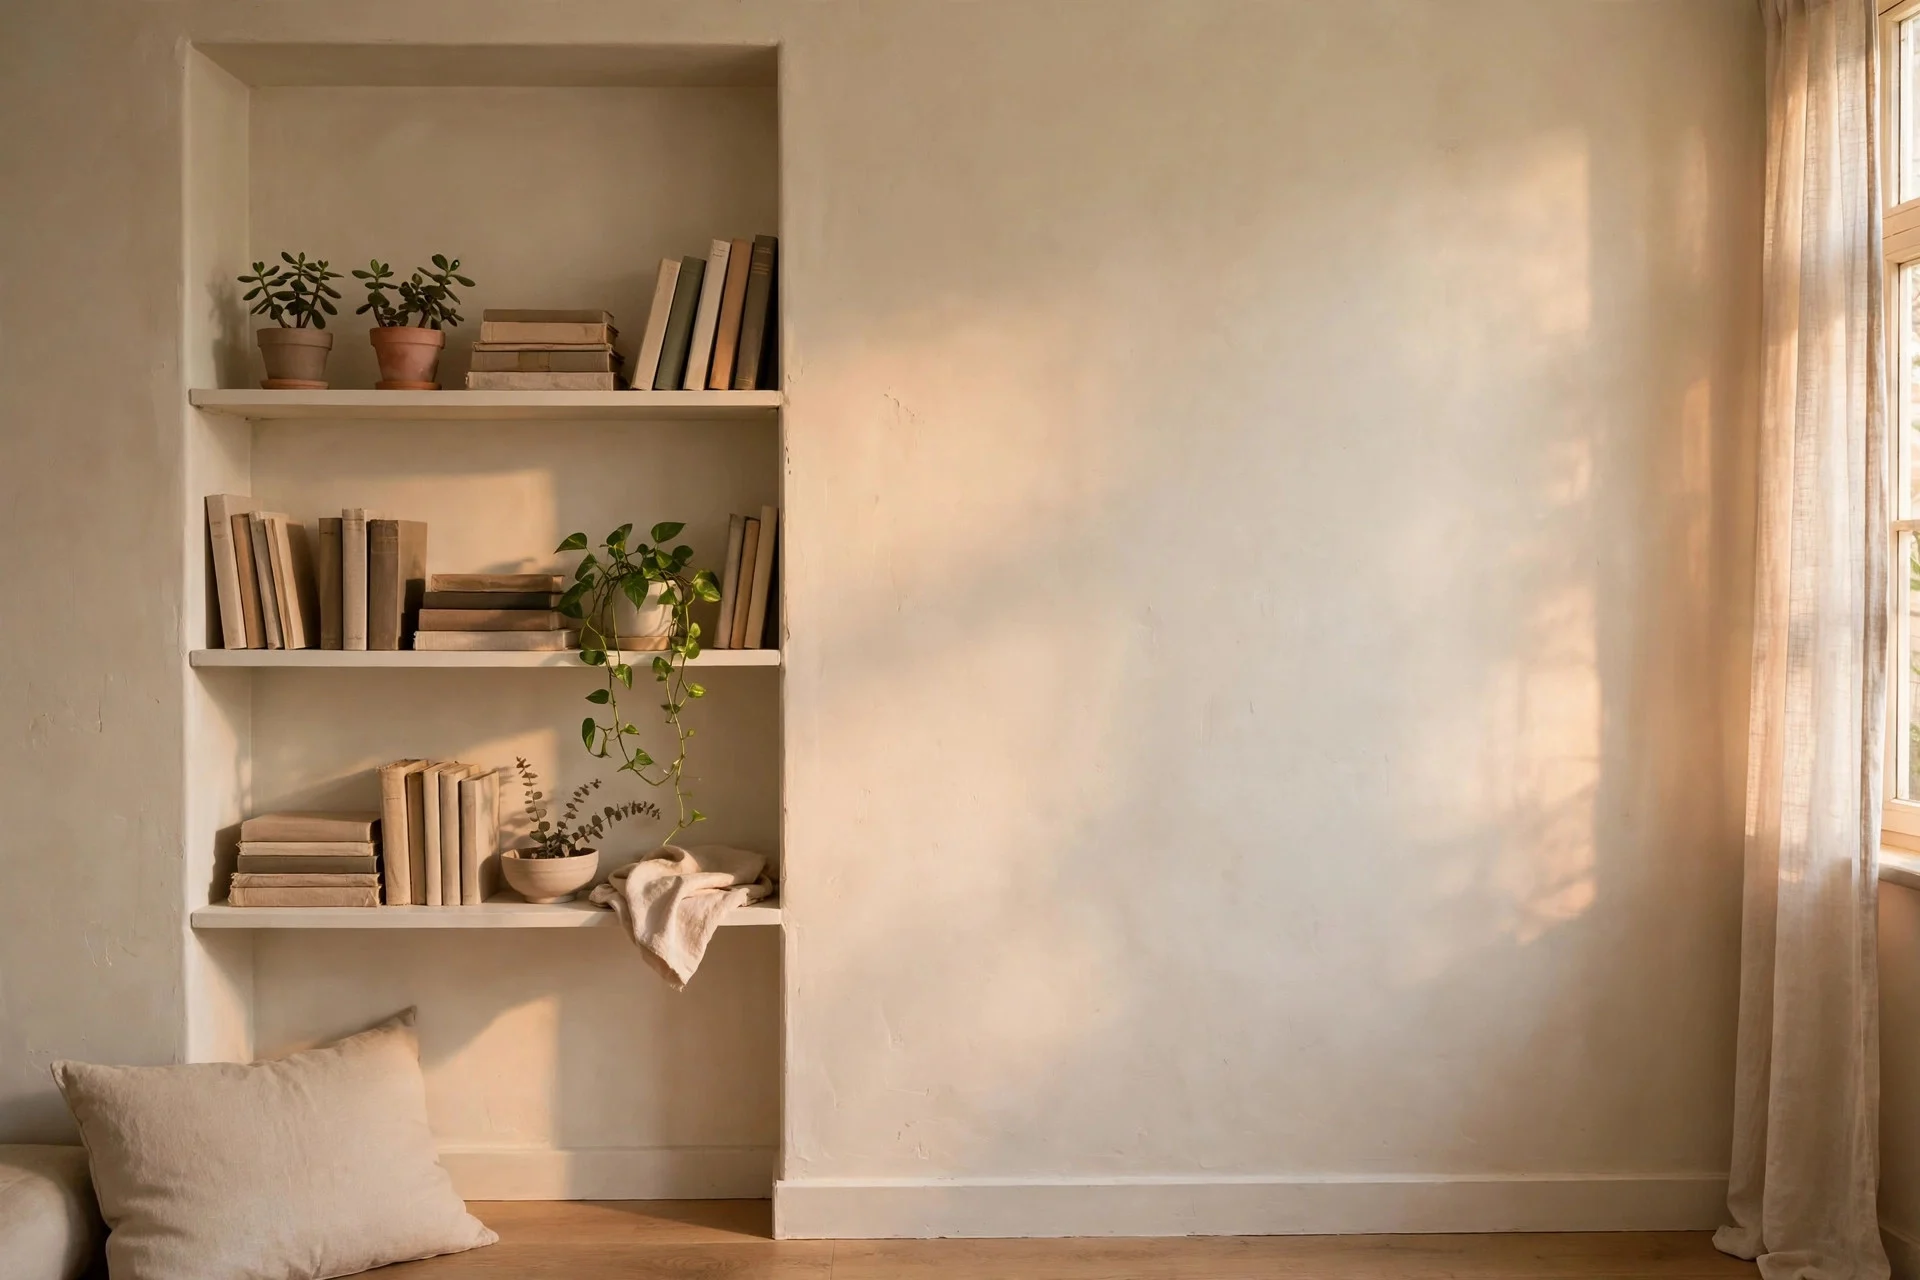
Paint built-in shelves, alcoves, radiator covers, and shallow niches in the wall colour. A bookshelf painted the wall colour reads as part of the wall. Small apartments are full of fixed boxes — radiators, pipe covers, boiler cupboards, alcoves — and each one painted differently adds another shape to track.
Cost: usually under $40, since a quart covers most built-ins, and a radiator needs a quart of heat-resistant radiator paint at roughly $20 to $30. Difficulty: moderate — shelves need sanding and a primer coat. Time: half a day including drying between coats. Hands-on tip: take books and objects off the shelves and paint the backs too. Watch out: use proper radiator paint on radiators, not standard wall paint, which can yellow and peel with heat.
Step 8: Pick an Eggshell or Satin Finish to Bounce Light
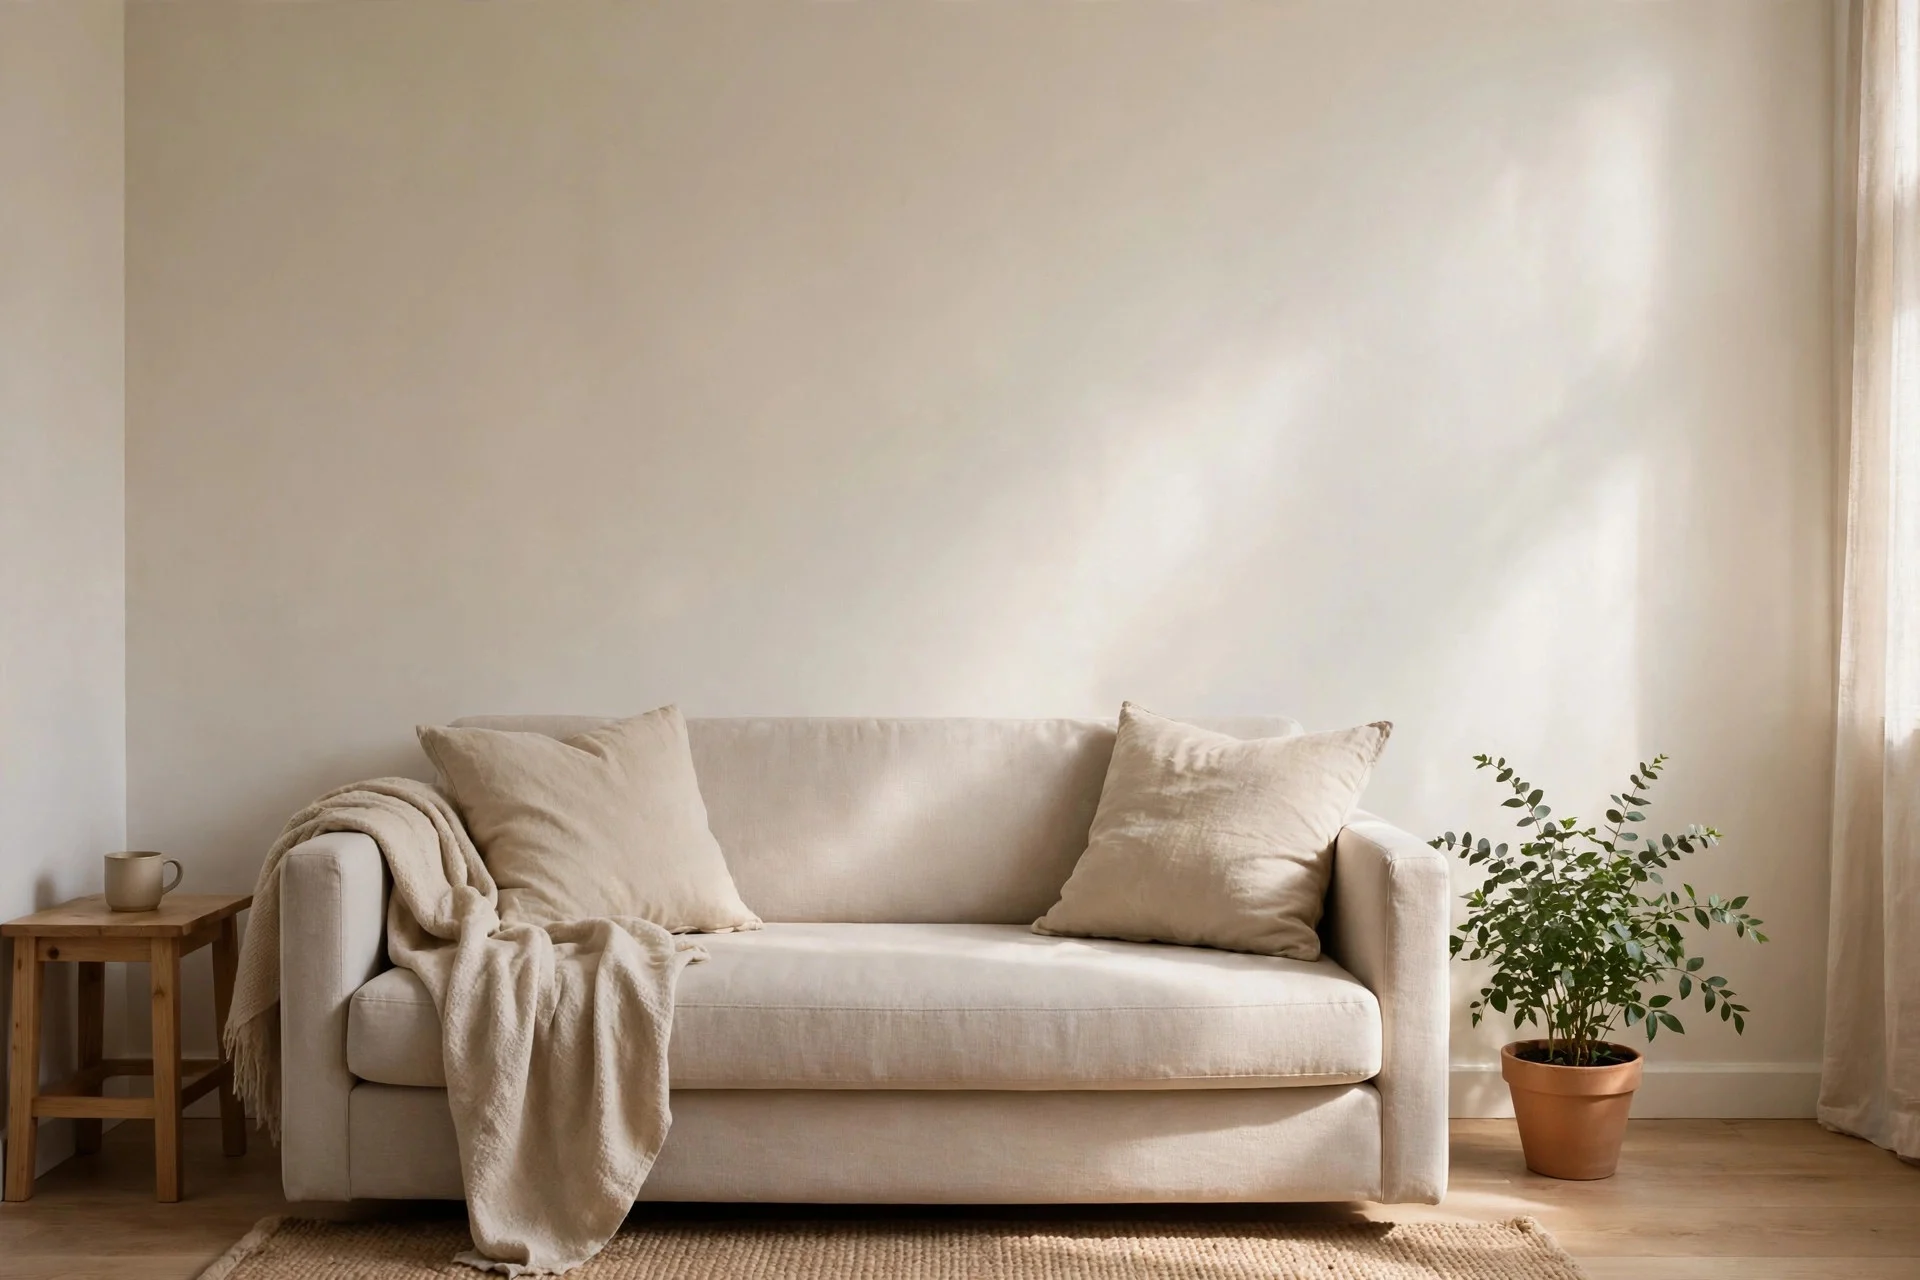
On walls, choose eggshell or satin instead of flat matte in rooms that need light. Eggshell has a soft, low sheen that reflects a little daylight back into the room without looking shiny. A wall finish is a light tool: flat paint absorbs light, while eggshell returns some of it. In a small room with one window, that small bounce matters.
Cost: $0 to $10 more per gallon than flat, depending on brand. Difficulty: easy — it applies the same way, though you need to keep a wet edge to avoid lap marks. Time: no extra time. Hands-on tip: roll in a steady W pattern and do not go back over a section that has started to dry. Watch out: skip gloss and semi-gloss on main walls. They bounce more light, yet they spotlight every dent, patch, and uneven plaster line.
Step 9: Paint Window Frames and Reveals Bright White
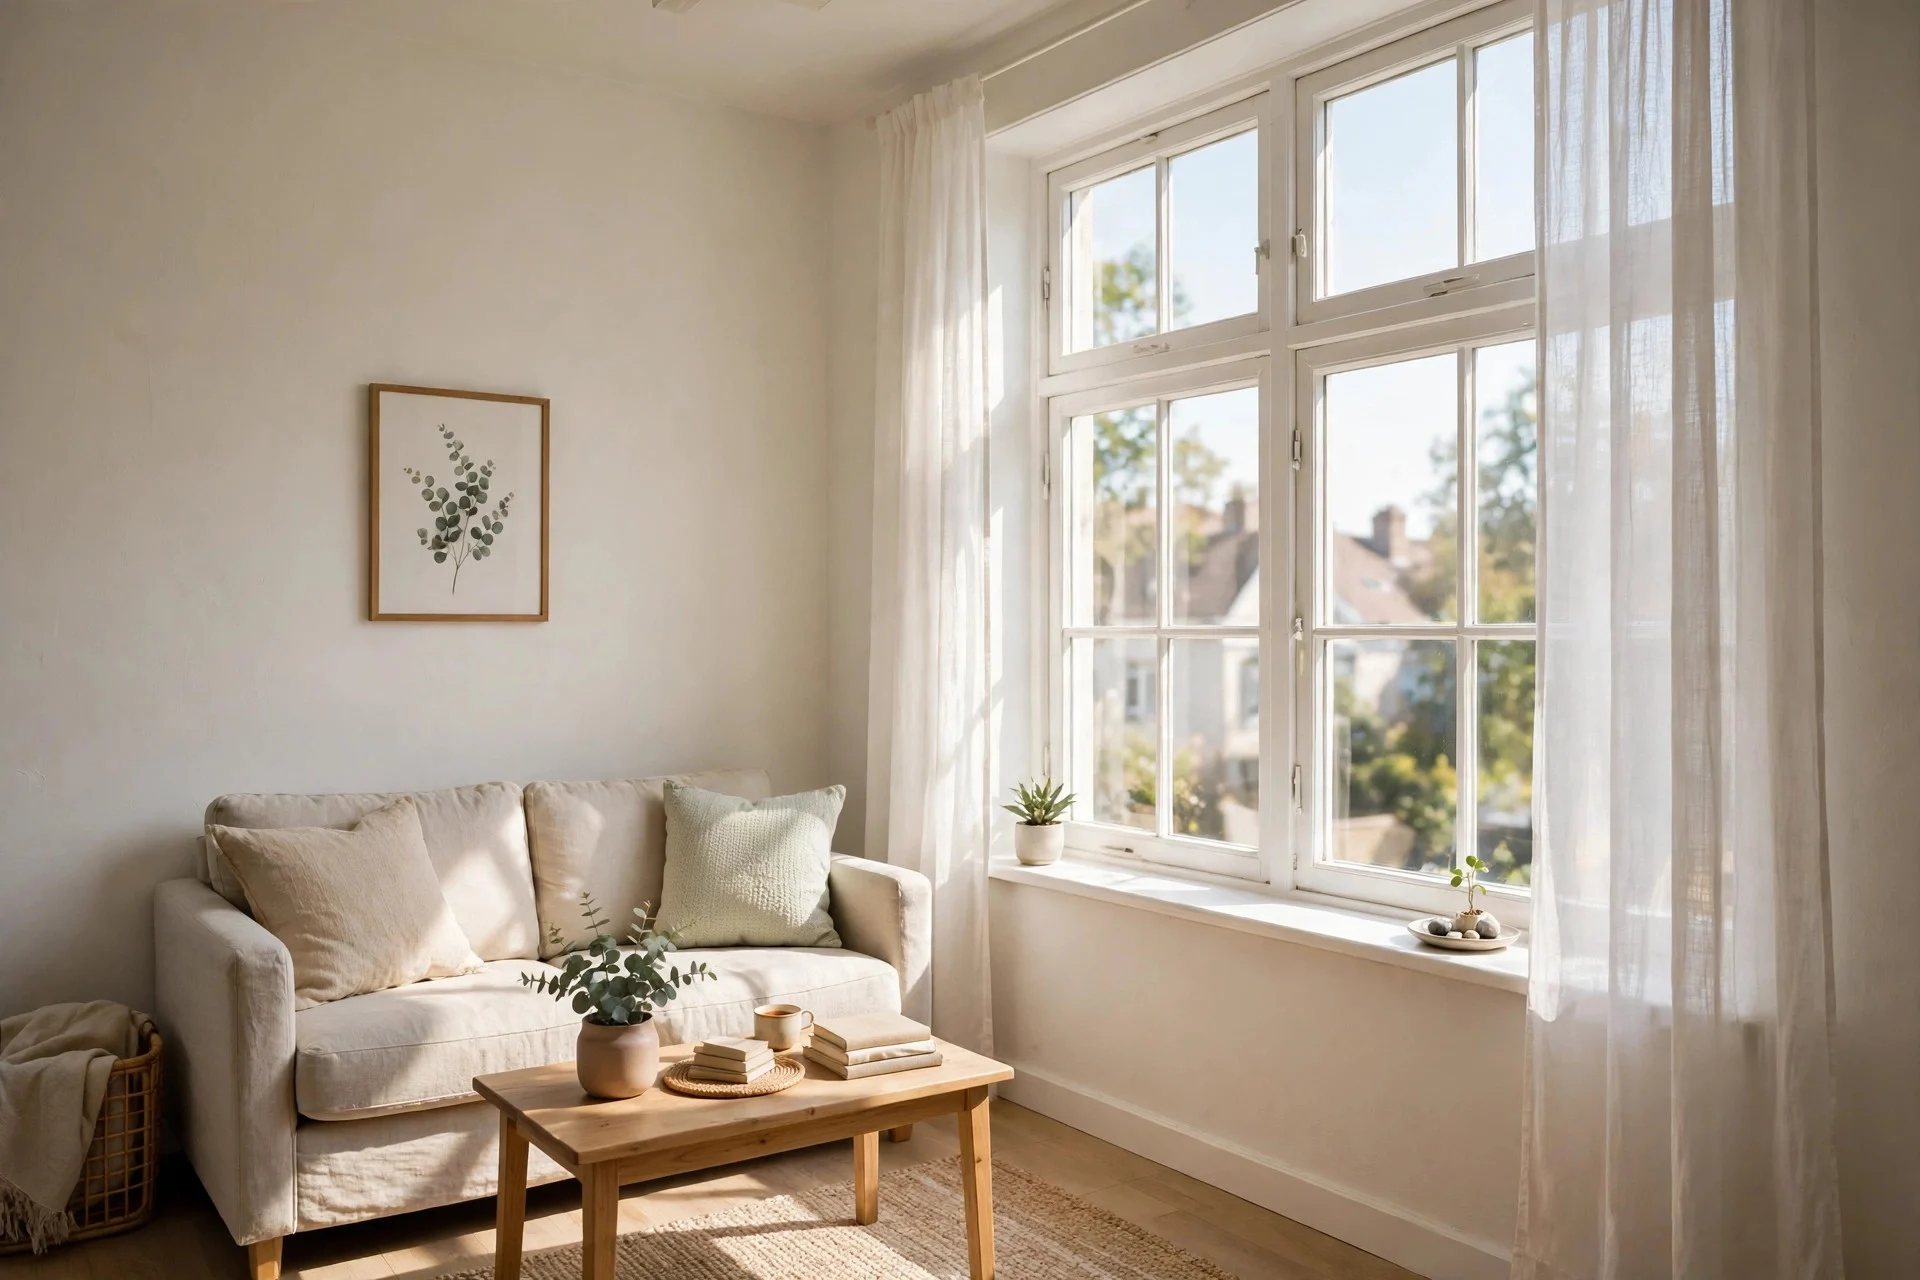
While the wall trim blends in, make one exception: the window frames and the reveals. The reveals are the inner sides of the window opening, and they get a bright, clean white. A bright white reveal acts like a light box around the glass, so the window looks bigger and the daylight feels stronger.
Cost: one quart of white trim paint, roughly $20 to $35, covers several windows. Difficulty: moderate — window frames need careful masking and a small brush. Time: one to two hours per window. Hands-on tip: paint the reveal in the same session as the wall, while the masking tape is already up, and pull the tape off while the last coat is still slightly tacky. Watch out: if your windows are old and draughty, fix seals and putty before painting, or you will be repainting peeling frames within a year.
Step 10: Paint Kitchen Cabinets the Same Pale Colour as the Walls
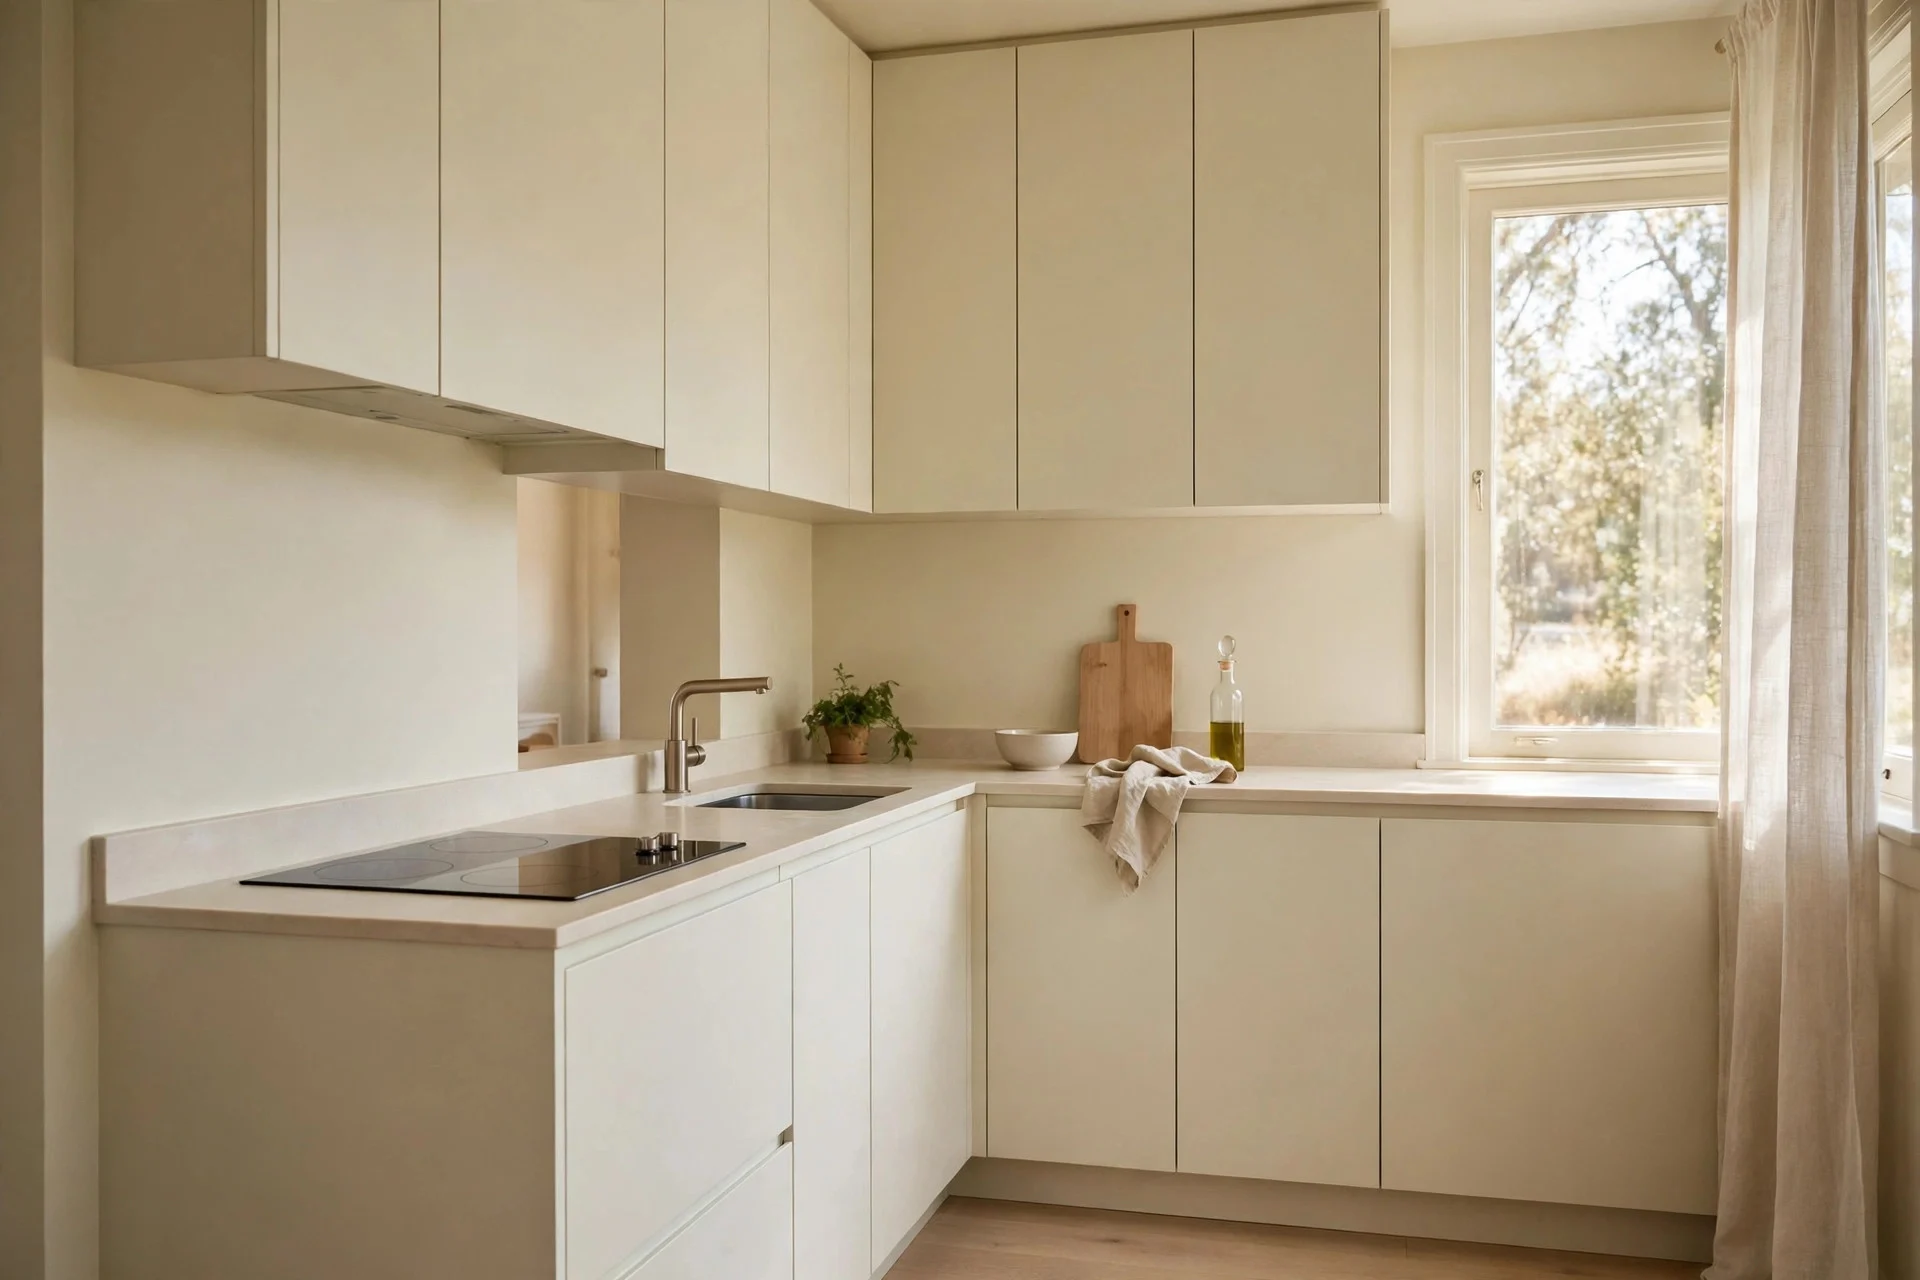
In a small kitchen, paint the cabinet fronts in the same pale colour as the kitchen walls, or one tint lighter. Use a durable cabinet paint or a satin trim paint over a bonding primer. Wall cabinets that match the wall stop reading as heavy boxes hanging over the worktop. The kitchen then feels like one open space instead of a corridor of cupboards.
Cost: $80 to $180 for a small kitchen, including bonding primer, cabinet paint, and new brushes or a small foam roller. Difficulty: moderate to hard — doors come off, get cleaned, sanded, primed, and painted with two coats. Time: a full weekend, mostly drying time. Hands-on tip: label every door and hinge with tape as you remove them, and paint doors flat on sawhorses or a table to avoid drips. Watch out: skip this step on damaged laminate that is peeling badly; paint will not hold on a failing surface, and new fronts or a reface will serve you better.
Step 11: Paint Floorboards a Light Colour

If your apartment has tired wooden floorboards, painting them a light colour can widen the whole room. Use a dedicated floor paint over primer, and finish with a clear floor sealer in high-traffic areas. Floors are the largest surface in a room, and a dark floor anchors the eye downward and shortens the space.
Cost: $100 to $250 for a small room, including floor paint, primer, and sealer. Difficulty: hard — floors need sanding, thorough cleaning, and two to three coats with full drying time between them. Time: a weekend per room, plus a day or two before you can move furniture back. Hands-on tip: paint in the direction of the boards with a wide brush or floor roller, and keep the room empty and dust-free while coats dry. Watch out: painted floors show dirt and scuffs faster than dark wood, so they need regular sweeping and a sealer topcoat in entryways. If you rent, do not paint floors without written permission from your landlord.
Step 12: Make the Far Wall of a Long, Narrow Room a Touch Lighter
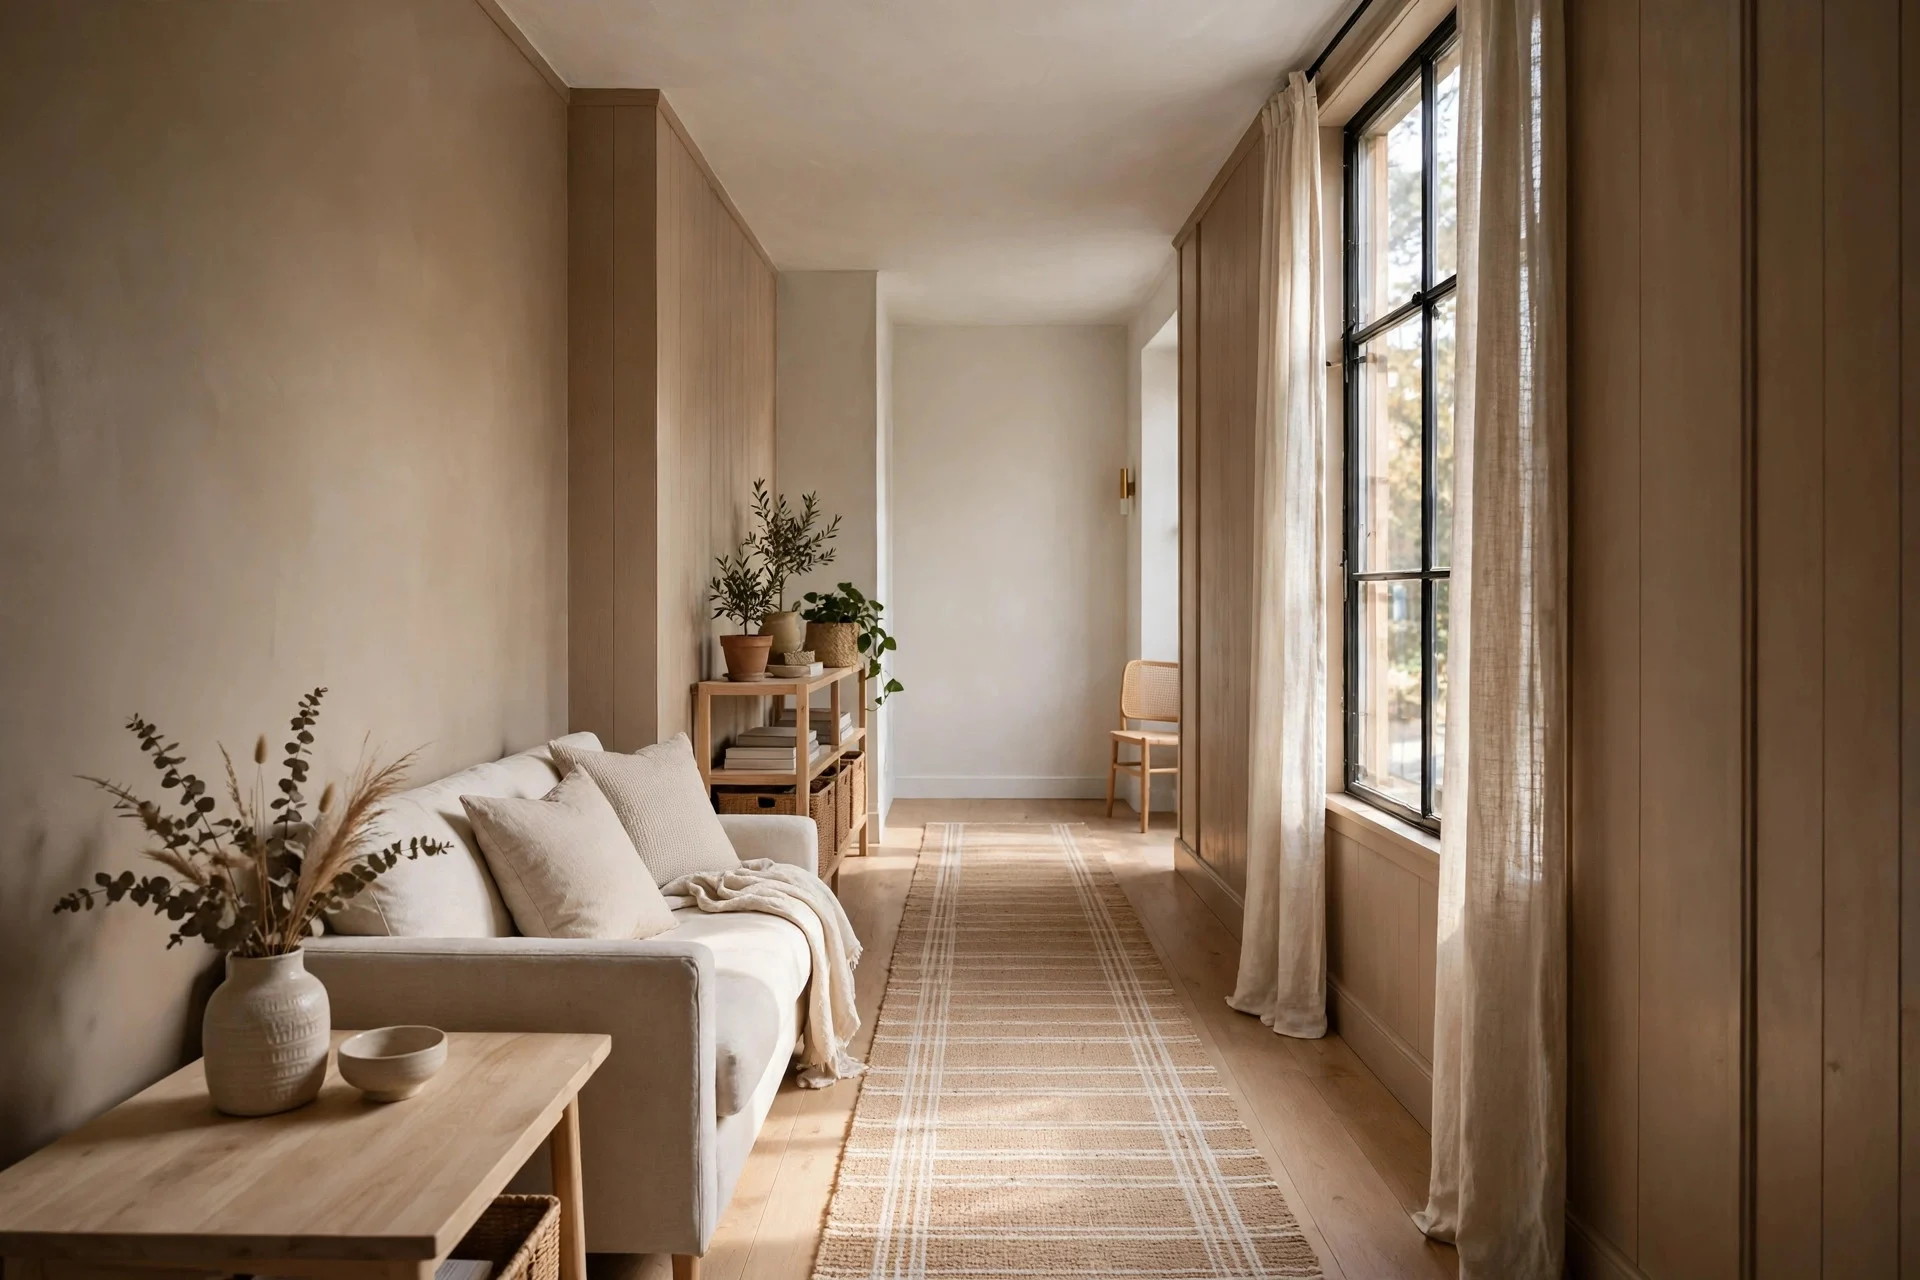
In a long, narrow room — a galley living room, a corridor-like bedroom, a hallway that doubles as a study — paint the far end wall one tint lighter than the side walls. Keep the side walls in your main colour and lighten only the wall you face when you walk in. A dark end wall pulls the far end toward you and shortens the room, while a lighter end wall pushes it back and the room reads longer.
Cost: one extra quart to one gallon, roughly $25 to $70. Difficulty: easy. Time: one to two hours. Hands-on tip: paint the end wall first, then judge the contrast from the doorway before you decide whether one tint lighter is enough. Watch out: do not use this step on a short, square room. With no long axis to stretch, a lighter wall just looks like a mismatched paint job. In square rooms, keep all four walls the same.
Frequently Asked Questions
What is the best paint colour to make a small apartment look bigger?
A light neutral with an undertone that suits your light: warm whites and pale greiges in south-facing rooms, cool pale greys and blue-whites in north-facing rooms. The exact shade matters less than keeping it light, consistent across rooms, and carried onto the ceiling and trim.
Does painting the ceiling the same colour as the walls really help?
Yes, in most small apartments. Removing the white ceiling line erases the hard edge that caps the room’s height, so ceilings read taller. It works best with pale colours and flat ceiling paint, and if your ceiling is very low and dark, pair this step with the lighter tint from Step 5.
Should a small apartment have an accent wall?
A dark accent wall usually makes a small room feel smaller, because it pulls one wall forward and breaks the flow. If you want contrast, use the Step 12 approach instead: a far wall one tint lighter than the rest. You get a sense of depth without a bold block of colour closing the room in.
Can renters use these paint tricks?
Some, yes. Painting walls a pale neutral is often allowed, and it is usually easy to repaint back to the original colour before moving out — but always check your lease and get permission in writing first. Trim matching, cabinet painting, and floor painting are harder to reverse, so renters should treat those as landlord-approval steps. For layout and storage ideas that need no paint at all, this guide to micro apartment decor ideas is a good companion read.
Quick Checklist Before You Open the First Tin
Pick one light neutral and test it on boards in each room, in morning and evening light. Decide your ceiling and trim approach before you start, not halfway through the first wall. Measure each room and run the numbers through the paint calculator so you buy enough for two coats. Then work in order: ceilings first, then walls, then trim, then cabinets and floors if you are doing them.