Ask any kid what they remember about Halloween, and it won’t be the candy. It’ll be that house — the one with the glowing pumpkins, the fog crawling across the lawn, the porch that looked like it belonged in a movie. Your porch gets one night a year to be the main character. Here’s how to make it count, without spending a fortune or losing a whole weekend.
Below are 25 ideas, ordered from ten-minute wins to full transformations. Each one lists what it’ll cost and how hard it is, so you can pick the mix that fits your budget, your schedule, and your appetite for scaring the neighbors (affectionately, of course).
Before You Touch a Single Pumpkin: 5-Minute Prep
Great porches aren’t decorated. They’re prepared, then decorated. Five minutes here saves you from the classic mistake: expensive props looking sad on a dirty porch.
- Clean the canvas. Sweep the steps, wipe down the front door, haul the Amazon boxes inside. Decorations look twice as good on a clean surface — this is the highest-ROI step on the list and it costs nothing.
- Set a real budget. Most ideas below run $5–$30 each. A full porch that looks like you hired someone? $50–$150, if you shop dollar stores, thrift shops, and end-of-season clearance. Decide your number before you start buying.
- Check your exposure. Covered porch? Anything goes. Open to the elements? Stick to plastic pumpkins, outdoor-rated lights, and sealed props. I’ve marked the weather-sensitive ideas below.
- Protect the walkway. A clear, well-lit path from sidewalk to door is non-negotiable — excited kids in costumes, after dark, on your steps. Plan the route first, decorate around it.
- Do a night test. Halloween decor is 90% about how it looks in the dark. Walk past your own house after sunset before the big night. You’ll spot the dead zones in thirty seconds.
Pumpkins & Gourds (Ideas 1–6)
Start here. Pumpkins are the cheapest, fastest way to signal “Halloween house” — and a few clever arrangements beat a dozen pumpkins tossed on the lawn.
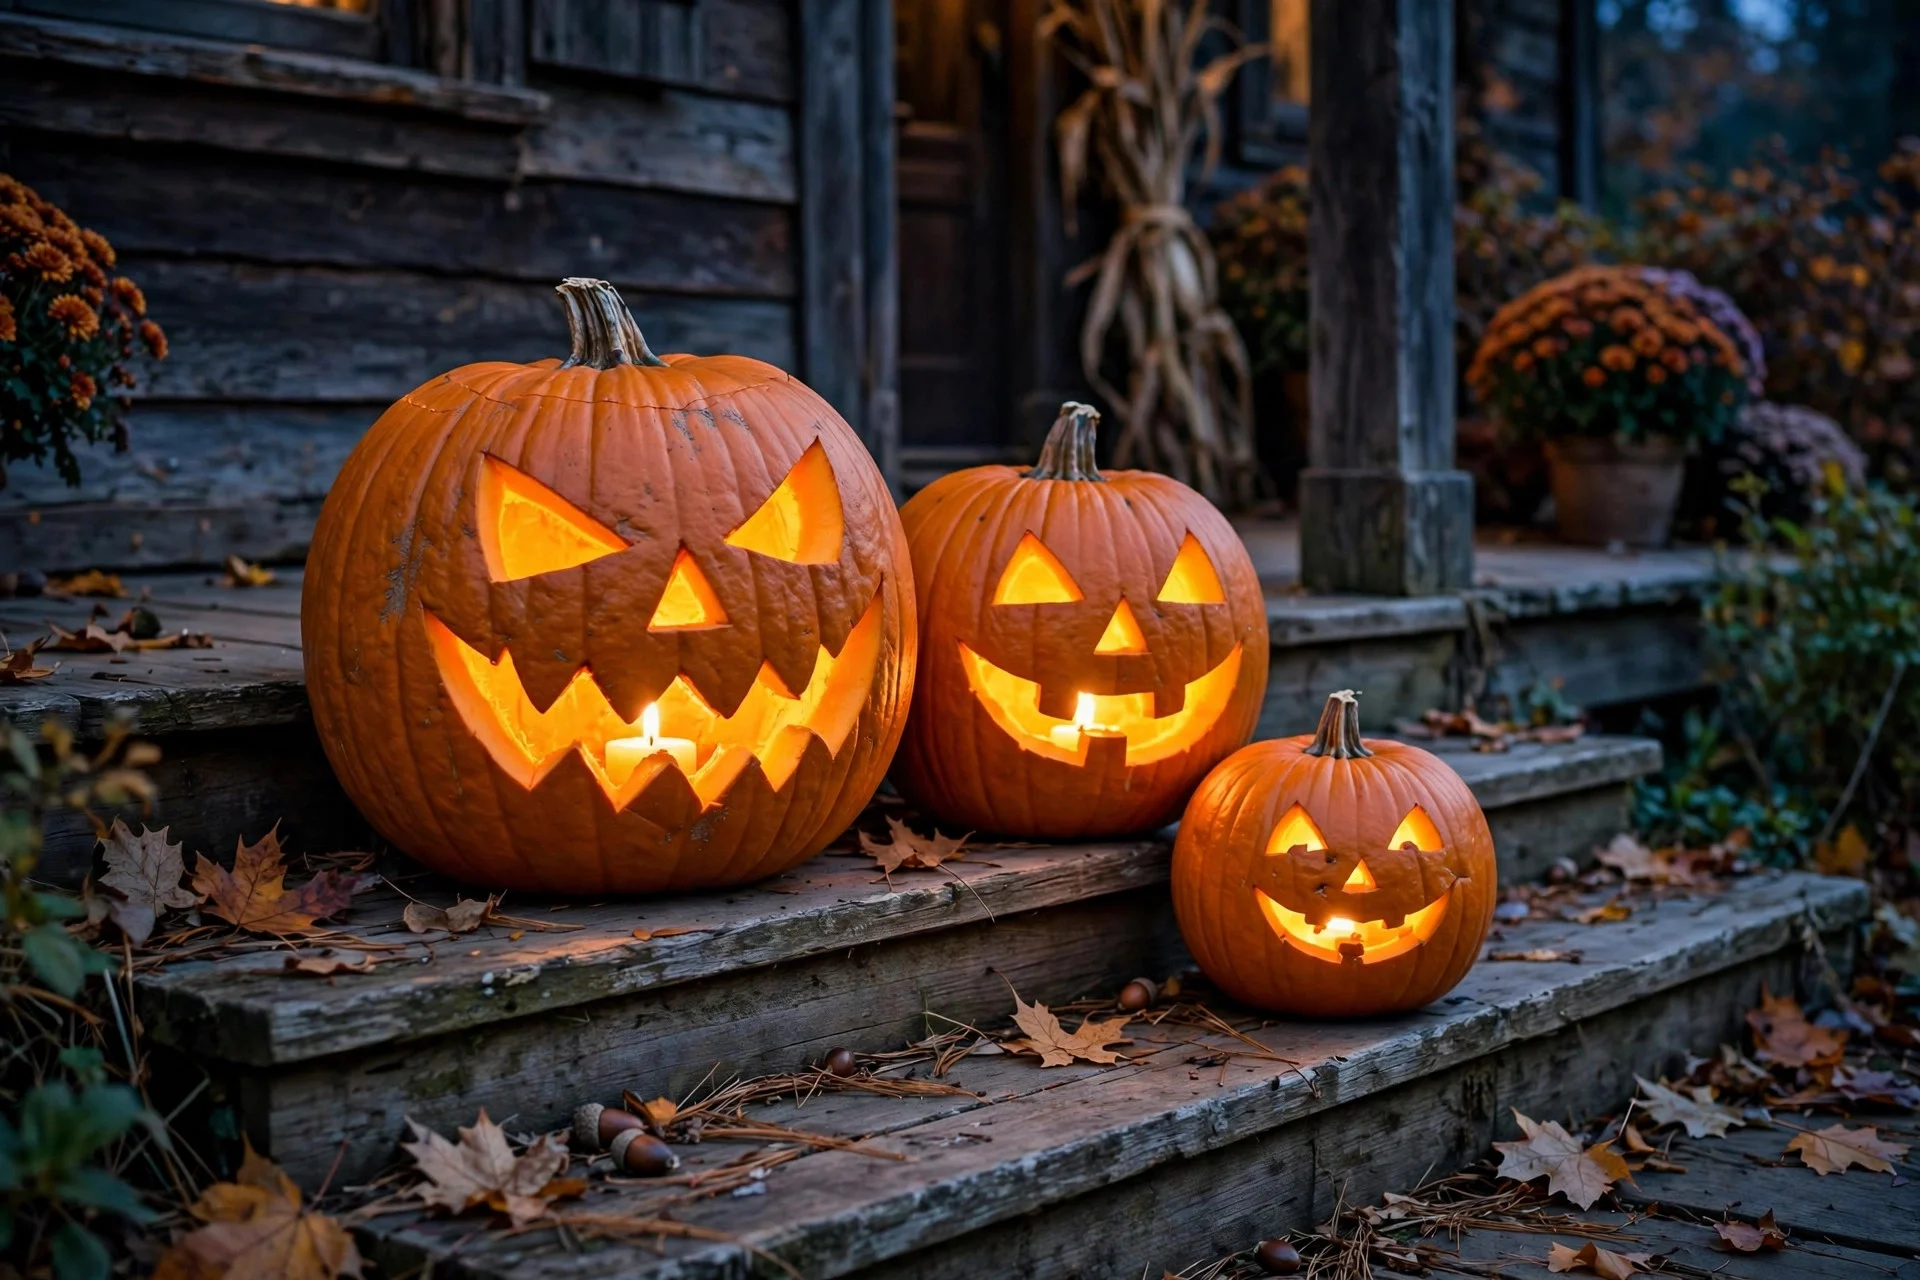
1. The Carved Trio (Not Just One)
One jack-o’-lantern is a decoration. Three — big, medium, small, clustered on the steps — is a display. Carve simple faces (triangles and jagged grins photograph better than intricate designs at night), and stagger the sizes so they read as a group from the street. Cost: $10–$20. Difficulty: Easy. Keep them fresh: rub petroleum jelly on the cut edges and they’ll last up to a week longer.
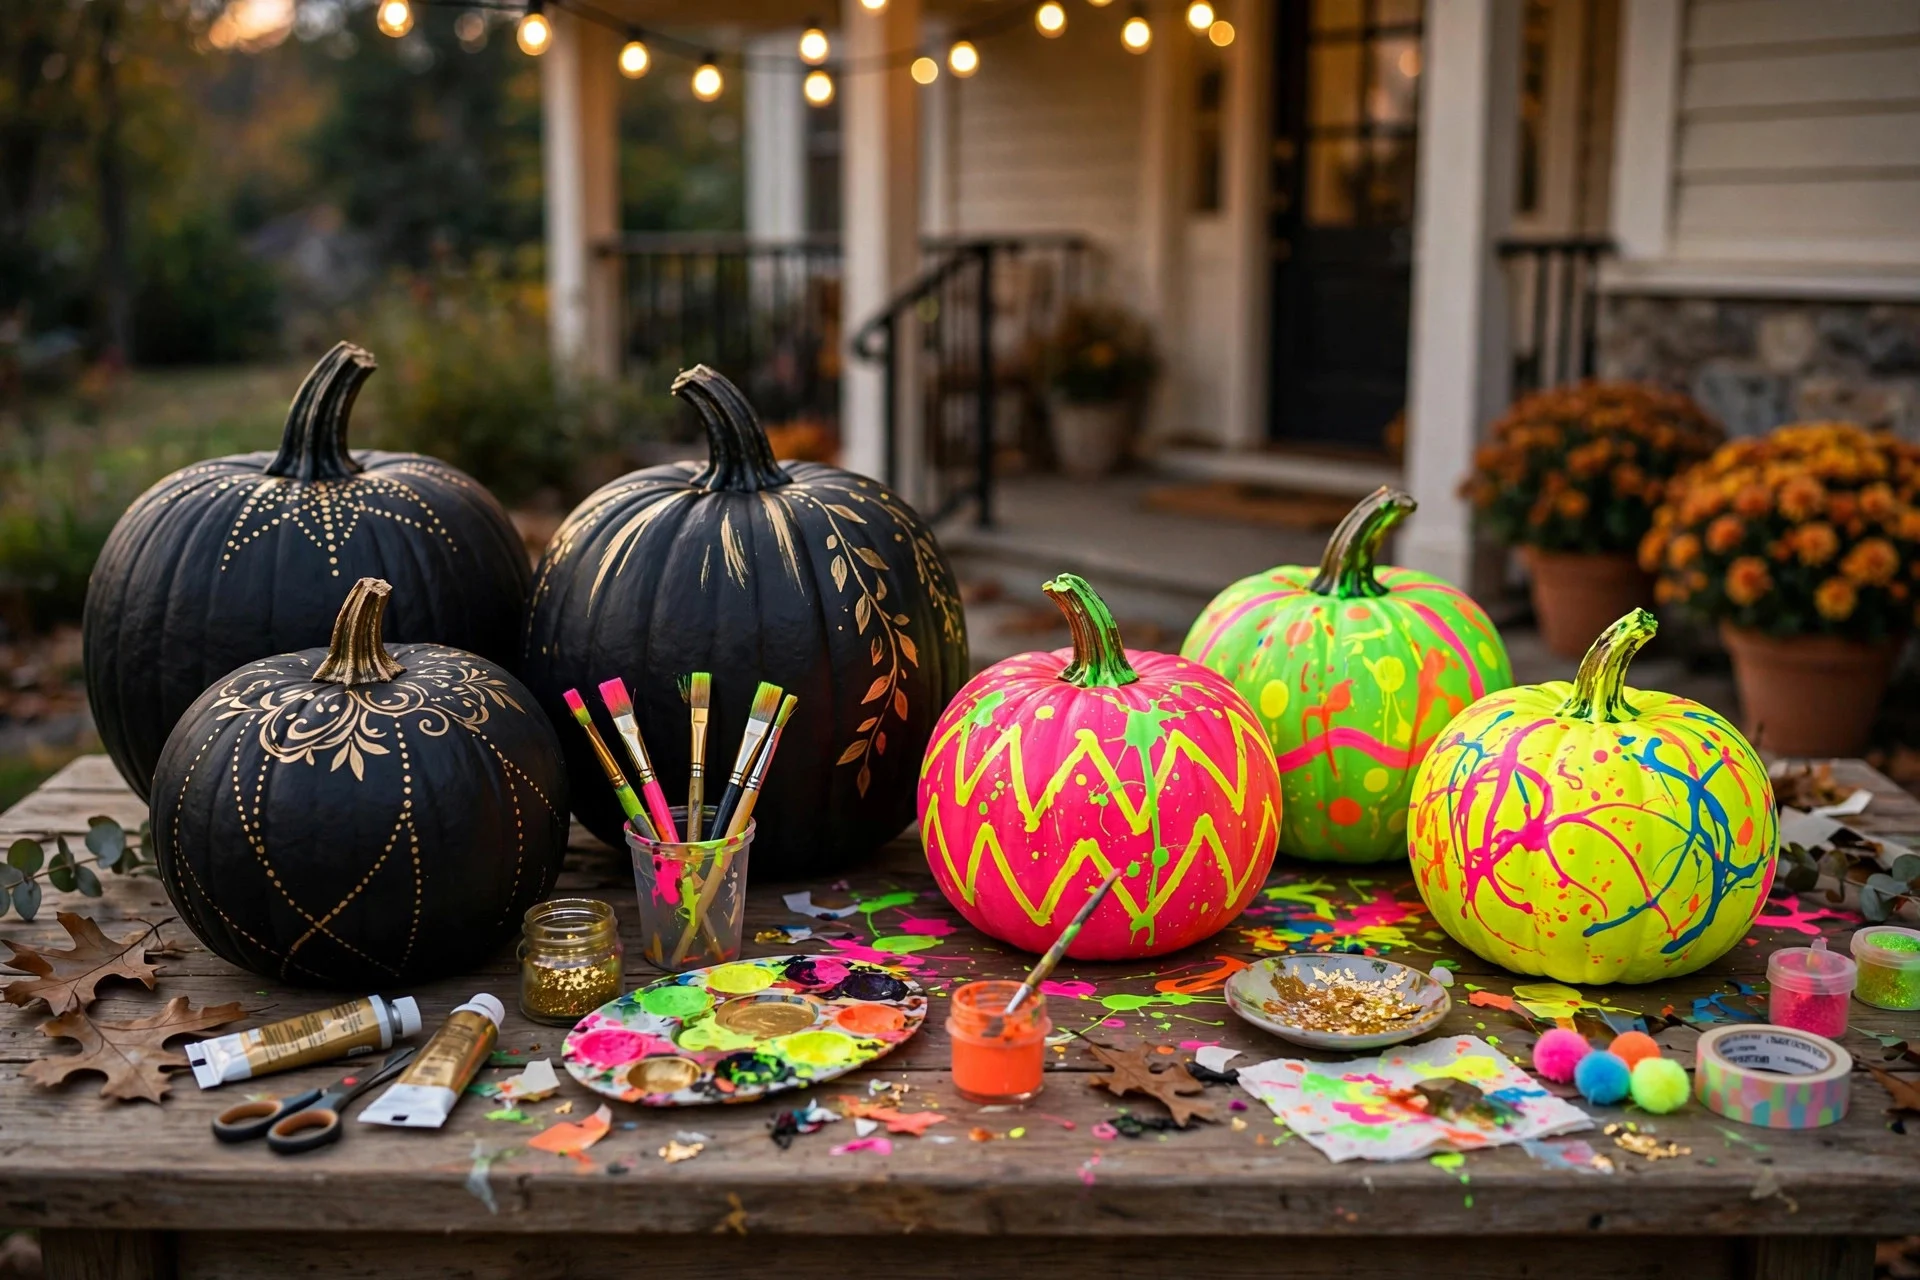
2. Painted Pumpkins (No Carving, No Mess)
Hate the slimy carving part? Paint them. Matte black with gold details looks genuinely elegant — not crafty — and kids can go wild with neon colors without a single knife involved. Use foam pumpkins from the craft store and they’ll last for years, which makes the $5–$15 spend a multi-season investment. Difficulty: Very easy.
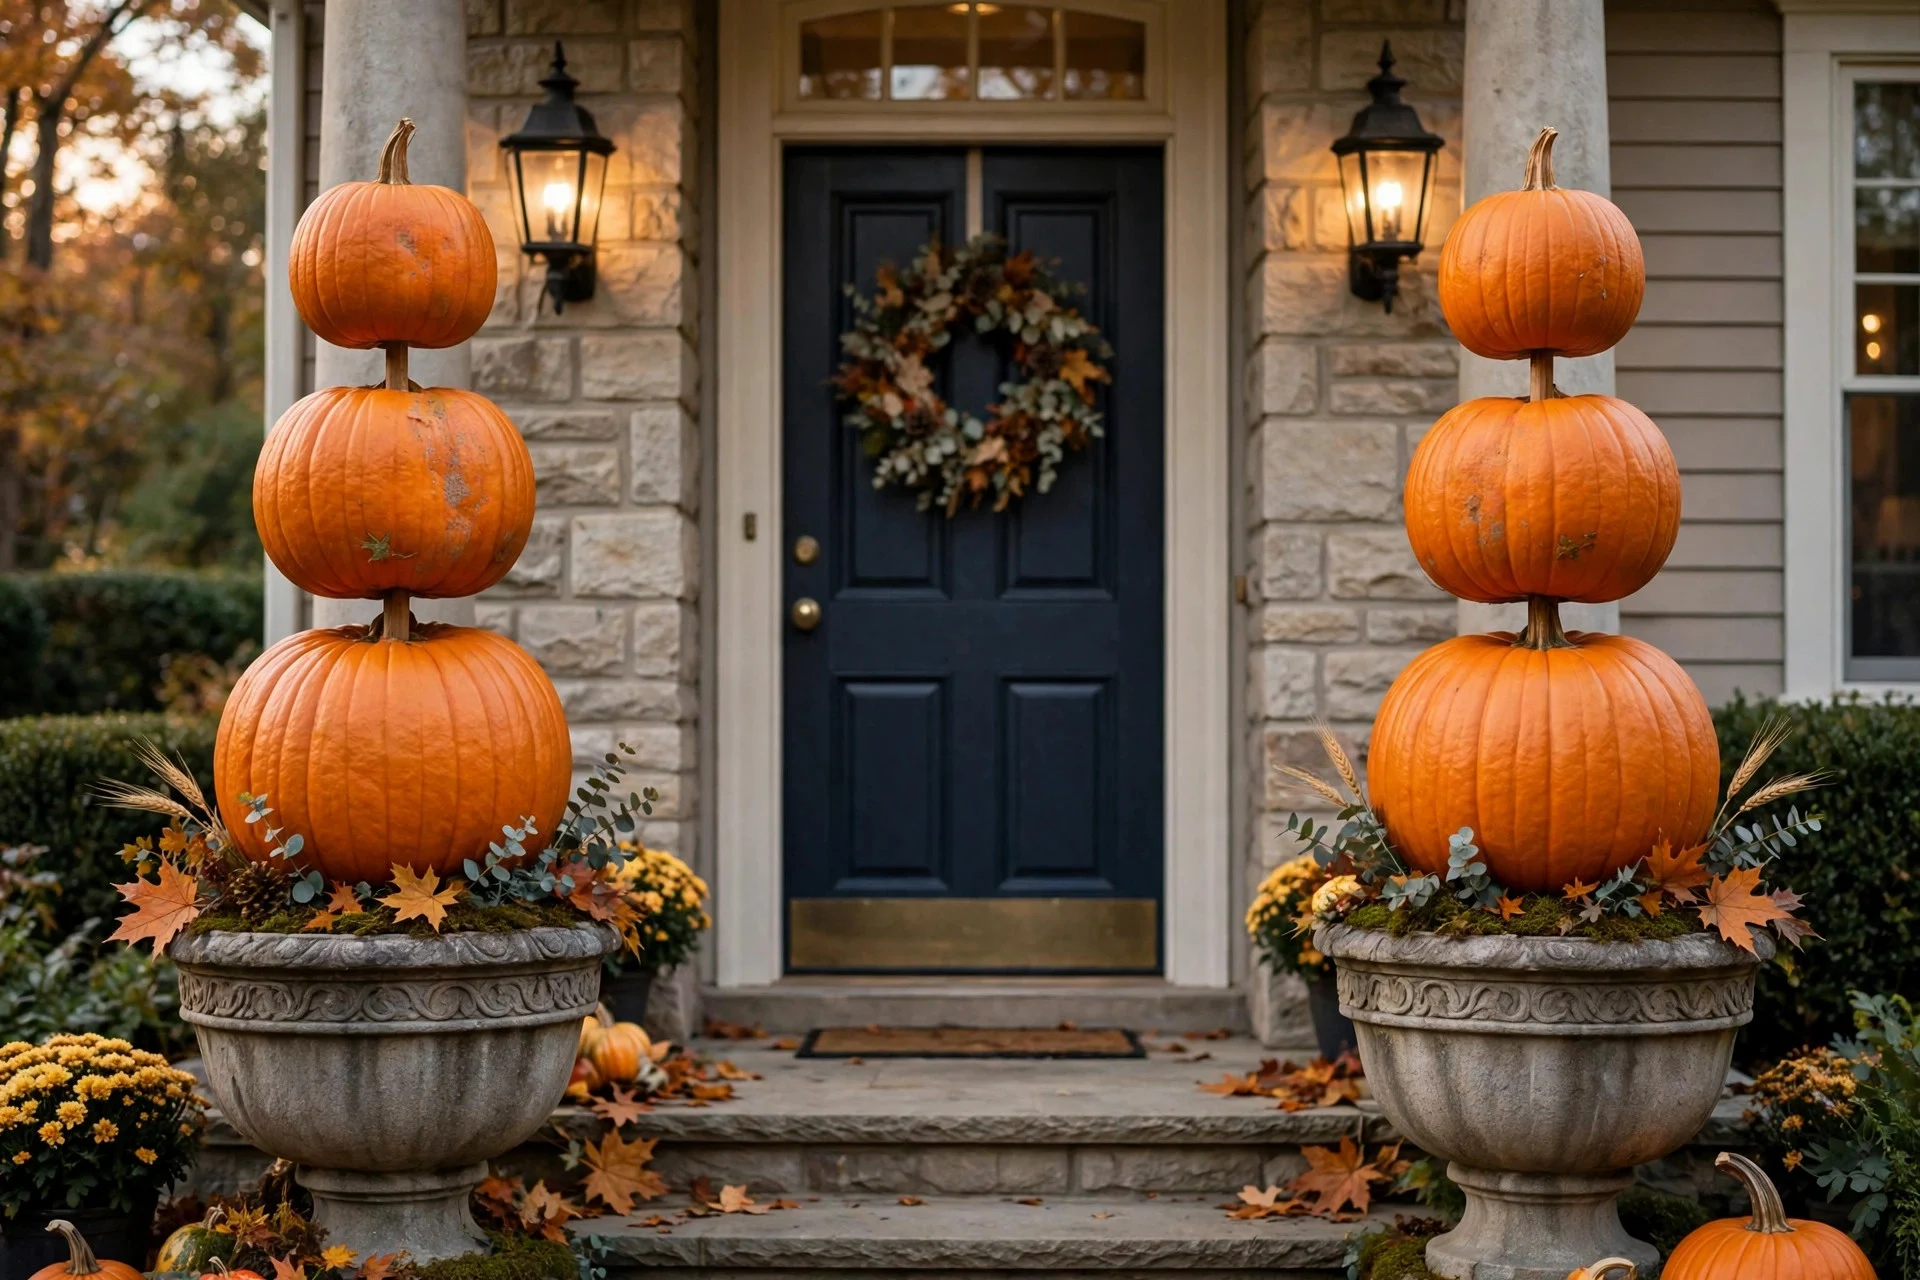
3. The Stacked Topiary
This is the florist trick applied to pumpkins: stack three (large to small) on a wooden dowel through the center, set the stack in a planter or urn, and flank your front door with one on each side. Instant symmetry, instant “someone with taste lives here.” Cost: $15–$30 for the pair. Difficulty: Easy.
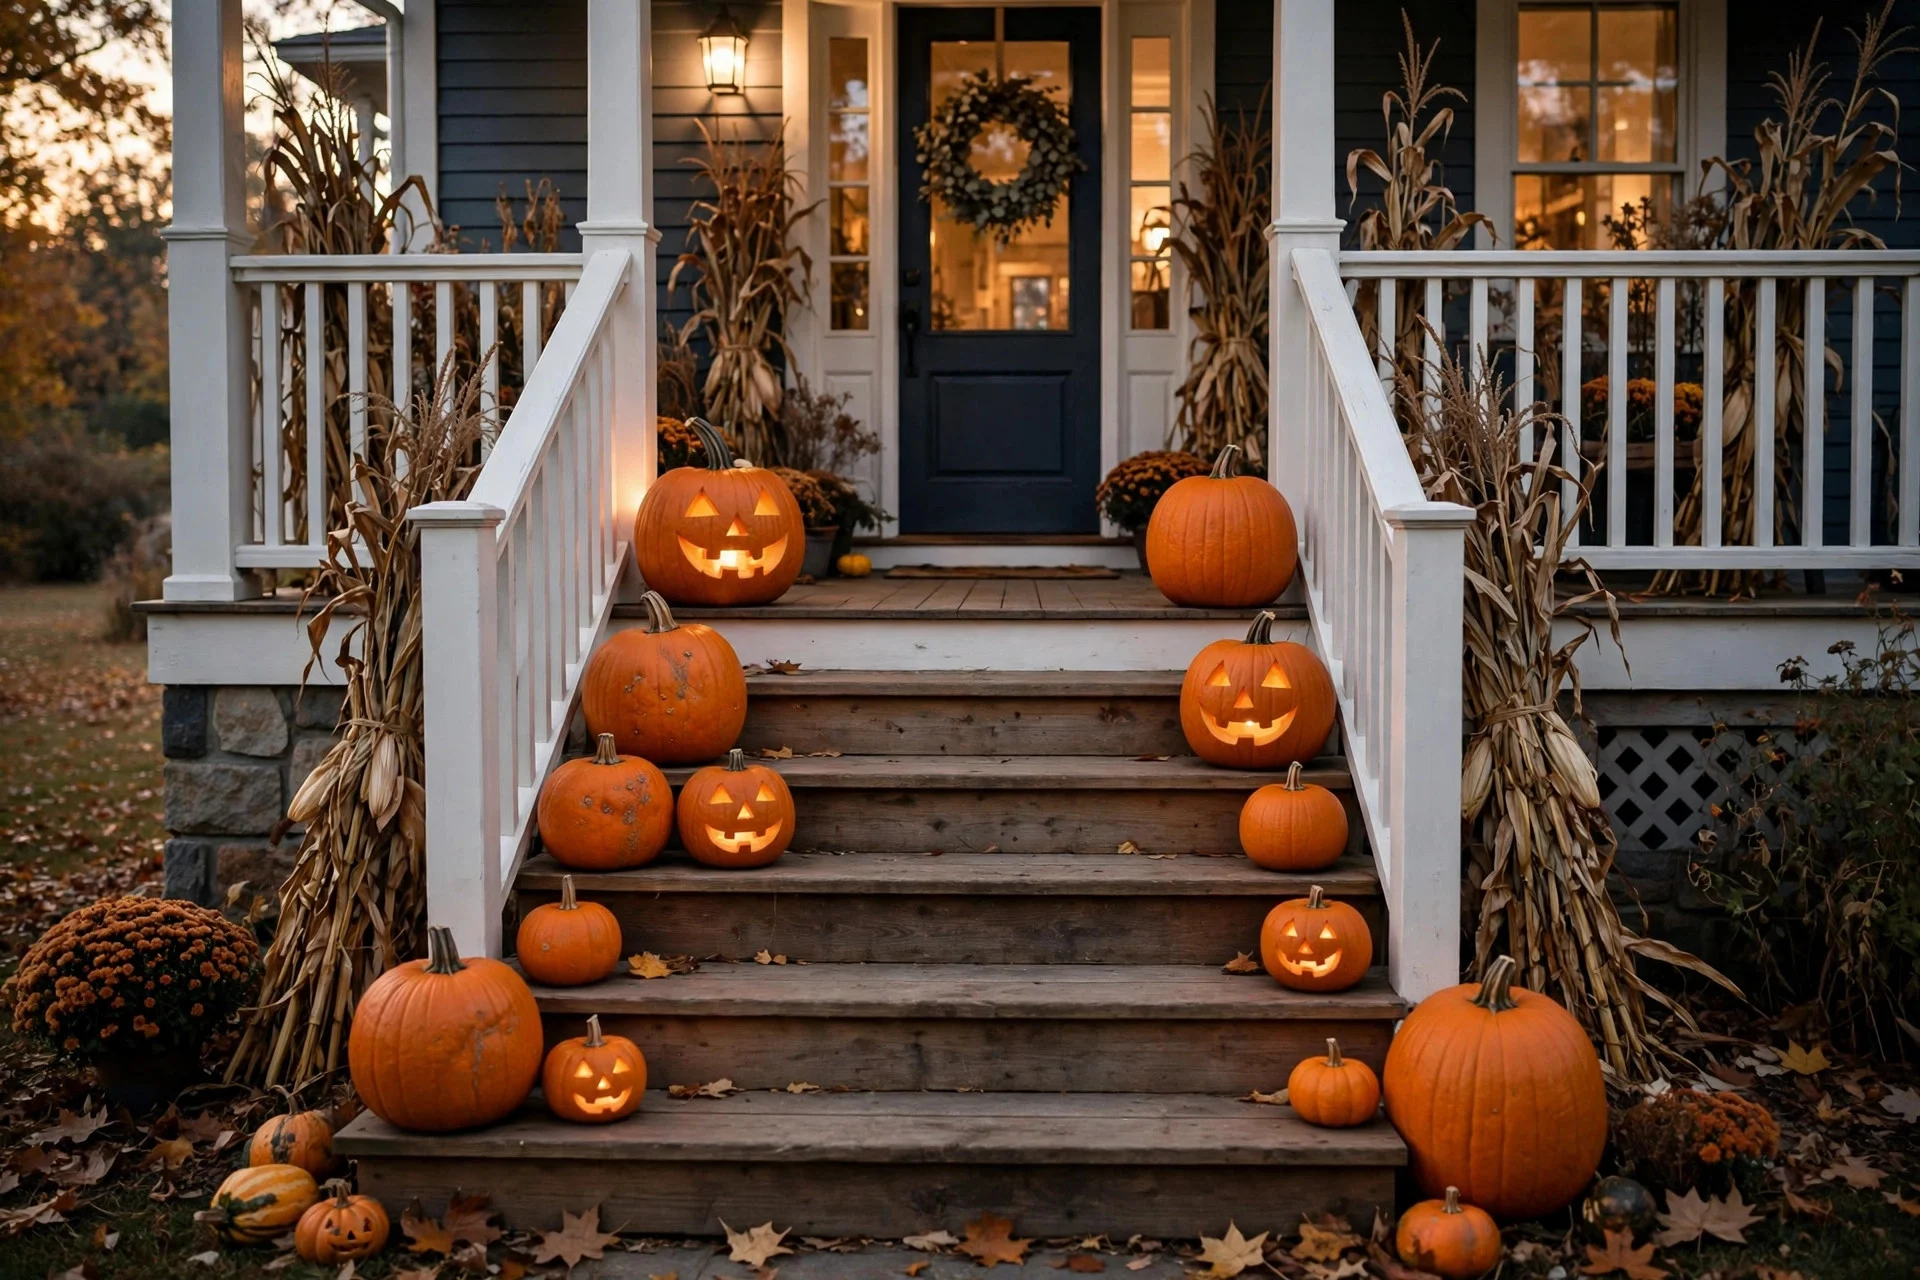
4. The Staircase Cascade
If you have porch steps, you have a display shelf. Line them with pumpkins in descending sizes, alternating carved and uncarved, and tuck dried corn stalks behind for height. It’s the highest-impact, lowest-effort look on this entire list. Cost: $20–$40. Difficulty: Easy.
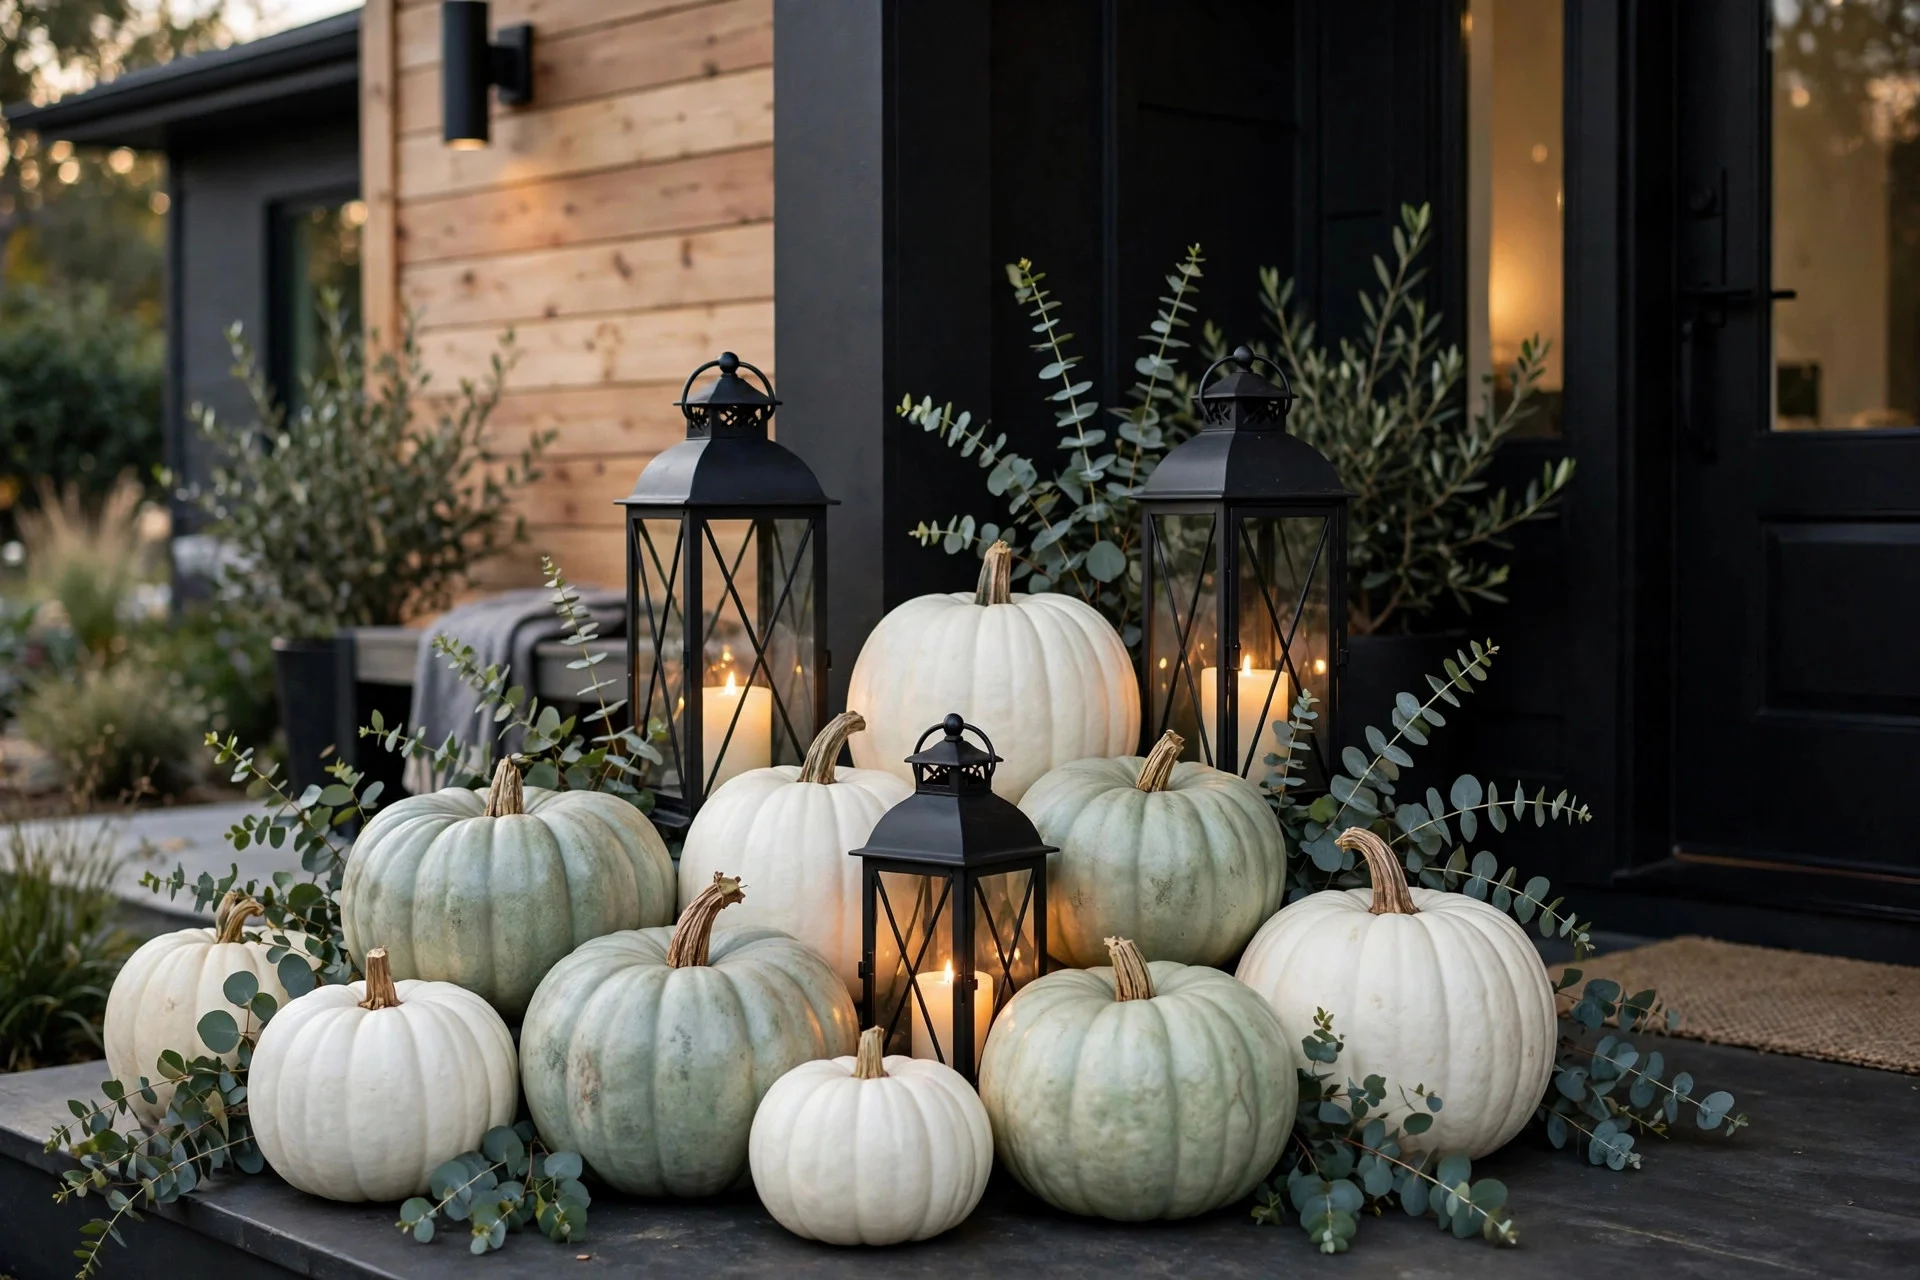
5. White Pumpkins (for the “Spooky Chic” Crowd)
Not everyone wants the haunted-house look. White and pale-green varieties — Casper, Jarrahdale, Baby Boo — paired with black lanterns and eucalyptus read as modern and intentional, not scary. If your style leans minimal, this is your move. Cost: $15–$25. Difficulty: Very easy.
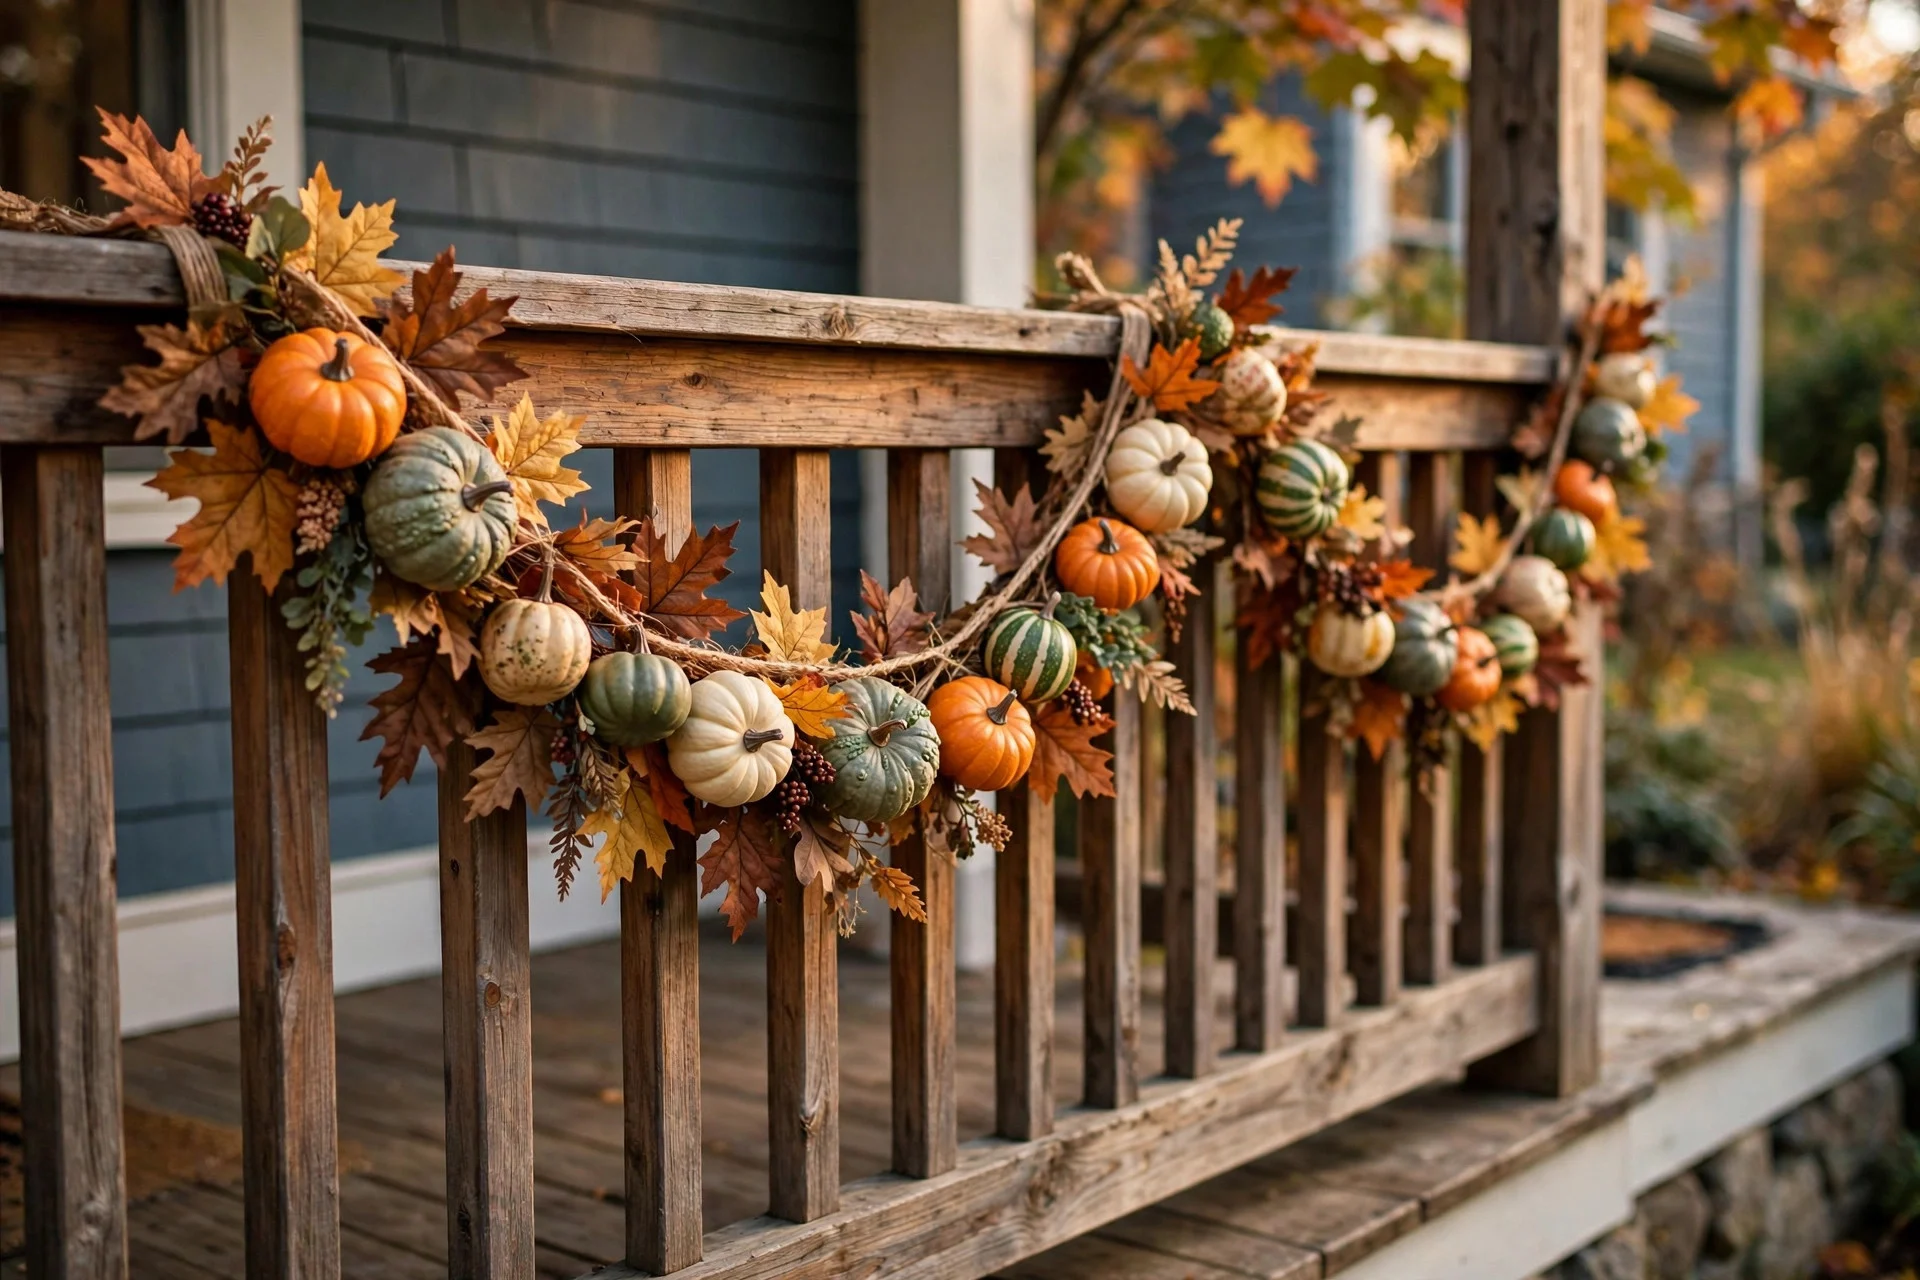
6. Mini Pumpkin Garland
String mini pumpkins and gourds on twine, hot-glue faux leaves between them for fullness, and drape it along the railing or door frame. Ten minutes of work, and it fills dead horizontal space that otherwise looks bare. Cost: $8–$12. Difficulty: Easy.
Spooky Entryway Scenes (Ideas 7–12)
Pumpkins say “October.” These say “Halloween.” Pick one or two scenes — restraint beats clutter every time.
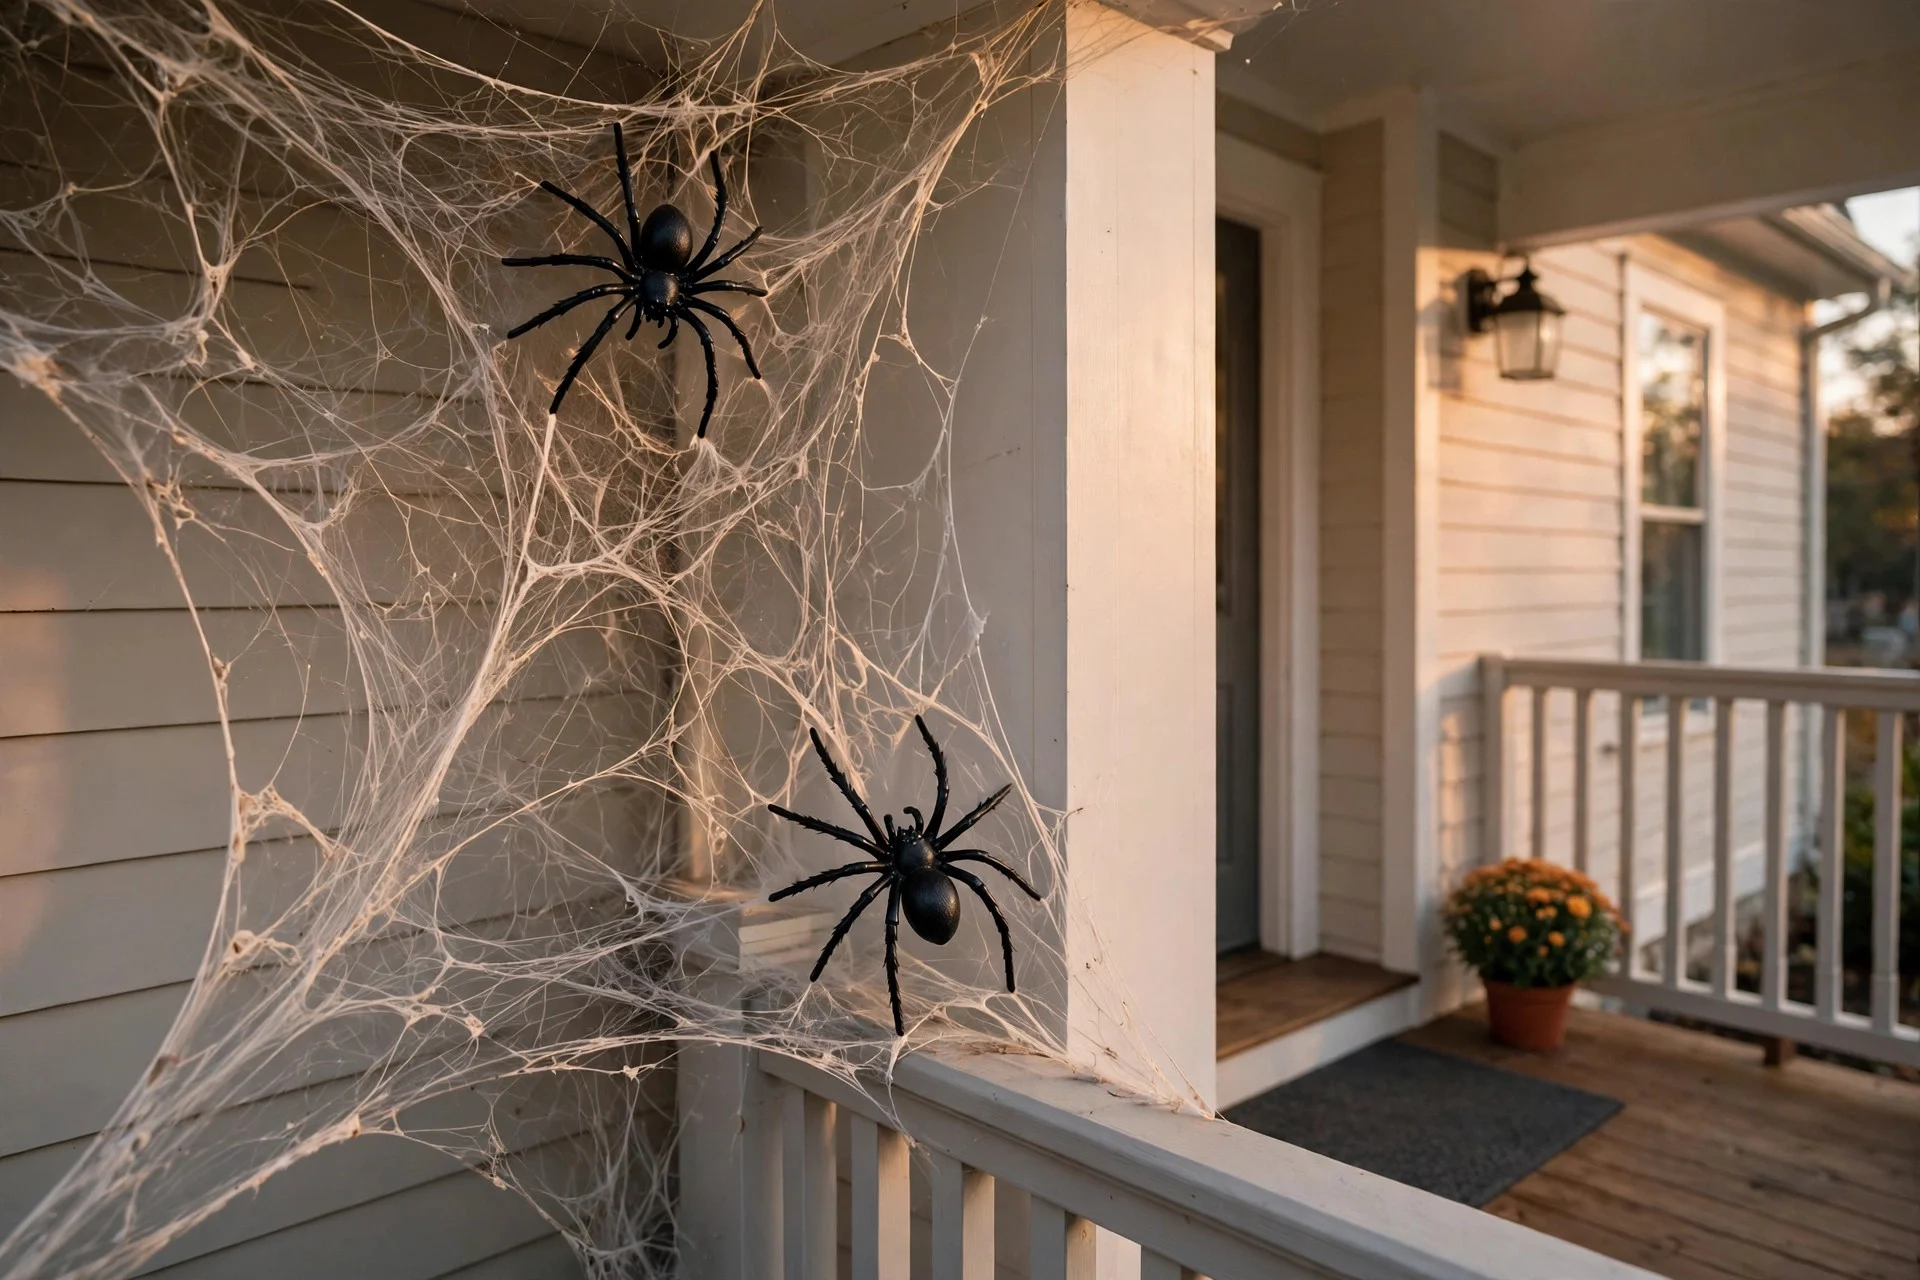
7. The Spider Web Corner (Just One Corner)
Stretchable webbing across one corner of the porch, with a few oversized plastic spiders. The trick is restraint: one dramatic corner looks designed; a porch drowned in webs looks like you sneezed cotton candy. Cost: $5–$10. Difficulty: Very easy.
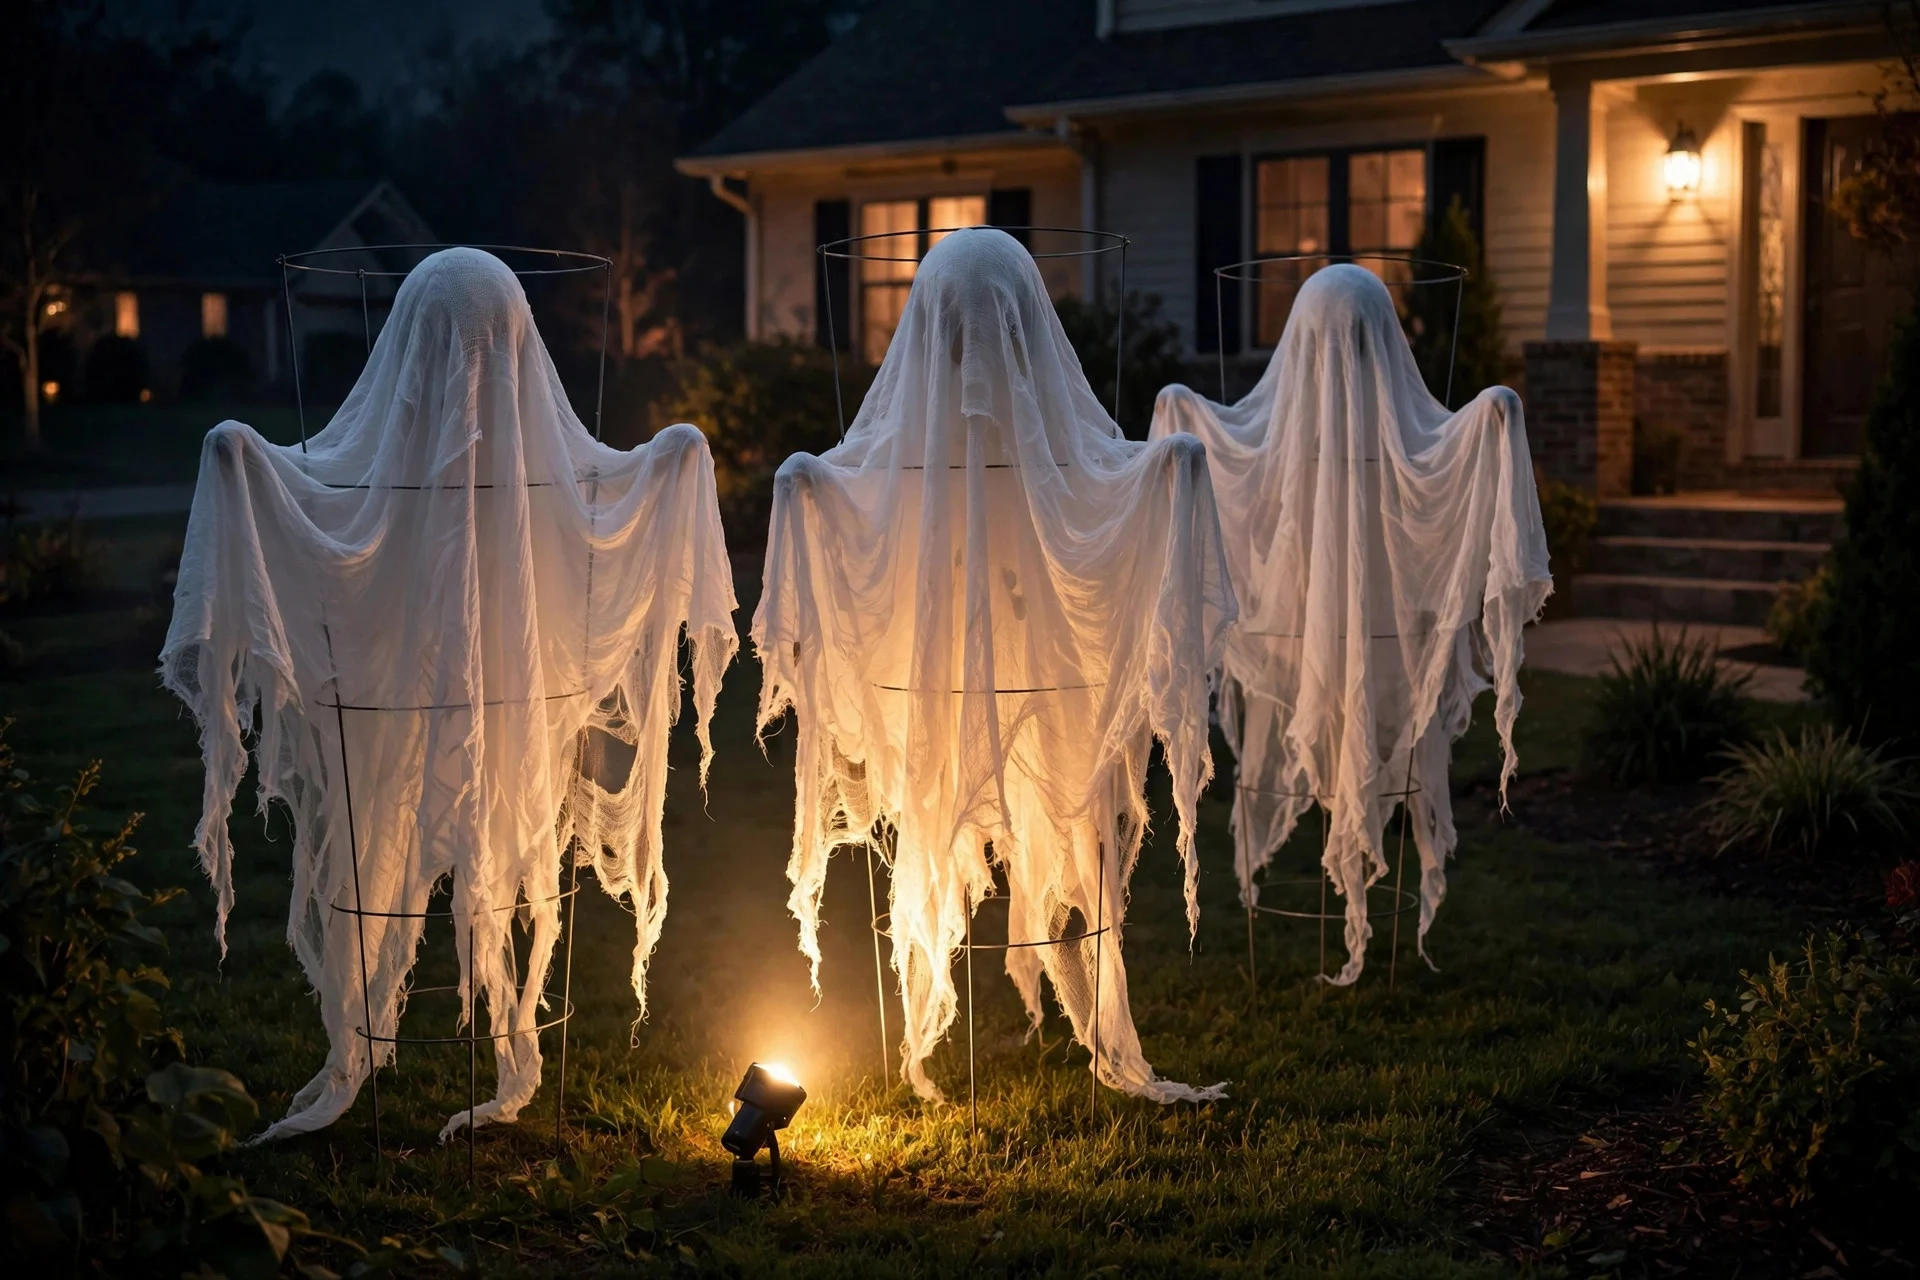
8. Floating Cheesecloth Ghosts
Drape white cheesecloth or old bedsheets over tomato cages (or balloon-topped stakes) and put a small outdoor spotlight underneath. At night they glow and sway — genuinely eerie, and it costs almost nothing. Cost: $10–$20. Difficulty: Easy.
9. The Skeleton Welcome Committee
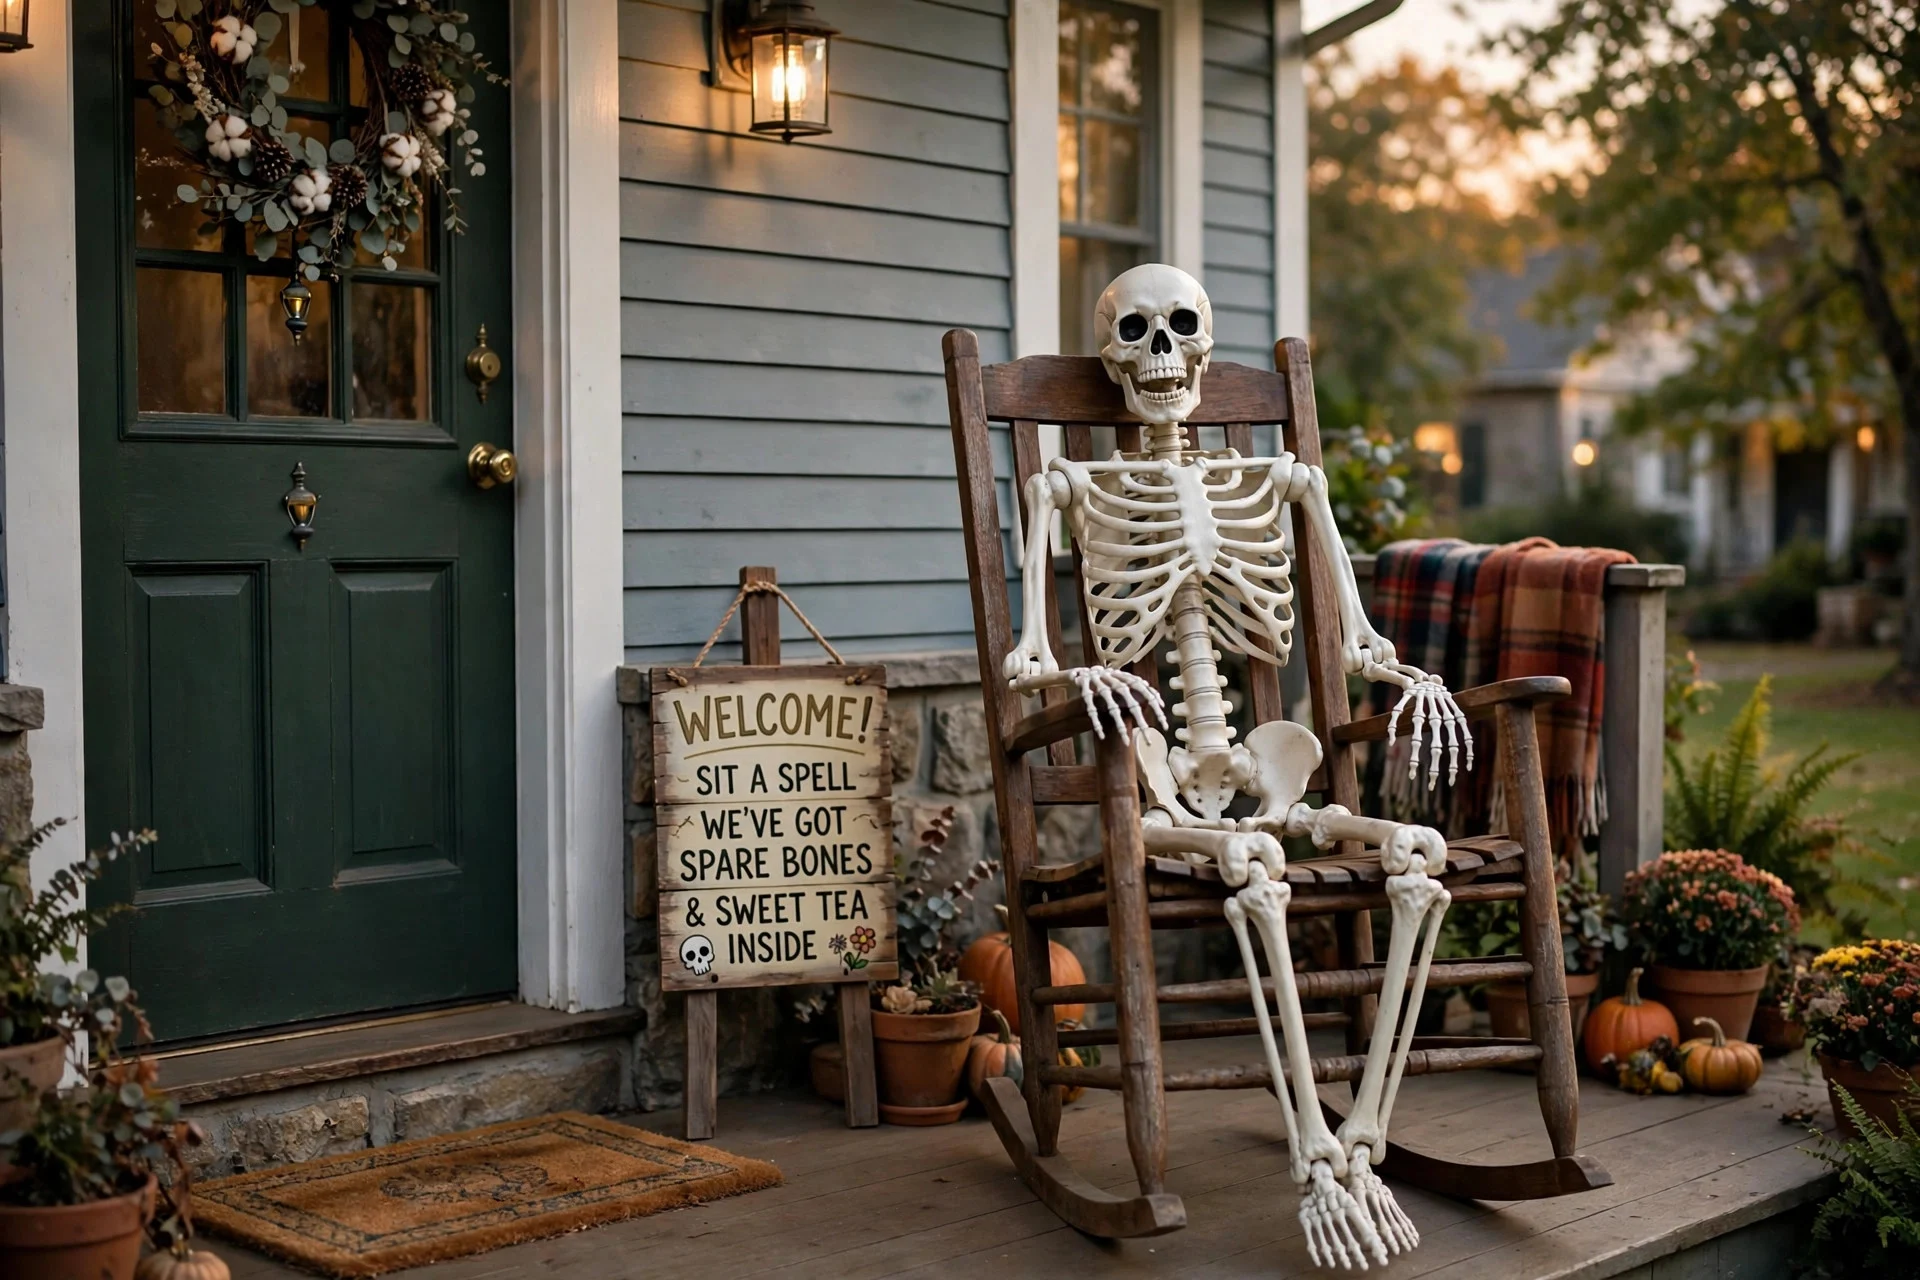
Pose a life-size plastic skeleton in a rocking chair by the door, or “greeting” guests with a wave. Add a hand-lettered sign (“Welcome… if you dare”). Skeletons pack flat and reuse for a decade, making the $25–$50 one of the best per-year values in Halloween decorating. Difficulty: Very easy.
10. The Tilted Graveyard Strip
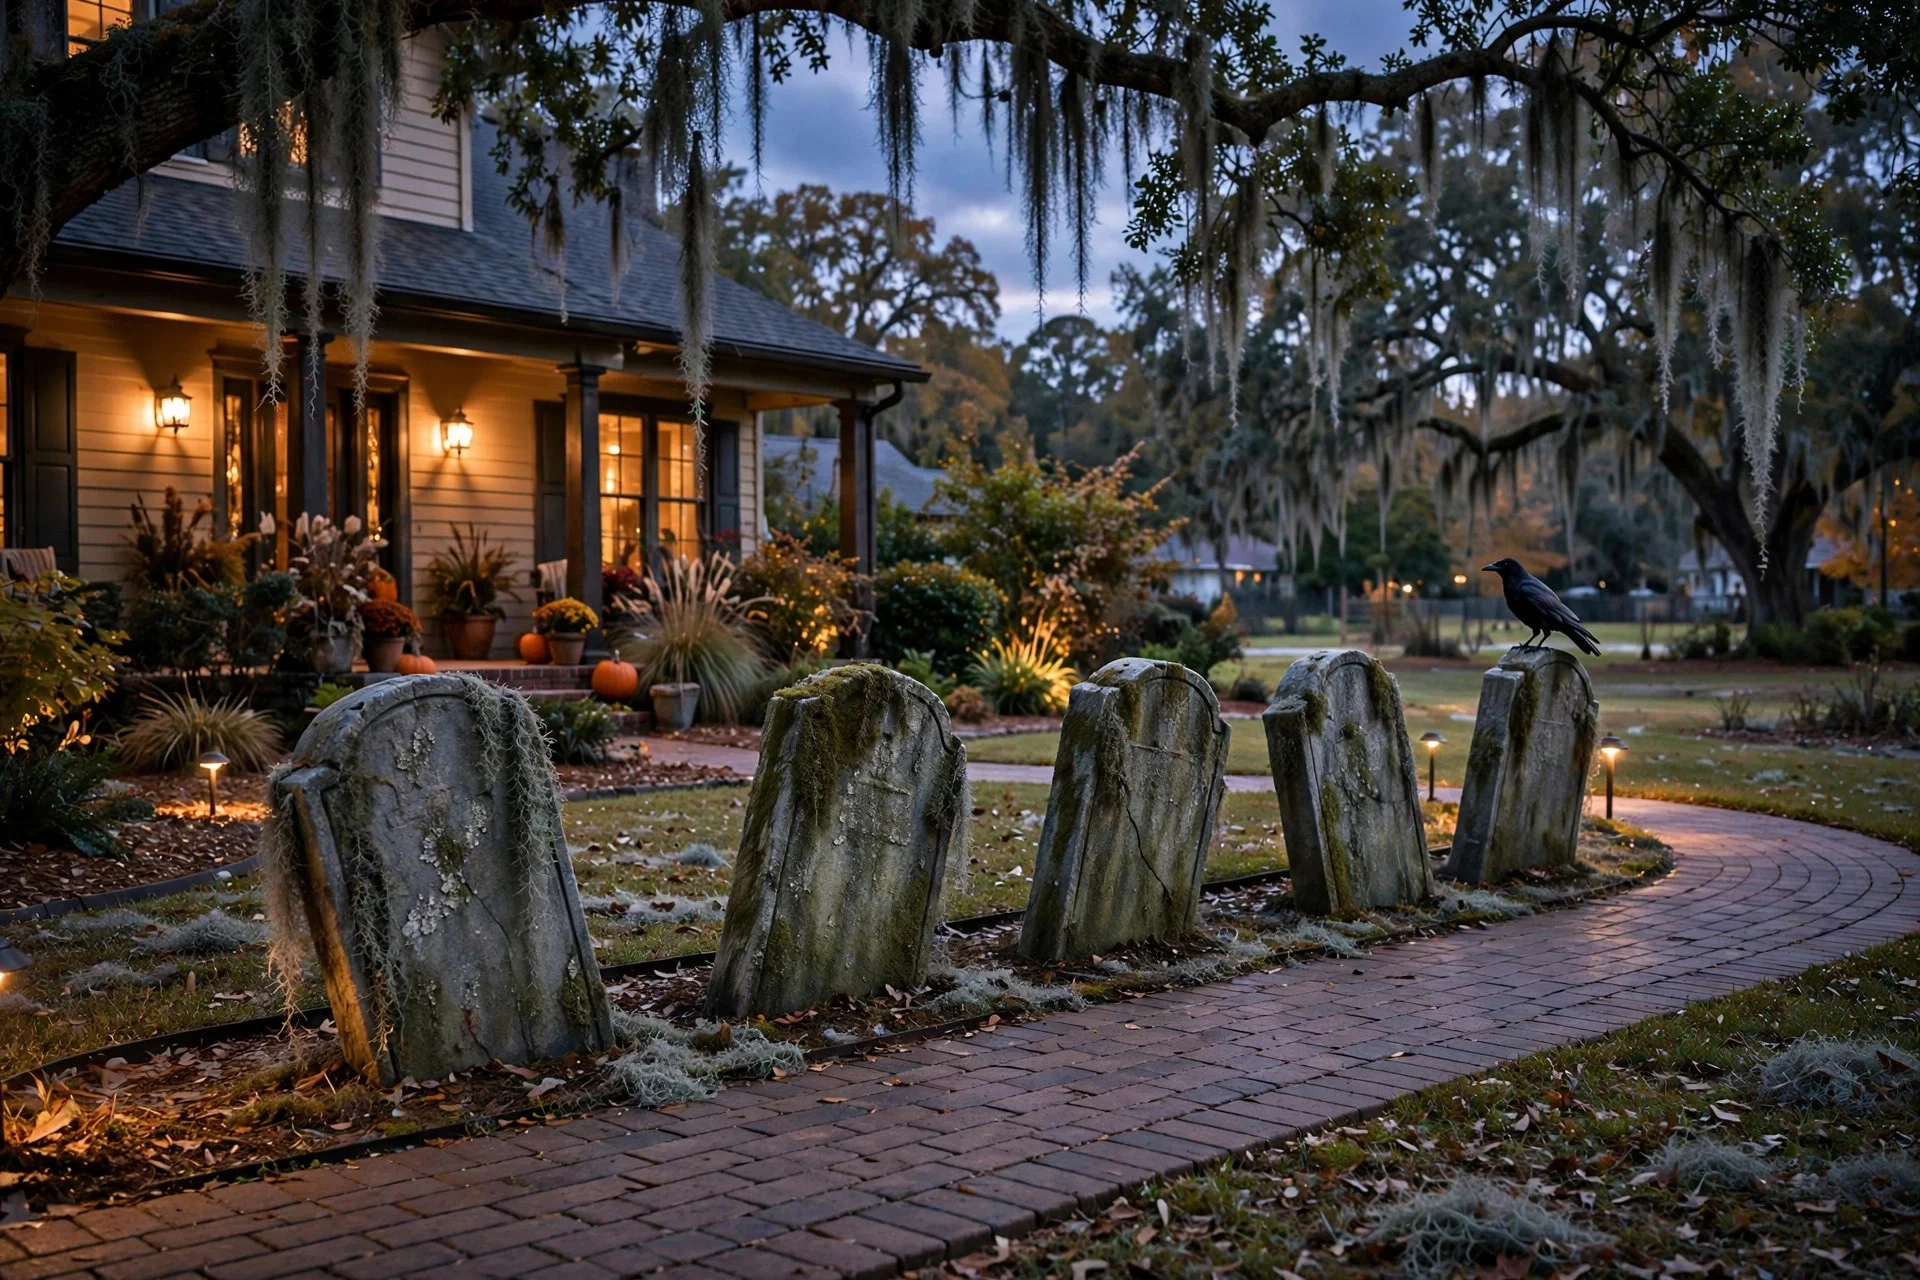
Four to six foam tombstones along the walkway edge, each tilted at a slightly different angle, with Spanish moss and a crow or two. Keep them low and off the path. The tilt is what sells it — perfectly straight tombstones look like a store display. Cost: $15–$30. Difficulty: Easy.
11. Witch Parking
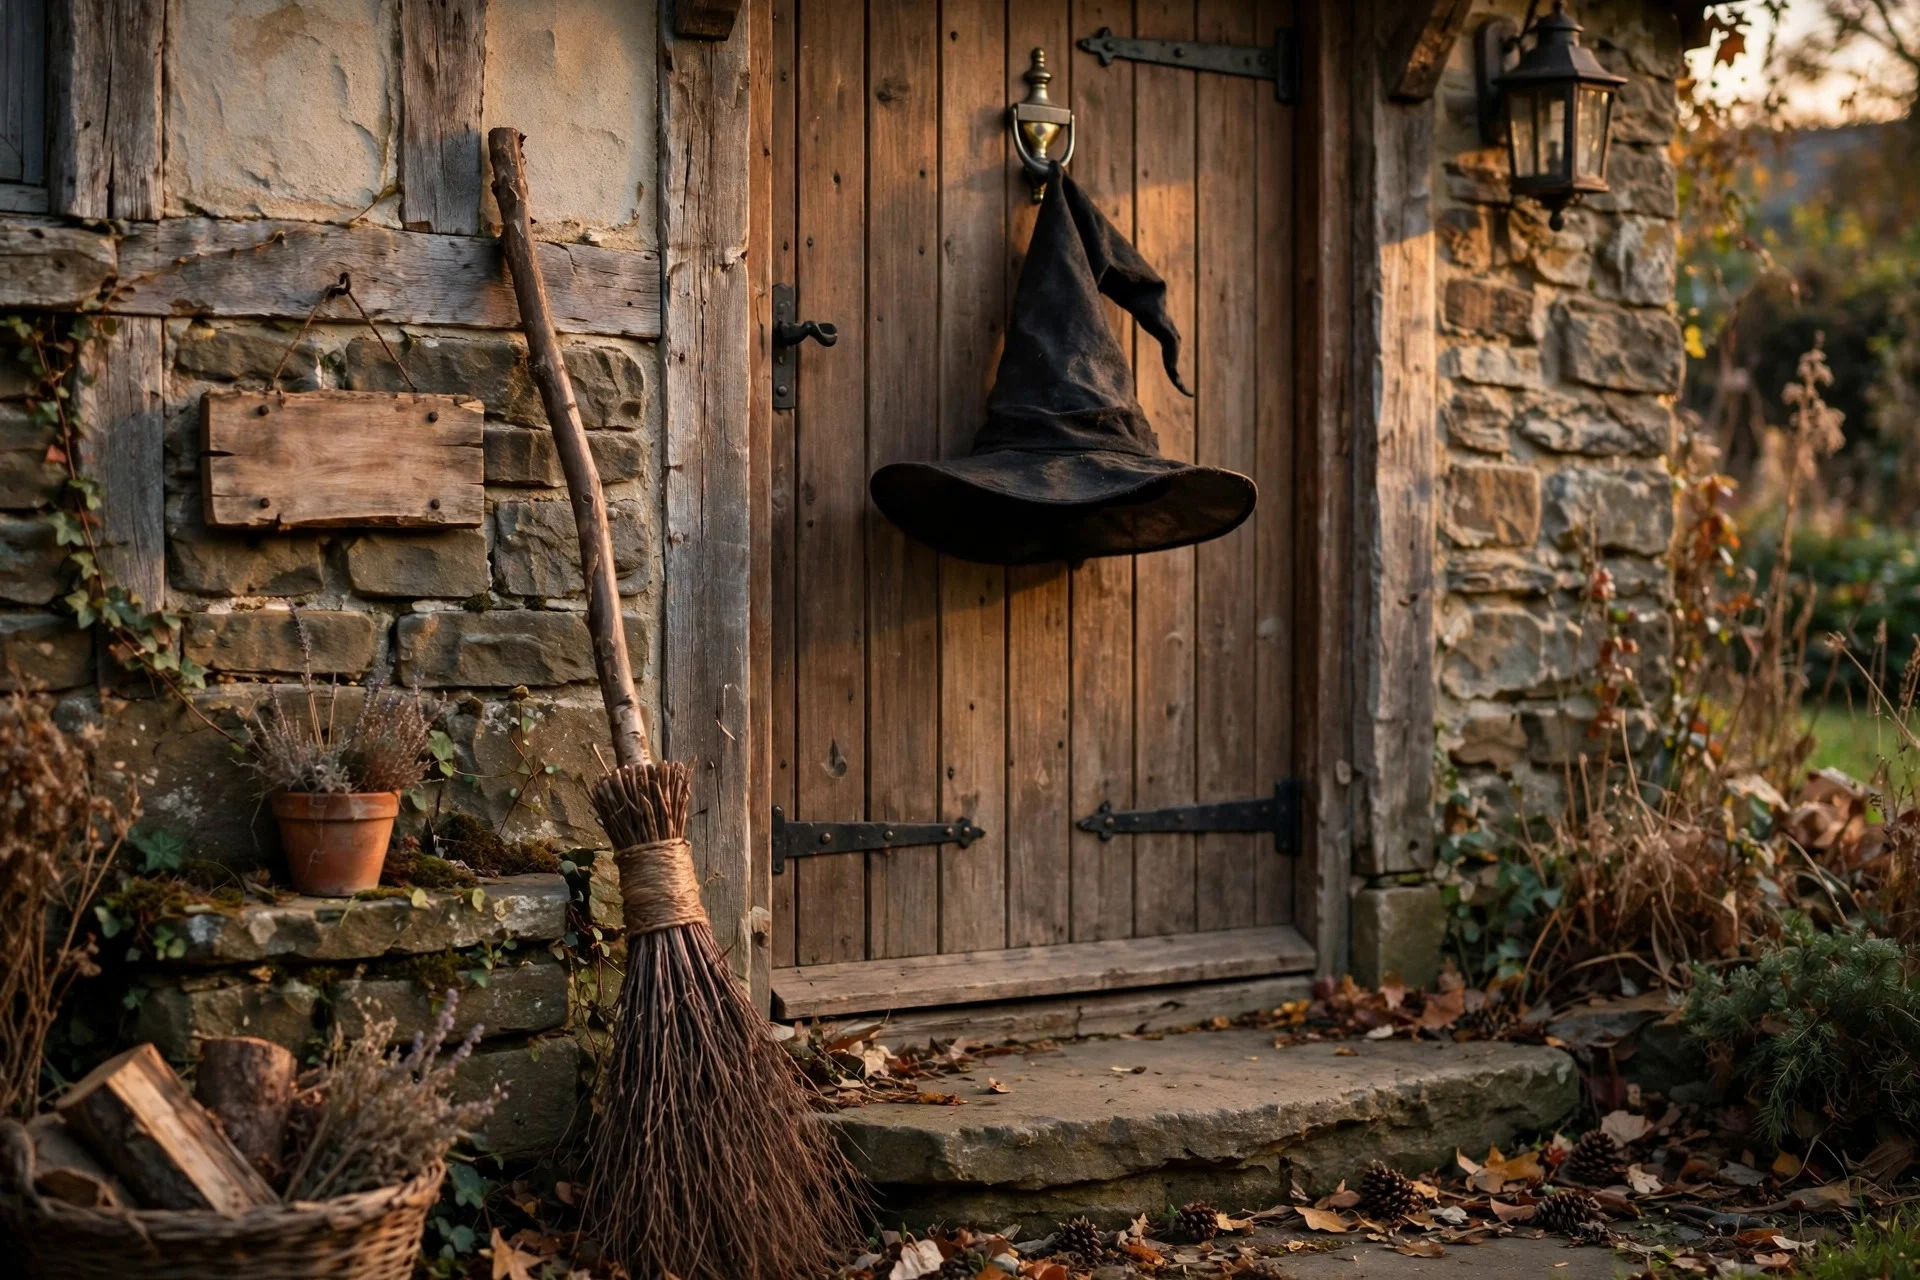
Lean a rustic broom against the wall by the door with a sign: “Witch Parking — Violators Will Be Toad.” Stick a pointed witch hat on the door knocker. It’s funny, it’s cheap, and it’s the most photographed $5 you’ll spend all October. Cost: $5–$15. Difficulty: Very easy.
12. The Fog Machine (Instant Atmosphere)
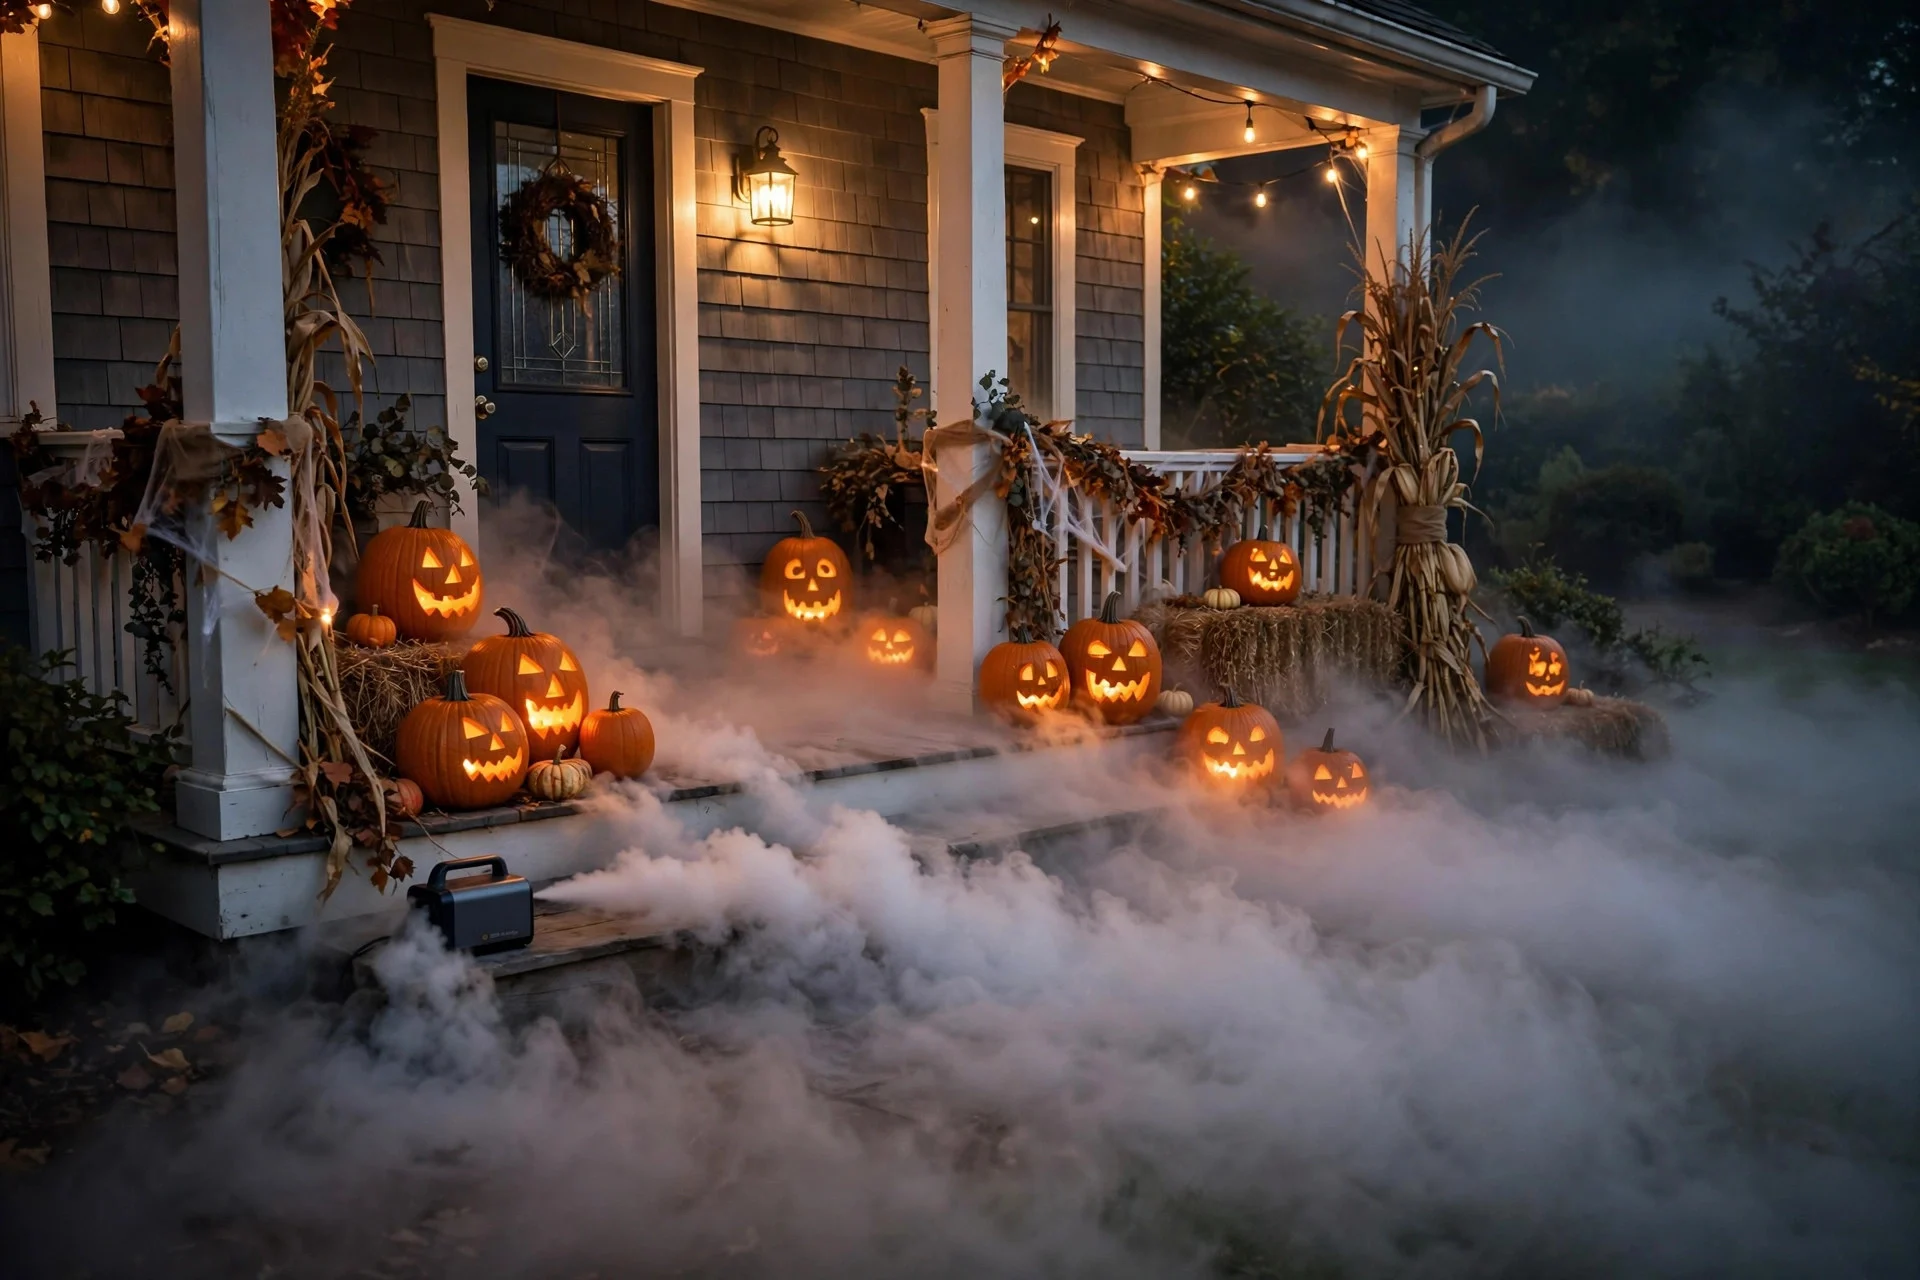
A small ground fog machine takes a porch from “decorated” to “haunted” in about ten seconds. Run it on a timer so it puffs every few minutes on Halloween night. Cost: $30–$60 for machine plus fluid (reusable for years). Difficulty: Easy. Safety note: keep the output away from the walkway — fog plus steps plus costumes is a bad combination.
Lights & Lanterns (Ideas 13–16)
Here’s the open secret of great Halloween porches: lighting does more work than every prop combined. If your budget is tight, spend half of it here.
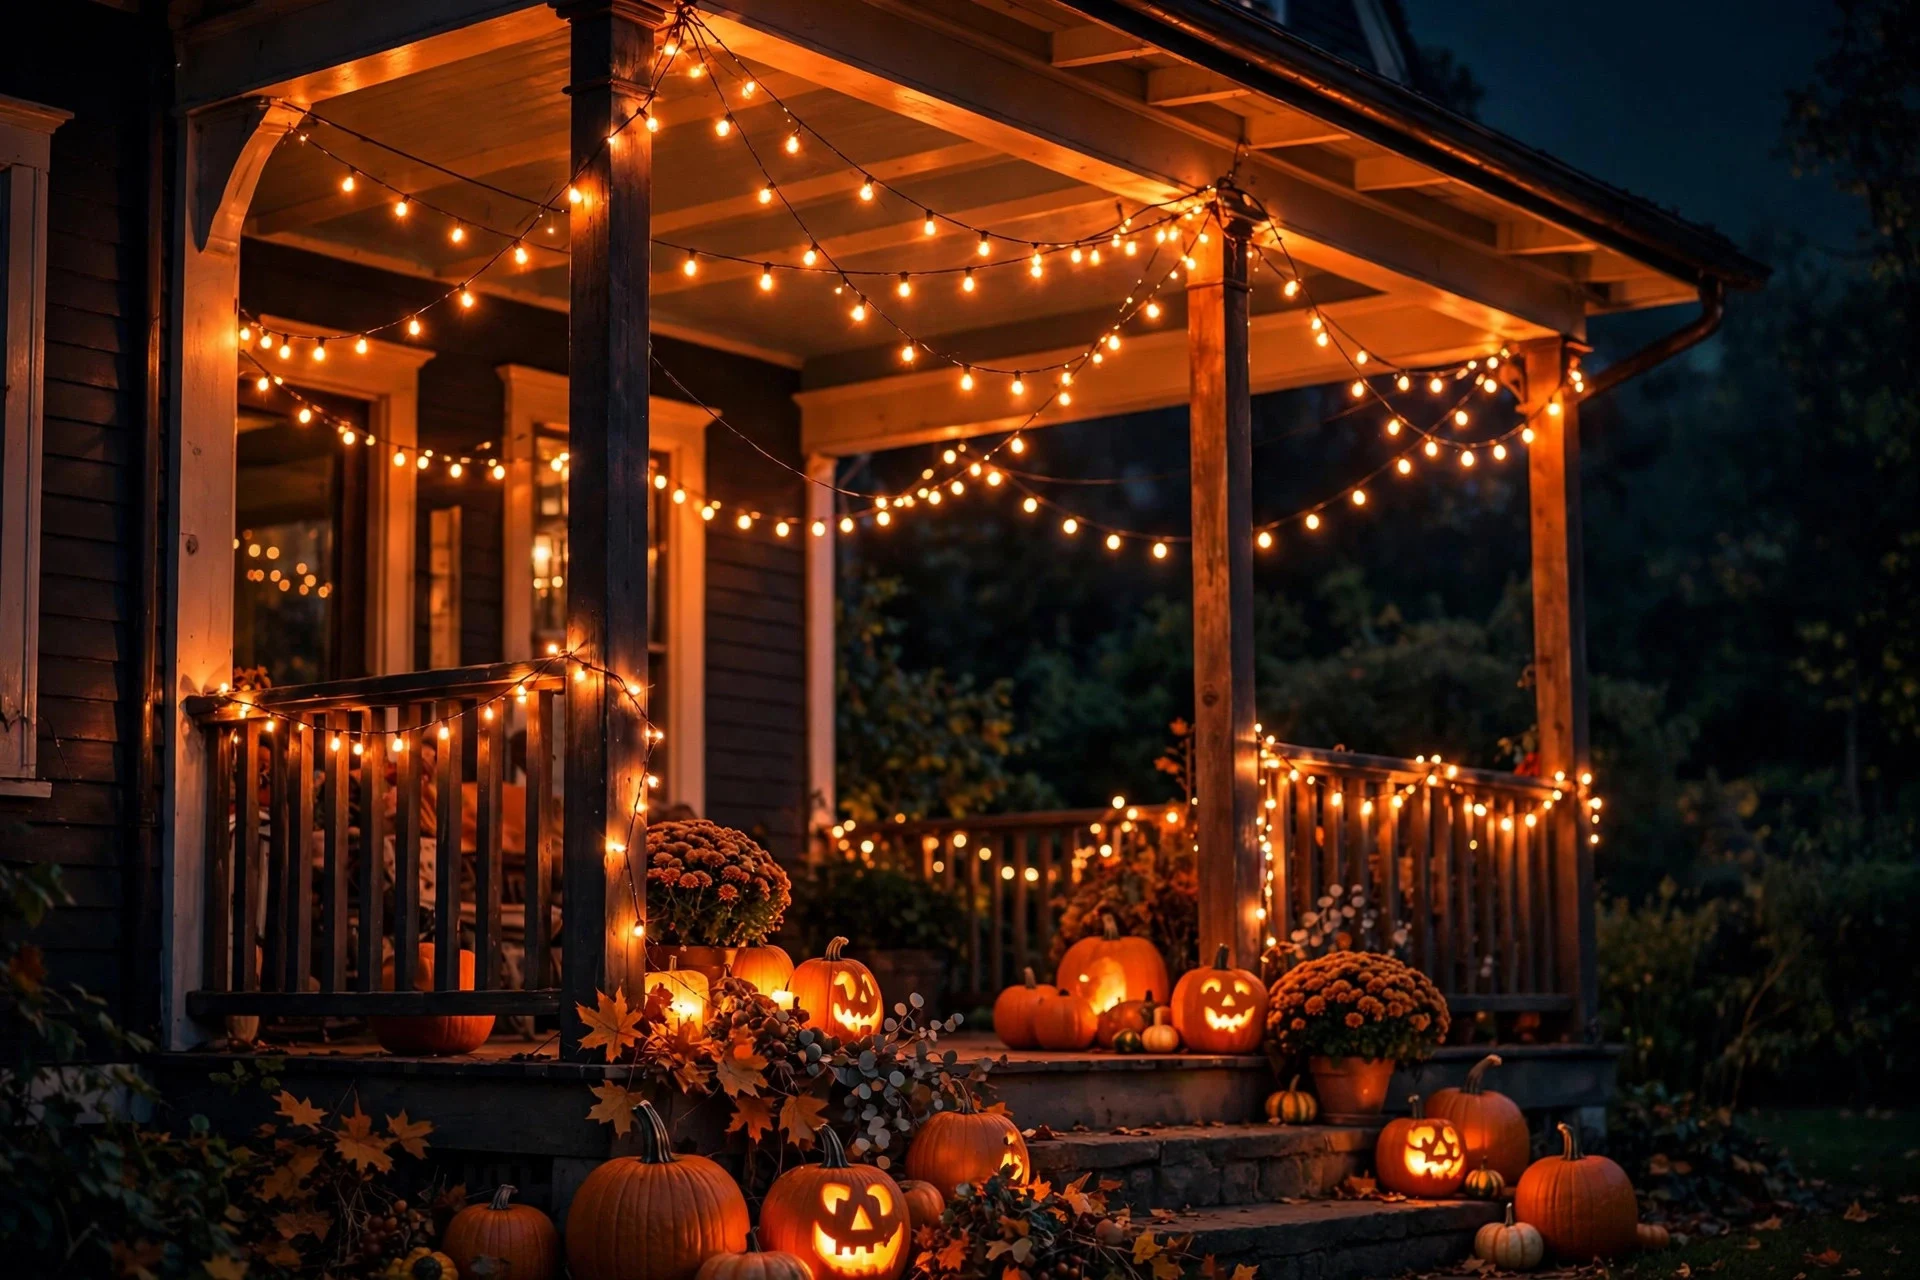
13. The Orange Canopy
Drape warm orange string lights across the porch ceiling or along the railing. Orange light flatters pumpkins, hides flaws, and signals “Halloween house” from half a block away. Cost: $12–$25. Difficulty: Easy.
Planning the layout? Our Lighting Calculator figures out how many lumens your porch actually needs — no more guessing on string light lengths.
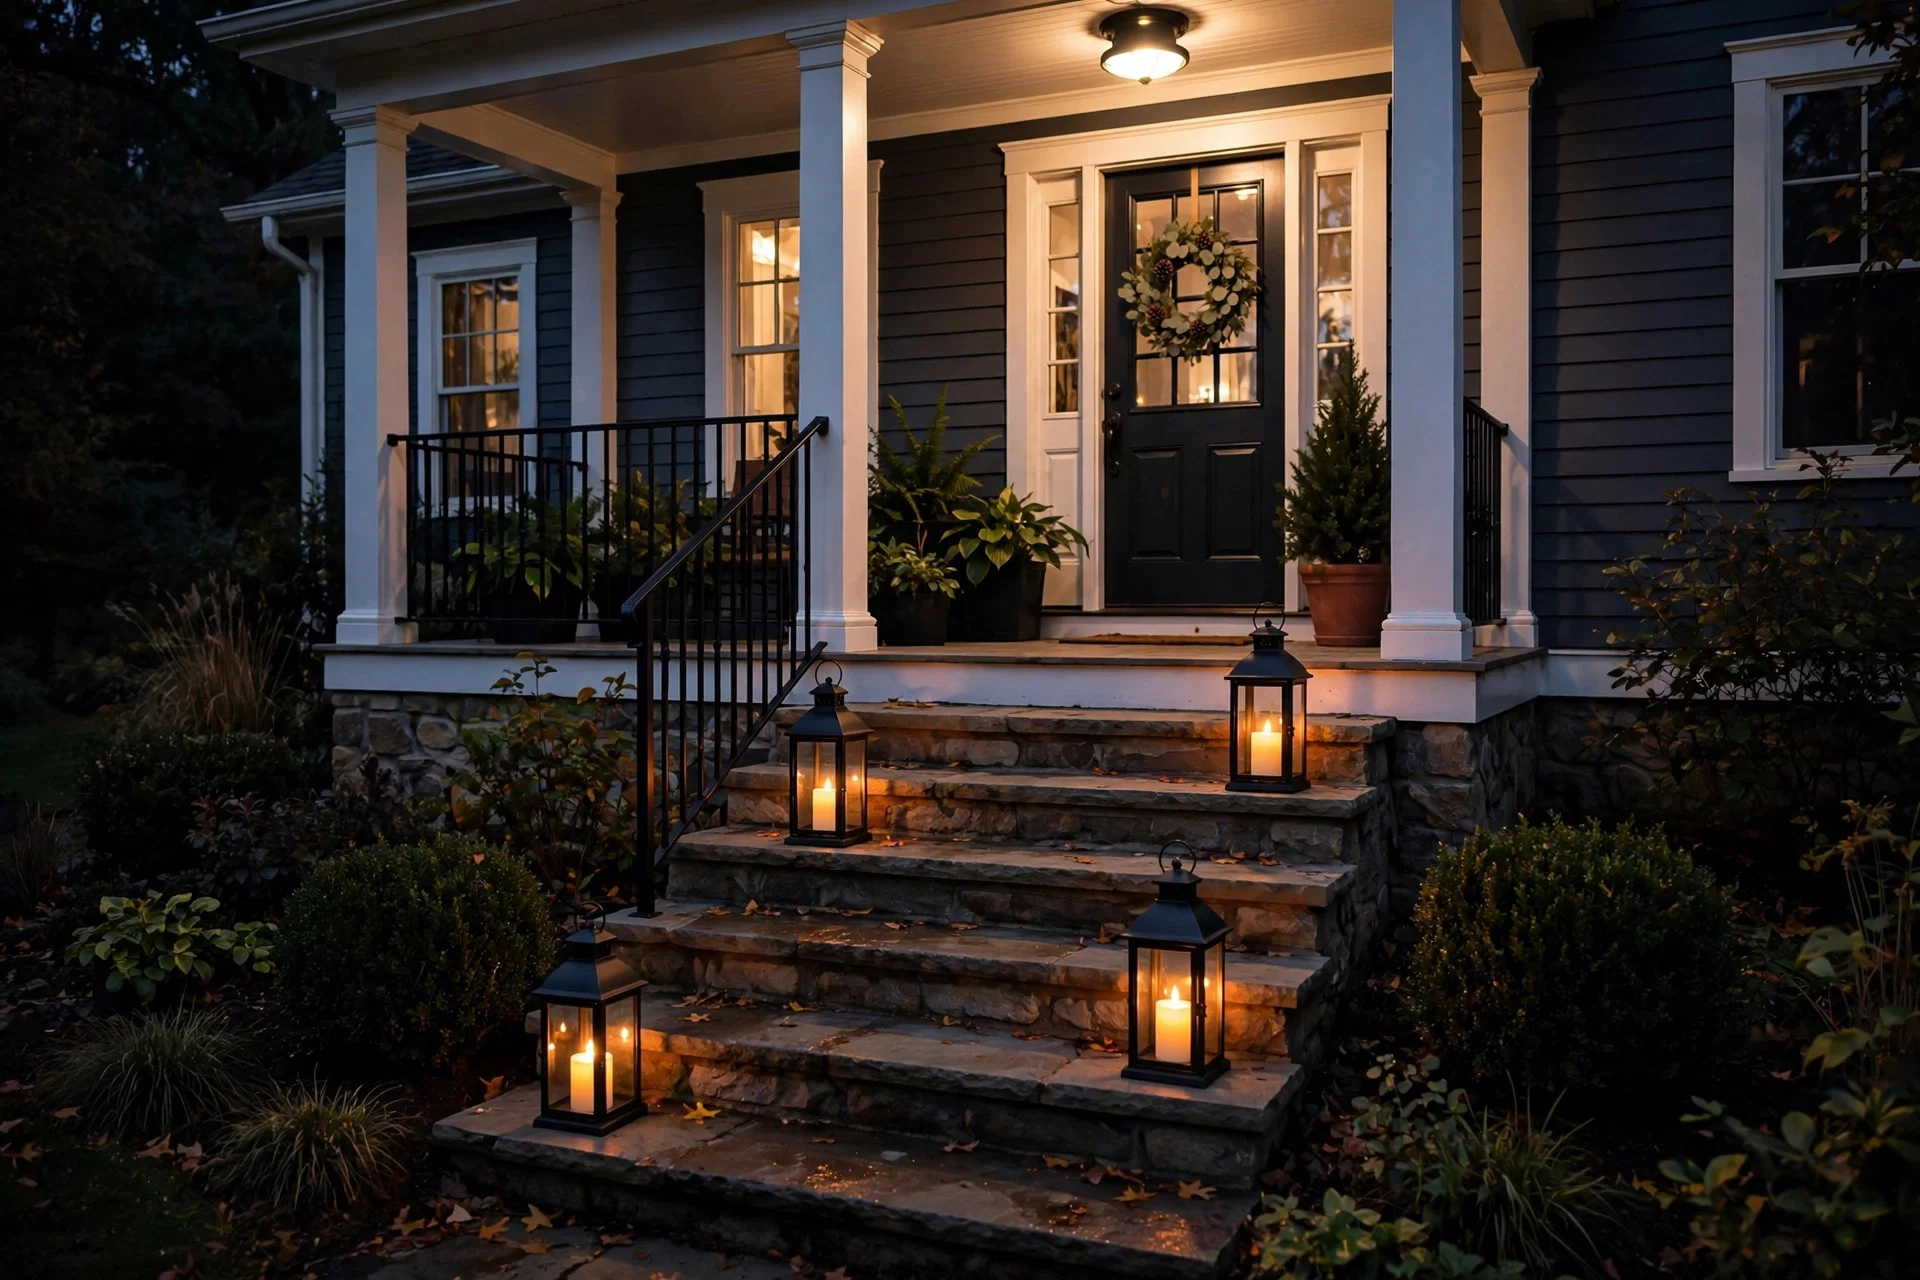
14. Lanterns on the Steps
Black metal lanterns with LED candles on every other step. The flicker is pure magic after dark, and LED means zero fire risk around kids in costumes and dry decorations. Cost: $20–$40 for a set. Difficulty: Very easy.
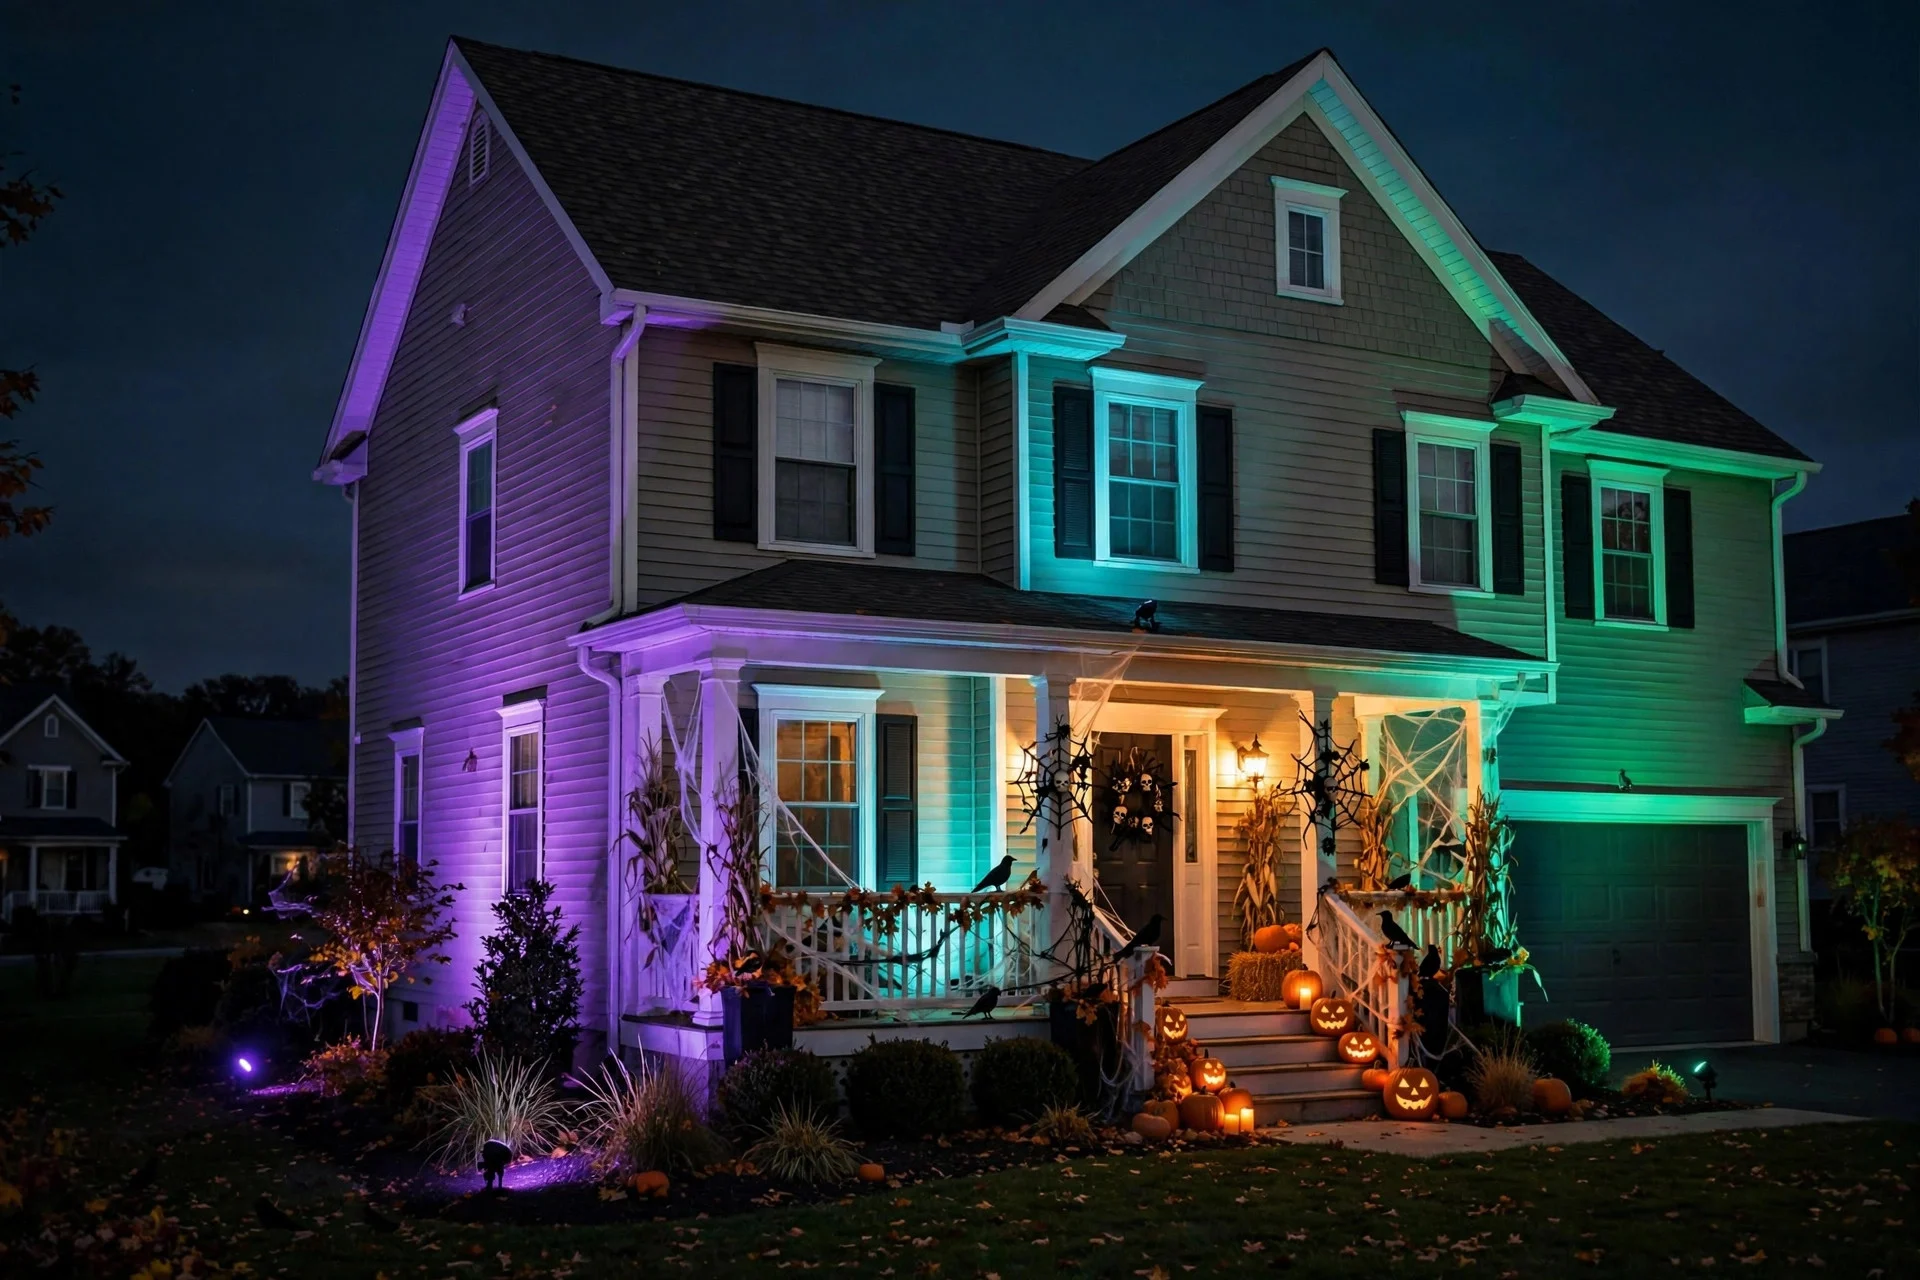
15. Color-Changing Spotlights (The Cheat Code)
One or two outdoor spotlights aimed at your facade in purple, green, or blood-red. This single trick makes the whole house look professionally decorated, even if the porch itself is simple. Cost: $20–$35. Difficulty: Very easy.
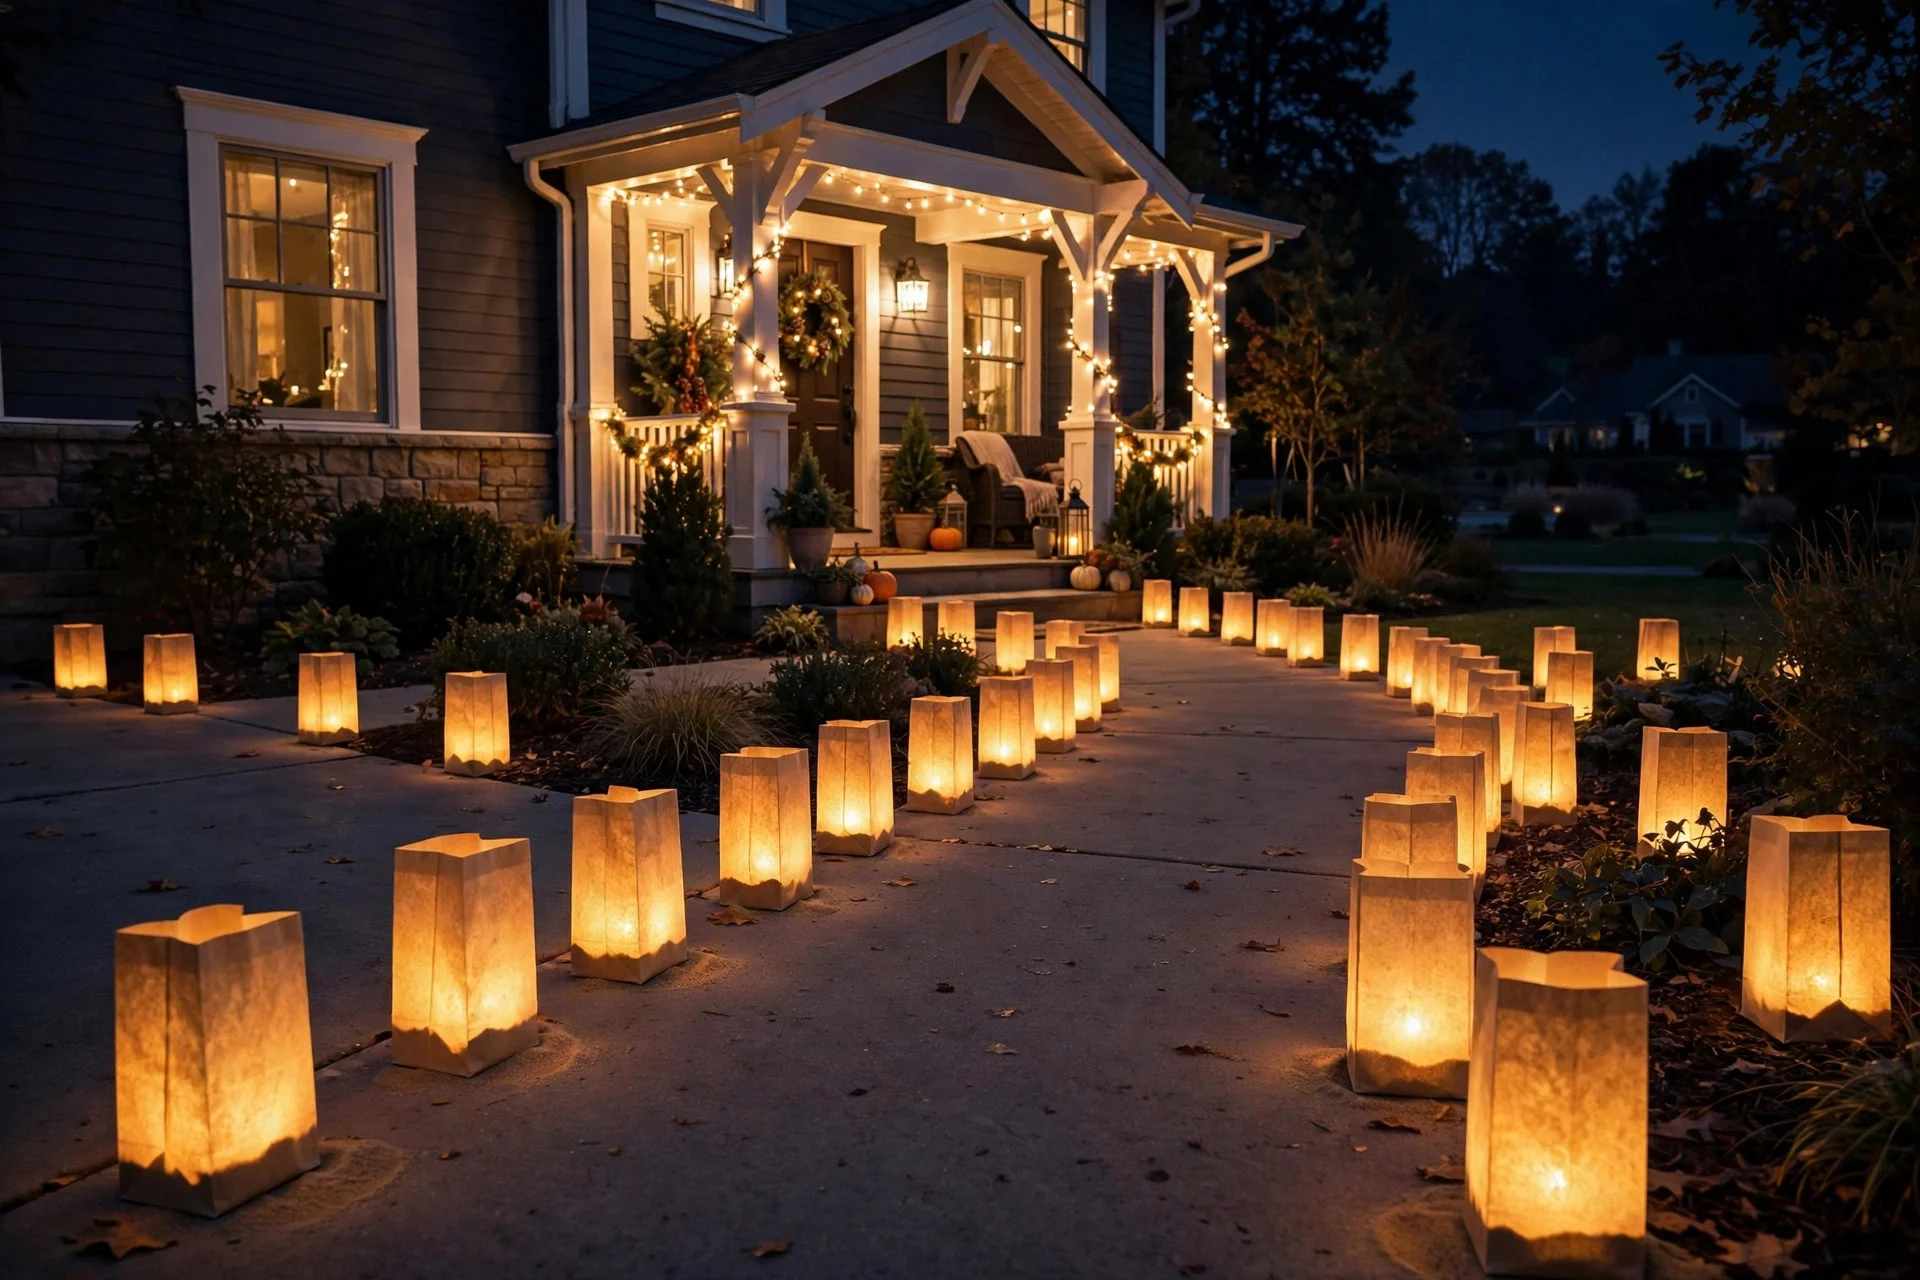
16. Pathway Luminaries
Paper or plastic luminaries weighted with sand, each holding an LED tea light, lining the walkway. They guide trick-or-treaters safely to your door and look gorgeous doing it. Cost: $10–$20. Difficulty: Easy.
Front Door Focus (Ideas 17–20)
The door is the focal point of every porch photo. Give it thirty minutes and it’ll carry the whole display.
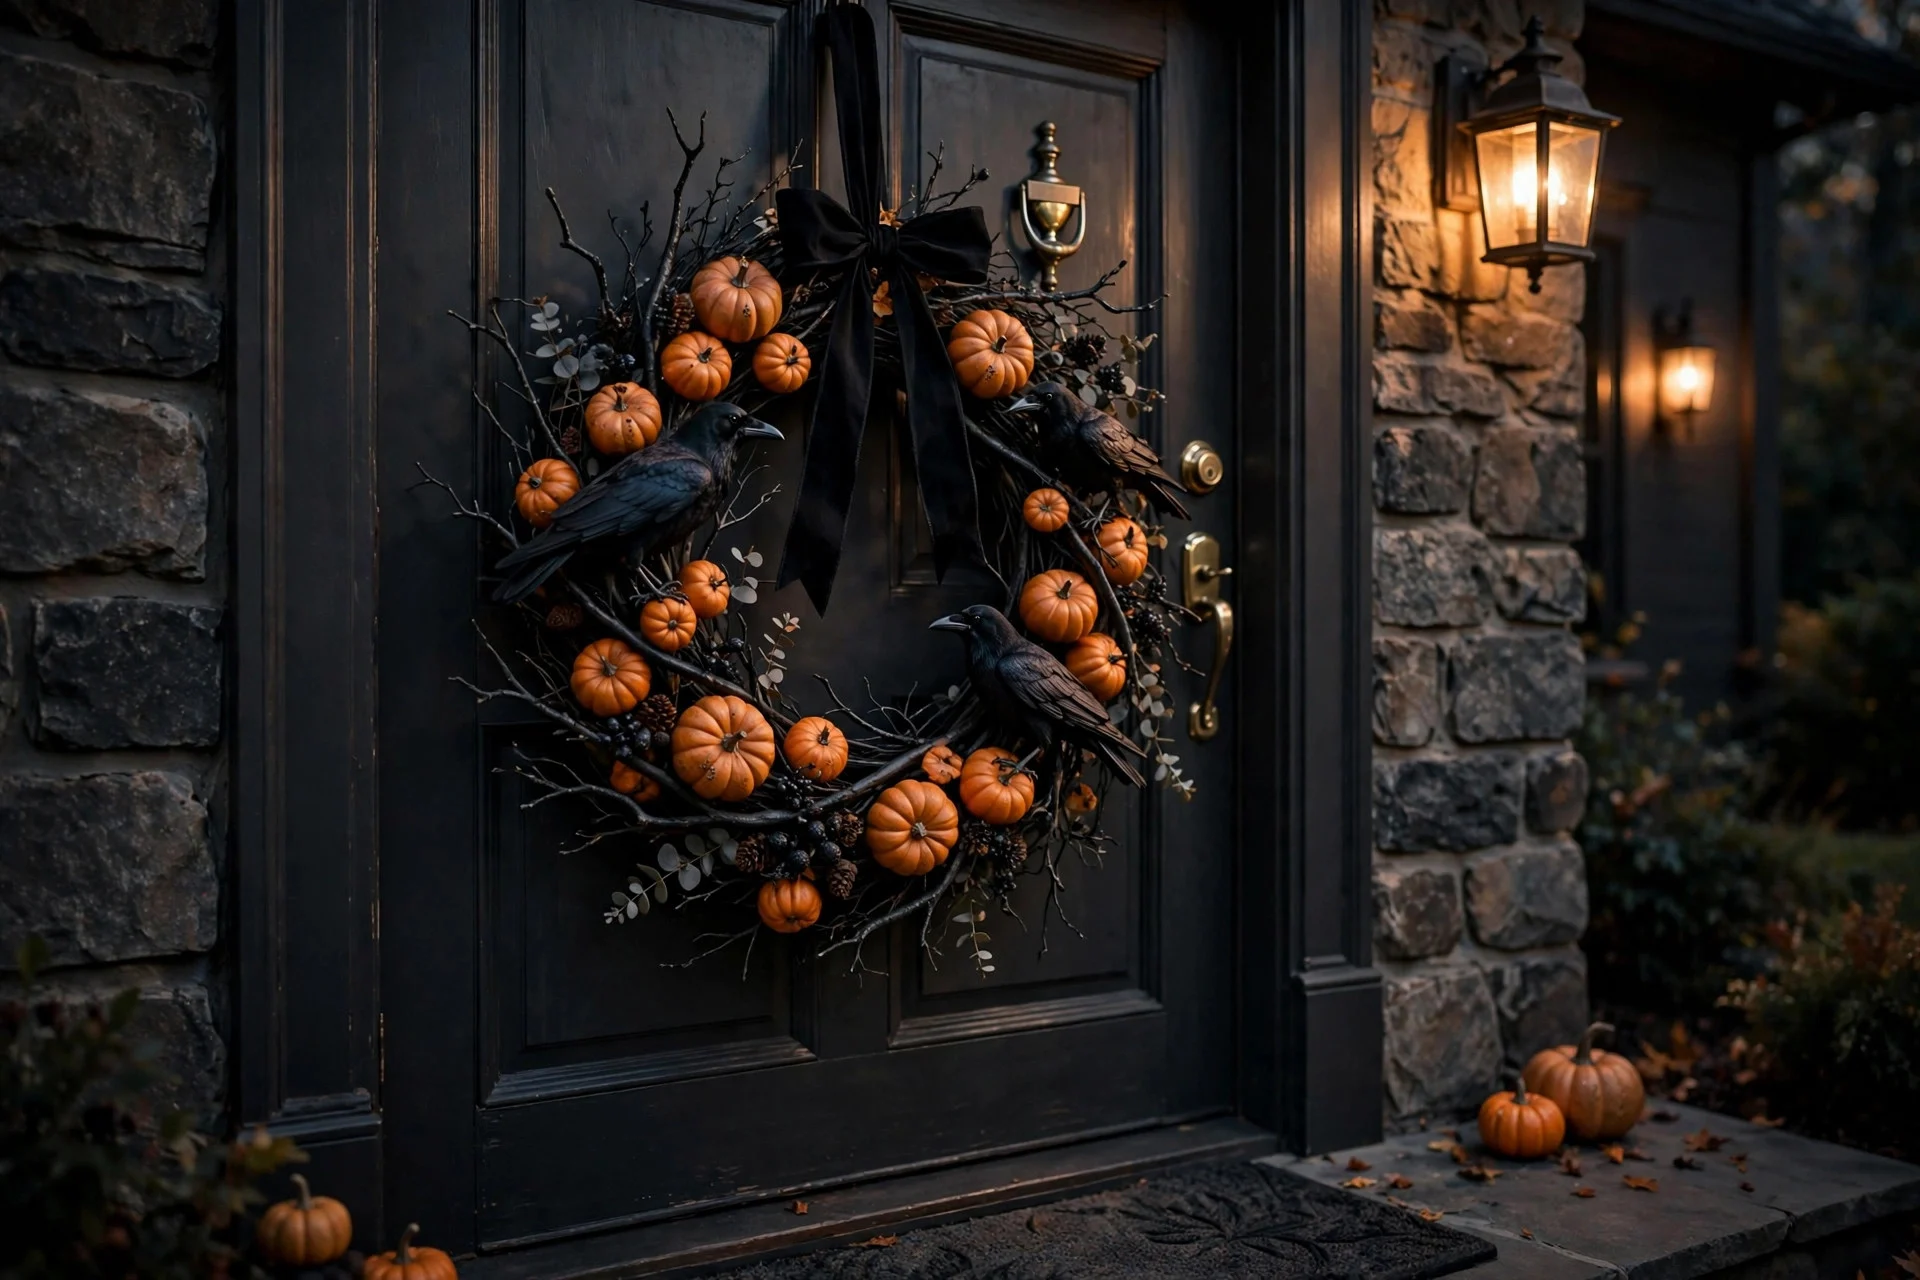
17. The 20-Minute Wreath
Black branches, mini pumpkins, and faux crows hot-glued to a grapevine base, hung with a wide black ribbon. Twenty minutes, one glue gun, and your door looks finished. Cost: $15–$25. Difficulty: Easy.
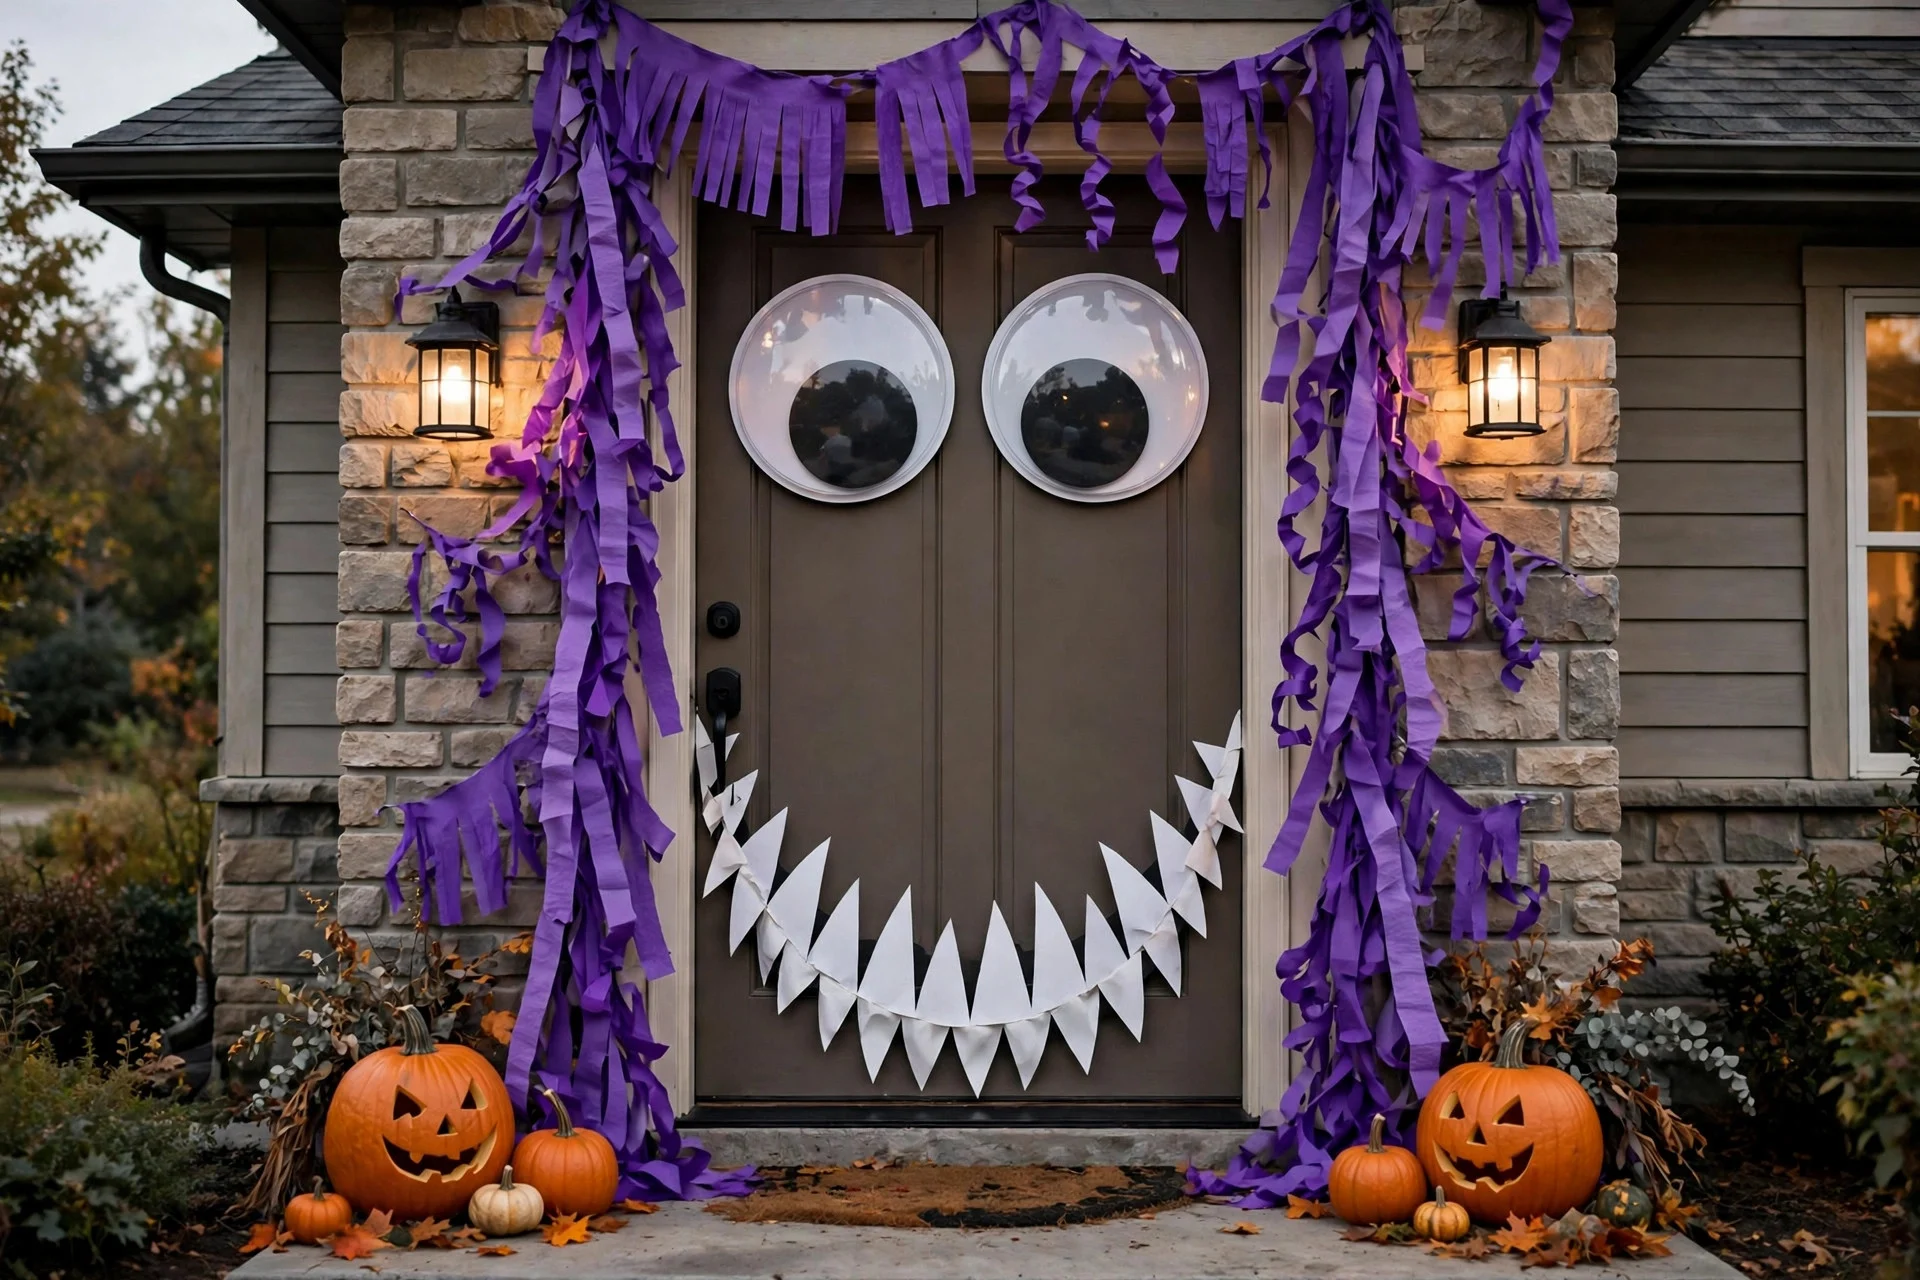
18. The Monster Door
Giant googly eyes, a toothy grin cut from white poster board, purple crepe-paper “fur” around the frame. Kids absolutely lose it over this one. Cost: $8–$12. Difficulty: Very easy. One rule: painter’s tape or removable adhesive only — never hot glue directly on the door.
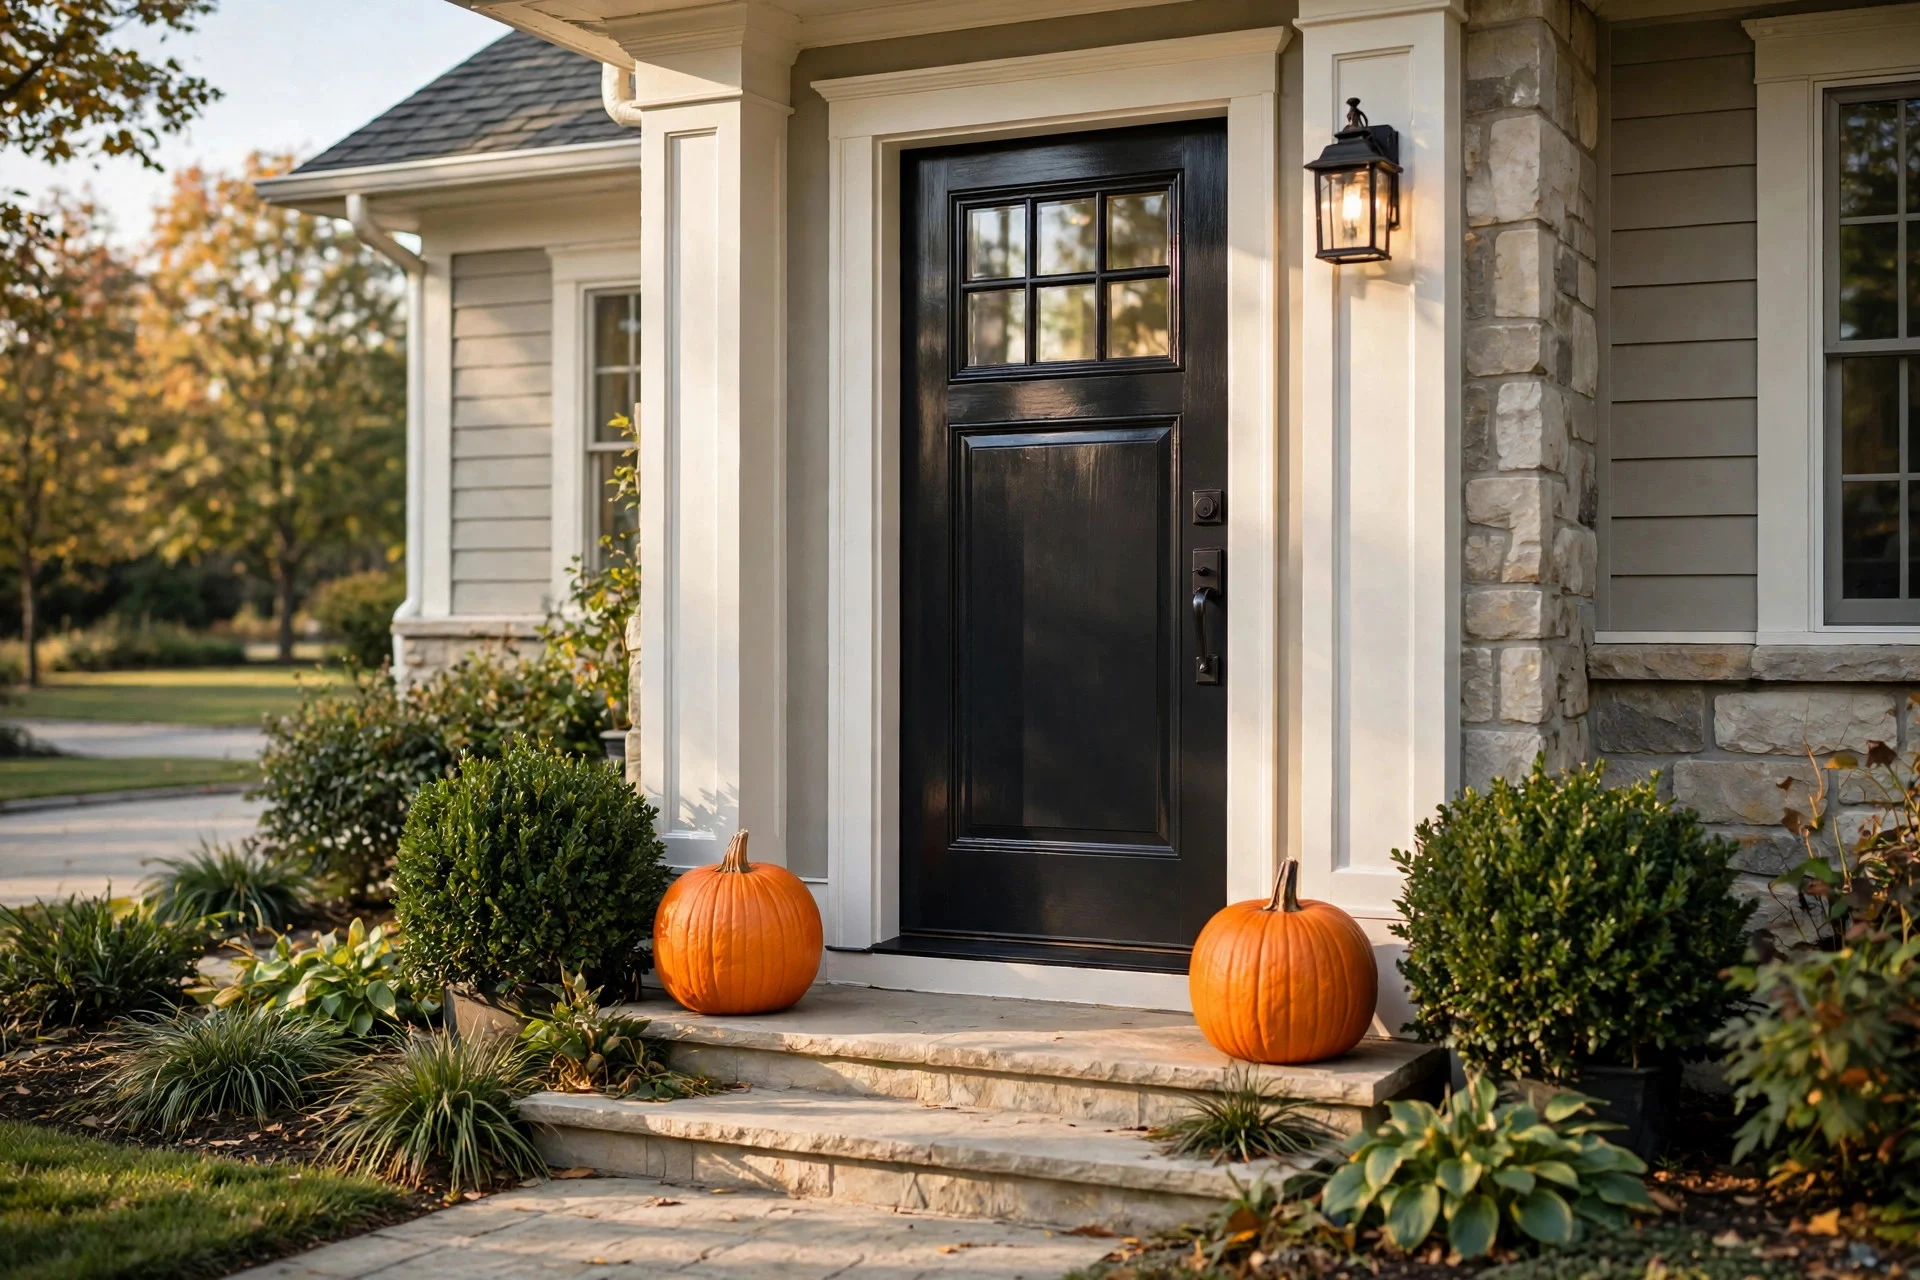
19. Paint the Door (If It Needs It Anyway)
Halloween season is the perfect excuse for a door refresh you’ve been putting off. Deep charcoal, oxblood red, or glossy black looks stunning against orange pumpkins — and unlike the decorations, it boosts curb appeal all year. Cost: $20–$40 for a quart of exterior paint. Difficulty: Medium (one weekend afternoon).
Don’t overbuy paint. Our Paint Calculator tells you exactly how much a front door project needs.
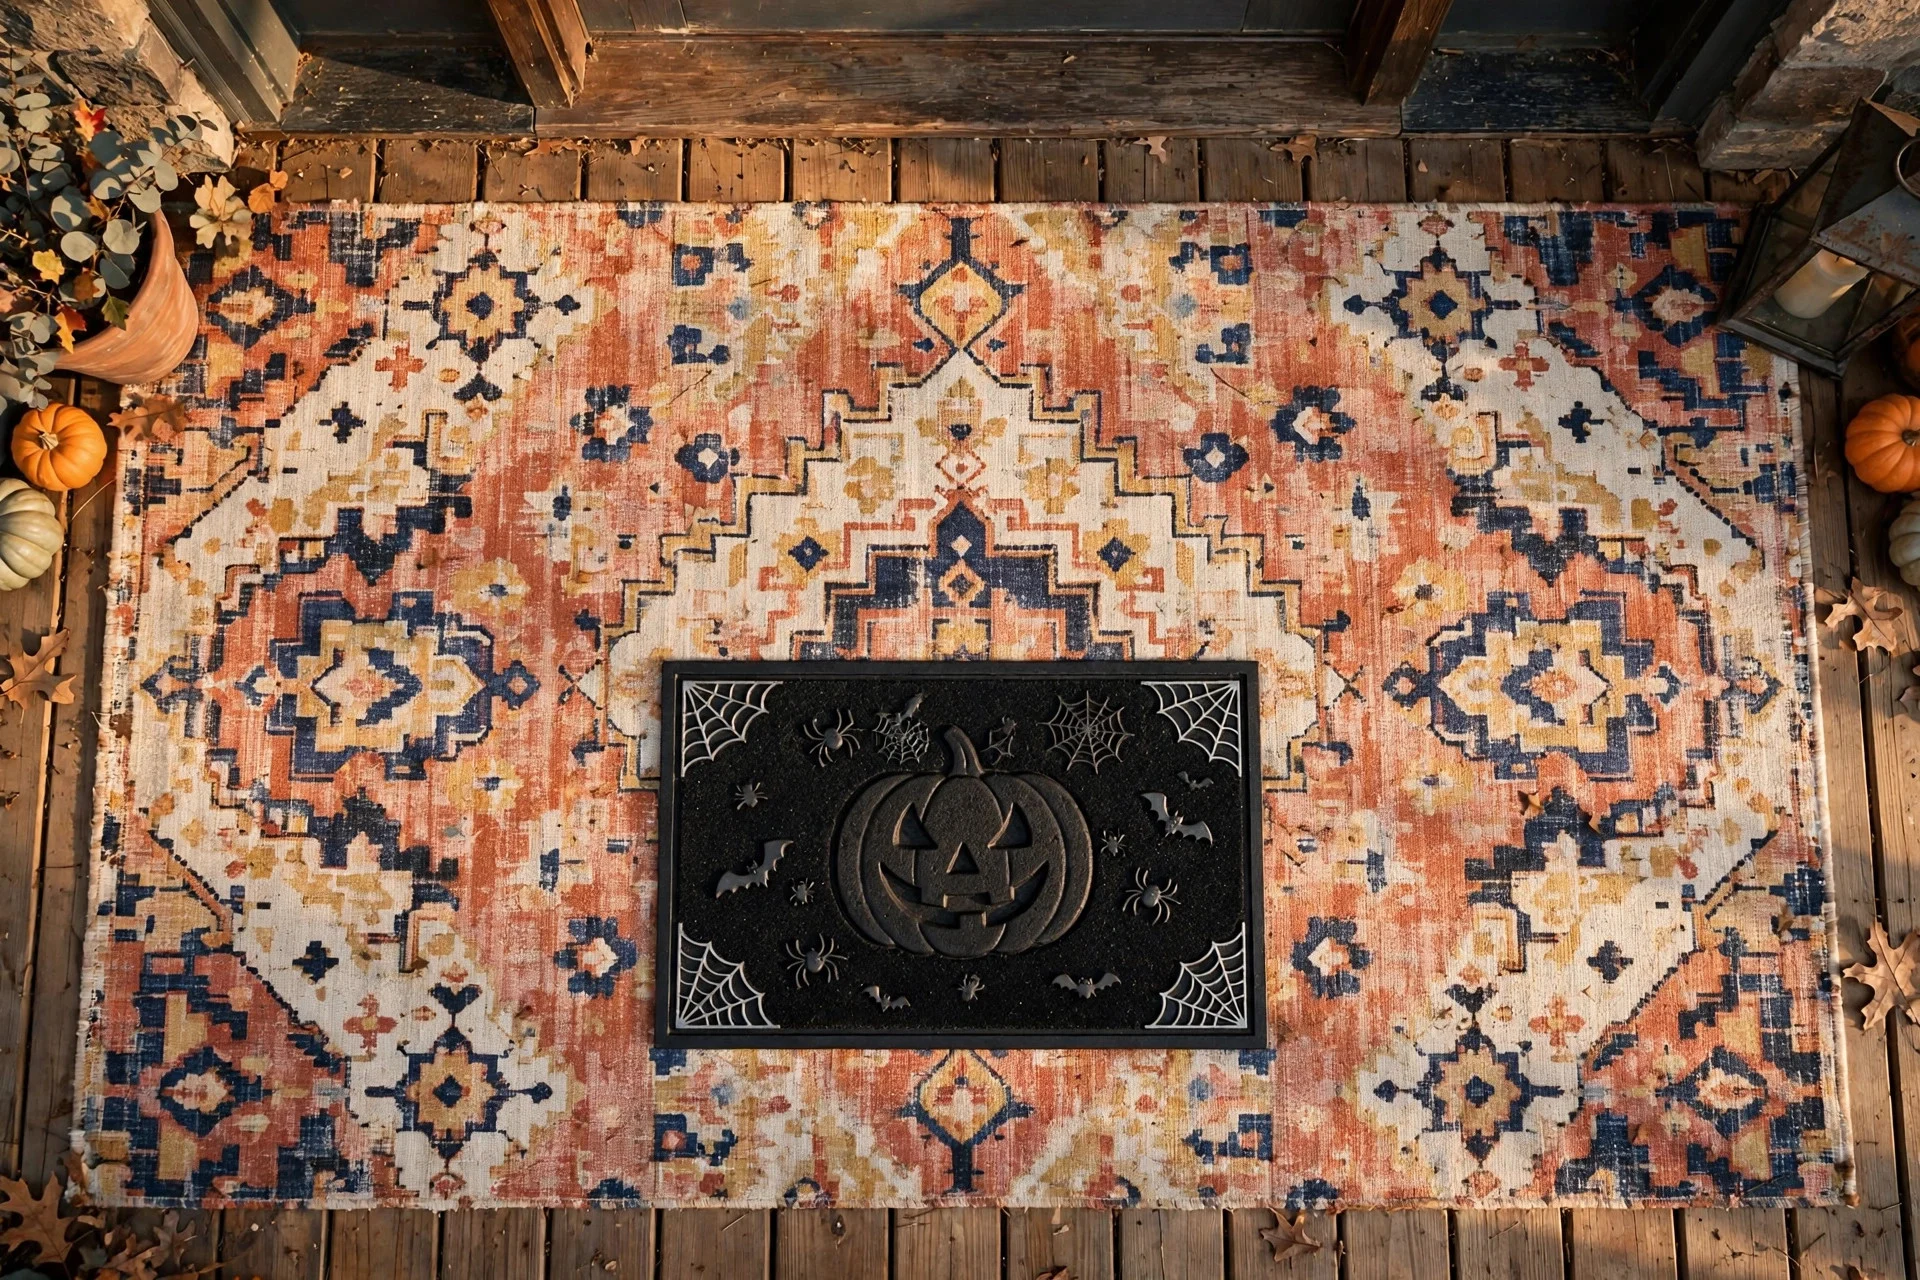
20. The Layered Doormat
A larger patterned outdoor rug under your Halloween doormat (“Hey Boo,” “Trick or Treat”). It’s straight out of a home decor magazine and costs almost nothing — but the layered look reads as intentional rather than thrown together. Cost: $15–$30. Difficulty: Very easy.
Measure first. Our Rug Size Calculator helps you pick rug dimensions that actually fit your entry.
Yard-to-Porch Flow (Ideas 21–25)
The best porches don’t stop at the door — they pull the whole front yard into the story.
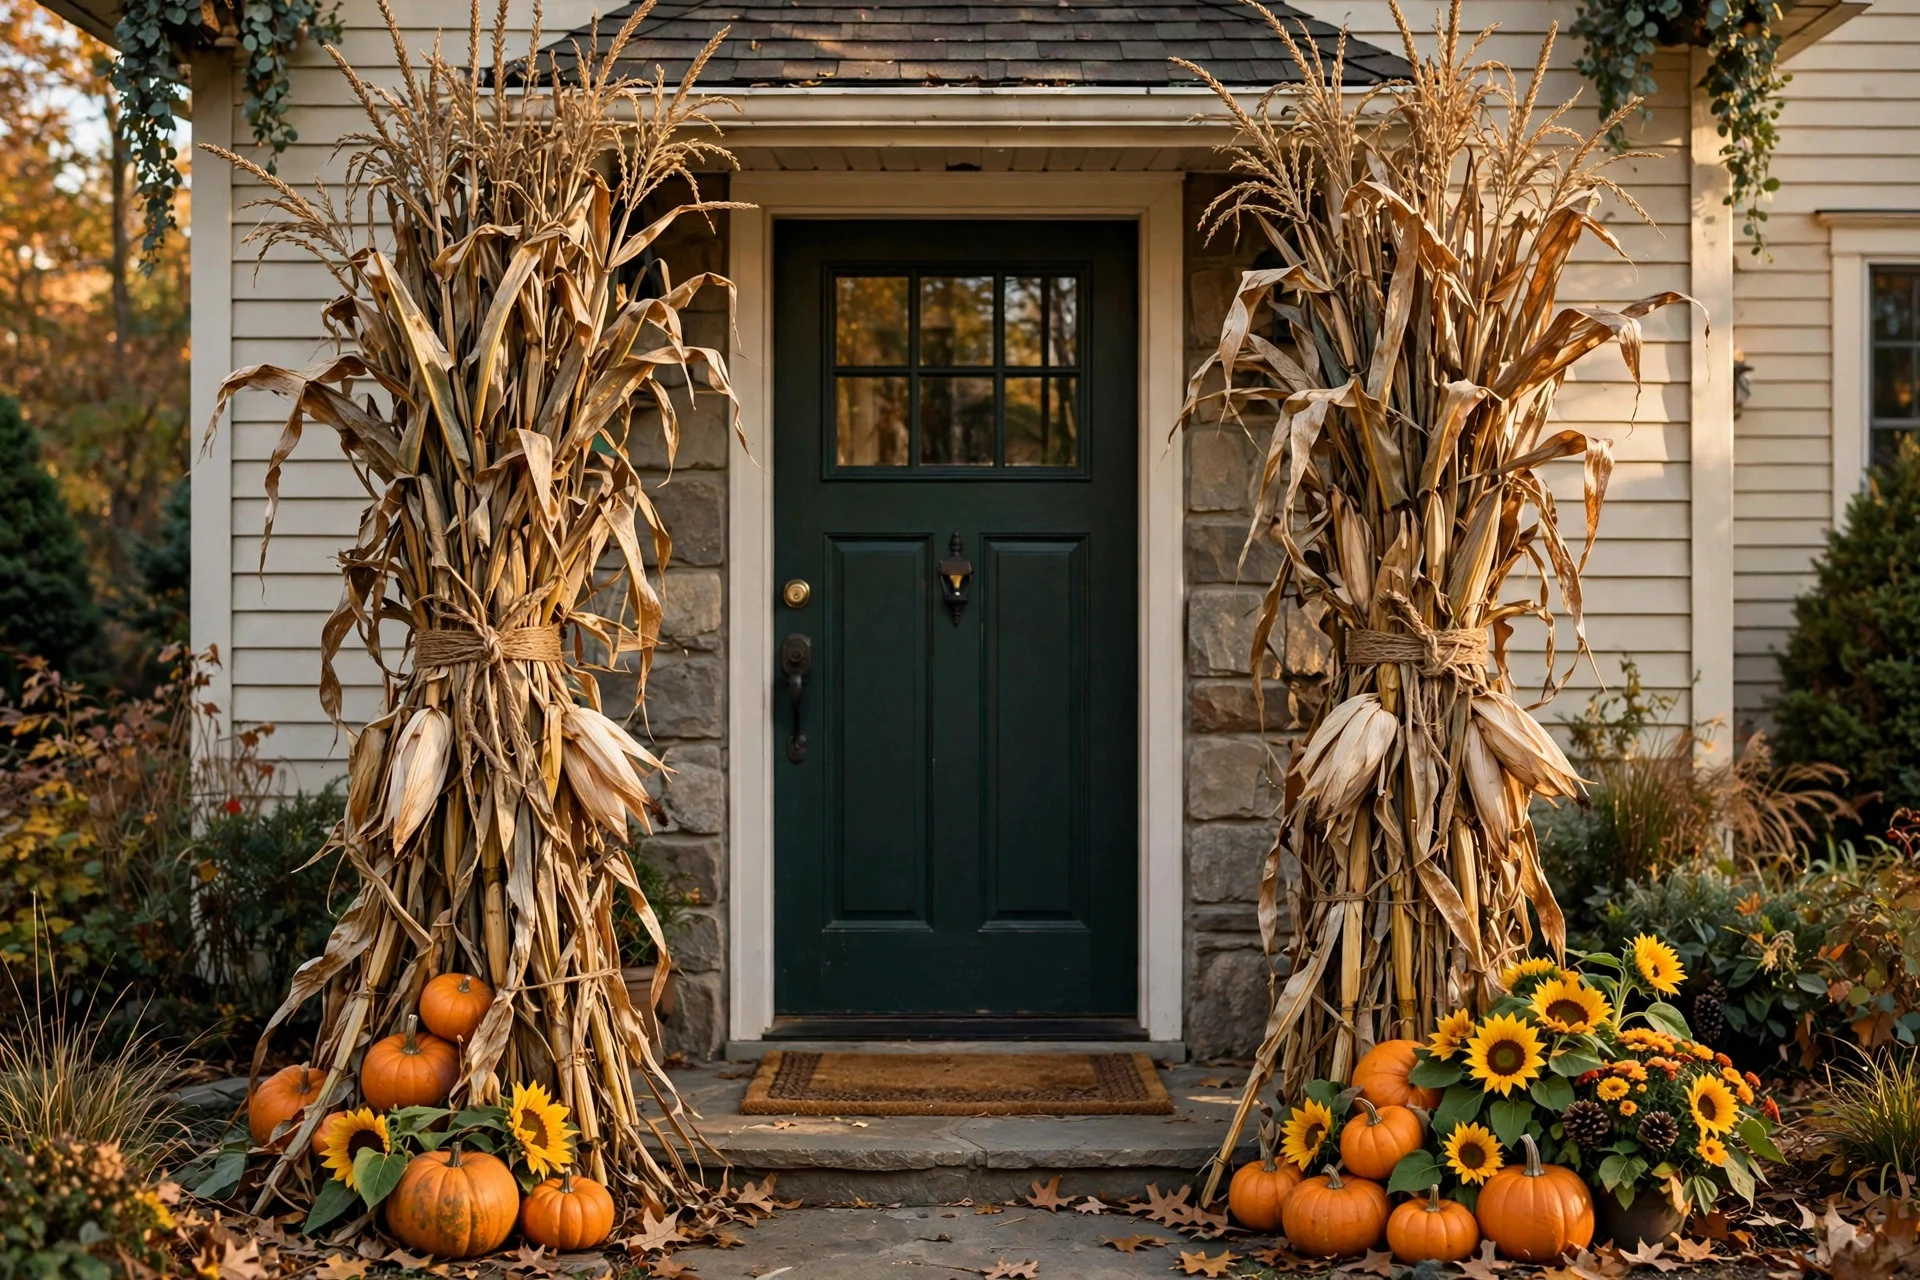
21. Corn Stalk Door Frame
Tie dried corn stalks to each side of the door frame with twine, tuck in mini pumpkins and sunflowers. Five minutes, and it bridges late summer into Halloween beautifully. Cost: $10–$18. Difficulty: Very easy.
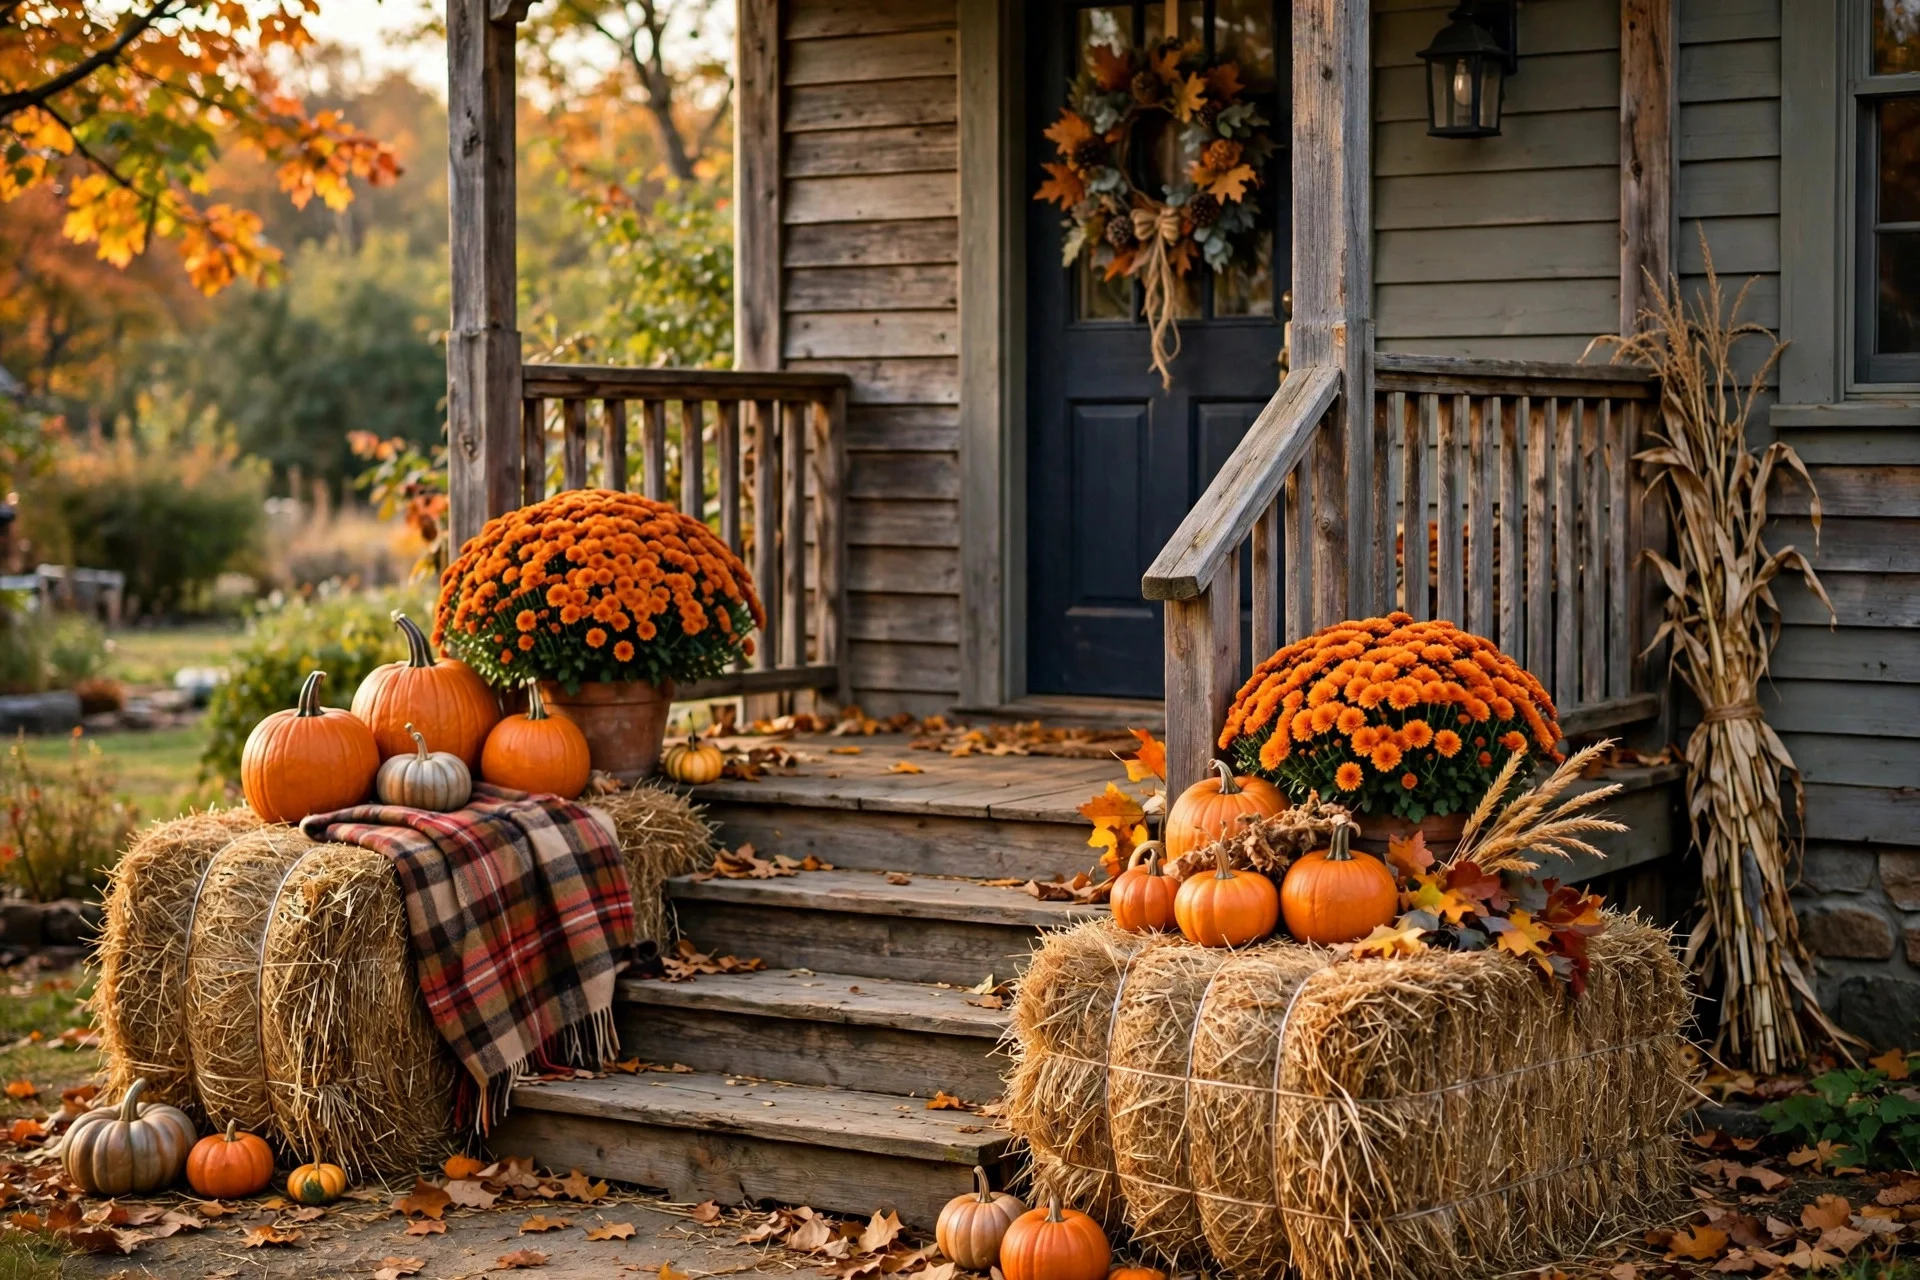
22. The Hay Bale Vignette
One or two hay bales beside the steps, topped with pumpkins, mums, and a plaid blanket. Rustic, photogenic, and the mums keep looking good into November — so this one earns its keep past the 31st. Cost: $15–$30. Difficulty: Very easy.
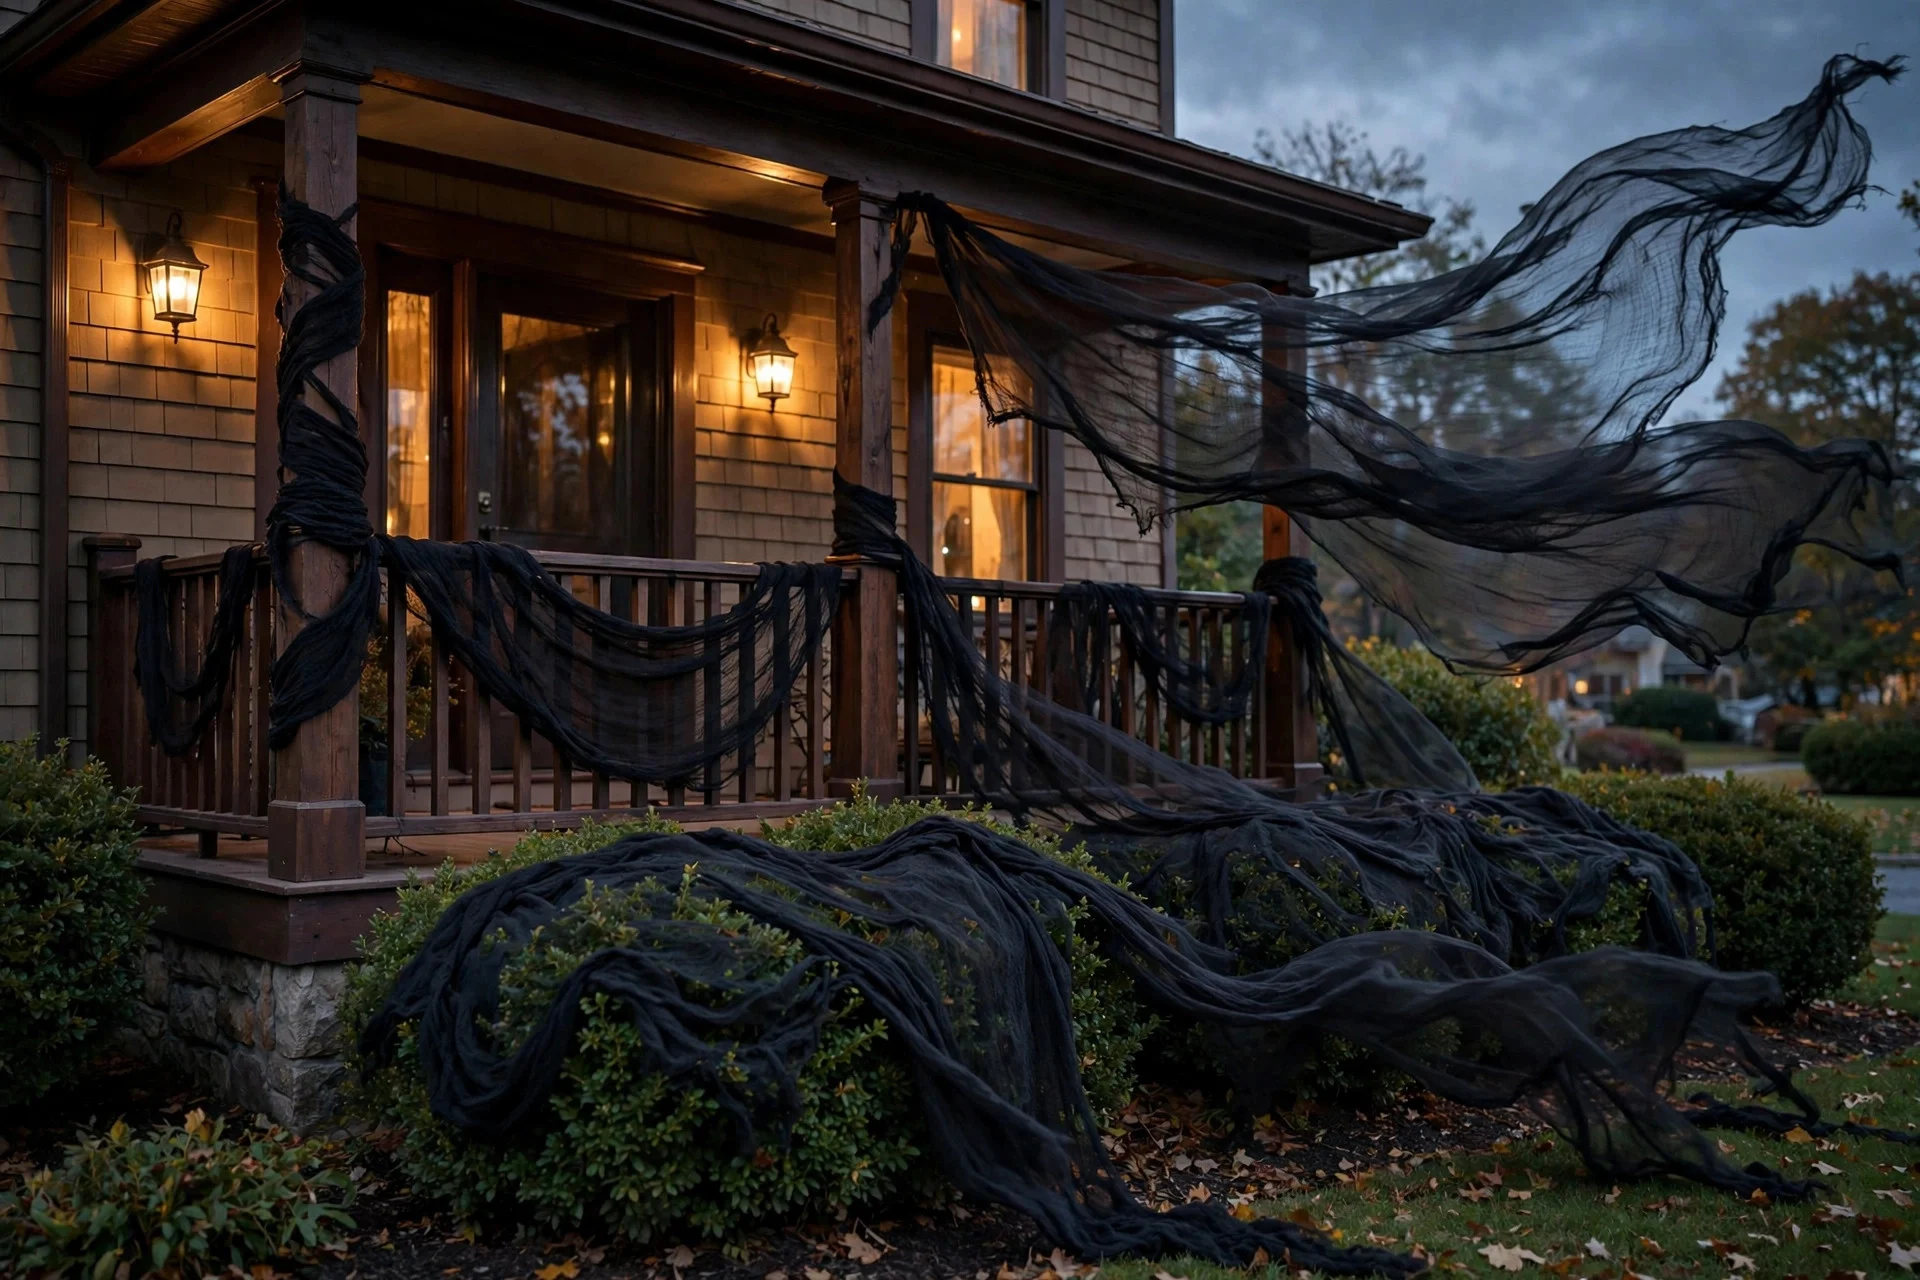
23. Creepy Cloth (Cheapest Drama on This List)
Gauzy black or gray creepy cloth draped over bushes, railings, and porch posts. It billows in the wind and looks authentically haunted for about the price of a coffee. Cost: $5–$10. Difficulty: Very easy.
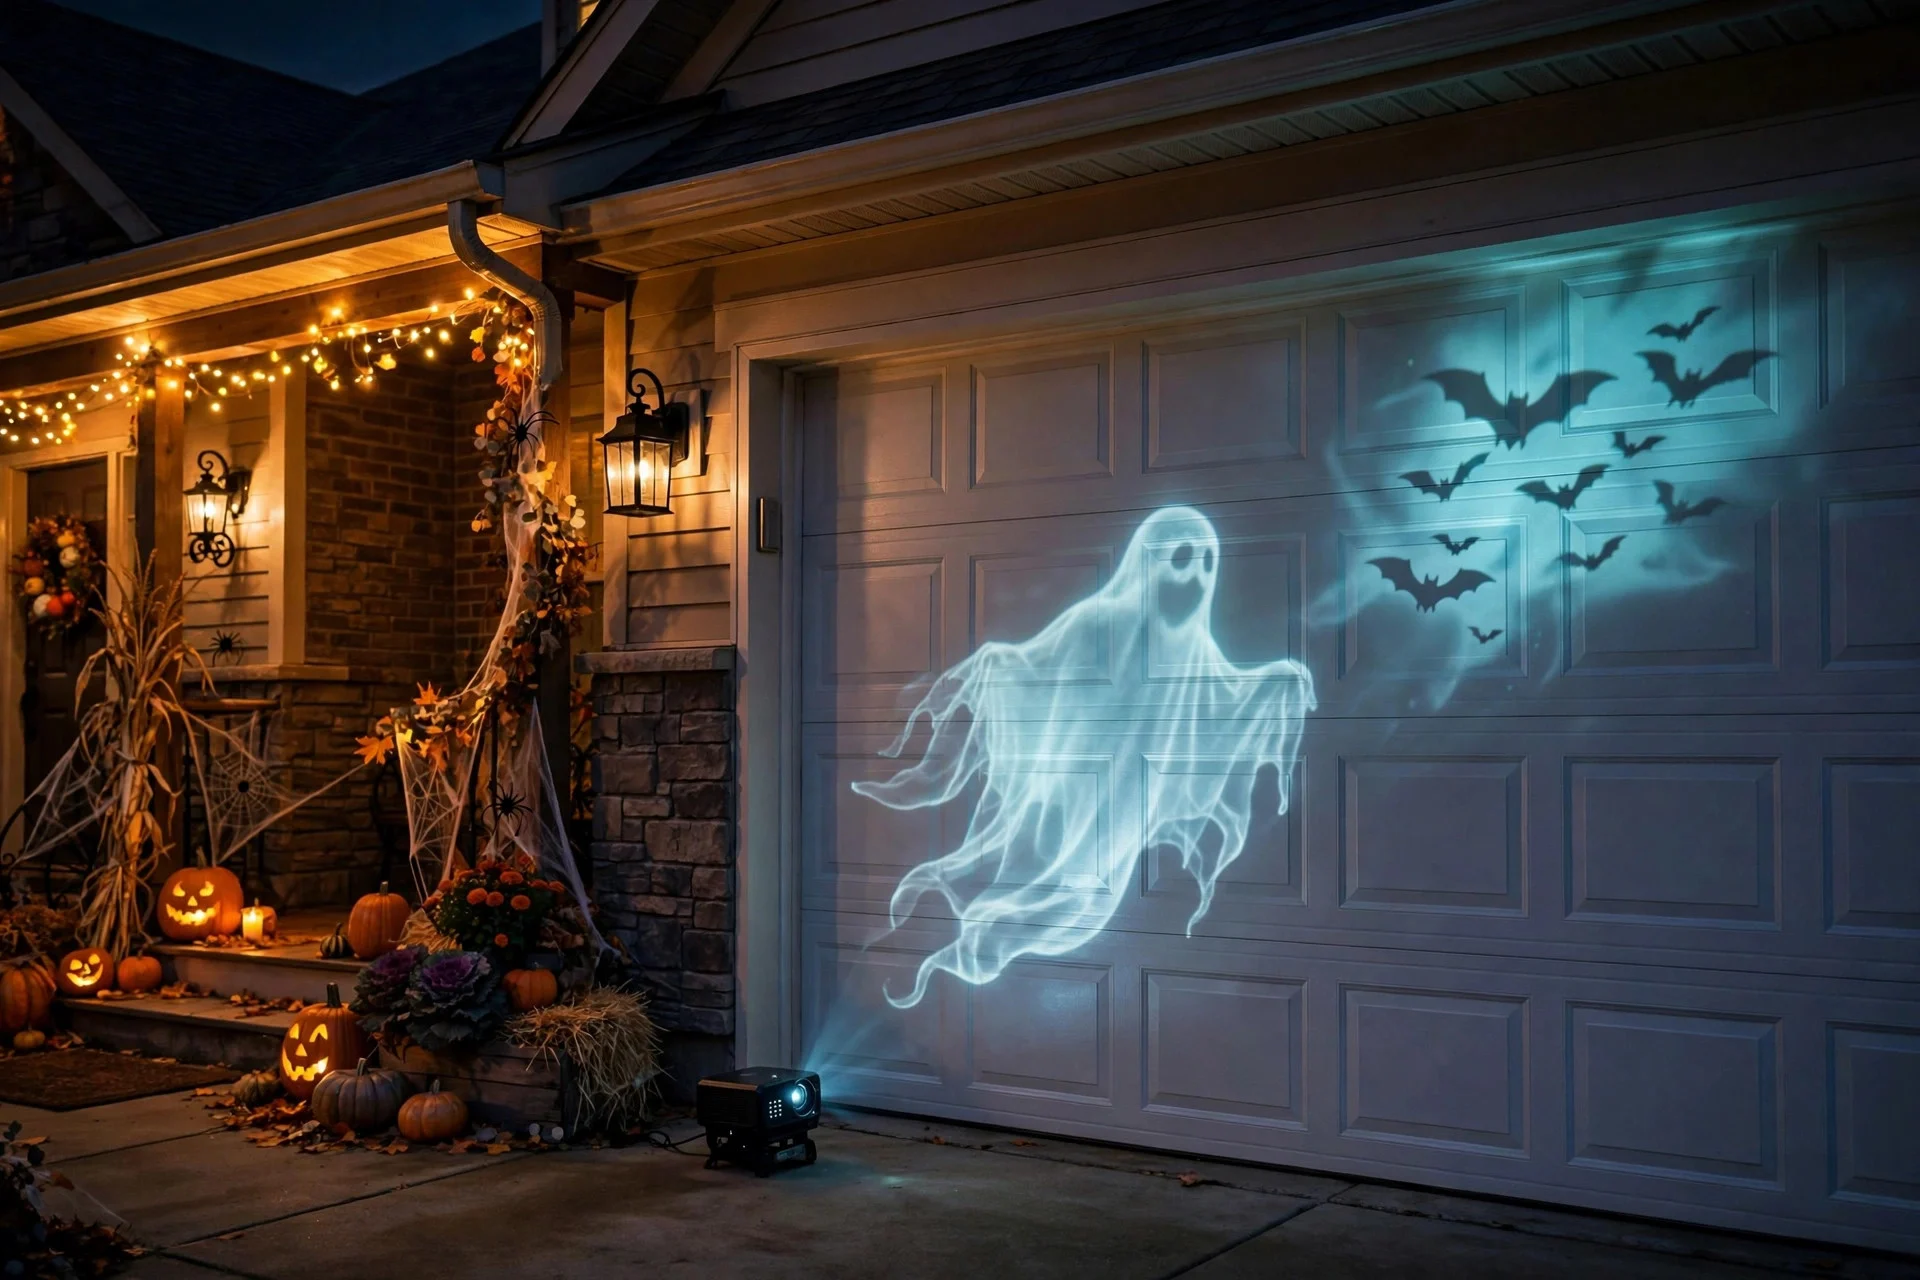
24. The Projector Trick
A small Halloween projector aimed at the garage door, a porch wall, or a hung white sheet — moving ghosts, bats, witches. Zero skill required, massive wow factor, and the neighbors will assume you spent ten times what you did. Cost: $25–$45 (reusable every year). Difficulty: Very easy.
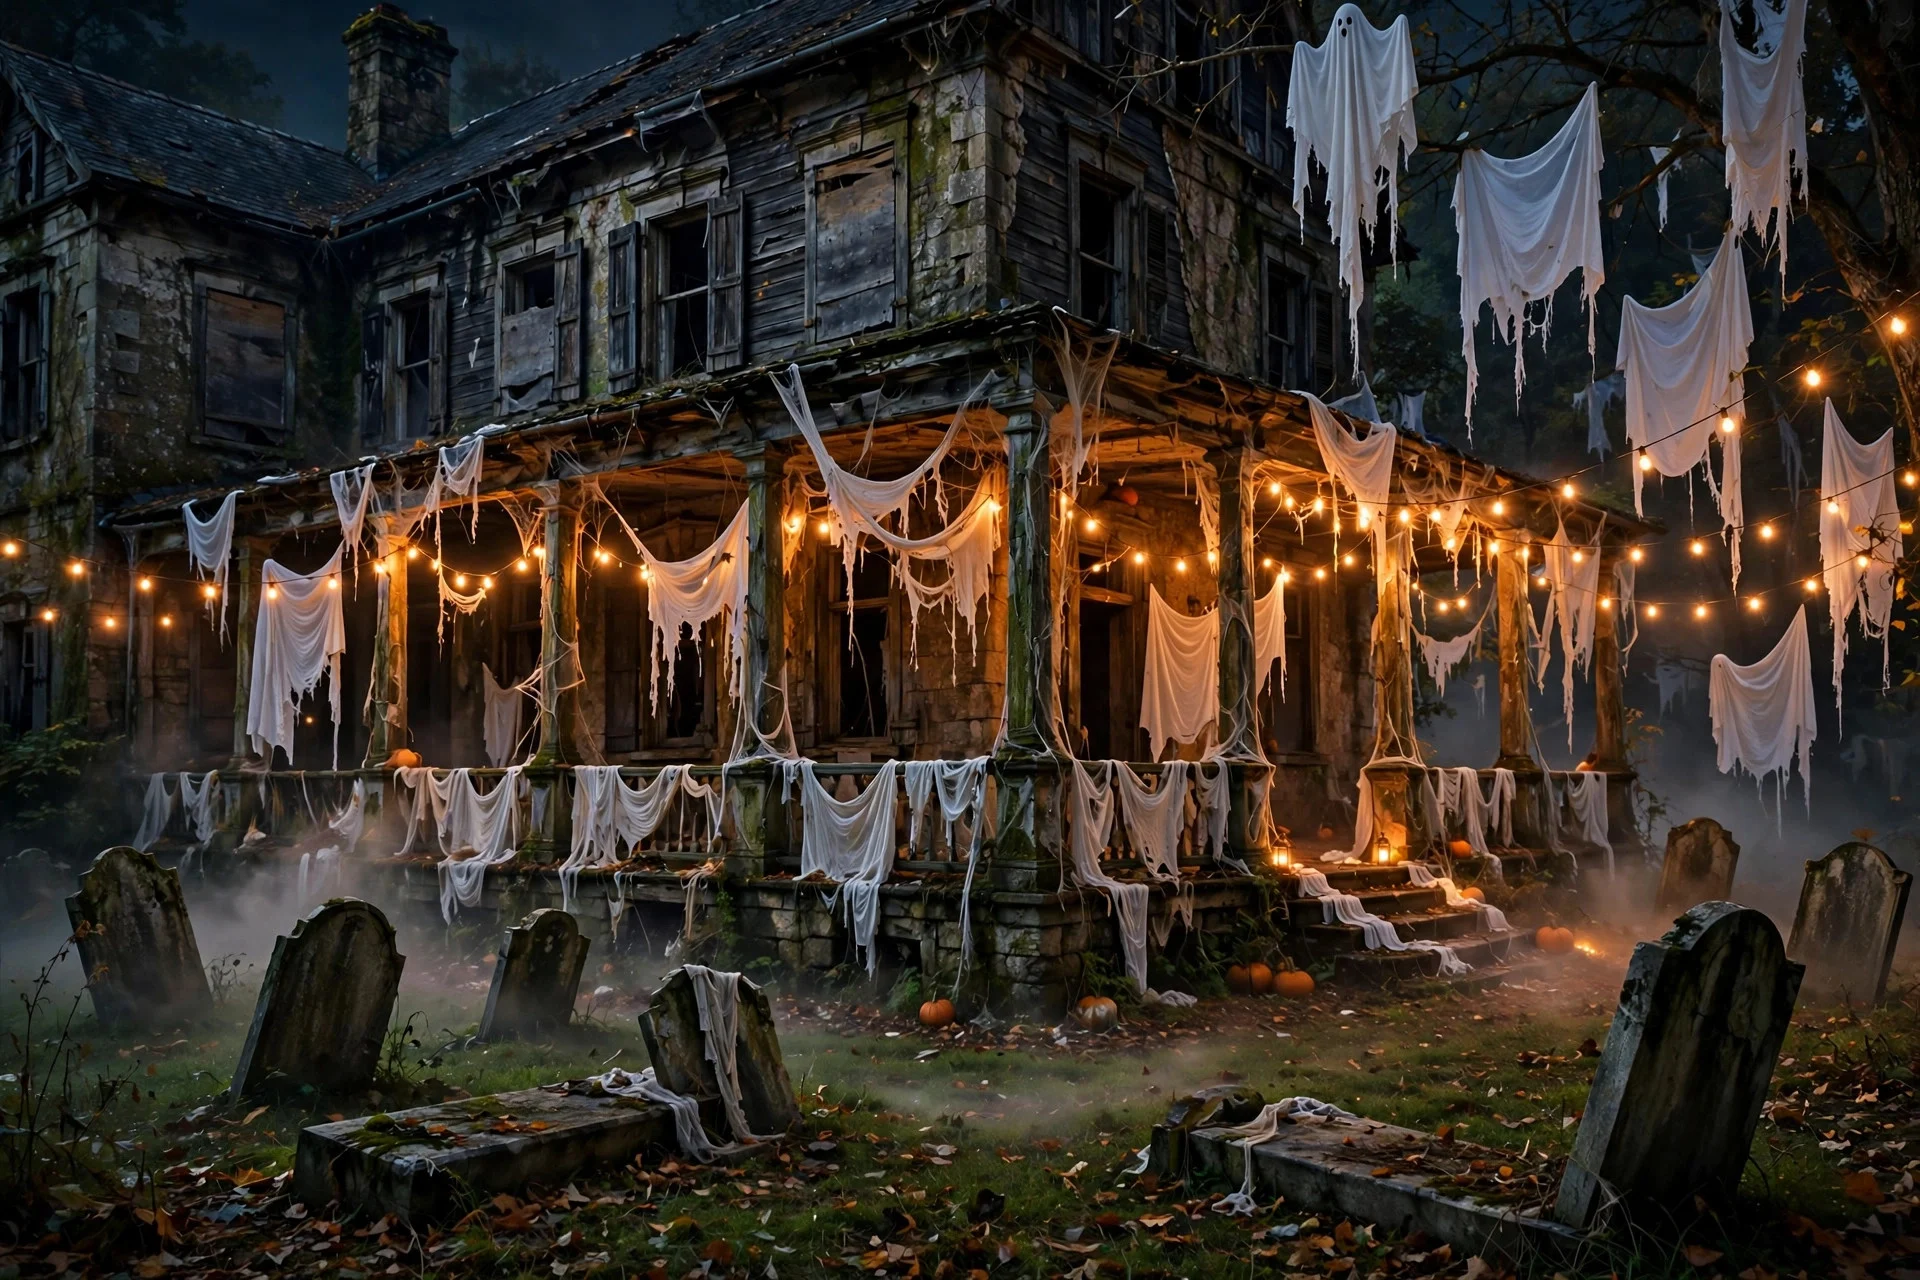
25. The Full Abandoned Manor
The all-in option: combine ideas 8, 10, 13, and 23 — draped ghosts, tilted tombstones, orange string lights, creepy cloth everywhere — plus a creaking-door sound effect from a Bluetooth speaker hidden in the bushes. This is for the house that intends to win the neighborhood. Cost: $60–$120 total. Difficulty: Medium (one Saturday afternoon).
Don’t Skip the Safety Check
Five rules before Halloween night. Non-negotiable.
- Keep the path clear. Decorations never block the walkway or steps. Ever.
- Light the ground. Luminaries or string lights along edges prevent trips — yours and everyone else’s liability.
- LED only. Real candles plus costumes plus dry decorations is a combination you don’t want to explain to anyone.
- Anchor everything. October wind is real. Lightweight props become projectiles; stake or weigh them down.
- Watch the candy station. If you leave a bowl out, keep it visible — or make it fun with a motion-sensor dispenser.
After Halloween: Takedown & Storage
Photograph your setup before dismantling — future-you will be grateful next October. Foam pumpkins, skeletons, lights, and the fog machine go in labeled bins. Real pumpkins go to compost (or a neighborhood pumpkin-smashing party, if that’s a thing where you live). Wipe down lanterns before storing so they don’t rust in the bin.
FAQs
When should I put up Halloween porch decorations?
The first two weeks of October is the sweet spot — around October 1–7 gives you the full season without the decor feeling tired by the 31st. Carve real pumpkins no earlier than 3–5 days before Halloween so they’re still fresh on the night.
How long do carved pumpkins last outside?
About 5–7 days in cool weather; less if it’s warm or rainy. Shade during the day, indoors overnight if frost threatens, petroleum jelly on cut surfaces — that combination buys you the most time.
What’s a realistic budget for the whole porch?
$50–$100 covers a genuinely impressive porch with the ideas above, especially from dollar stores and with yearly reuse. The big reusable items — skeleton, fog machine, projector, spotlights — pay for themselves by the second Halloween.
How do I decorate a rental porch?
Removable everything: over-door hooks for wreaths, free-standing pumpkins and lanterns, adhesive-clip string lights, removable-adhesive door decals. No nails, no screws, no paint — and photograph everything when you move in, so there’s no deposit dispute later.
How do I stop decorations blowing away?
Weight beats hope: sand inside hollow pumpkins, bricks behind staked tombstones, sandbags in hay bale displays, heavy planters for topiaries. If it can catch wind, assume October will test it.
Are fog machines safe on a porch?
Yes, with common sense: outdoor-rated machine only, output aimed away from walkways and steps, plugged into a GFCI outlet, never left running unattended.
The Bottom Line
The best Halloween porch isn’t the most expensive one. It’s the one with a clear idea and good lighting. Pick three to five ideas from this list that fit your style, spend one weekend afternoon on setup, and do the nighttime walk-by. That’s the whole formula — and it’s the house the kids will remember.